MountaineerTom
LJ Enthusiast, Retired USAF Weapons Loader
Supporting Member
Ride of the Month Winner
It comes with four coarse thread 3/8 bolts/nuts and four fine thread 3/8 bolts/nuts. mrblaine said the coarse threads should go with the upper brackets that mount to the motor mount frames and the fines threads should go with the struts that mount to the skid plate and brackets.
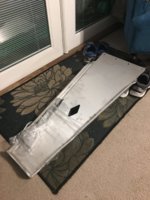
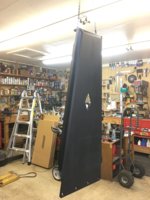
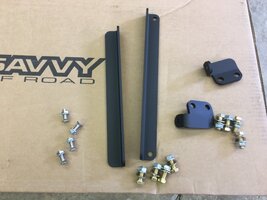
I had to grind a little metal off of the drivers side L bracket so it would clear the mounting bracket nut and bolt. Also ground away a little metal on the skid that turned up near the lowest spot on the drivers side exhaust. Mounted up to the factory transfer case skid plate.
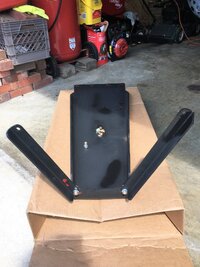
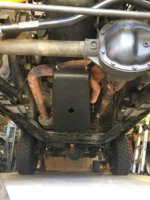
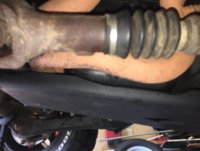
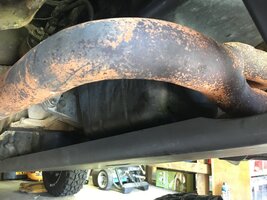
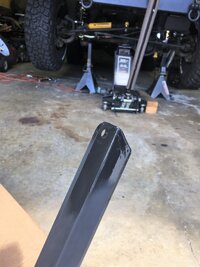
Passengers side motor mount frame bracket tab towards the front, "L" brace strut behind tab on motor mount frame bracket, "L" brace strut on front of skid plate.
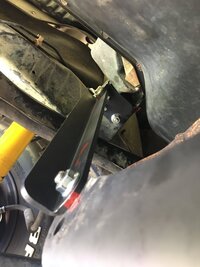
Drivers side motor mount frame bracket tab towards the rear, "L" brace strut in front of tab on motor mount frame bracket, corner of the top of the "L" brace strut ground down enough to clear the bolt/nut on the motor mount frame bracket, "L" brace strut on front of skid plate.
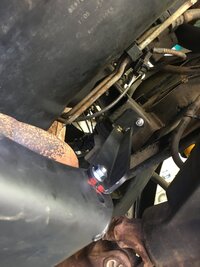
Holes drilled in stock transfer case skid plate. Make sure you got the front mounting point where you want them before you drill these.
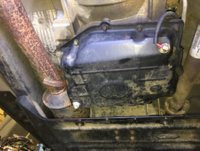
I added a washer to each rear screw between the Savvy Engine Skid and the stock transfer case skid just to get a little bit more clearance between the Savvy skid and my transmission drain plug and the sensor for my transmission temperature gauge.
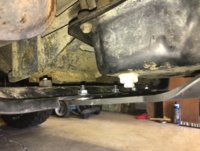
Clearance between transmission temp gauge sensor and skid.
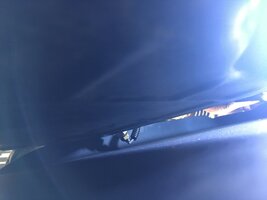
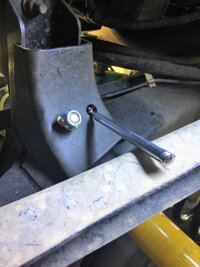
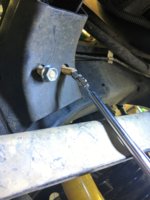
A little tip on the bolts that go through the motor mount frames. I used a small magnet to catch the bolts and pull them through. It wasn't fool proof though, I got one of the first try. The other 3 took 2 or 3 tries, but was still easier than getting my fingers in there. When tightening, I found that sticking the boxed end of a wrench up in the frame and the angled end of the wrench curved enough to hold the bolt while tightening the nut. mrblaine said the bolts that hold the brackets to the motor mount brackets should go up through the assembly and they nut on the inside. The serrated nuts will hold tight on their own and you can torque the bolts without holing the nuts. I happen to have a boxed end wrench that the angle was just right to reach up in there and hold the head of the bolts, so I put the nuts on the lower side. He did say that way was ok to do too.
I used blue Loctite on all the hardware, torqued all the front hardware to 33 ft lbs and the 4 rear bolts to 22 ft lbs. You'll need a P4 phillips bit for the 4 rear screws. Everything spray painted with Rustoleum flat black spray paint.
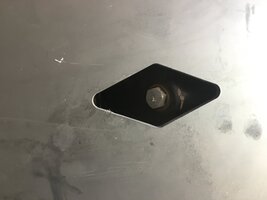
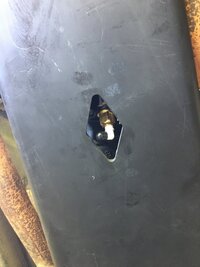
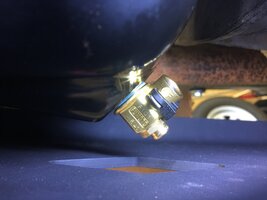
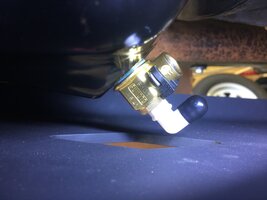
The oil plug lined up pretty well. I ended up replacing the drain plug at my next oil change with a Fumoto Valve. I got the F101S which came with the plastic guard/clip thing, the hose kit for S type valves which came with the hose, a straight plastic adapter and the 90* plastic adapter, and I went ahead and ordered the F cap thinking I would use it on the elbow. The plastic elbow snaps on and off pretty easy, but I figure I'll leave it on all the time and just turn it down to hook up the drain tube when time to change the oil.
https://www.fumotooildrainvalve.com/?target=model_product&modelId=514422
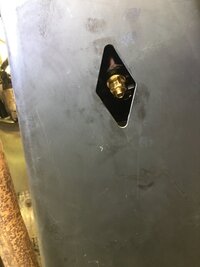
I wanted to get the F101N with the long nipple so I could just hook a hose straight to it, but I was afraid it would hang down to low and get hit by something. The F101S that I installed is between 5/8 to 3/4 of an inch above the skid plate opening at the lowest point of the metal part of the valve.
Over all, I'm happy with all of it.
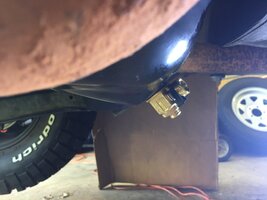
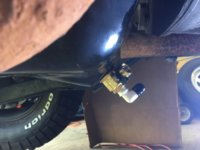


I had to grind a little metal off of the drivers side L bracket so it would clear the mounting bracket nut and bolt. Also ground away a little metal on the skid that turned up near the lowest spot on the drivers side exhaust. Mounted up to the factory transfer case skid plate.


Passengers side motor mount frame bracket tab towards the front, "L" brace strut behind tab on motor mount frame bracket, "L" brace strut on front of skid plate.

Drivers side motor mount frame bracket tab towards the rear, "L" brace strut in front of tab on motor mount frame bracket, corner of the top of the "L" brace strut ground down enough to clear the bolt/nut on the motor mount frame bracket, "L" brace strut on front of skid plate.

Holes drilled in stock transfer case skid plate. Make sure you got the front mounting point where you want them before you drill these.

I added a washer to each rear screw between the Savvy Engine Skid and the stock transfer case skid just to get a little bit more clearance between the Savvy skid and my transmission drain plug and the sensor for my transmission temperature gauge.

Clearance between transmission temp gauge sensor and skid.

A little tip on the bolts that go through the motor mount frames. I used a small magnet to catch the bolts and pull them through. It wasn't fool proof though, I got one of the first try. The other 3 took 2 or 3 tries, but was still easier than getting my fingers in there. When tightening, I found that sticking the boxed end of a wrench up in the frame and the angled end of the wrench curved enough to hold the bolt while tightening the nut. mrblaine said the bolts that hold the brackets to the motor mount brackets should go up through the assembly and they nut on the inside. The serrated nuts will hold tight on their own and you can torque the bolts without holing the nuts. I happen to have a boxed end wrench that the angle was just right to reach up in there and hold the head of the bolts, so I put the nuts on the lower side. He did say that way was ok to do too.
I used blue Loctite on all the hardware, torqued all the front hardware to 33 ft lbs and the 4 rear bolts to 22 ft lbs. You'll need a P4 phillips bit for the 4 rear screws. Everything spray painted with Rustoleum flat black spray paint.


The oil plug lined up pretty well. I ended up replacing the drain plug at my next oil change with a Fumoto Valve. I got the F101S which came with the plastic guard/clip thing, the hose kit for S type valves which came with the hose, a straight plastic adapter and the 90* plastic adapter, and I went ahead and ordered the F cap thinking I would use it on the elbow. The plastic elbow snaps on and off pretty easy, but I figure I'll leave it on all the time and just turn it down to hook up the drain tube when time to change the oil.
https://www.fumotooildrainvalve.com/?target=model_product&modelId=514422
I wanted to get the F101N with the long nipple so I could just hook a hose straight to it, but I was afraid it would hang down to low and get hit by something. The F101S that I installed is between 5/8 to 3/4 of an inch above the skid plate opening at the lowest point of the metal part of the valve.
Over all, I'm happy with all of it.


Last edited:


