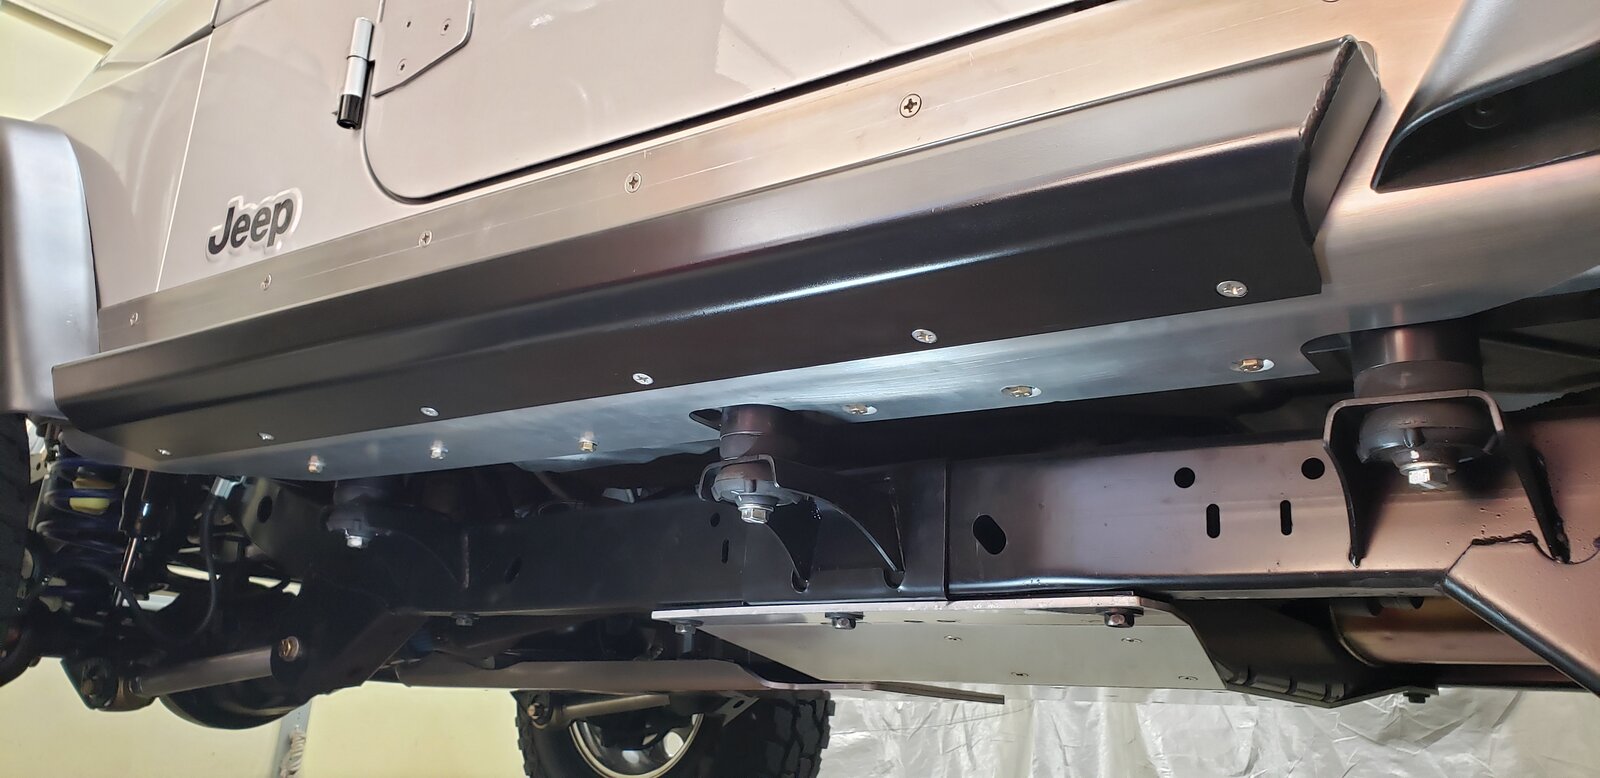
I kept my rocker guards bare aluminum, but added nutserts to them. This allows the sliders to easily be removed, while leaving the rocker in place. I can easily take a scotch brite pad to the rockers, making them look new again. The sliders were then primed and painted satin black, knowing I'd have to repeatedly repaint them.


You are using an out of date browser. It may not display this or other websites correctly.
You should upgrade or use an alternative browser.
You should upgrade or use an alternative browser.

Show me your Savvy sliders
- Thread starter freedom_in_4low
- Start date

I didn't powder coat the backers. I acid washed them. This video shows the products I used. Pretty simple to do.
So you ran them bare, even the steel with no rust preventative? Or is the pic just at install? I missed something..
Bare aluminum and bare steel. Whoops I almost forgot the steel rub rail did tend to rust but I kept its rust at bay with a wire brush and a semi-regular light film of oil on it. I hope it has rusted away by now for the Mexicans who stole it lol.So you ran them bare, even the steel with no rust preventative? Or is the pic just at install? I missed something..
I didn't powder coat the backers. I acid washed them. This video shows the products I used. Pretty simple to do.
Nice.
Kinda lost me at the "slightly gold tint" tho. Did the tint remain, is it obvious, or did you paint?
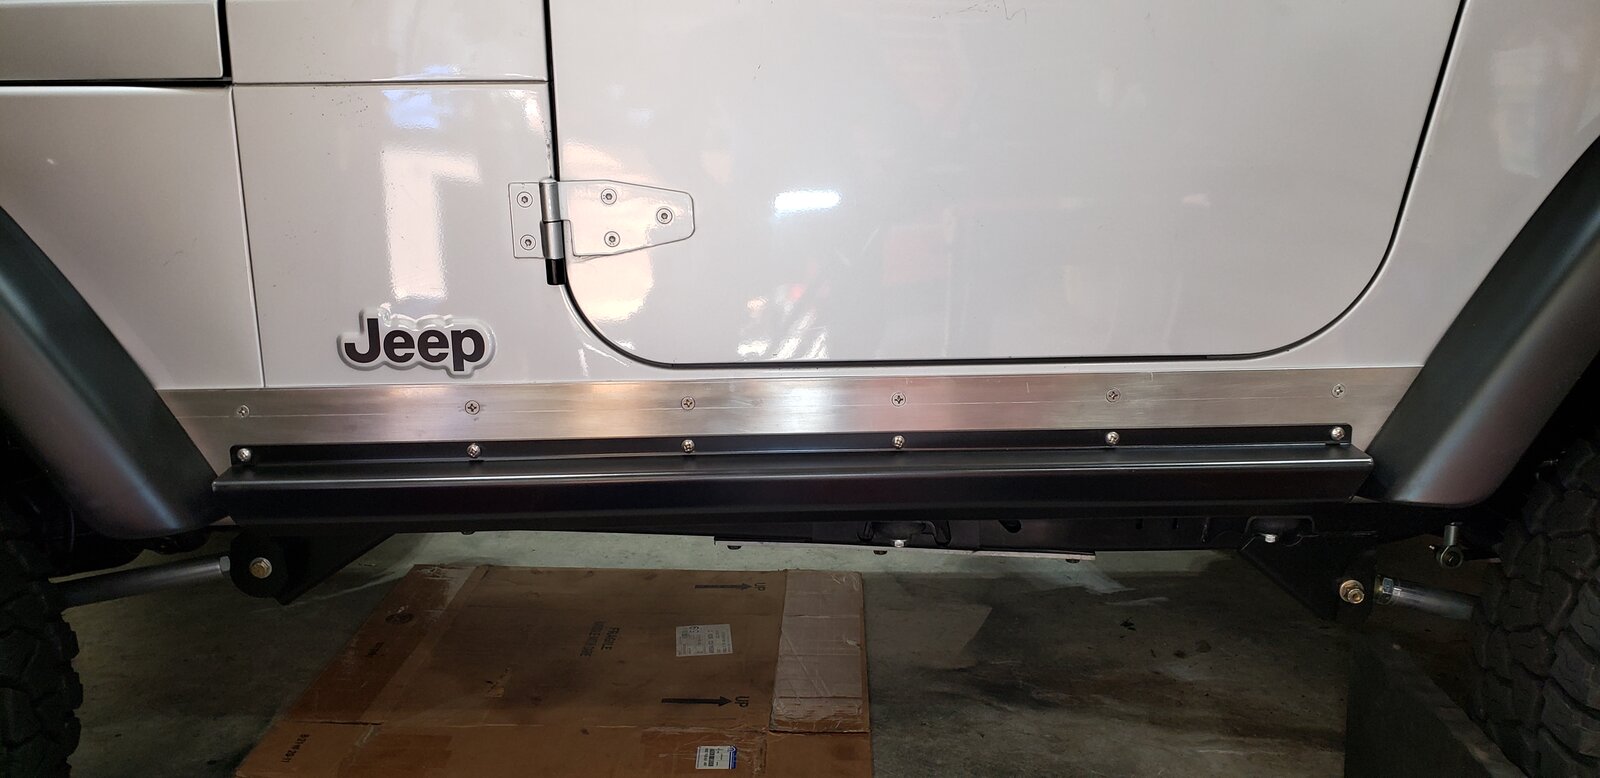
Brushed the aluminum and satin black slider
View attachment 335700
I'm thinking I like the contrast with black. My XJ is blacked out and I'm kinda over that look.
Will save me some coin in powder coating as well.
Nice.
Kinda lost me at the "slightly gold tint" tho. Did the tint remain, is it obvious, or did you paint?
I painted the aluminum with the matching Mopar paint from Quadratec. Turned out great!
Nice.
Kinda lost me at the "slightly gold tint" tho. Did the tint remain, is it obvious, or did you paint?
Comment from the YouTube video.
"There is another form of Alodine that can and is used for external aluminum surfaces that are not going to be painted as a corrosion inhibitor. It's Alodine 1500-1501. Example is the bright shiny surfaces for instance on American Airlines birds. You get the protective layer without the bronze staining."
It looks like the 1500 would work well standalone or as a prep for clear coat paint but upon further review and research it seems to be overkill for my needs (leaving it bare aluminum). I'm only finding the product in 1 gallon which is $75 and at 100:1 ratio is enough for 100 gallons of usable solution, way more than I could possibly use. If there's a pint option, that might be something I'd consider.
I'll likely opt for @Irun methodology and just scotch-brite the aluminum if/when I pull the painted sliders for touch-up.
Now I'm thinking of just putting clear on the bar aluminum backer for contrast on the black LJ with shiny wheels. Clear the way to go if I want to keep it aluminum?
Still dunno if I should PC the sliders, primer PC the slider then paint, or just quit farting around and use self-etching primer and paint the sliders myself. Just brainstorming.
For this set I went with “bare” aluminum for the backers. I used a DA sander starting with 600g (this is where you really have to work it to remove scratches and the lines left by the bending dies), then 800g, 1000, 1200, and finished with 1500g. Then I used my harbor freight paint polisher with a medium pad and some polishing compound. After it was polished I wiped sharkhide onto it with a diaper. Shark hide is a chemical barrier for preserving polished aluminum boats.
They polished up quite nice and I will try to take some better pictures when I have the chance.
OP
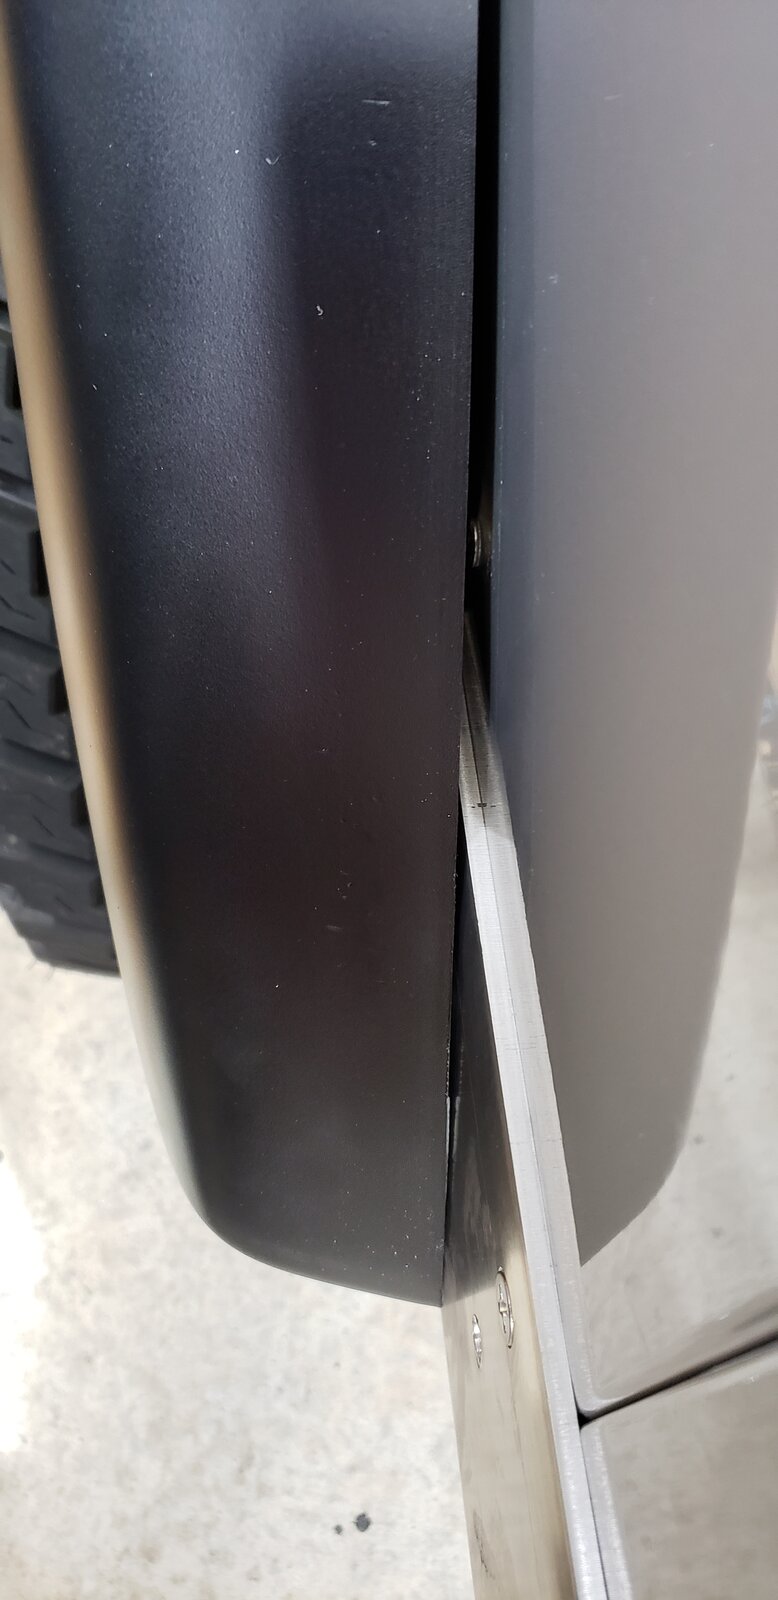
what do you guys do with your flares when you install these? Do you just let the backer push the flare out so there's a gap between the flare and the tub, or do you trim the flare where it rides on the backer so it sits flush against the tub? I can see at least some of you are leaving the gap.
I don't have OEM flares but if I did I would definitely trim them.what do you guys do with your flares when you install these?
OP
I don't have OEM flares but if I did I would definitely trim them.
that's what I did with the Rough Country's. it was a time consuming process to get it right and I wasn't really even happy with the results until the 4th one. Since I'm not fully satisfied with the way they fit I'm thinking about whether it's worth doing again if I ended up finding some OEM flares.
what do you guys do with your flares when you install these? Do you just let the backer push the flare out so there's a gap between the flare and the tub, or do you trim the flare where it rides on the backer so it sits flush against the tub? I can see at least some of you are leaving the gap.
It is impossible to trim the flare to fit completely flush. There just isn't enough material. You can remove a section of the tiny lip on the backside to narrow the gap but that might only get it a 1/16 or so closer. Not worth it IMO.
what do you guys do with your flares when you install these? Do you just let the backer push the flare out so there's a gap between the flare and the tub, or do you trim the flare where it rides on the backer so it sits flush against the tub? I can see at least some of you are leaving the gap.
Let it stick out. Honestly, my anal self noticed it at first and wanted to fix it. Now I don't notice or feel compelled to resolve the issue. Per @mrblaine:
"There is almost nothing you will do that will look better than the gap. I trim on the inner lip that faces inward to the top of the backer and call it good. If you notch the flare, that lower end will never be tight to the backer or hasn't for all the ones I've seen. The obvious answer is a piece of ABS that is 3/16" thick that goes behind the flare everywhere it is on the body. Getting the edge of that and the flare to line up nicely is a nightmare."
what do you guys do with your flares when you install these? Do you just let the backer push the flare out so there's a gap between the flare and the tub, or do you trim the flare where it rides on the backer so it sits flush against the tub? I can see at least some of you are leaving the gap.
Blaine's comment that @Irun shared above is entirely true.
I left it with a gap and it kinda bugged me .. so I tried to be very careful and trimmed the flares. Not sure that I would bother doing that again.
OP
Let it stick out. Honestly, my anal self noticed it at first and wanted to fix it. Now I don't notice or feel compelled to resolve the issue. Per @mrblaine:
"There is almost nothing you will do that will look better than the gap. I trim on the inner lip that faces inward to the top of the backer and call it good. If you notch the flare, that lower end will never be tight to the backer or hasn't for all the ones I've seen. The obvious answer is a piece of ABS that is 3/16" thick that goes behind the flare everywhere it is on the body. Getting the edge of that and the flare to line up nicely is a nightmare."
Now having spend 4x as long screwing with getting them to look right as it took to actually R&R them, I think I agree.
With the RC's I ended up losing most of the connection with the inner surface, so it's pretty much just covering the end of the slider at this point.
I thought about finding a piece of plastic the shape of tiny angle iron and epoxy it in to restore that structure but haven't had time to look for anything yet. It would also help fill the gap I ended up with, which is where I took too much and I'm flush with the tub but not the slider.
This is the best one, which is the last one I did and I accomplished by basically taking shaves at a time and test fitting until I was happy with the fit.
This is the first one I did, which is the worst because I took the most accurate measurement I could manage and tried to take off the exact thickness of the slider, which was too much. Pay no mind to where I scratched the paint by not noticing where my masking tape had moved during initial slider fitup.
I don't like the way the rounded over edge where the flare meets the tub reveals the old chipped and rubbed paint that was hidden behind the OEM flares, but it probably made the results of this trimming job turn out somewhat tolerable vs what I would have had with the sharp edge of OEM flares.
while not perfect that looks better than a gap running up to the top of the flares
OP
while not perfect that looks better than a gap running up to the top of the flares
It does. But it's so tedious I'm probably gonna be on the fence about it until I get some flares and do it. Again.
I did it with the MCE's on my TJ, which was both much easier and more necessary since the lack of an inner face made it so you could actually see daylight through the gap.