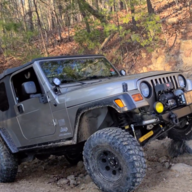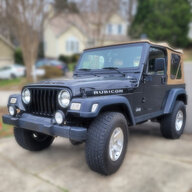
2004 TJ Rubicon

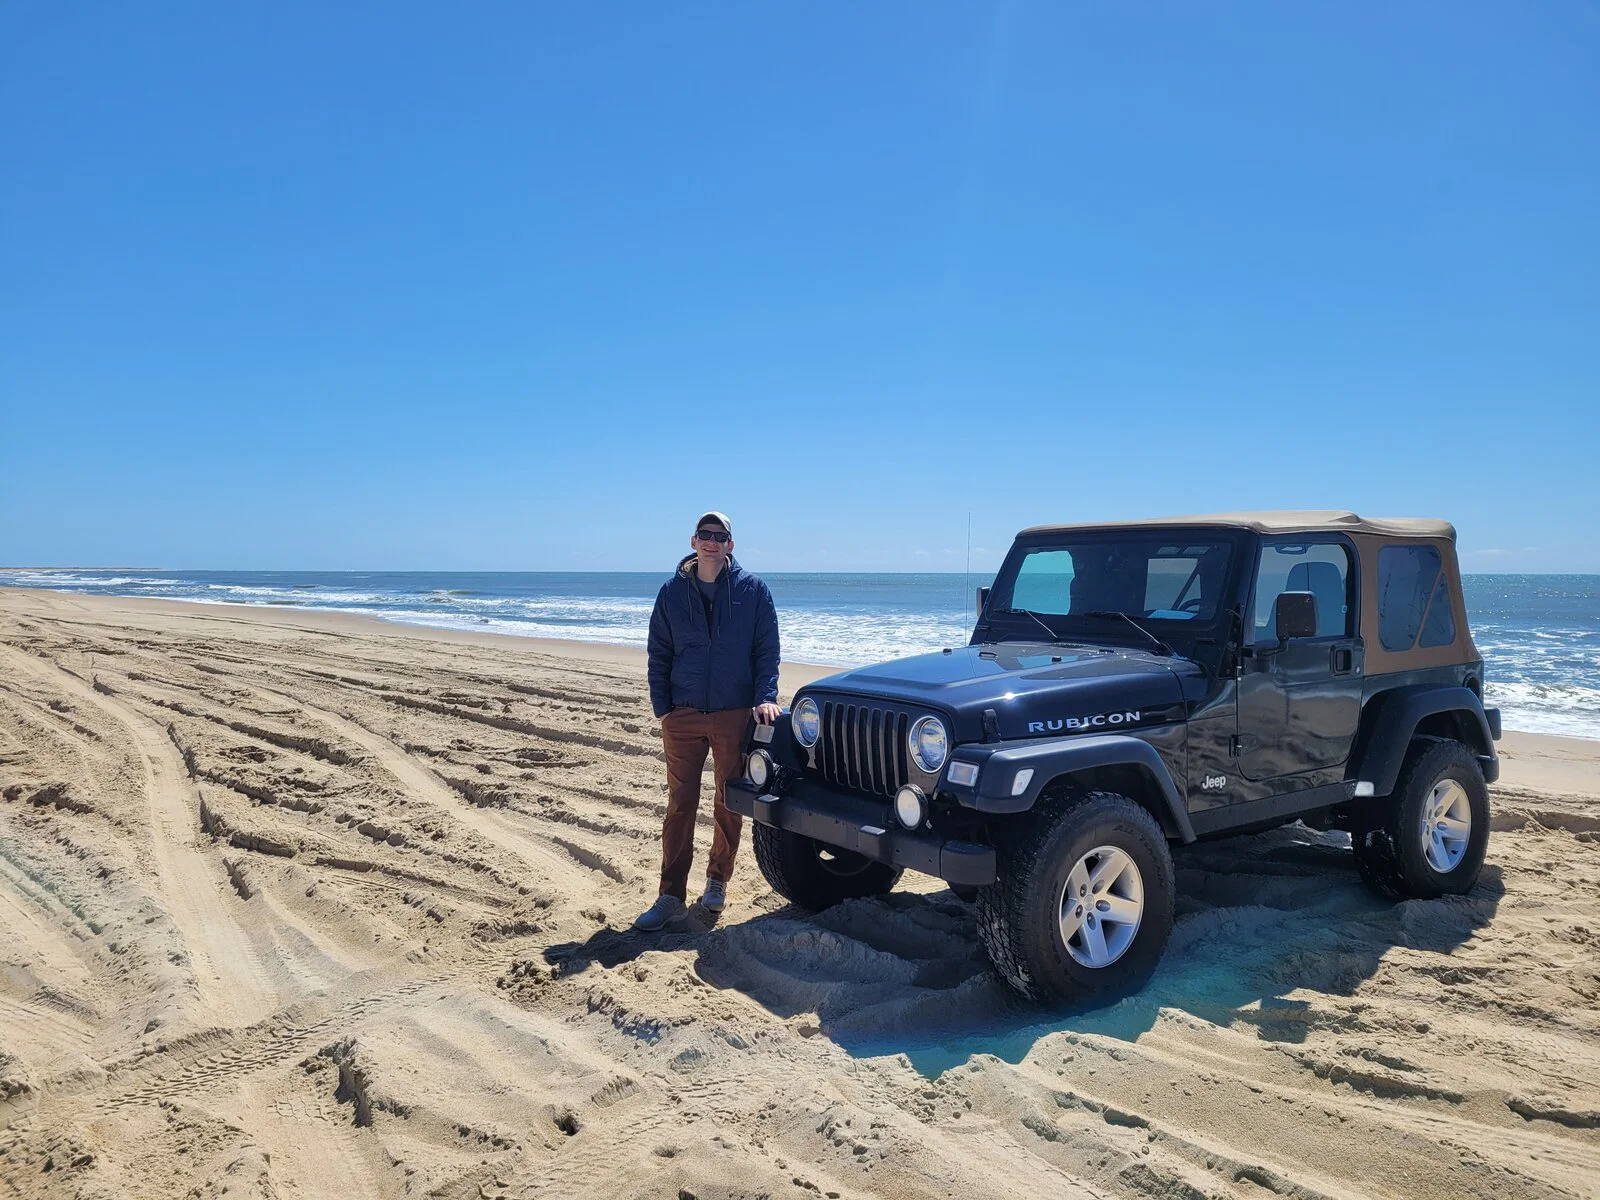
Took the Jeep down to the outer banks and did some beach driving this past weekend. First real experience off the paved road and I must say the thing is a beast

20220402_121515.webp
 
I recently got home from Norway (after getting stuck thanks to Covid...) and returned to find my new rear bumper (Dirtworx) that got delivered just before I left a little rusty
20220611_140627.jpg


I cleaned it up with some wire wheels and wiped off the protective oil coating

20220611_145555.jpg


Sprayed on a few coats of etching primer
20220611_155220.jpg


And later 5+ coats of flat black
20220619_195531.webp


Stock bumper removed, rear crossmember is in good shape but some ugly surface rust
20220620_135457.jpg


Dry fit the new bumper to mark the new additional mounting points and used a laser level across the existing holes to intersect and centerpunch marked holes
20220620_151123.jpg


Drilled half inch holes at the marked locations
20220620_154639.jpg


Masked off the Jeep, and sprayed rust converter and new paint on crossmember
20220621_113006.jpg


Mounted the new bumper at the existing holes
20220621_140654.jpg


I learned that I can't get to the back of the new hole locations without removing the fuel tank so I'll be doing that once the tank is closer to empty as I just filled up on gas the other day :eek:. It's fine to drive the Jeep for now, wont use the hitch until I get the other bolts added.

20220619_195531.webp
 
  • Like
Reactions: ranger101
I recently got home from Norway (after getting stuck thanks to Covid...) and returned to find my new rear bumper (Dirtworx) that got delivered just before I left a little rusty
View attachment 338439

I cleaned it up with some wire wheels and wiped off the protective oil coating

View attachment 338441

Sprayed on a few coats of etching primer
View attachment 338443

And later 5+ coats of flat black
View attachment 338454

Stock bumper removed, rear crossmember is in good shape but some ugly surface rust
View attachment 338448

Dry fit the new bumper to mark the new additional mounting points and used a laser level across the existing holes to intersect and centerpunch marked holes
View attachment 338450

Drilled half inch holes at the marked locations
View attachment 338451

Masked off the Jeep, and sprayed rust converter and new paint on crossmember
View attachment 338452

Mounted the new bumper at the existing holes
View attachment 338453

I learned that I can't get to the back of the new hole locations without removing the fuel tank so I'll be doing that once the tank is closer to empty as I just filled up on gas the other day :eek:. It's fine to drive the Jeep for now, wont use the hitch until I get the other bolts added.

View attachment 338444

You *do* have frame tie-in brackets, yes?
 
You *do* have frame tie-in brackets, yes?
Didn't even know those were a thing but makes sense. I'll certainly get some before I do any serious towing or using the bumper for recovery

Thank you for letting me know about them
 
  • Like
Reactions: Zorba
Picked up a hardtop a few months ago. Searched for a while to find one cheap but in decent structural shape. Will do a restoration at some point, hopefully sooner than later. Love having the rear hatch!

20220704_194613.webp
 
  • Like
Reactions: Zorba
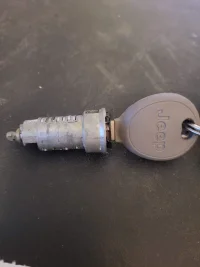
Haven't made much time for jeep projects until this past weekend. Rekeyed all 4 locks (half and full doors) using @MountaineerTom write up here as a guide. Was fairly straightforward and I love only having 1 key for everything finally

Before
20221022_171527.jpg
After
20221022_183618.jpg
 
  • Like
Reactions: MountaineerTom
Also added a fuse tap and a 12V to 5V usb adapter behind the glove box to provide power to a dash cam. Works well and glad I didn't have to cut into any of the factory wiring to do it. Though my constant power 12v plug stopped working after doing this which doesn't make sense as that fuse is under the hood and I didn't mess with it. That fuse is fine btw... a problem for another day
20221024_142521.webp
 
Also added a fuse tap and a 12V to 5V usb adapter behind the glove box to provide power to a dash cam. Works well and glad I didn't have to cut into any of the factory wiring to do it. Though my constant power 12v plug stopped working after doing this which doesn't make sense as that fuse is under the hood and I didn't mess with it. That fuse is fine btw... a problem for another day
View attachment 369996

On my ‘06, that #18 slot is for the cigar lighter. Is the original fuse pulled out of that slot still good?
 
On my ‘06, that #18 slot is for the cigar lighter. Is the original fuse pulled out of that slot still good?

You can't see it because the fuses stick up but the fuse tap has 2 fuses on it. One for the original circuit so the cigarette lighter still works and one for the new one
 
Right. I was thinking that was the constant power plug that wasn't working.

 
Right. I was thinking that was the constant power plug that wasn't working.
Ah gotcha. The cigarette lighter and the constant plug are next to each other but the cig plug is the ignition switched one and it still works fine. The fuse for the constant plug is in the box under the hood. That fuse looks fine and tests normal with a continuity tester. I also tried a different fuse just in case and it still doesn't work
 
  • Like
Reactions: MountaineerTom
Did a wife-mod to the jeep today. Made a stirrup step that's attached by a seat frame bolt, seems to work great. She's happy with it so I'm happy with it!

View attachment 313247

View attachment 313248

I need to do this mod in my life, but for both doors though. I have to head out right now, but I'm loving the work you've done and custom mods like the aforementioned one. So I'll be back to keep scrolling through soon, so I might have a few questions, hope you don't mind.
 
I need to do this mod in my life, but for both doors though. I have to head out right now, but I'm loving the work you've done and custom mods like the aforementioned one. So I'll be back to keep scrolling through soon, so I might have a few questions, hope you don't mind.

I did this mod and it is one of my wife's favorites! She showed it off to my buddy last weekend when we went wheelin.
 
  • Like
Reactions: Project Billd
Long time no mod... until recently! Having a kid really changes things...

I finally started figuring out some time to work on my jeep and I've been able to get some things done. Back in March I did a lot of suspension work. All of the suspension components were oem and worn out. I installed new double adjustable control arms (core 4x4), front and rear track bars, currectlync steering linkage, front sway bar disconnects, and 4 jounce bumpers (old ones were disintegrated). It took me about 2 weeks all together as suspension work was mostly new to me but I learned a ton and got it all in. Afterwards, I white-knuckle drove it to a good suspension shop to get it aligned and it's much more responsive and feels a lot more stable now.

Before:
20240314_140718.webp


Front control arms in (still need to replace axle mounted bushings, not looking forward to that)
20240315_153556.webp


After, with everything installed!
20240321_174647.webp
 
Long time no mod... until recently! Having a kid really changes things...

I finally started figuring out some time to work on my jeep and I've been able to get some things done. Back in March I did a lot of suspension work. All of the suspension components were oem and worn out. I installed new double adjustable control arms (core 4x4), front and rear track bars, currectlync steering linkage, front sway bar disconnects, and 4 jounce bumpers (old ones were disintegrated). It took me about 2 weeks all together as suspension work was mostly new to me but I learned a ton and got it all in. Afterwards, I white-knuckle drove it to a good suspension shop to get it aligned and it's much more responsive and feels a lot more stable now.

Before:
View attachment 536628

Front control arms in (still need to replace axle mounted bushings, not looking forward to that)
View attachment 536629

After, with everything installed!
View attachment 536630
What parts did you purchase? Track Bar and Stabilizer most importantly
 
What parts did you purchase? Track Bar and Stabilizer most importantly

Control arms and track bars were the crawl series from core 4x4 with Johnny joints at both ends. I opted for the double adjustable upgrade on the control arms. Sway bar disconnects are jks. Steering linkage is the currectlync from rock jock and I used the rancho stabilizer shock they recommend to go with that. I painted the stabilizer black before installing which makes it hard to recognize
 
Control arms and track bars were the crawl series from core 4x4 with Johnny joints at both ends. I opted for the double adjustable upgrade on the control arms. Sway bar disconnects are jks. Steering linkage is the currectlync from rock jock and I used the rancho stabilizer shock they recommend to go with that. I painted the stabilizer black before installing which makes it hard to recognize

Does everything still run and hold up well? Any Brake recommendations for Front Rotors and Rear Drums?
 
Does everything still run and hold up well? Any Brake recommendations for Front Rotors and Rear Drums?

Only been about 2 months with the new suspension parts so can't comment on longevity. I'm still running the stock brakes (Rubicon is discs front and rear) but I do plan to upgrade in the next year or so. I'll likely get the black magic brakes you'll see often recommended on this forum. @mrblaine can tell you more if you have any questions (he's the owner)