It needs nothing!
That was the comment to my wife when I decided to buy this ’04 LJ and sell my Trackick – (Full disclosure – I said the same thing when I bought the ‘kick a couple years back and commenced to take it apart and put it back together – “better”. As a few of you may know, I ran the Rubicon last year in the trackick on 31” tires – no damage or winch use. If you ever want to build a low budget, but capable rig, that is great on the road and off, I suggest a trackick (geo tracker or Suzuki sidekick pre 1995.) ….anyway, back to the LJ.
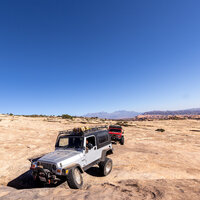
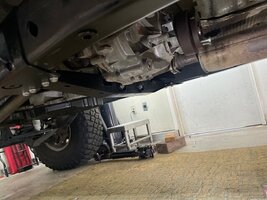
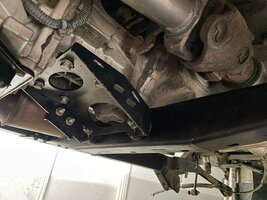
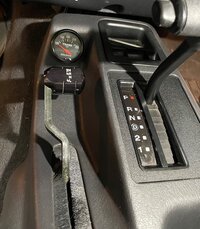
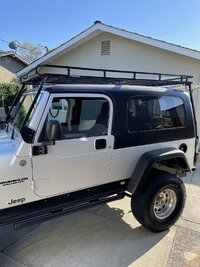
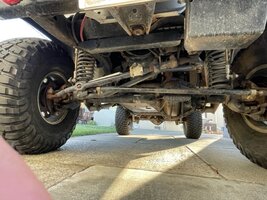
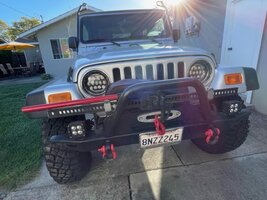
Bought from 2nd owner with 62K on the clock – both owners were retired folks. Seems the original owner wished he had ordered a Rubicon. Receipts that came with the rig show a factory new 241 TC and dana 44 front along with 4:56 gears /true trac LSD front and rear were purchased and installed not long after it was driven off the lot. Then a ProComp 4” lift ,warn winch /bumpers/sliders/ skids. Apparently, a vacation was planned as a genright 31 gal safari tank and safari roof rack were done up nicely as well. To make it sweet, a set of AMP research E steps were installed along with Tuffy storage drawer.
The jeep was driven very little (obviously) and was then sold to 2nd owner in 2018. It was always garaged and the new owner did same. Owner 2 decided the garage space was more valuable than a jeep and that’s how I ended up with a pampered LJ -that needs nothing.
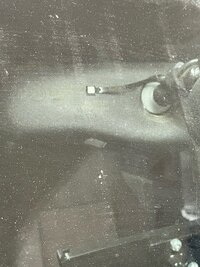
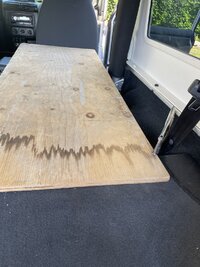
I had fitted my trackick with a sleep platform so I could sleep inside it (yes I can sleep comfortably inside a 2 door ‘kick tin top – (I’m 5”8) So I wanted to fit the LJ same – and figured it could sleep 2 if done right. A pic is my first iteration – a scrap pc of plywood, a vise grip and a scrap pc of 2x2 screwed to the plywood to act a leg is seen here. A pinnacle of craftsmanship!
This was used for a couple trips to Corral Hollow Ca. , Hiway 4 area. Just to see how the rig runs. All good! Needs nothing! ..except for a better sleep platform. Rev. 2 was a folding platform so I could at least have a passenger along (of course he /she would be required to sleep outside on any overnight trip.) That worked well for a Moab via Sand Hollow trip but a bit of a pain to set up with bracing etc. -it was basically a drop leaf table design. The AMP steps were removed and sold to raise capital (aka, buy more stuff!)
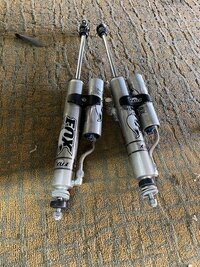
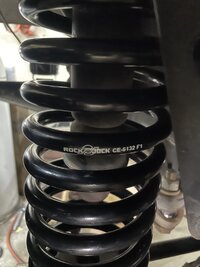
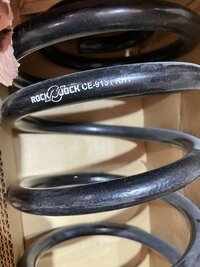
The LJ performed well on/off road on the trip. We ran poison spider /golden spike /rusty nail along with few other side trips – I felt the suspension could use “something” but having never owned a jeep, I wasn’t sure if this was as good as it gets or it needs “something”. It certainly isn’t as smooth or planted as the ‘kick. After the Moab trip I did some research and thinking about what I really wanted here. I still had the trackick and not trying real hard to sell it – so I did a couple more trips in the ‘kick -The last being a flat tow down to Anza Borrego park to run the Pinyon trail with a few jeep folks – “the squeeze” obstacle on this trail is not an “obstacle” for the ‘kick ——-heart attack hill on the other hand – well…. a bit sketchy at the top, but being on 3 wheels is kind of a trackick trademark! I sold the ’kick on that trip to a good home in SoCal. So now I have capital for something that needs nothing.
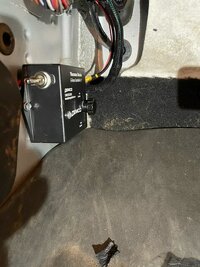
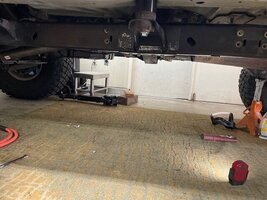
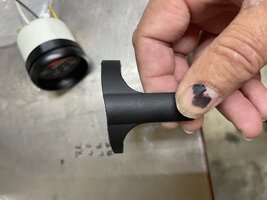
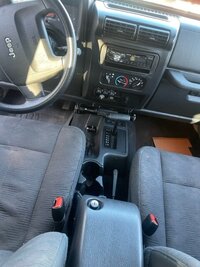
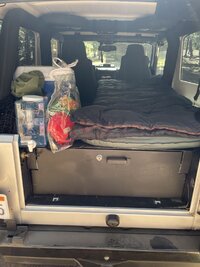
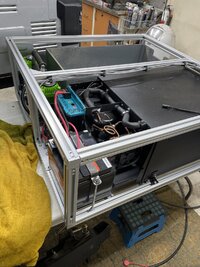
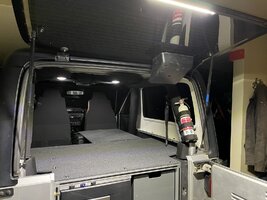
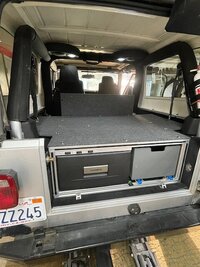
I decided, (reluctantly) – that removing the Tuffy Drawer / back seat and its brackets from the LJ was nec for a proper platform. This allows me space under the platform for storage, as well as still having open floor space directly behind the front seats. My intention was to put heavier “stuff” either over the rear axle or ahead it. The pics attached is what I came up with. A twin compressor/ a lipo battery with isolator/ a drawer fridge and a rollout drawer for my recovery gear/tools -all packaged in an aluminum extrusion frame that can be removed quickly /easily and replaced with the backseat if I need it. It was important to me that this unit would be secure in the event of a roll over. 2 triangular brackets anchor the framework using the wheel well seatbelt mounts and the 2 factory “strap brackets” hold it at the rear. The extending platform is held with a single “knob” that threads into the extrusion. I haven’t overnighted on it yet, but I admit I did take more than 1 “cat nap” on it instead of mowing the lawn.
Tires /lift: At 1 point the PO did have 35” tires on it and the speedo was calibrated as such – the PO felt it was too tall to get in/out of and swapped in a set of cooper AT3 33” tires. Of course, the speedo says I’m doing 80 when I’m actually going much slower. Rather than fix the speedo I decided to get 35” tires.
I bought 5 KM3s to mount on to the 15” weld wheels. I was considering new beadlock wheels until I saw the price! I searched for some used 15” with no luck -seems to be a bit rare -at least they eluded me during my months of search. I believe the 15” wheel has more pluses than minuses for the LJ /4.0/AT and my usage. The trackick build provided very good lessons in weight (sprung/unsprung) contact patch ( rim diameter VS tire diameter) etc. But I was concerned about airing down a big tire on a smallish rim. I did some digging and found the Coyote “internal” beadlocks may be satisfy my needs. I contacted Harry L. the proprietor of Coyote to learn more and hopefully he /Jenna could offer a shop near me to do the install. (For those that are not familiar with Harry Lewellyn and his off-road experience a simple google search would be worth a read.)
I was comfortable with drilling the extra hole in my wheels and fitting the BL in place, but I had never mounted a tire on rim (or removed 1). Somehow, Harry convinced me that I could do it myself – He’s done it countless times – in the shop, in the field, wherever. I thought, hell, if Harry can do it, then I can do it too. I just needed a few tools, time, and initiative. Saving money is always a motivator for me and after talking to a few tires shops in my area -it was clear if I wanted this done, it was going to be DIY.
If you’ve never mounted a 70lb tire onto an aluminum wheel I suggest either practice on a smaller tire/wheel or have someone that has had the experience and the tools help you. I CANNOT suggest a technique /a tool or advice -as clearly I did it wrong and if I was tasked with doing it in the field using a tree branch and rock I would likely die before the job was done. I was seriously tempted to drive down to Harrys shop and get a lesson, as it would probably would be a worthy skill to have on the trail. Remarkedly, the nearly impossible step for me was getting the first bead of the tire ONTO the rim. In the tire mounting world, this is considered the easiest step. i.e. - Get the tire bead in the “well “of the rim and work it around -/lube/push /bounce/jump/pry and it will “pop” on. Nope…..not for this guy. I struggled for almost an hour on each tire until it “popped” on. I didn’t ruin the wheels but I did have to deburr /smooth /polish a couple areas that were damaged/scuffed by the tire irons. I gave up on the 4th tire – it just wouldn’t happen – I was defeated. That tire will go to the tire shop for the 1 bead mount up. Took a whole 2 minutes and a $5 bill to get it done. Once back at home, the tire was bead locked/second bead set and inflated in less than an hour. Balancing seemed to go fine albeit a generous amount of weights were added to the wheel in 1 spot. The seam of the BL must be 180’ from the valve stem(s) to optimize the balancing – apparently weights still need to be added for a good rotational balance. So far, no issues.
I’ll drive the LJ “as is” for a time, while considering my next “need”. I have a savvy mid arm kit sitting here along with savvy BL and MML as well as a savvy tummy tuck skid. Revo. 5:38 gears lockers and axles all taking up space. Of course, those are big projects and will need to be scheduled and well thought out before I begin. I’m trying to convince myself to stick with this rig long enough to see it through all these plans but if history is any indication…….


