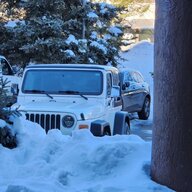
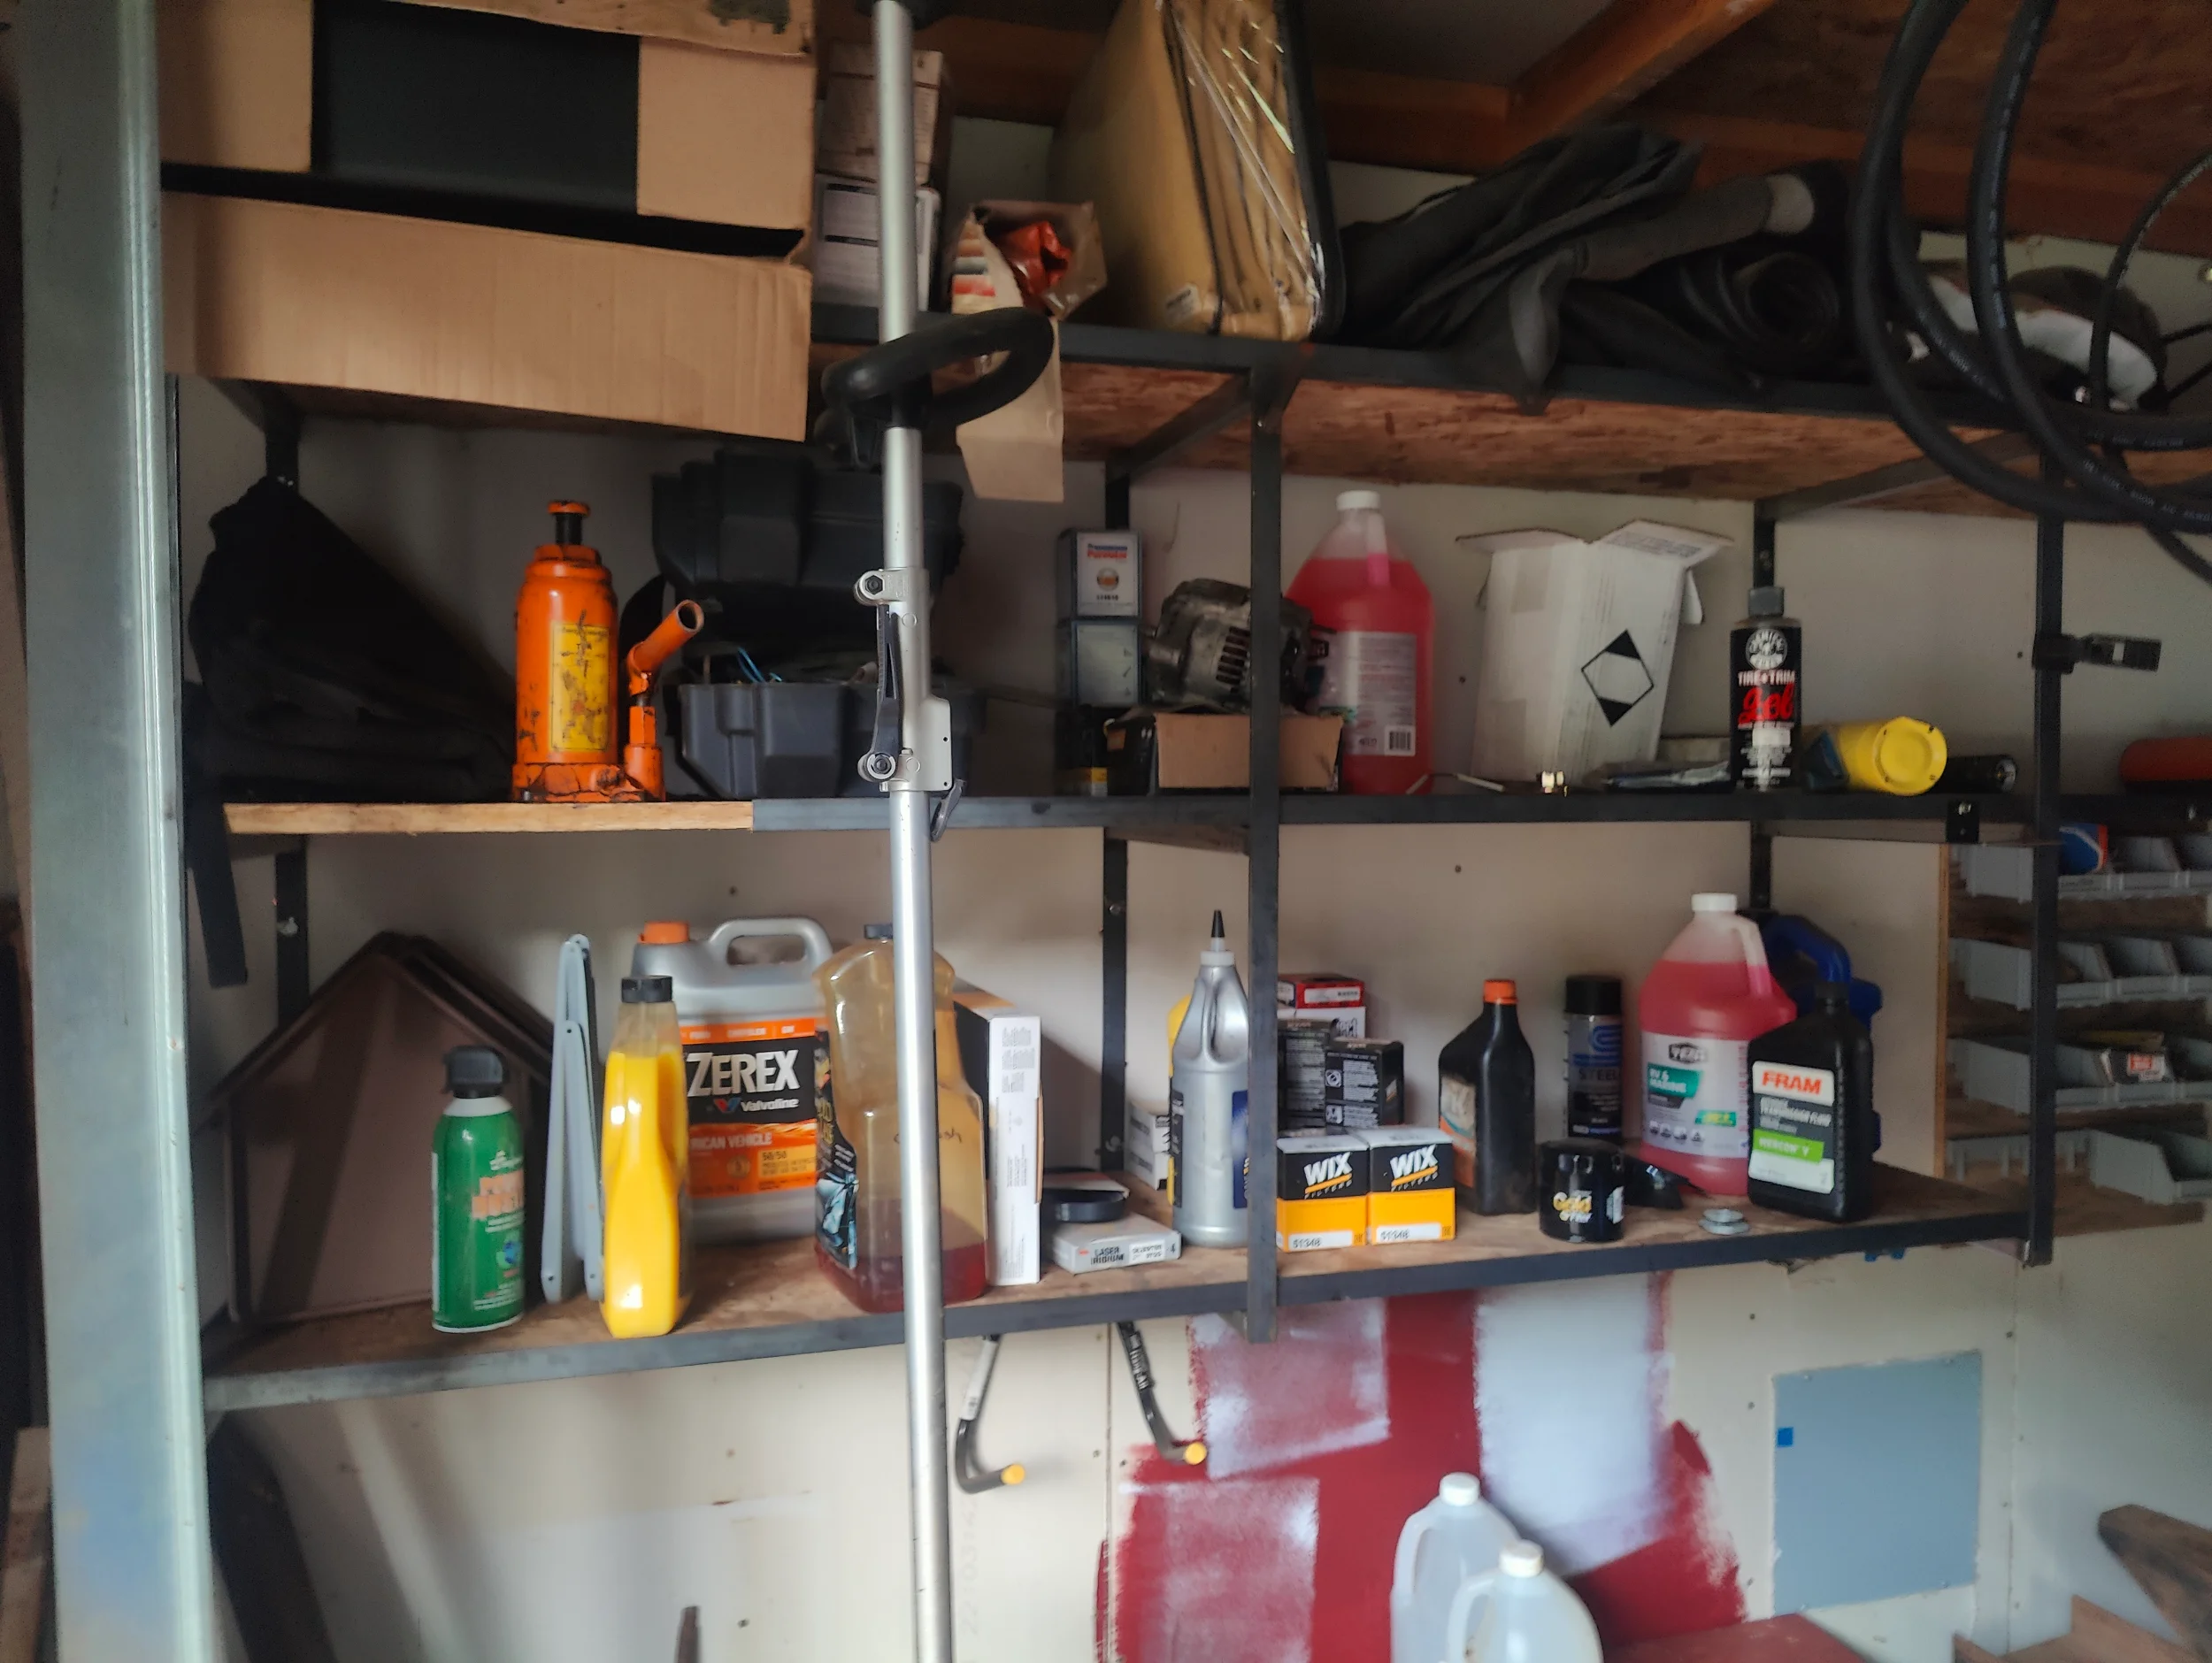
I buy 20' sticks of 3/4" angle iron and strap and cut shelves out of 3/4" OSB. Makes great cheap shelving. All anchored to the wall with lag bolts.
-Mac
-Mac


I was looking at the pic before I read your text and thought to myself 'good use of the triangulated brackets to support the shelf.'
If you just went with an L-bracket, you'd be at serious risk of droop. If you don't toss up crazy heavy tools, etc up on the shelf, you should be okay with this install style.
The ones to the wall are 5/16x1 1/2” lag bolts into the studs for the two brackets. The last one is 1/4”x1” lag bolts into the plywood. That section will have light items.What kind of screws did you use to attach the shelf to the brackets?
I buy 20' sticks of 3/4" angle iron and strap and cut shelves out of 3/4" OSB. Makes great cheap shelving. All anchored to the wall with lag bolts.
View attachment 708444
-Mac
I encourage you to do that. Wood screws (in wood) have horrible axial retention strength.I might change them out to 1/4” bolts with fender washers on the underside.
Thanks, the shelf at the wall also sits on a 1x ledger.I encourage you to do that. Wood screws (in wood) have horrible axial retention strength.

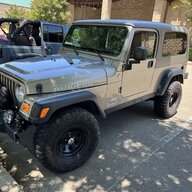
 (note the Willys Jeep sign on the inside wall)

Inspired by other people building garages I decided to have a go on building one myself and the scale is about right lol
View attachment 708614View attachment 708615View attachment 708616
Very cool, Kiwi.

Not sure if this is phase 2 or phase 3 of shop/garage cleanup and reorganization, but more progress was made this weekend...a landmark of sorts. The shelves are a bit more squared away than before, but they had to be to make room for the freshly filled fastener bins. While fastener bins might not be that exciting to you, considering my living room floor has been covered in partially sorted piles of fasteners along with about 10 partially filled packout bins of varying sizes for the past year plus (not kidding), this is huge. I hate sorting fasteners.
View attachment 708669
There are so many nicely organized and laid out garages on here I am surprised that Wildman has not learned or got ideas on how to do his.

There are so many nicely organized and laid out garages on here I am surprised that Wildman has not learned or got ideas on how to do his.

Time for some much needed maintenance on the RV. The plastic parts tend to yellow over the years due to the fire retardant (Bromides) that are added to plastics used in building materials migrating to the surface. Heat tends to accelerate the process as you can see in my before pics, it is worse near the ceiling where it's hotter. Once the migration starts you can fix it, but not permanently, you will need to freshen it up every few years. Nothing else will work except a process called Retr0Bright that was developed by some computer nerds restoring old Commodore PCs. https://www.google.com/search?q=ret...Z_Y&sourceid=chrome&source=chrome.rb&ie=UTF-8
I don't bother with the extra ingredients, I tried them in the past and they make no difference, just the developer cream, UV light and time is all you need. This took 5 hours. Initially in 2020 it took 2 days. Some claim the process can eventually make the plastic brittle but I haven't had an issue yet in 6 years. Tomorrow I'll do the plastic moldings on the outside around the slides.
After that is coolant flush/hoses and front brakes. Then it will be ready to hook on the Jeep for an early fall trip to NM.
Before (developer cream already slathered on)
View attachment 708705View attachment 708706
My UV lamp is 240 volts.
View attachment 708707
After. About 95% improvement, still a little around the soap shelf.
View attachment 708708View attachment 708709
I really love that all of our replacements are now made in China. Oops: did I repeat myself?