
You are using an out of date browser. It may not display this or other websites correctly.
You should upgrade or use an alternative browser.
You should upgrade or use an alternative browser.

4-cylinder cross country crawler build
- Thread starter The4bangertj
- Start date

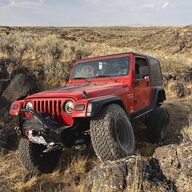
Why not an ultra high?
Because Facebook marketplace hasn’t had an ultra high. I got my steel one years ago on marketplace with a bunch of other stuff super cheap. Then this one I got for 275. I’d prefer the ultra high but not enough to buy it new for one inch since I don’t seem to hit my skid much anyways. Maybe later down the road I’d do the ultra high, or even making my own crossmember and skid when I do an atlas or terra low kit to get the gain.
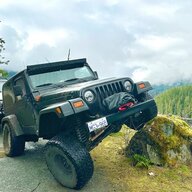
Short overview, 3 things happened. Flux hinges, flux stainless steel front bumper corners, and skyjacker 2.5in coils.
Flux hinges were fun. Broke 3 torque bits but only had to drill out 2 bolts. Just like Blaine said once drilled out they can be unthreaded by hand. I also have a sunny side tailgate skin to install but need to drill and tap holes for the license plate then do a color match paint job.
My previous coils were 3.5inch metalcloak duel rates which were netting me 5in of suspension lift front and back. That was too tall for me as the caster was past the point of being stable for me at like 3 degrees of caster before the drive shaft wasn’t happy.
I ended up going with the skyjacker coils because they’re the longest rate coil I could find while being softer to give me a better ride height than metal cloak or Currie 4in coils would. These coils measure out to be 21.5inches for the front and 17.5 for the rear for free lengths. I havnt gotten them fully collapsed but these are less coils than the metal cloaks which I was running 3inch extended bump stop. I removed an inch of bump to be 2inch extended. With that these get 11.5inch of travel with my ride height of 3inches. That gets me 5 inch up and 6.5inch down travel with outboards but stock mounted shocks with 10inch travel will loose that extra 1.5inch of down travel.
Overall I’m very happy with where this is sitting. It’s not a perfect 6in up and 6in down but I wasn’t even expecting to be this close with the difference in weight I have.
Based off this newfound knowledge, and a fellow owner of a light 4cyl tj, maybe those skyjacker coils might help with ride quality on my TJ while also keeping lift height near 3-4"? We chatted over Insta a few weeks back about how stiff my jeep rode after putting a 4.5" BDS lift in it. I emailed the dealer I bought the kit from to get spring rate specs for the coils, the fronts are 175 and the rear is 240. Short of taking the time to remove the coils I can't say what the free length is..
I should have taken some measurements pre-lift install to get some ride height numbers to compare.
Based off this newfound knowledge, and a fellow owner of a light 4cyl tj, maybe those skyjacker coils might help with ride quality on my TJ while also keeping lift height near 3-4"? We chatted over Insta a few weeks back about how stiff my jeep rode after putting a 4.5" BDS lift in it. I emailed the dealer I bought the kit from to get spring rate specs for the coils, the fronts are 175 and the rear is 240. Short of taking the time to remove the coils I can't say what the free length is..
I should have taken some measurements pre-lift install to get some ride height numbers to compare.
I noticed zero difference in ride quality from springs. From these to even super stiff rubicon express. The only ride “quality” gain was gaining my caster back from going with a lower lift. Nothing about the spring rates made a difference other than ride height. I remember recommending black maxes for the softest shock, did you try them?
I noticed zero difference in ride quality from springs. From these to even super stiff rubicon express. The only ride “quality” gain was gaining my caster back from going with a lower lift. Nothing about the spring rates made a difference other than ride height. I remember recommending black maxes for the softest shock, did you try them?
still waiting for the fox 2.0's to show up. if they dont improve things ill return them and get the Bmax shocks.
Thanks to @Sj's TJ I was able to pick up his 19.5 genright stretch tank for a good price. While I don’t need the stretch the cost of this was not much more than just an aluminum gas skid while also getting more clearance and more fuel since my tank is the 15gal. I did cut the tubes but didn’t do the fuel pump so a full tank for me is still 14 gal which with the 2.5 wasn’t an issue but having a bit more will be nice. I actually picked up a 19gal fuel pump for free a while back when I didn’t know their was a difference between the 2 so I am throwing that new pump in with this tank.
Had a fun adventure picking it up at 2am after I landed in Maryland for my family vacation.
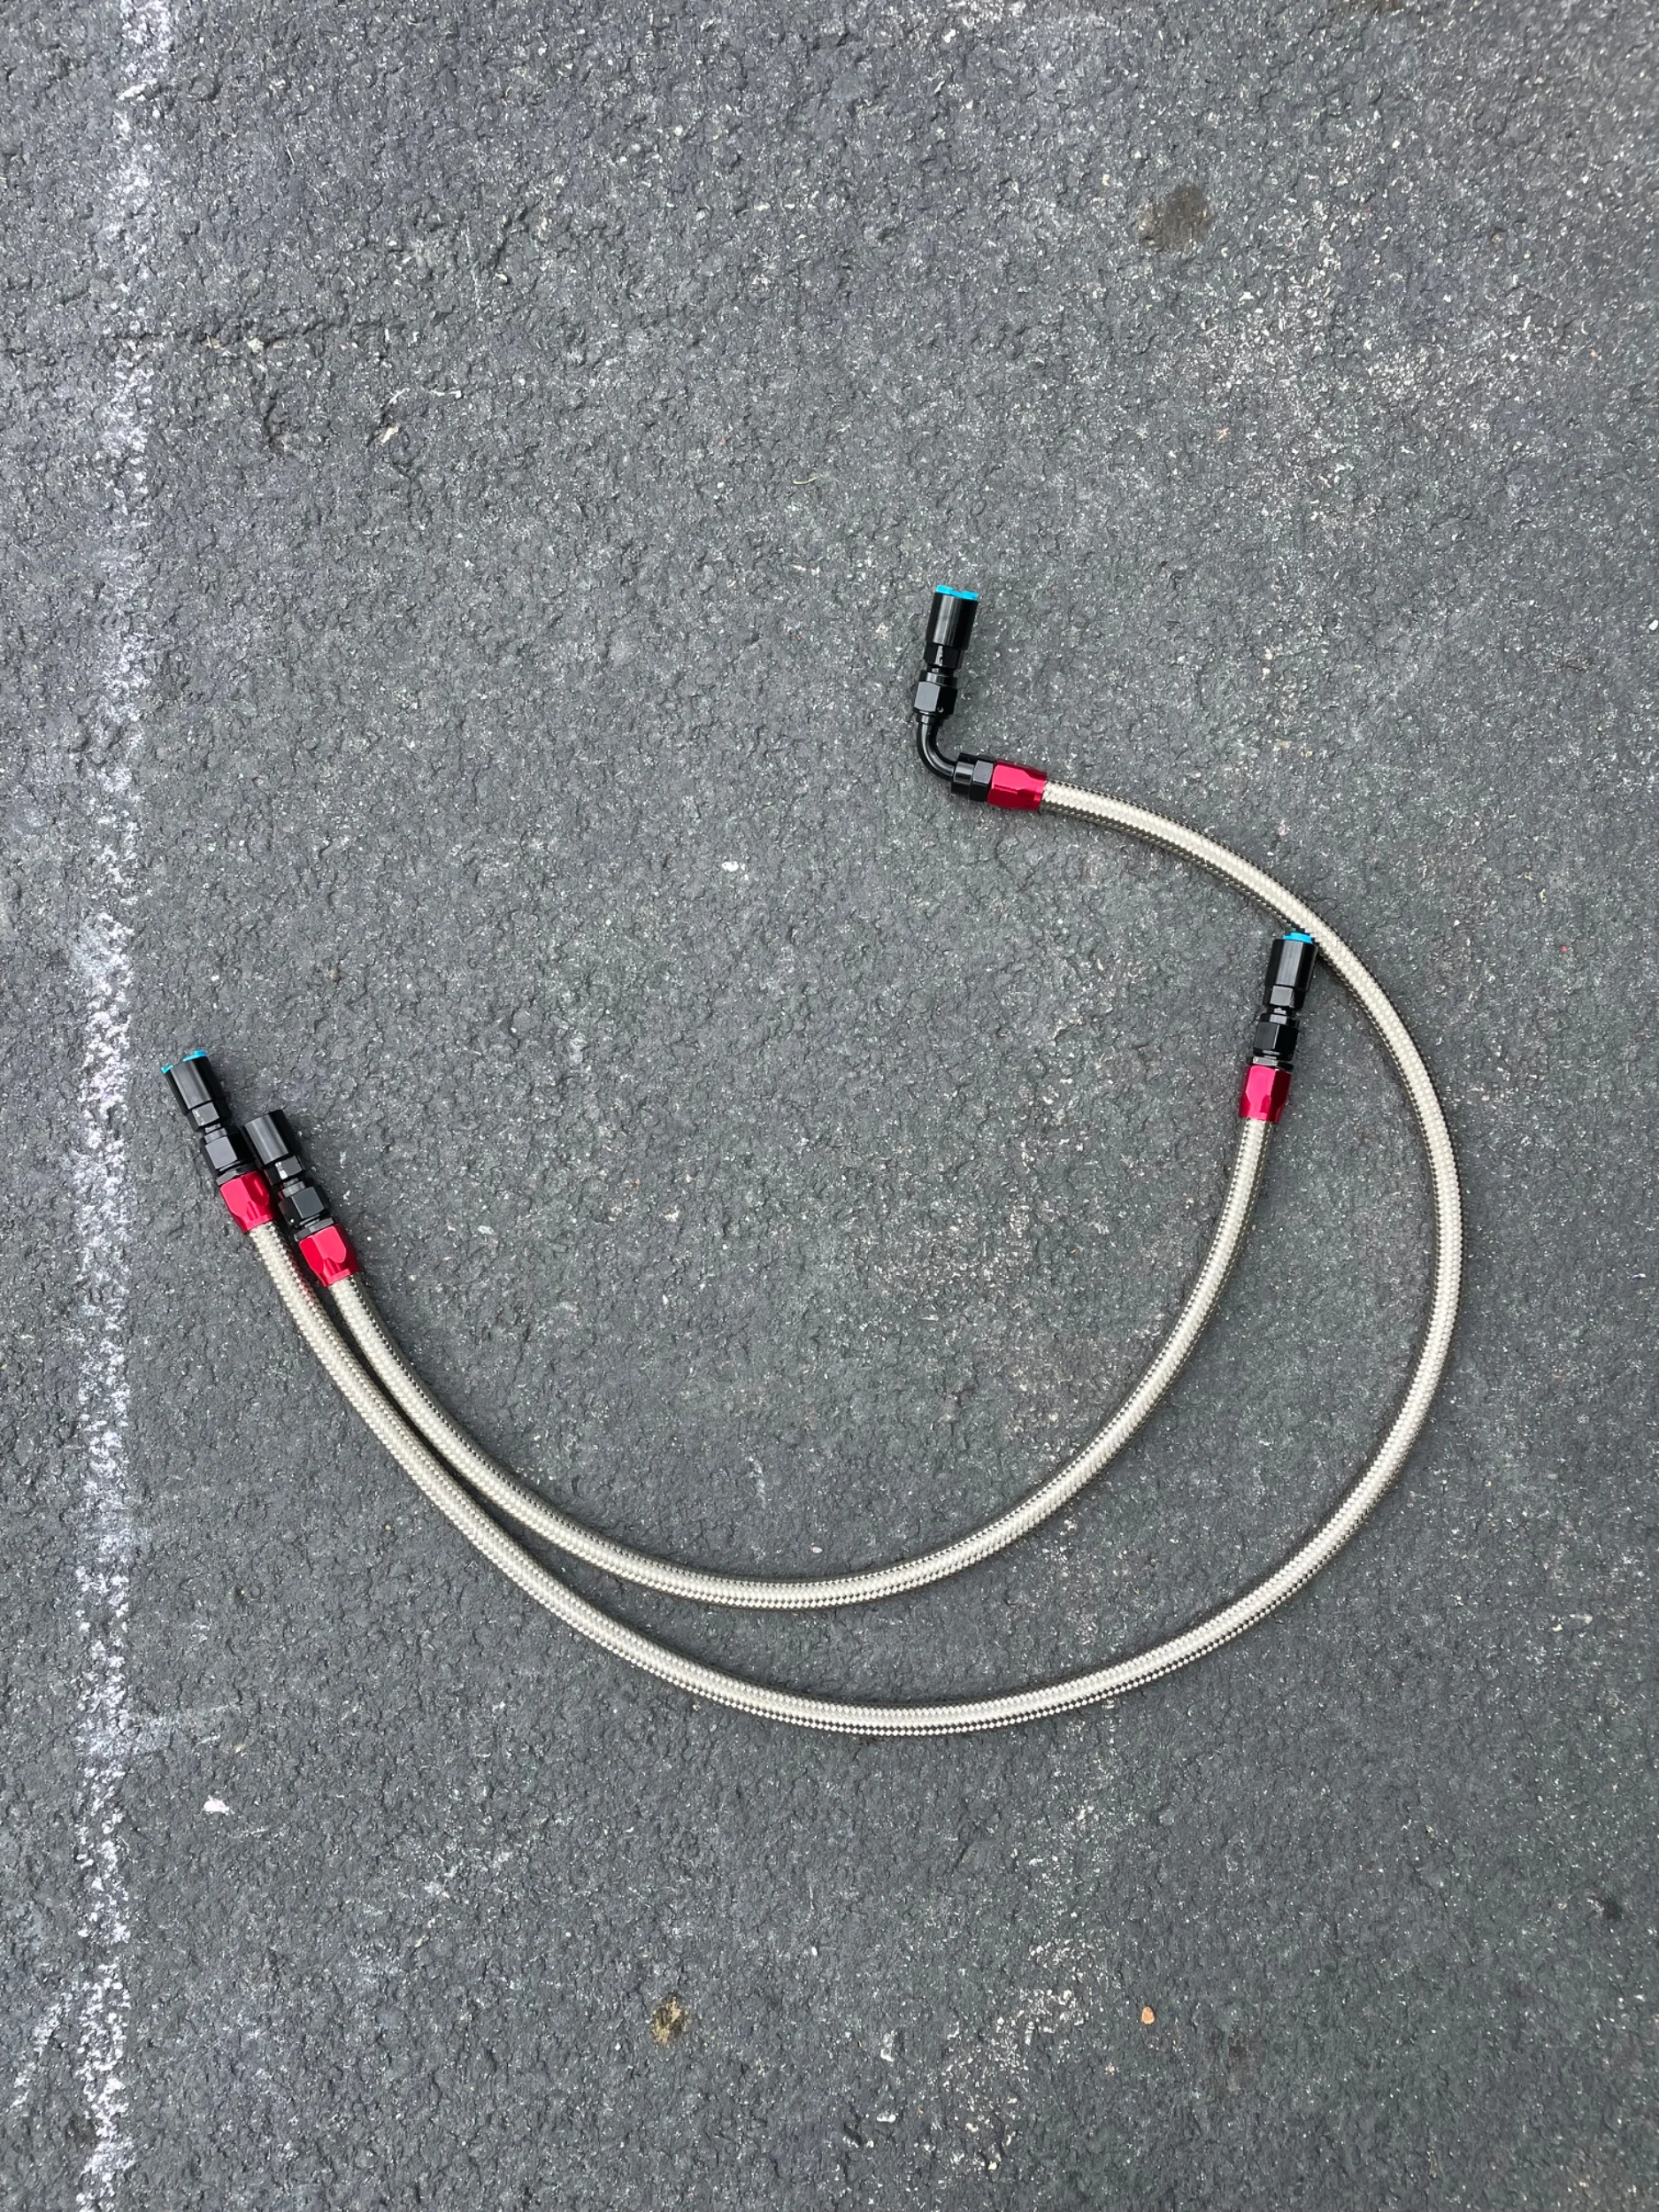
Thanks @Wildman I was able to make new 6AN fuel lines to replace the make shift barbed lines I have from cracking the stock one a year ago. They were easy to make but also a pain to get a good cut. Figured this was a good time to make them since I’ve pushed replacing the lines for a year.
Now to actually drop my tank and mock up the new one. I got some bolts and sleeves to weld in the frame for the front sections which will definitely be the hardest part of this.
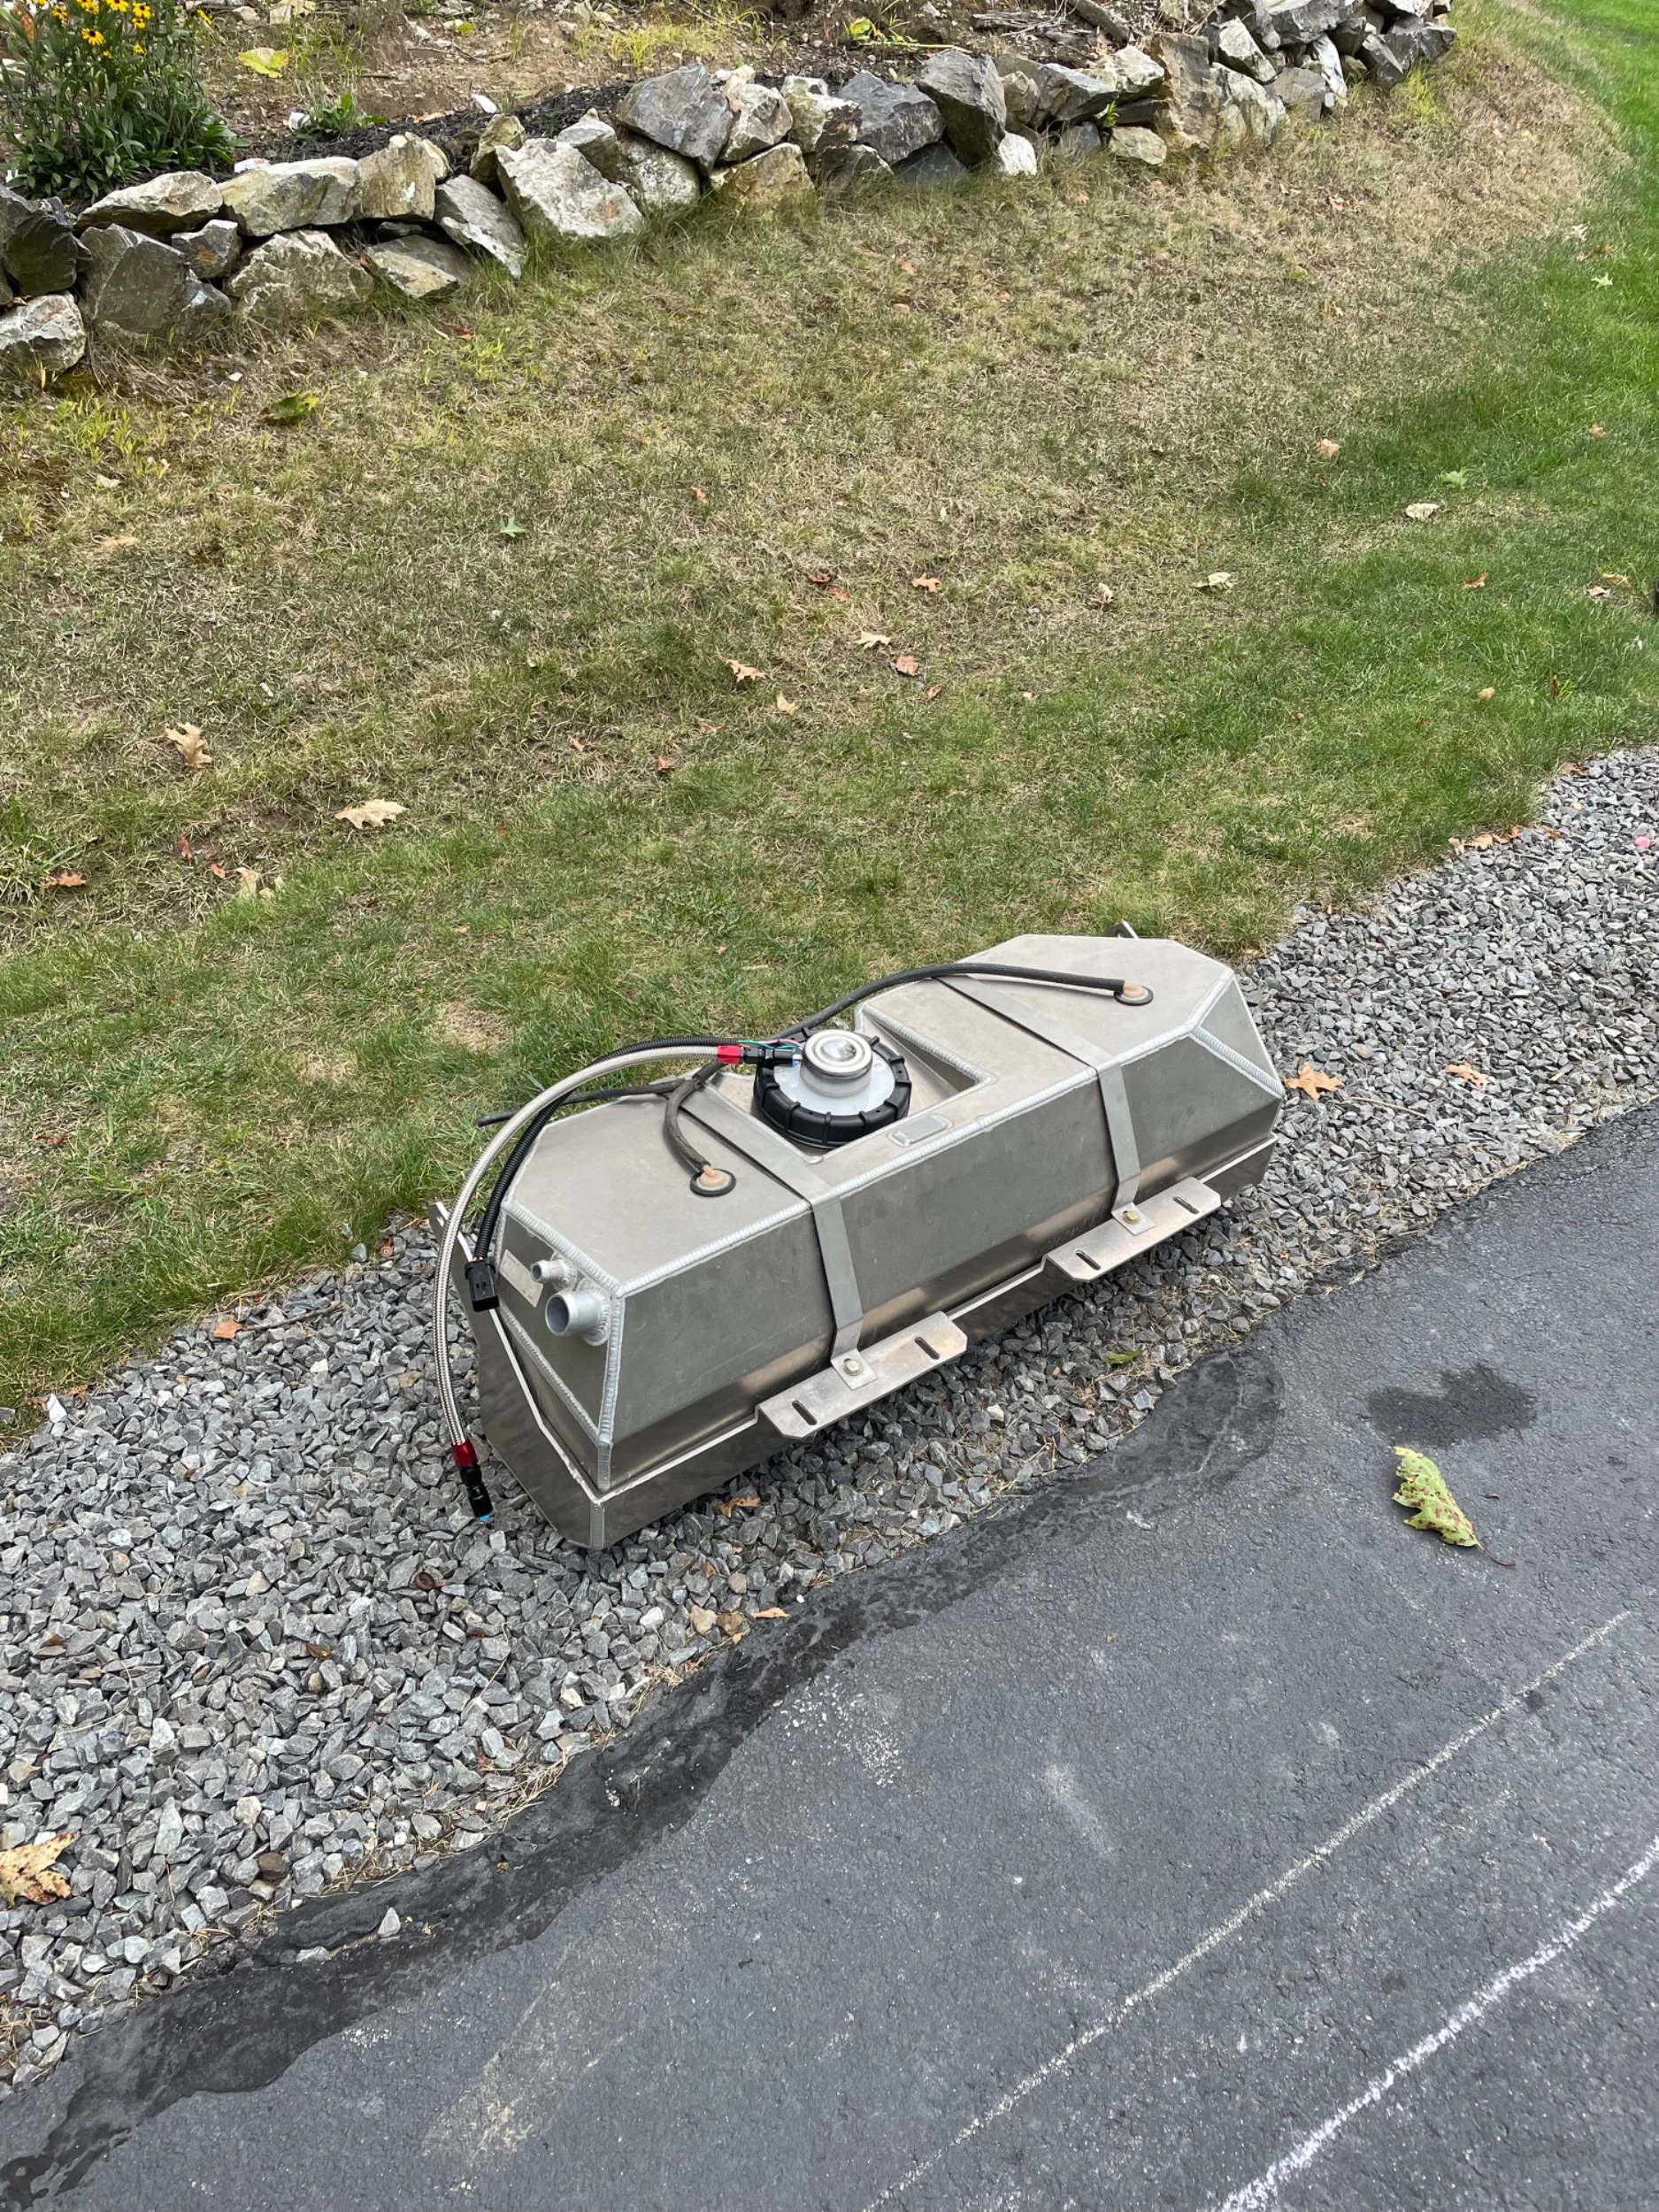
Had a fun adventure picking it up at 2am after I landed in Maryland for my family vacation.
Thanks @Wildman I was able to make new 6AN fuel lines to replace the make shift barbed lines I have from cracking the stock one a year ago. They were easy to make but also a pain to get a good cut. Figured this was a good time to make them since I’ve pushed replacing the lines for a year.
Now to actually drop my tank and mock up the new one. I got some bolts and sleeves to weld in the frame for the front sections which will definitely be the hardest part of this.
Thanks to @Sj's TJ I was able to pick up his 19.5 genright stretch tank for a good price. While I don’t need the stretch the cost of this was not much more than just an aluminum gas skid while also getting more clearance and more fuel since my tank is the 15gal. I did cut the tubes but didn’t do the fuel pump so a full tank for me is still 14 gal which with the 2.5 wasn’t an issue but having a bit more will be nice. I actually picked up a 19gal fuel pump for free a while back when I didn’t know their was a difference between the 2 so I am throwing that new pump in with this tank.
Had a fun adventure picking it up at 2am after I landed in Maryland for my family vacation.
Thanks @Wildman I was able to make new 6AN fuel lines to replace the make shift barbed lines I have from cracking the stock one a year ago. They were easy to make but also a pain to get a good cut. Figured this was a good time to make them since I’ve pushed replacing the lines for a year.
Now to actually drop my tank and mock up the new one. I got some bolts and sleeves to weld in the frame for the front sections which will definitely be the hardest part of this.
View attachment 639708
View attachment 639709
I'm glad the tank was able to go to a good home. Good call on the -6AN fuel lines, much better than stock. I look forward to seeing that tank under your rig!

Thanks to @Sj's TJ I was able to pick up his 19.5 genright stretch tank for a good price. While I don’t need the stretch the cost of this was not much more than just an aluminum gas skid while also getting more clearance and more fuel since my tank is the 15gal. I did cut the tubes but didn’t do the fuel pump so a full tank for me is still 14 gal which with the 2.5 wasn’t an issue but having a bit more will be nice. I actually picked up a 19gal fuel pump for free a while back when I didn’t know their was a difference between the 2 so I am throwing that new pump in with this tank.
Had a fun adventure picking it up at 2am after I landed in Maryland for my family vacation.
Thanks @Wildman I was able to make new 6AN fuel lines to replace the make shift barbed lines I have from cracking the stock one a year ago. They were easy to make but also a pain to get a good cut. Figured this was a good time to make them since I’ve pushed replacing the lines for a year.
Now to actually drop my tank and mock up the new one. I got some bolts and sleeves to weld in the frame for the front sections which will definitely be the hardest part of this.
View attachment 639708
View attachment 639709
Glad I could help out a little with this project. Your lines look great and as SJTJ said even with adding the additional leak points I feel they are better than stock.
Just so you have them you might want to pickup some spare fuel line retainer clips. 5/16 " & 3/8"
https://www.amazon.com/Dorman-800-016-Fuel-Retaining-Clips/dp/B00066UKGM/?tag=wranglerorg-20
Glad I could help out a little with this project. Your lines look great and as SJTJ said even with adding the additional leak points I feel they are better than stock.
Just so you have them you might want to pickup some spare fuel line retainer clips. 5/16 " & 3/8"
https://www.amazon.com/Dorman-800-016-Fuel-Retaining-Clips/dp/B00066UKGM/?tag=wranglerorg-20
The connections came with extra clips and I bought extra connectors too. I’ll be keeping the stock lines as back ups for now till I can make another set.
Mocked it up marked where to drill the hole then I snapped my bolts holding the rear upper shocks since the shock is close to being in the way so ima have to re drill and make something work for them for the millionth time. I’ve drilled and tapped them a few times to get by but the passenger side I’m using a grade 8 bolt going down through the top so I’ll probably do that on the driver side now. Prob the biggest reason I want to outboard is just to get away from the stock mounting.
Finished the install. Drilled the holes and put in a 1/2in steel sleeve. Welded it and ran the 3/8 bolt through it. Swapped in the new filler hoses. Drilled holes for the shock and ran the bolts down. Trimmed my spring perch on the axle side more since the shock had a dent in it which is the cause of my lack of up travel on that corner. Wire brushed and touched up paint where I could. Connected all my lines. Then spent more time than I should trying to dump the gas out of my old tank into a Jerry can to then put it in the new tank.
I will have to get the last foot of tail pipe done again since it’s touching the tank now. I wanted to get it cut to not stick pack the gas tank anyways as well as angle it down and to the side anyways so I’m not upset.
Old tank specs: 48lbs, 15gal, 15.5 inches ground to skid, thin steel skid.
Genright ext tank: 45lbs, 19.5gal, 16.75inches ground to skid, added angle corner, 3/16 6061 t6 aluminum skid, plus room to stretch if I do decide on that route later but with the amount of wheeling I do now idk if that will ever happen.
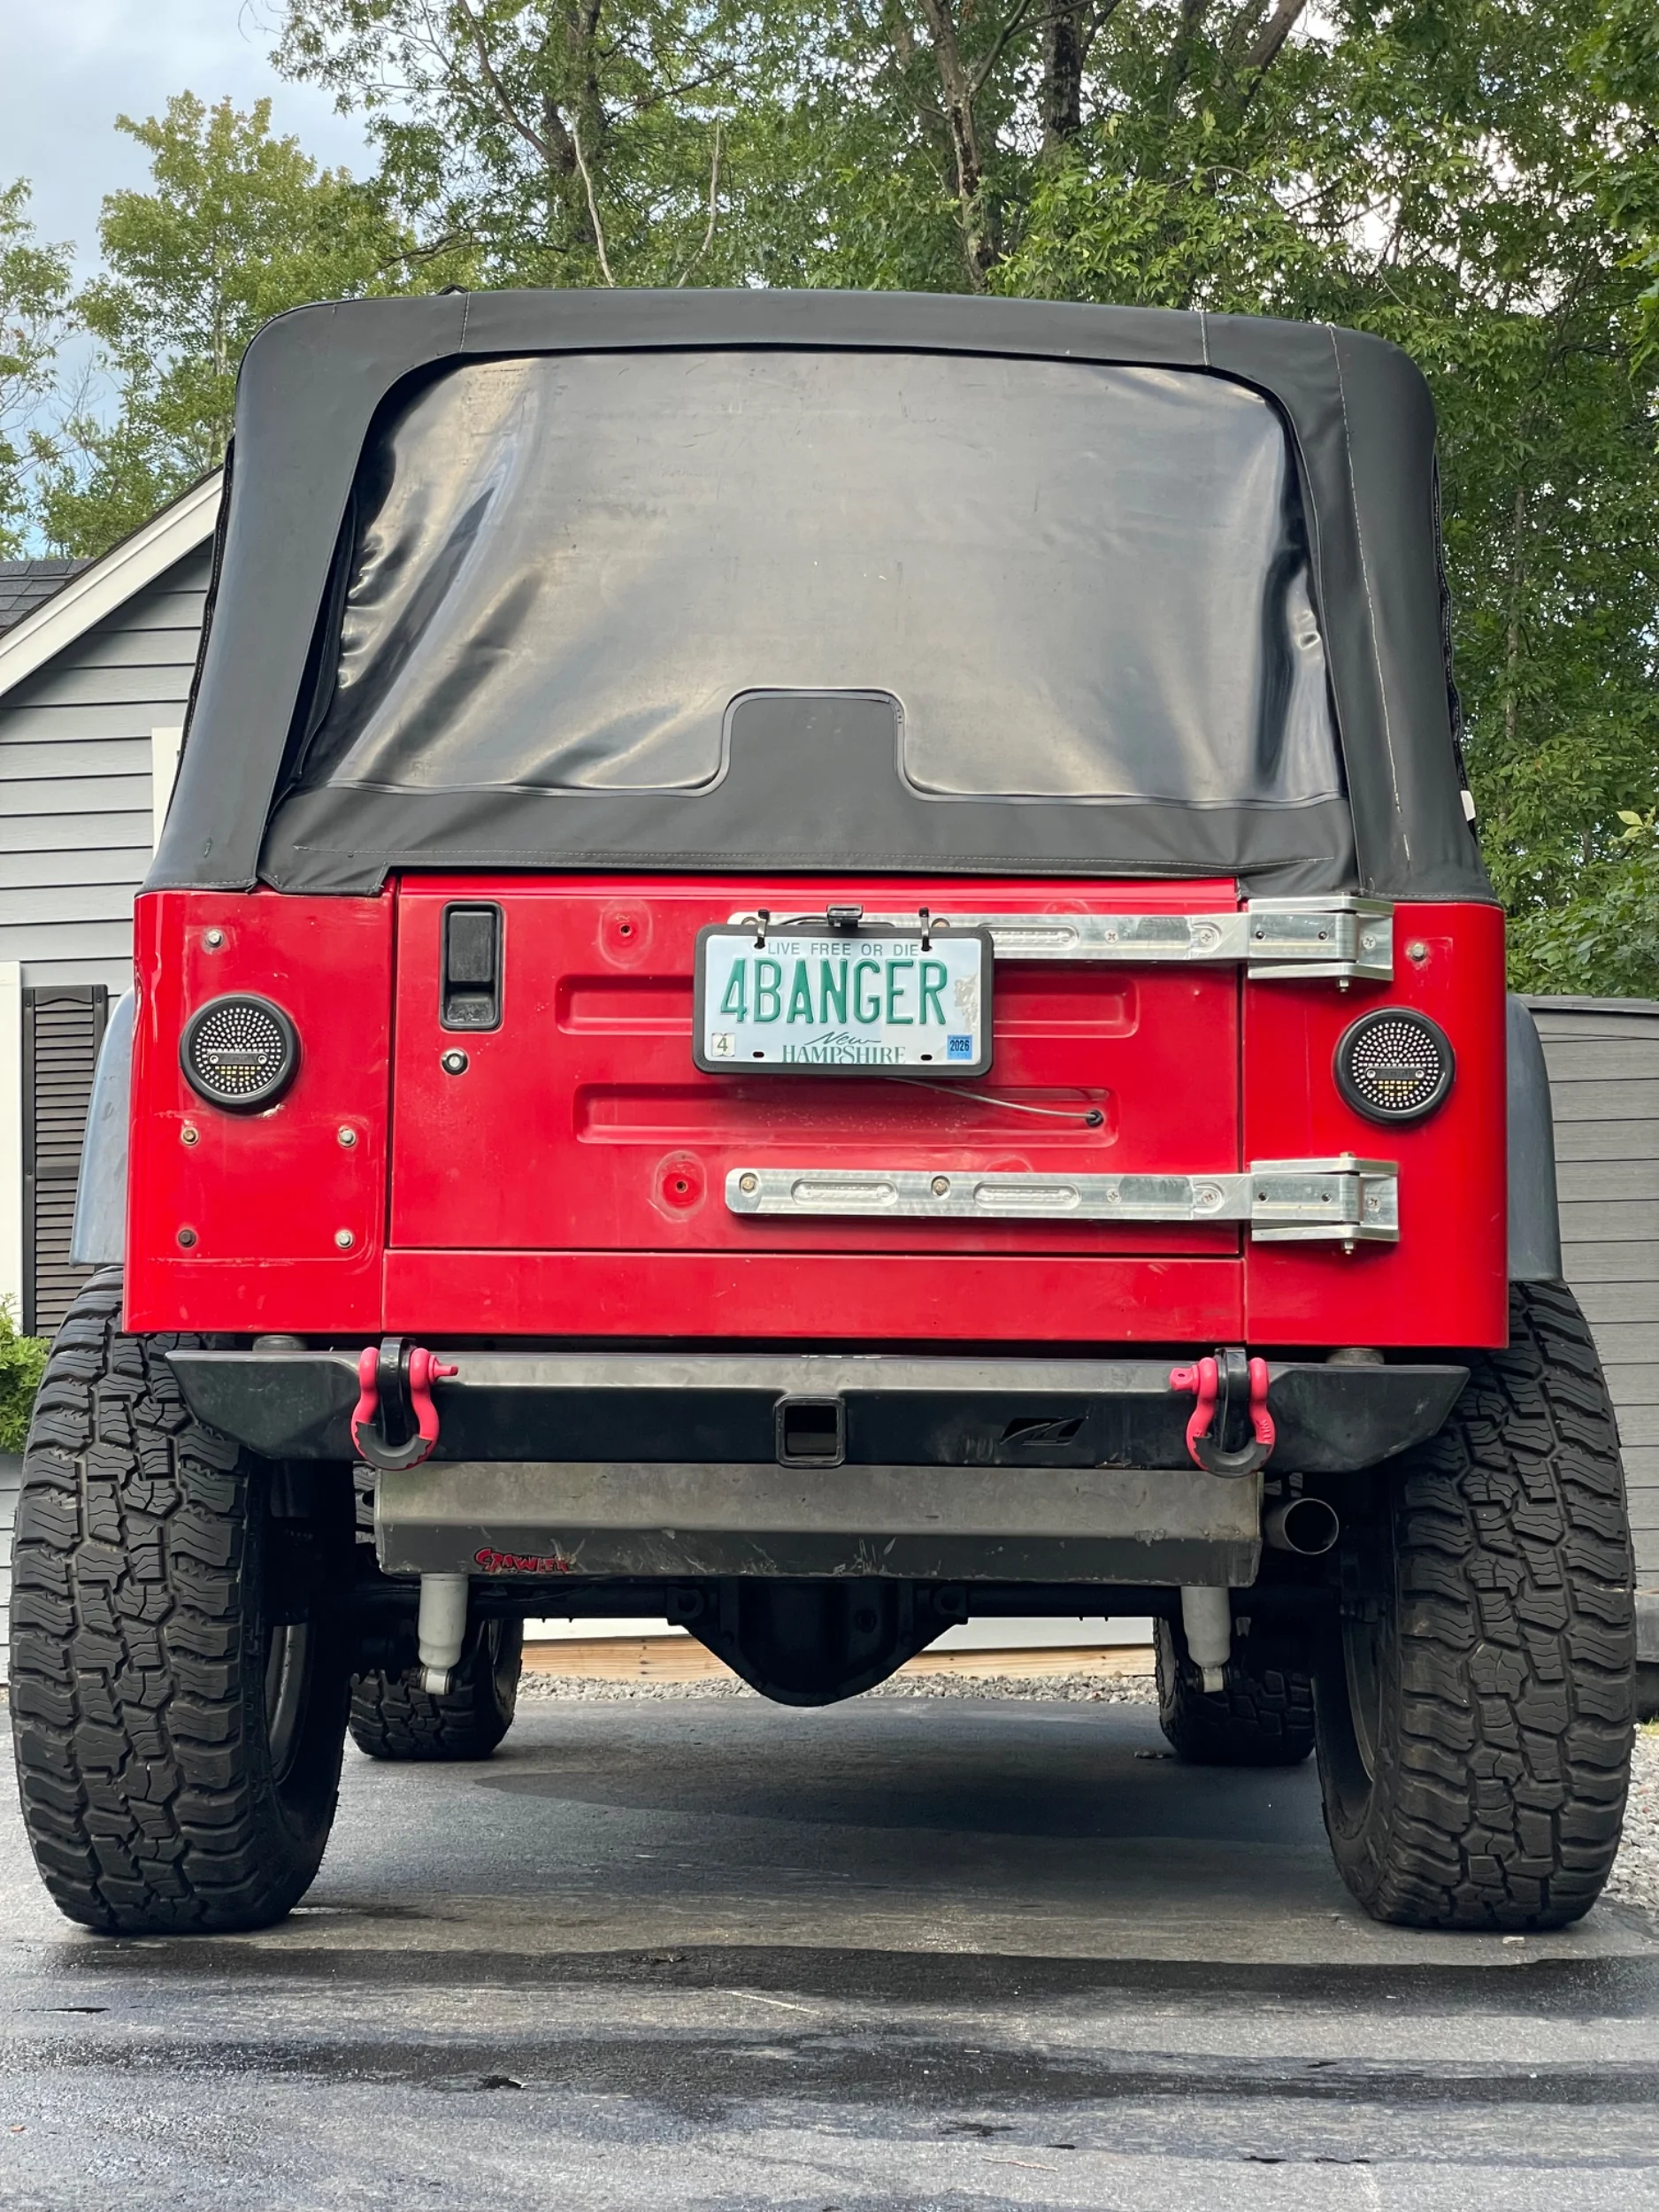
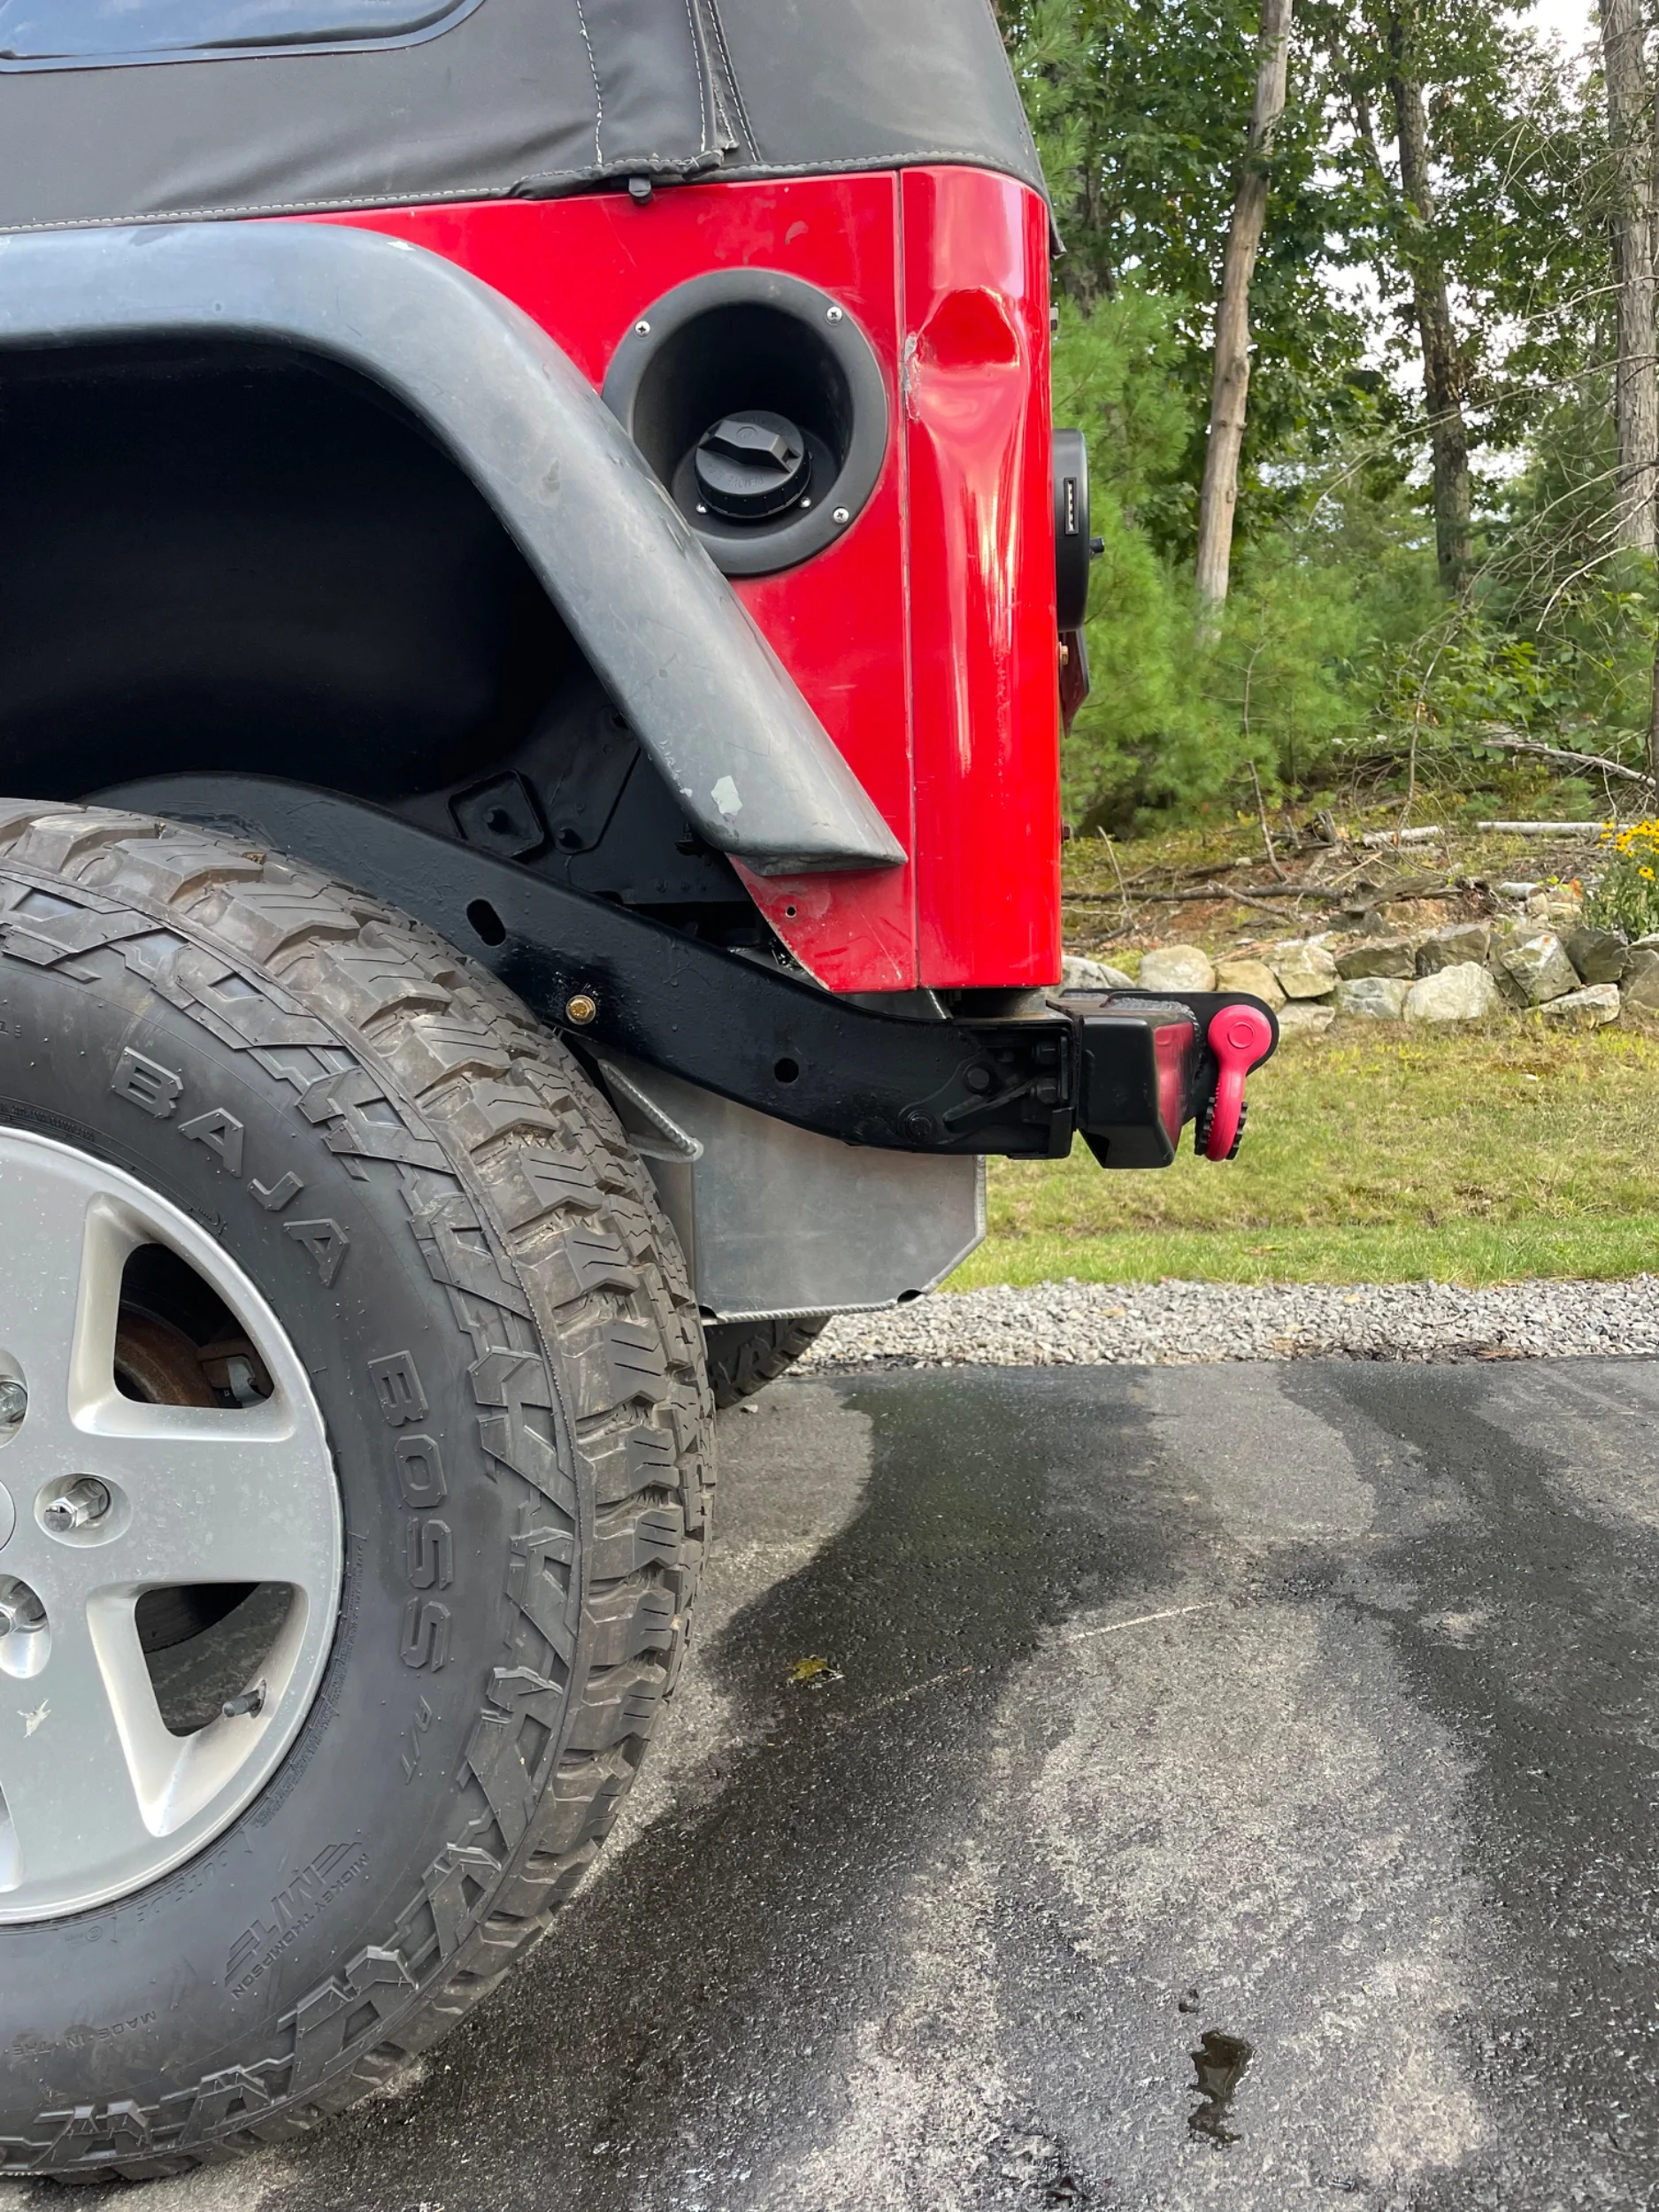
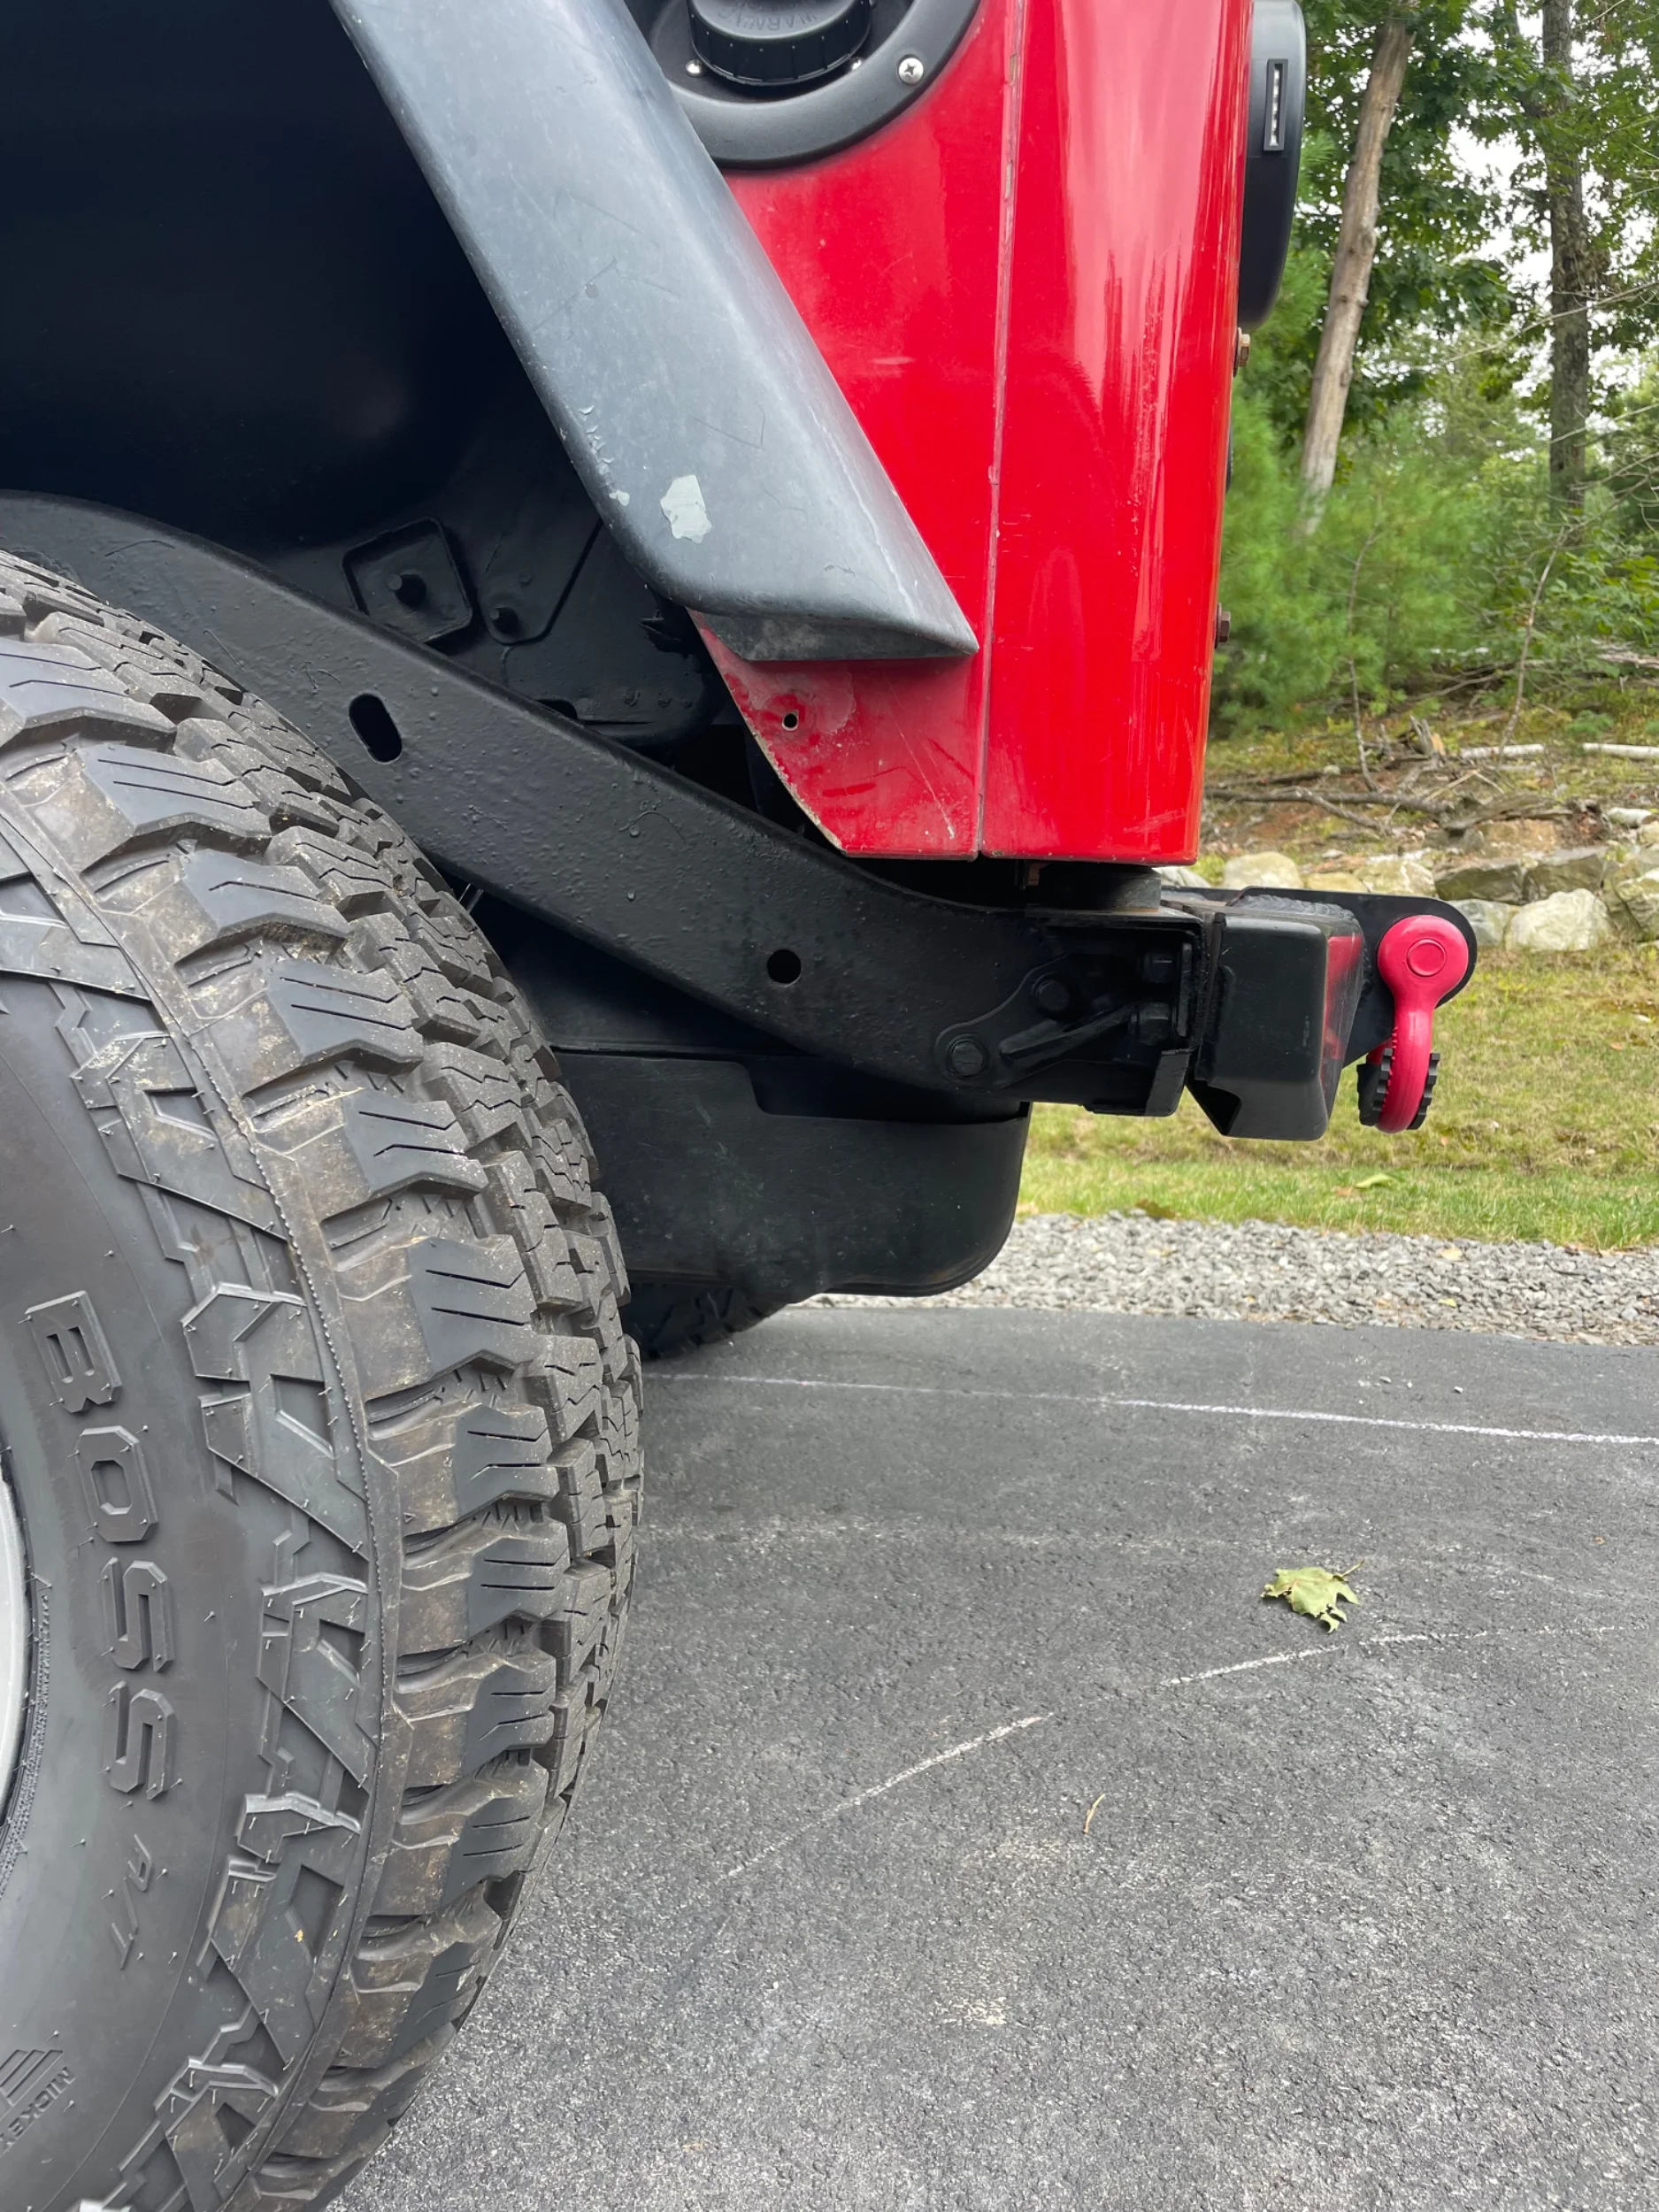
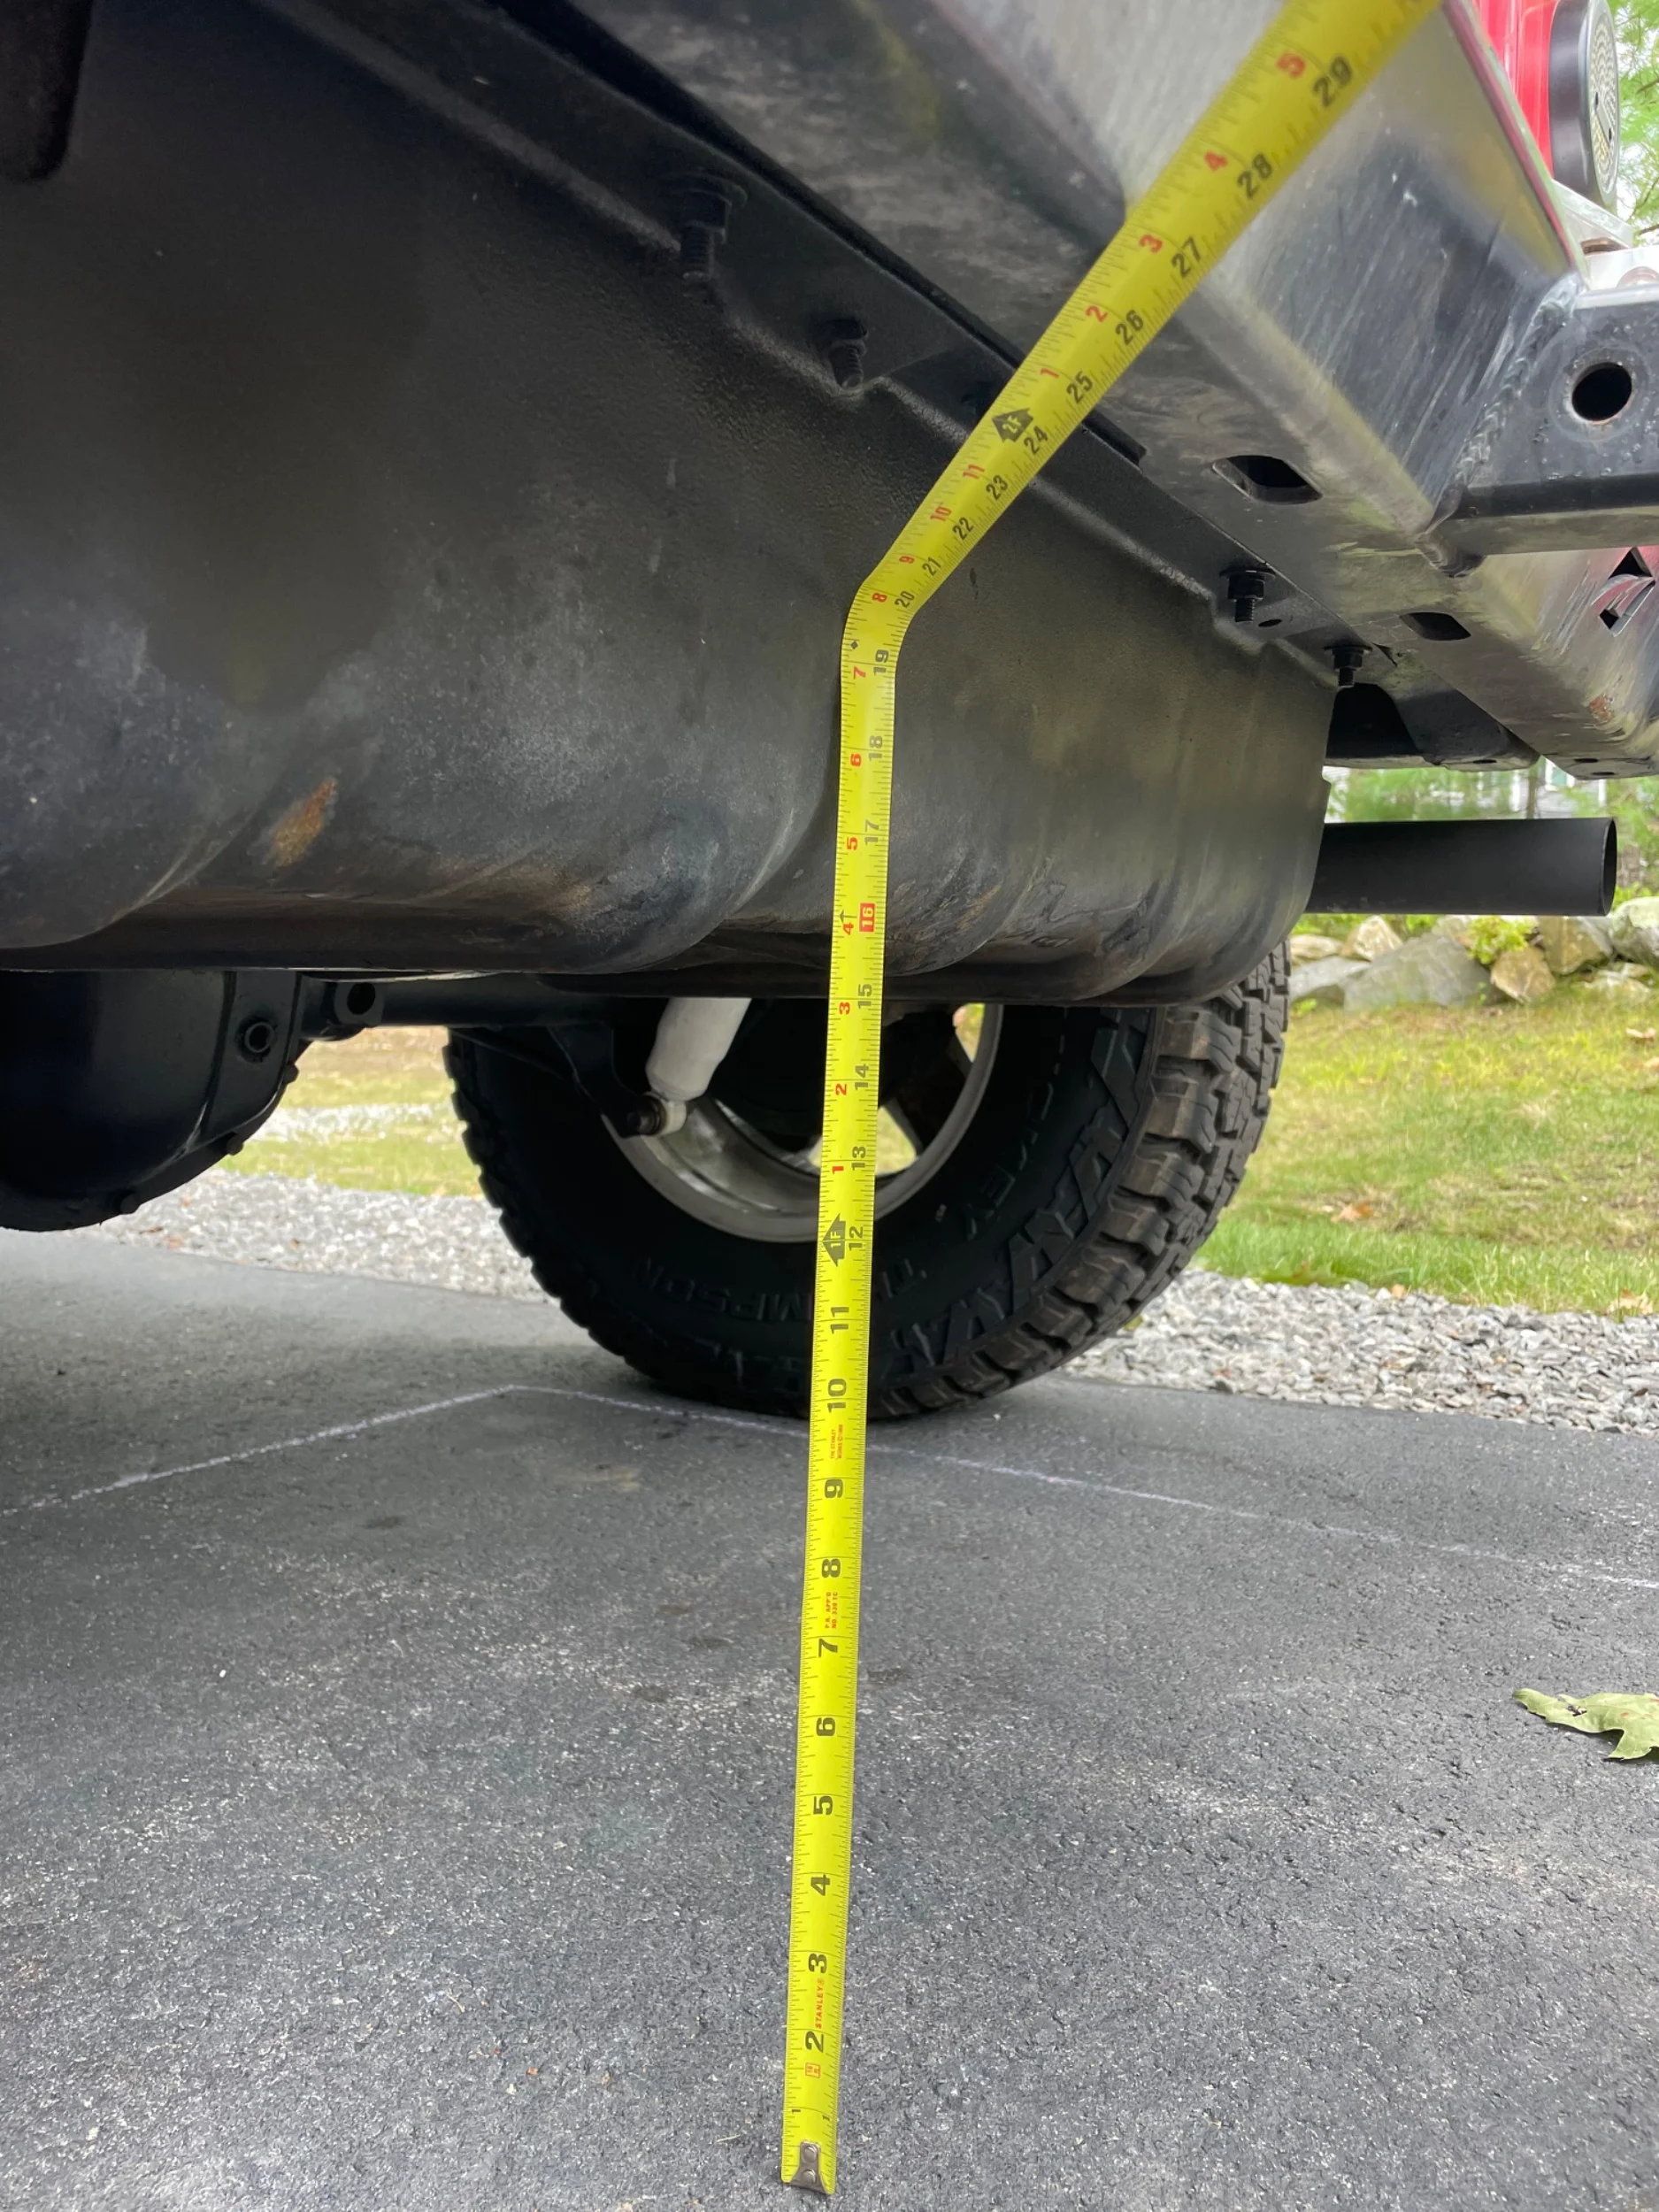
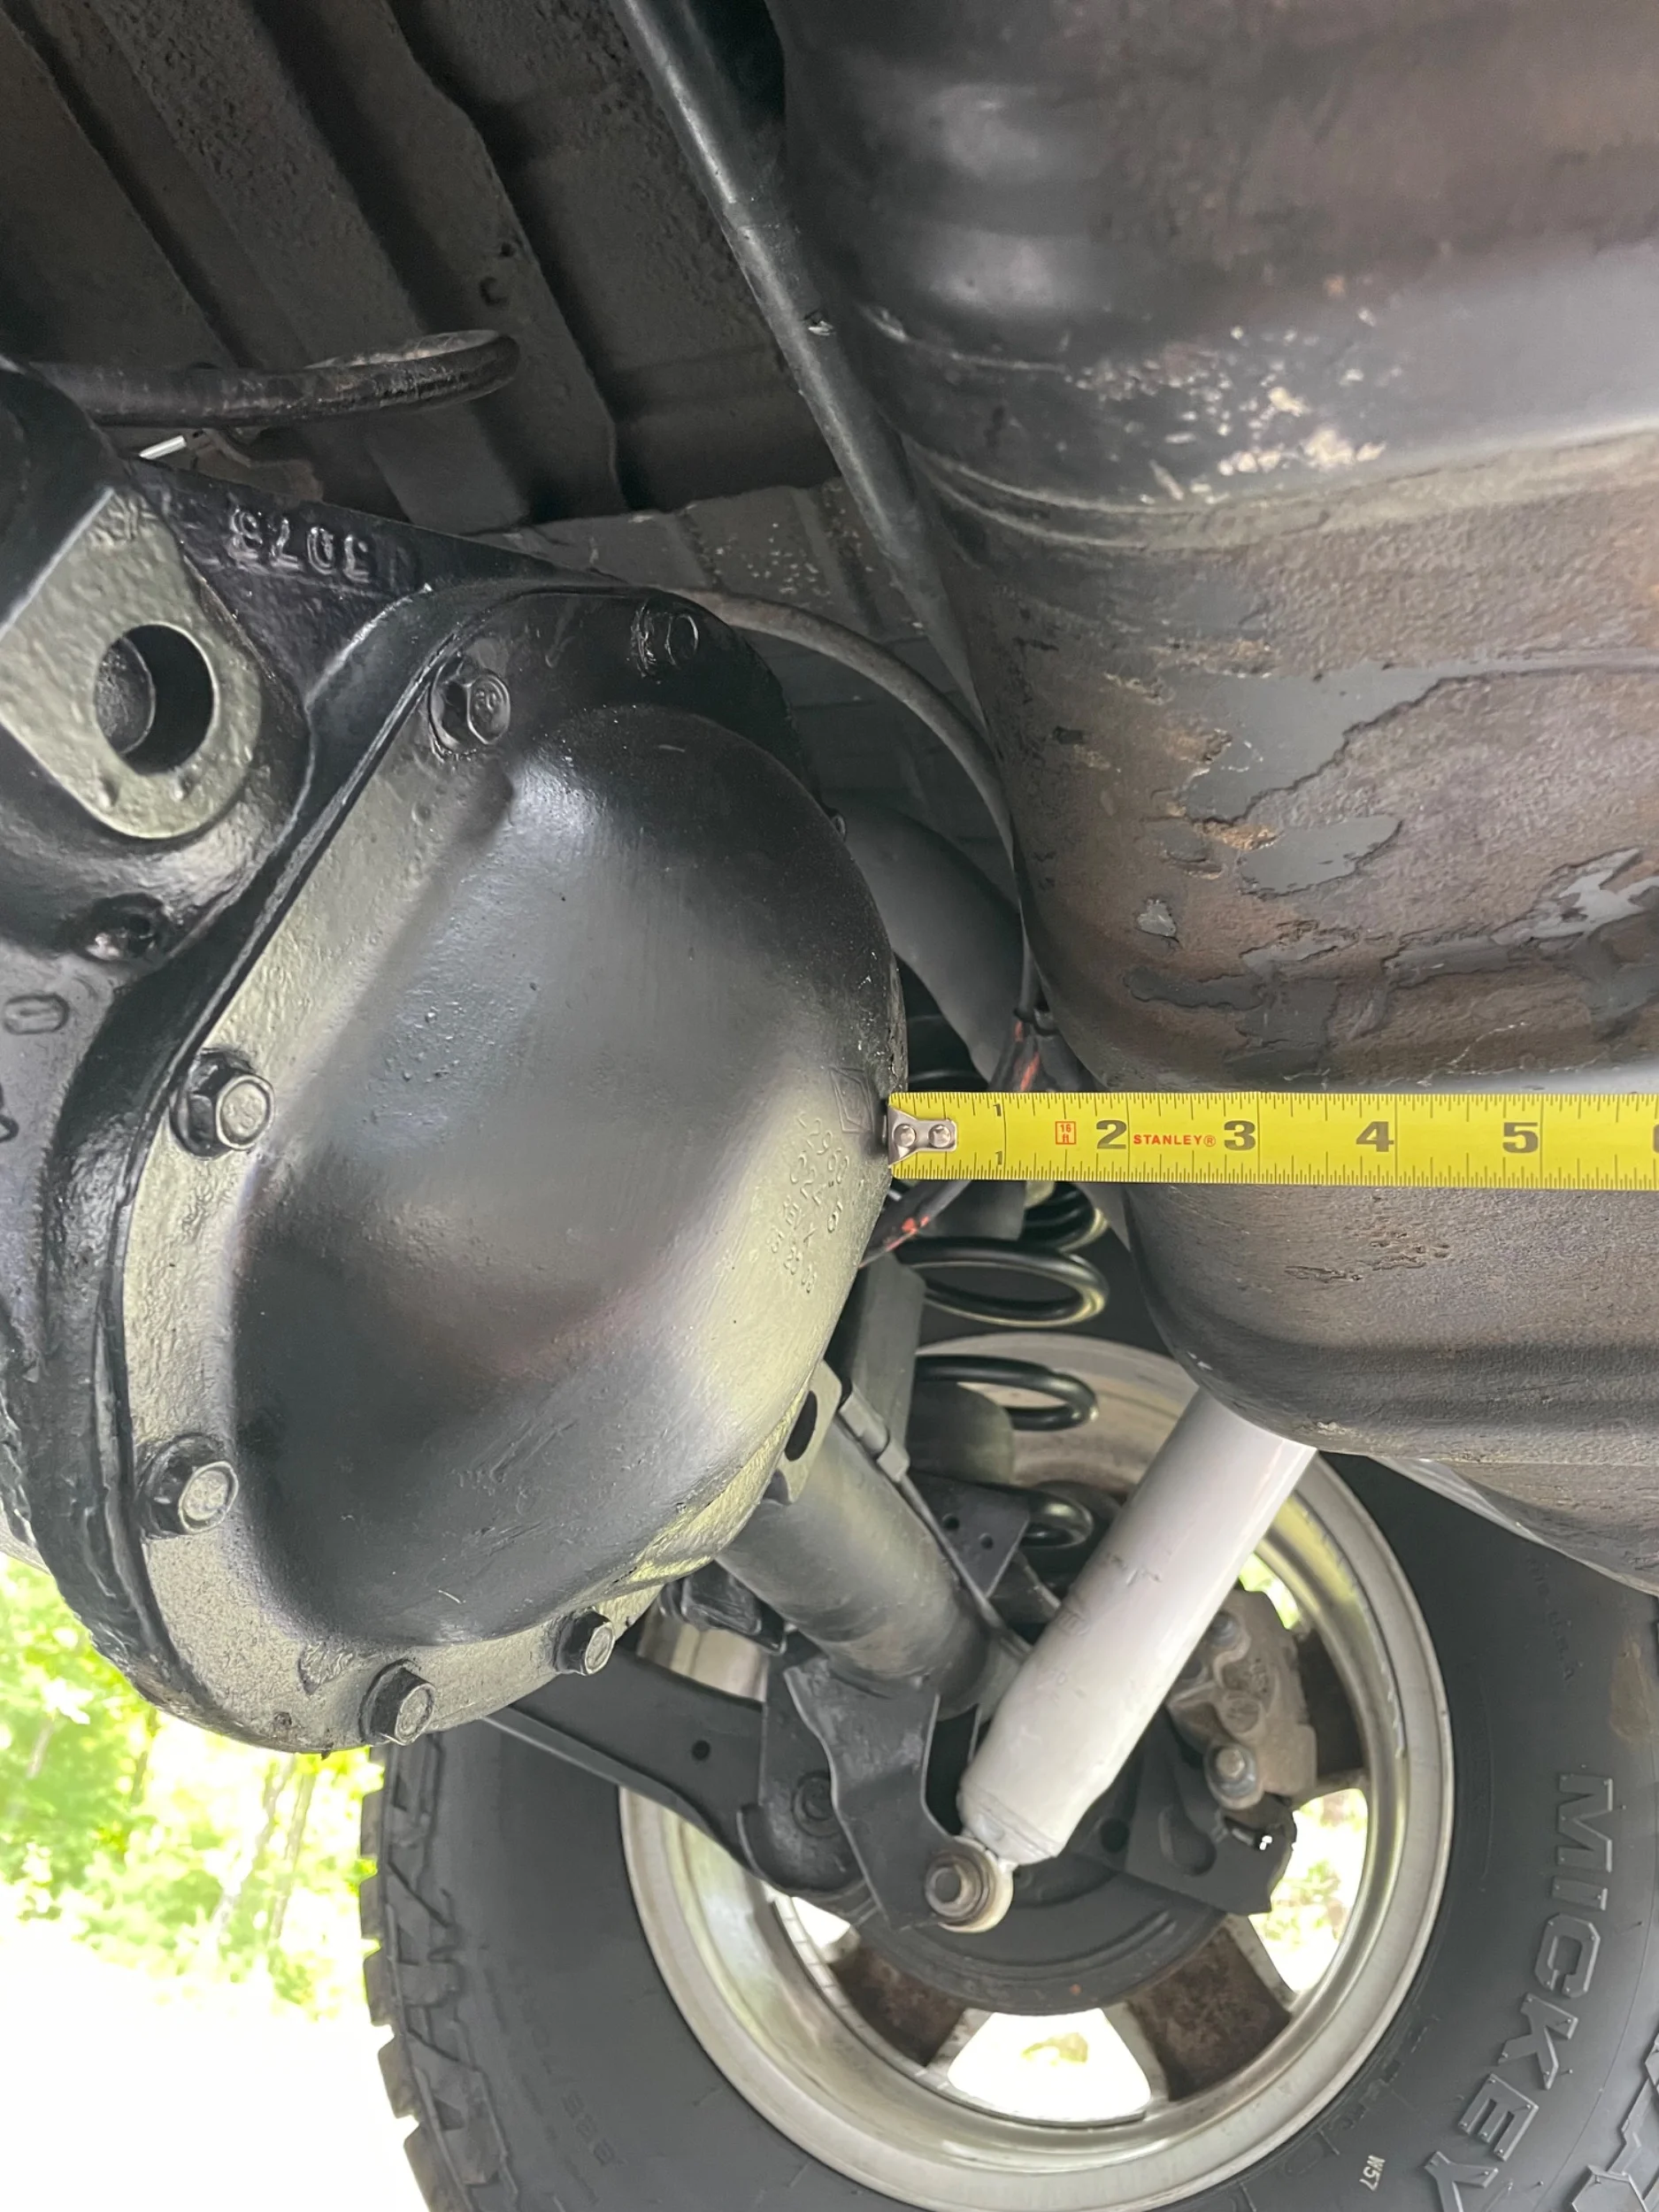
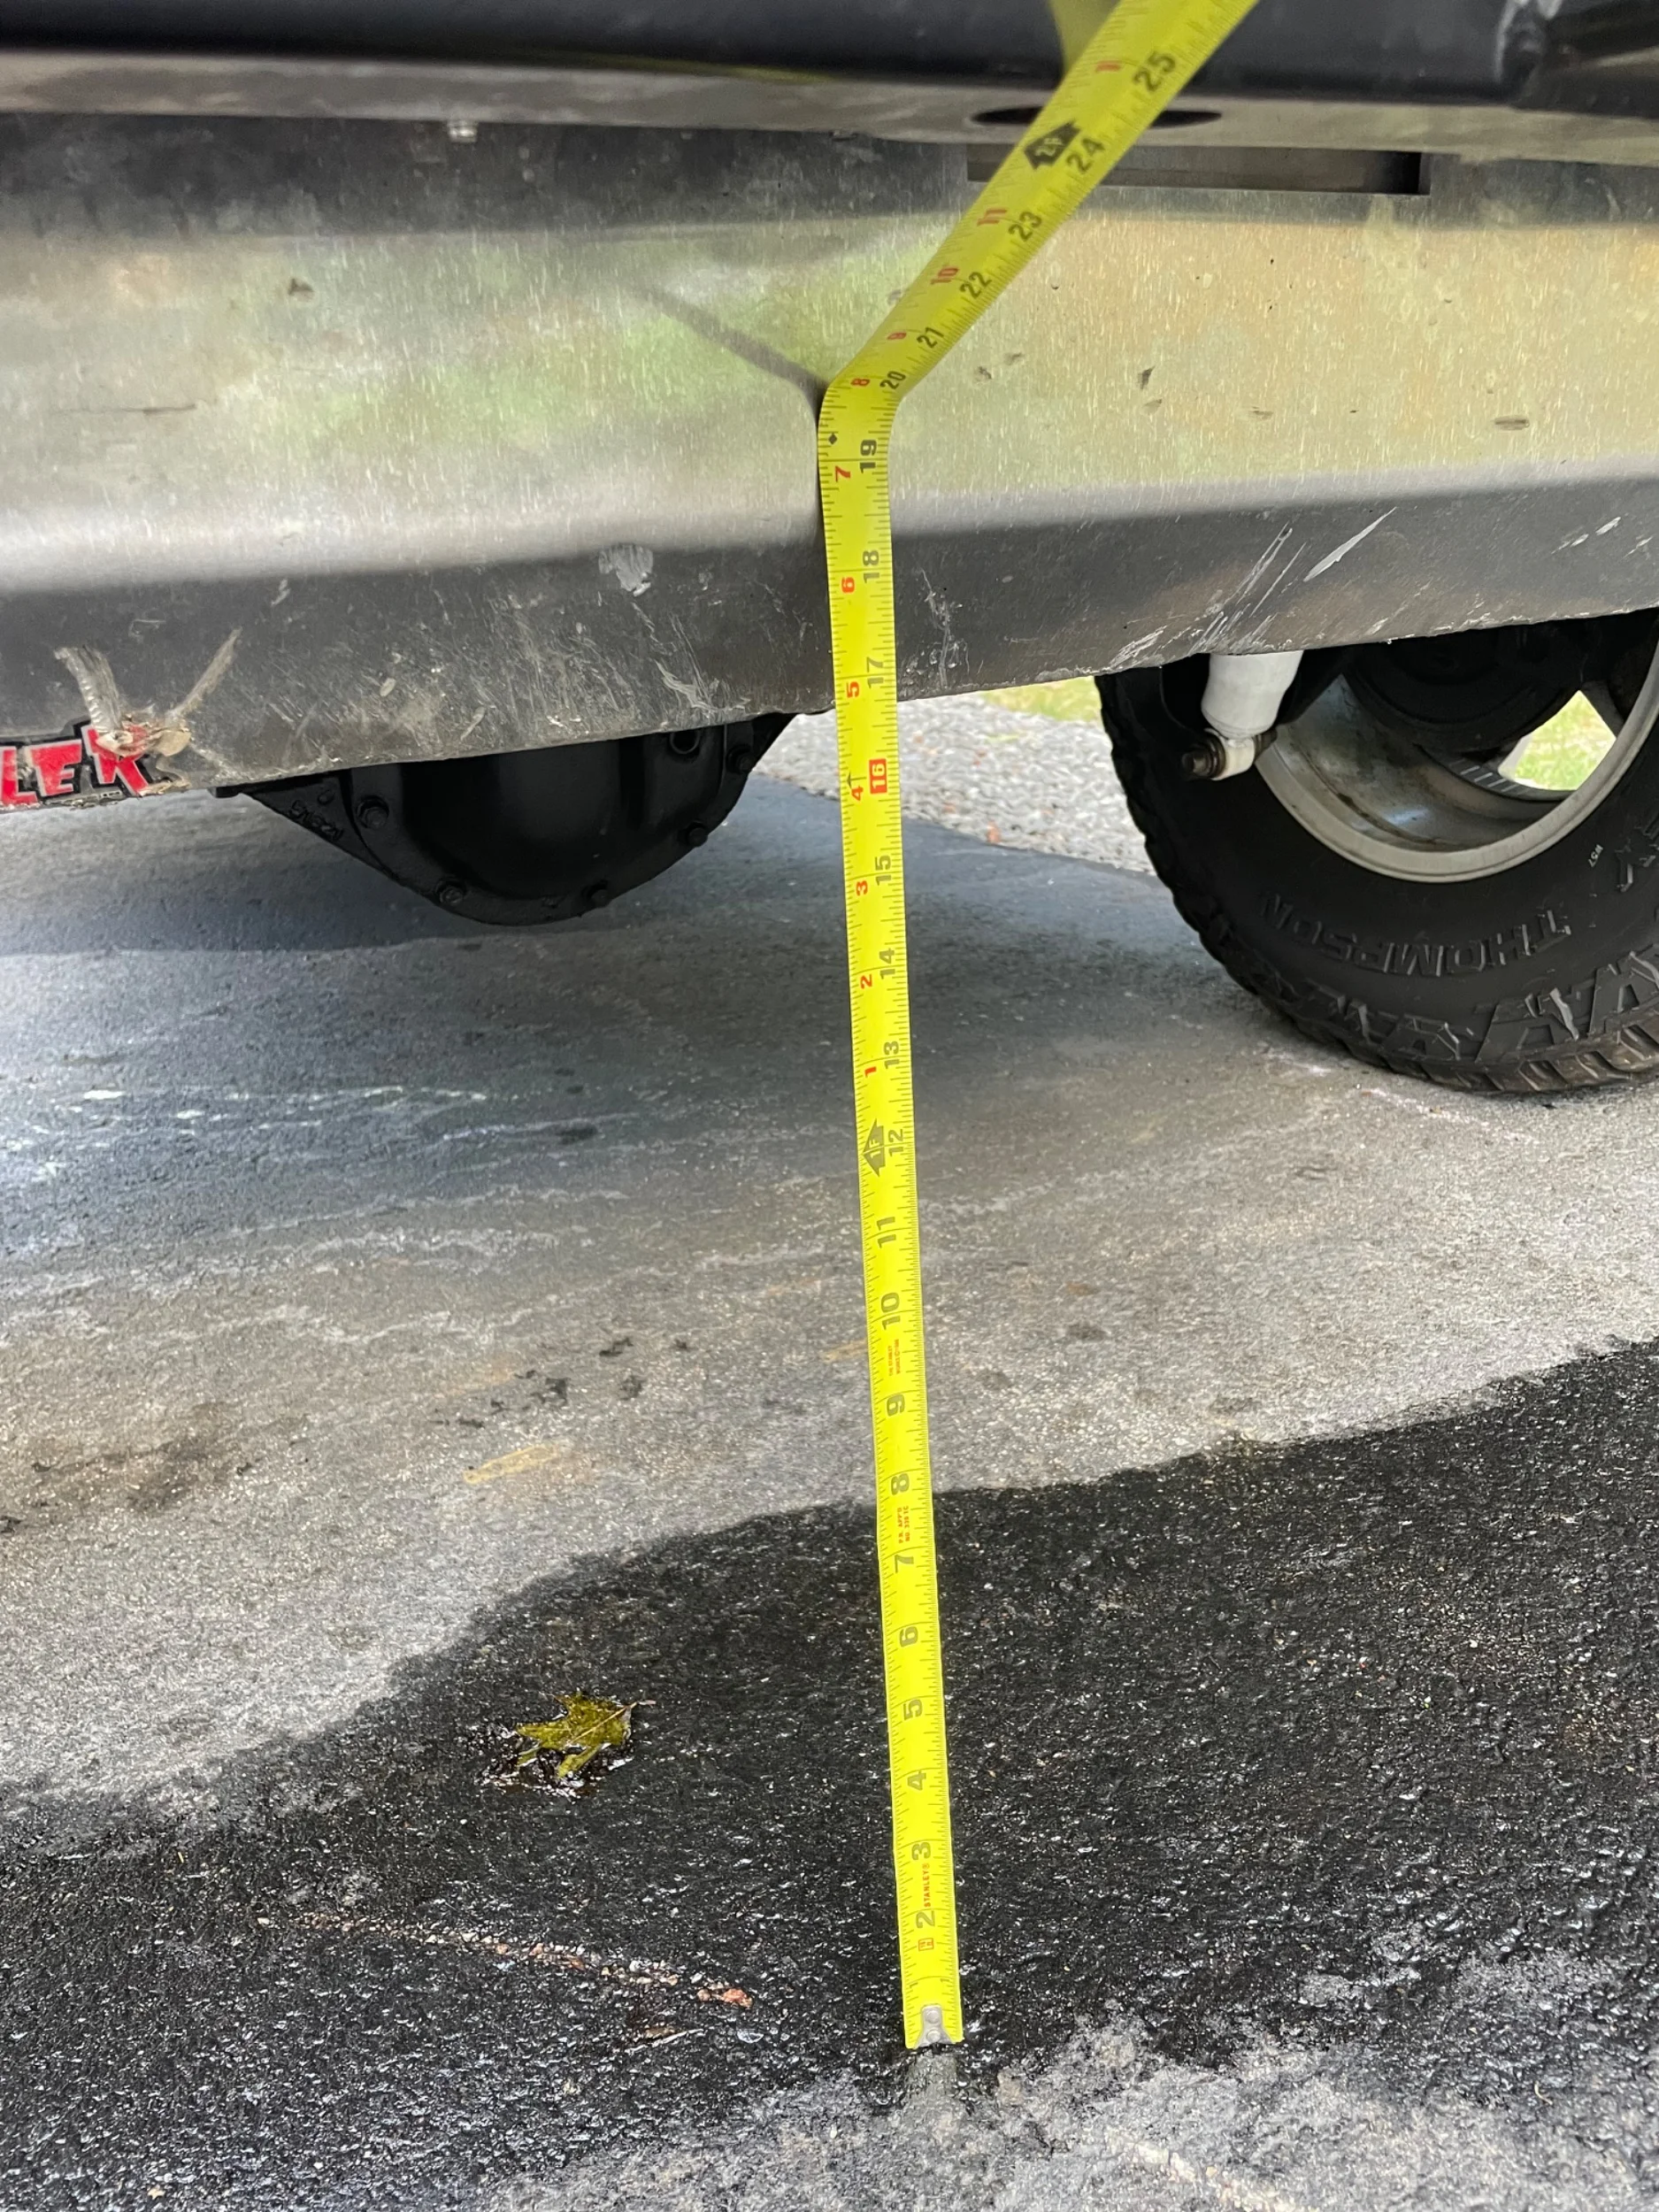
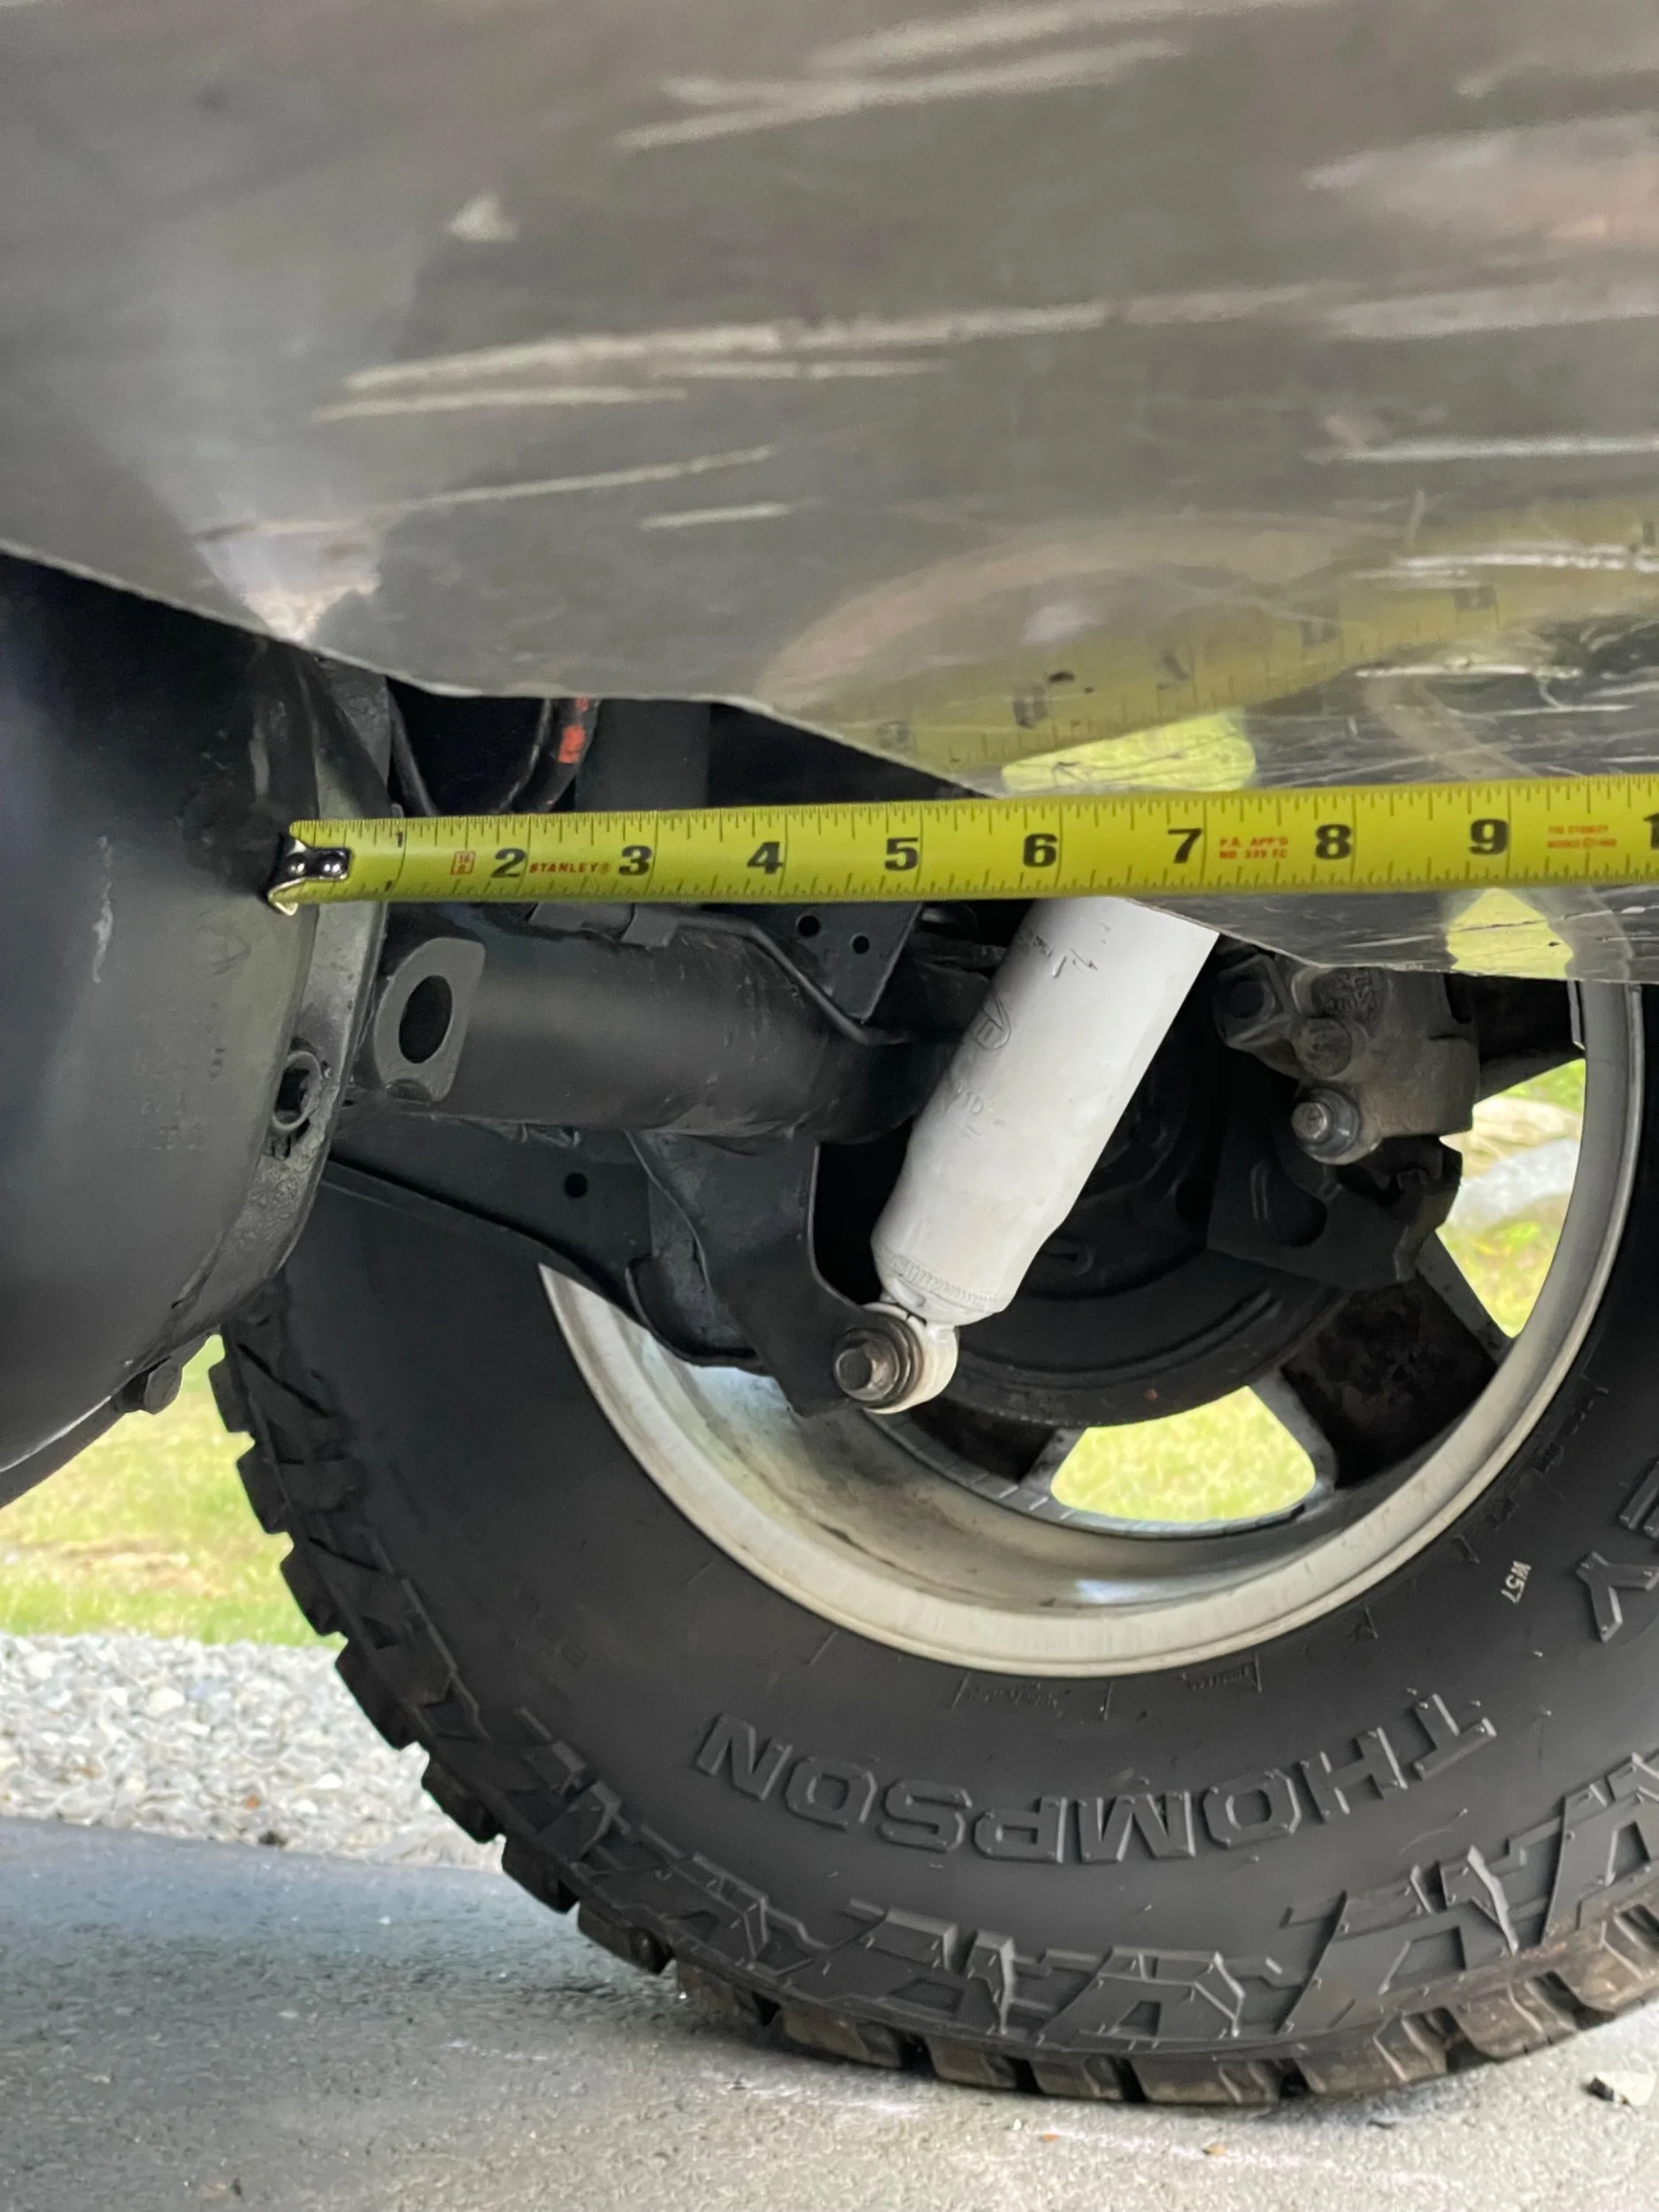
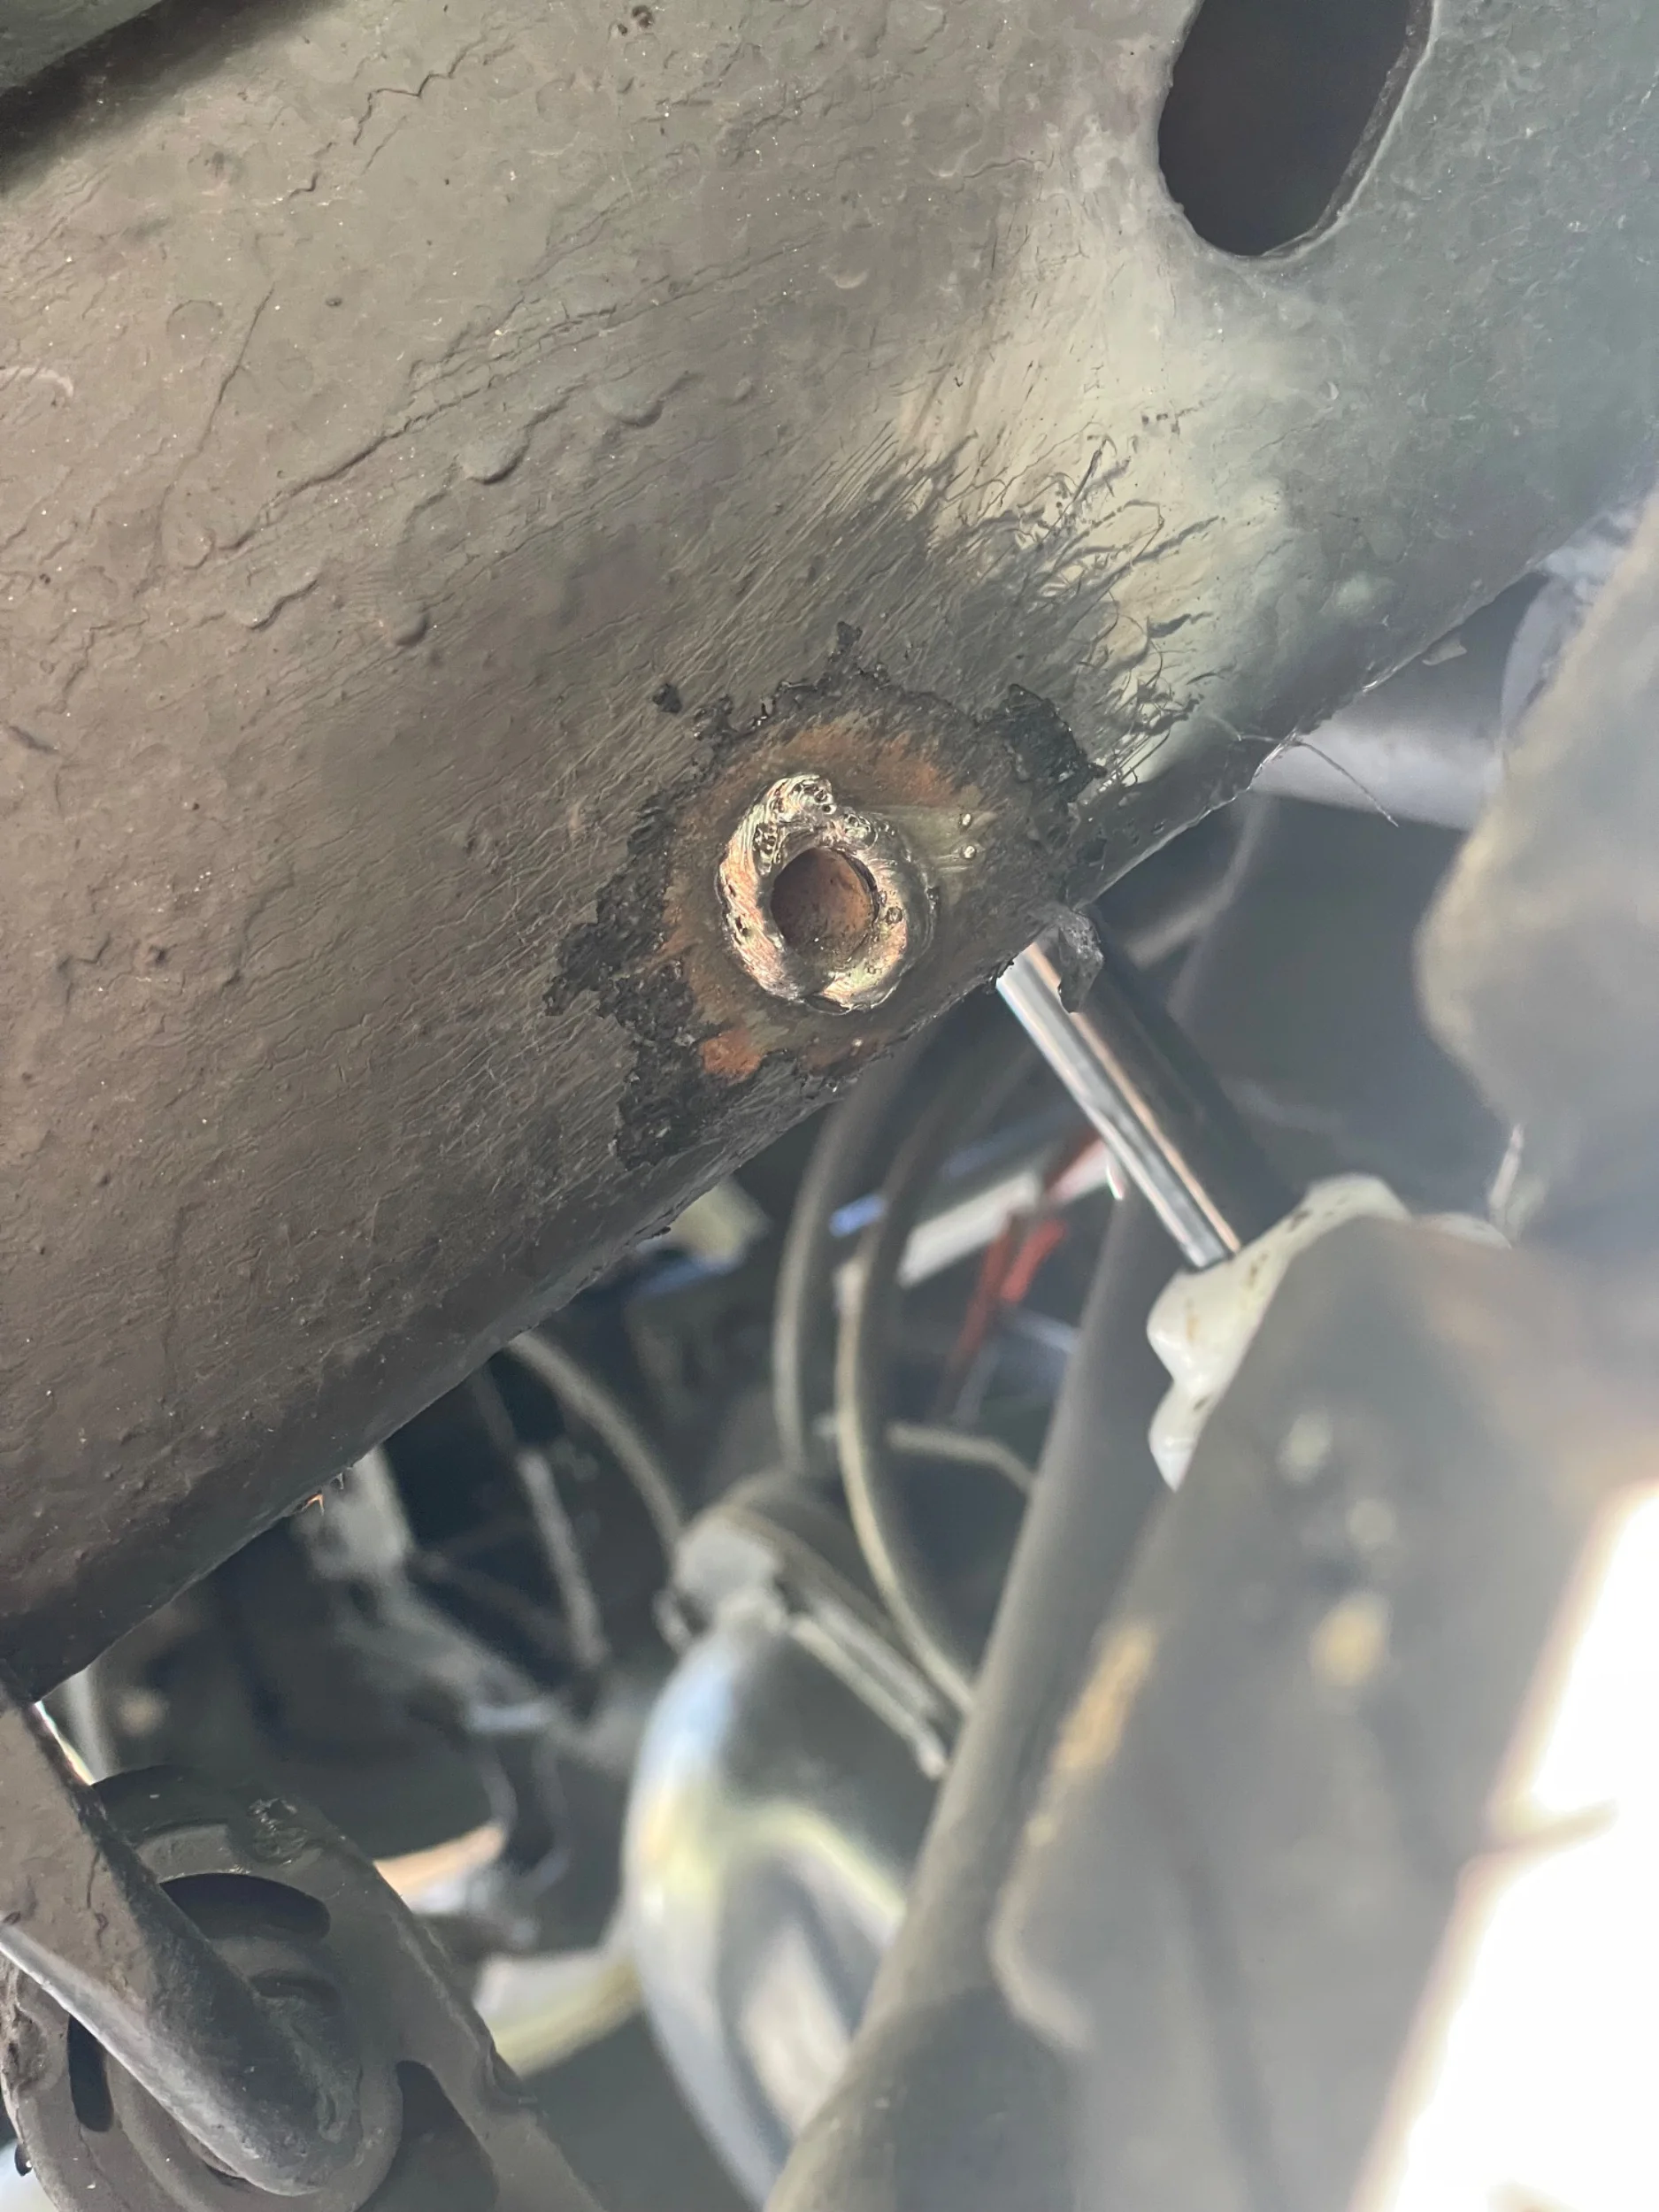
I will have to get the last foot of tail pipe done again since it’s touching the tank now. I wanted to get it cut to not stick pack the gas tank anyways as well as angle it down and to the side anyways so I’m not upset.
Old tank specs: 48lbs, 15gal, 15.5 inches ground to skid, thin steel skid.
Genright ext tank: 45lbs, 19.5gal, 16.75inches ground to skid, added angle corner, 3/16 6061 t6 aluminum skid, plus room to stretch if I do decide on that route later but with the amount of wheeling I do now idk if that will ever happen.
Finished the install. Drilled the holes and put in a 1/2in steel sleeve. Welded it and ran the 3/8 bolt through it. Swapped in the new filler hoses. Drilled holes for the shock and ran the bolts down. Trimmed my spring perch on the axle side more since the shock had a dent in it which is the cause of my lack of up travel on that corner. Wire brushed and touched up paint where I could. Connected all my lines. Then spent more time than I should trying to dump the gas out of my old tank into a Jerry can to then put it in the new tank.
I will have to get the last foot of tail pipe done again since it’s touching the tank now. I wanted to get it cut to not stick pack the gas tank anyways as well as angle it down and to the side anyways so I’m not upset.
Old tank specs: 48lbs, 15gal, 15.5 inches ground to skid, thin steel skid.
Genright ext tank: 45lbs, 19.5gal, 16.75inches ground to skid, added angle corner, 3/16 6061 t6 aluminum skid, plus room to stretch if I do decide on that route later but with the amount of wheeling I do now idk if that will ever happen.
View attachment 639998
View attachment 639999
View attachment 640000
View attachment 640001
View attachment 640002
View attachment 640003
View attachment 640004
View attachment 640005
Looks great on there. Even without a rear stretch the gained ground clearance will be nice. If you do decide to outboard, I would also think about the rear stretch so you don't do that twice.
Found a place that does great powder coating so I got my new to me cowl I got to help limit water in the cowl (not a 97 so it’s the single vent) blasted and re coated along with the @sunnysideup_lj tailgate skin also in red.
Tailgate install went smooth. I ended up having to use riv nuts for the plate in the skin since the tapped threads didn’t hold well enough bc I suck at tapping aluminum apparently.
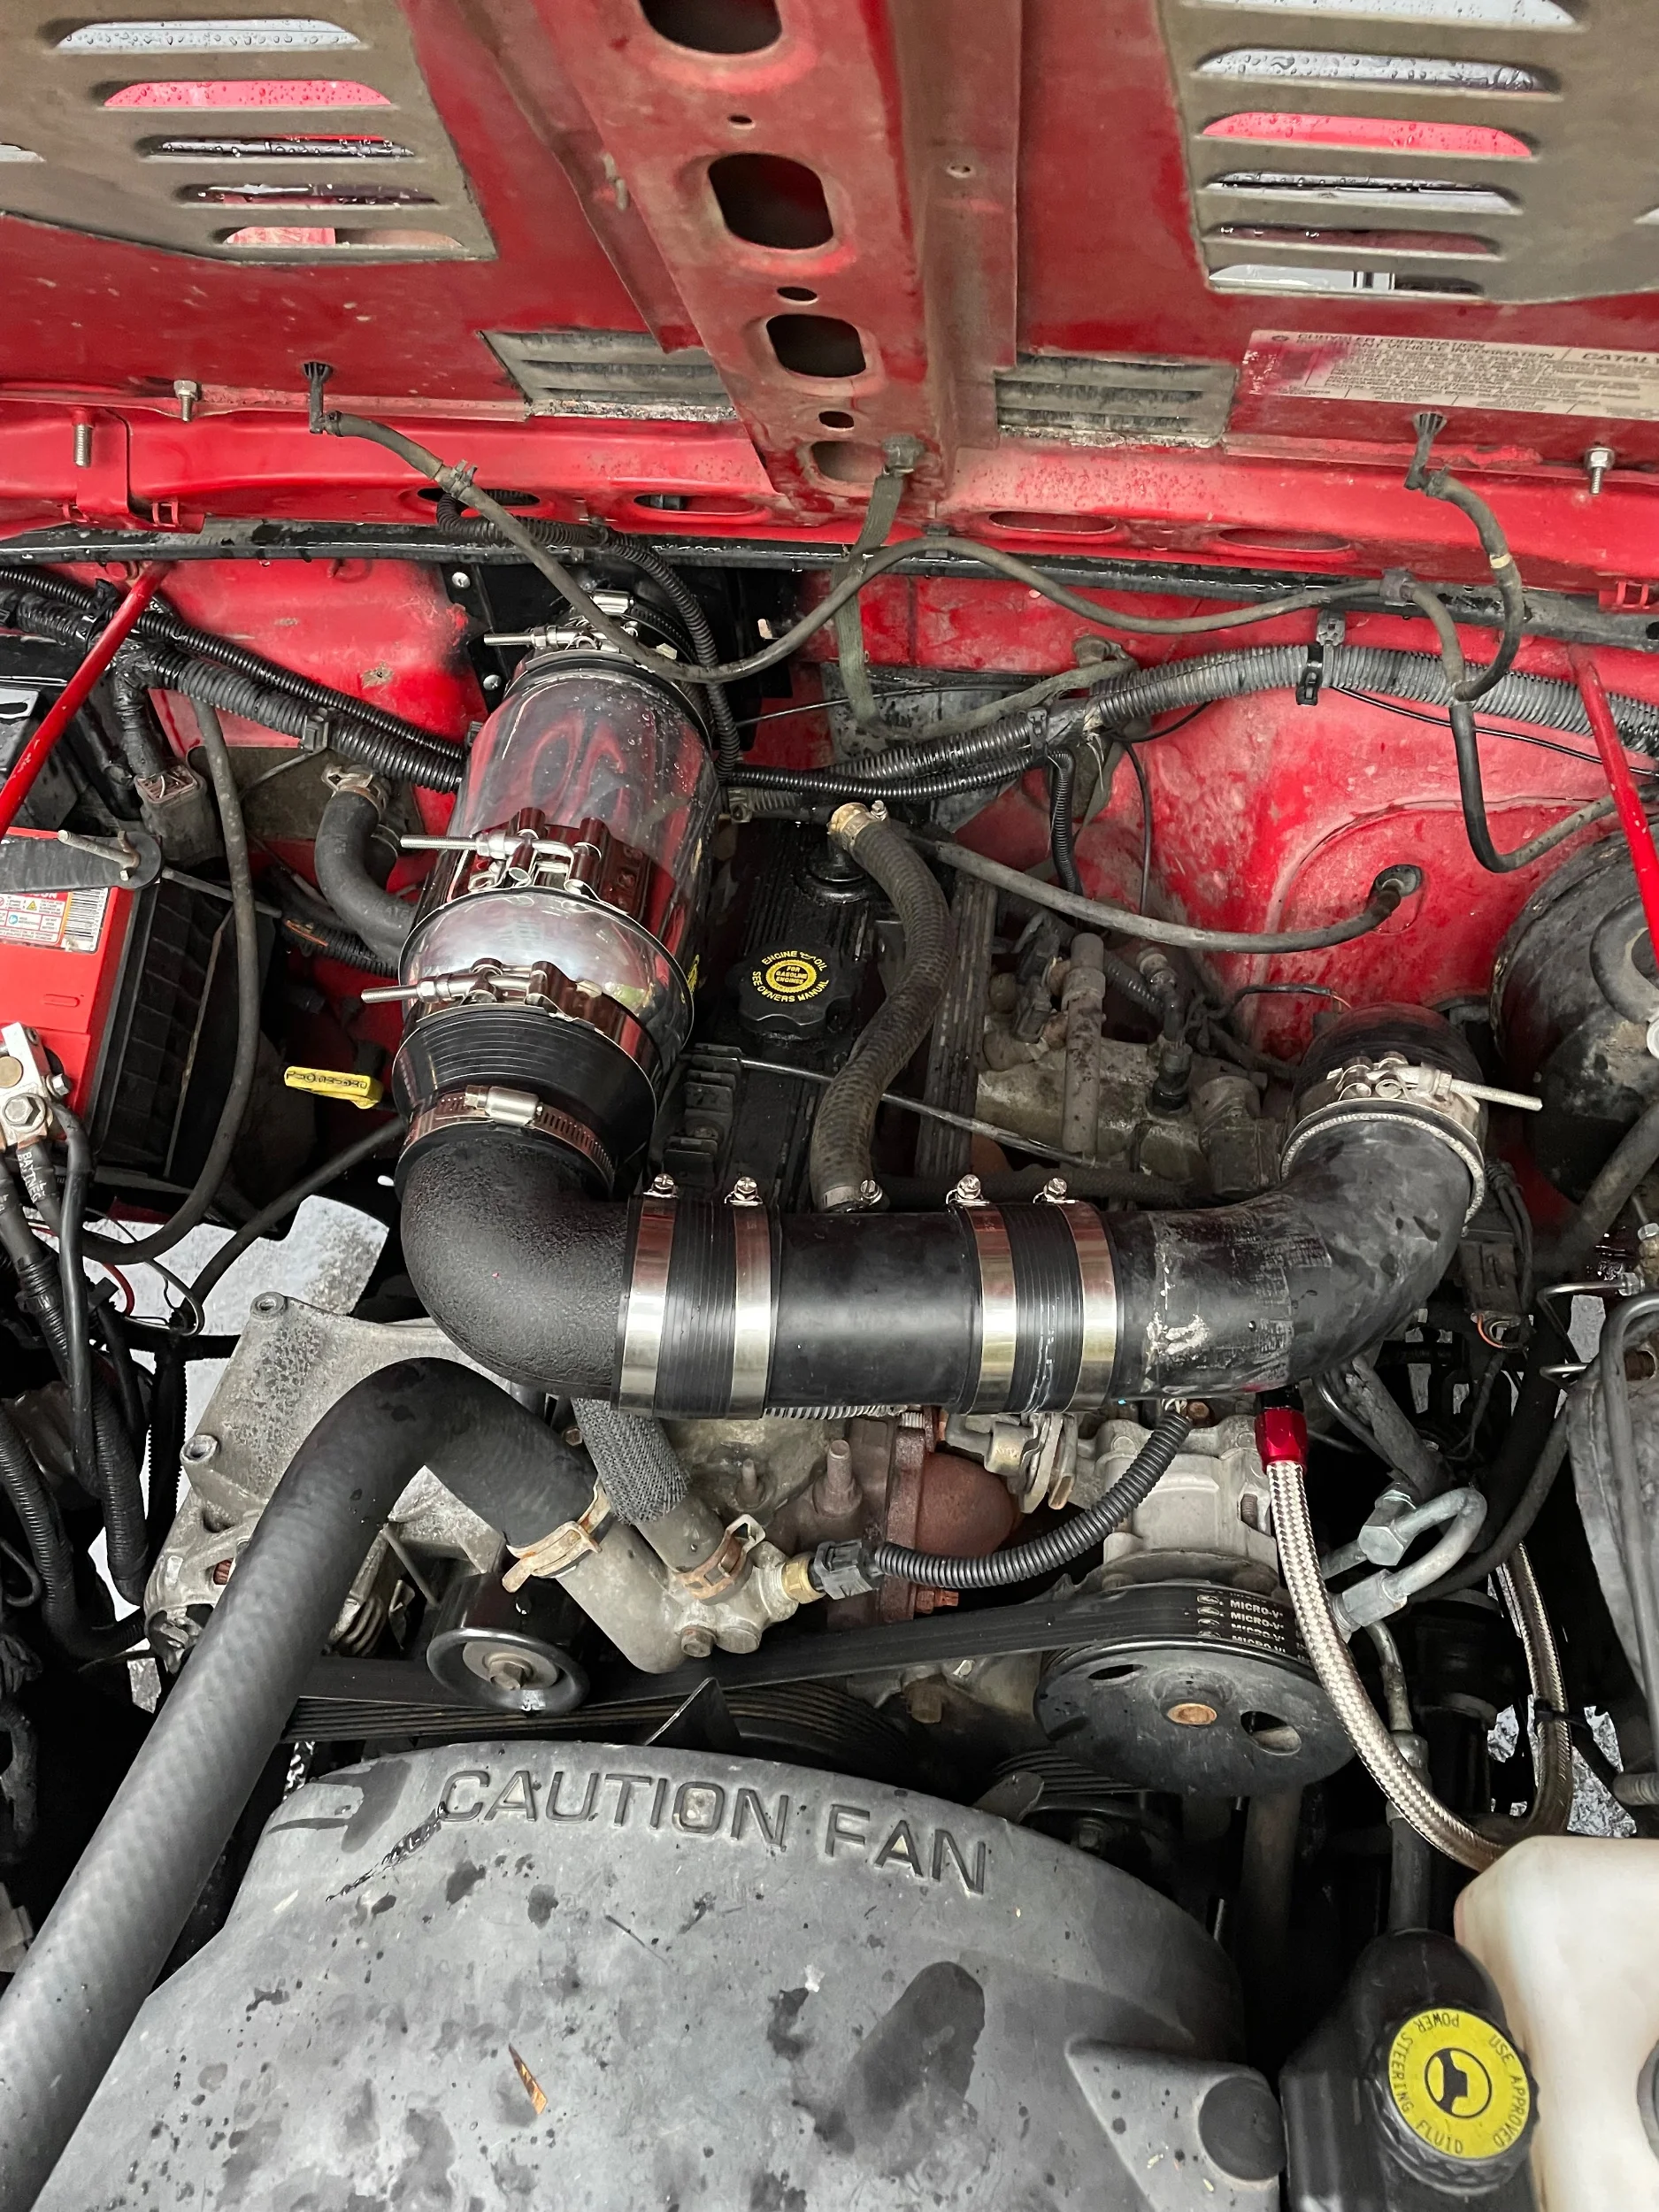
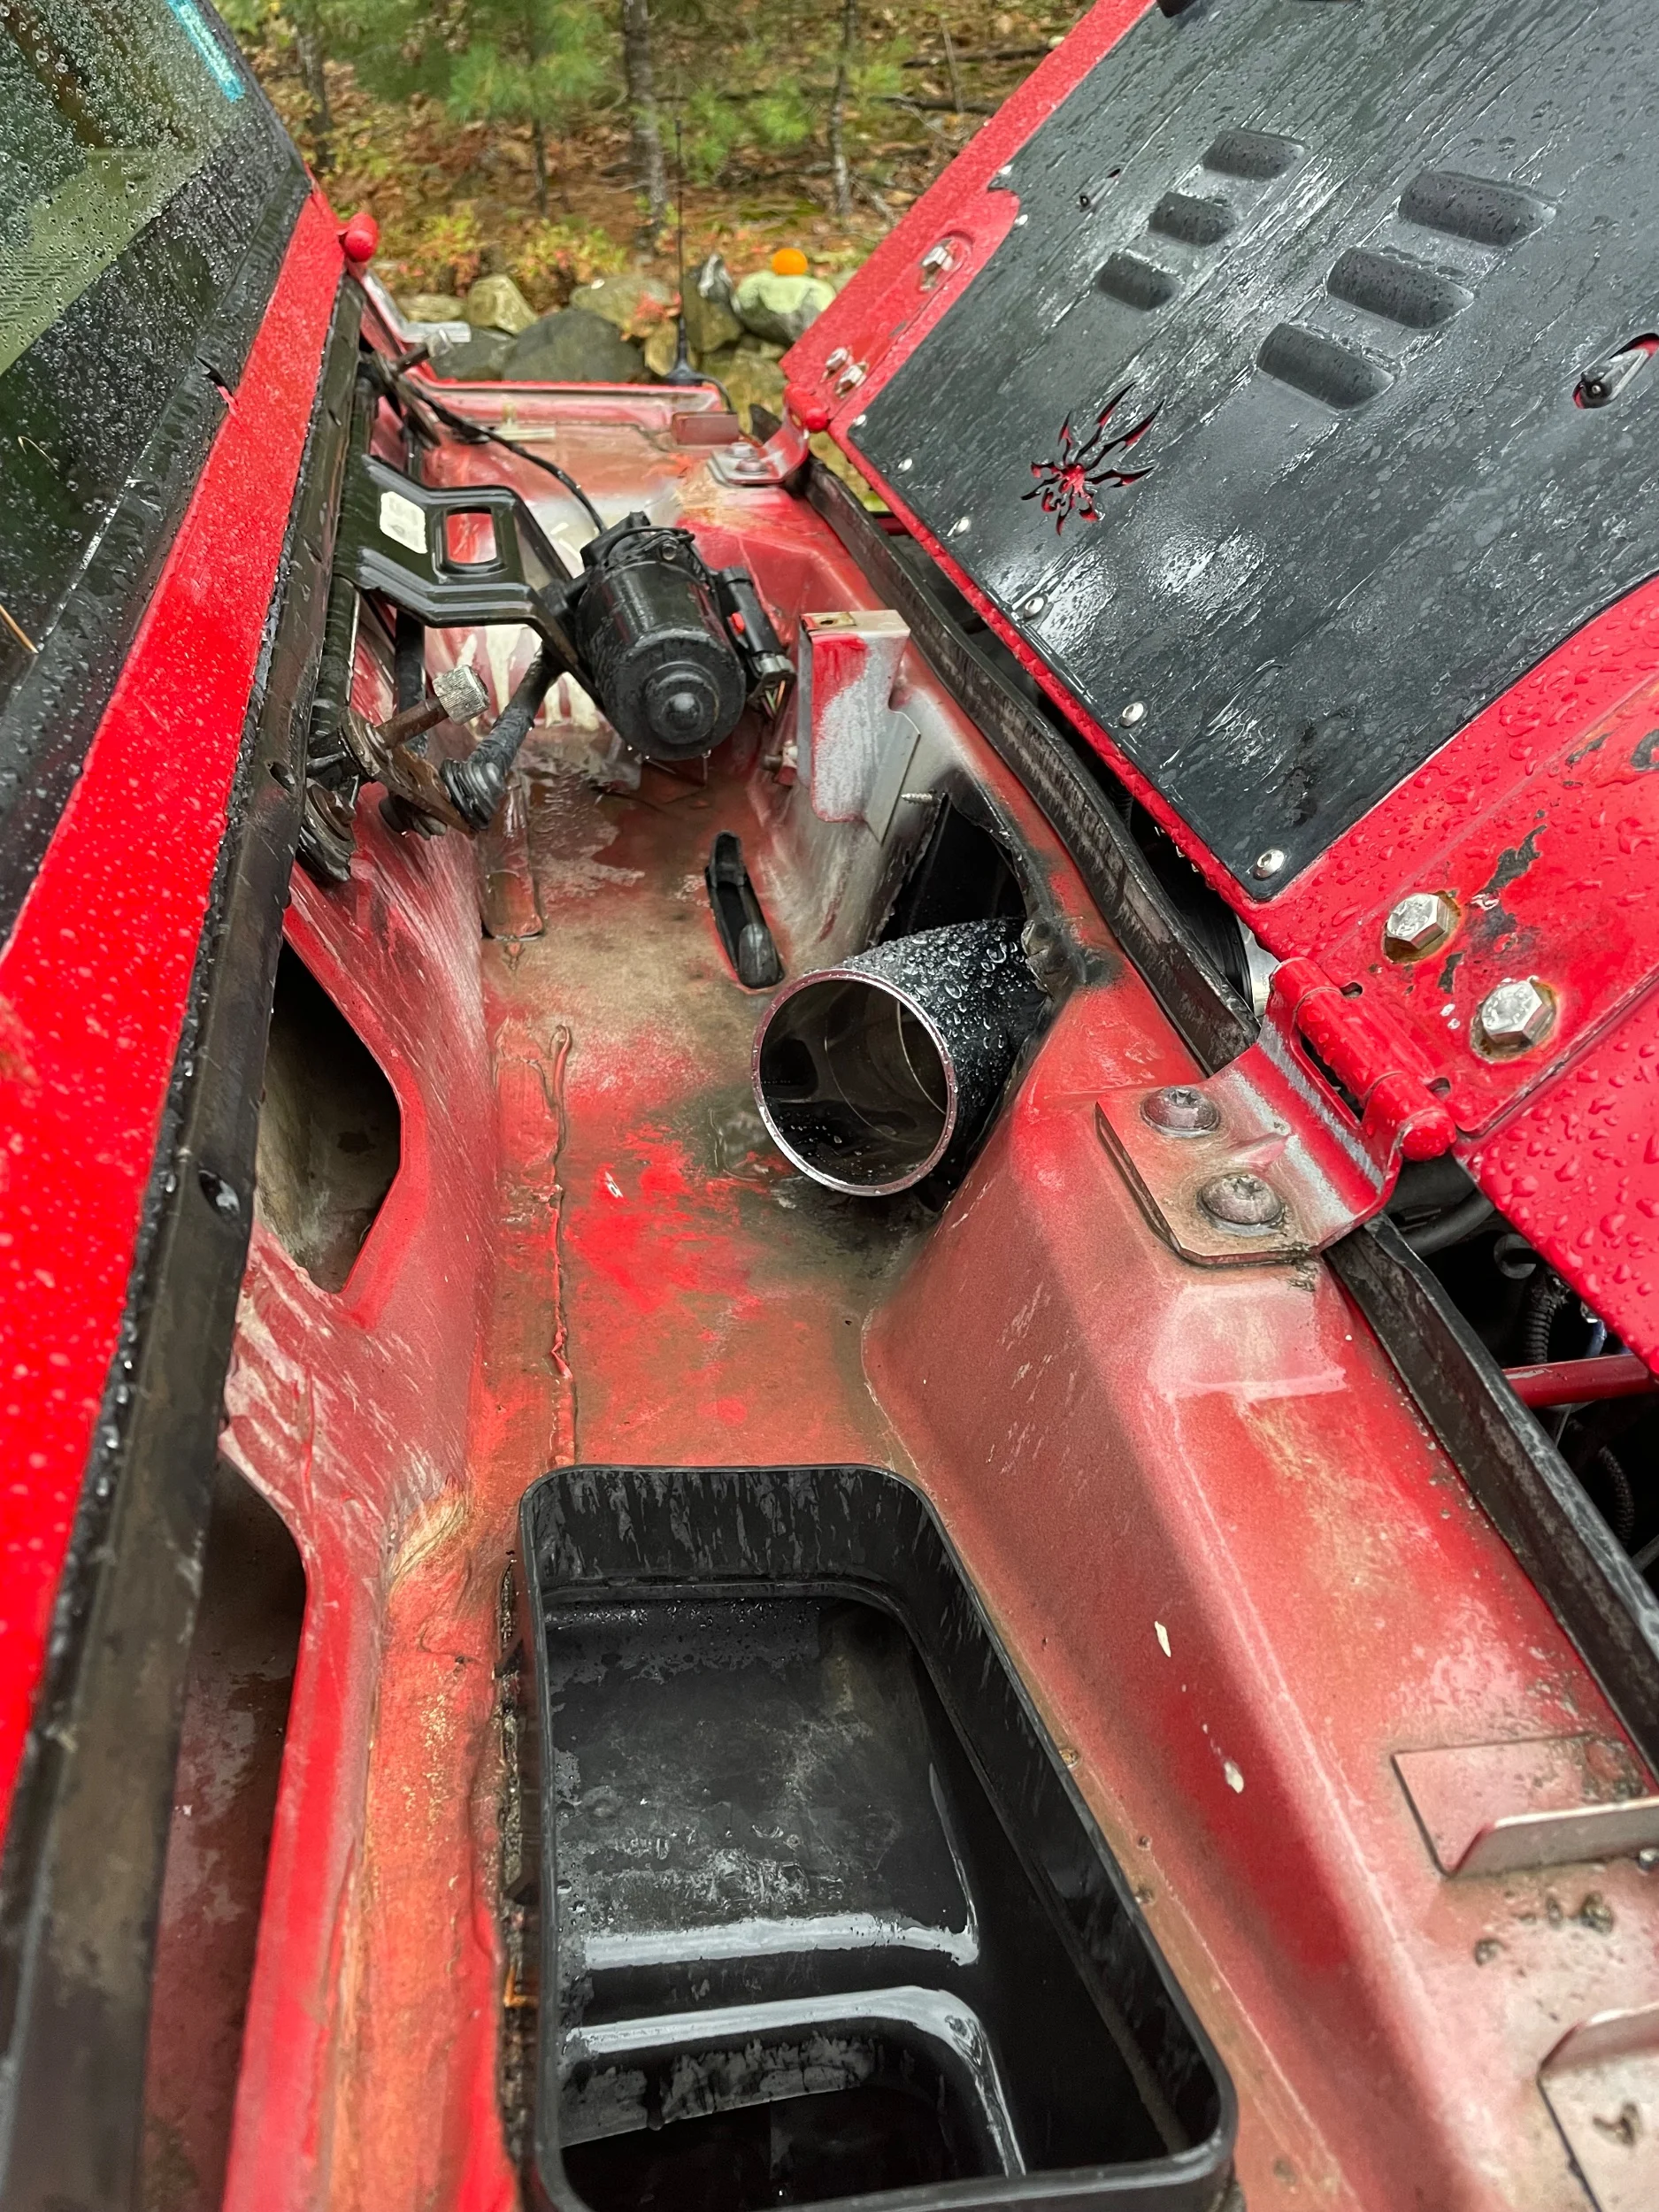
After installing my cowl I noticed my THOR cowl intake has been rubbing on the bottom of the cowl which put a hole in the filter as well as rubbing the windshield levers. I didn’t have much issue with it before but the most recent rain storm which was the most rain the jeeps been in since Idaho hasn’t hasn’t given much rain, it did choke out and stall so I know it was also getting wet. So tried making a new intake to still pull from the cowl but uses an inline filter to make it not rub and shouldn’t get wet anymore.
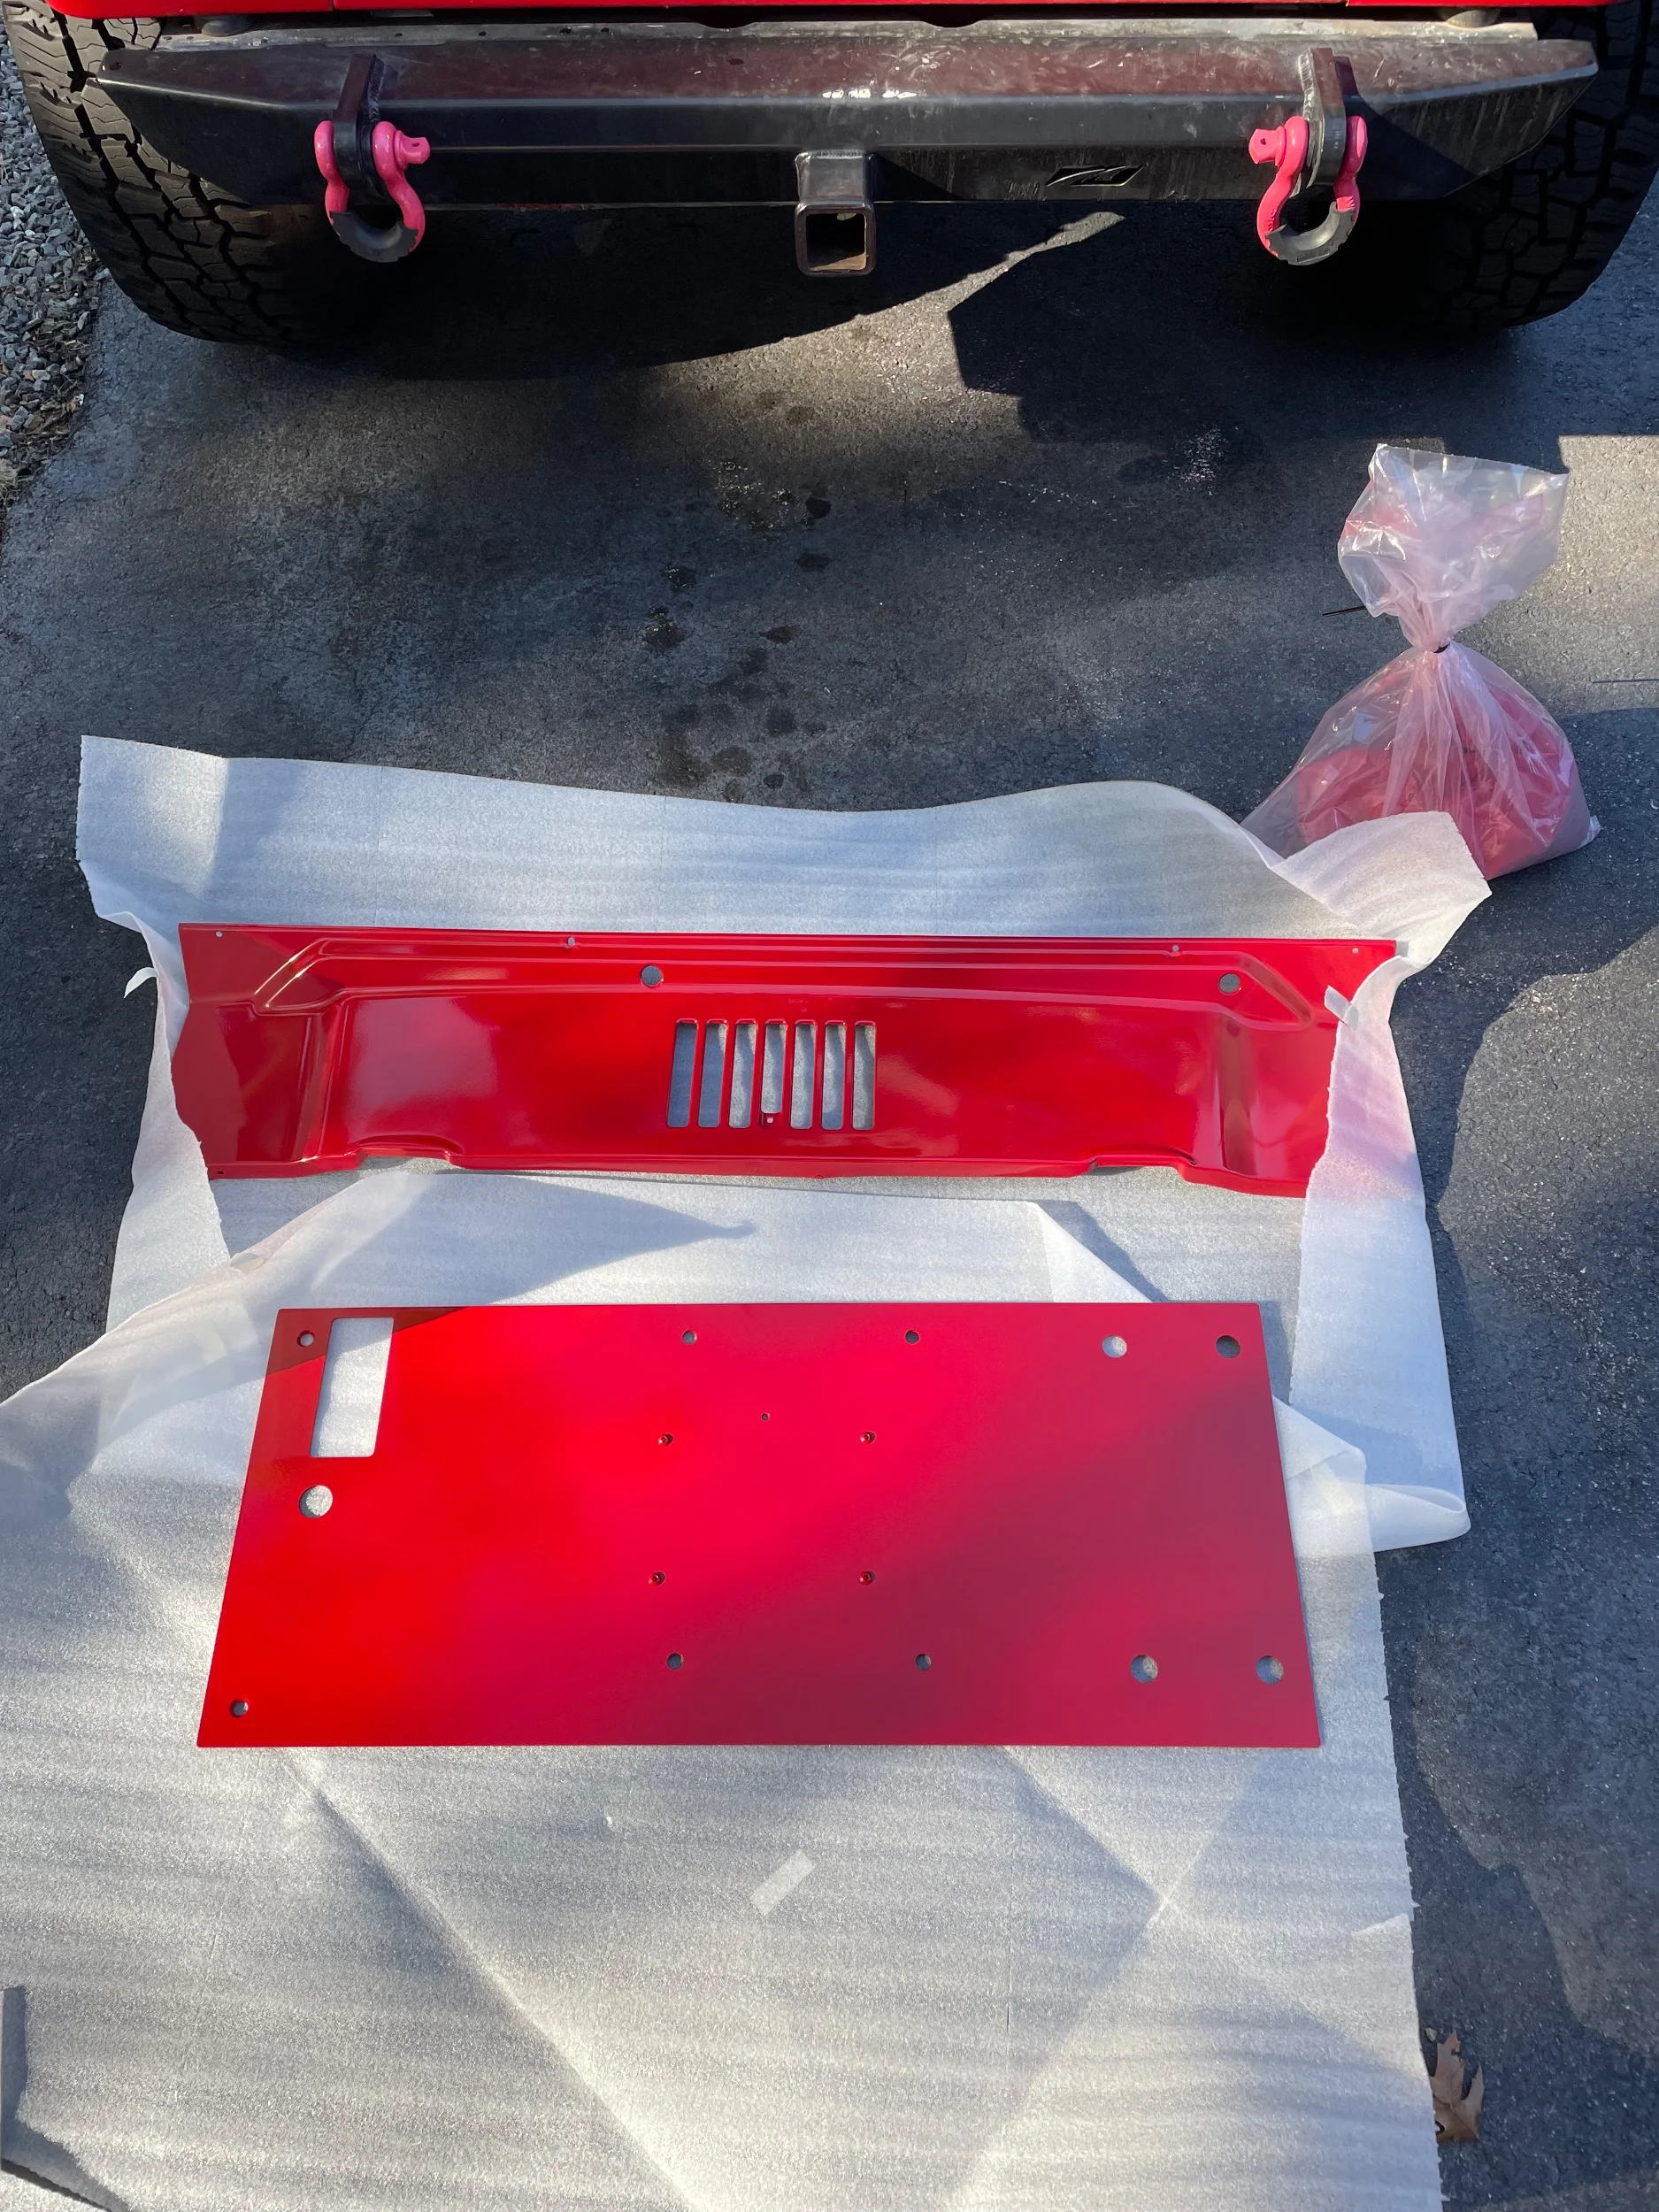
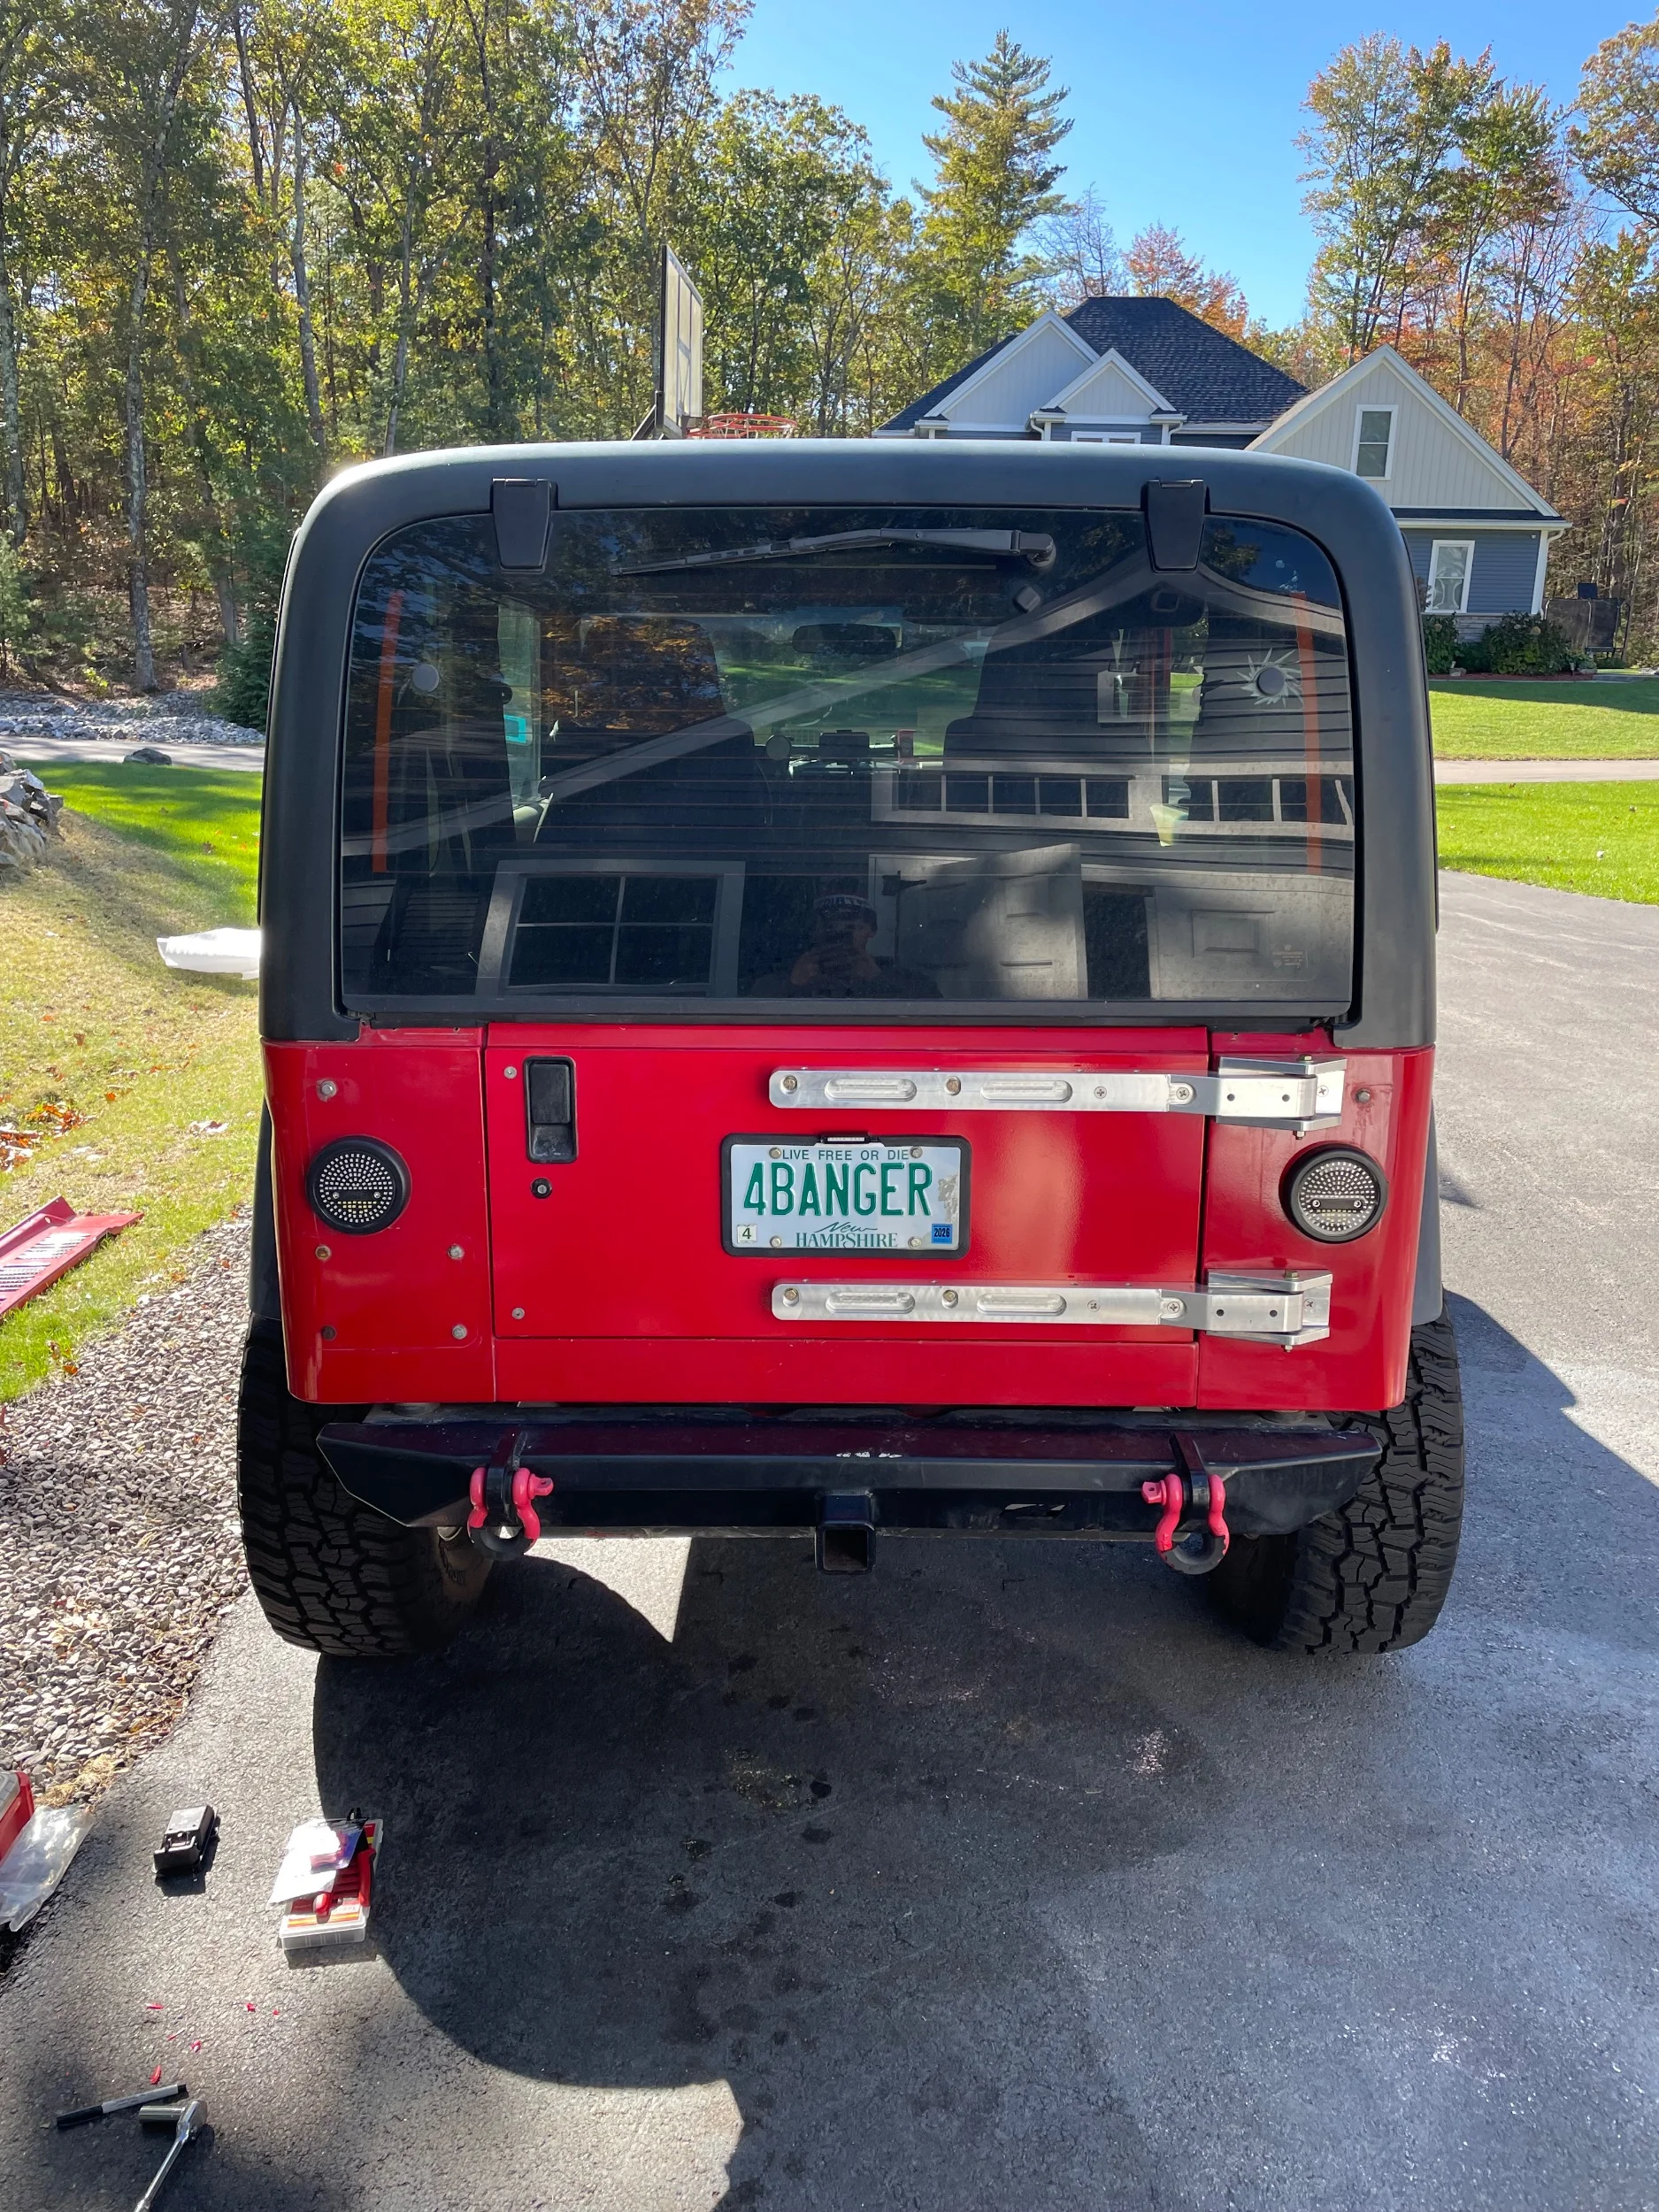
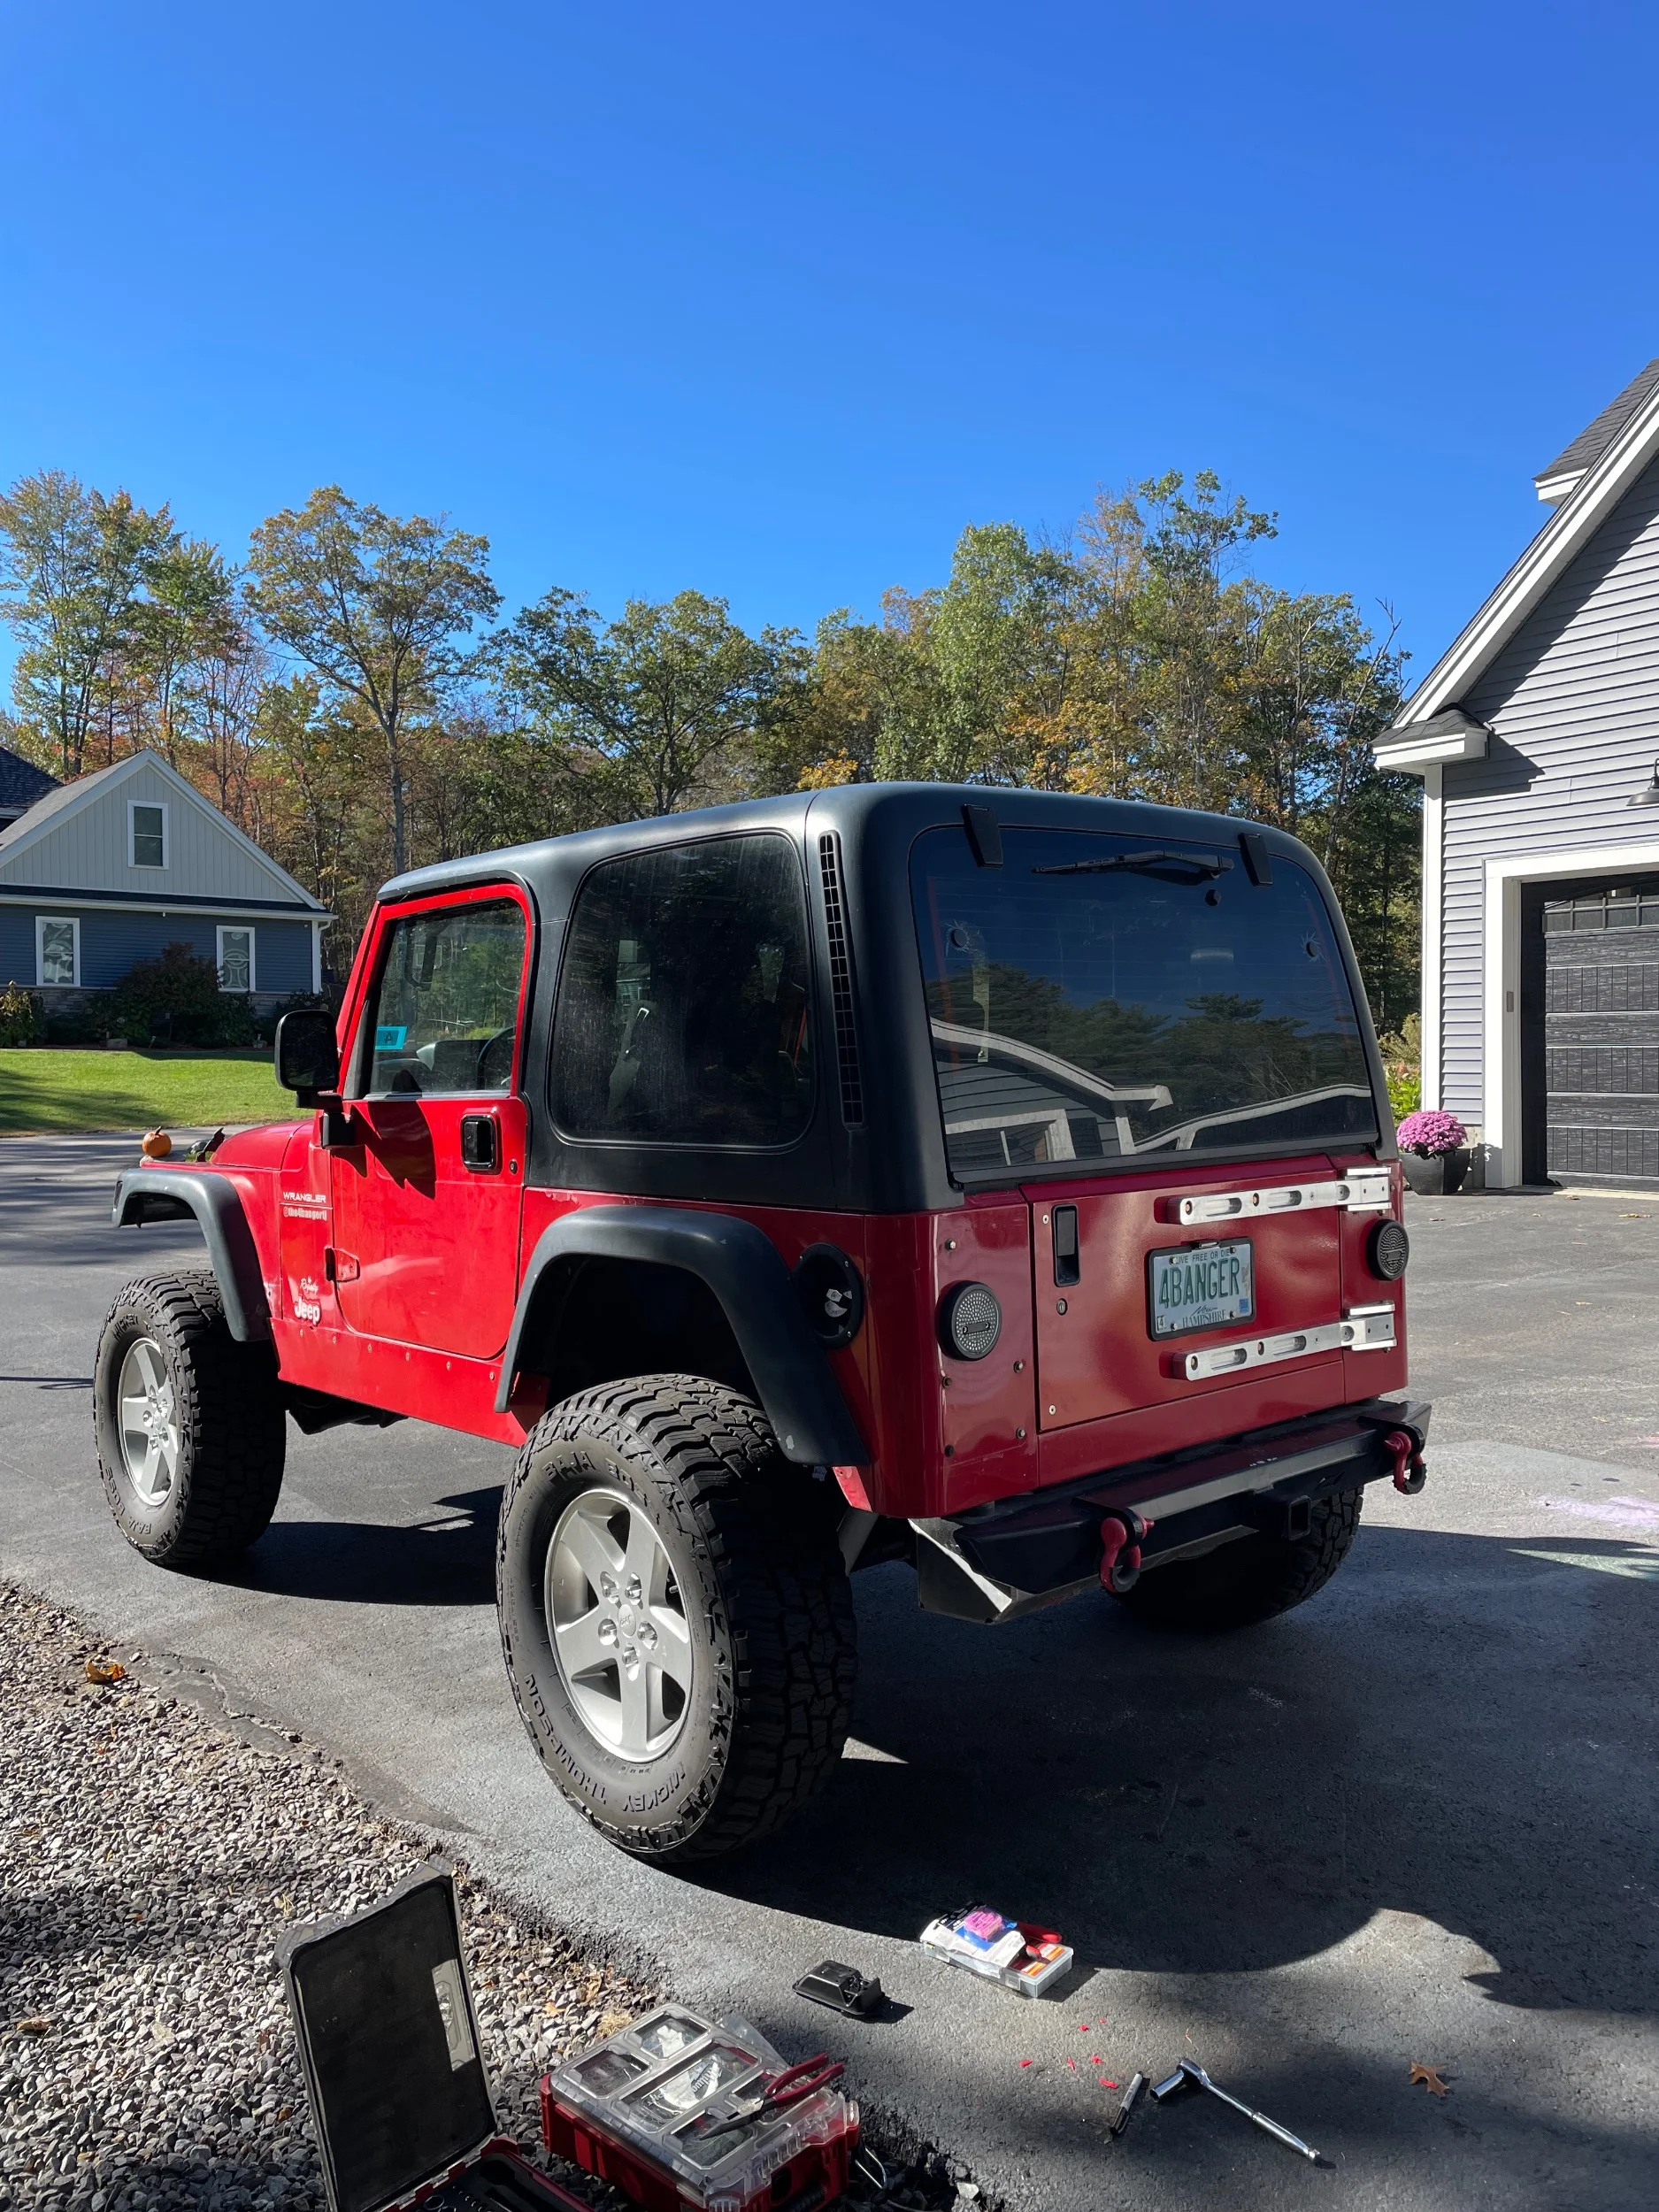
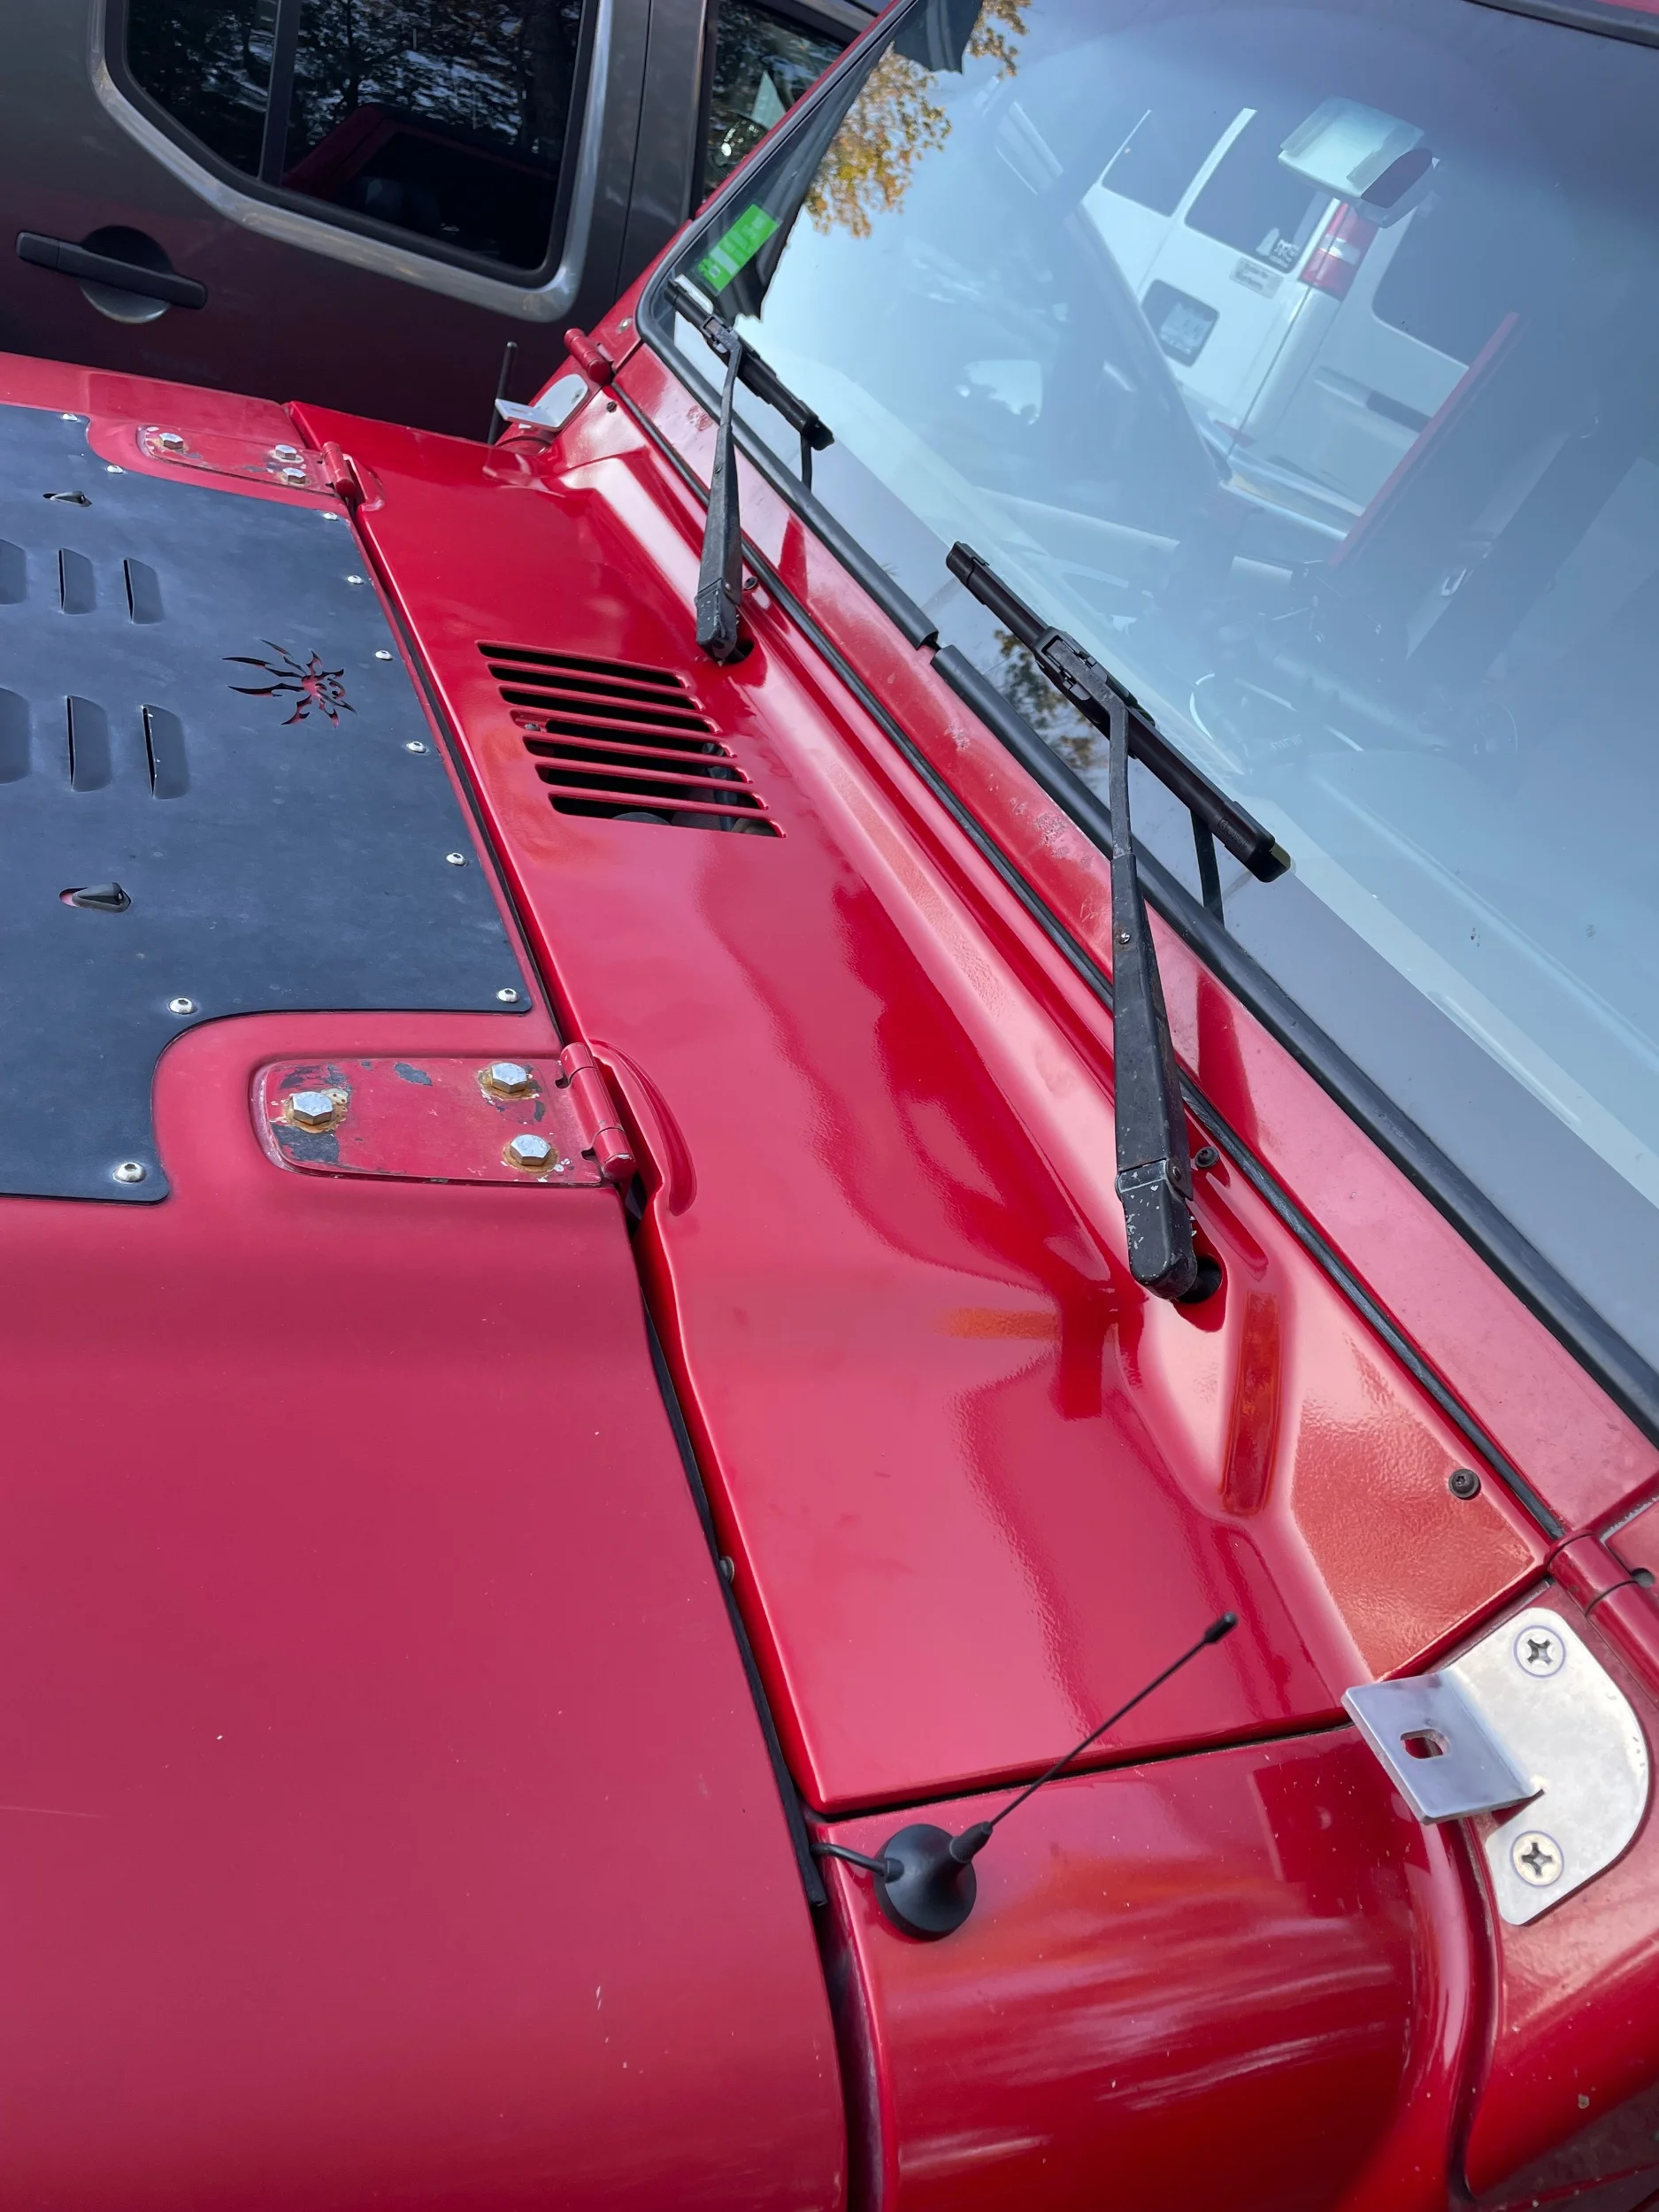
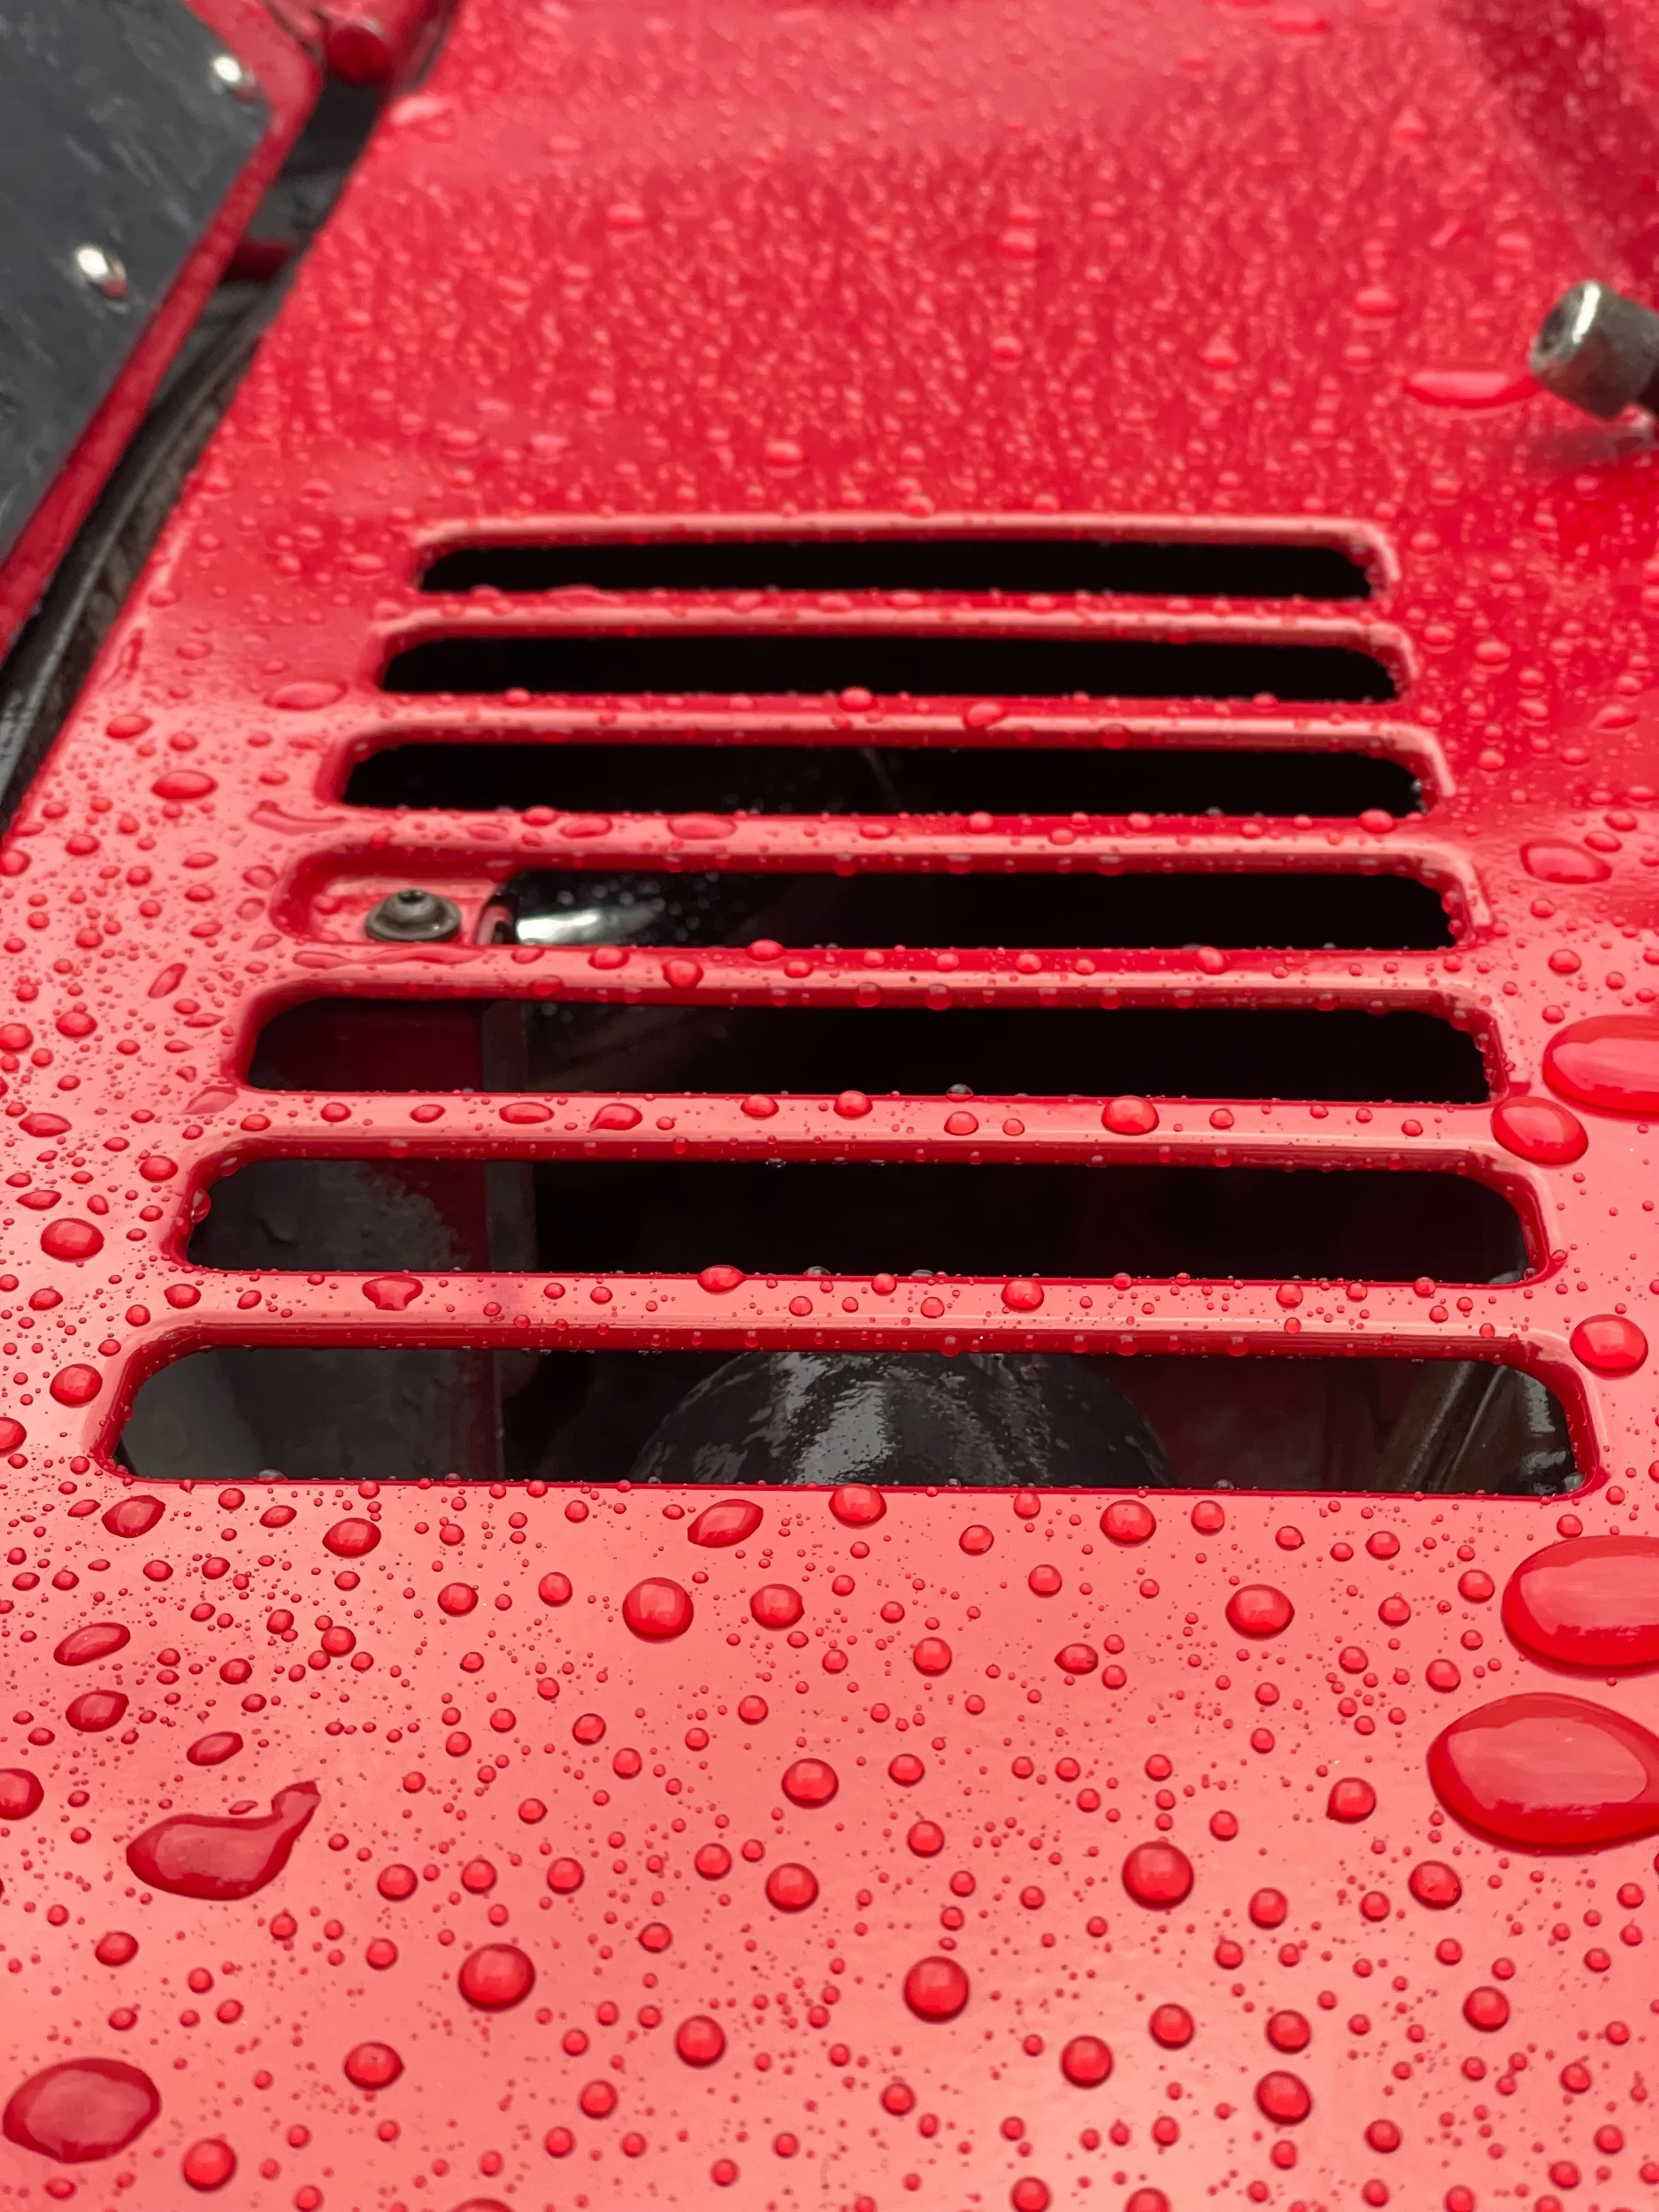
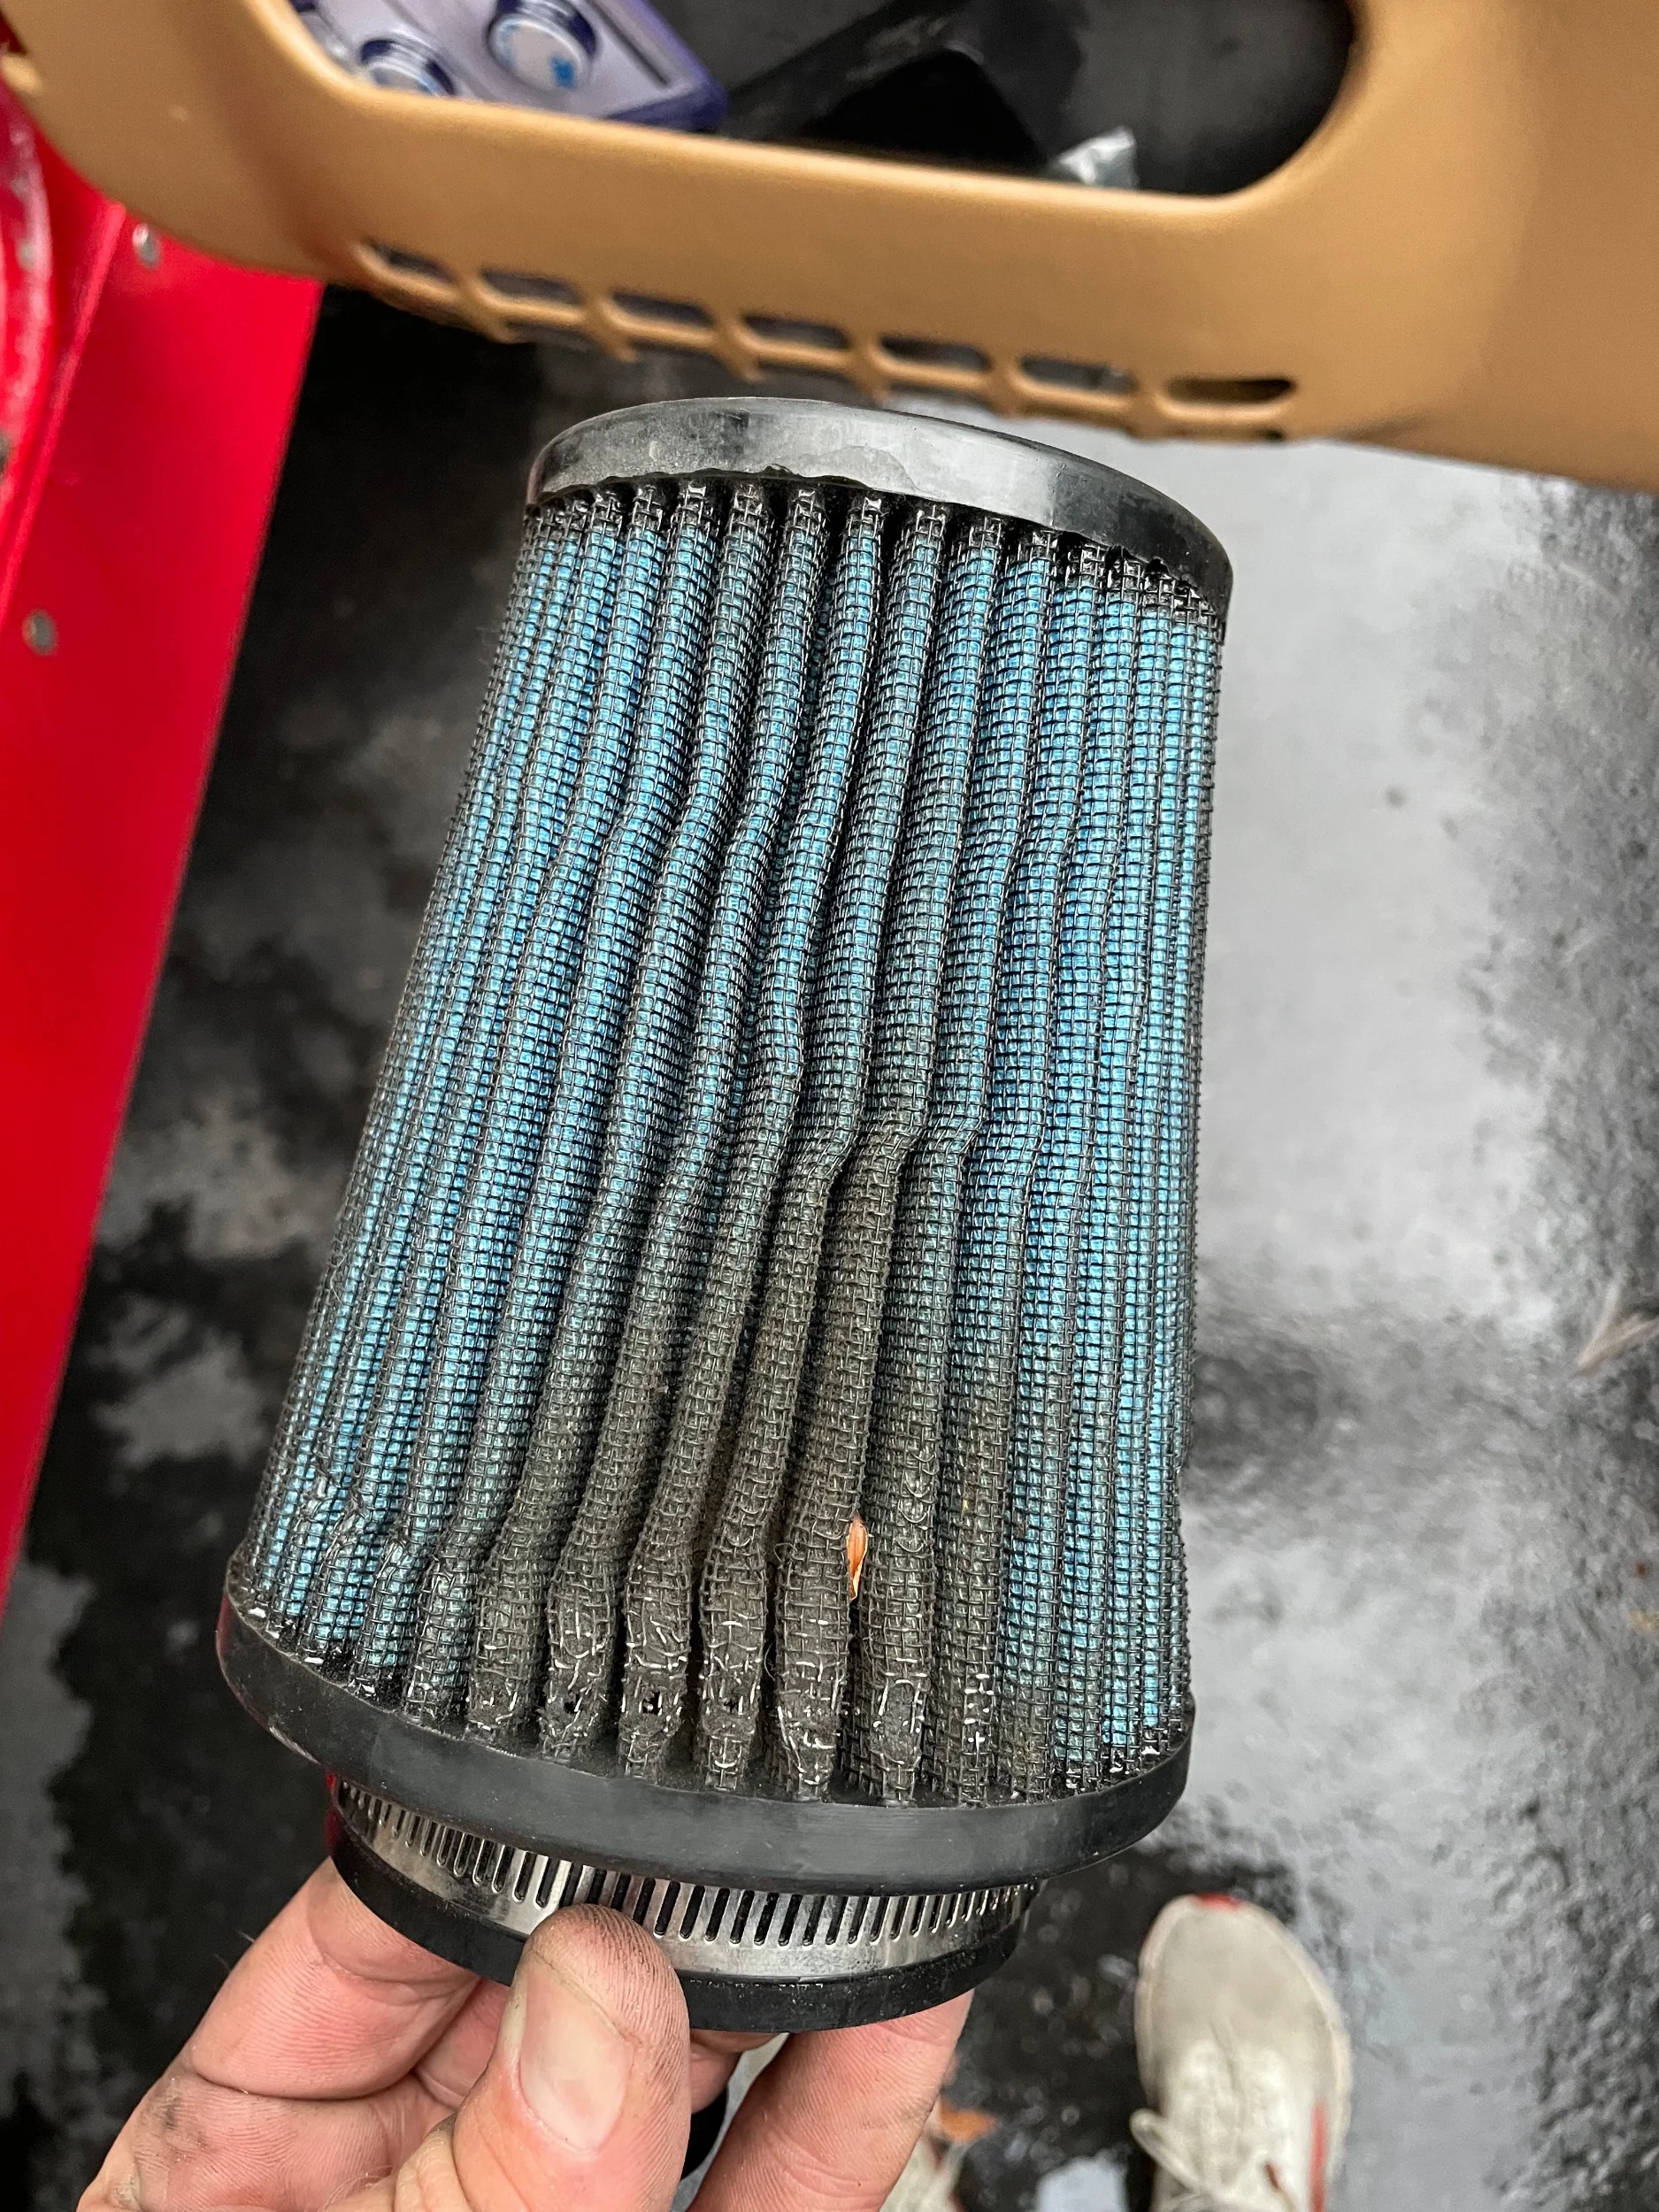
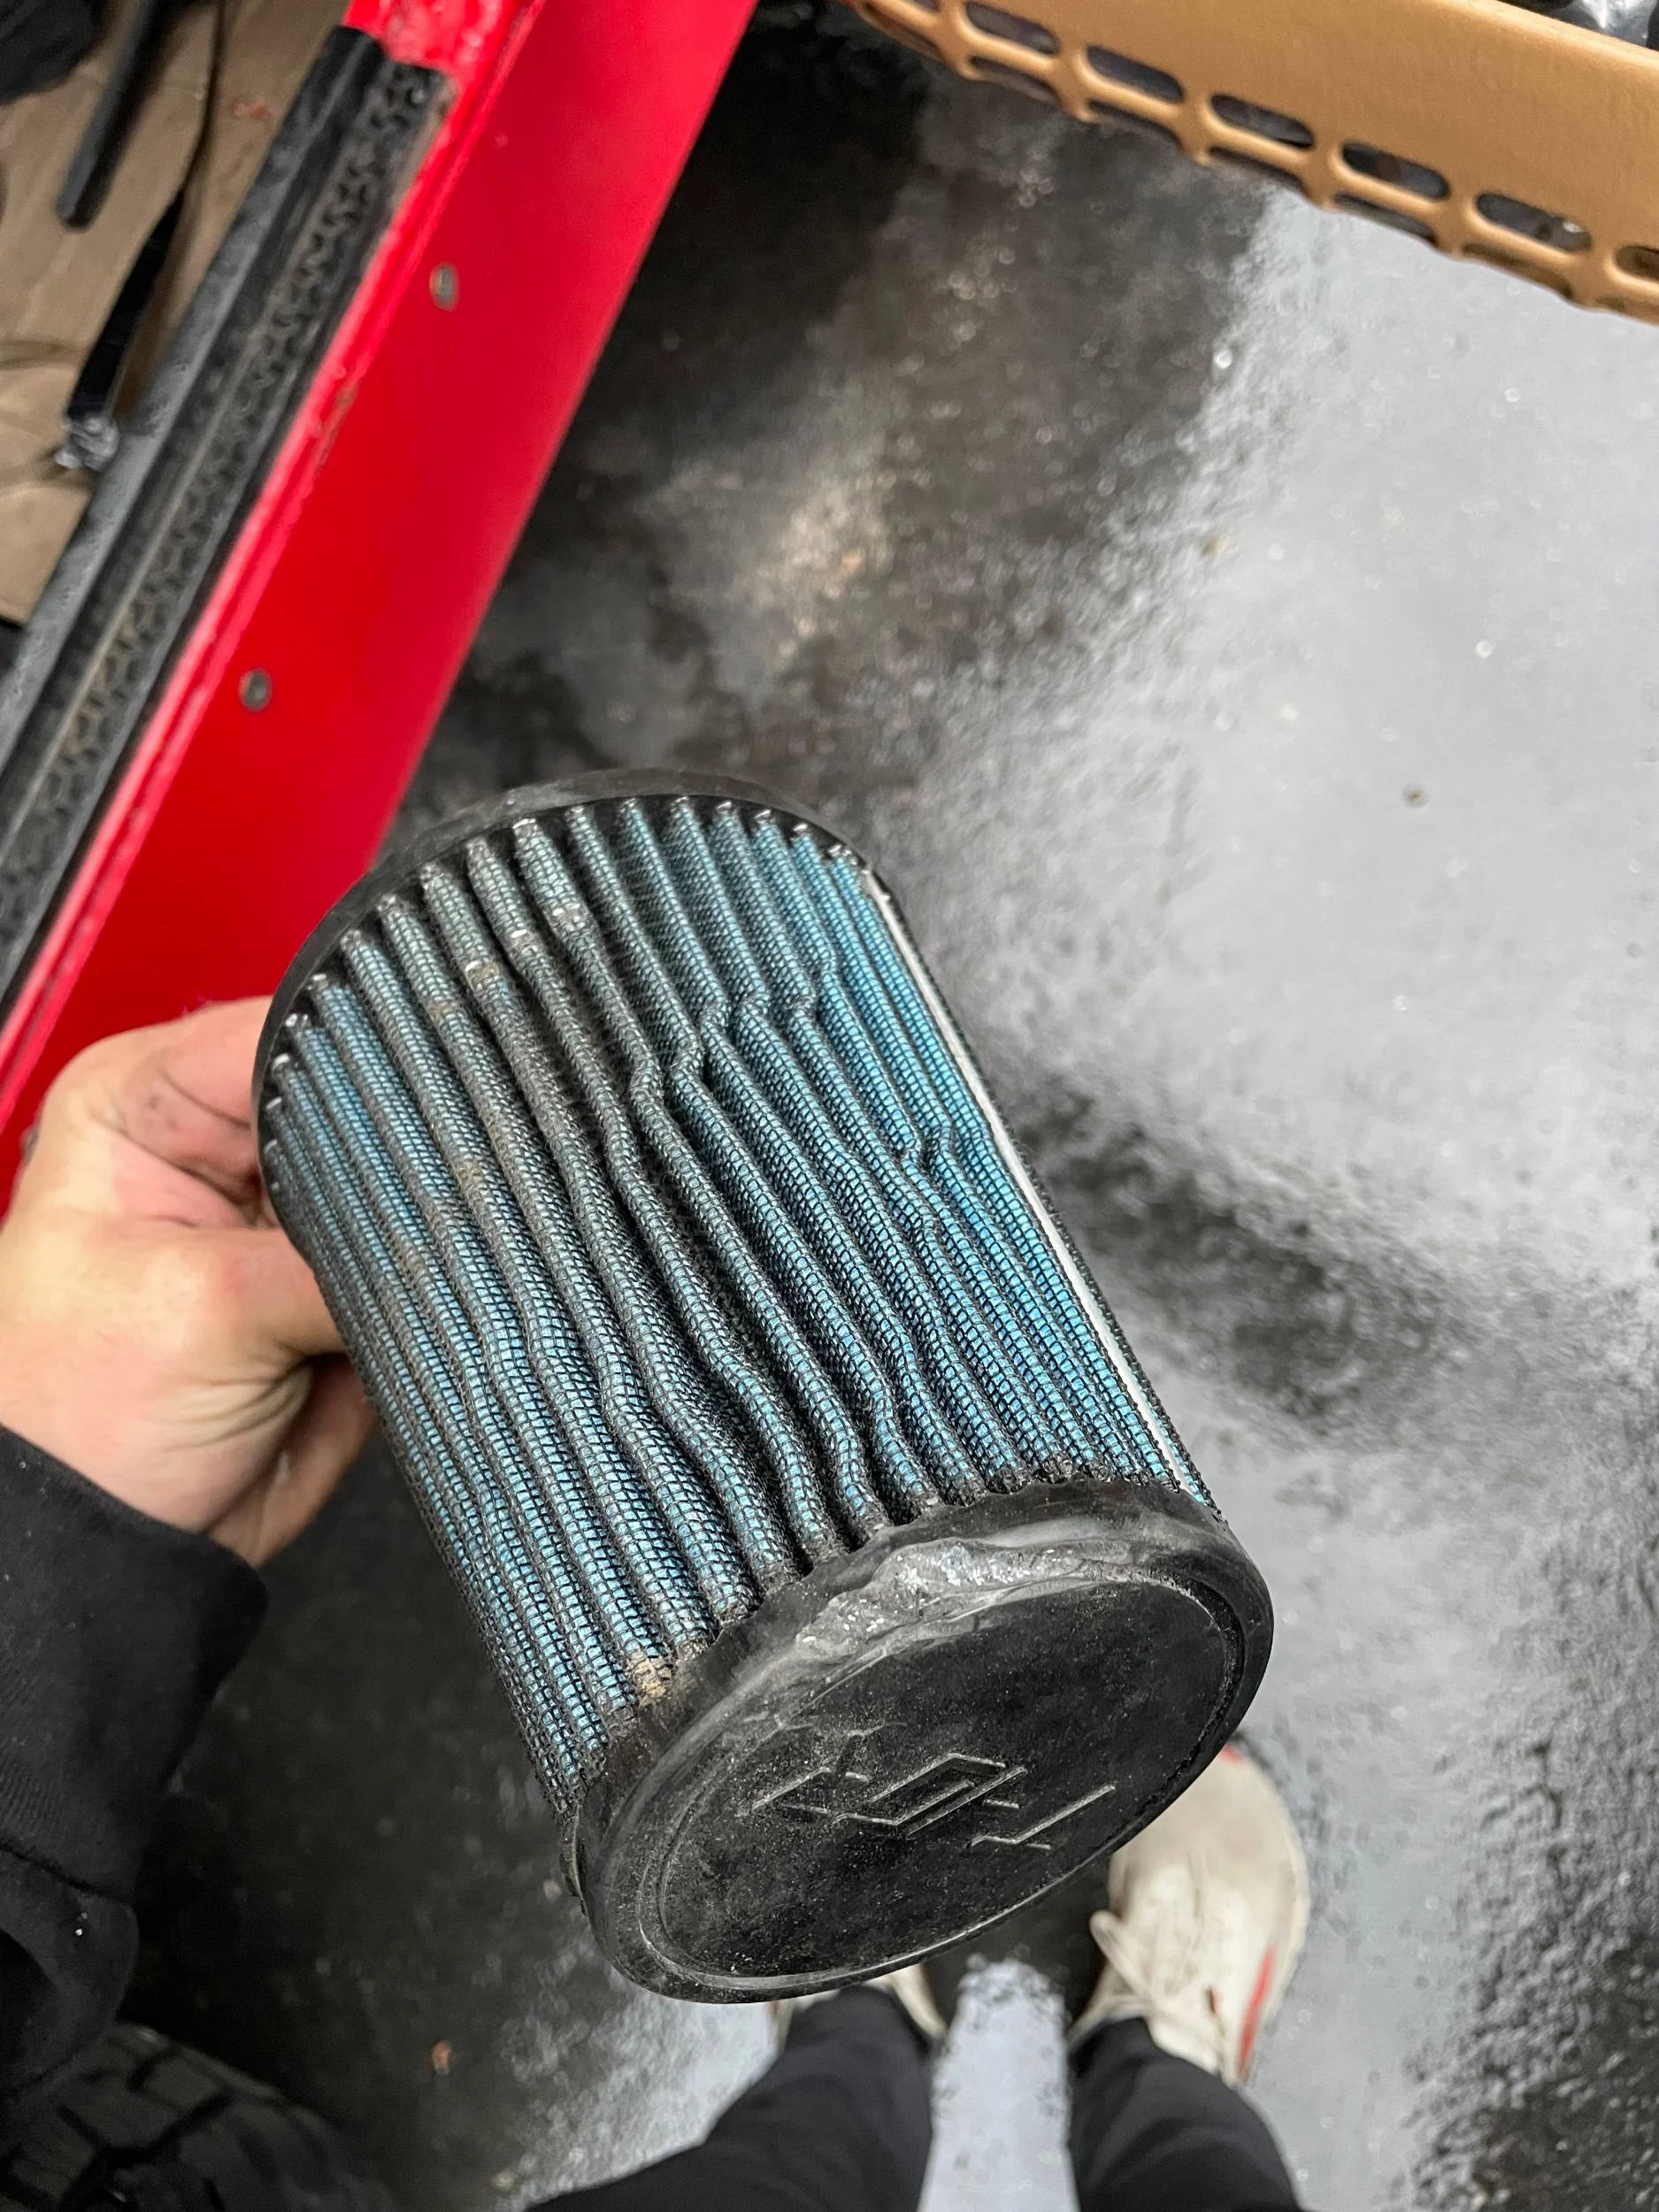
Tailgate install went smooth. I ended up having to use riv nuts for the plate in the skin since the tapped threads didn’t hold well enough bc I suck at tapping aluminum apparently.
After installing my cowl I noticed my THOR cowl intake has been rubbing on the bottom of the cowl which put a hole in the filter as well as rubbing the windshield levers. I didn’t have much issue with it before but the most recent rain storm which was the most rain the jeeps been in since Idaho hasn’t hasn’t given much rain, it did choke out and stall so I know it was also getting wet. So tried making a new intake to still pull from the cowl but uses an inline filter to make it not rub and shouldn’t get wet anymore.
Bunch of small updates:
Replaced my headlights with Baja designs for lp6. Very good lights and I have a write up on the forum.
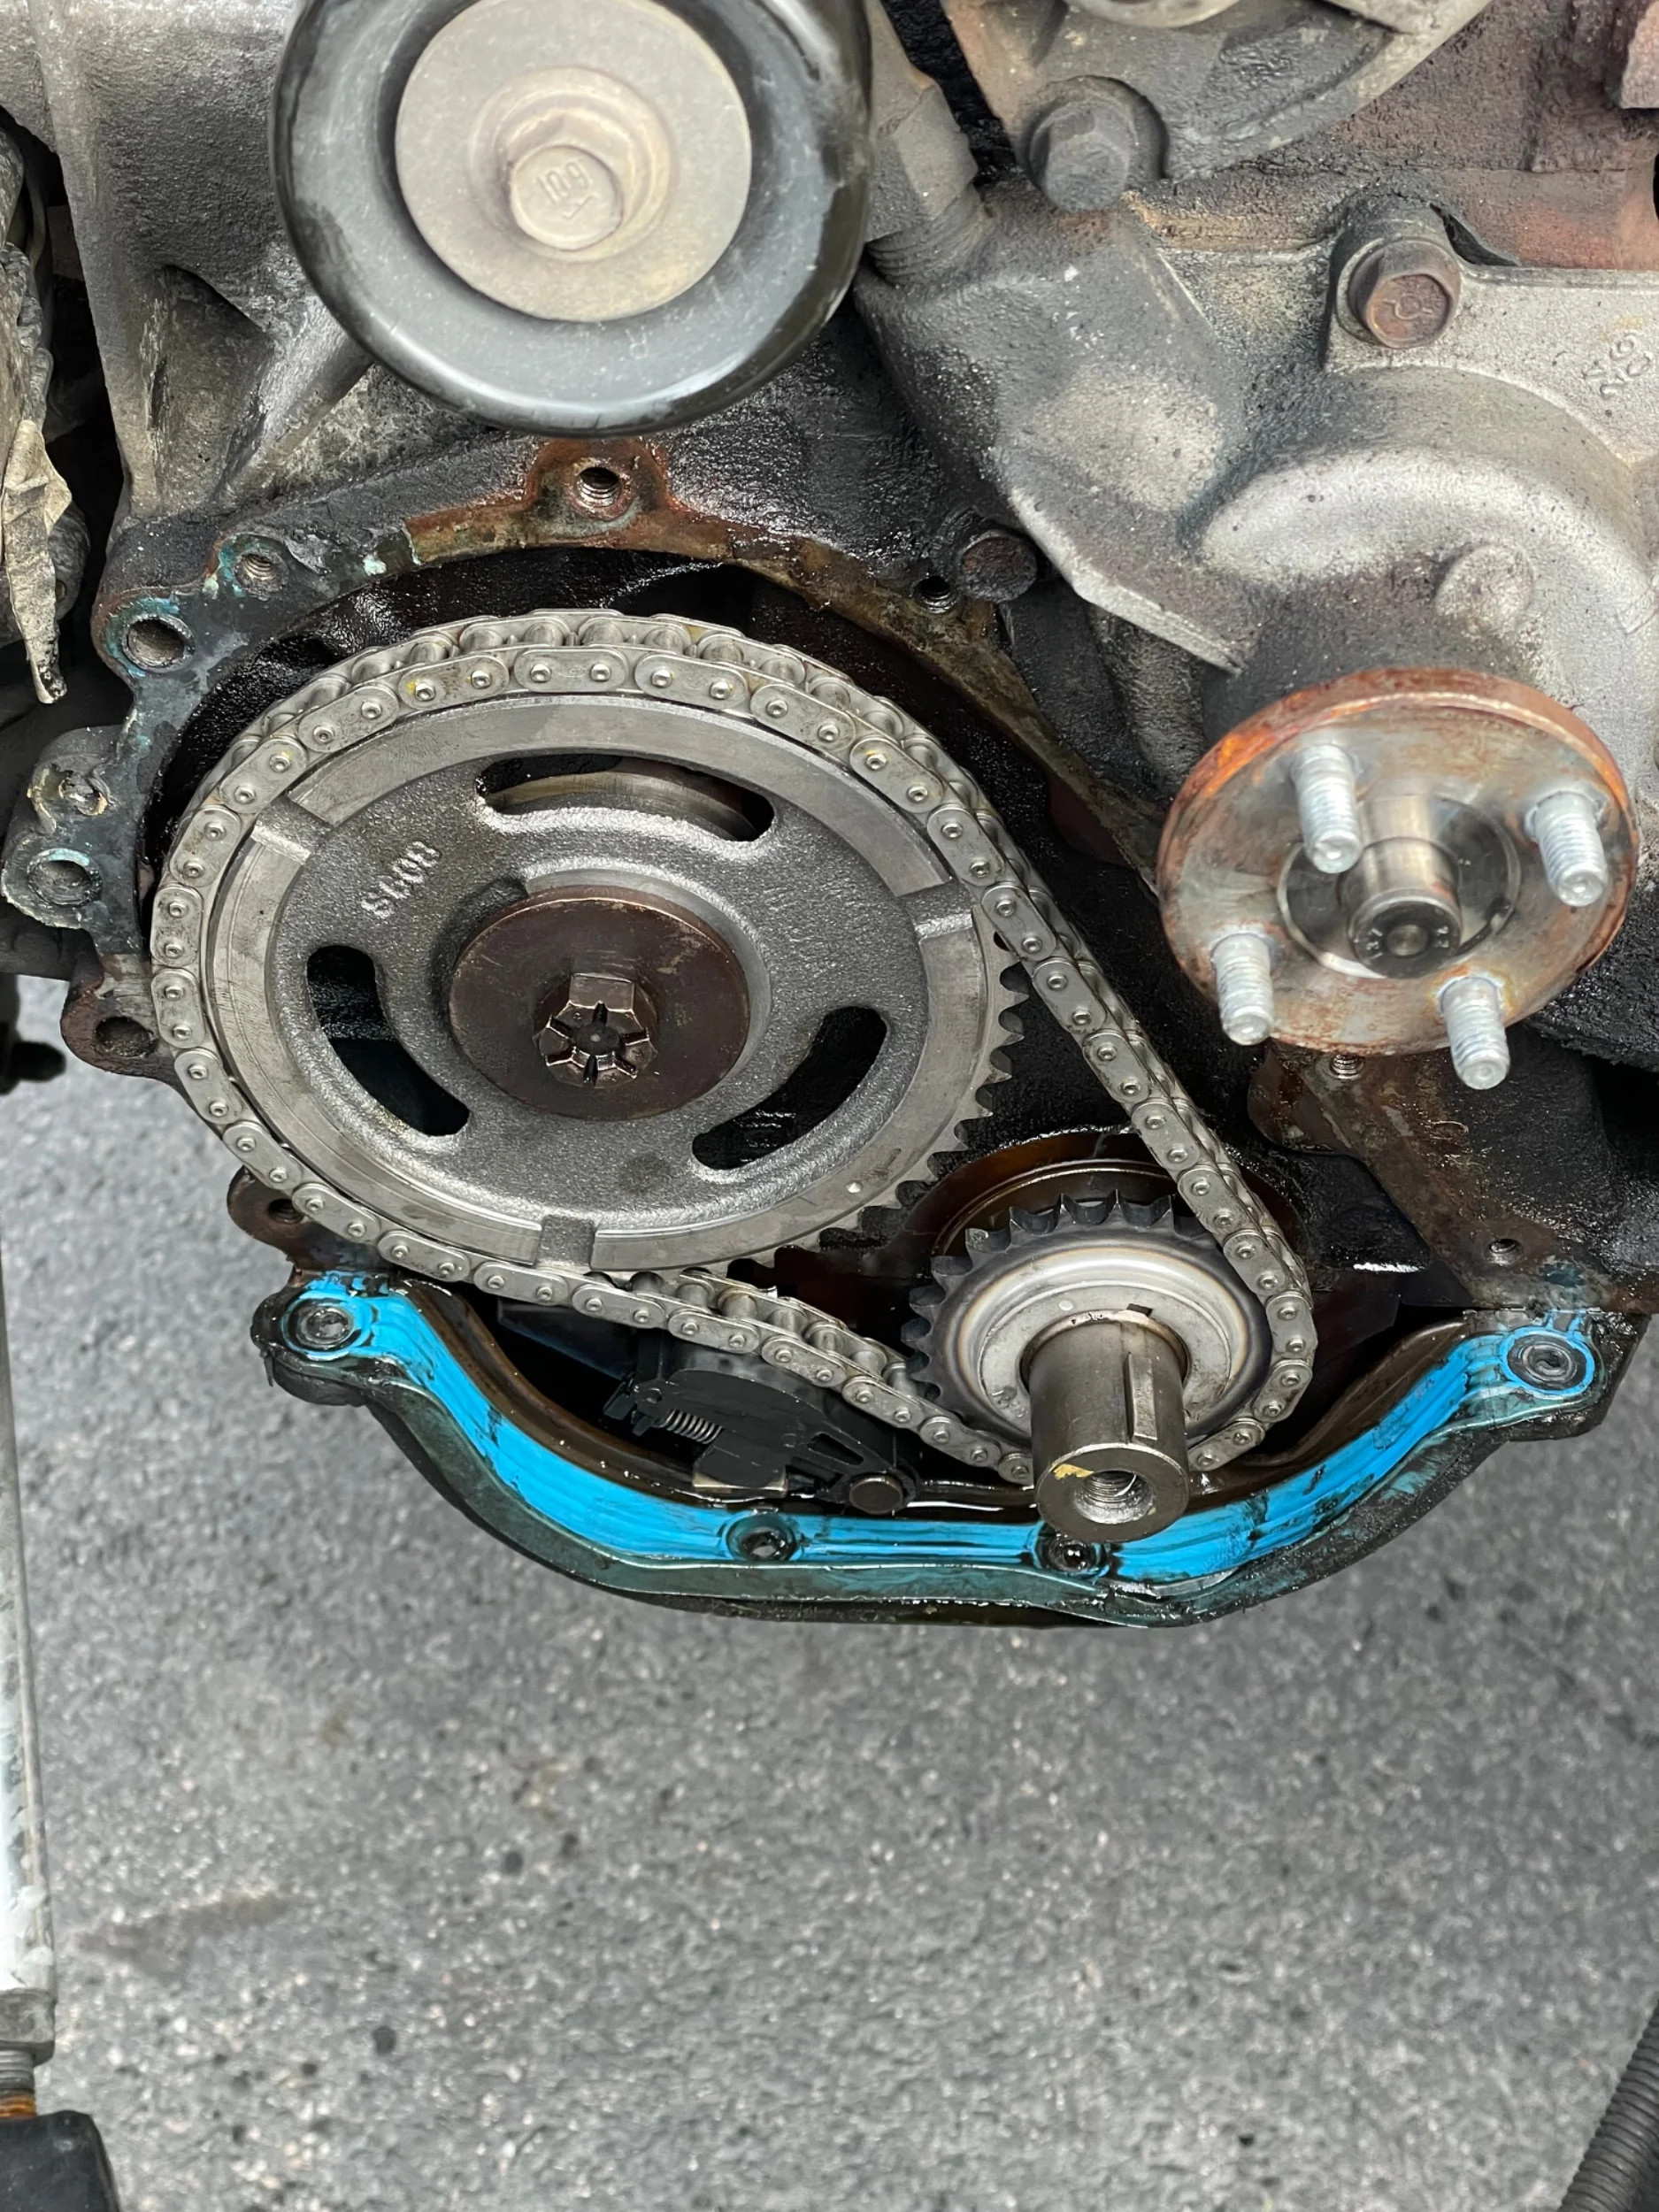
The timing tensioner was completely loose causing a noise I at first thought was further inside my motor.
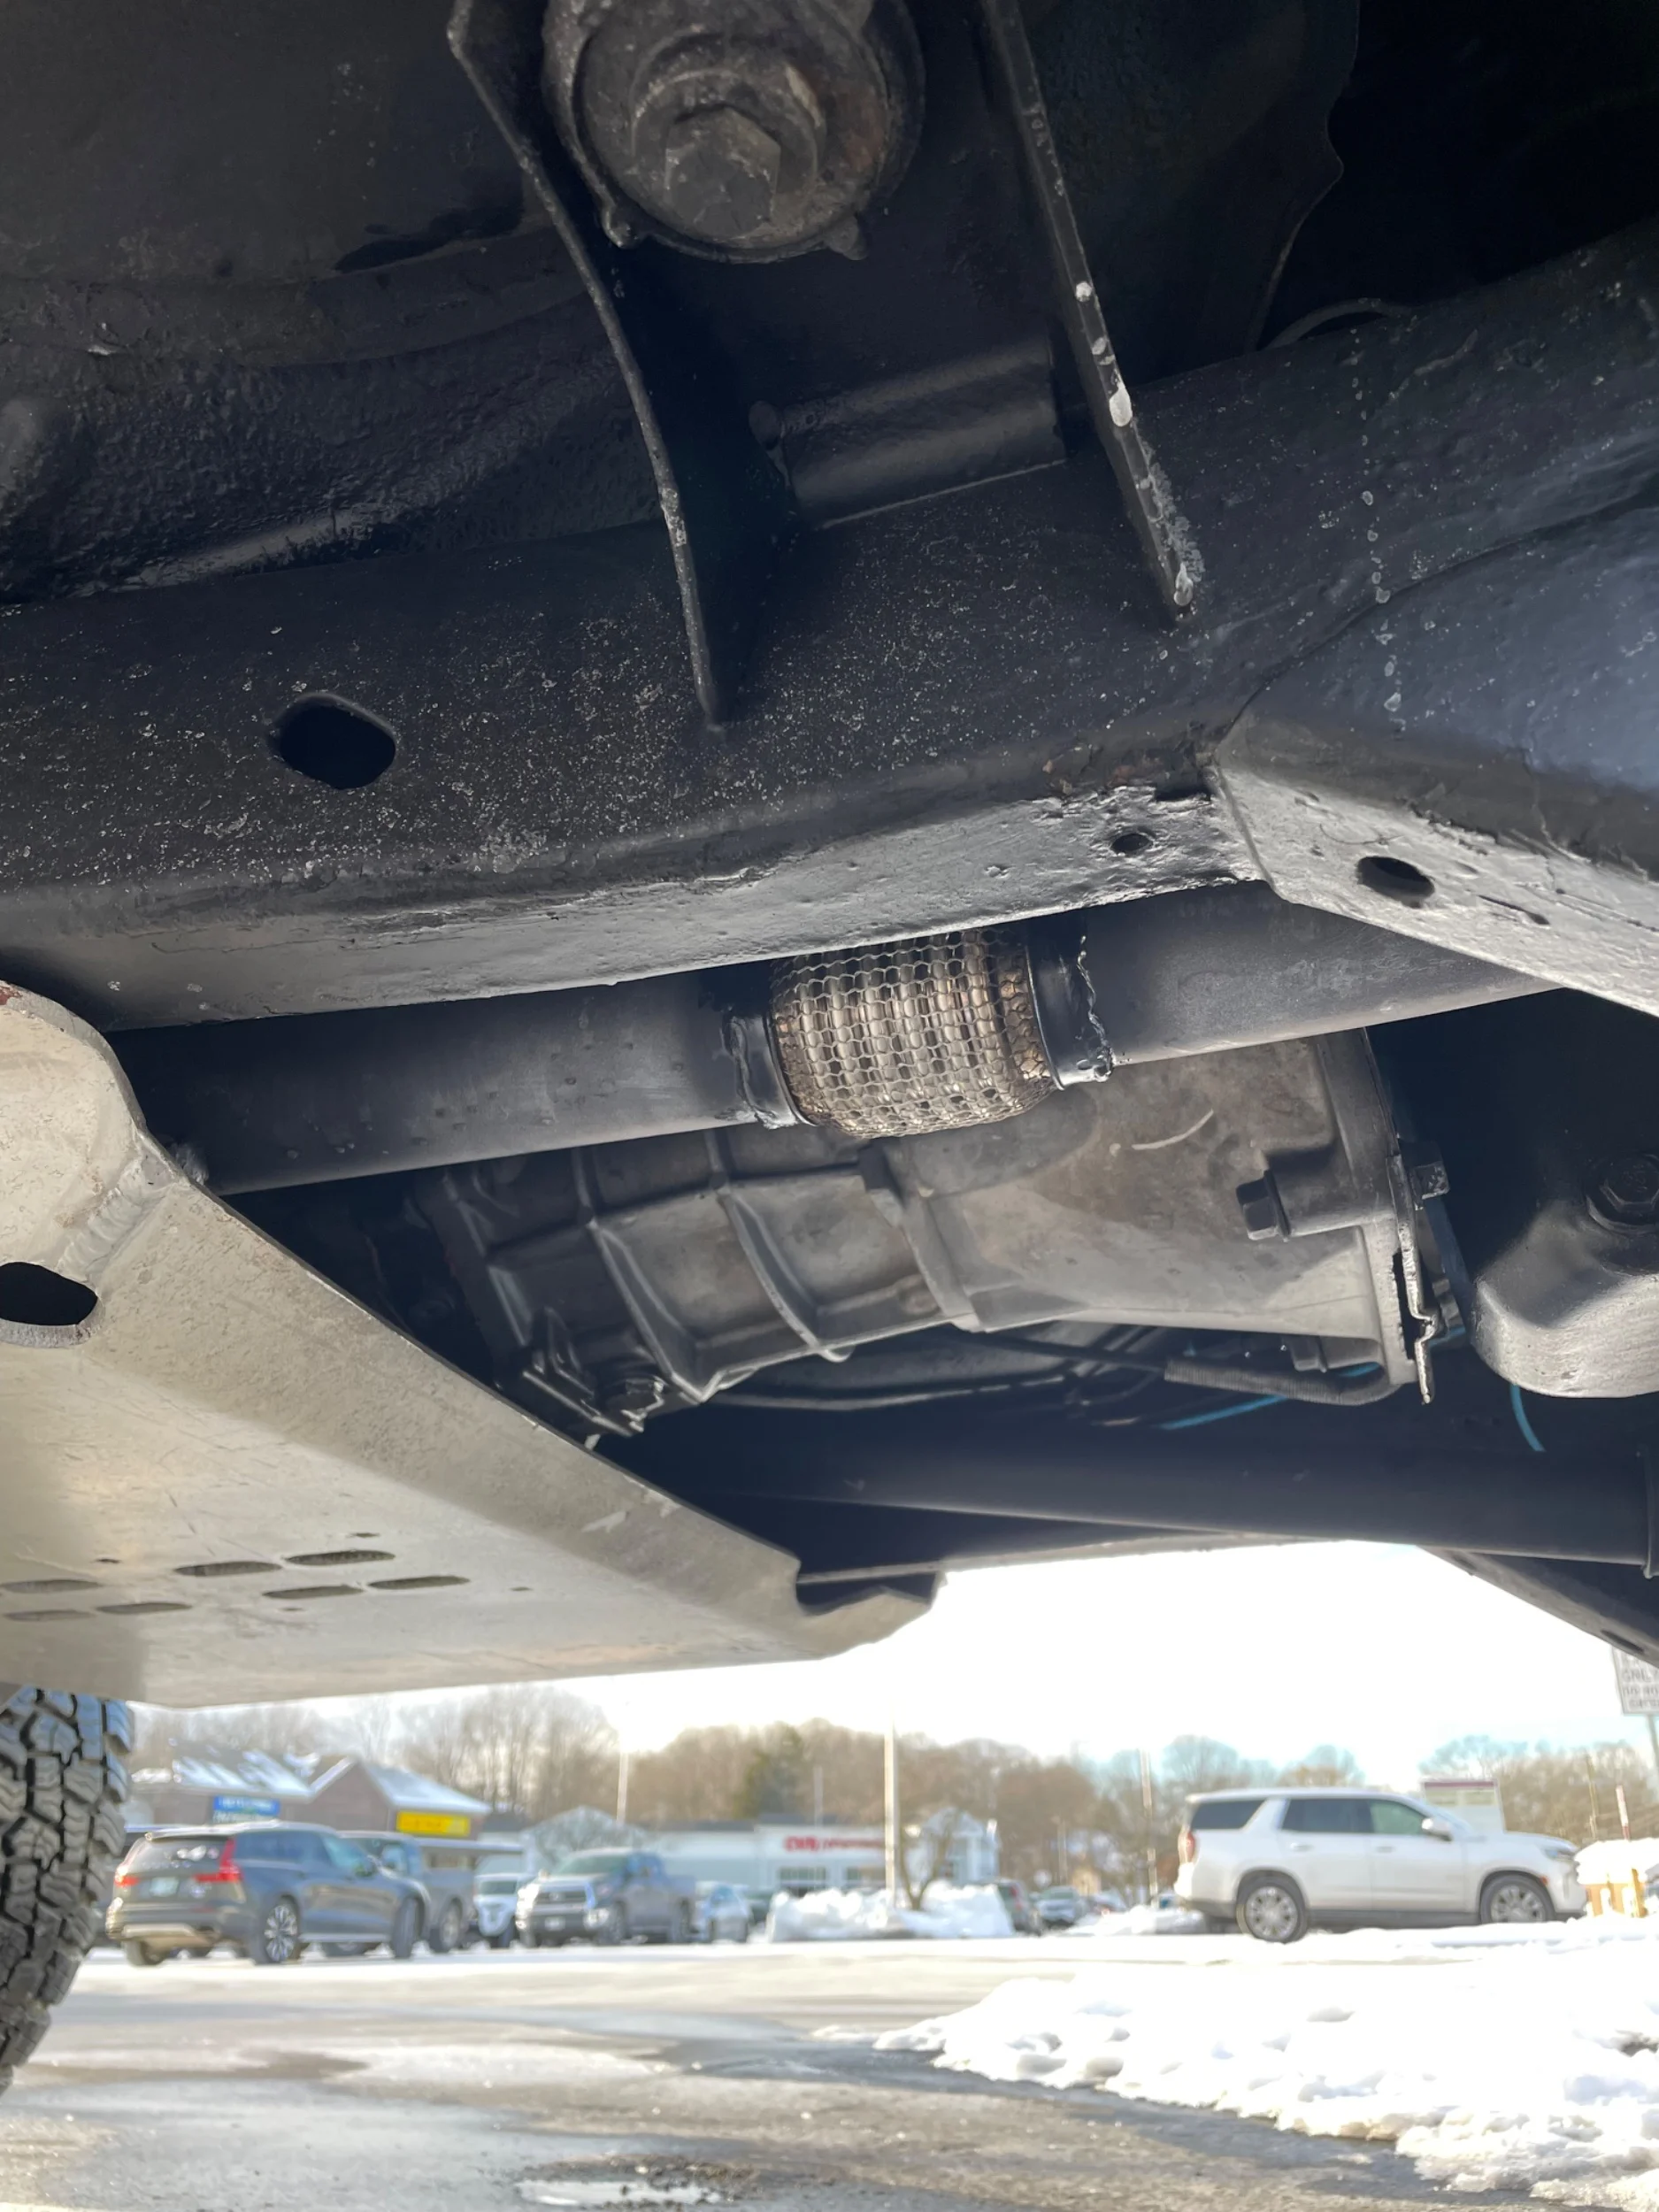
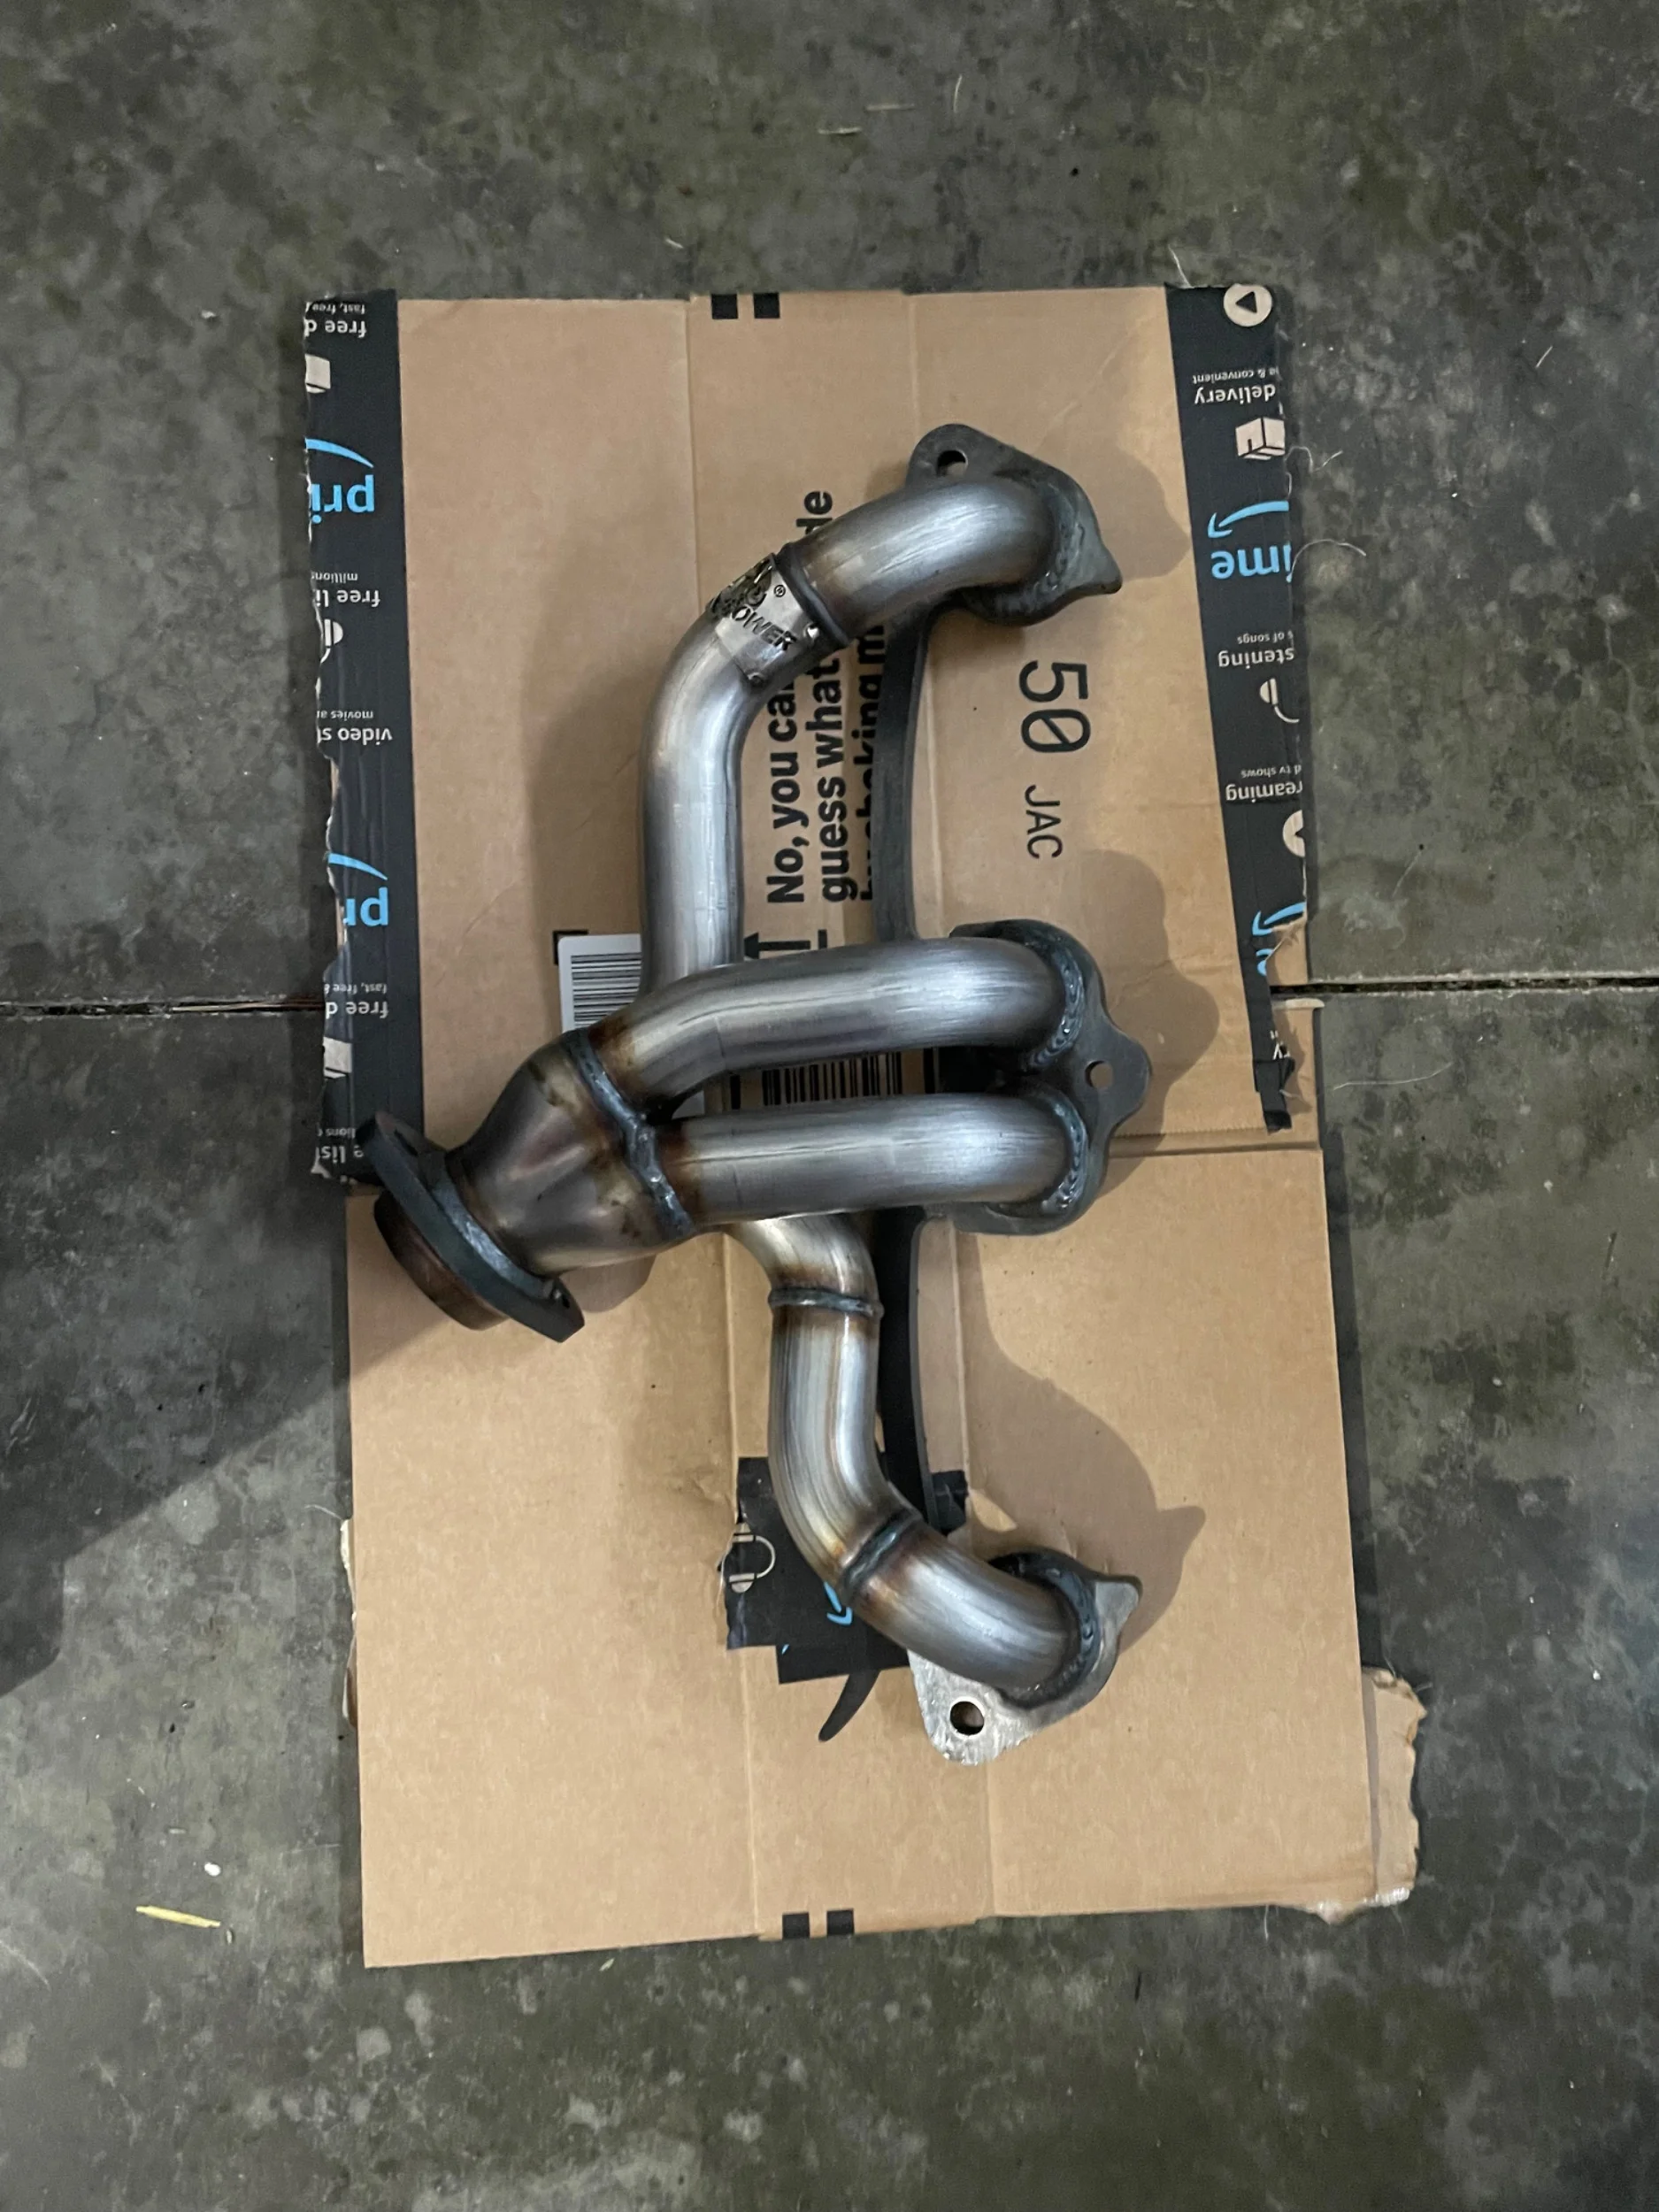
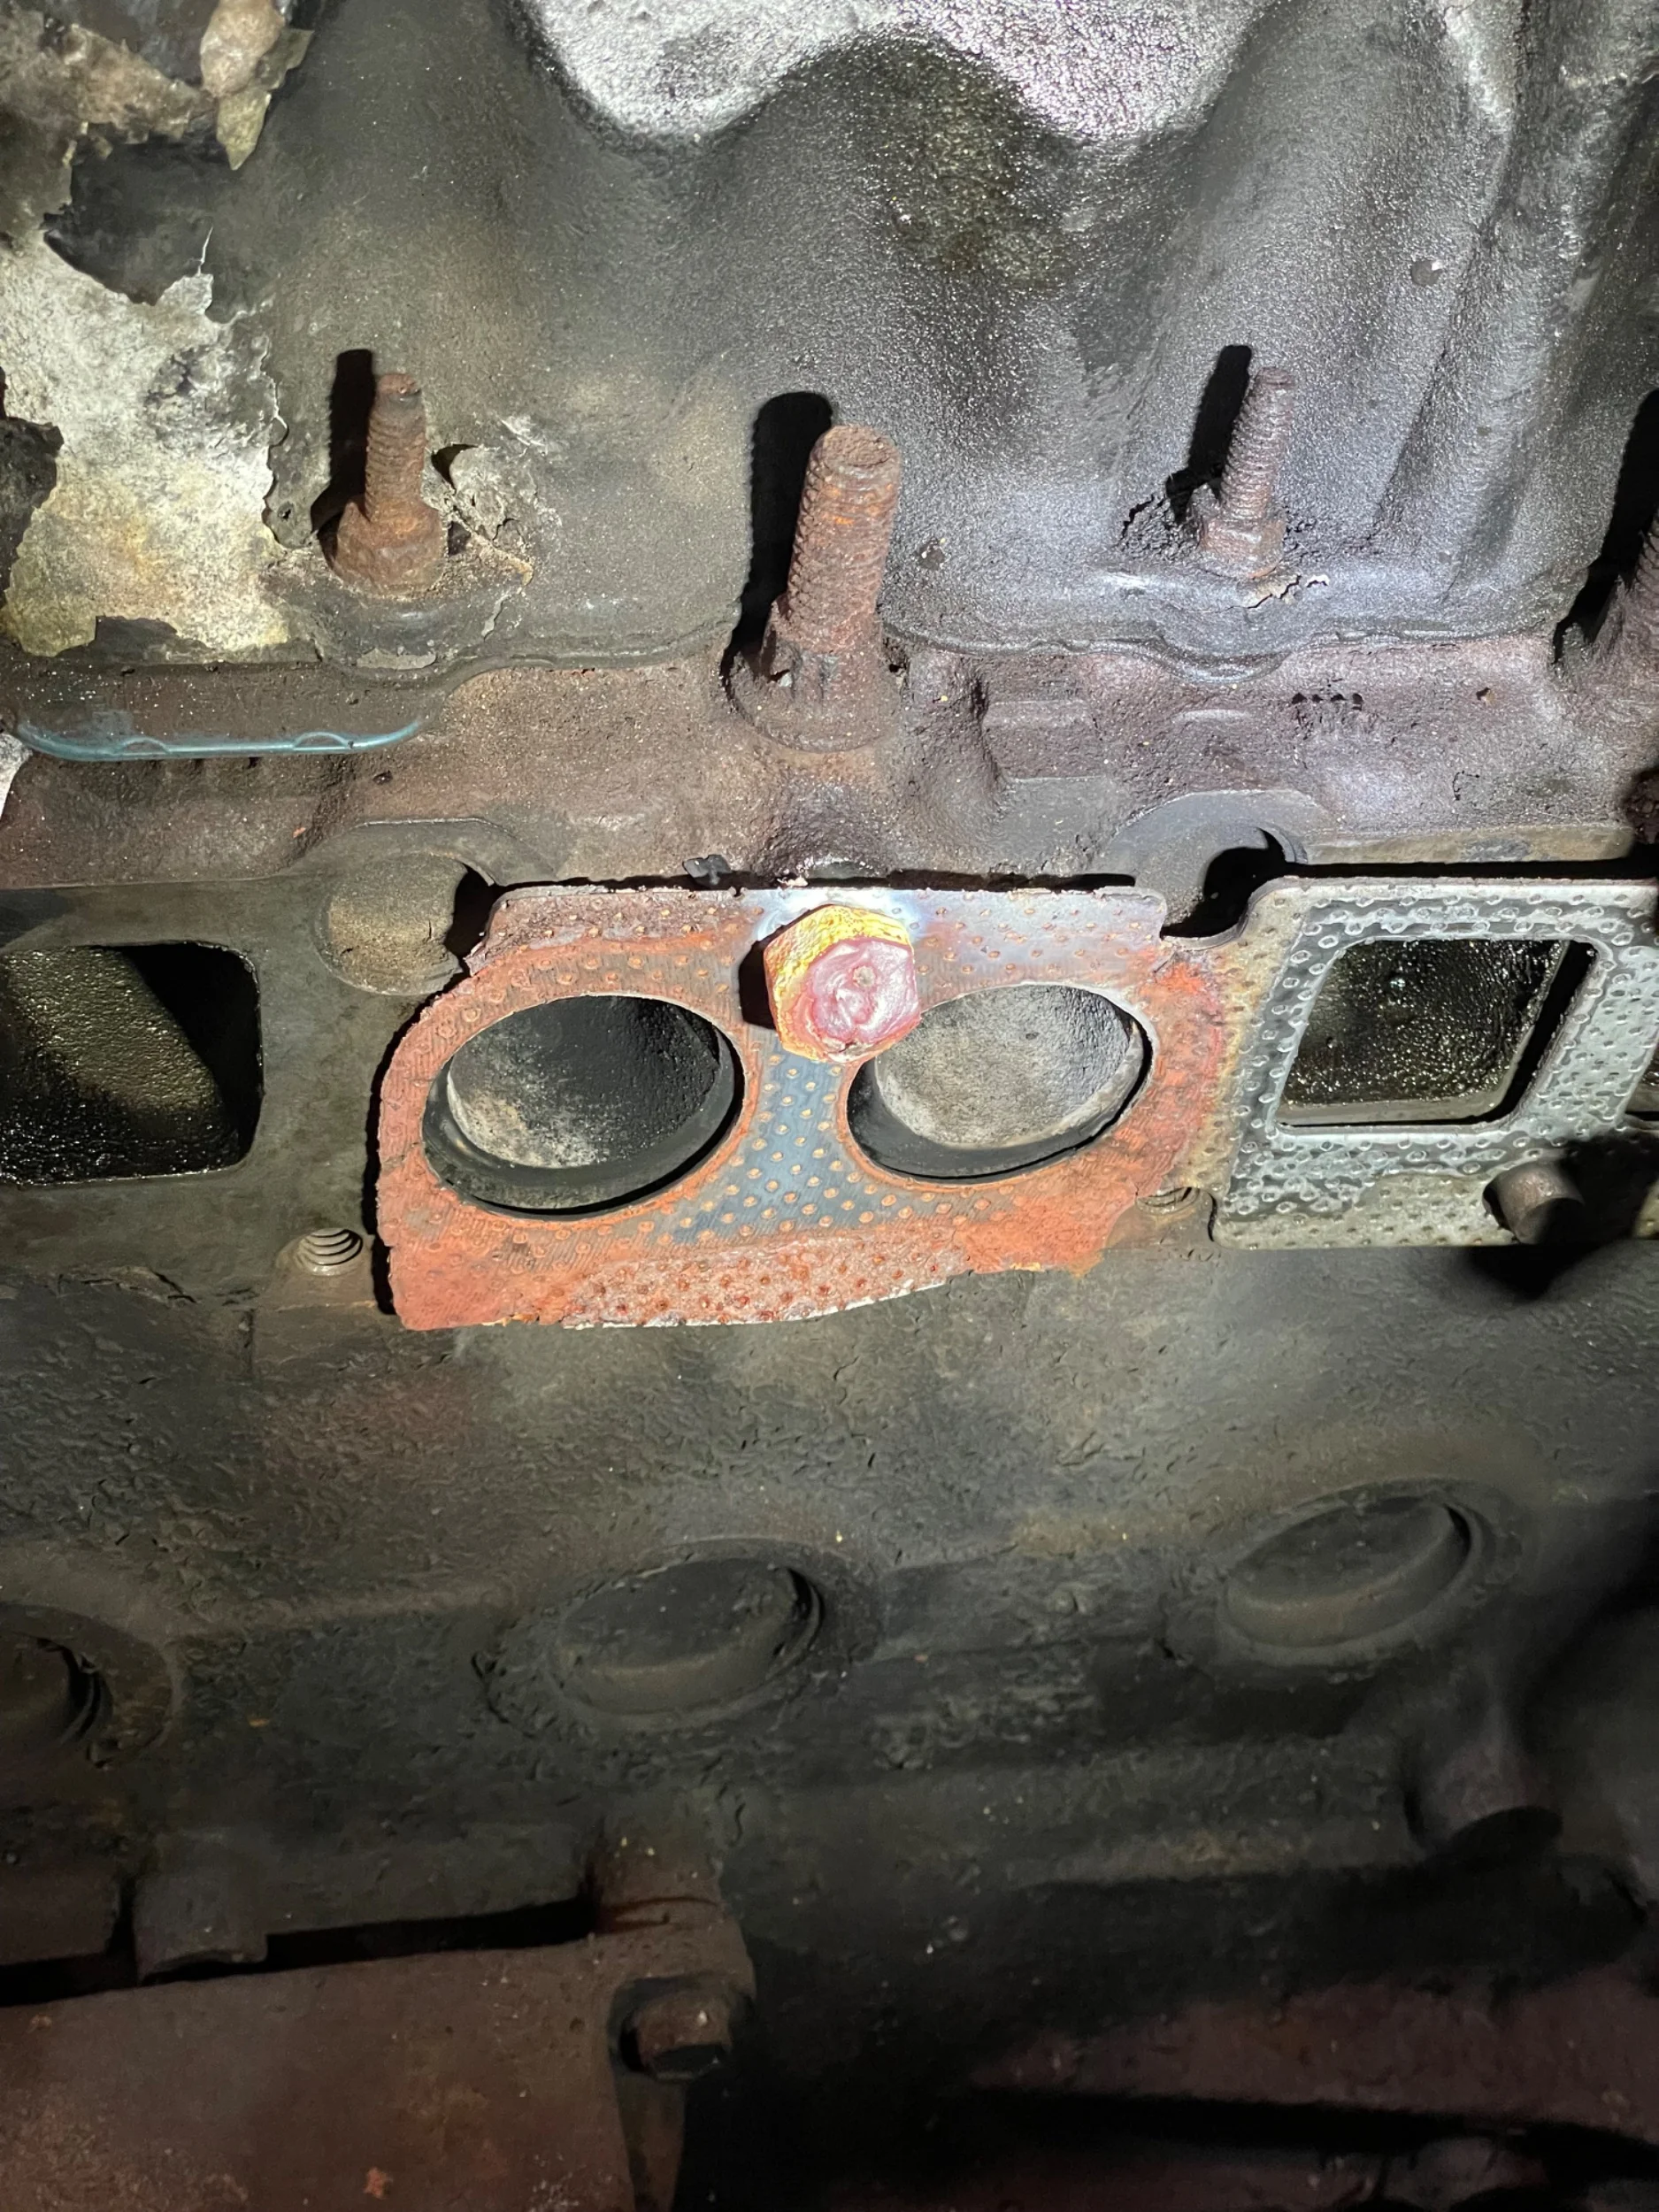
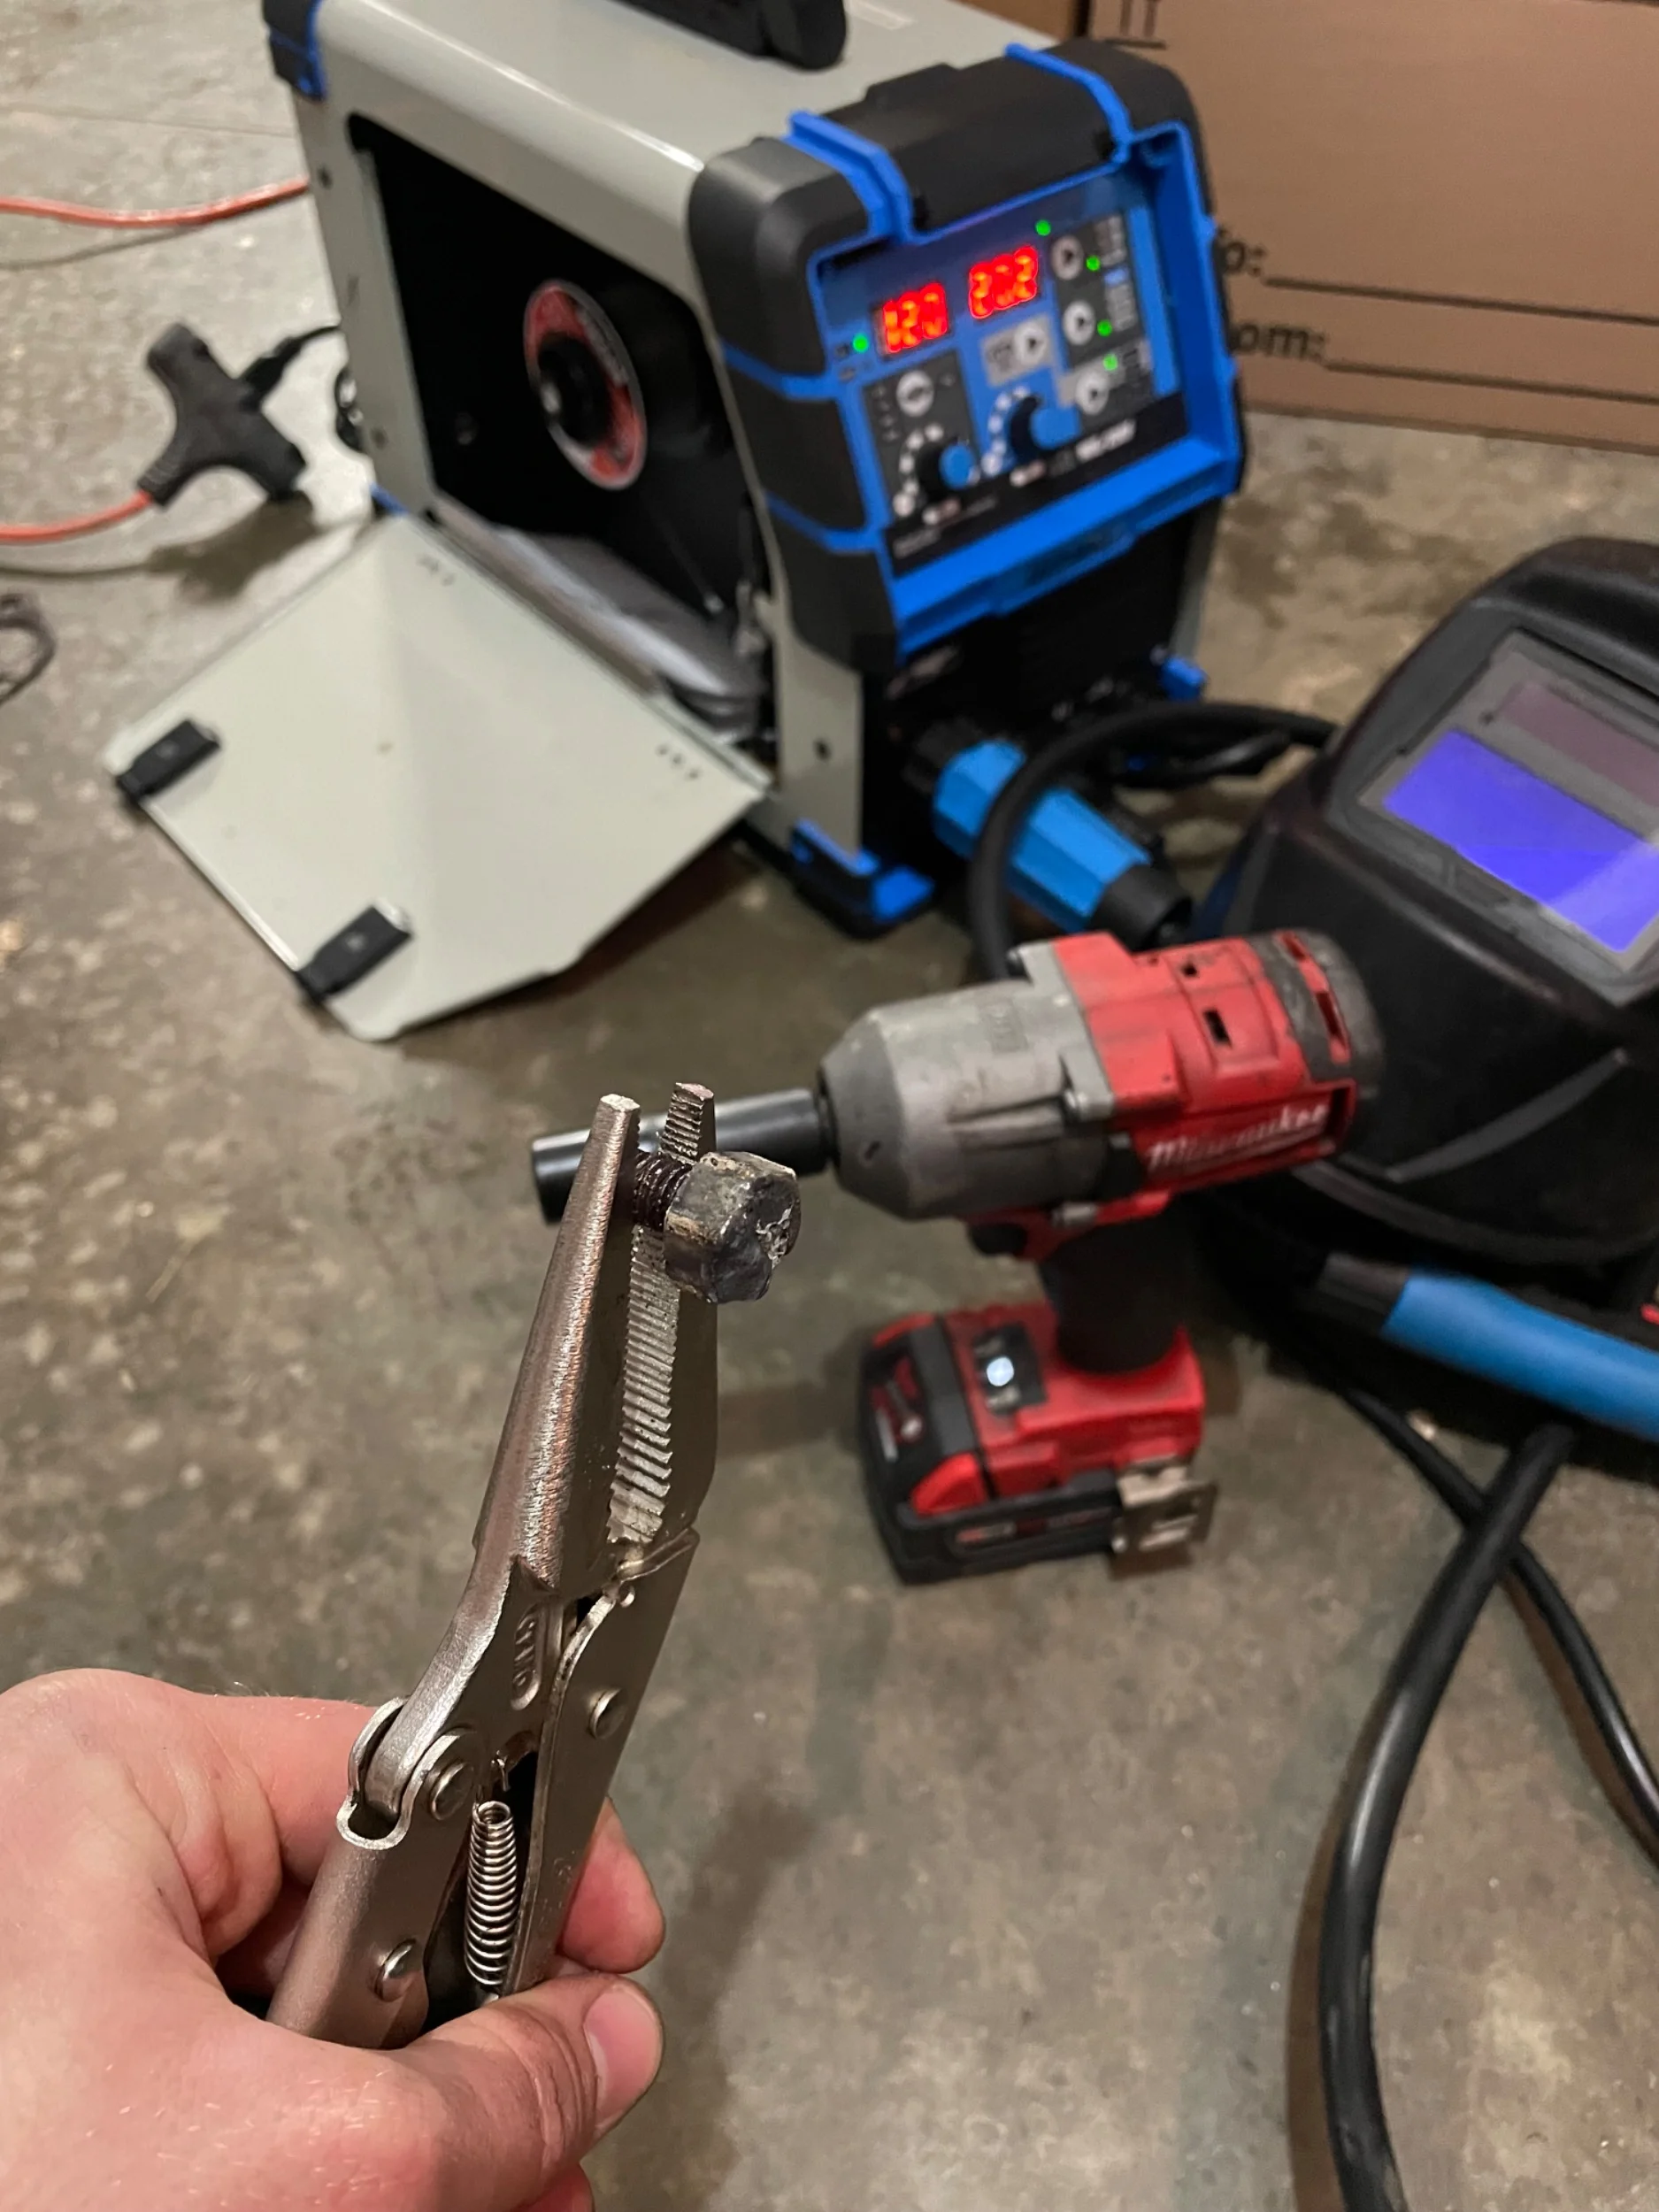
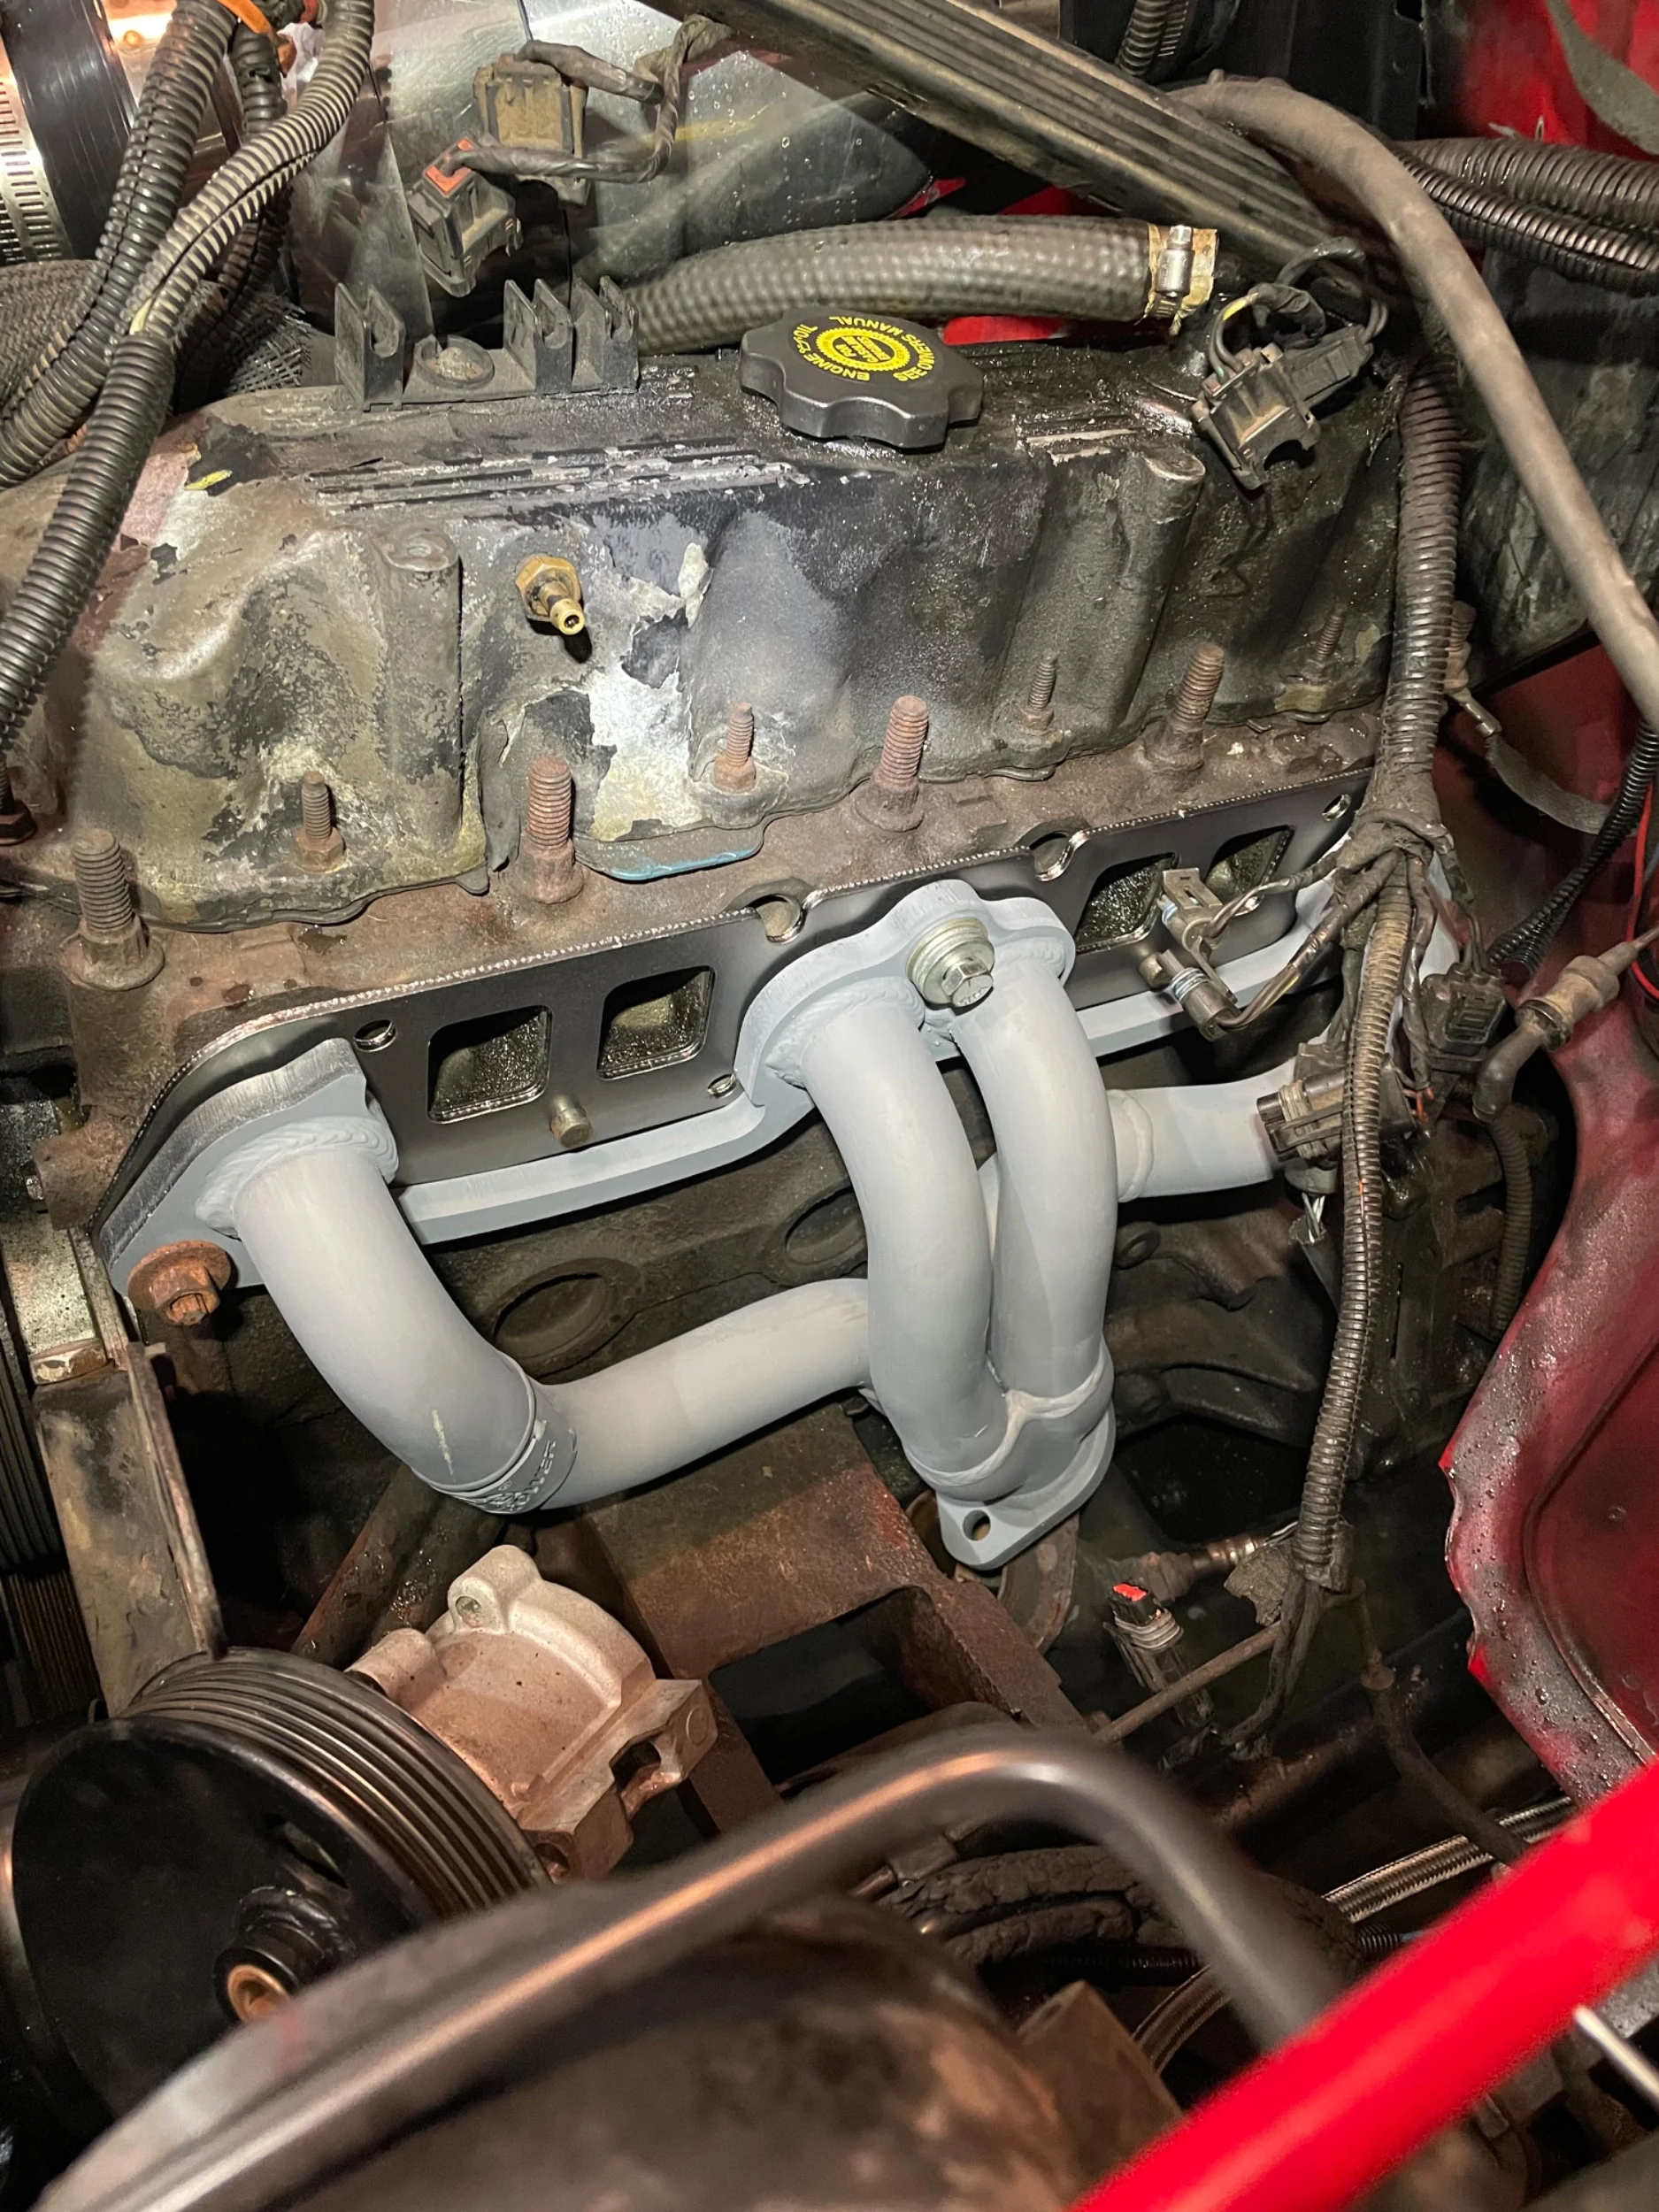
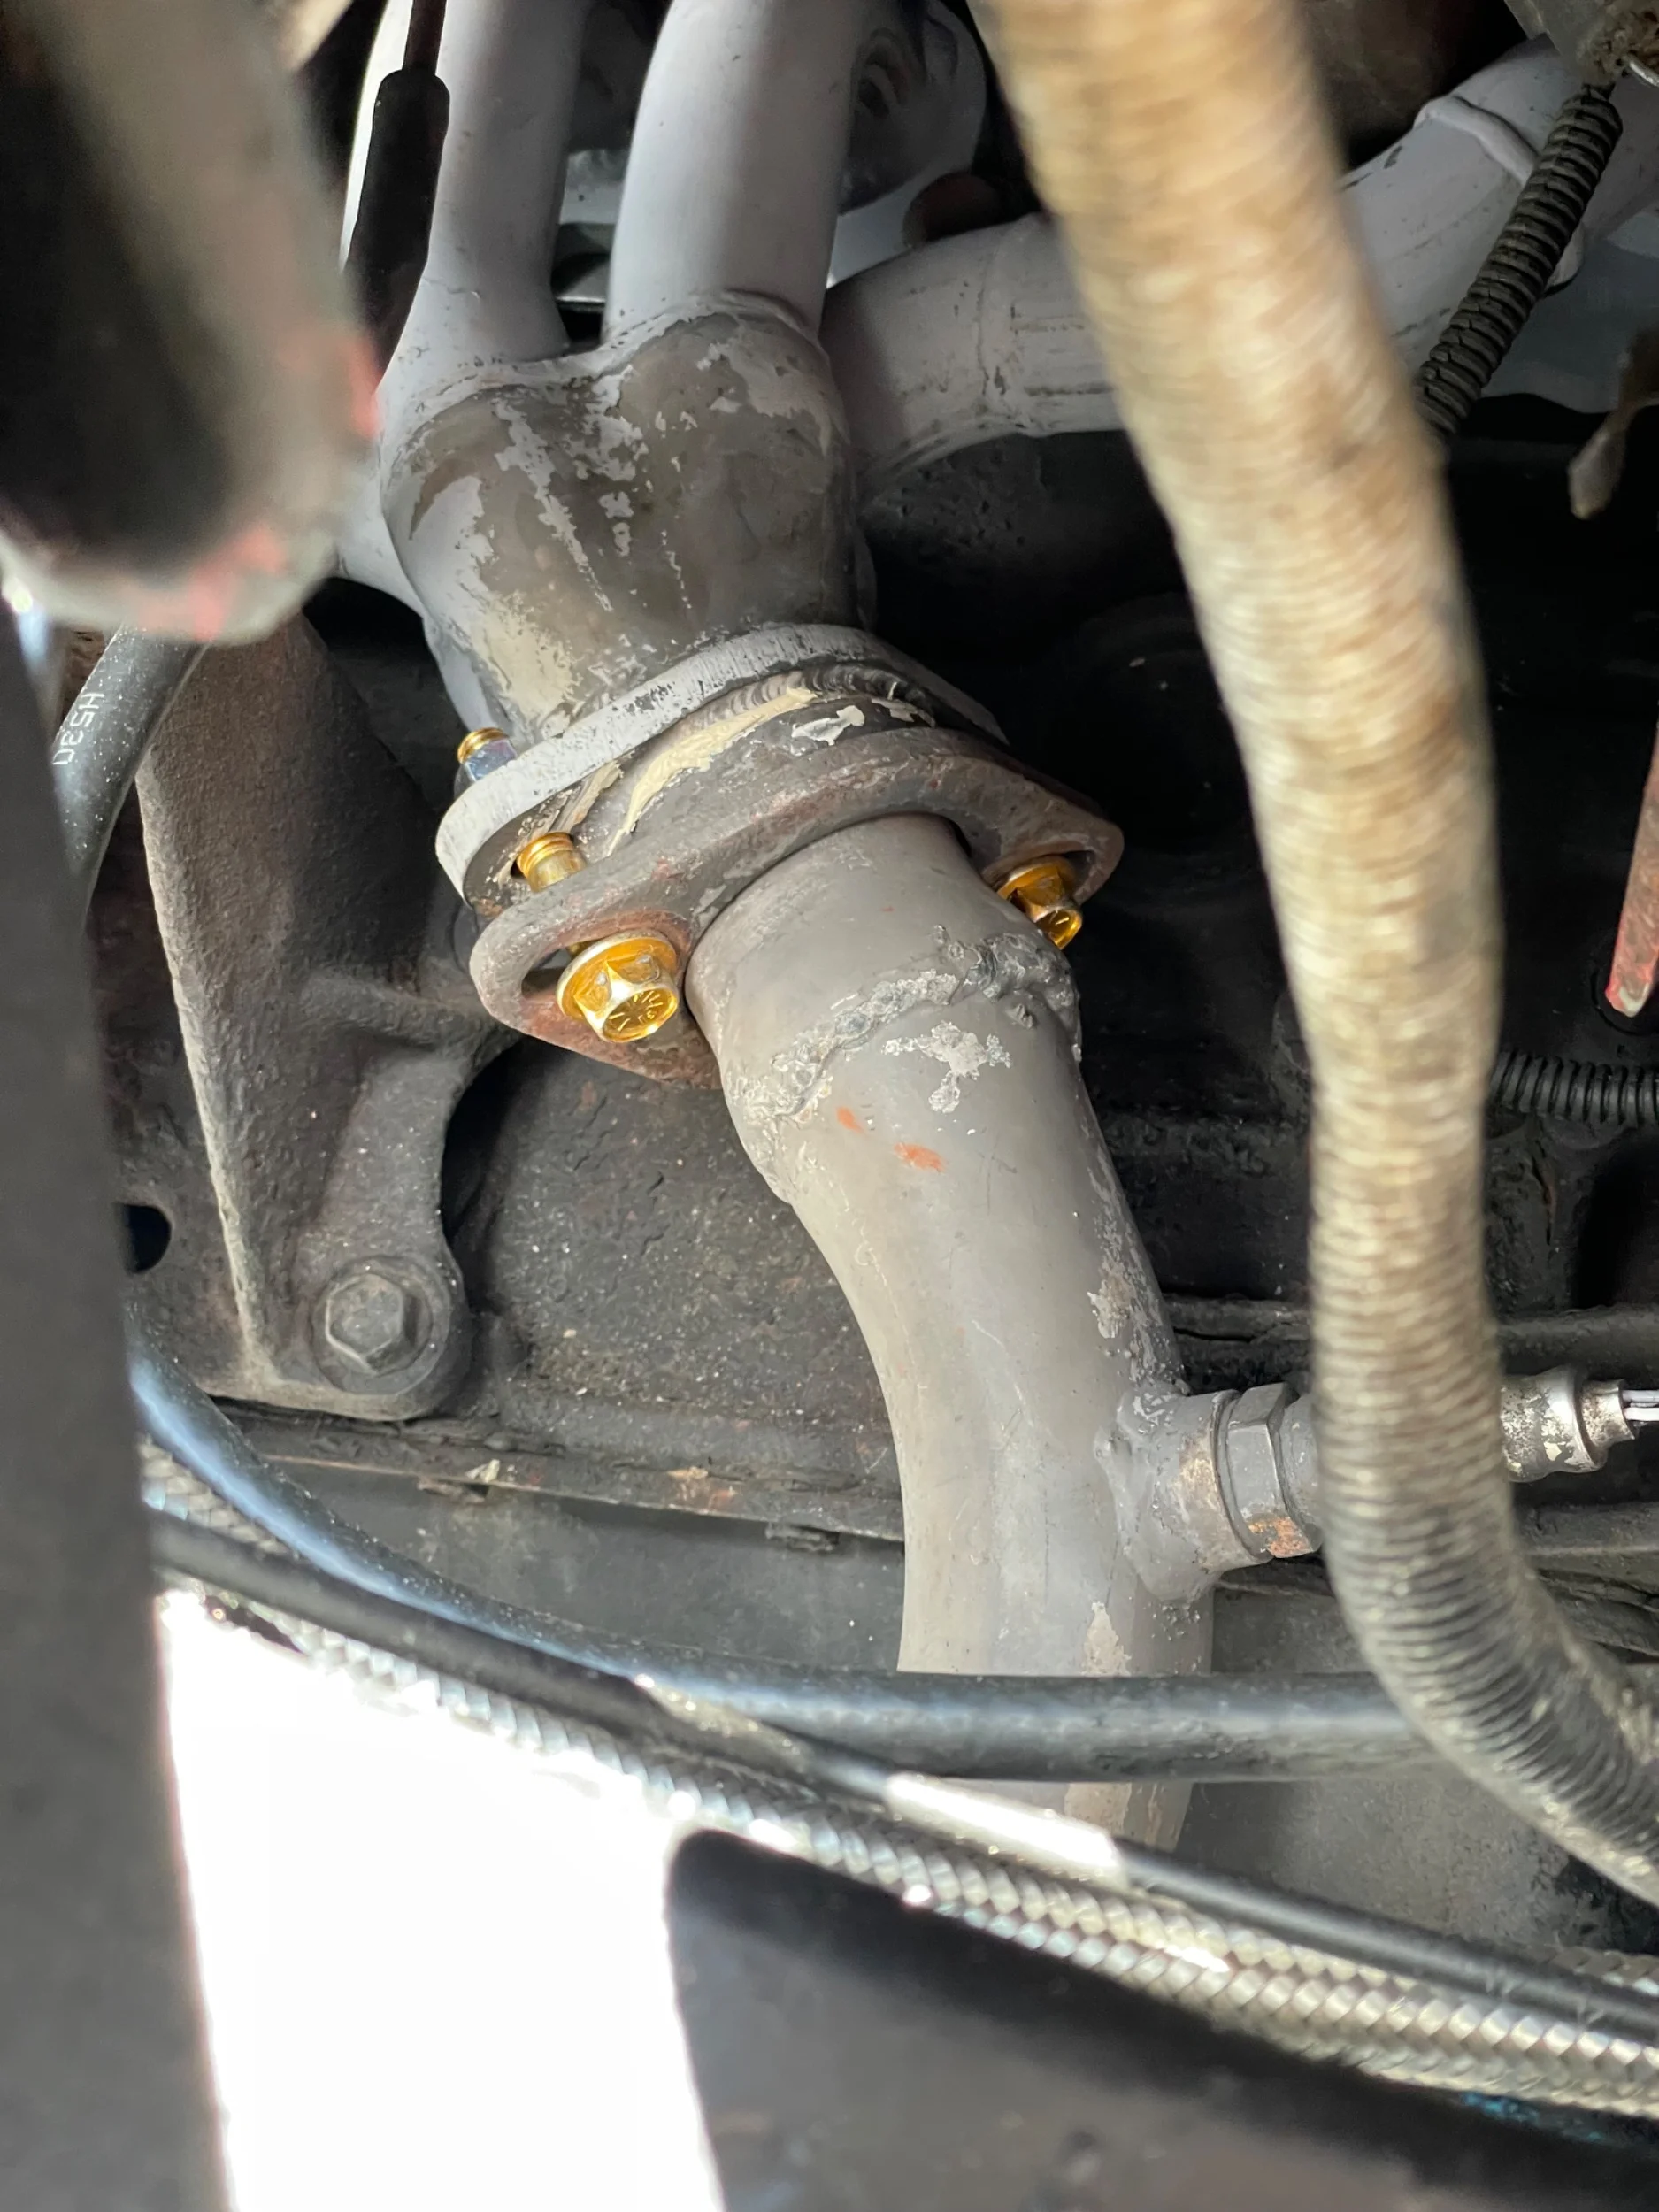
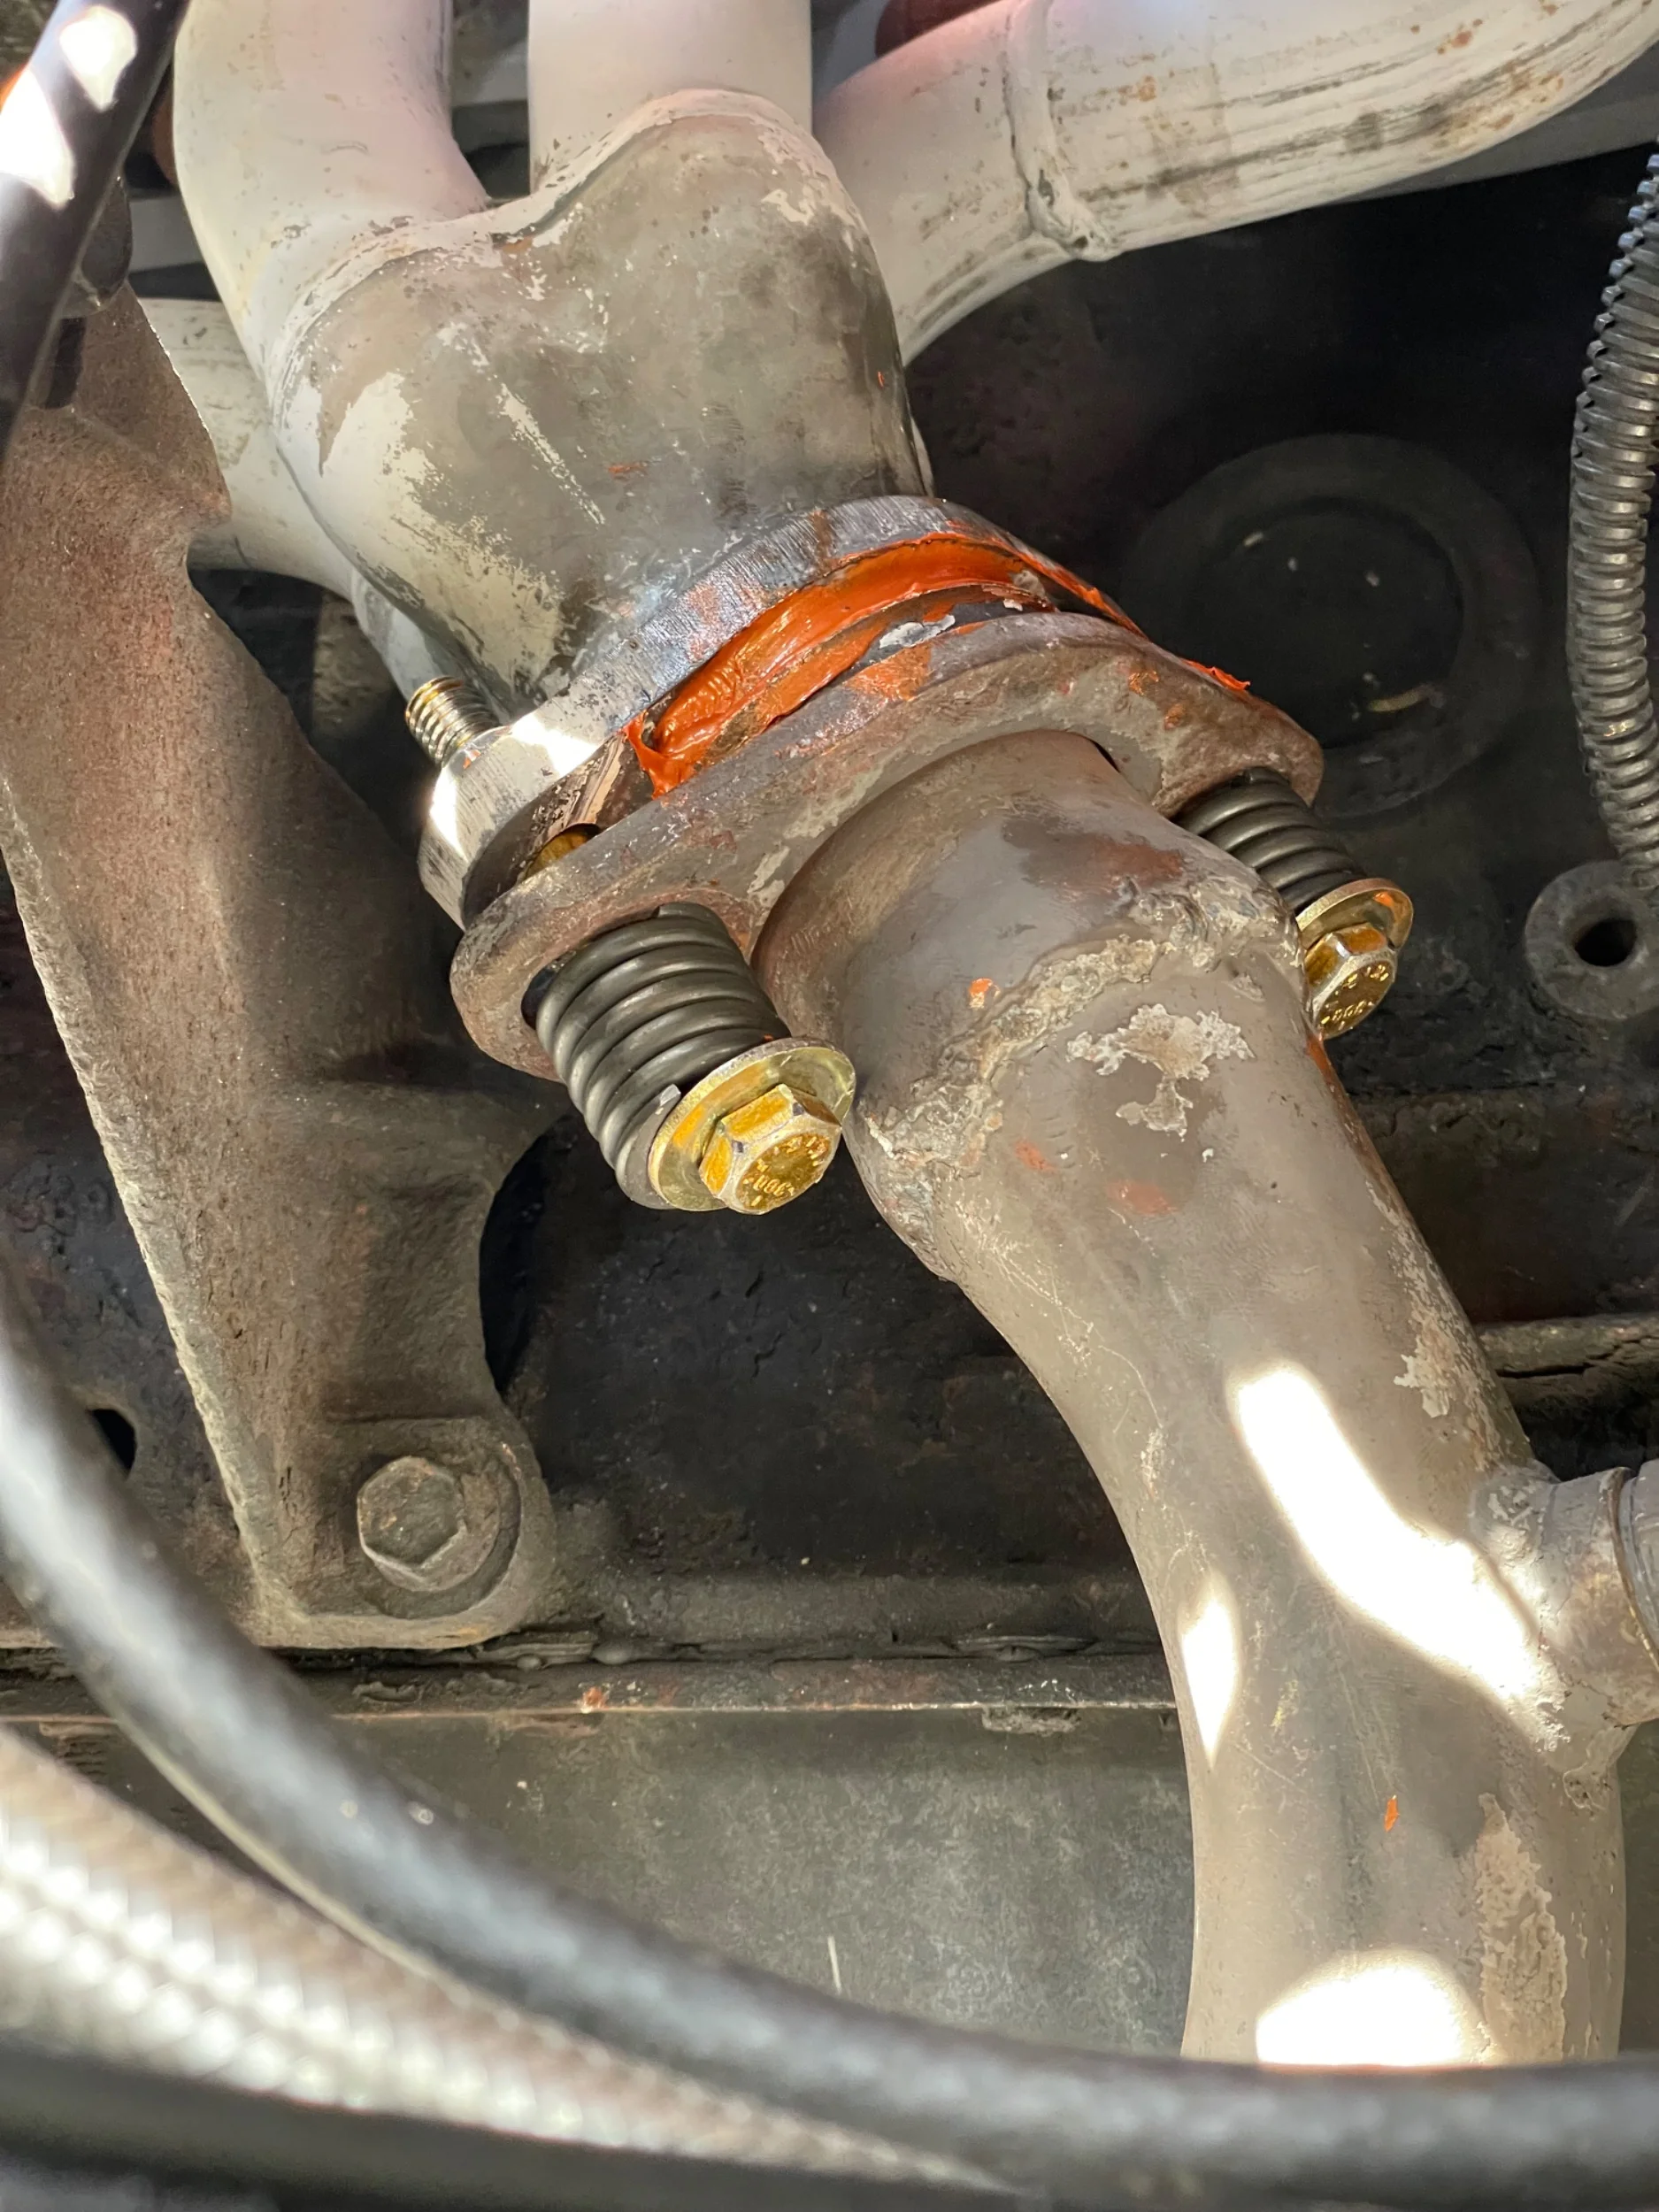
Replaced my header. Old one was cracked in multiple places and the gasket was blown out. Replaced with an AFE stainless. We’ll see how it holds up. Added flex pipe between the cat and the head to help with vibration and flex to hopefully prevent the head cracking.
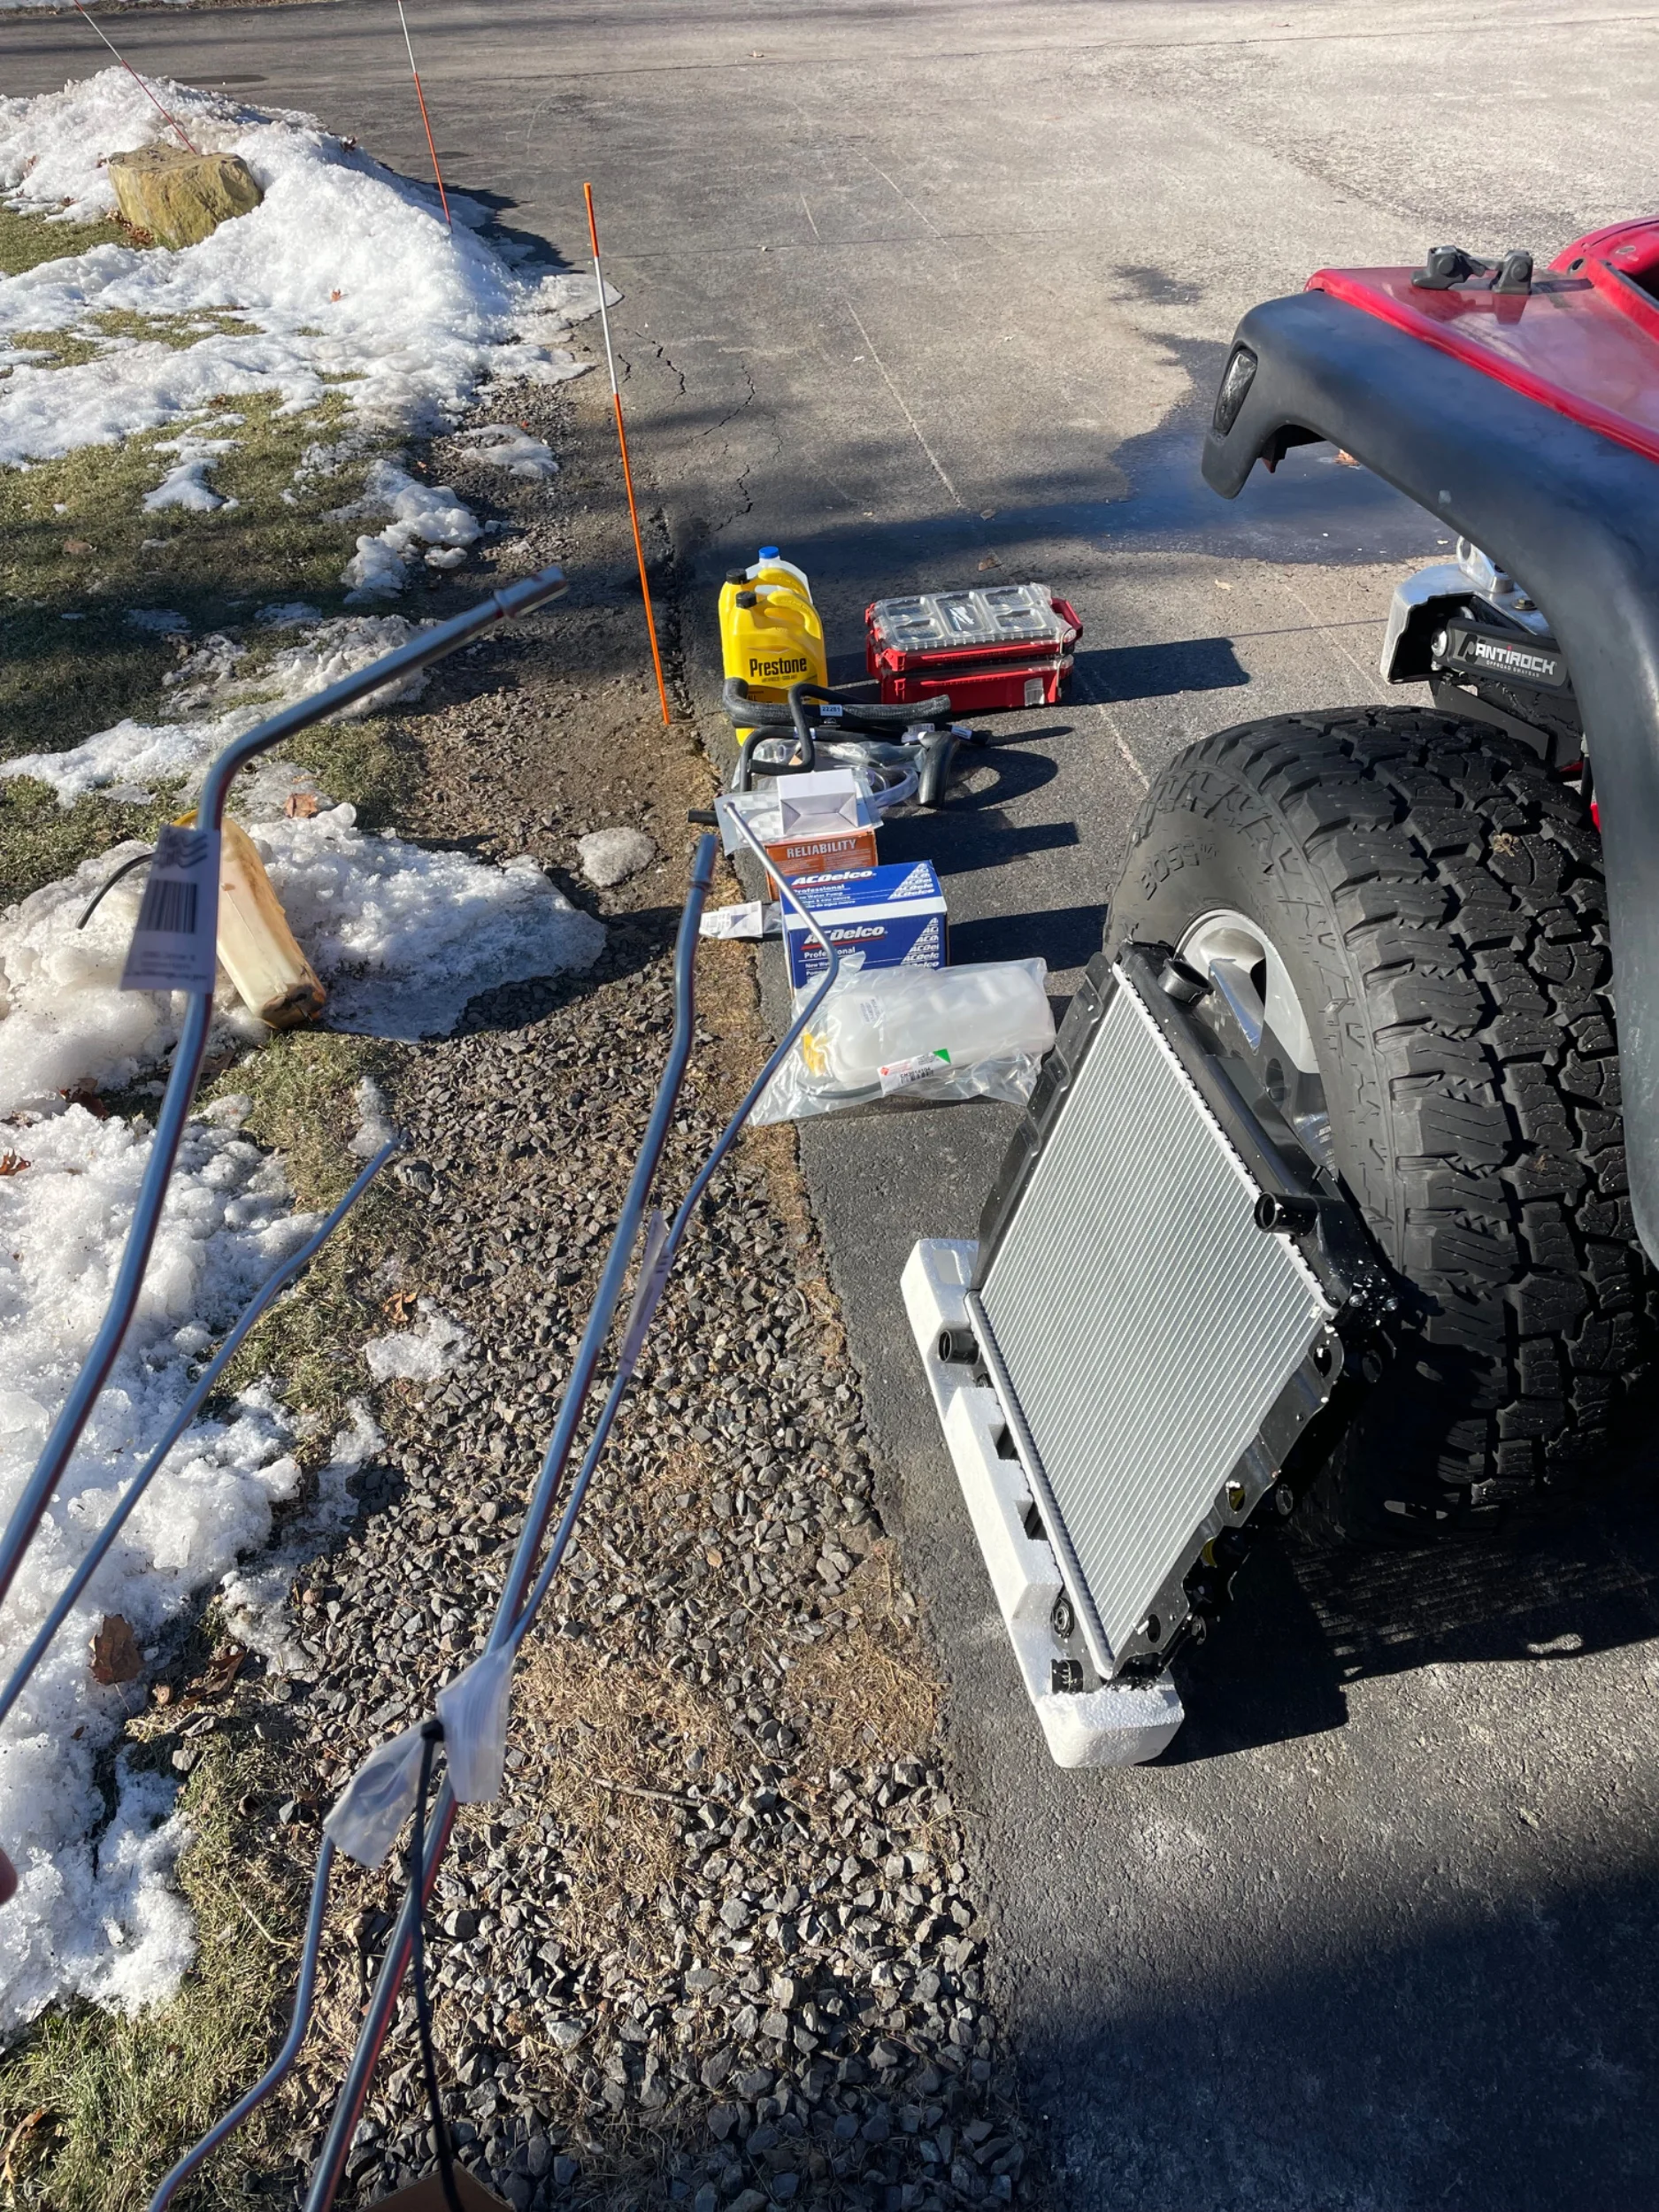
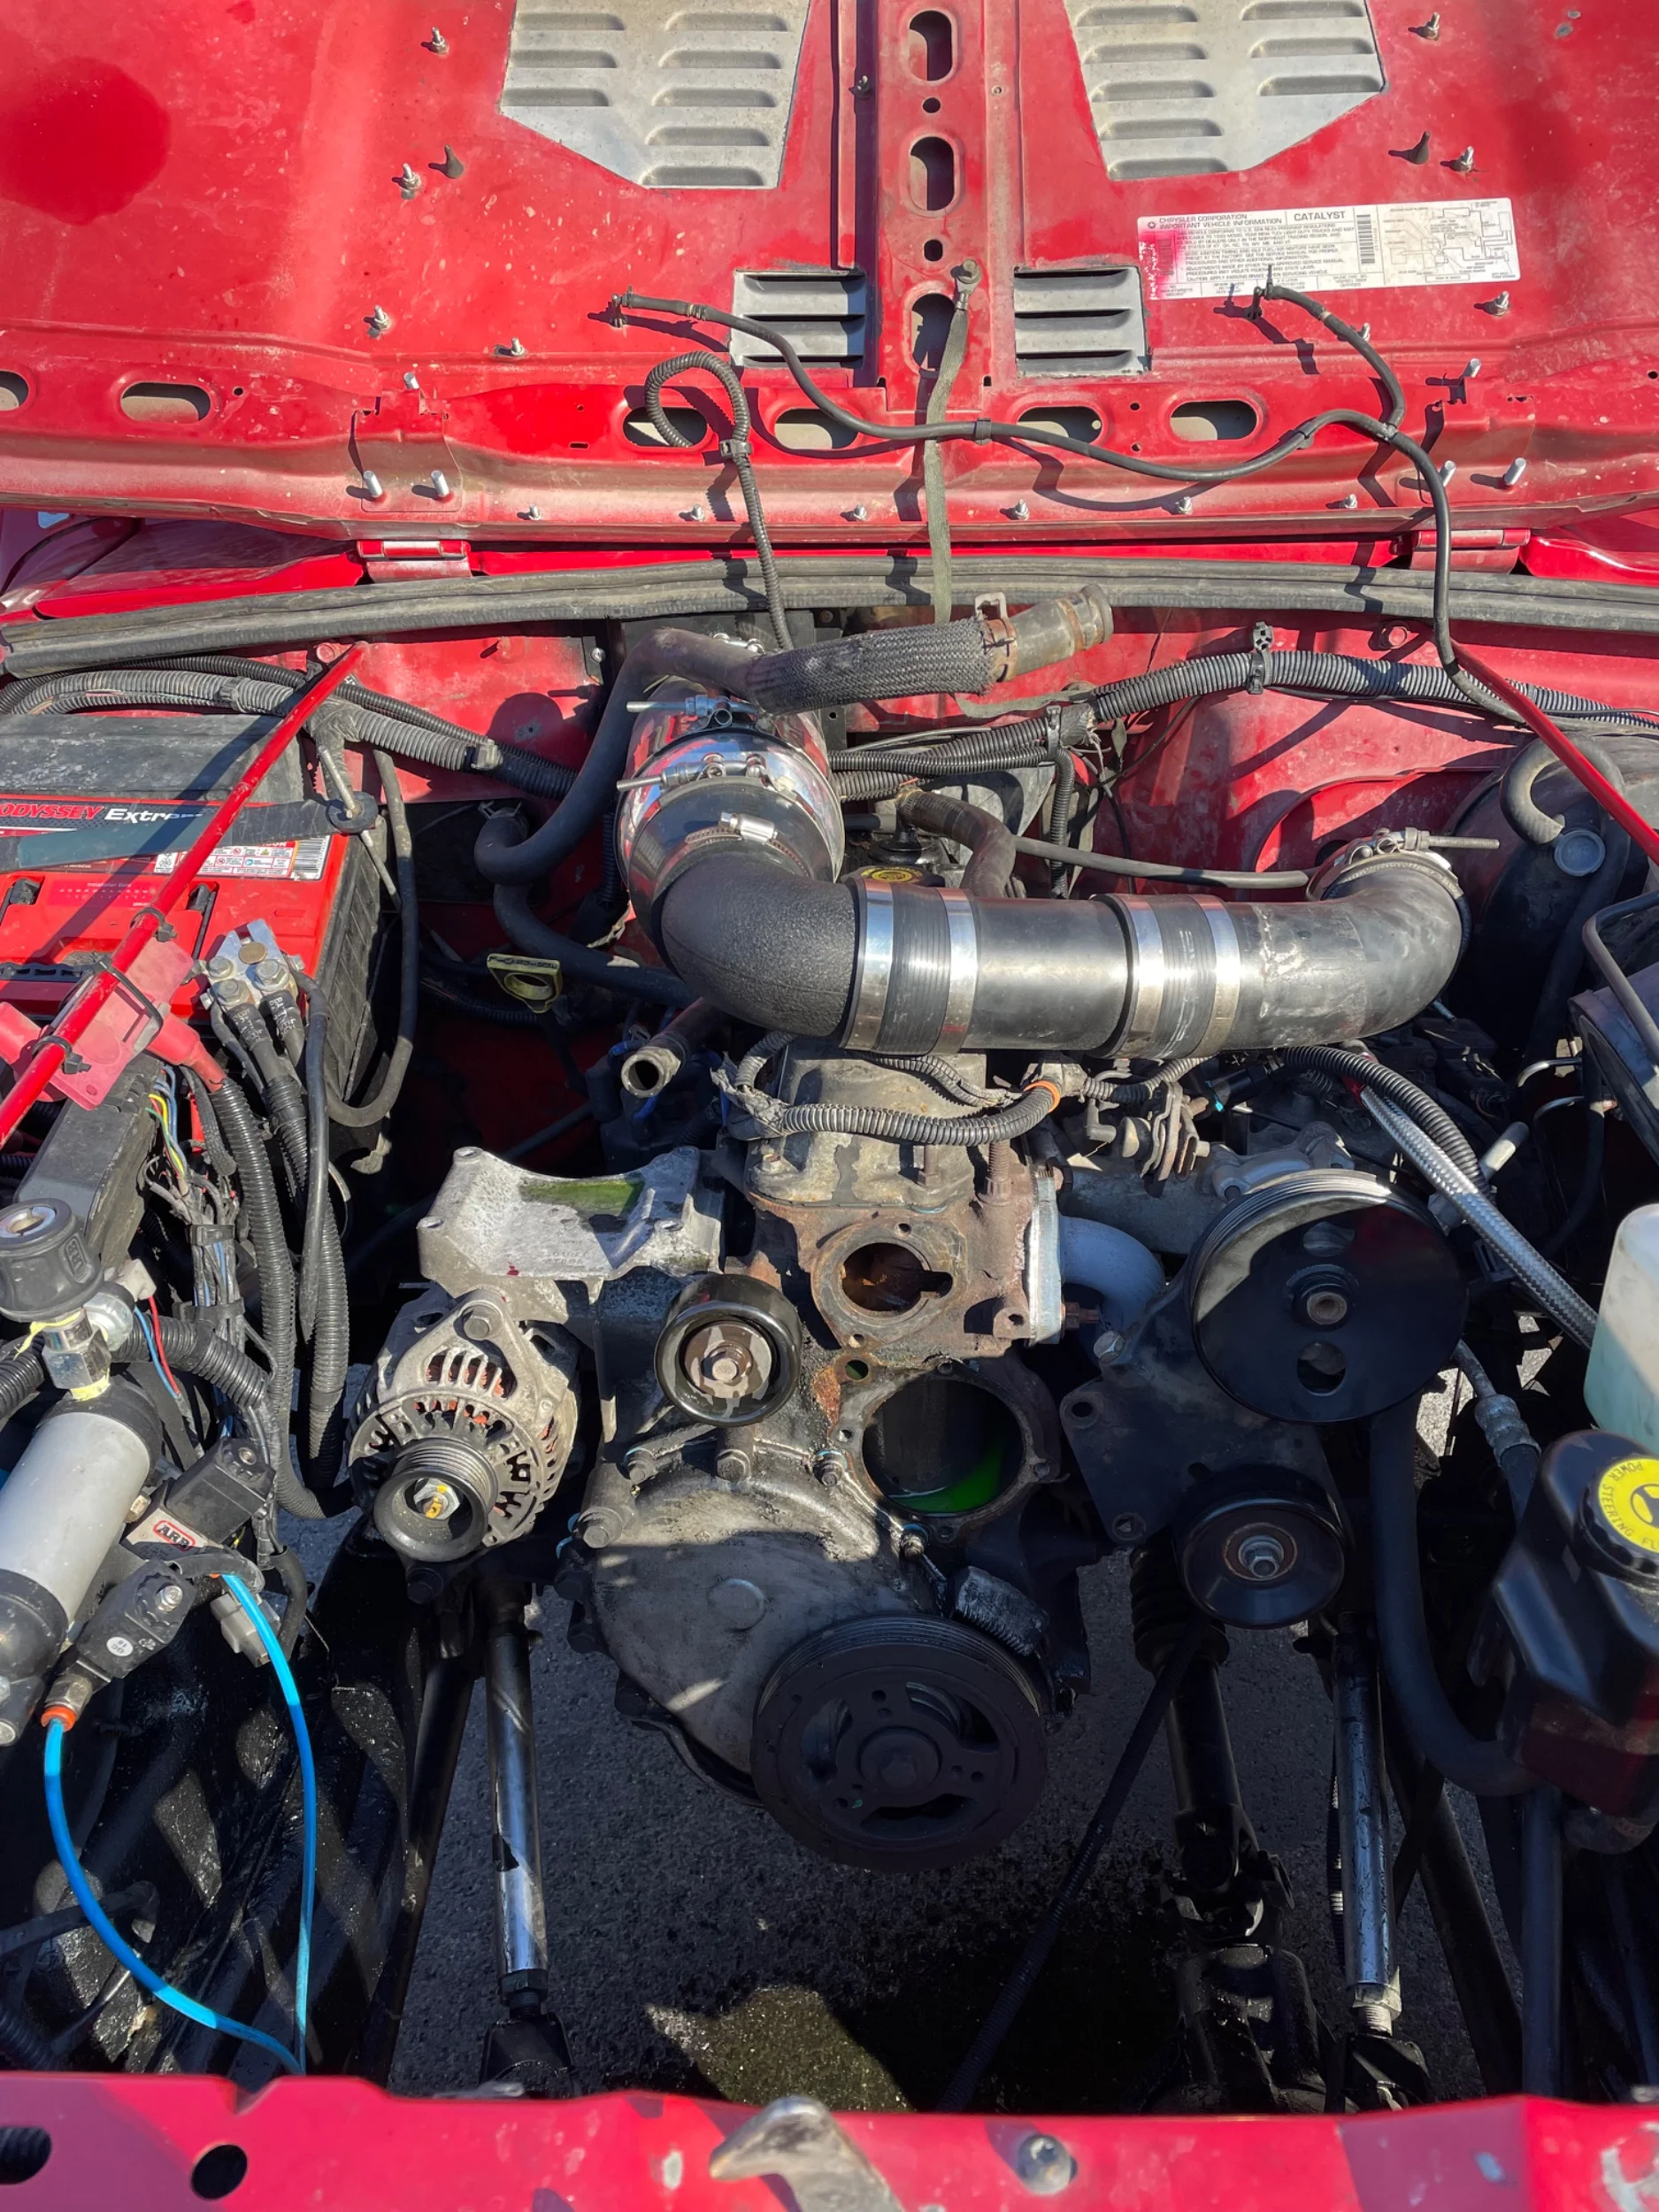
Did water pump, spare radiator I’ve had for years, hoses, and Thermostat has been changed many times. Still doesn’t blow HOT like I know it can but I’ve just given up on it since it’s not going to be a winter daily next year. The salt here in New England is just too much.
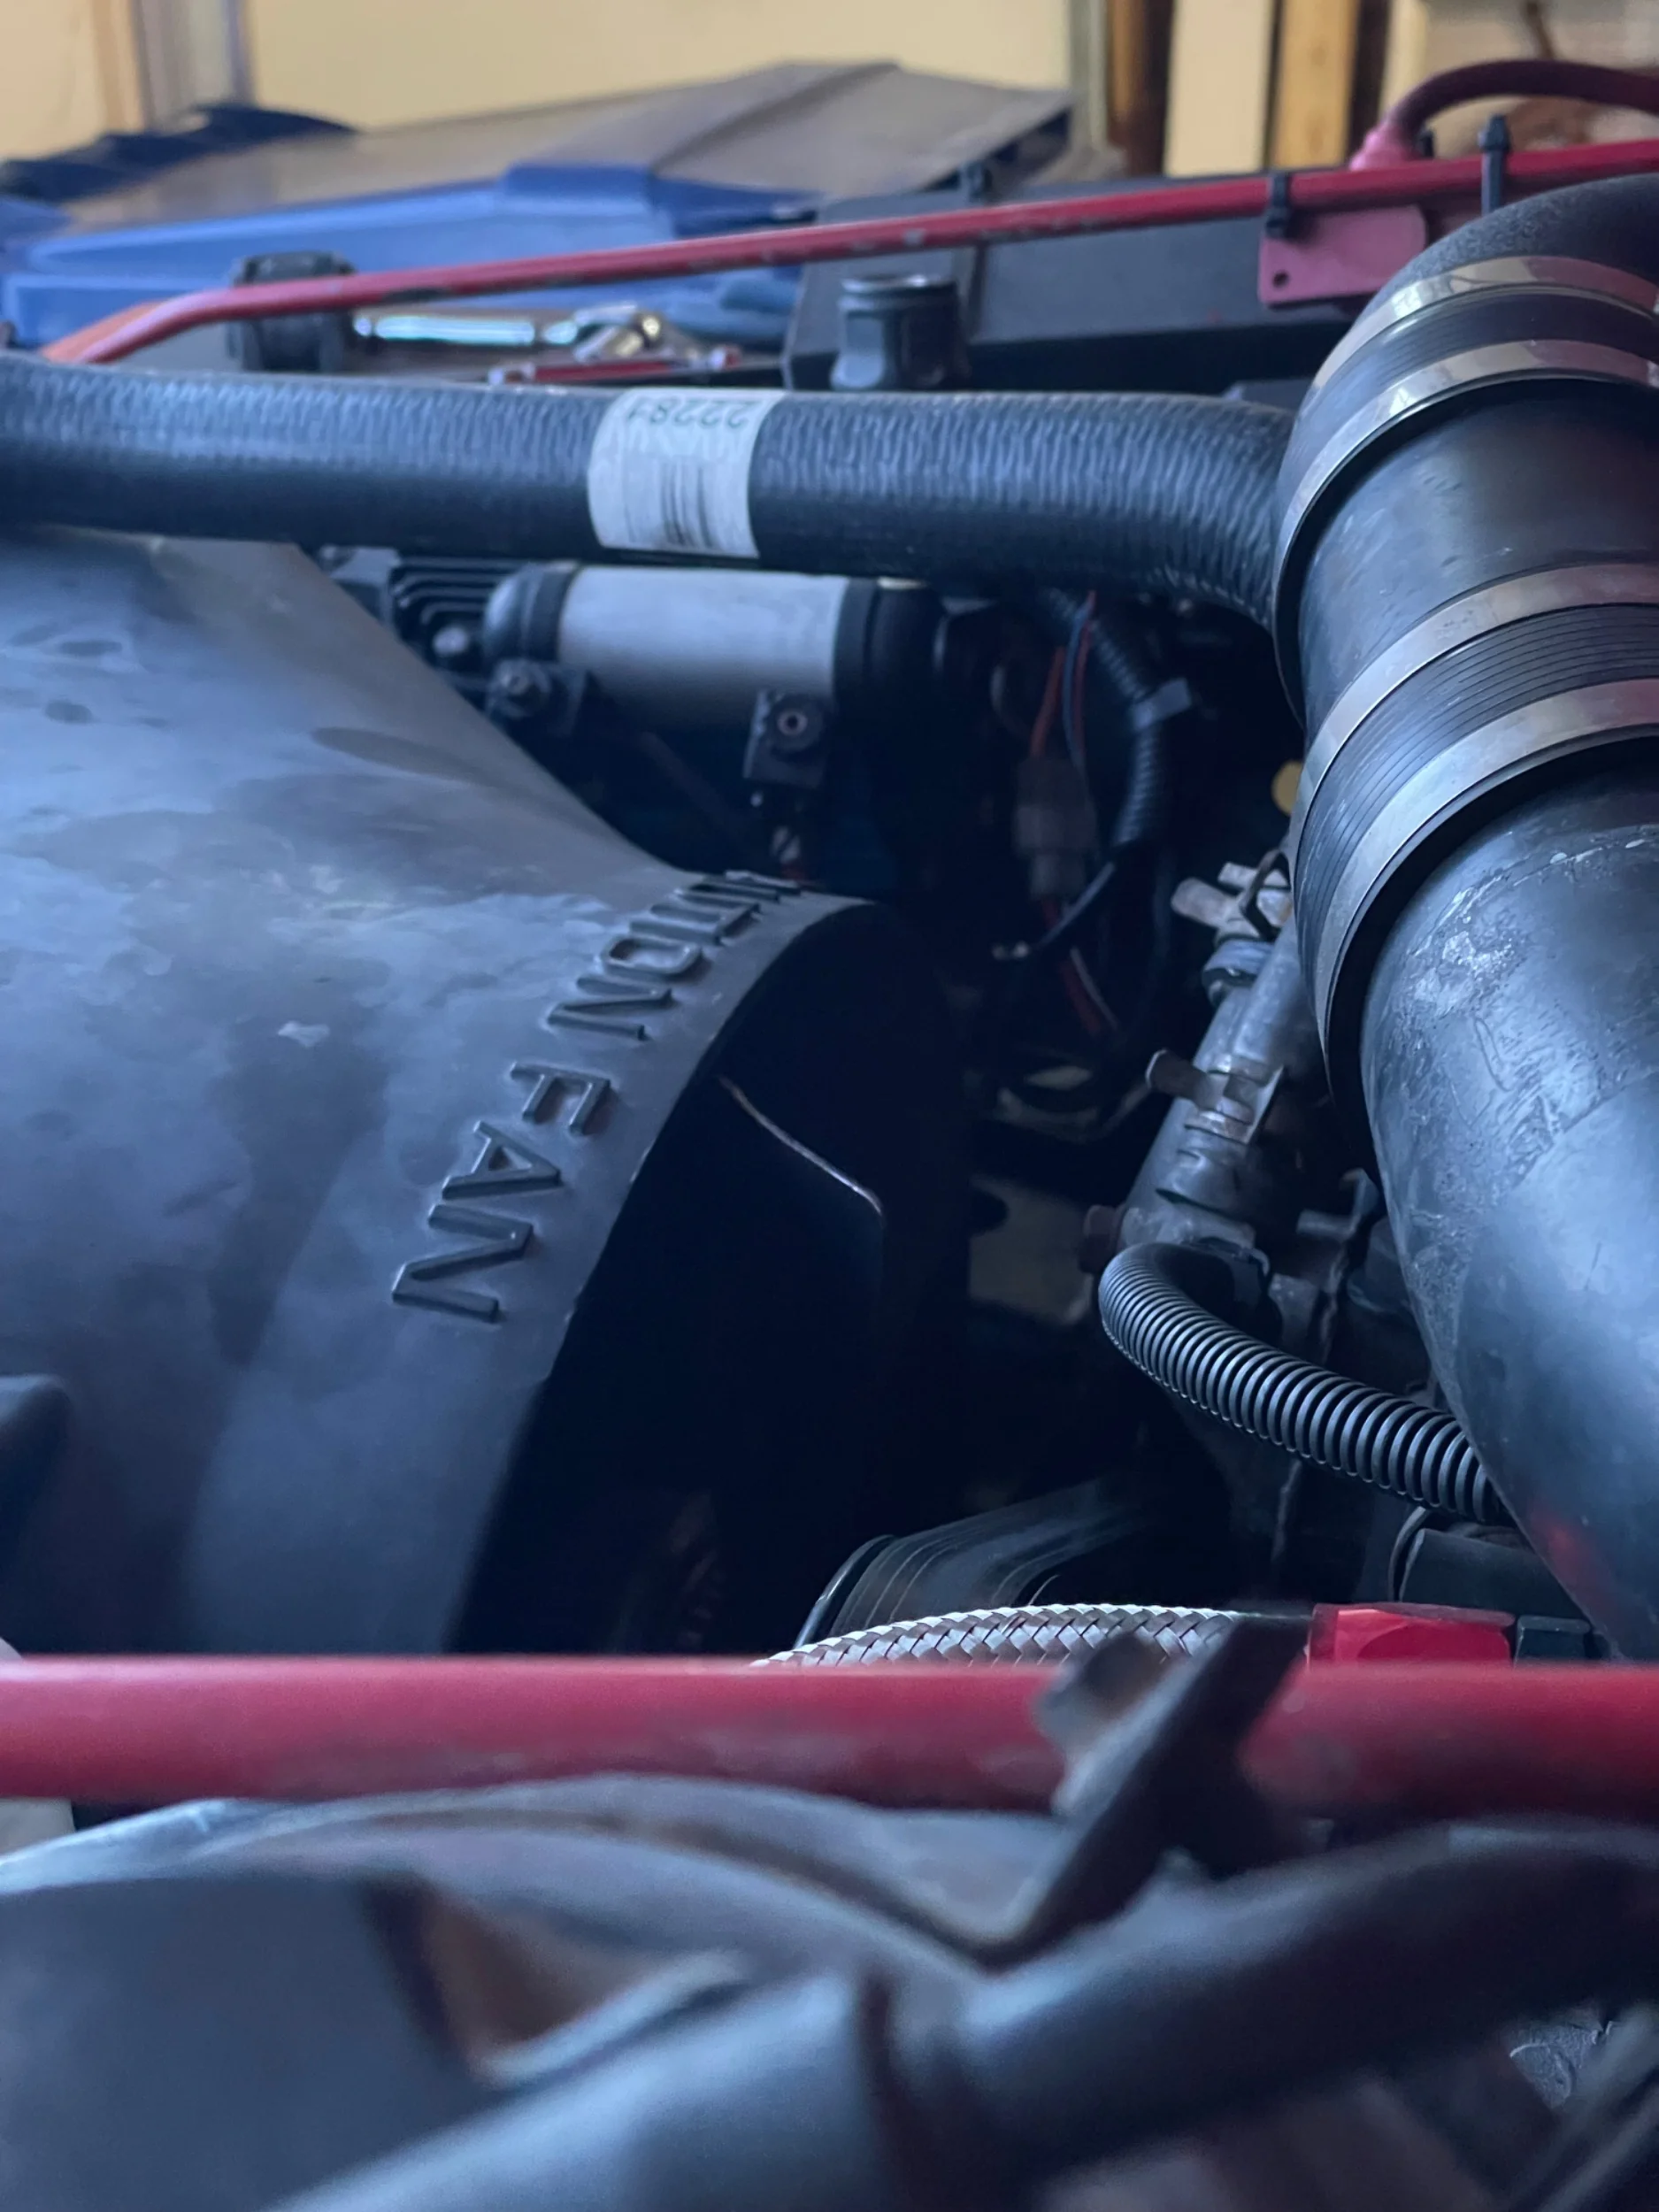
Had to adjust my radiator shroud up. Some how it could touch the fan when I push the clutch in just a little bit. So I was going crazy thinking my throw out bearing was bad.
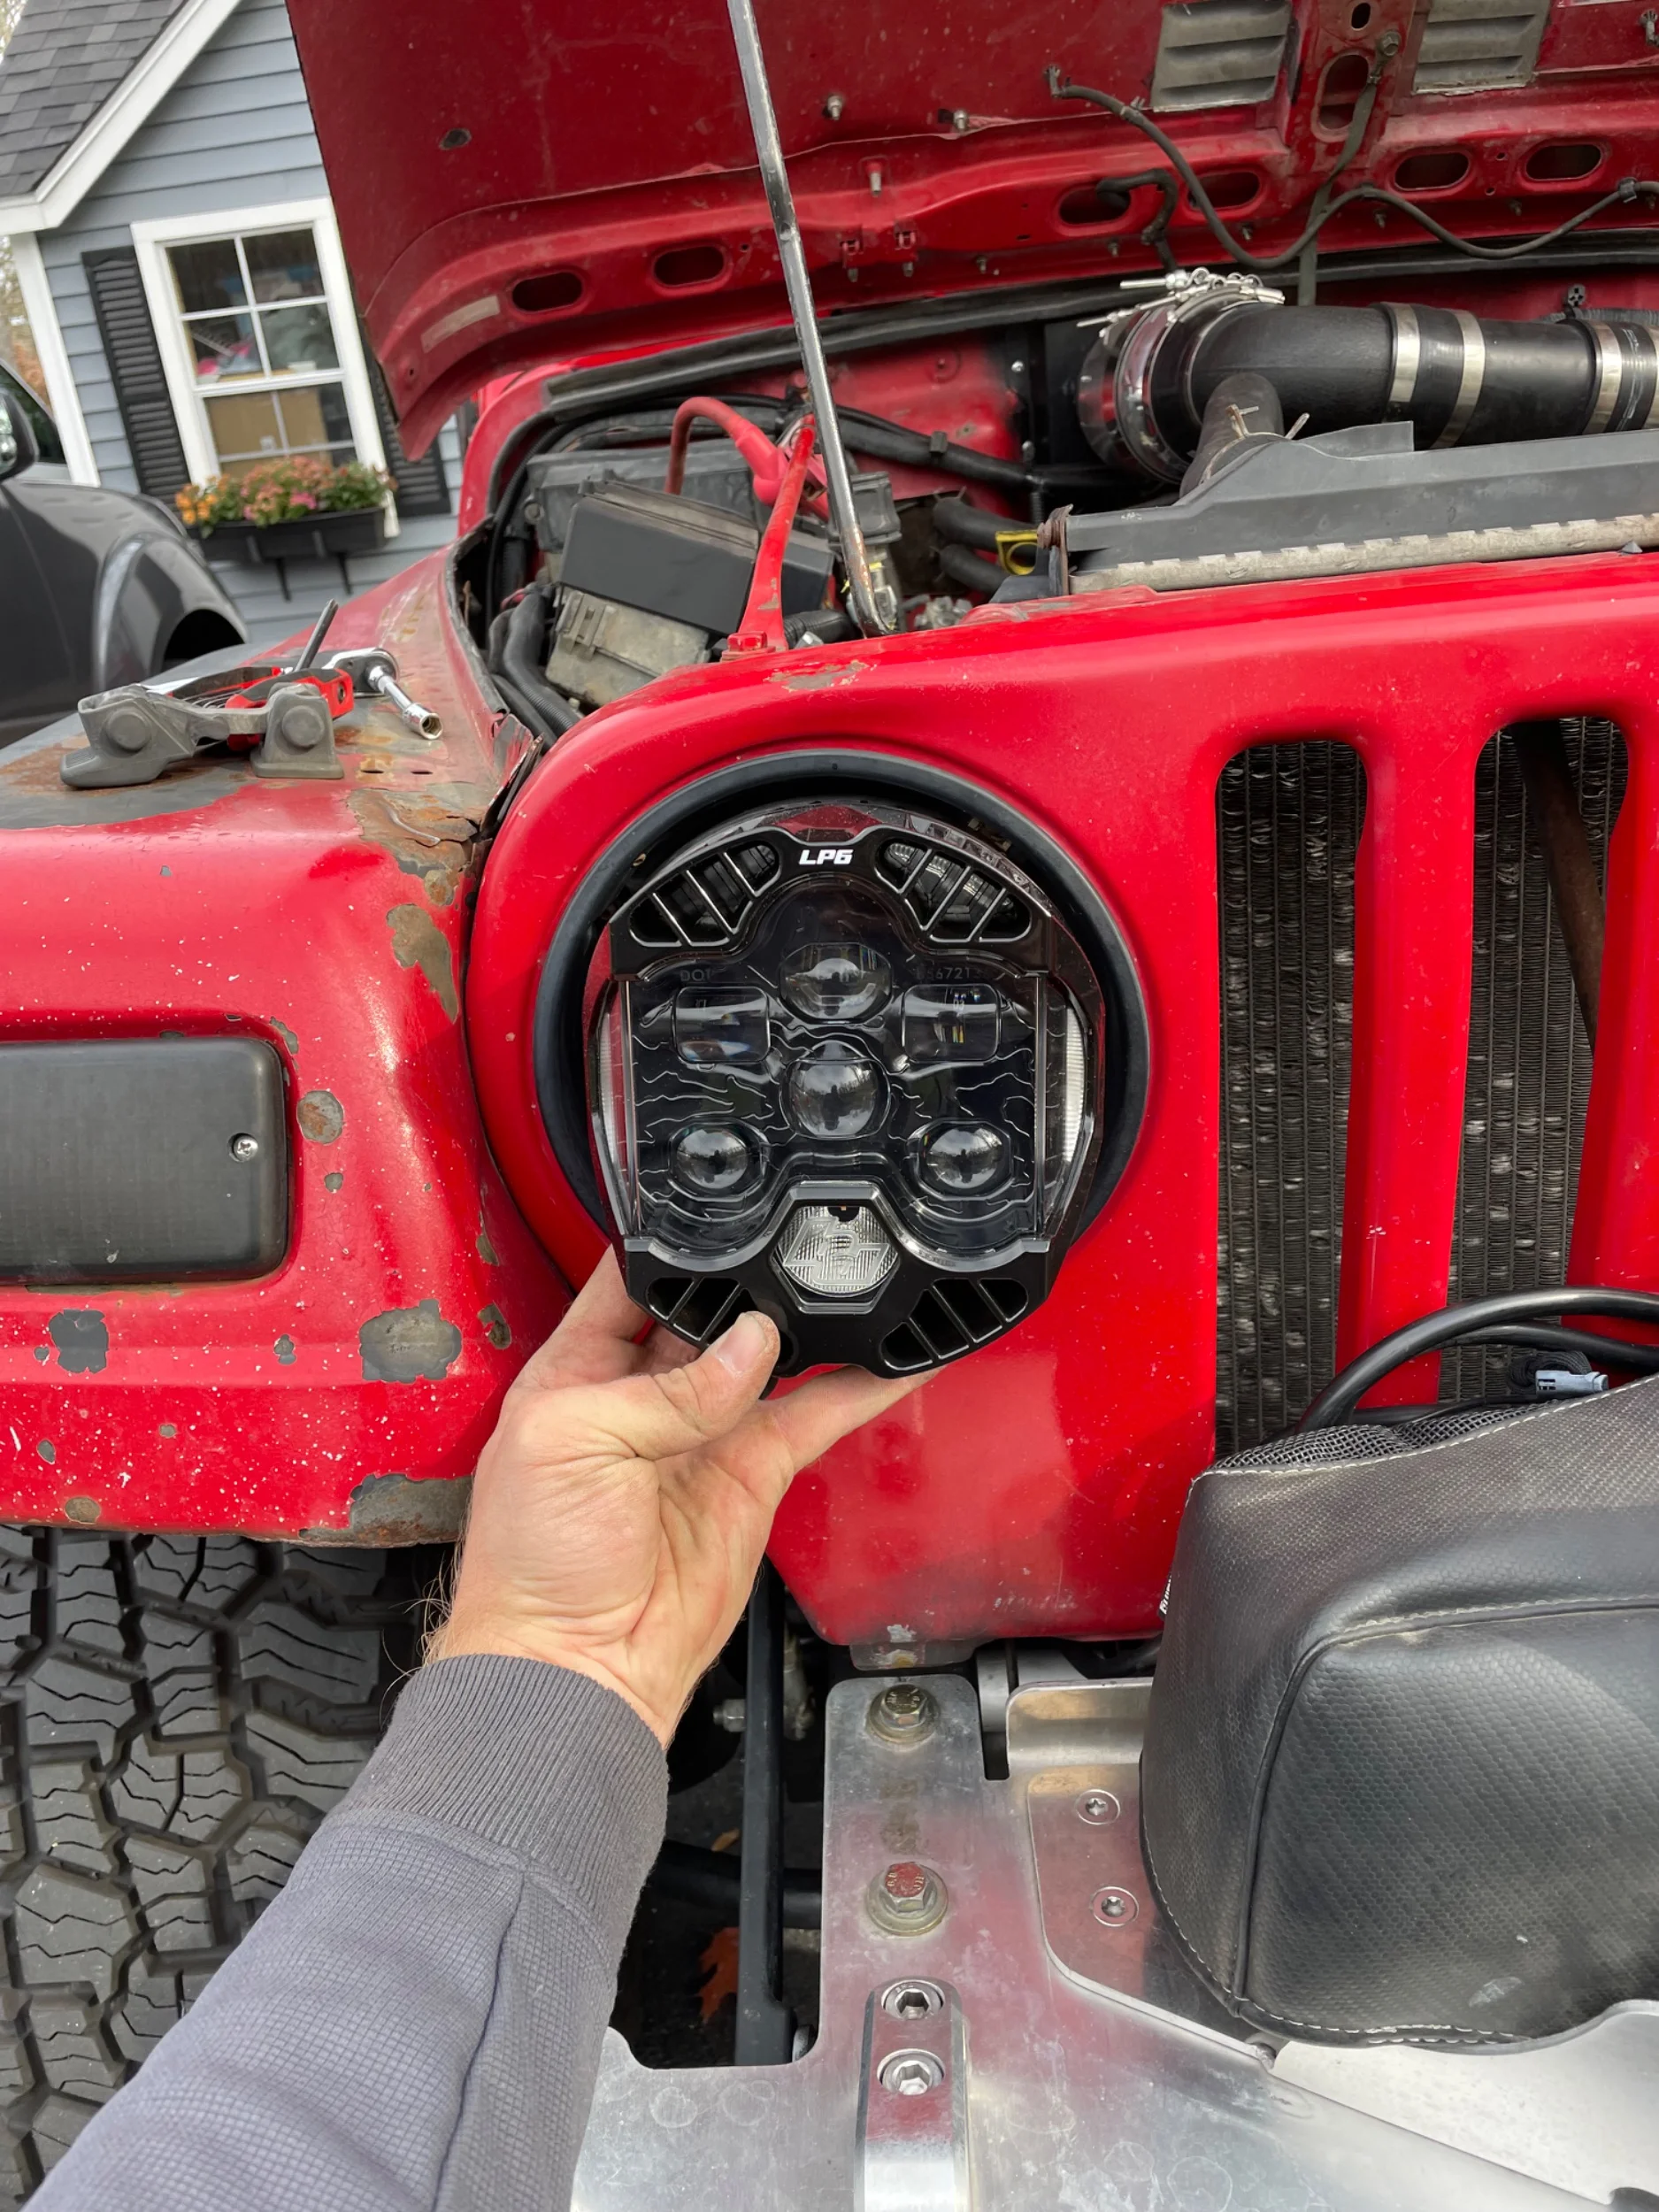
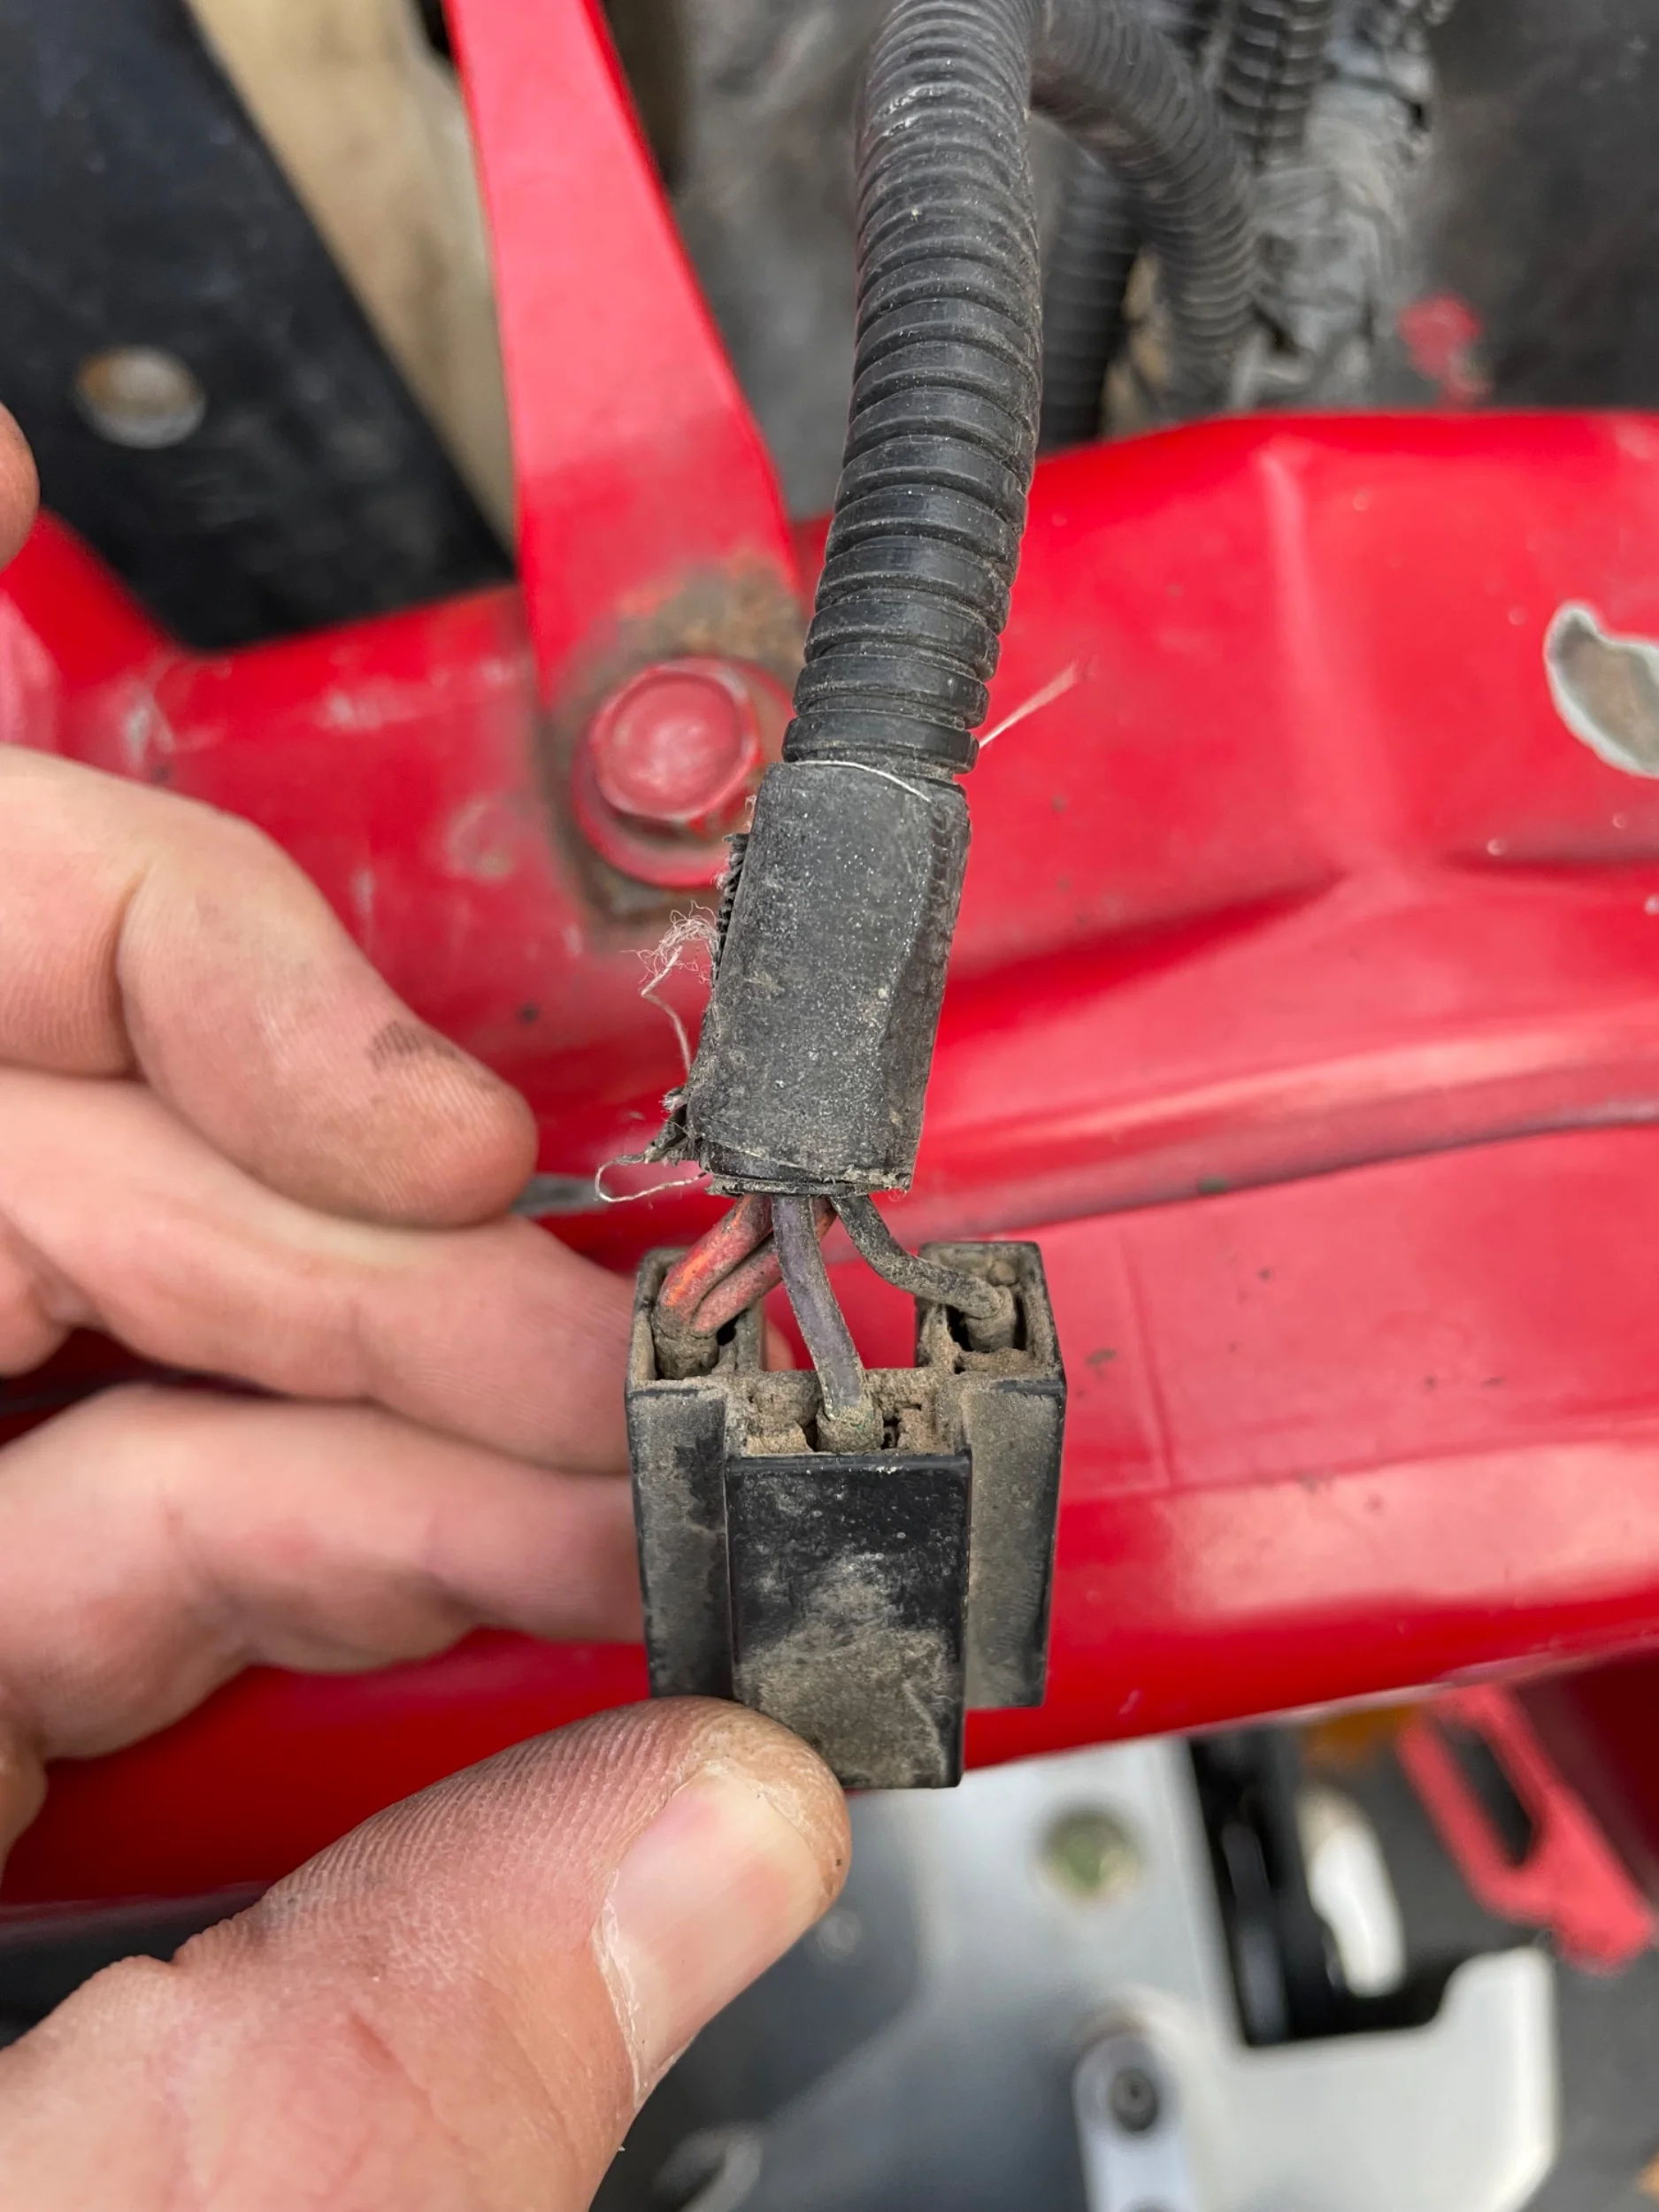
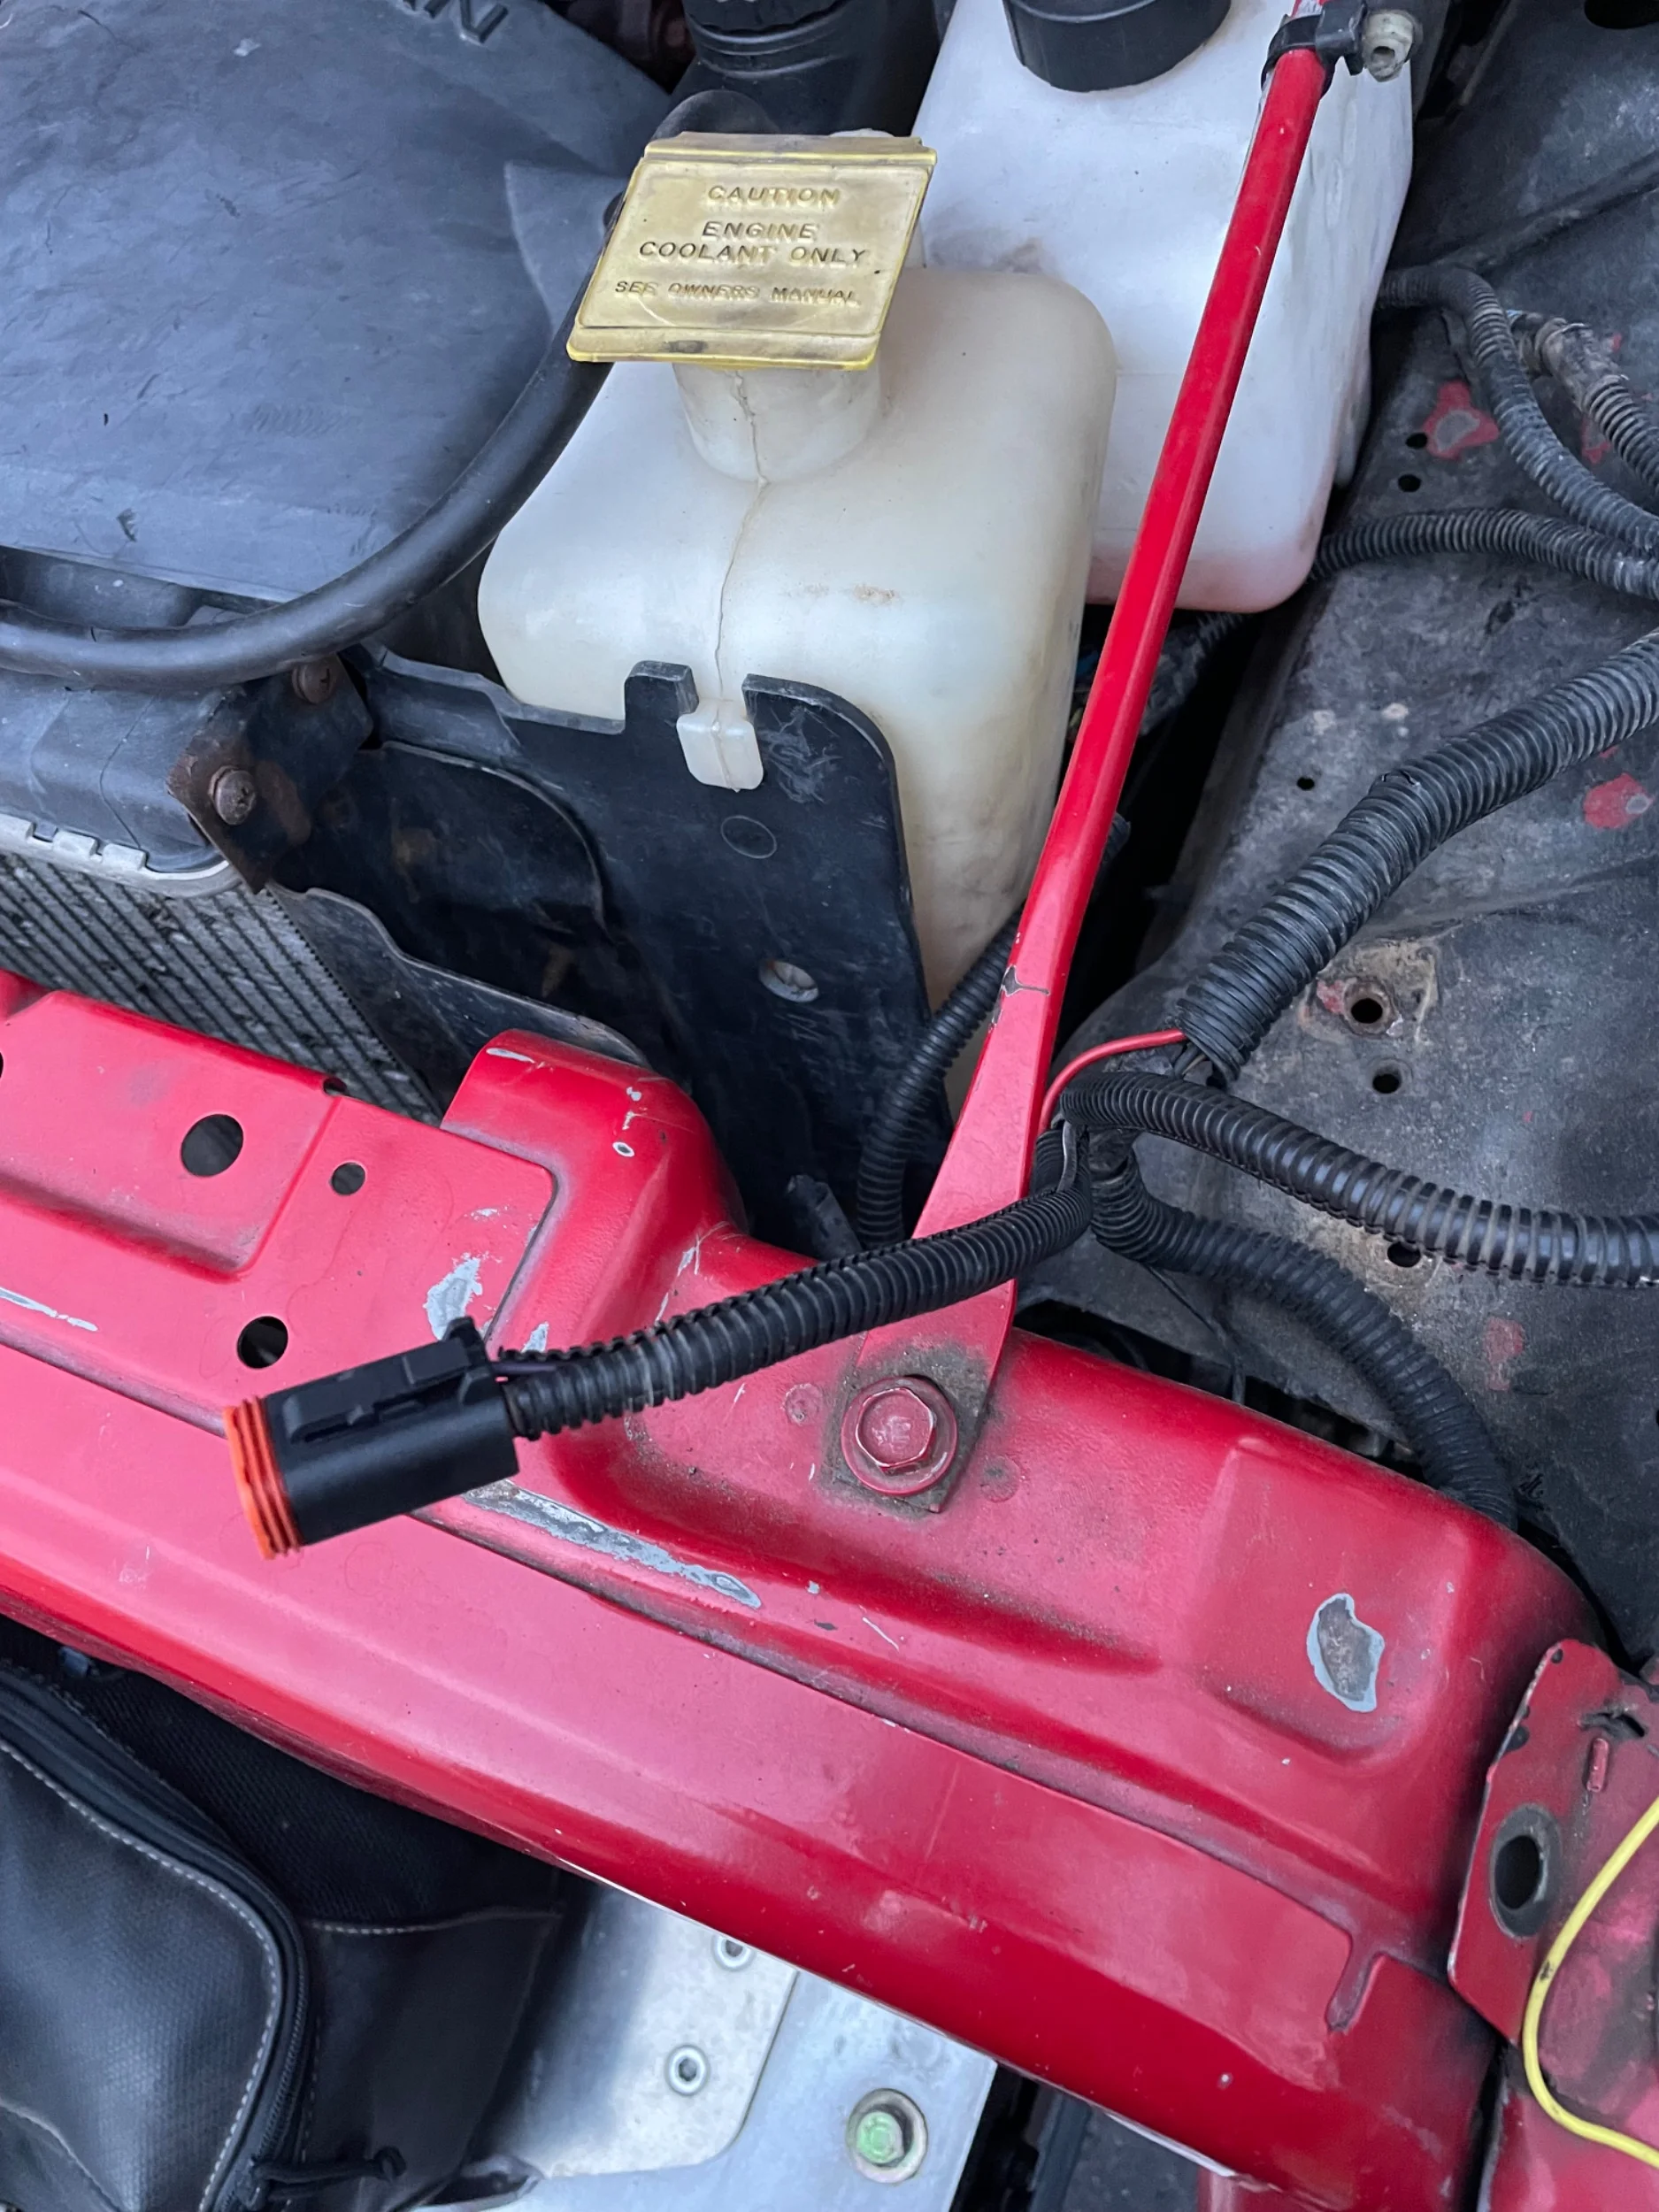
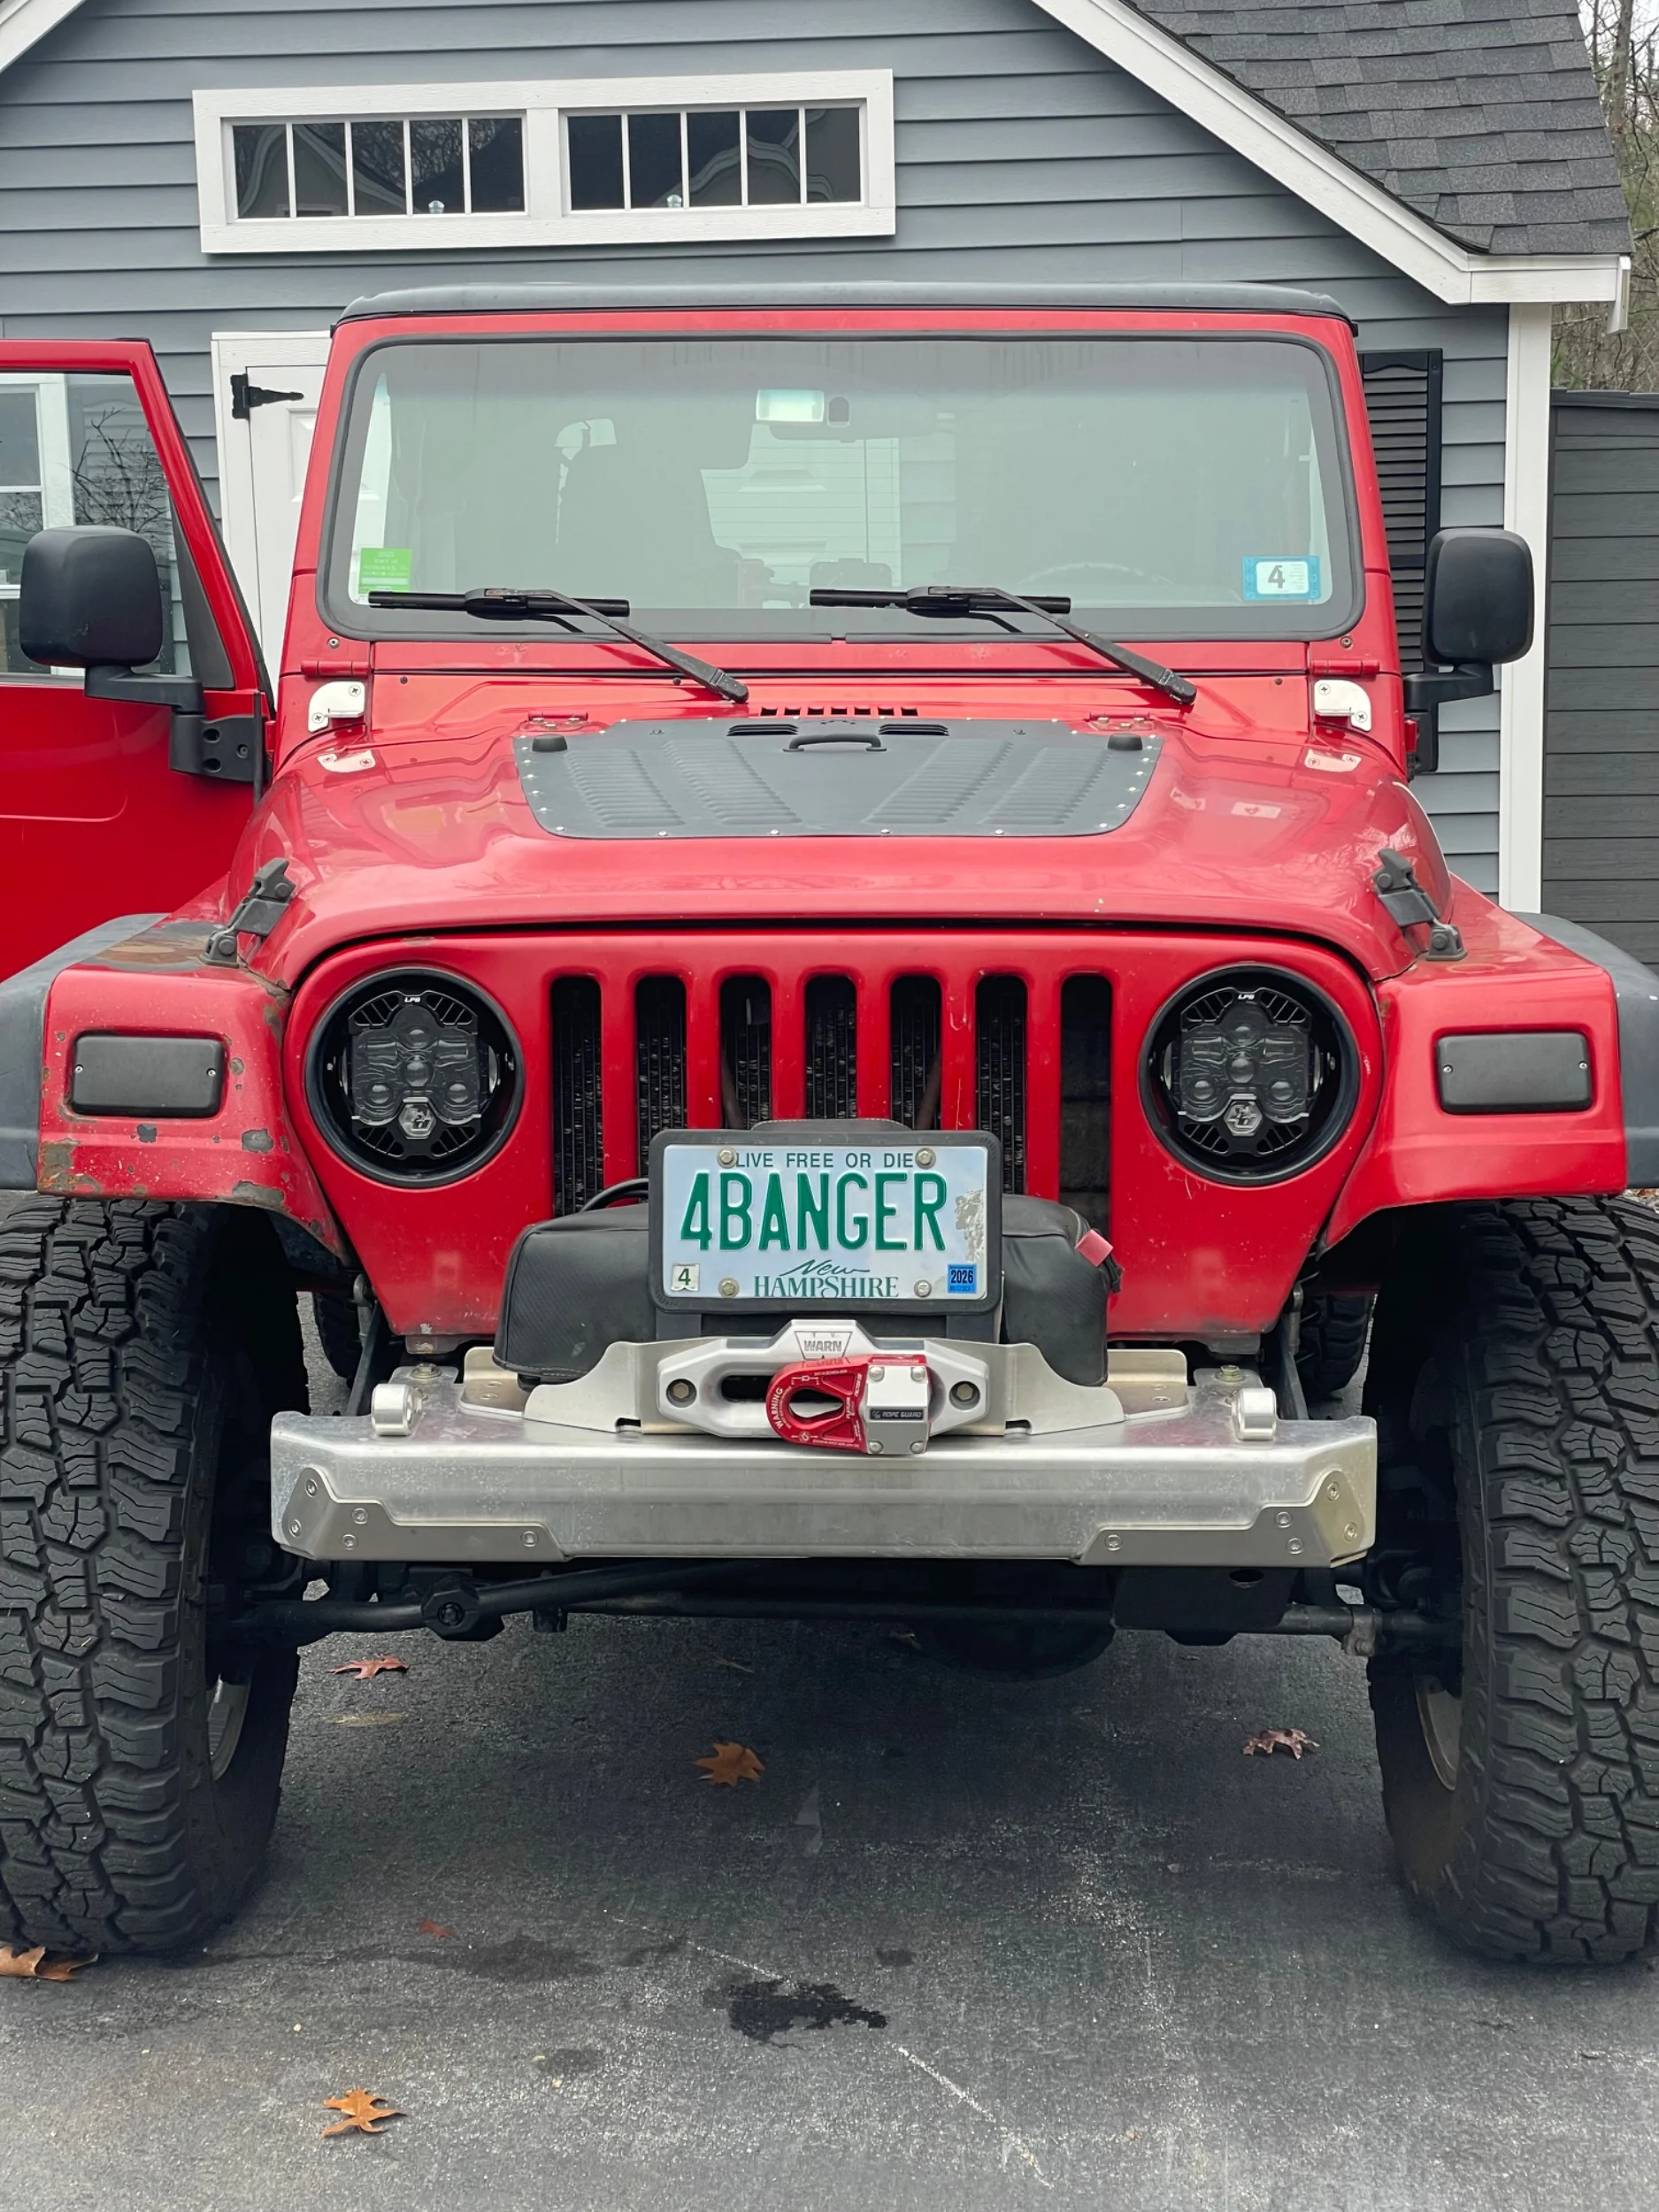
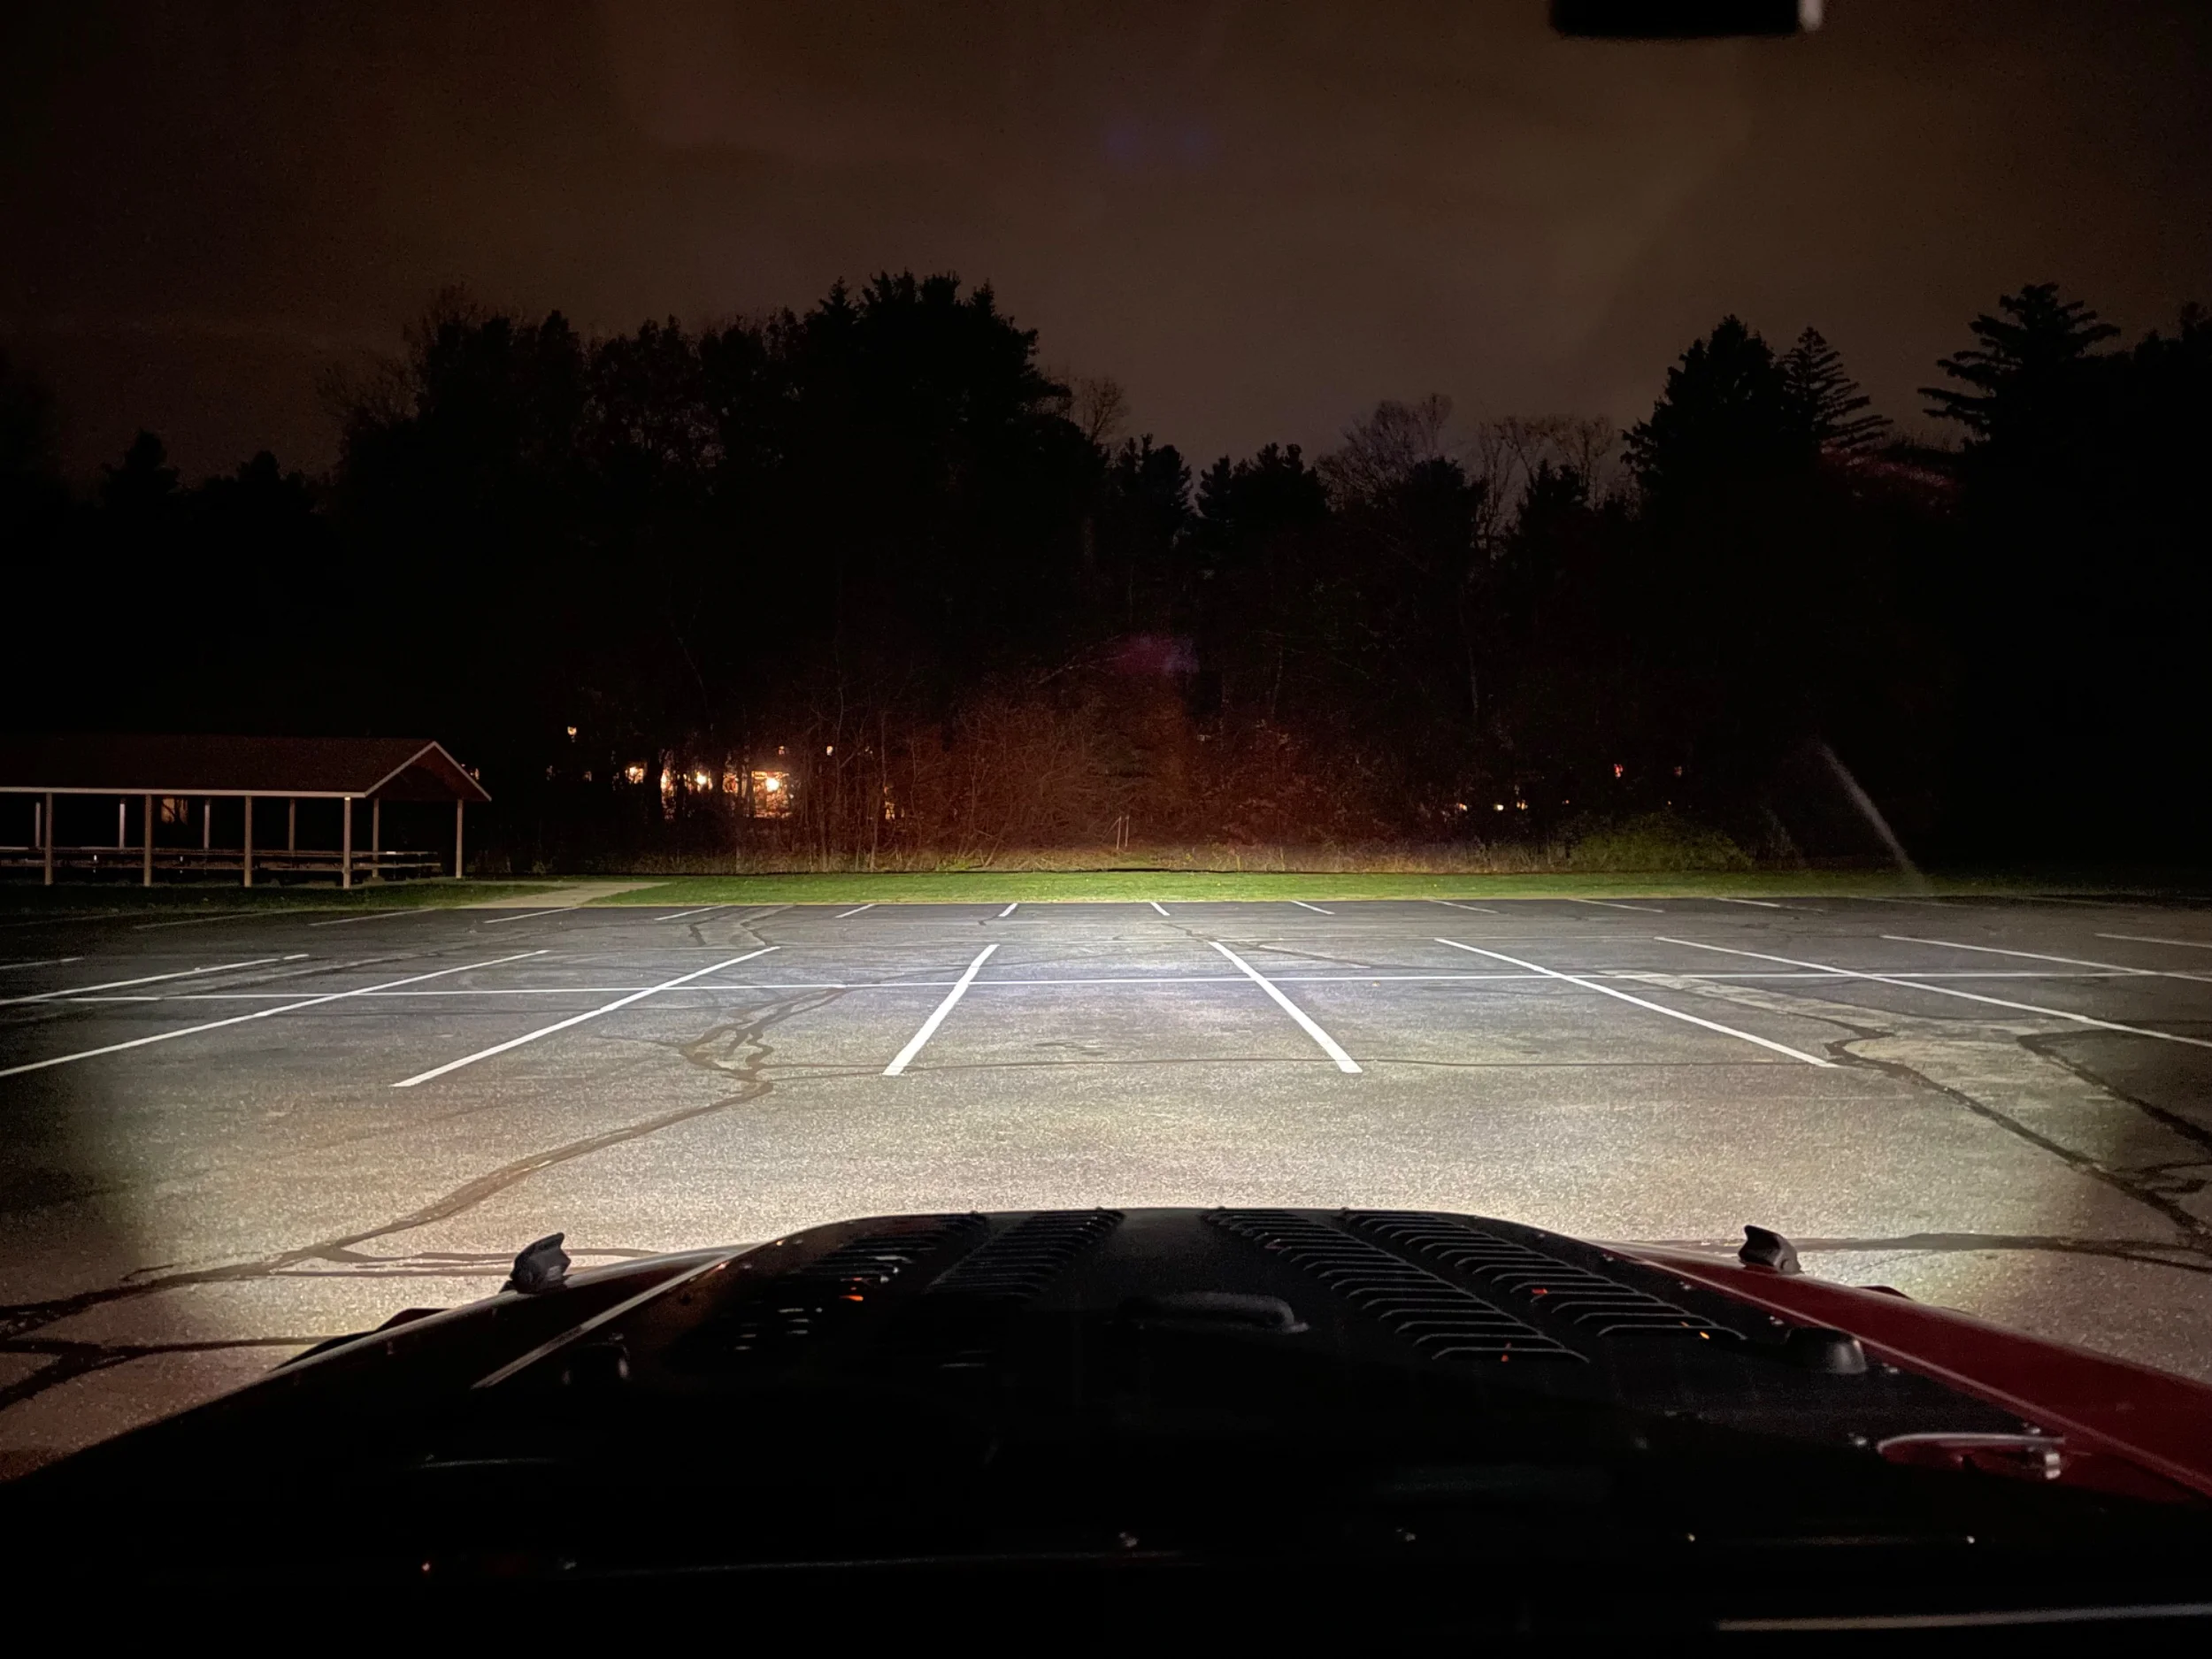
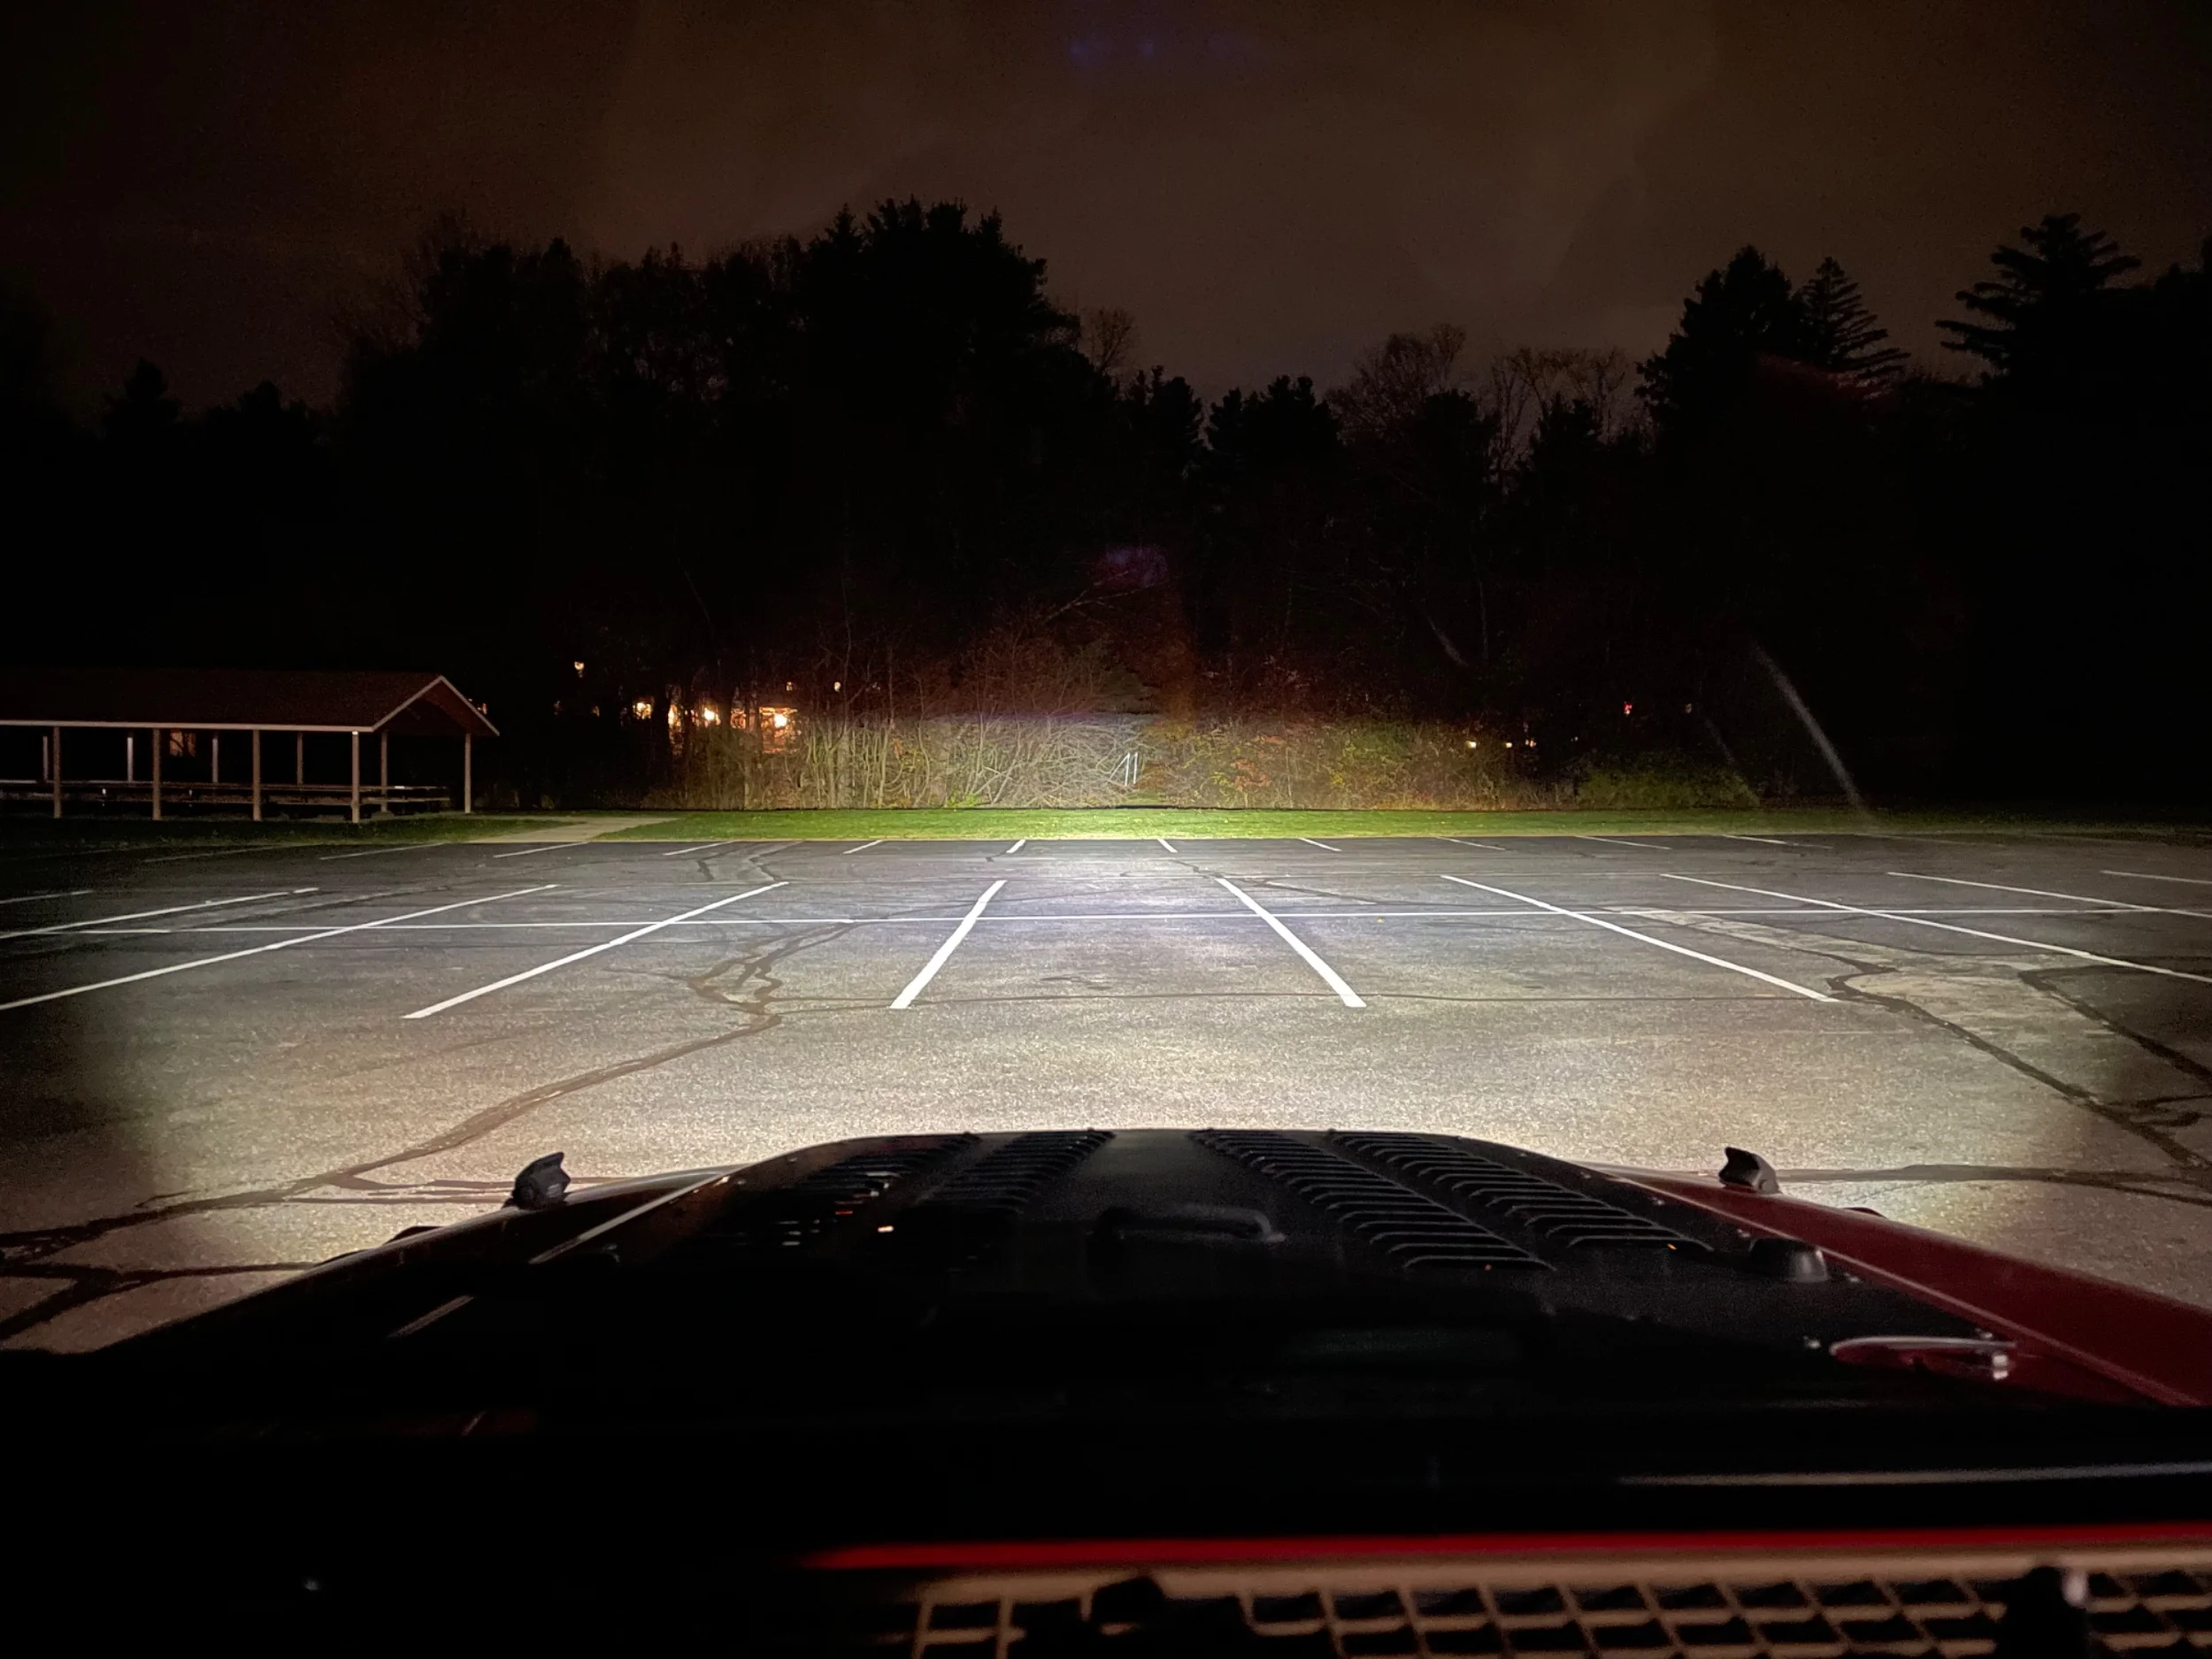
Replaced my headlights with Baja designs for lp6. Very good lights and I have a write up on the forum.
The timing tensioner was completely loose causing a noise I at first thought was further inside my motor.
Replaced my header. Old one was cracked in multiple places and the gasket was blown out. Replaced with an AFE stainless. We’ll see how it holds up. Added flex pipe between the cat and the head to help with vibration and flex to hopefully prevent the head cracking.
Did water pump, spare radiator I’ve had for years, hoses, and Thermostat has been changed many times. Still doesn’t blow HOT like I know it can but I’ve just given up on it since it’s not going to be a winter daily next year. The salt here in New England is just too much.
Had to adjust my radiator shroud up. Some how it could touch the fan when I push the clutch in just a little bit. So I was going crazy thinking my throw out bearing was bad.
Next things:
All of flux offroads armor. As it trickles in as the weather is warmer it’ll be installed.
Mid arm. I’ve wanted to do the mid arm for many many years and steep stuff in the jeep with the hops has scared me enough that I don’t even want to go to Moab without a 5:1 atlas and mid arm. I’m pretty sure that will be my next winter as the jeep isn’t a daily project but we’ll see.
16inch big brake kit. I’ve never felt that my brakes were great even on 33s and I still plan on 35s one day.
Body lift. Havnt had a reason for one yet but I’d like to do bmb puck in the 4 rear and one grill, use genright raised brackets for the 6 middle section, and swap my rubber body mount with new rear mounts to make them higher clearance.
Probably the soonest will be a swayloc and black max shocks. With the goal of the mid arm I expect body roll to increase a bit so I really want to move to the swayloc over the antirock. Antirock has been great even but I don’t expect it be with softer shocks and less joint bind. Black max shocks I’ve always wanted to try since my jeep in the heaviest configuration is ~3,600 lbs but didn’t want to with the antirock. The black maxes are also a shorter shock so I should actually get my uptravek and bump stops set better than I have now. Right now my ranchos are a bit long with only 4.5 inch of uptravel if I can recall correctly and bump stops touch with like 1/8 shaft left. So doesn’t slow much down and at flex it not touching the stop at all. So black max shocks are an inch shorter and Should help with giving me 5.5inch up travel and use the stops better while also being softer. At the same time as this I’ll weld in the raised swaybar mount so when I bbk I can tie rod flip.
Long term I also think I would like to keep this jeep a manual and probably do an Ls (looking more like an aluminum block 5.3 gen 3 is the way) but I’d like to swap in an ax15 and atlas 5:1 with the 4cyl and when I have the ability to do the motor swap.
All of flux offroads armor. As it trickles in as the weather is warmer it’ll be installed.
Mid arm. I’ve wanted to do the mid arm for many many years and steep stuff in the jeep with the hops has scared me enough that I don’t even want to go to Moab without a 5:1 atlas and mid arm. I’m pretty sure that will be my next winter as the jeep isn’t a daily project but we’ll see.
16inch big brake kit. I’ve never felt that my brakes were great even on 33s and I still plan on 35s one day.
Body lift. Havnt had a reason for one yet but I’d like to do bmb puck in the 4 rear and one grill, use genright raised brackets for the 6 middle section, and swap my rubber body mount with new rear mounts to make them higher clearance.
Probably the soonest will be a swayloc and black max shocks. With the goal of the mid arm I expect body roll to increase a bit so I really want to move to the swayloc over the antirock. Antirock has been great even but I don’t expect it be with softer shocks and less joint bind. Black max shocks I’ve always wanted to try since my jeep in the heaviest configuration is ~3,600 lbs but didn’t want to with the antirock. The black maxes are also a shorter shock so I should actually get my uptravek and bump stops set better than I have now. Right now my ranchos are a bit long with only 4.5 inch of uptravel if I can recall correctly and bump stops touch with like 1/8 shaft left. So doesn’t slow much down and at flex it not touching the stop at all. So black max shocks are an inch shorter and Should help with giving me 5.5inch up travel and use the stops better while also being softer. At the same time as this I’ll weld in the raised swaybar mount so when I bbk I can tie rod flip.
Long term I also think I would like to keep this jeep a manual and probably do an Ls (looking more like an aluminum block 5.3 gen 3 is the way) but I’d like to swap in an ax15 and atlas 5:1 with the 4cyl and when I have the ability to do the motor swap.
nice update (fellow 4 cyl here). do you have a link to the write up on the head lights?
https://wranglertjforum.com/threads/baja-designs-ip6-dot-headlight-install-in-a-tj.87942/
So to give context I’m 26, married, and live in my in-laws basement now. Graduated college this past summer and am now a full time software engineer. The living space at the in-laws is small though. I have our one room I live in and a few feet of space in the shed so tool space is limited. I’ve had all my tools in boxes from living in an apartment at college and having to drag them out to the parking lot to do anything was annoying. Especially annoying as they would slowly take up more room in the shed when I would need something from the bottom of the pile. I’ve wanted to do a large tool chest for ever but didn’t think I could till I had my own garage. I got tired of all my boxes since getting to them was more than a headache. Harbor freight had a 25% of sale and I found a perfect size that’s as big as I can go while still fitting it in the shed. So now I condensed all my tools from this giant pile into one 42inch wide us General with 3 boxes that contain fluids, cleaners, and paints. I just saw iruns post on his garage and man one day it’ll get that clean but for now this is functional and nice as I can get. Only thing not in the last pic are my half doors and welder.
Pic 1: the pile of tools before organizing
Pic 2: the process
Pic 3: the final set up.
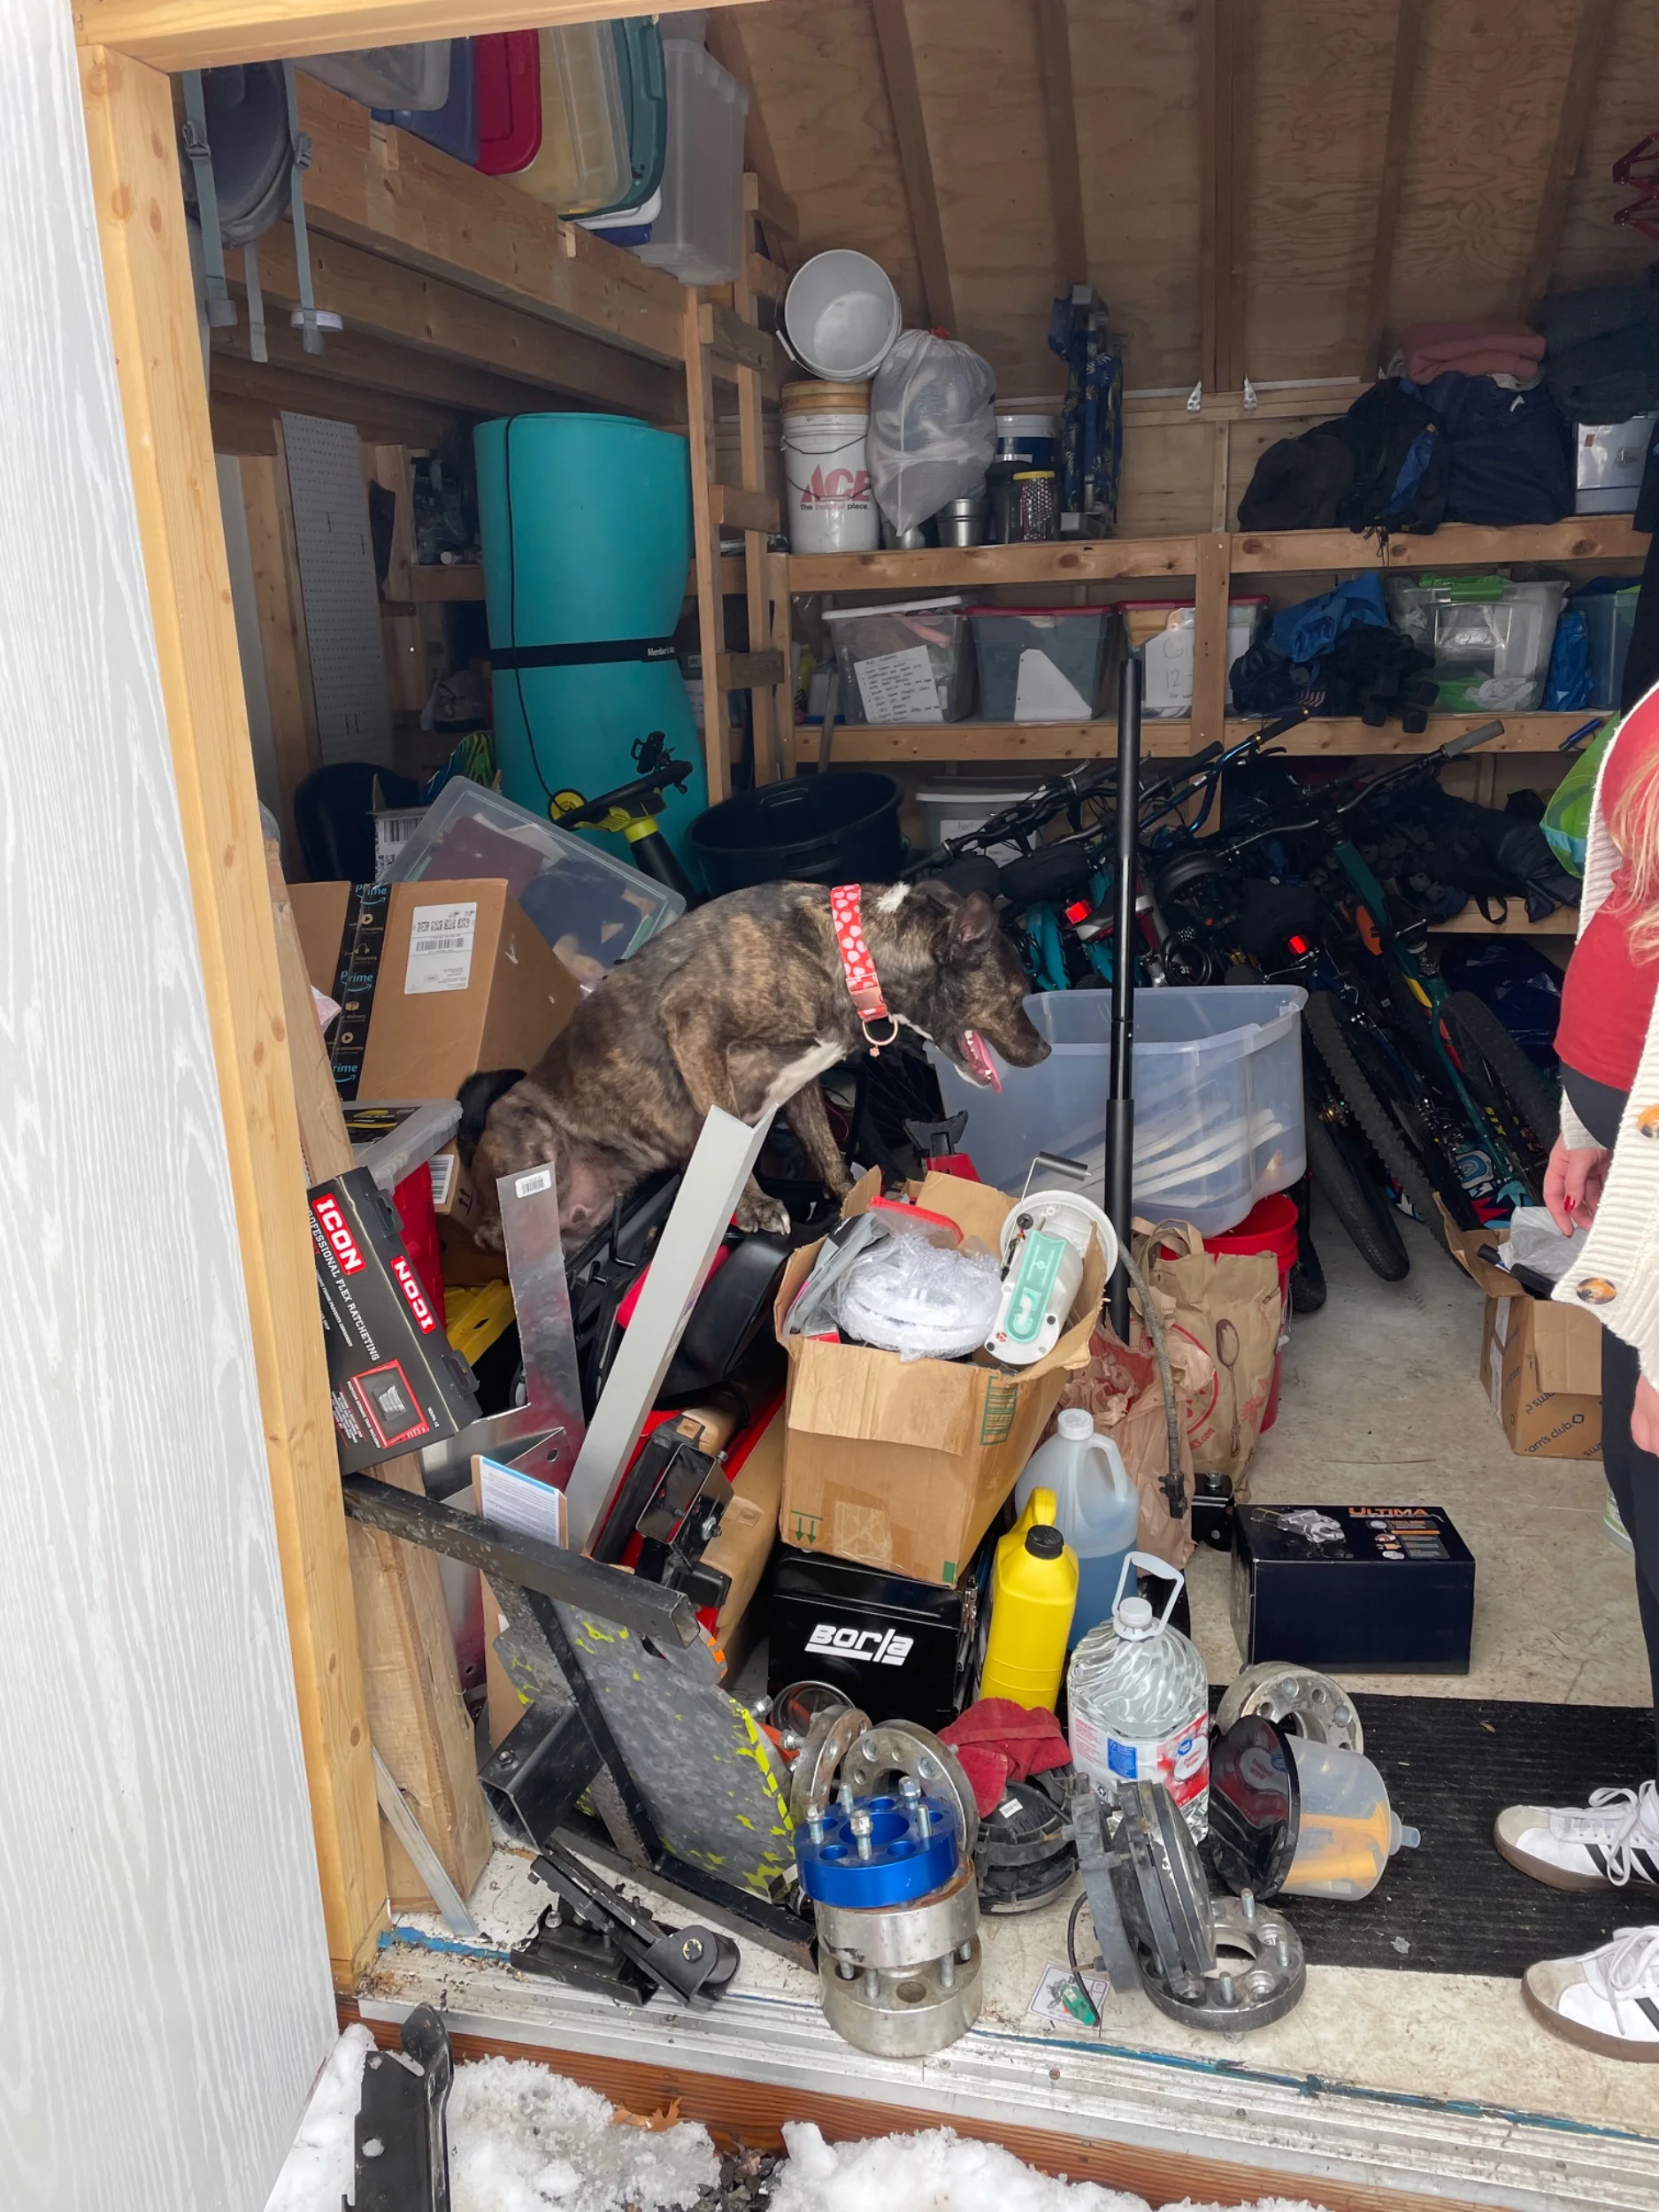
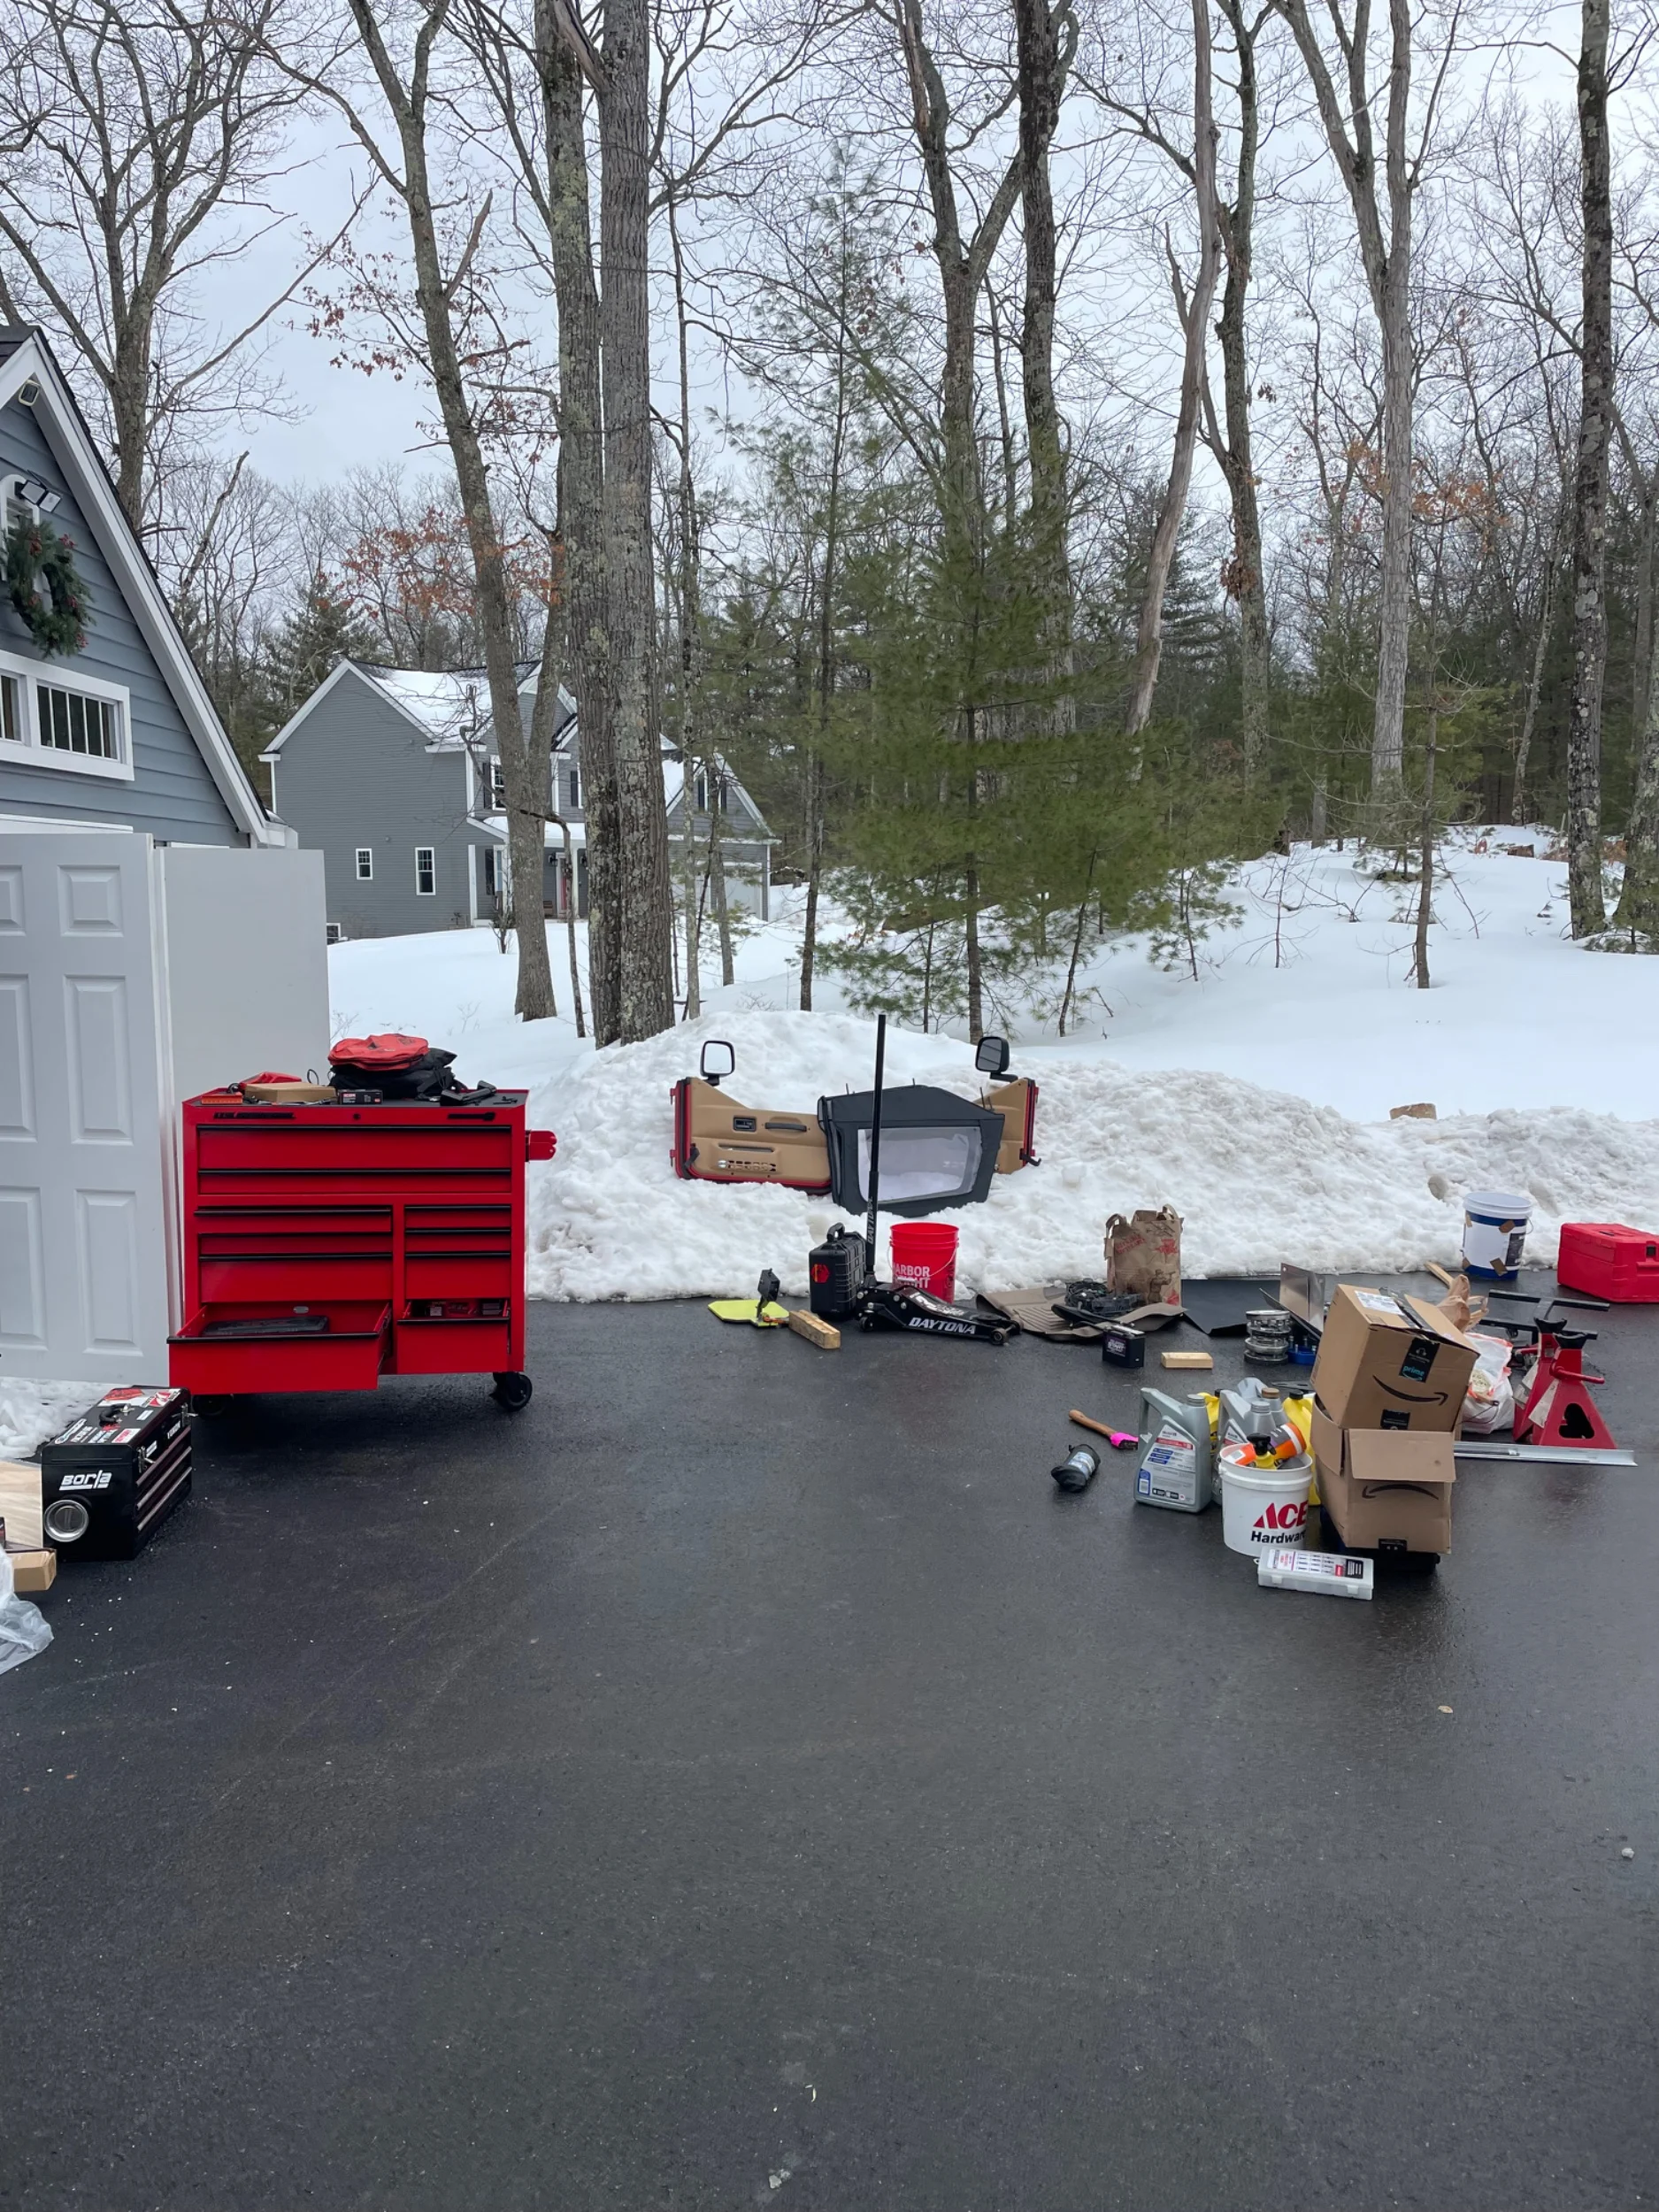
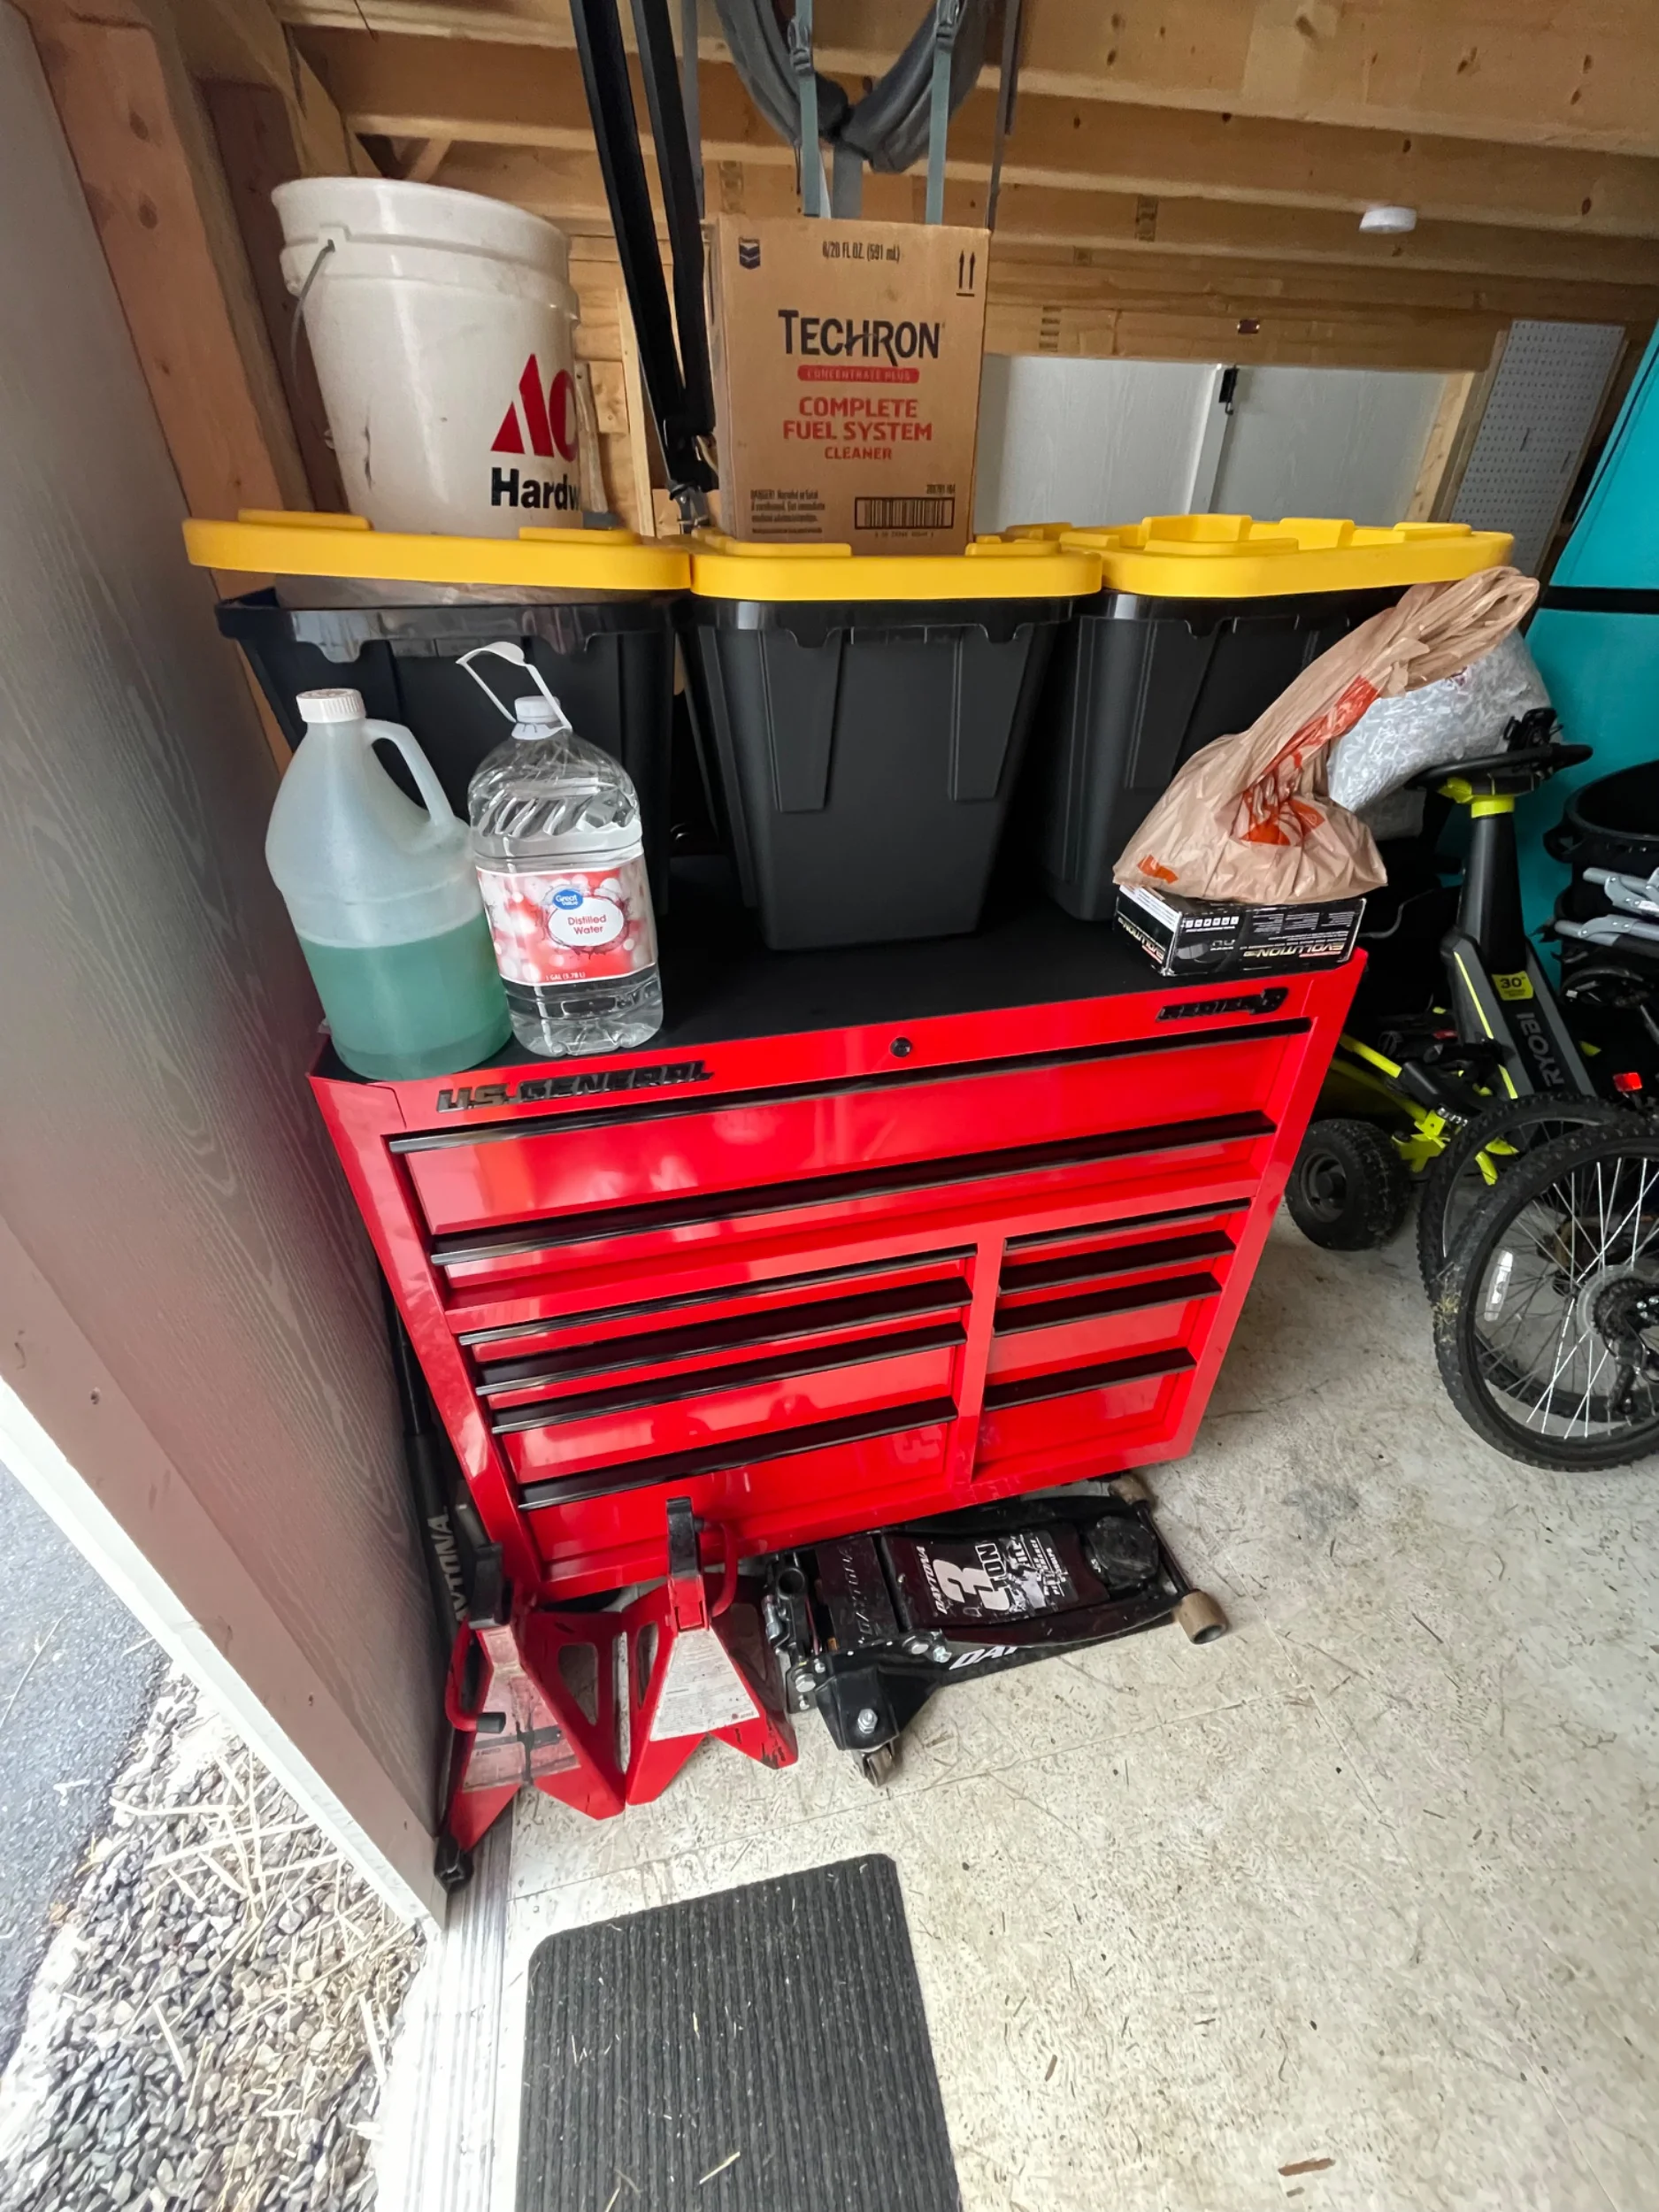
Pic 1: the pile of tools before organizing
Pic 2: the process
Pic 3: the final set up.

So to give context I’m 26, married, and live in my in-laws basement now. Graduated college this past summer and am now a full time software engineer. The living space at the in-laws is small though. I have our one room I live in and a few feet of space in the shed so tool space is limited. I’ve had all my tools in boxes from living in an apartment at college and having to drag them out to the parking lot to do anything was annoying. Especially annoying as they would slowly take up more room in the shed when I would need something from the bottom of the pile. I’ve wanted to do a large tool chest for ever but didn’t think I could till I had my own garage. I got tired of all my boxes since getting to them was more than a headache. Harbor freight had a 25% of sale and I found a perfect size that’s as big as I can go while still fitting it in the shed. So now I condensed all my tools from this giant pile into one 42inch wide us General with 3 boxes that contain fluids, cleaners, and paints. I just saw iruns post on his garage and man one day it’ll get that clean but for now this is functional and nice as I can get. Only thing not in the last pic are my half doors and welder.
Pic 1: the pile of tools before organizing
Pic 2: the process
Pic 3: the final set up.
View attachment 676018
View attachment 676019
View attachment 676020
One thing I've learned about space over the years is no matter how much you have, it always seems to get filled. Often, with stuff that shouldn't be kept!
Last edited:
installed the bmb raised sway bar mounts and new sky jacker black max shocks.
The raised brackets went smoother than expected. I was worried about removing and re installing my bump stops (just the passenger side) since mine are bolted using a nut on the under side rather than the pad being tapped. With the trackbar bolt out I can snake the nut taped to an open end and get it started pretty well.
The welding was also better than expected. I have a 200 buc Amazon welder which I have running only flux core since I’ve lived in apartments and never had my own garage to get gas set up on it. My in laws house also doesn’t have a 220v unless I started unplugging their washer and drier. So all things considered, 110v, flux, 200 buck welder, I think the welds look good. I did double passes on the long inside up and the under side of the support.
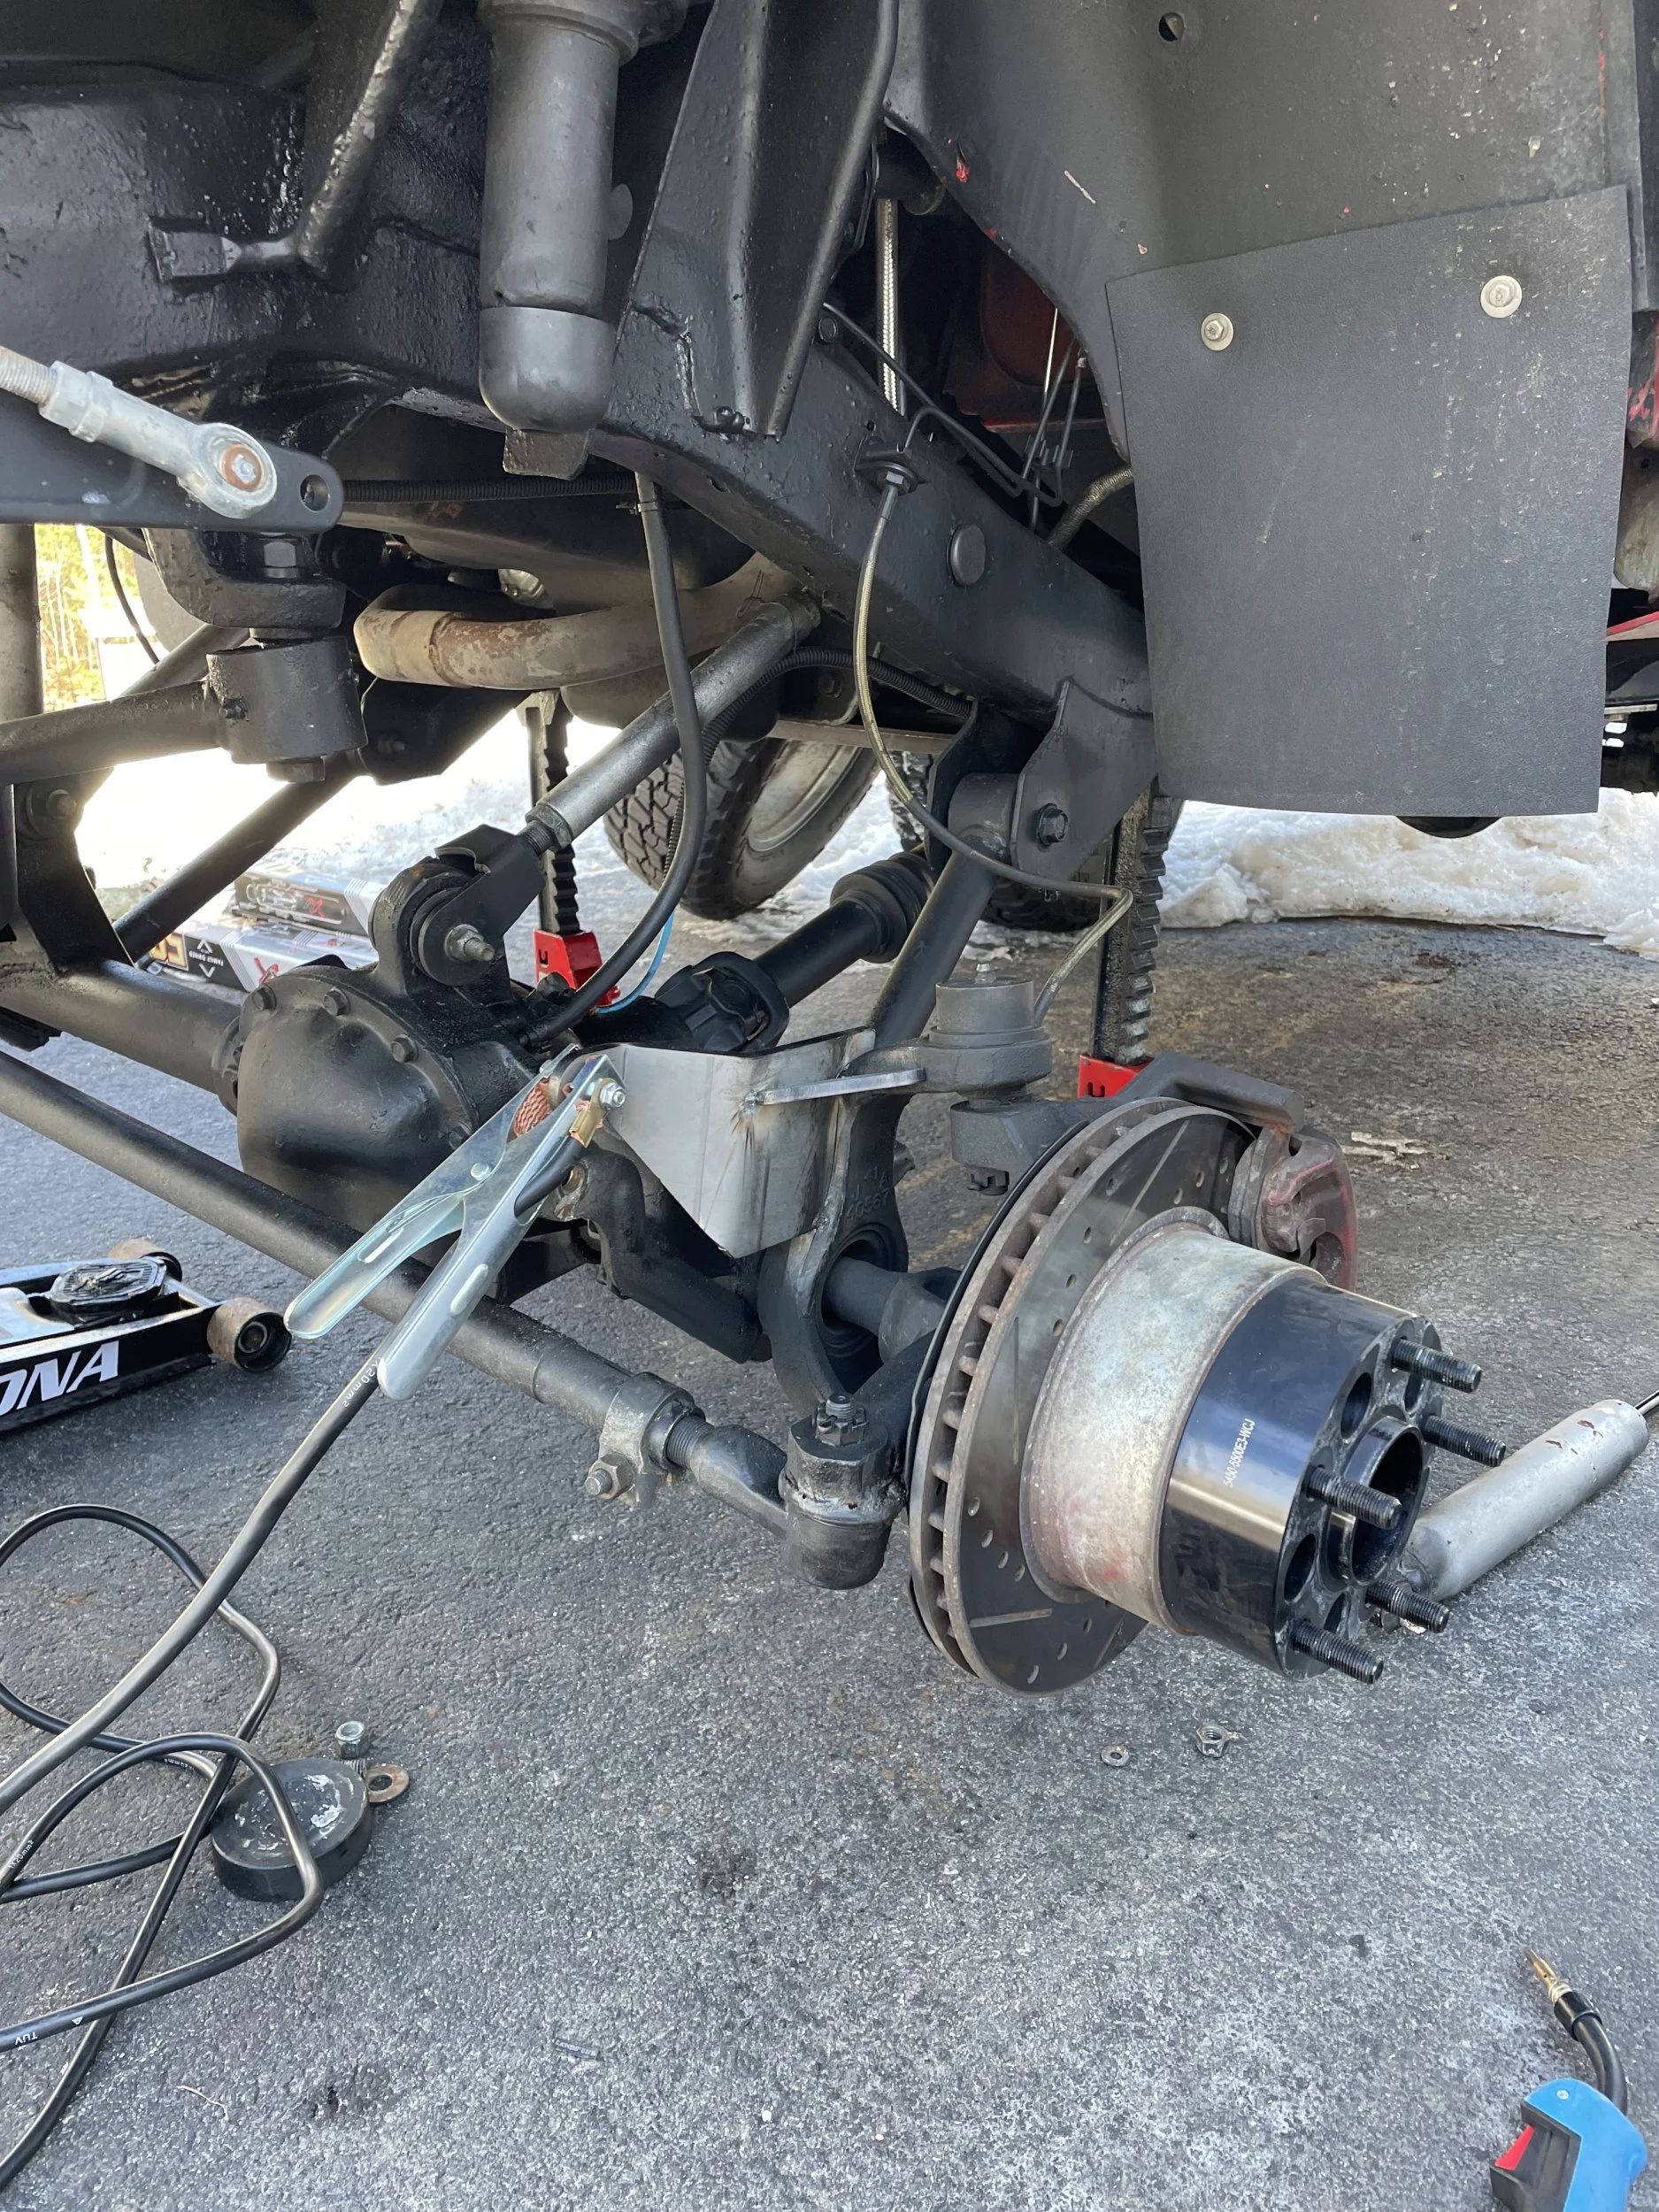
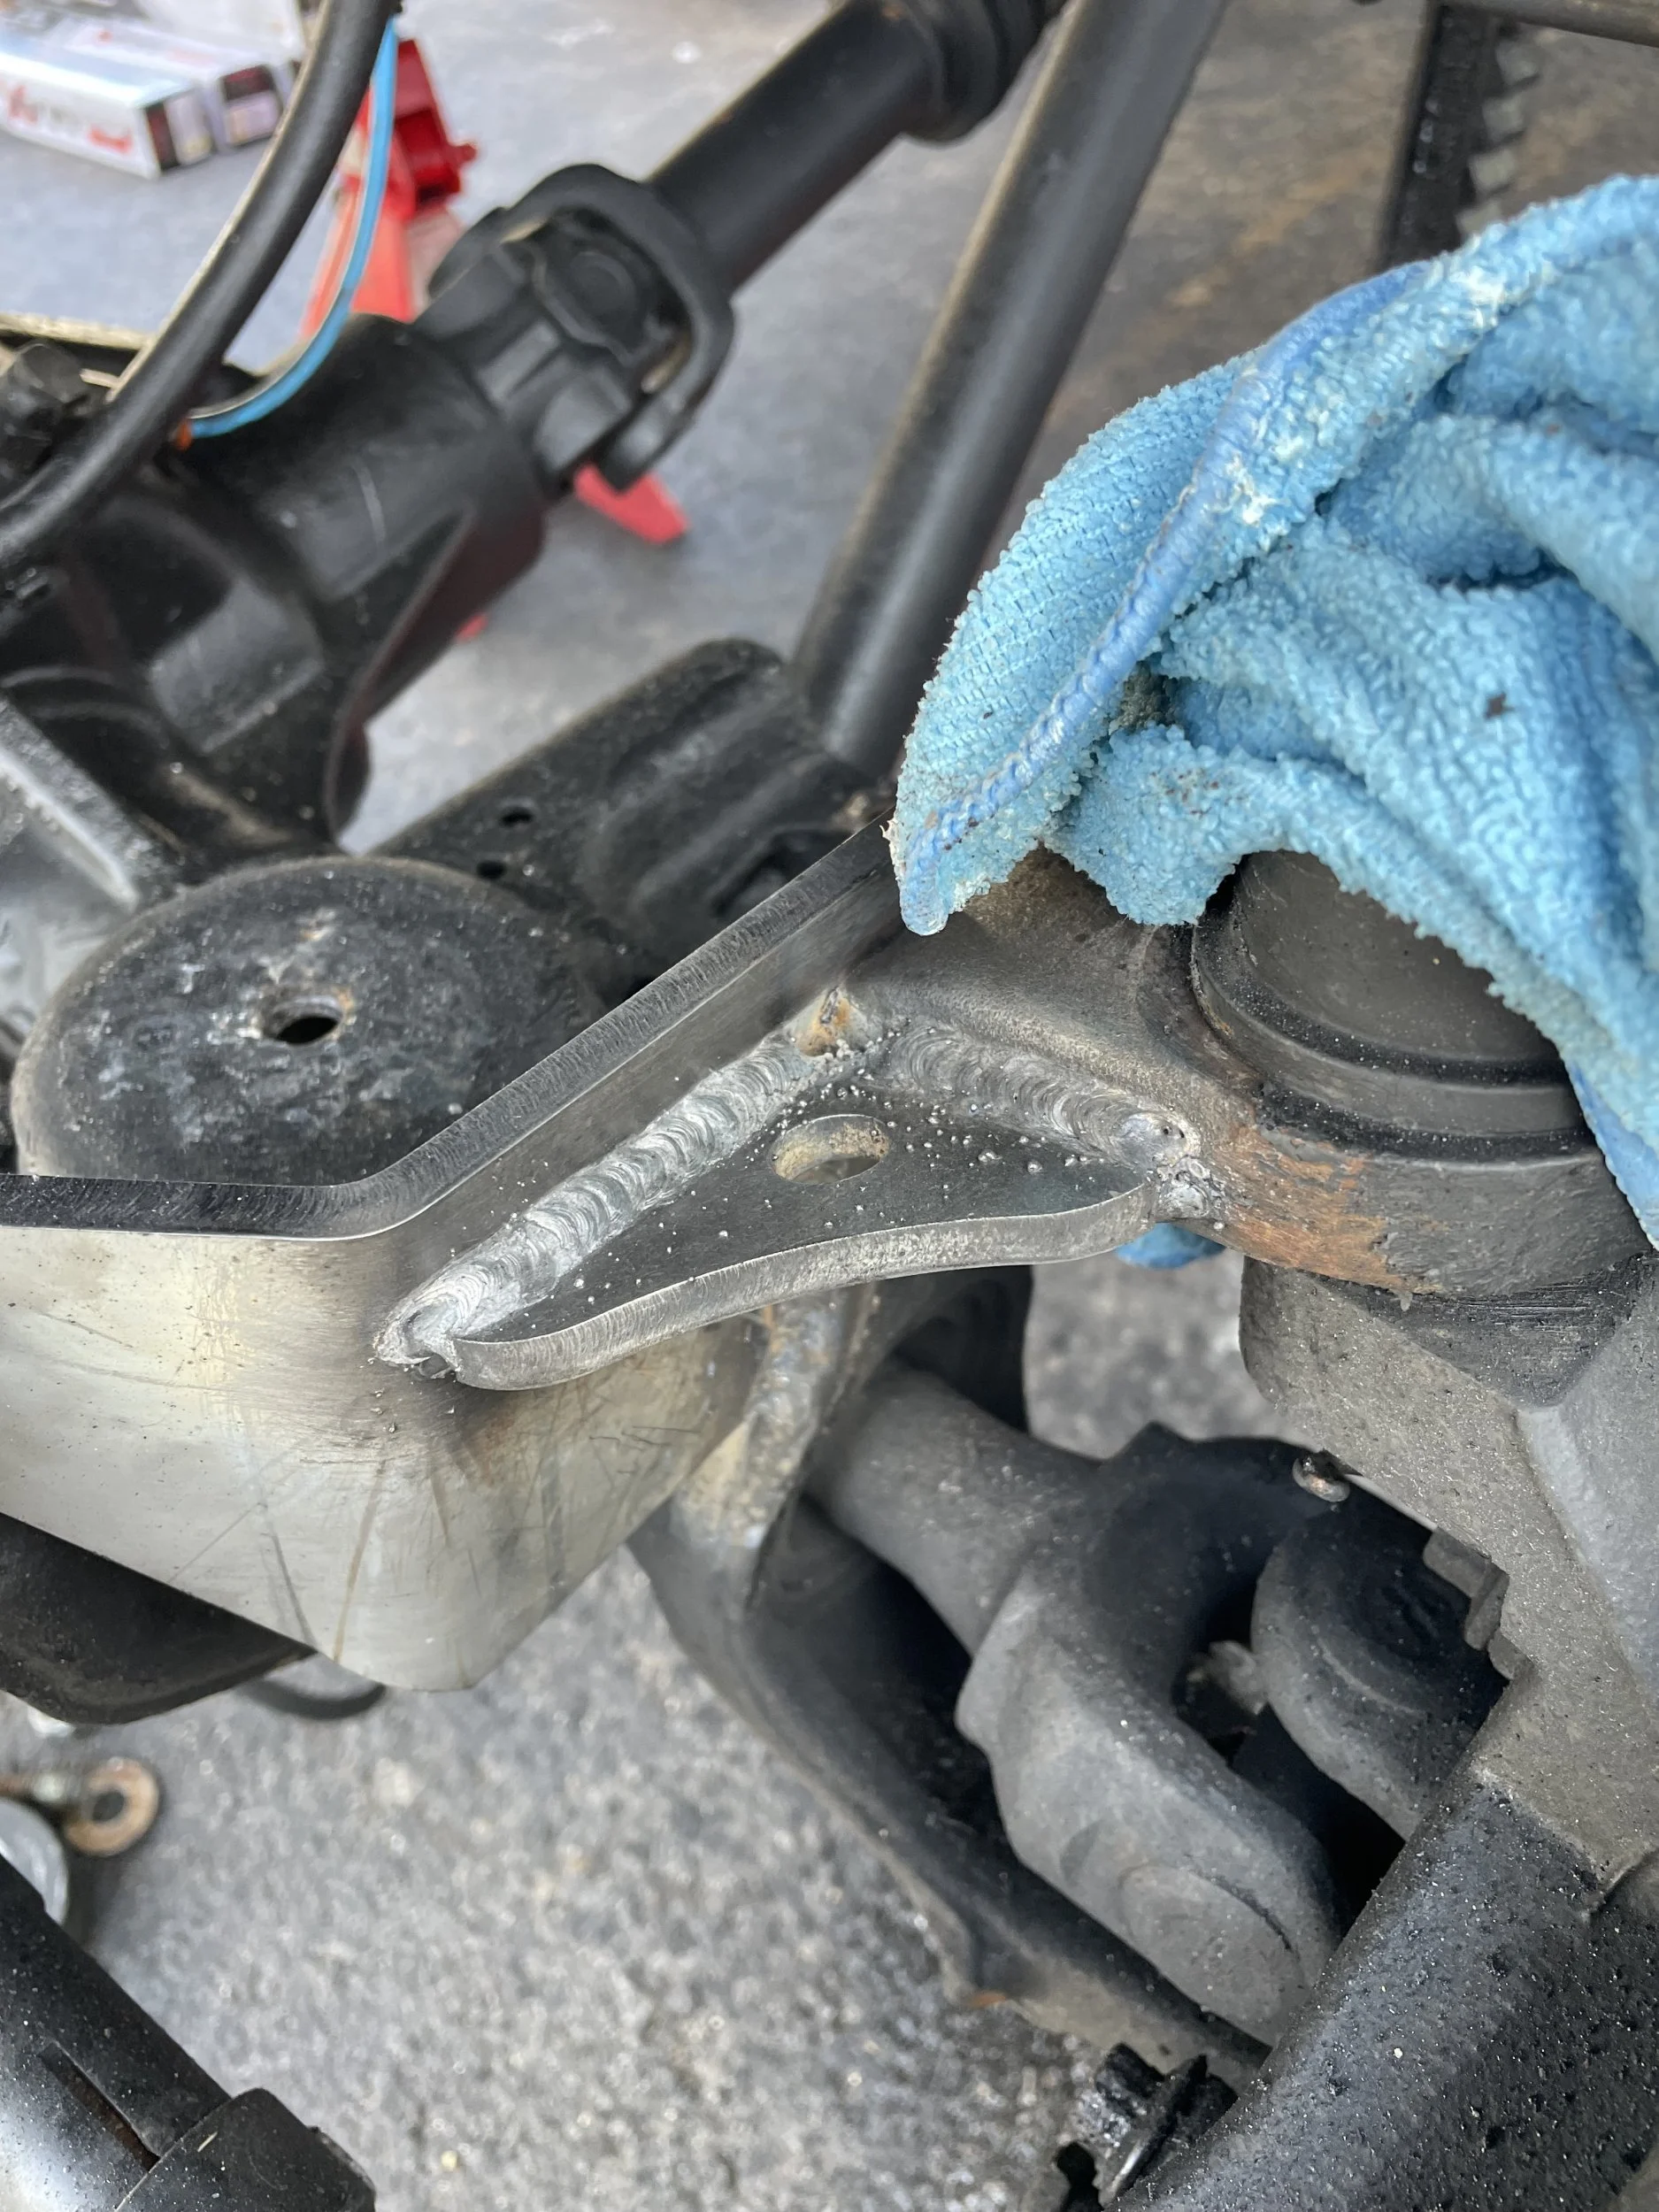
The swayloc is still being shipped so I’m hoping next weekend to clean up my flux bumper and install the swayloc.
The black max shocks were decided on 2 reasons, I want to try a softer shock, and most importantly the lengths with set the travel bias better.
With the black max in the front I get 5.25 up and 5 down. When I ever do outboards I think it will add the .75inch to the down travel and not have a perfect 50/50 split. The rear with black max is only 4.25 up and 5.75 down. The rear outboard would add an inch to the up and an inch down. Making it 5.25 up and 6.76 down. Both the front and rear at outboard down travel lengths match the uncompressed lengths of the springs so I expect at full compression of 12inch rear 11 front I am very close to coil bind. Not a perfect 50/50 split but less than an inch off I feel is pretty good since finding a coil for my weight has been challenging.
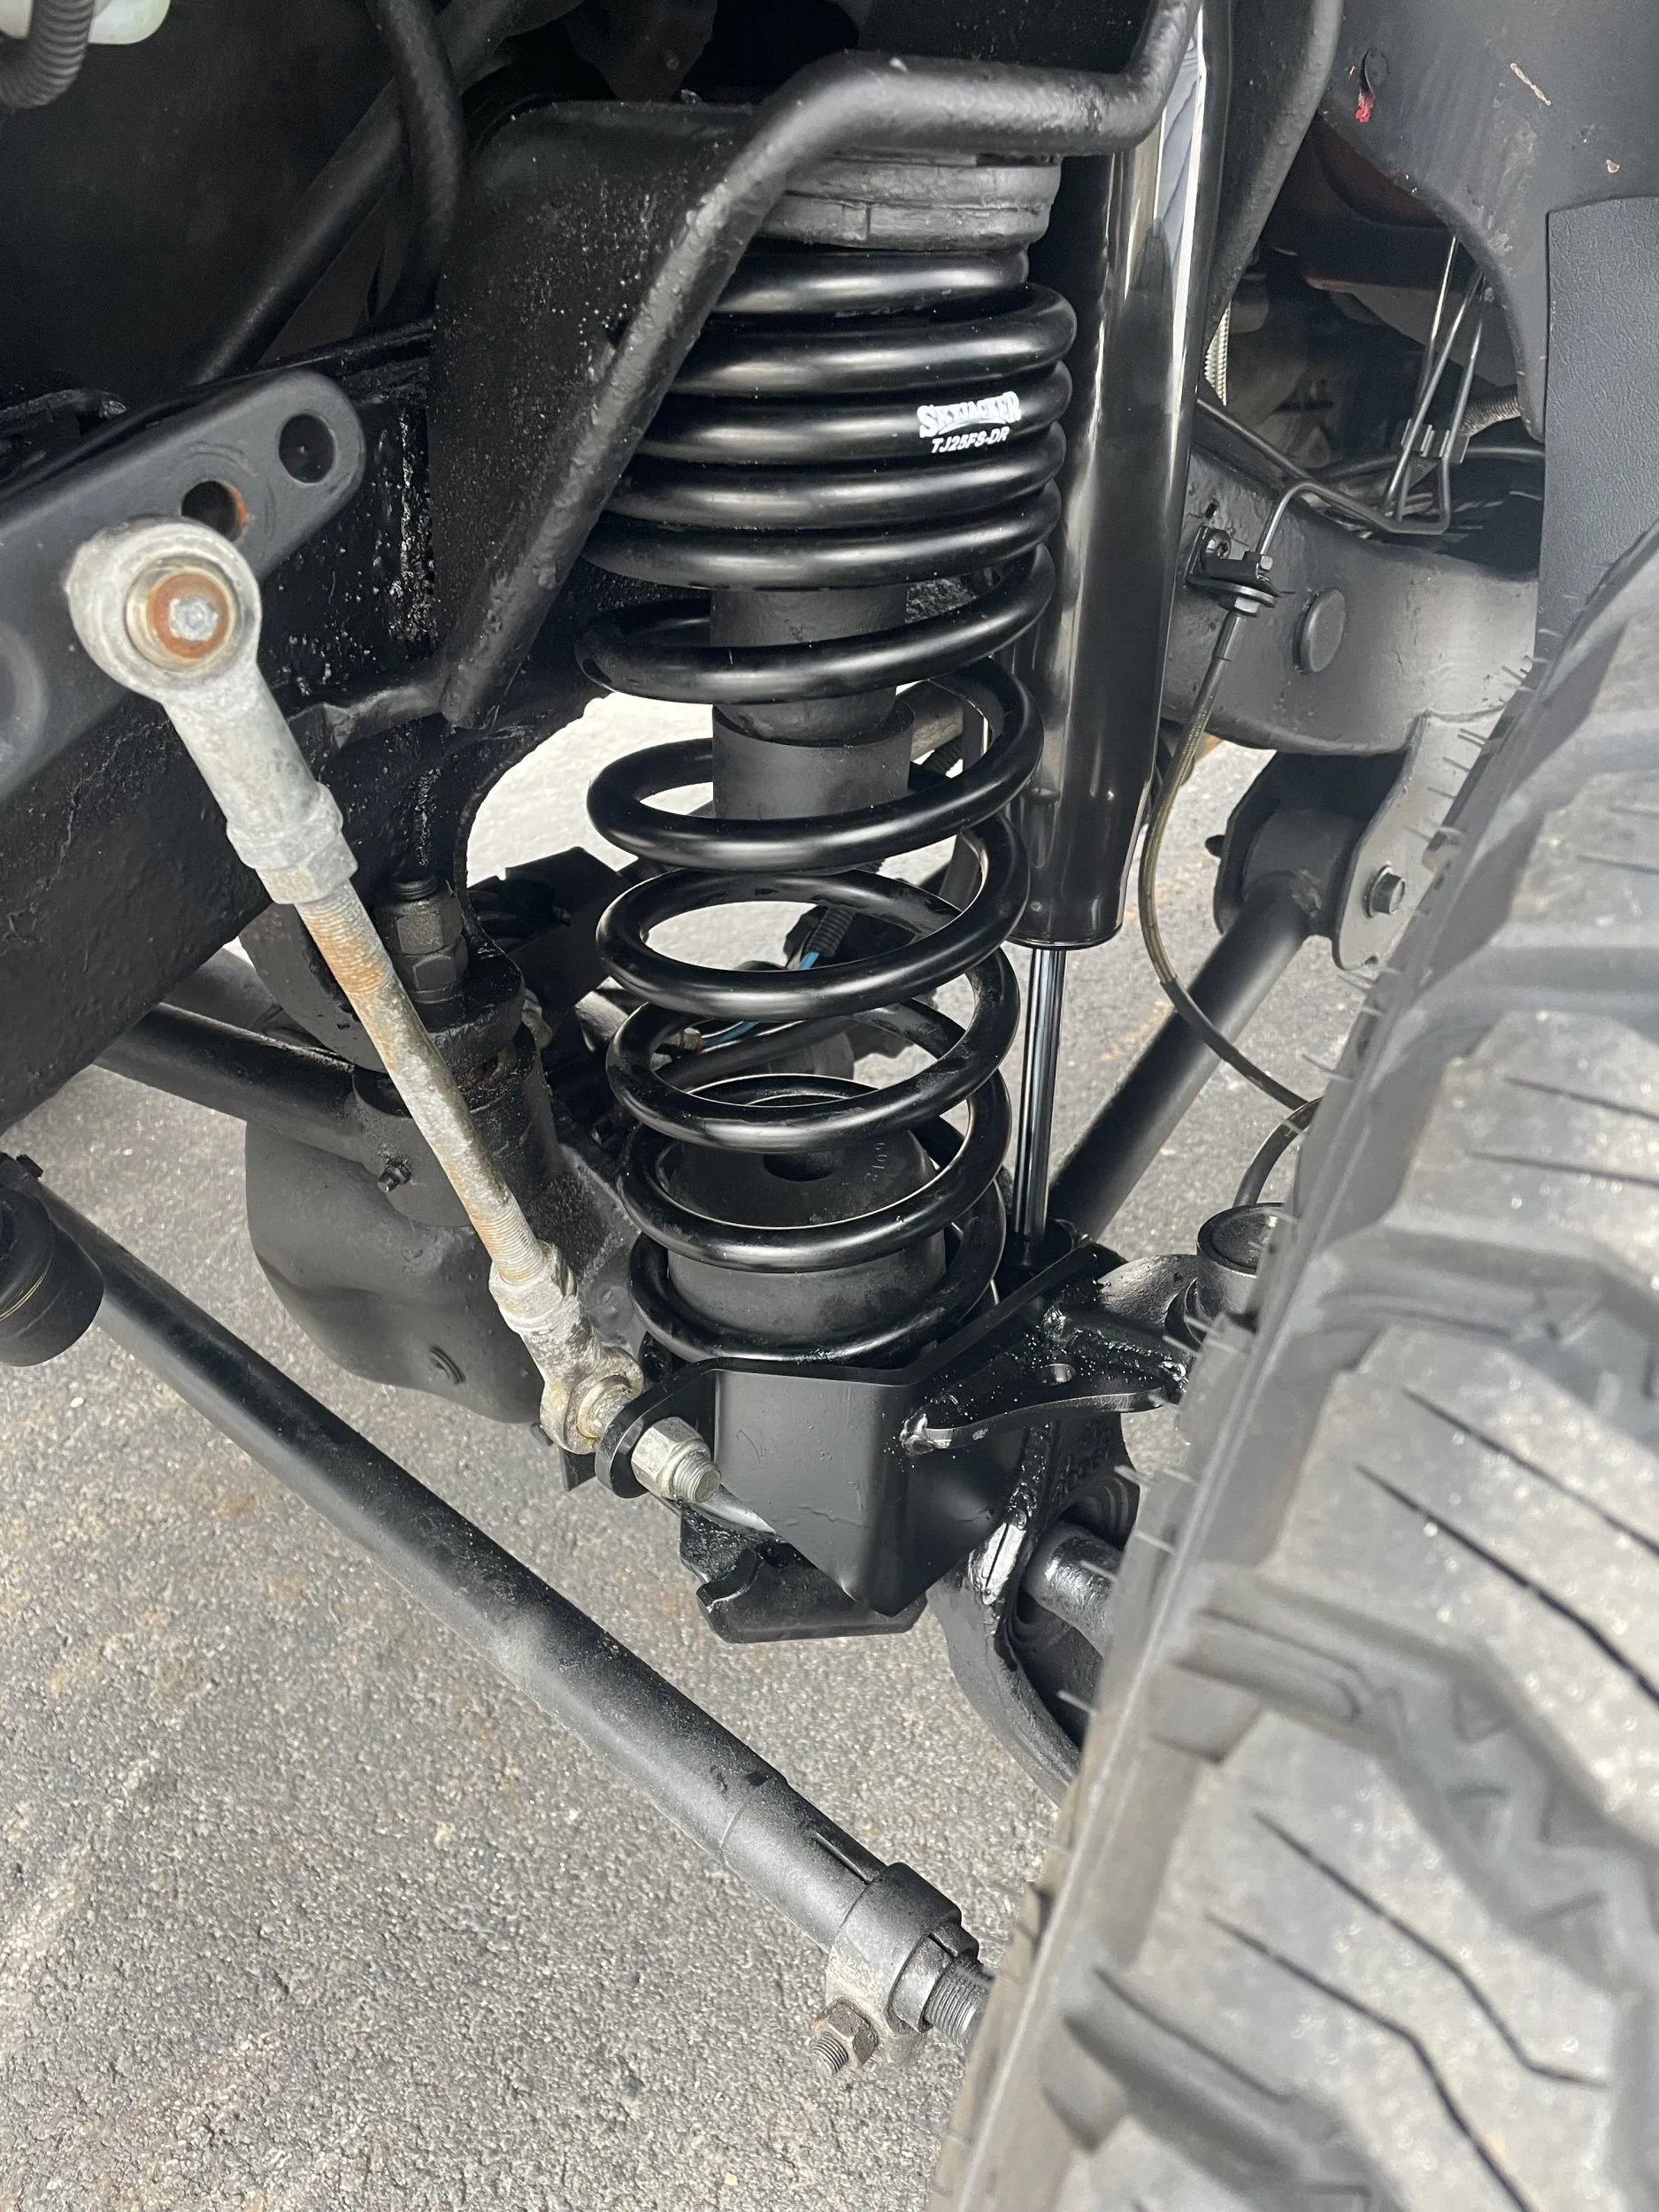
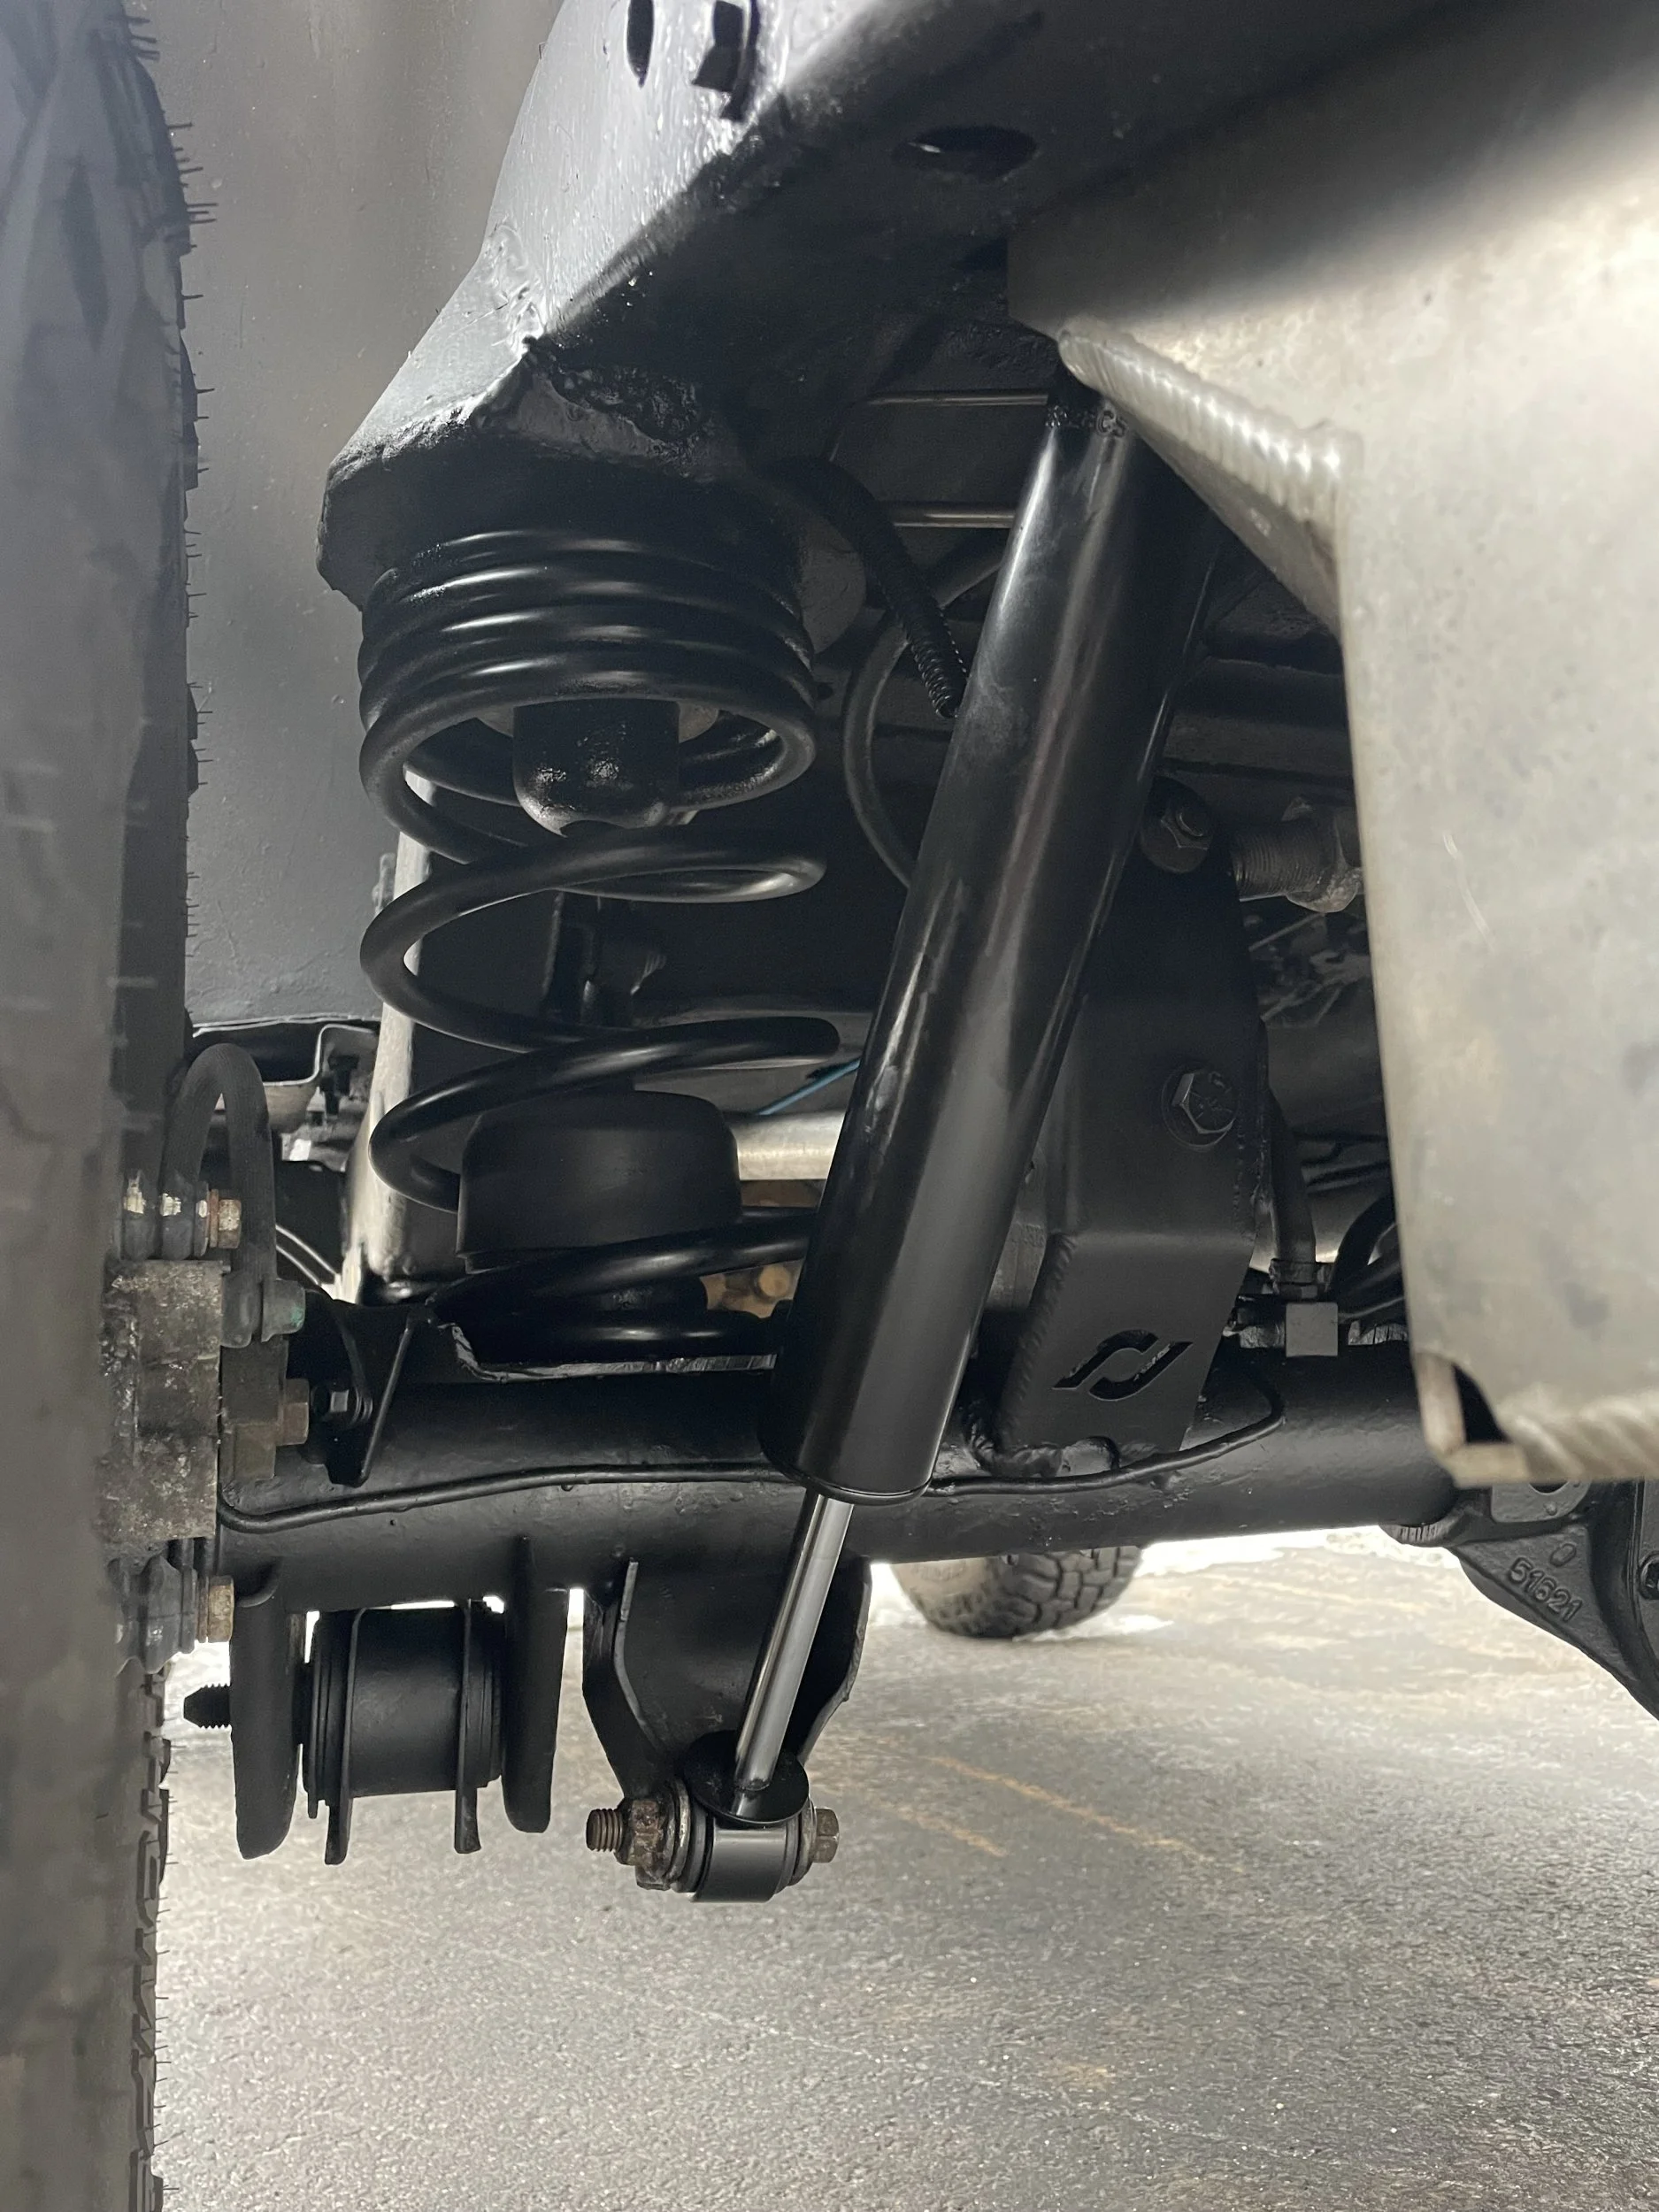
So next up is install the swayloc and install half door armor. Then I’ll be trying to get flux armor, doing the 16 big brake kit, then a body lift, transmission cross member with a new ucf skid then winter time do the mid arm.
The raised brackets went smoother than expected. I was worried about removing and re installing my bump stops (just the passenger side) since mine are bolted using a nut on the under side rather than the pad being tapped. With the trackbar bolt out I can snake the nut taped to an open end and get it started pretty well.
The welding was also better than expected. I have a 200 buc Amazon welder which I have running only flux core since I’ve lived in apartments and never had my own garage to get gas set up on it. My in laws house also doesn’t have a 220v unless I started unplugging their washer and drier. So all things considered, 110v, flux, 200 buck welder, I think the welds look good. I did double passes on the long inside up and the under side of the support.
The swayloc is still being shipped so I’m hoping next weekend to clean up my flux bumper and install the swayloc.
The black max shocks were decided on 2 reasons, I want to try a softer shock, and most importantly the lengths with set the travel bias better.
With the black max in the front I get 5.25 up and 5 down. When I ever do outboards I think it will add the .75inch to the down travel and not have a perfect 50/50 split. The rear with black max is only 4.25 up and 5.75 down. The rear outboard would add an inch to the up and an inch down. Making it 5.25 up and 6.76 down. Both the front and rear at outboard down travel lengths match the uncompressed lengths of the springs so I expect at full compression of 12inch rear 11 front I am very close to coil bind. Not a perfect 50/50 split but less than an inch off I feel is pretty good since finding a coil for my weight has been challenging.
So next up is install the swayloc and install half door armor. Then I’ll be trying to get flux armor, doing the 16 big brake kit, then a body lift, transmission cross member with a new ucf skid then winter time do the mid arm.
Swayloc installed.
Running the front antirock and stock rear wasn’t bad with how light my jeep is. Yes it had body roll but wasn’t bad like running no swaybar. Swayloc made it a sports car while having the same off-road capability. Absolutely love it.
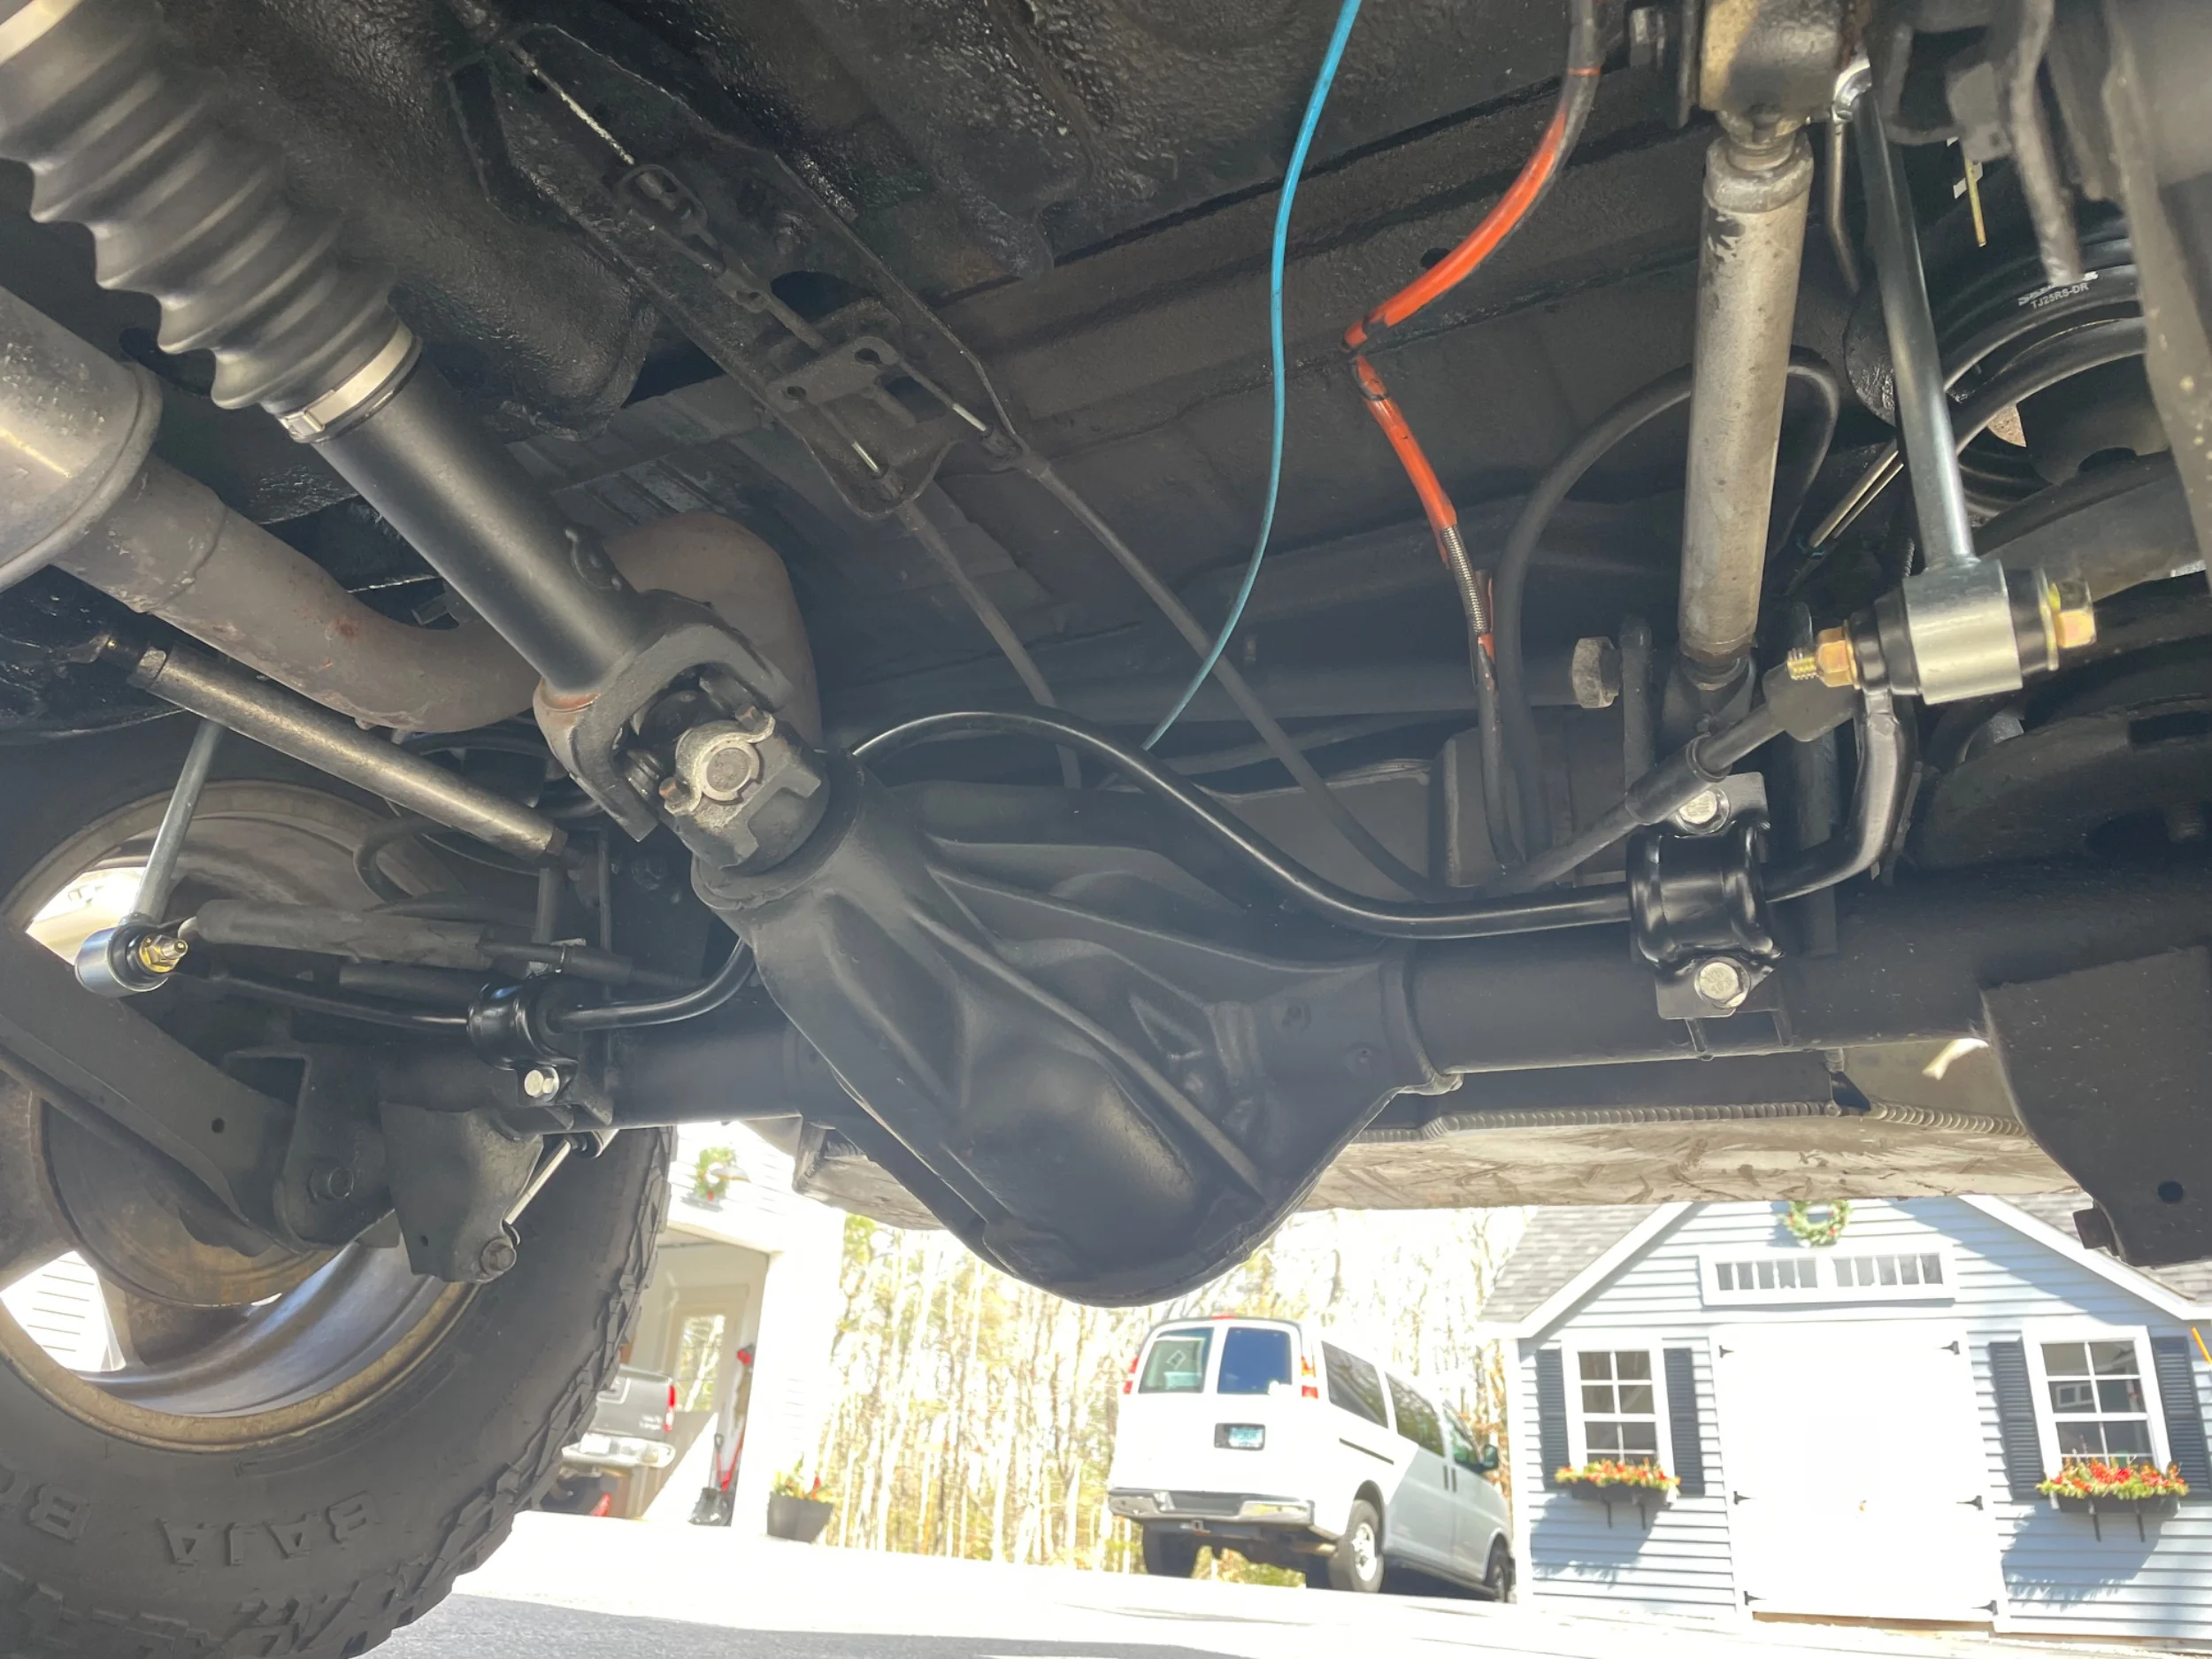
Installed a new Dorman rear swaybar too since my old bar was so worn a new bushing still has play.
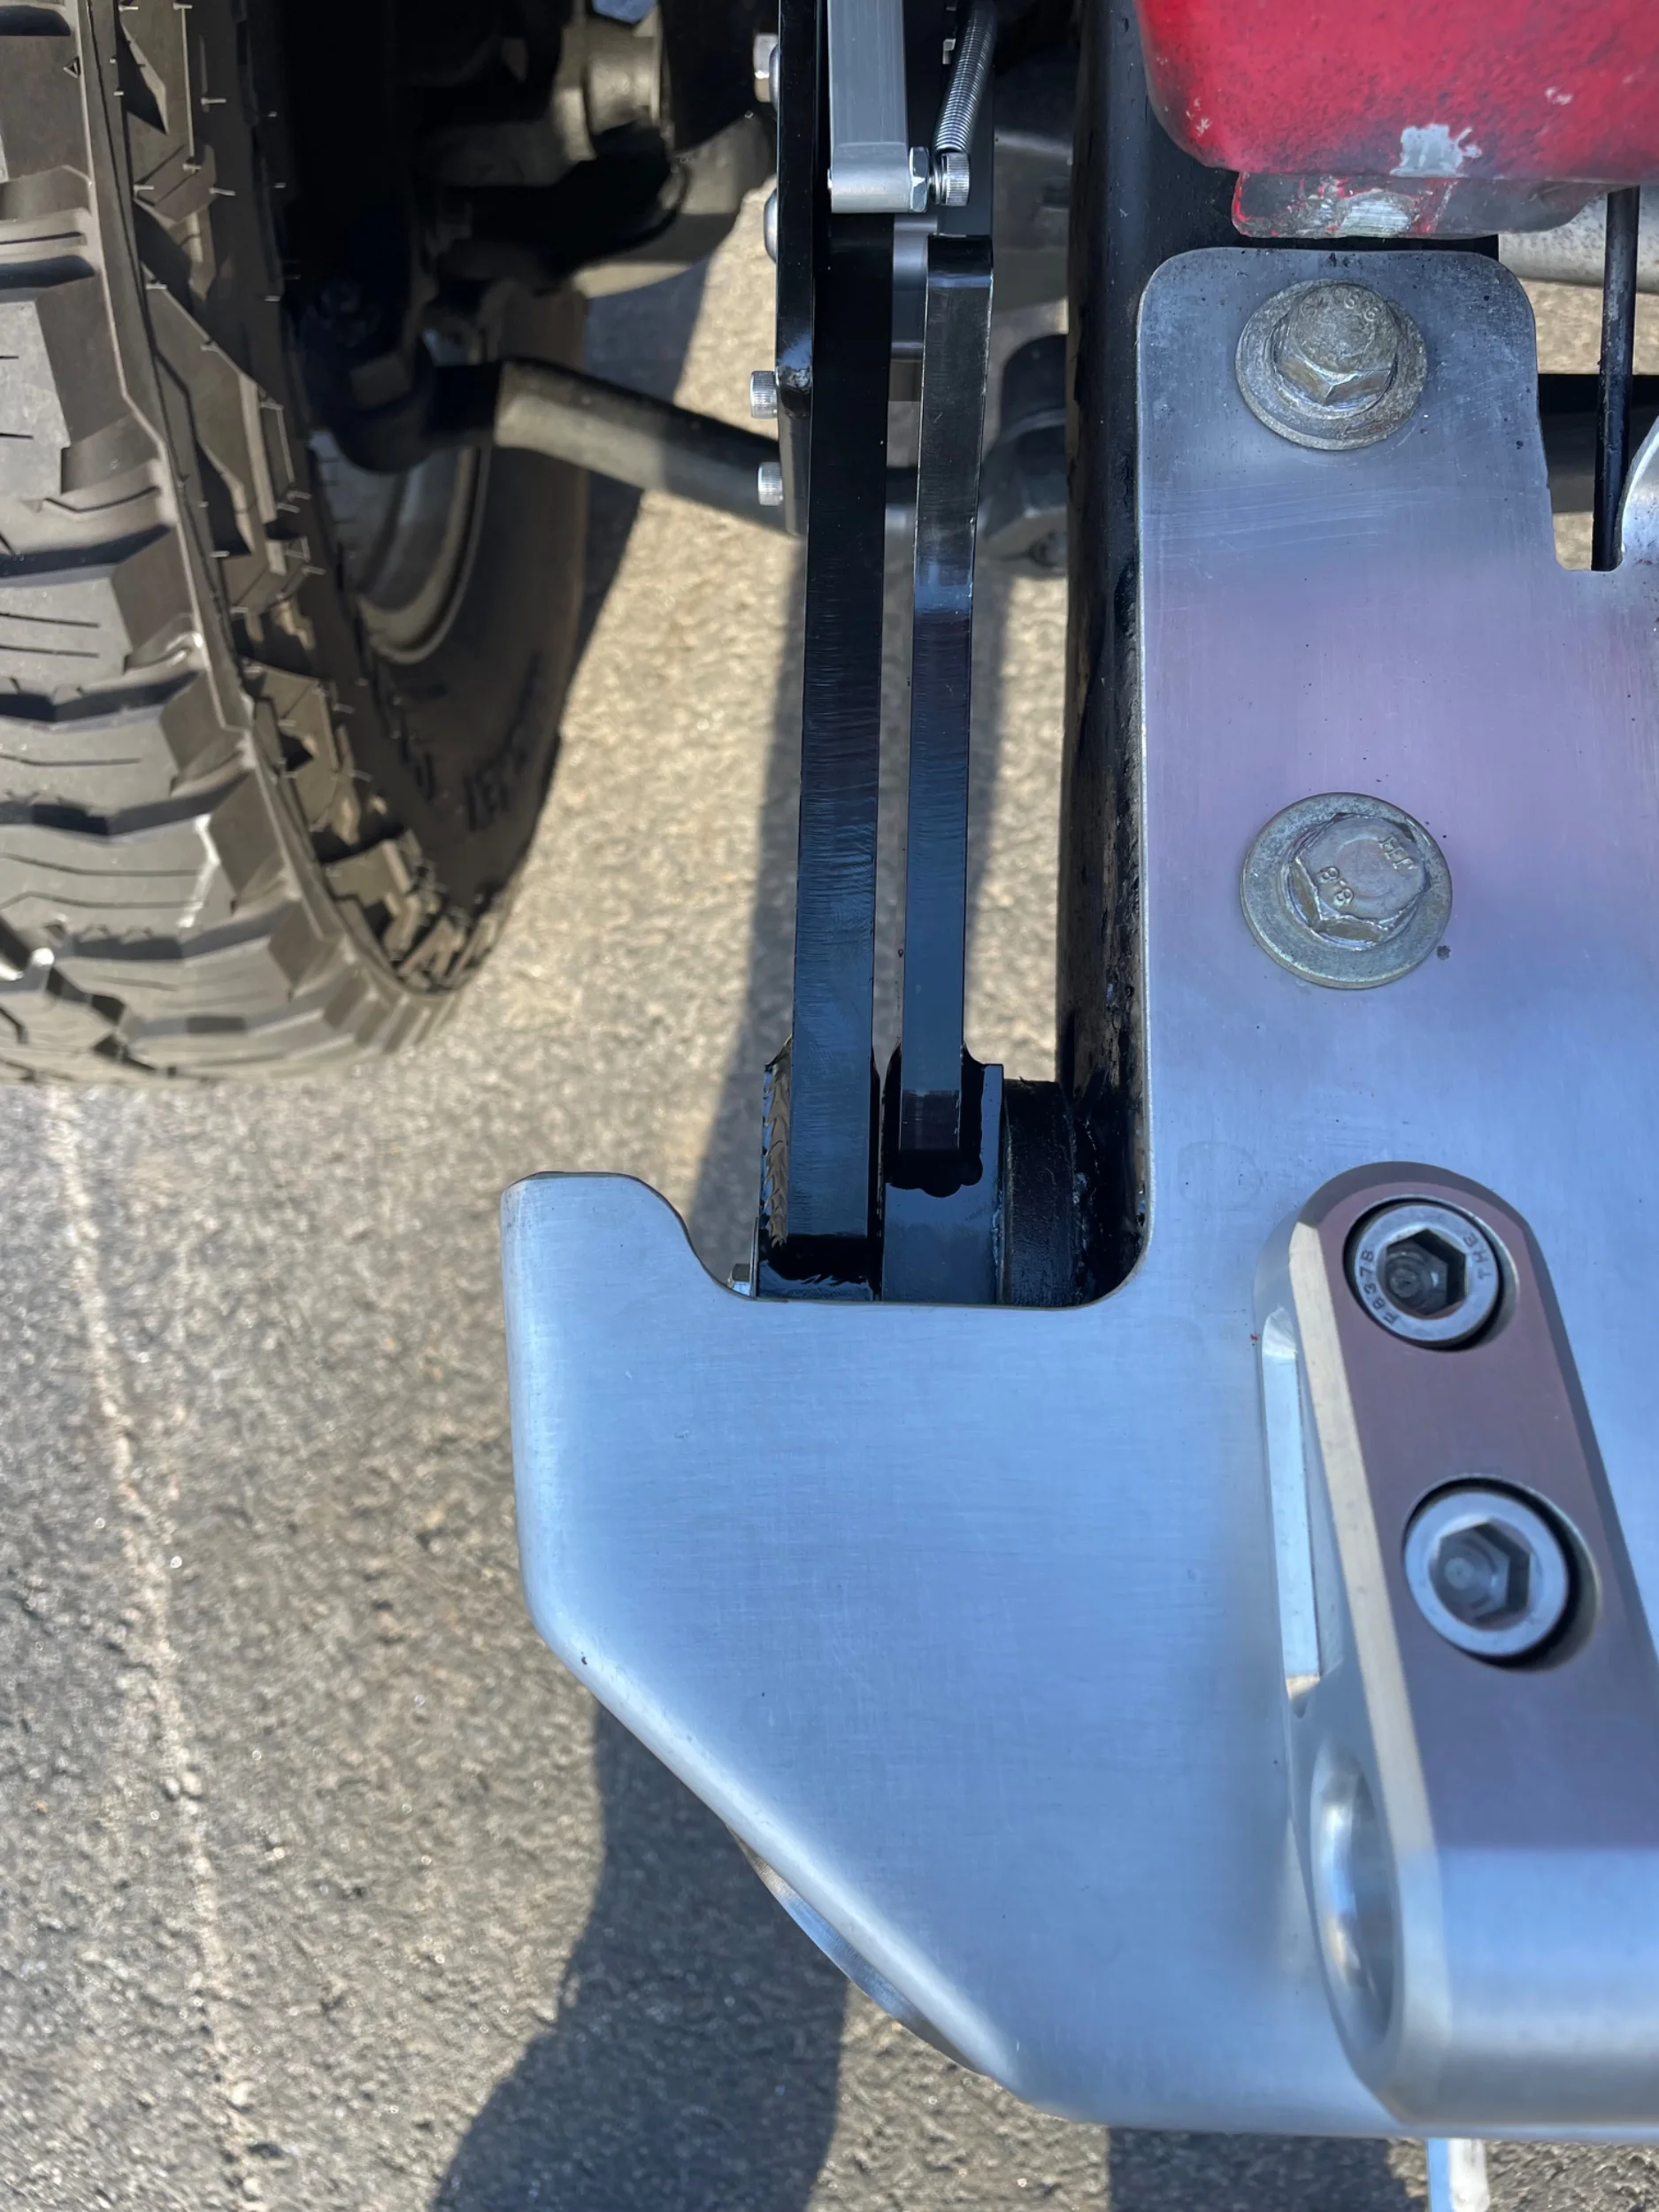
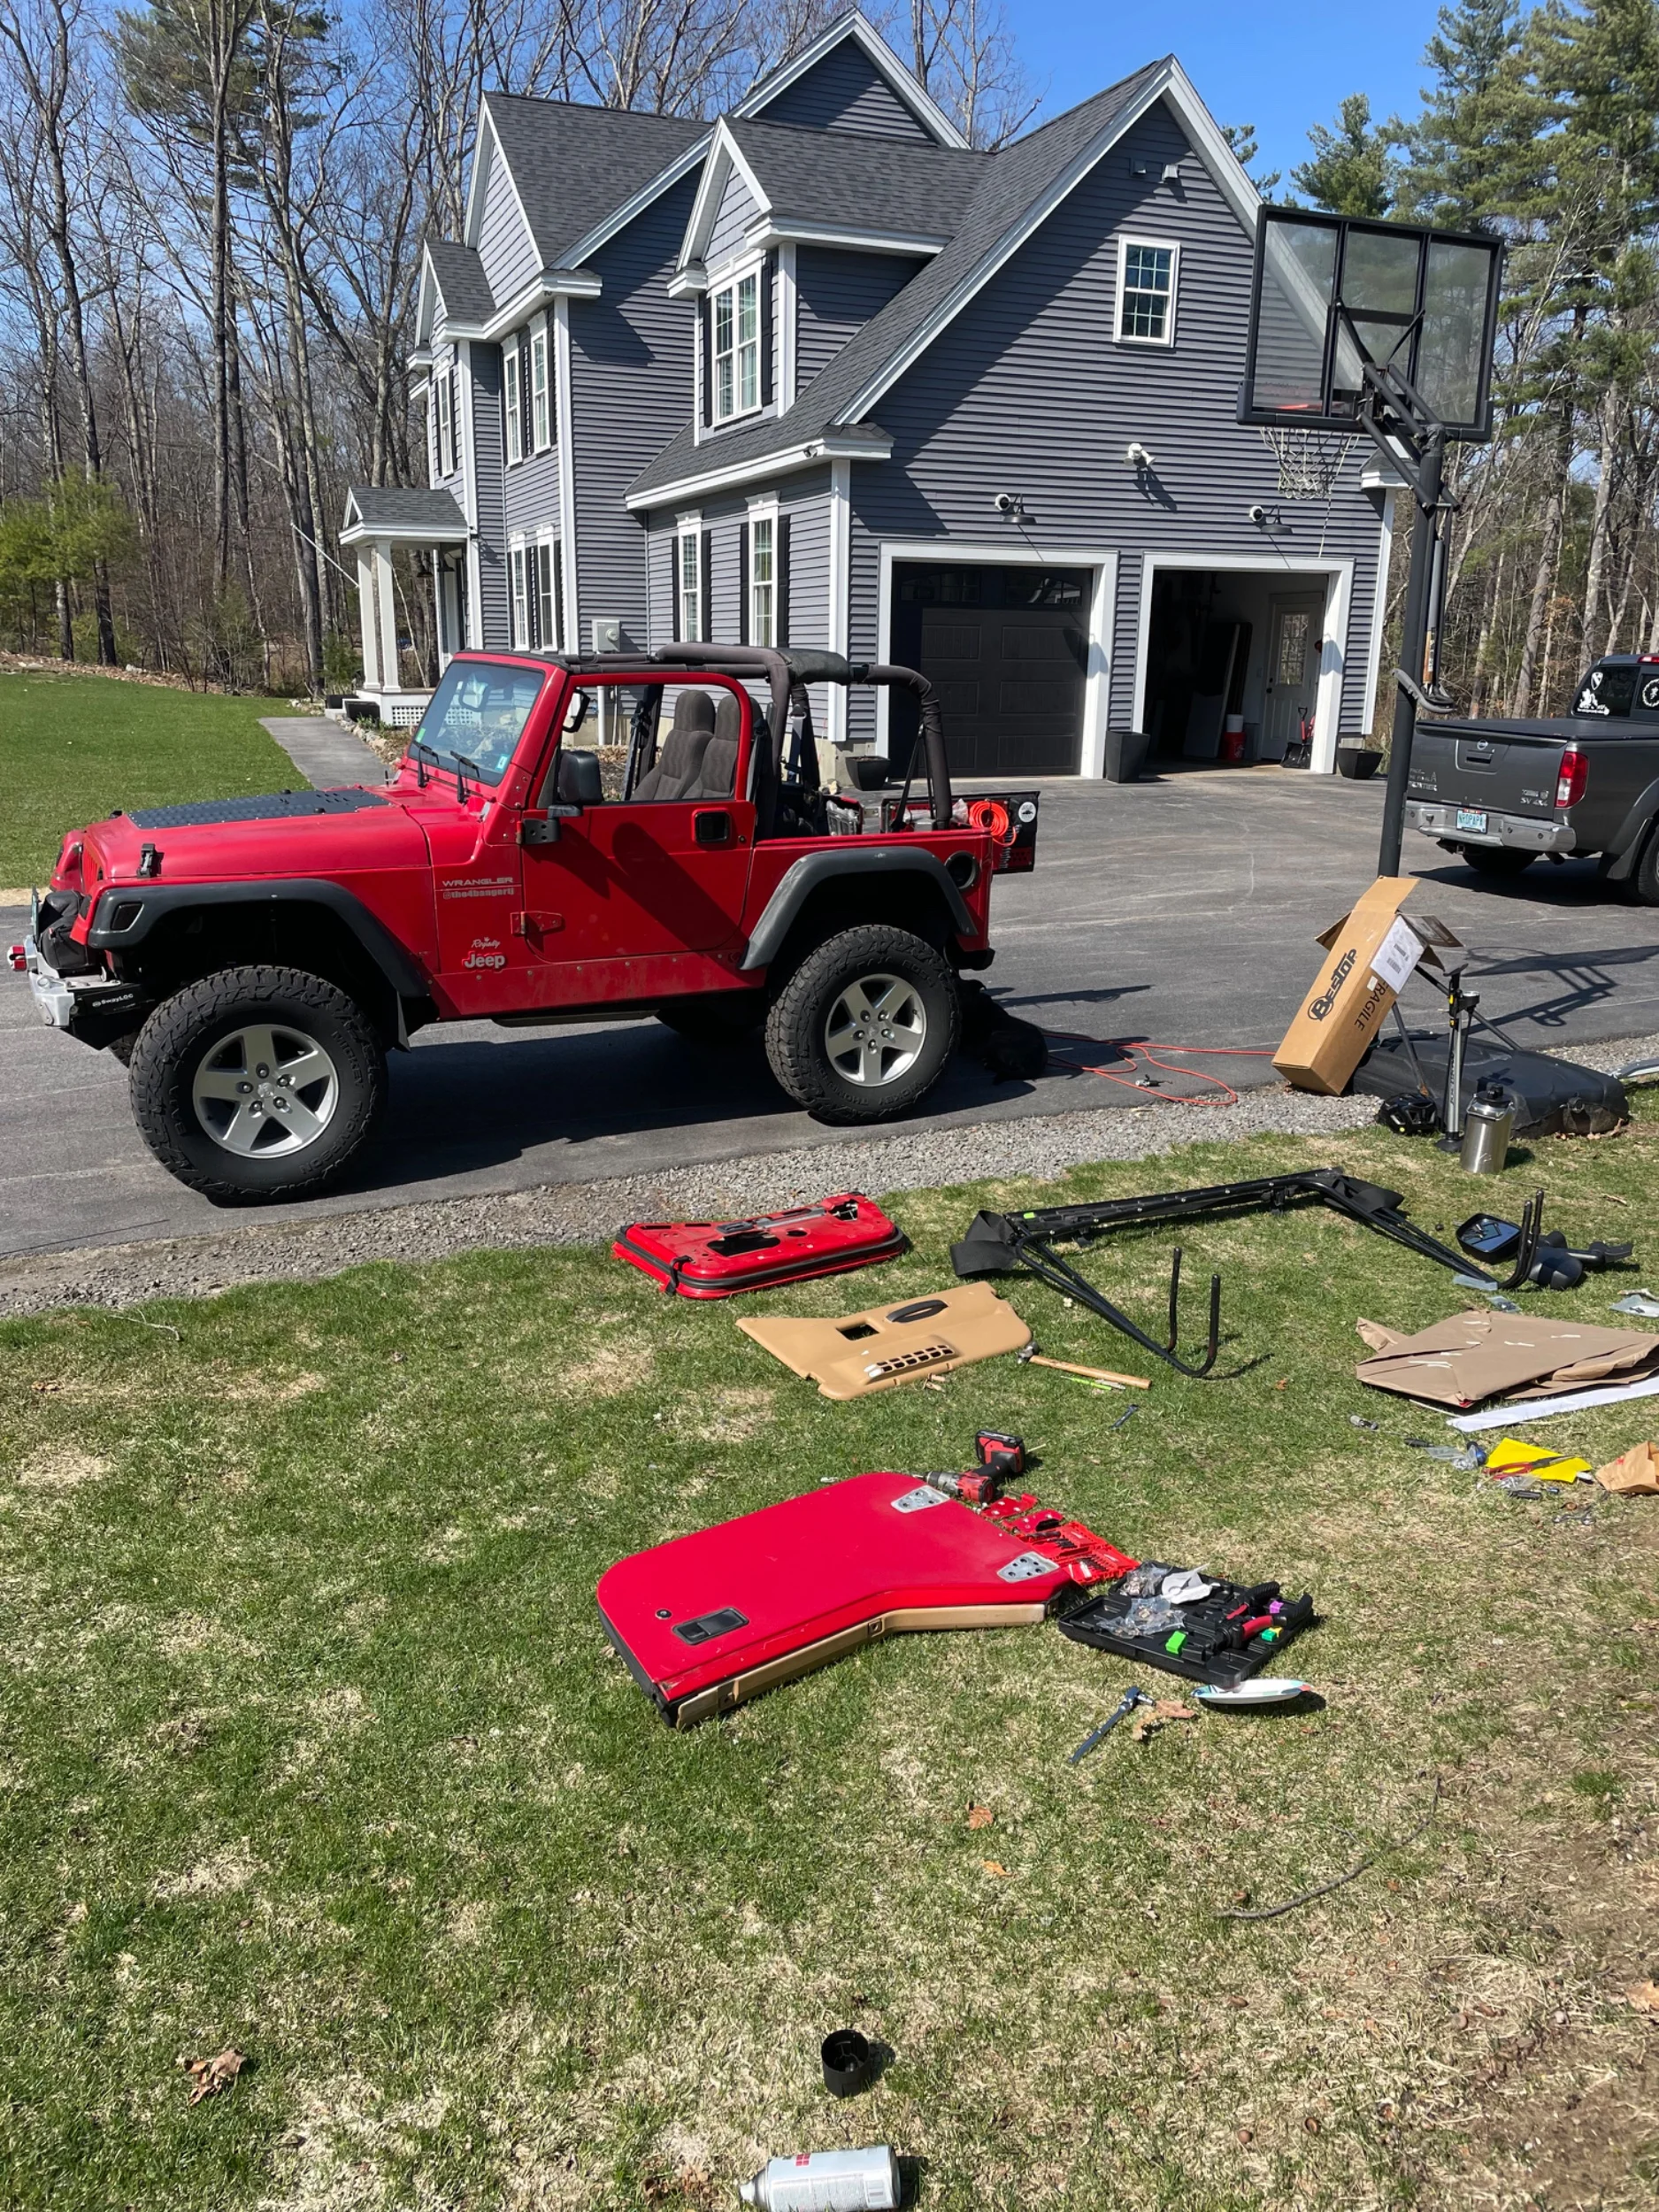
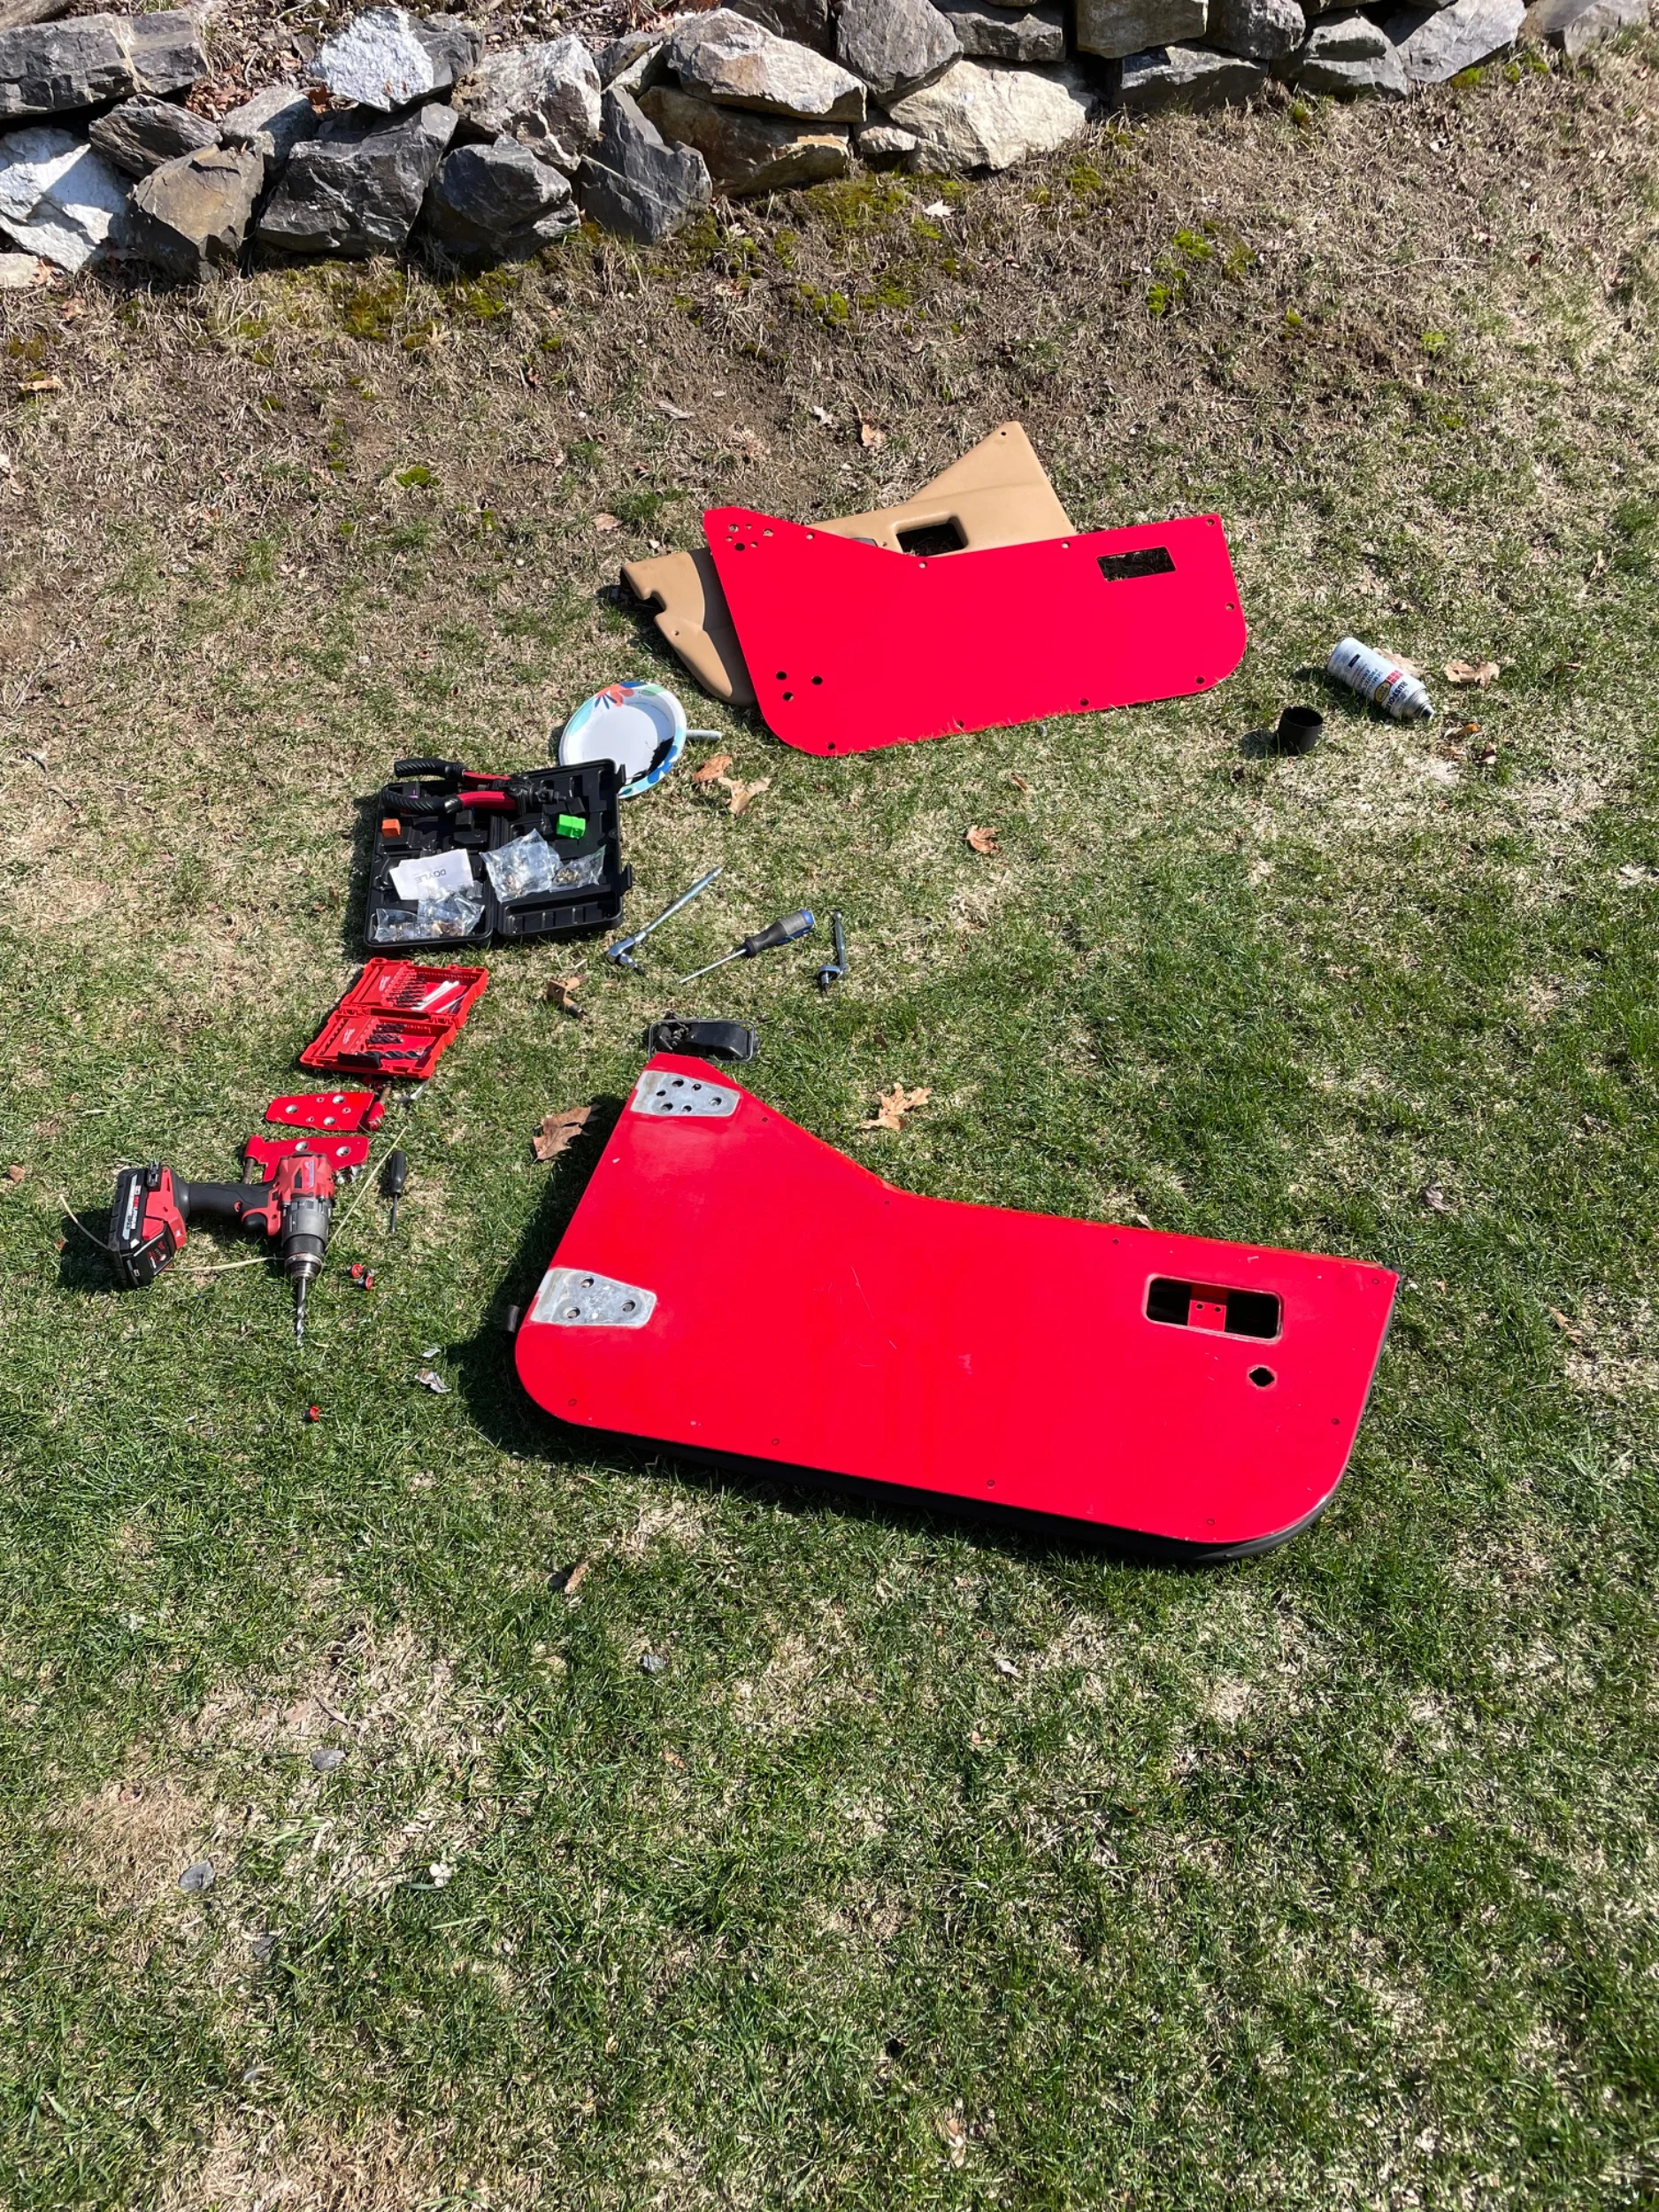
Ktx fab half door and valance powder coated to color match installed. Nothing much to say. Great product. If I’m wheeling it will be with the half doors and I’ve been half an inch away from hitting my doors once so figured I would add the armor. Not trying to look like gasiorv. A great way for me to have a new paint on the jeep without the hassle of re painting the whole jeep. Will continue the color match with the flux base fender, flux corner armor, and flux flak armor to have a new matched paint jeep and any touch ups can be hand my removing and re doing a panel at a time.
Tried to install a new soft top my dad got me off marketplace but it doesn’t use the stock frame. So ordered a Bestop and will be here today. Excited since I’ve only had a 50 dollar used one with ripped zippers before. A twill besttop is going to be exciting.
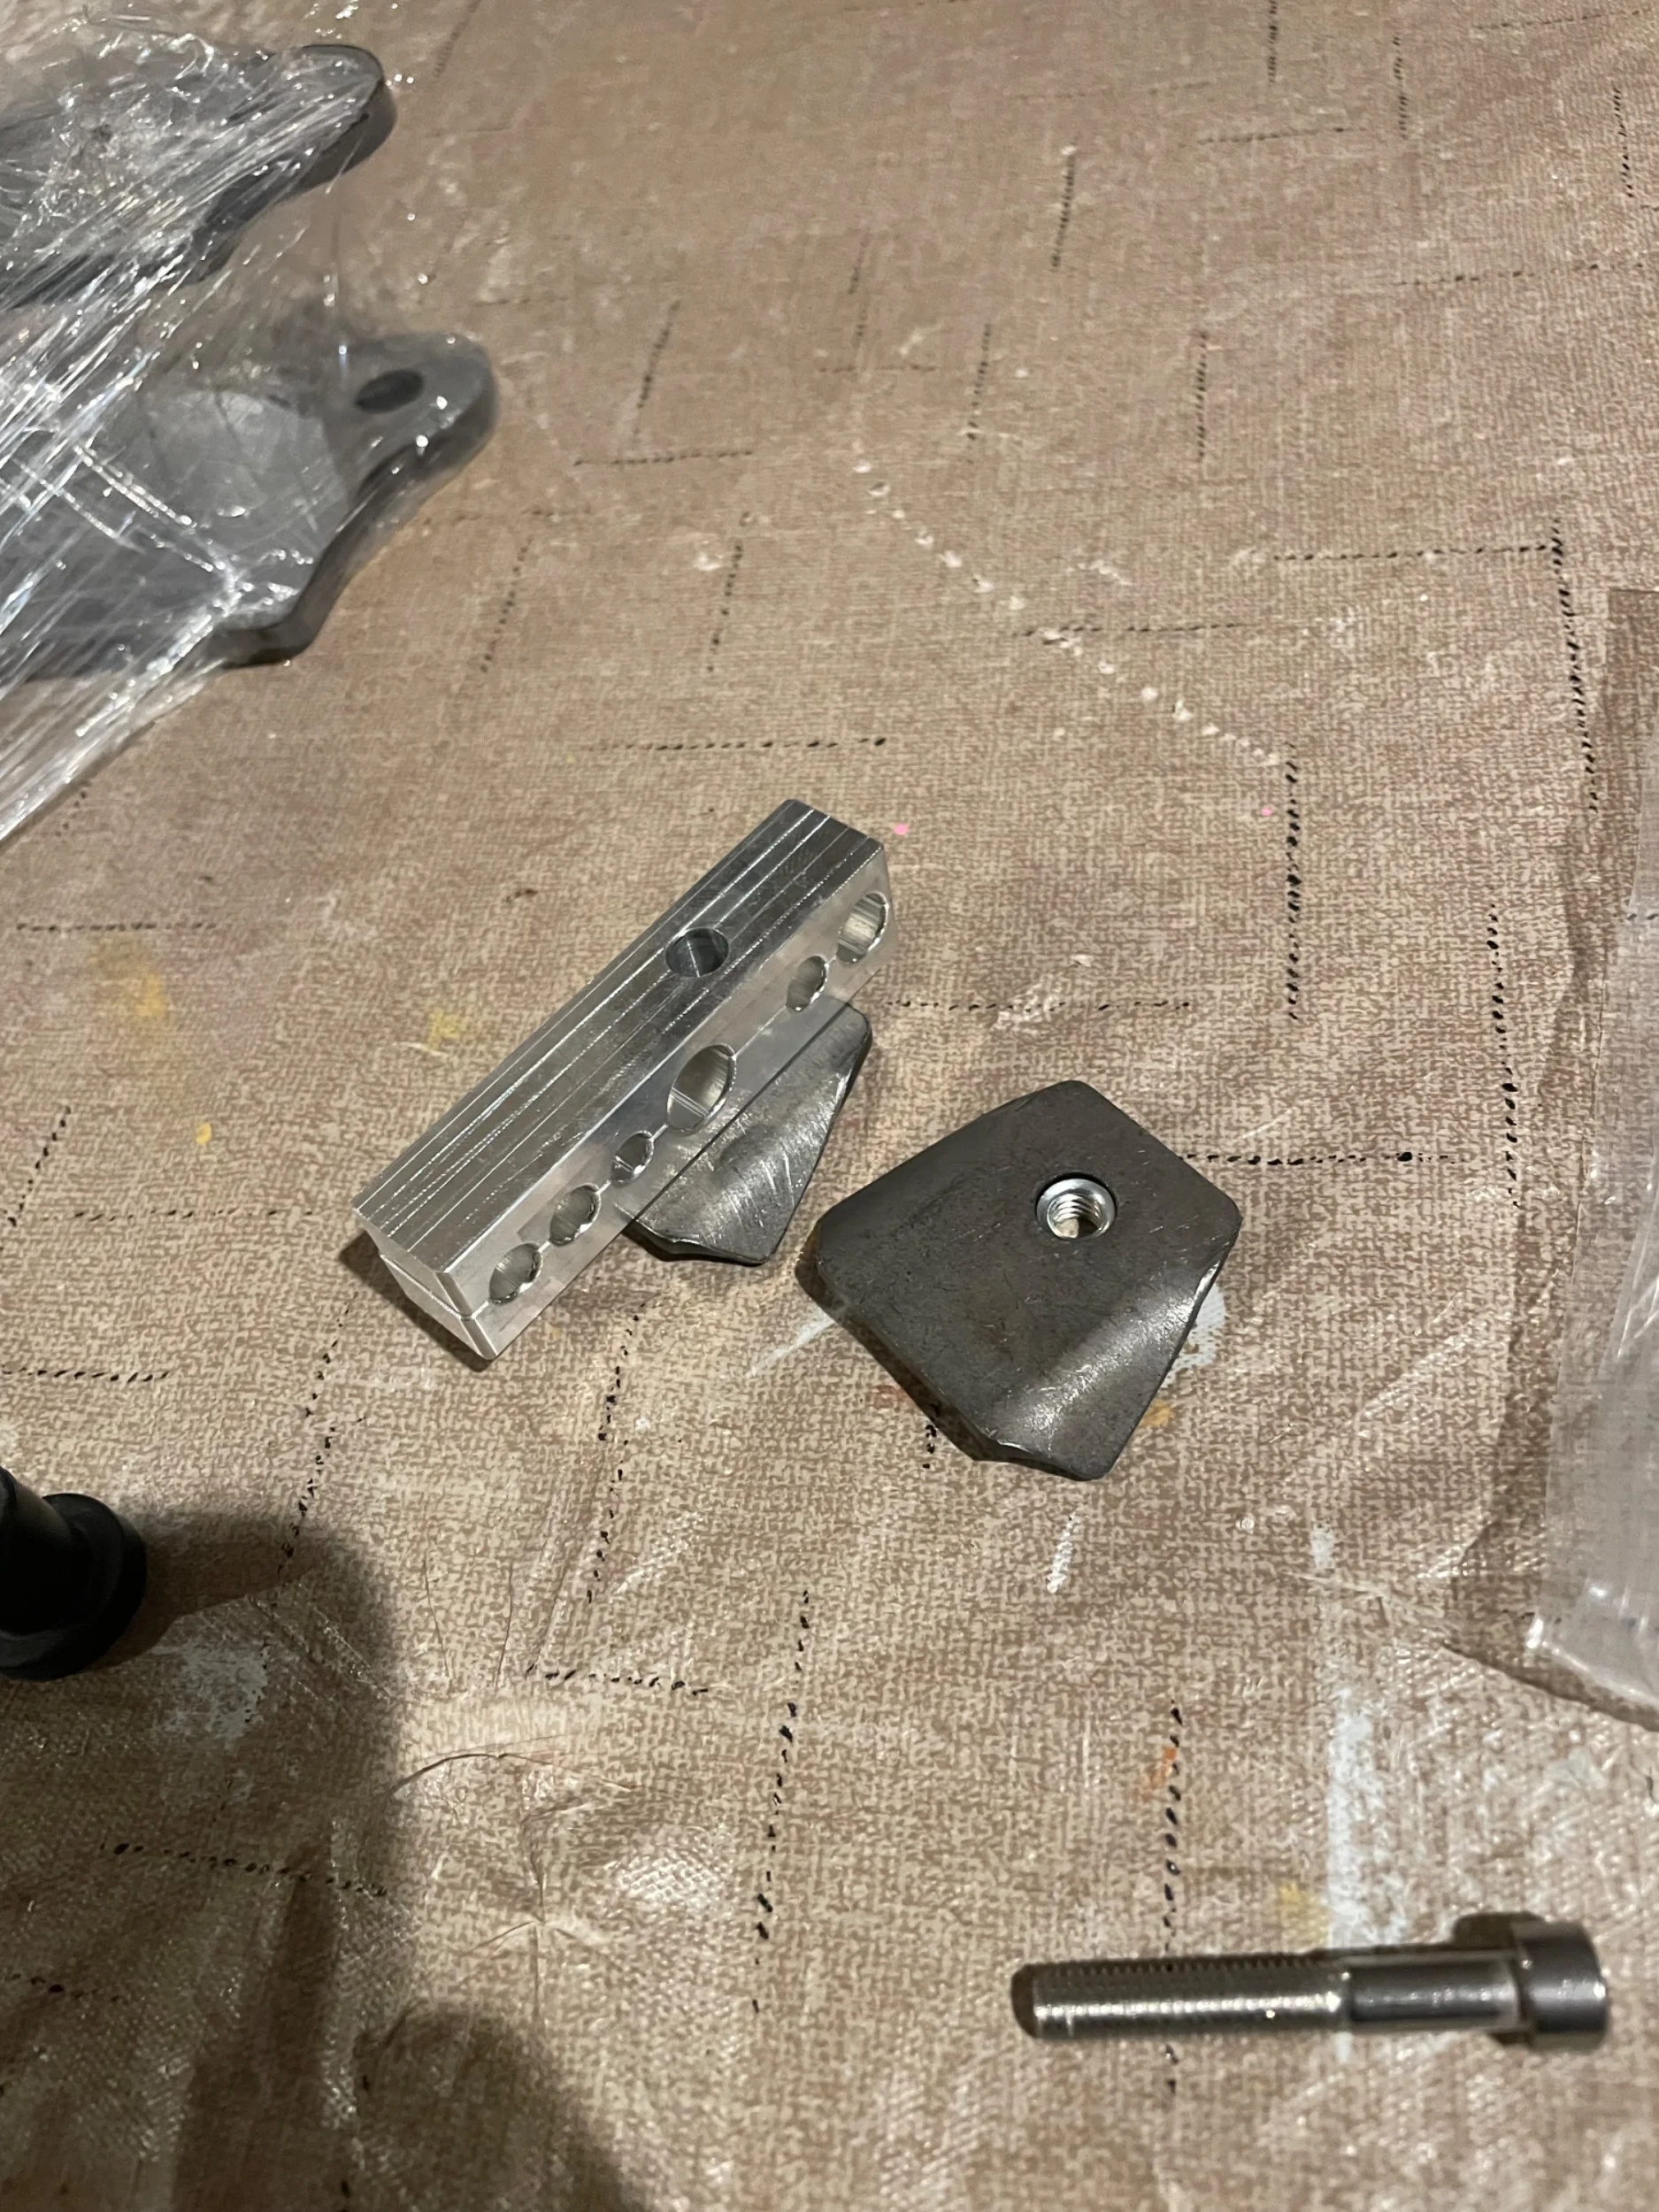
Still need to install my body lift. Have the pucks from Blaine, raised body mounts from ktx fab, and new rubber body mount bushings. I also got some tabs and brackets to hold the frame fuel lines and stuff In a better way than stock. Should be able to raise them as well to have room for the transmission cross member when I get to that.
Need to also do a lot of sanding and repainting of spots since New England winter is terrible and we had a very snowy winter. Will not be driving the jeep in the snow next winter.
Future plans:
After more thinking I will be holding off on the mid arm since I don’t think I will be able to do it and outboards before the baby come. So of the 2 I want outboards more so they will be the priority.
Next is all the flux armor. I’m on the wait list for just about everything so I’m super excited to see it. After armor it will be all new brakes from Bmb (16in bbk and all new brakes plus caliper flip for rear) will get chromo shafts since I’m in there (the front outer shafts also have zero threads for the axle nut, so they need replaced anyways.
Once the brakes are installed I will do the outboards. Will do the rears over a long weekend first then follow up with the front. Then last will be the ucf skid with a genright cross member. I tried ordering jk control arm bushings to make my own but they seemed to look like poly bushings or were as stiff as poly bushings and nothing like the tj rubber that I am used to so I returned them and just expect to use the genright cross member.
Side note I got a new mtn bike to keep me more active this summer. I know there are a lot of mtn bike guys on here too.
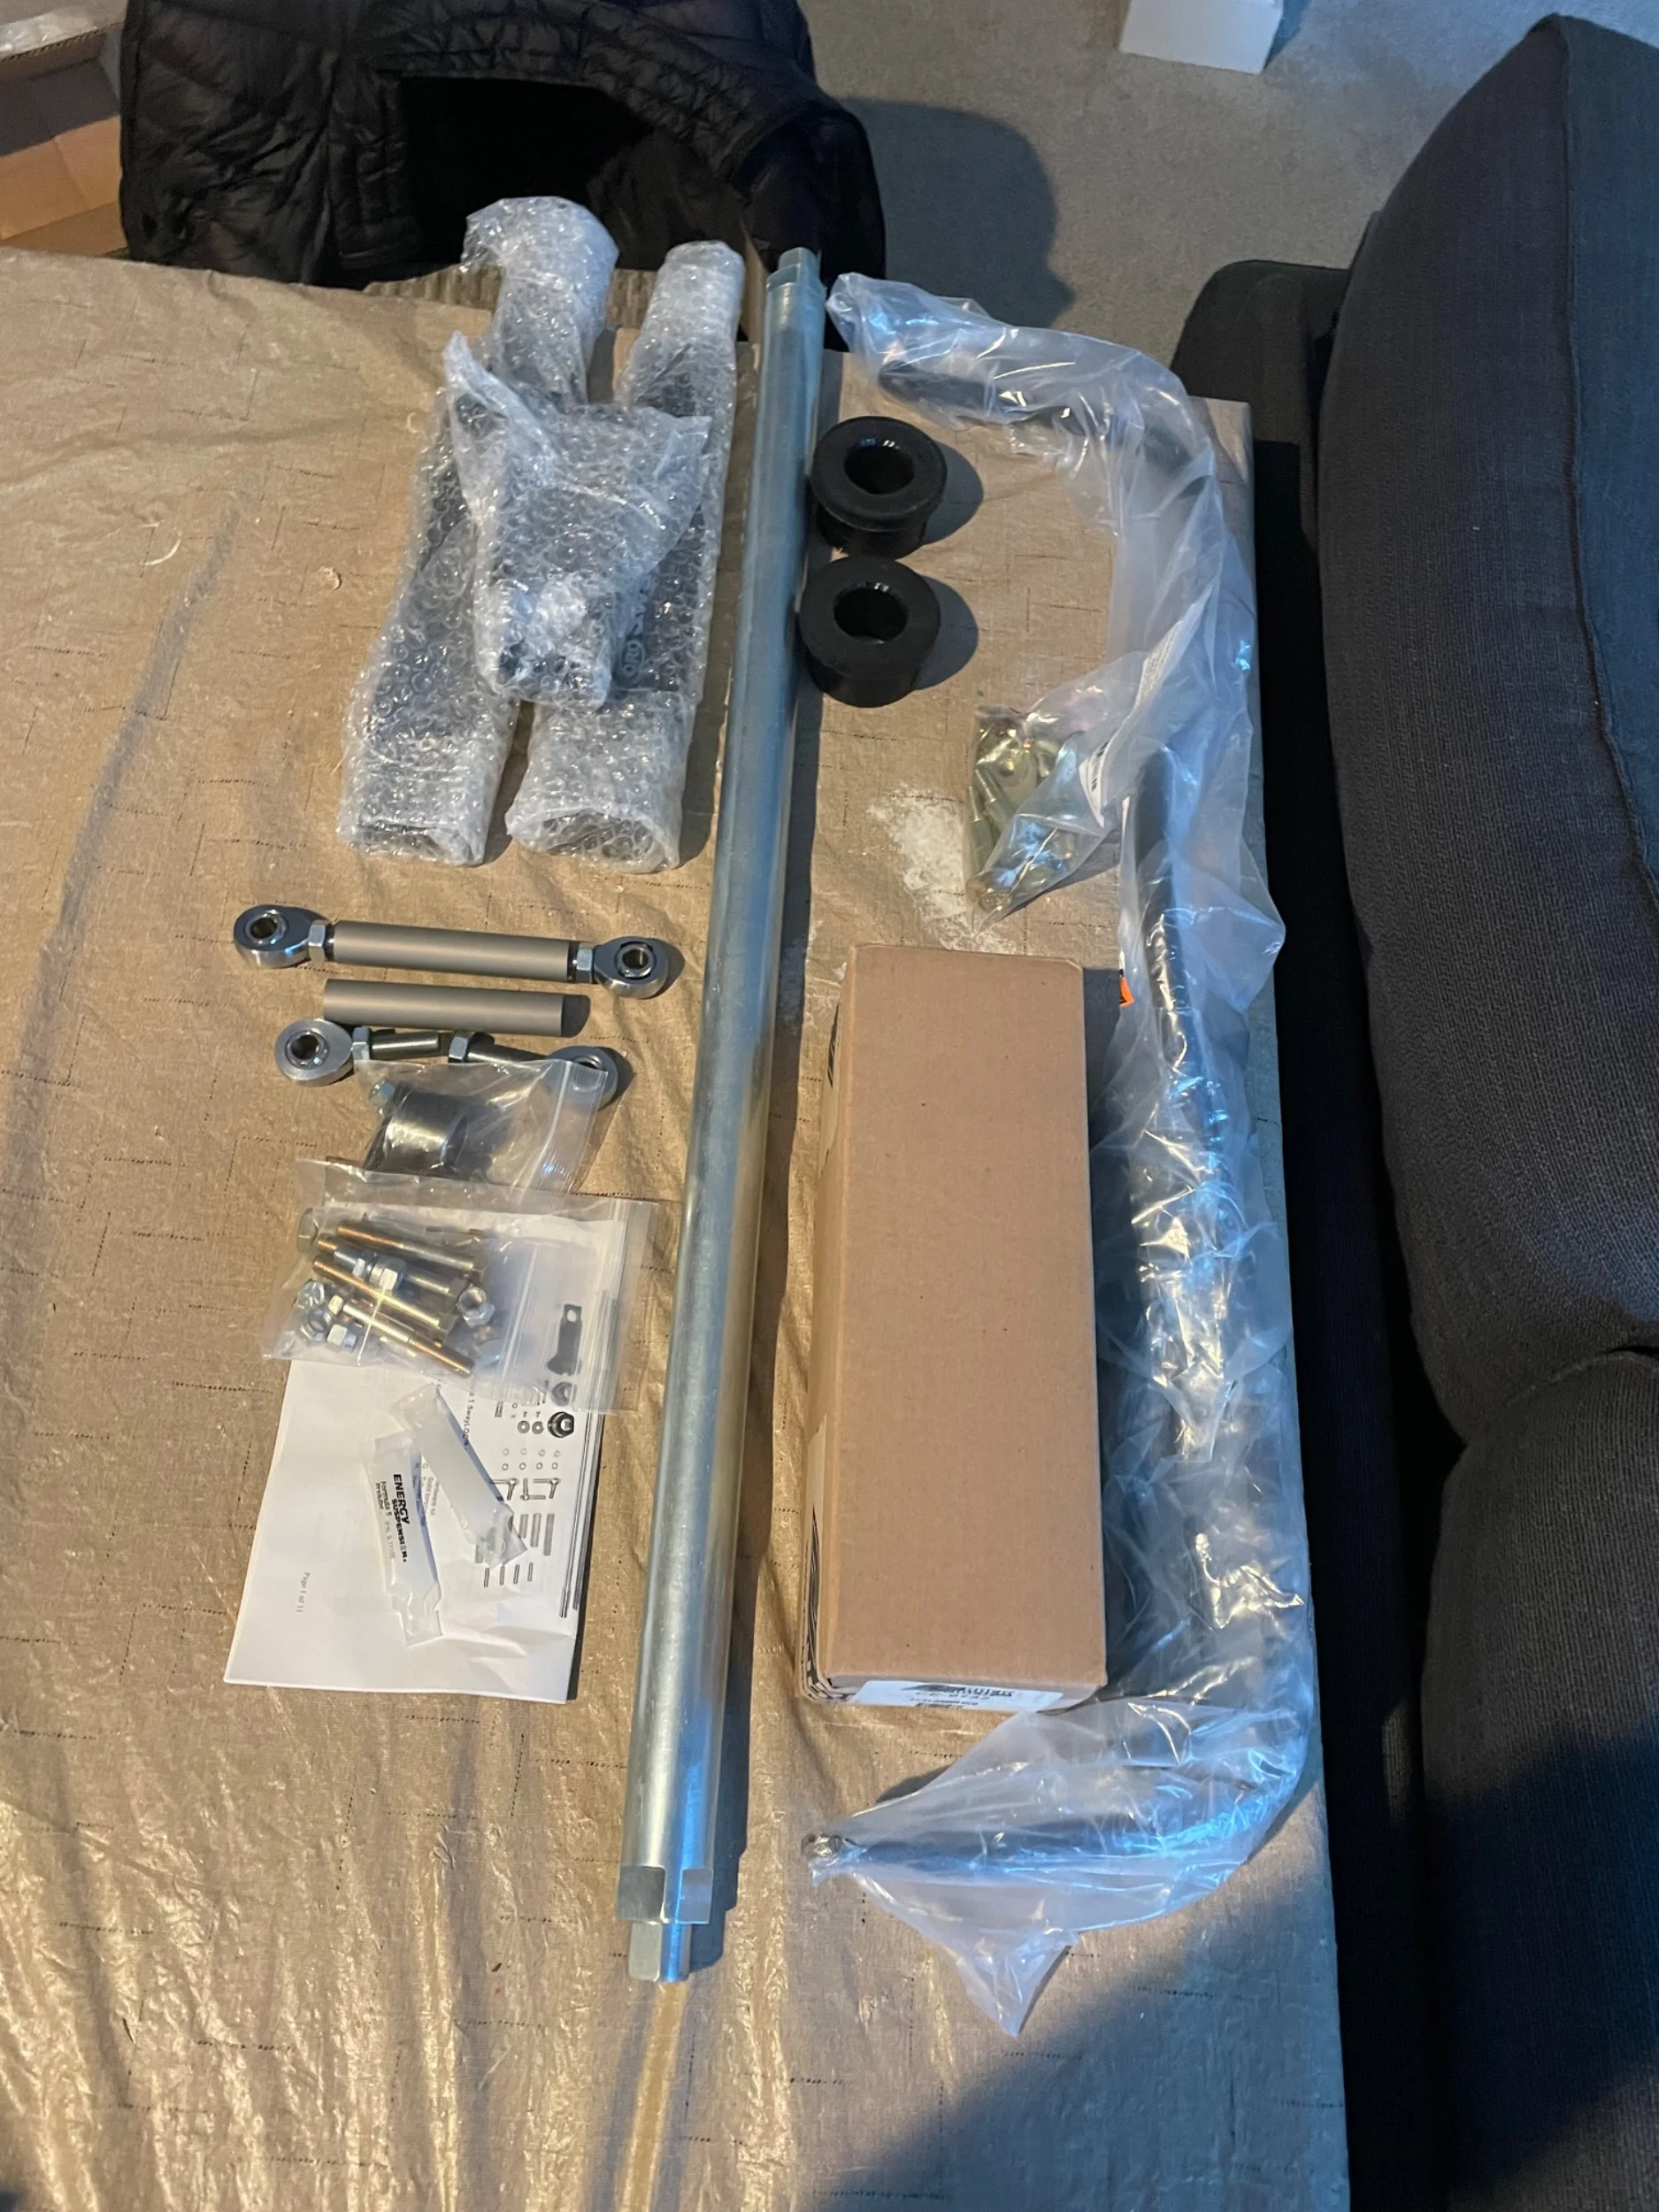
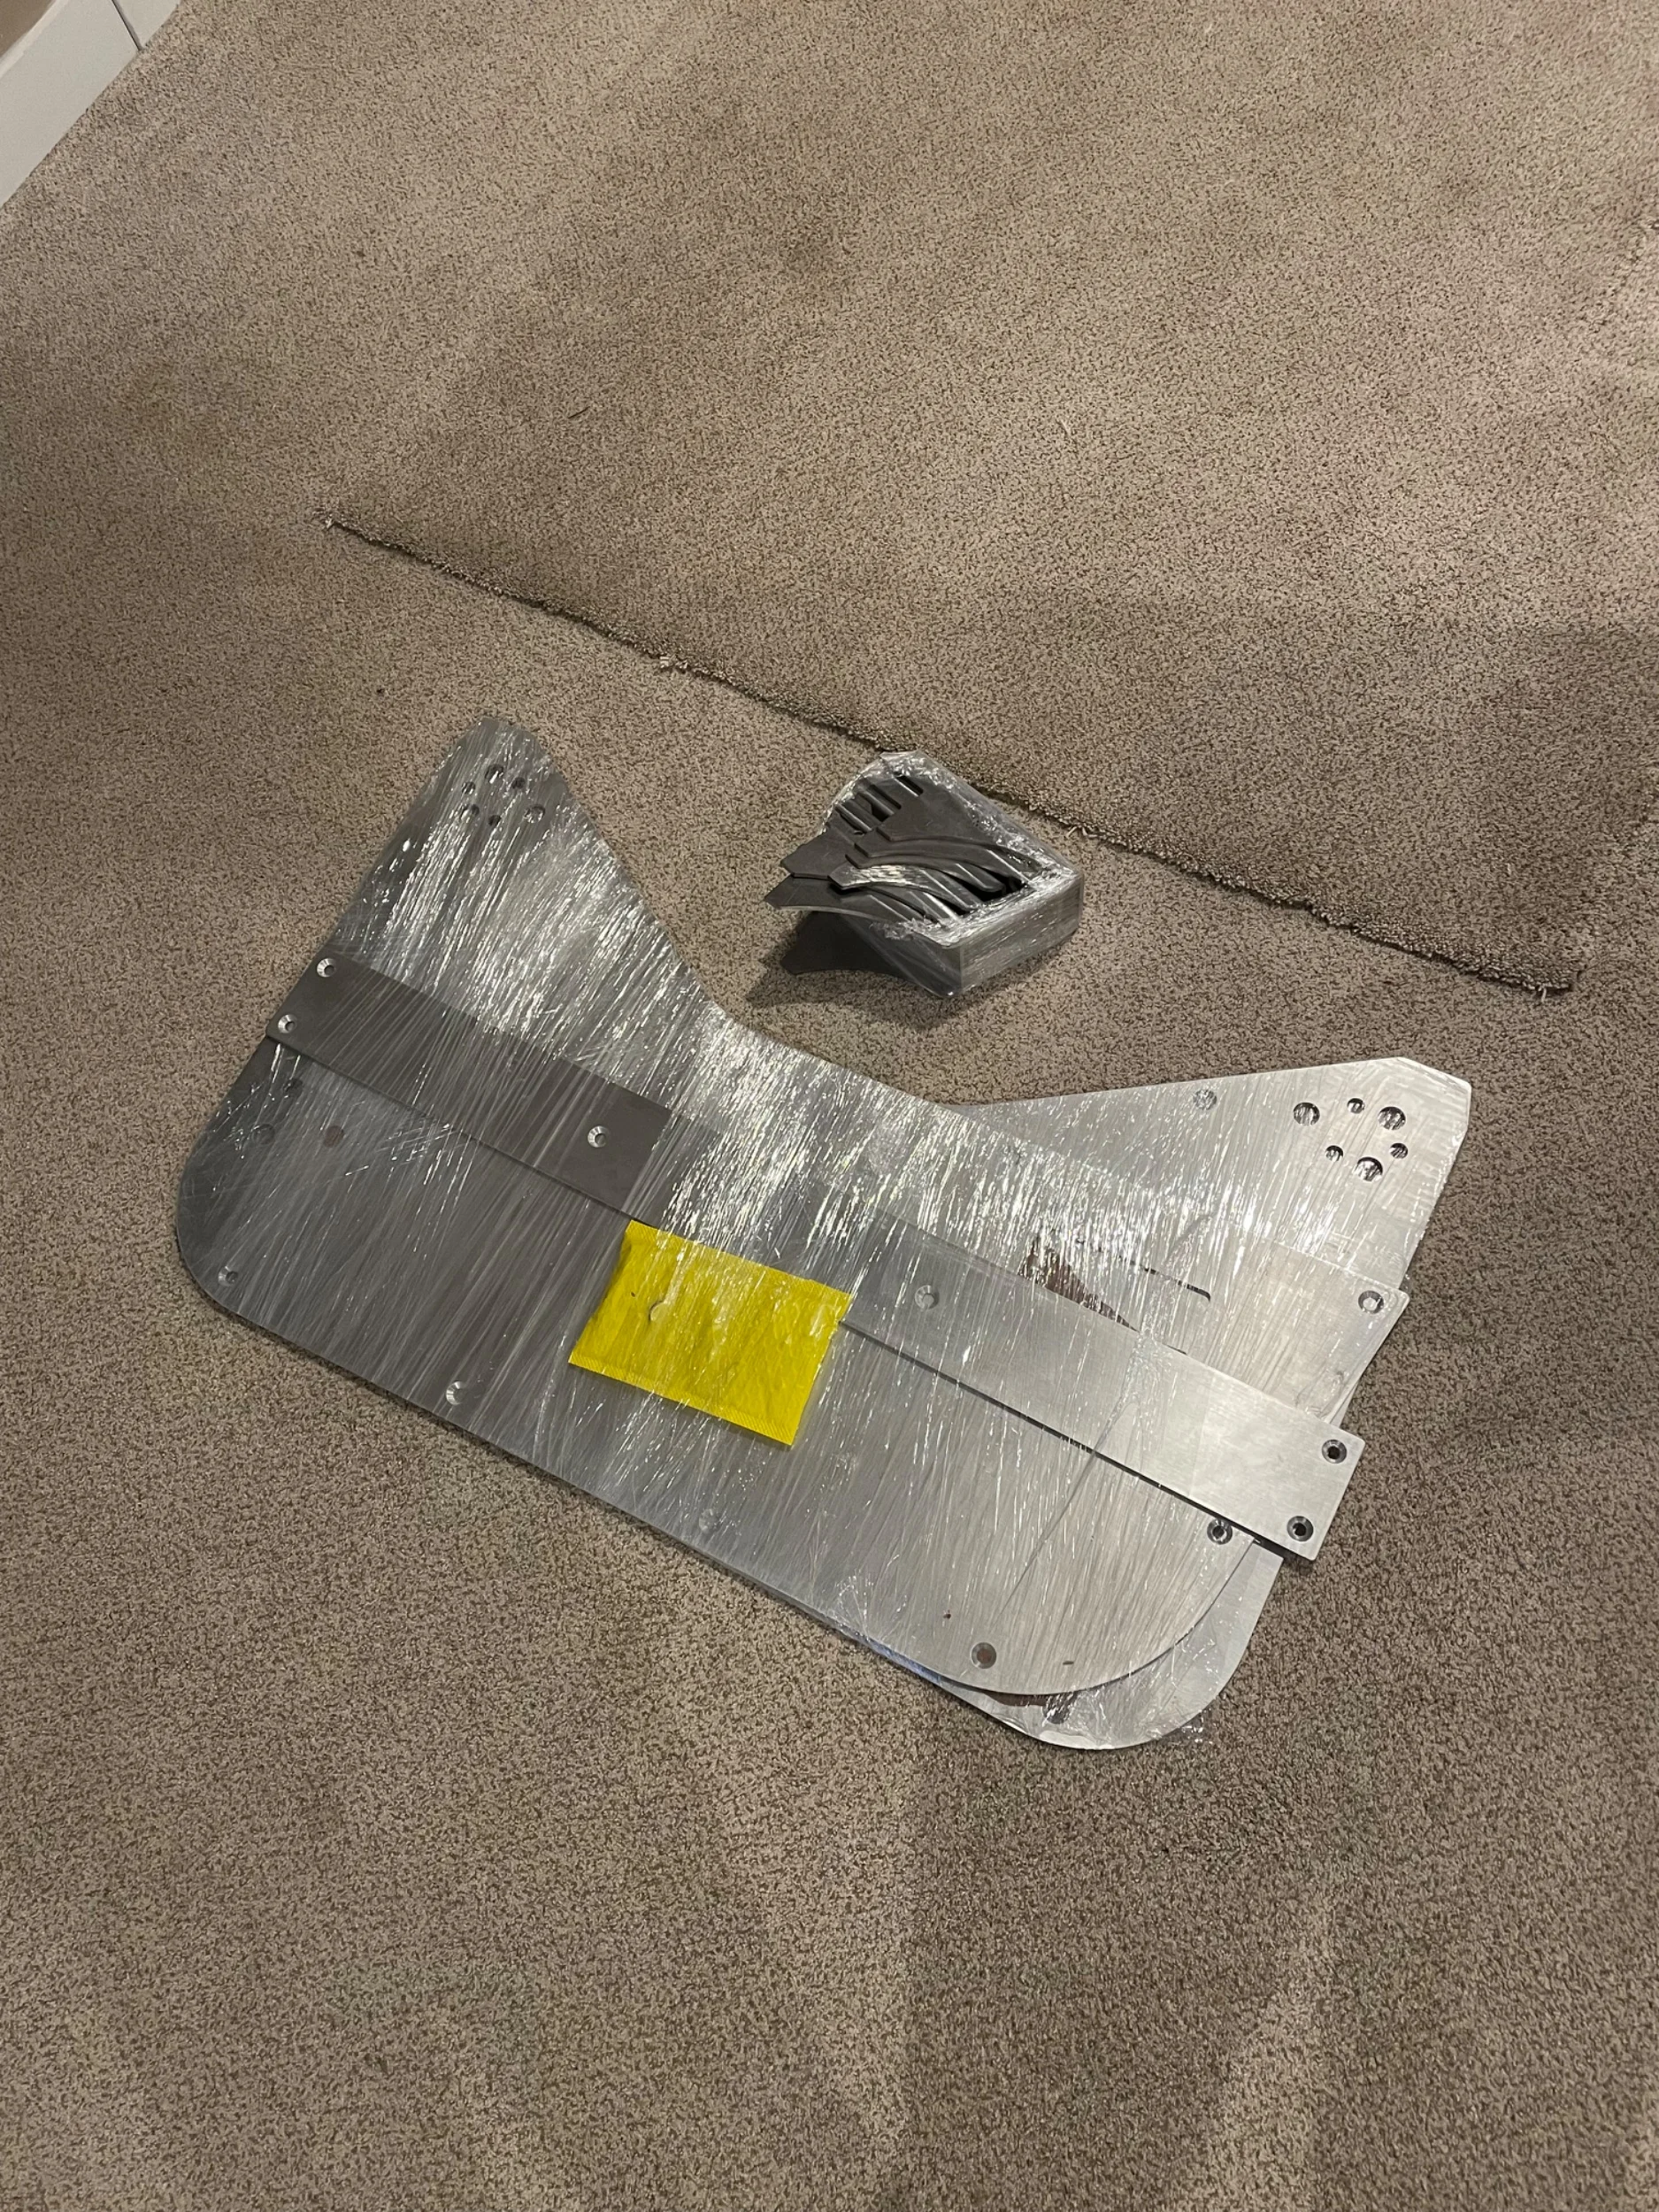
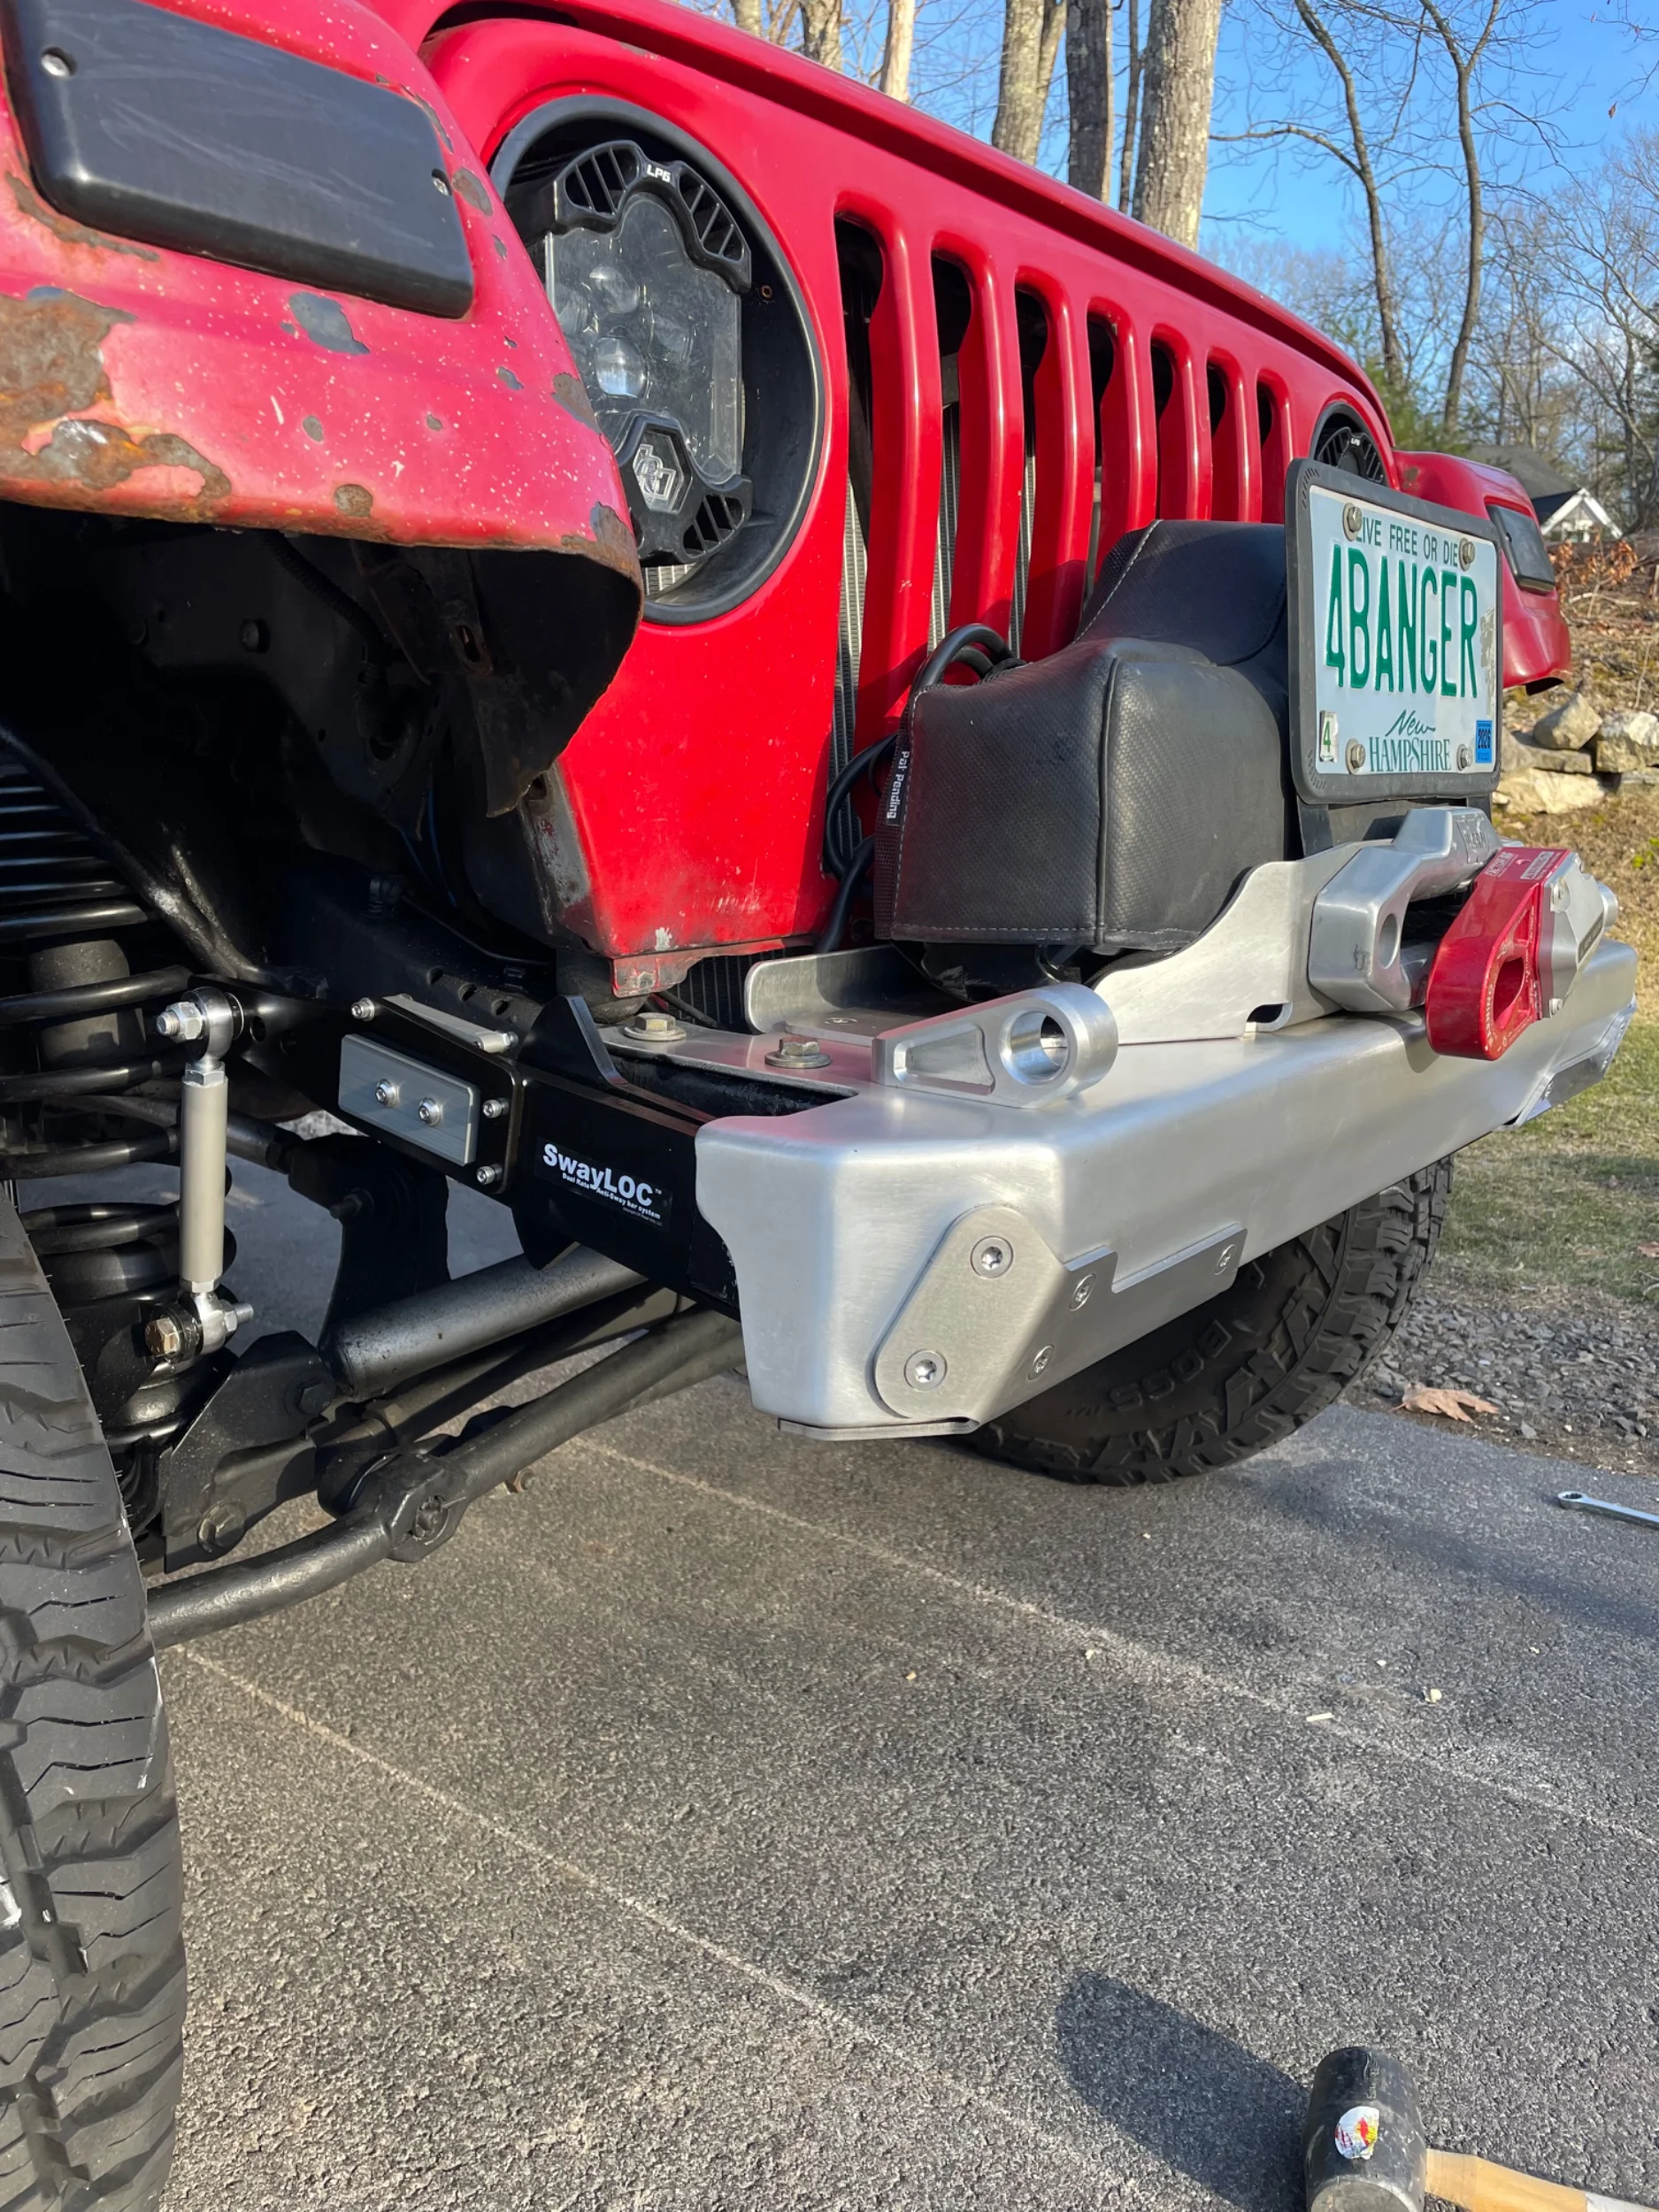
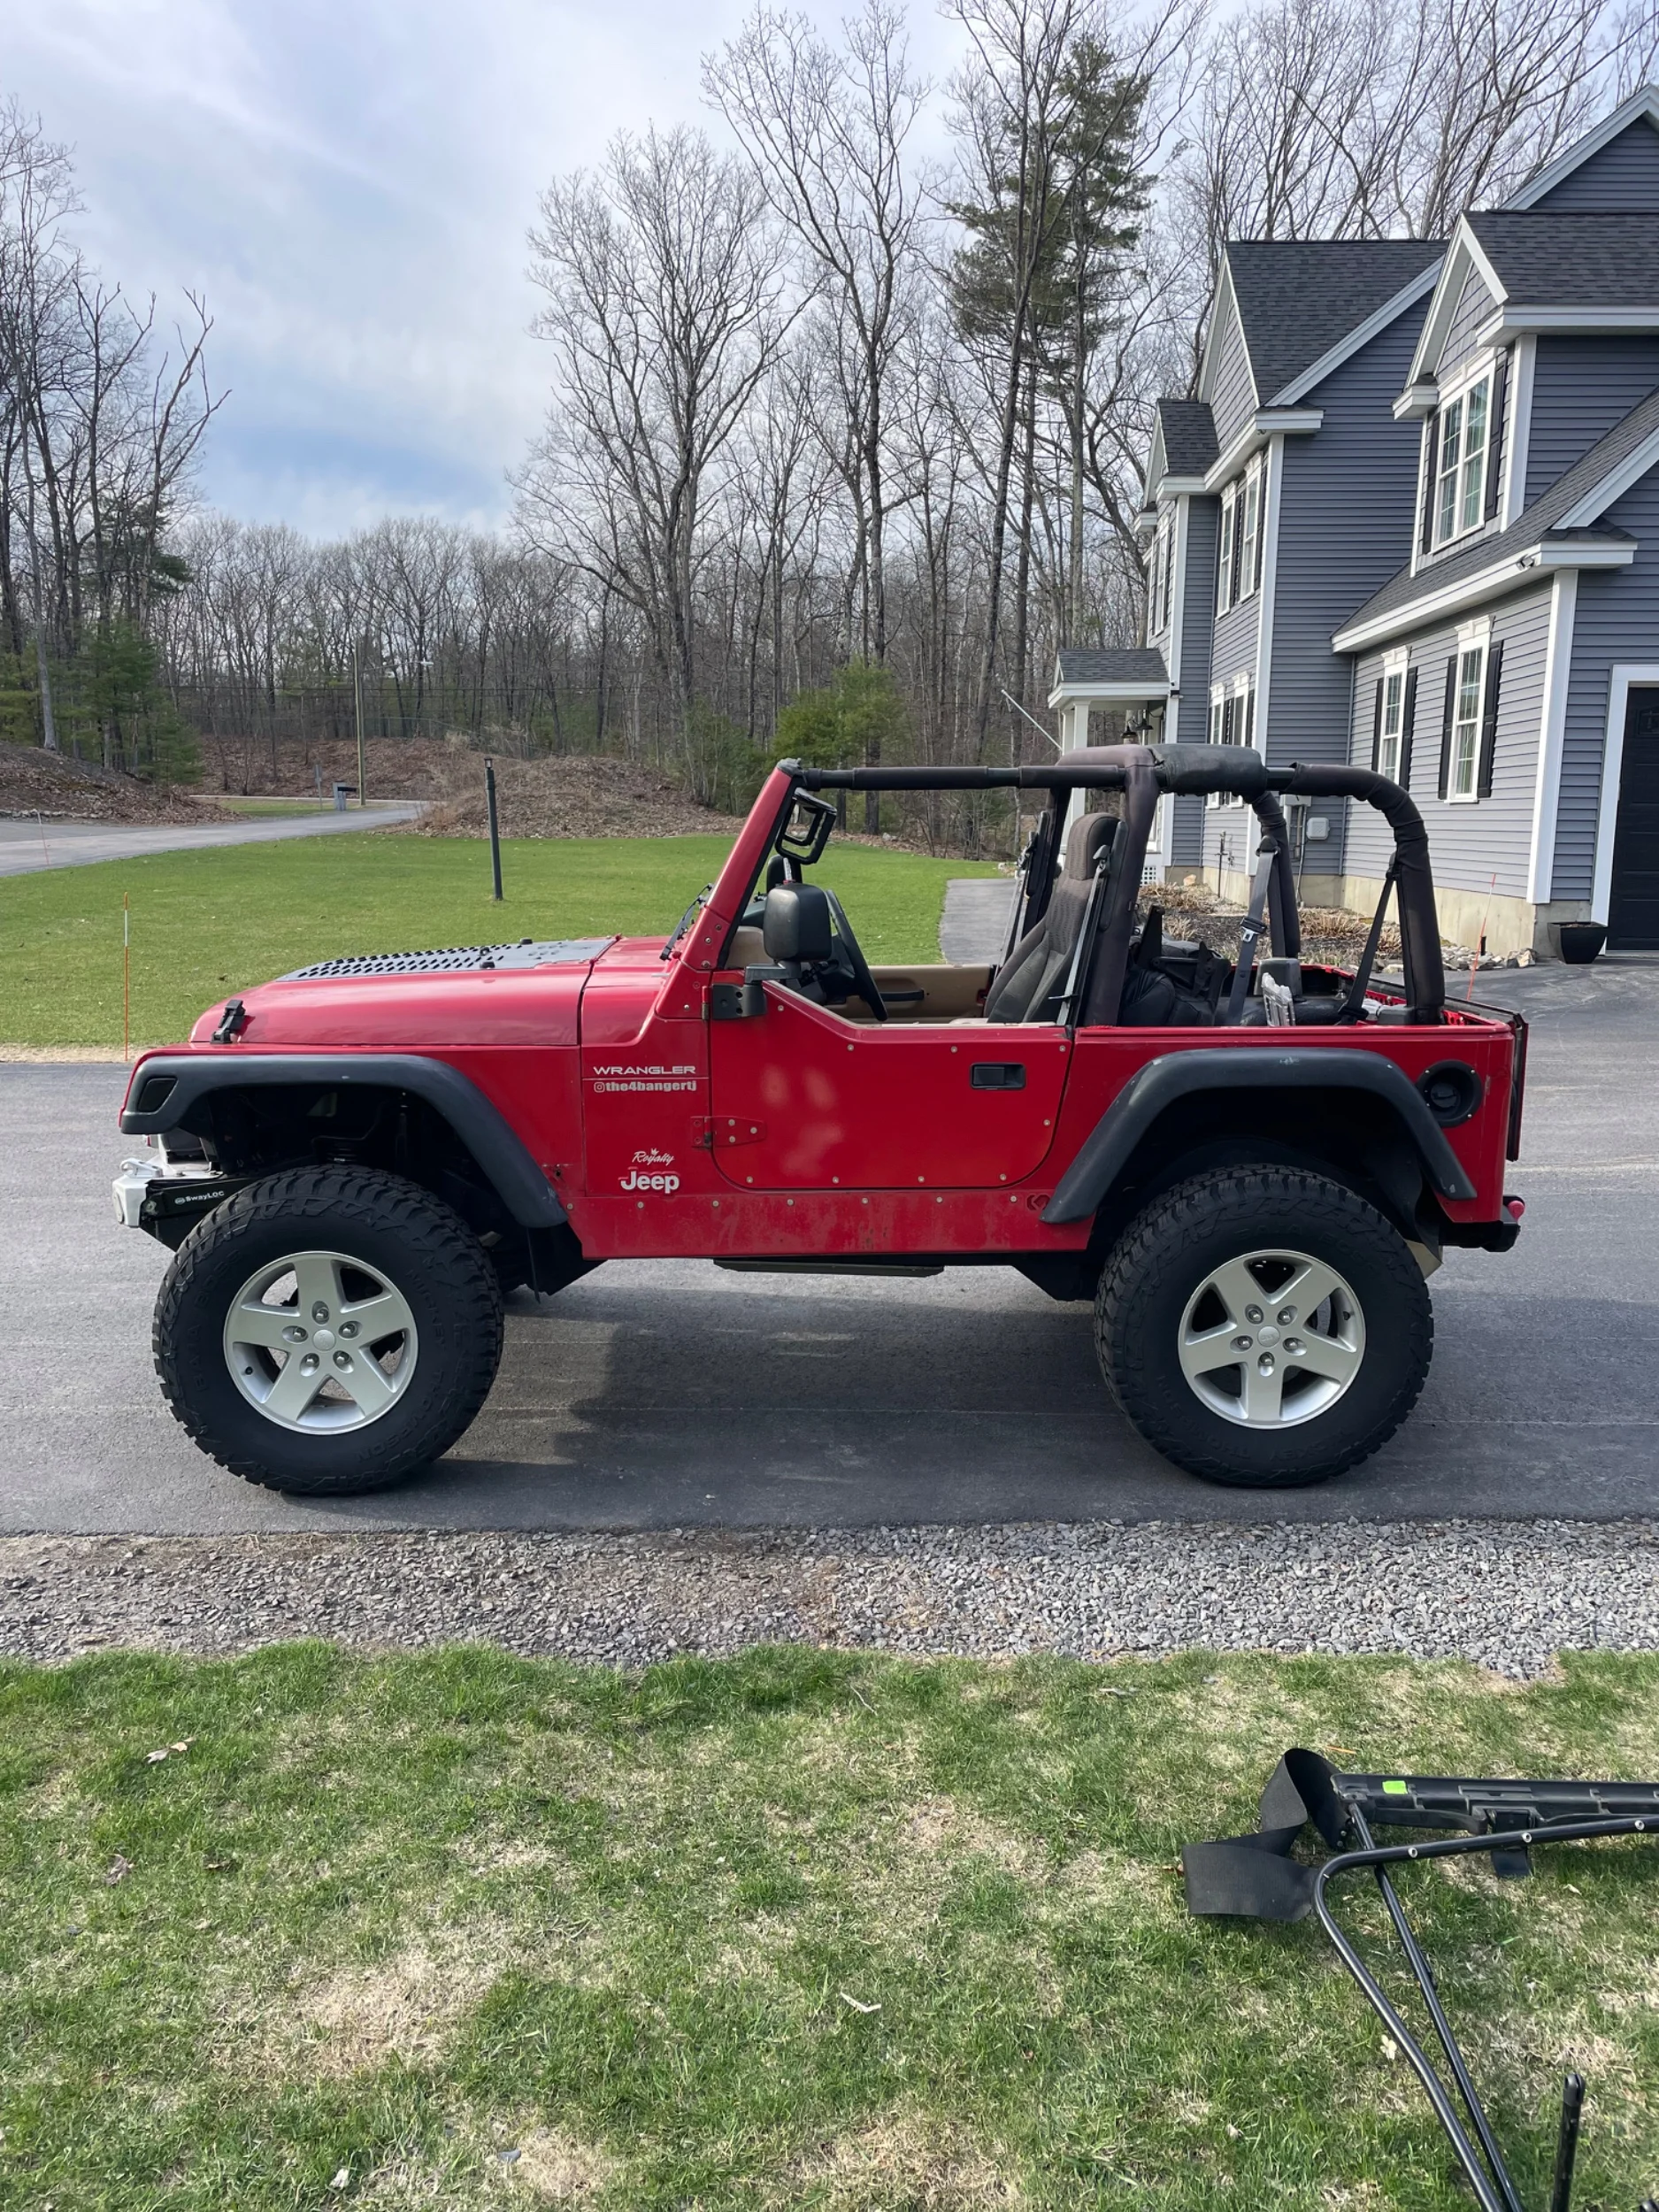
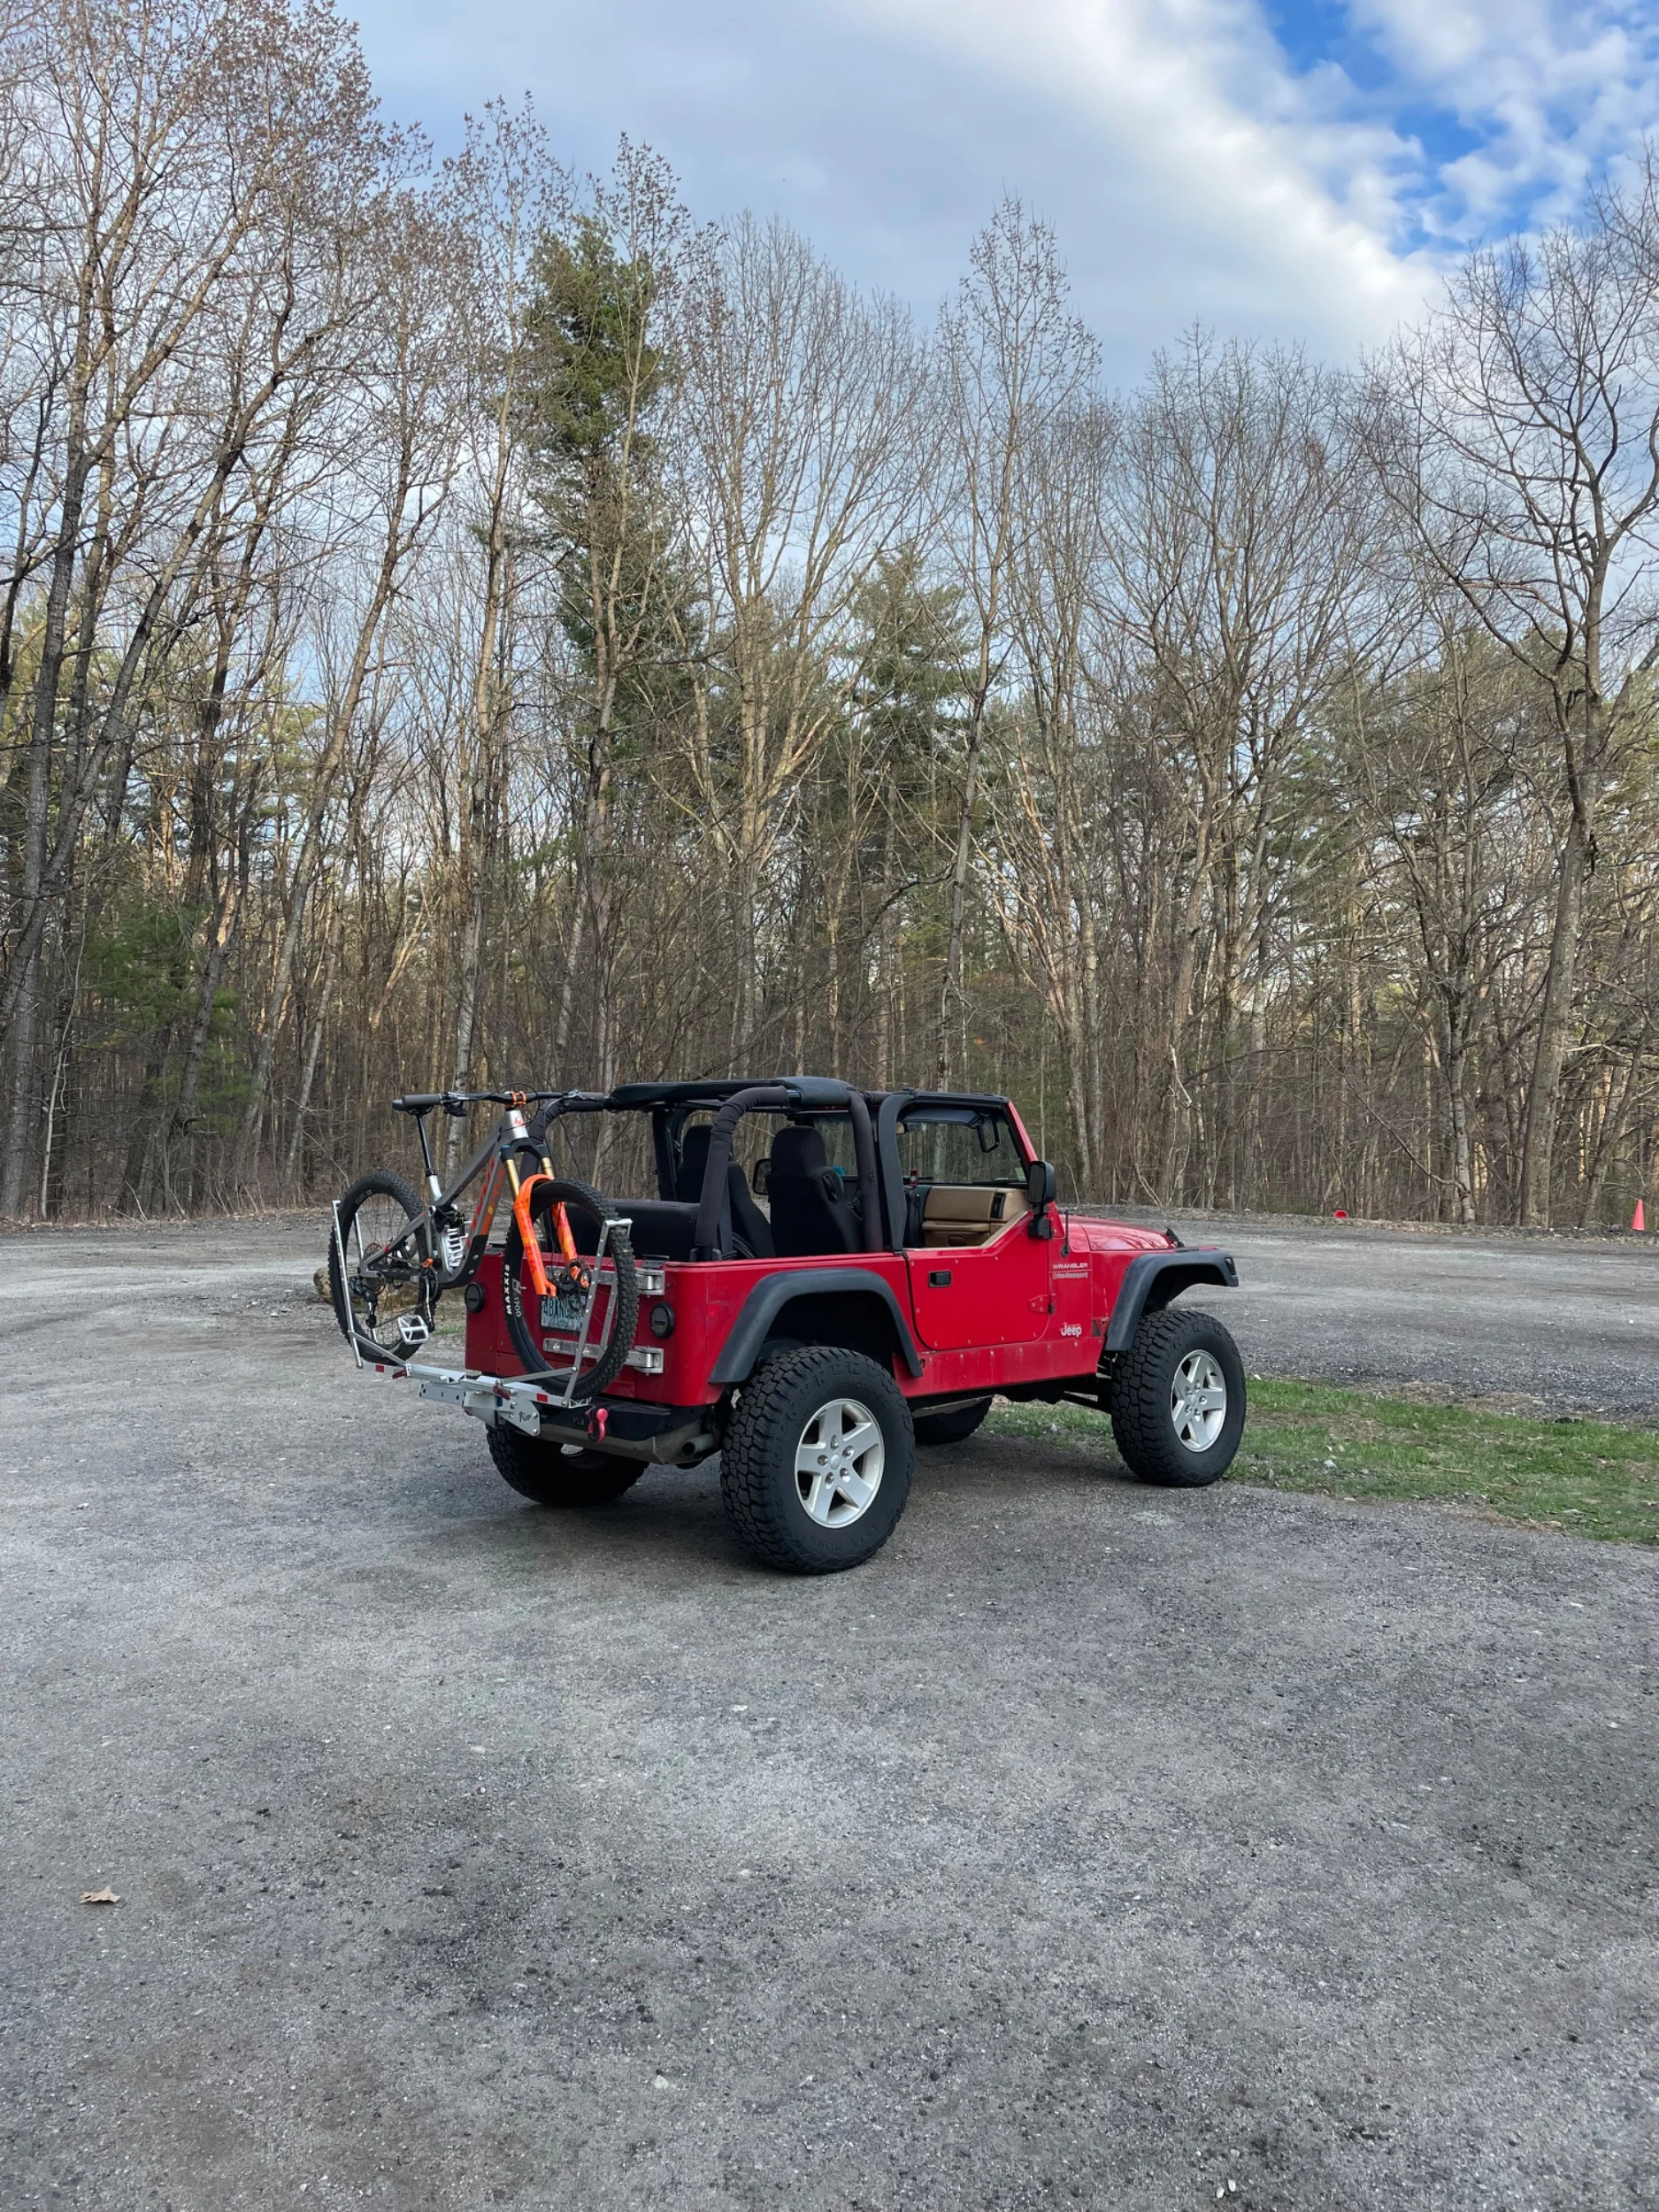
Running the front antirock and stock rear wasn’t bad with how light my jeep is. Yes it had body roll but wasn’t bad like running no swaybar. Swayloc made it a sports car while having the same off-road capability. Absolutely love it.
Installed a new Dorman rear swaybar too since my old bar was so worn a new bushing still has play.
Ktx fab half door and valance powder coated to color match installed. Nothing much to say. Great product. If I’m wheeling it will be with the half doors and I’ve been half an inch away from hitting my doors once so figured I would add the armor. Not trying to look like gasiorv. A great way for me to have a new paint on the jeep without the hassle of re painting the whole jeep. Will continue the color match with the flux base fender, flux corner armor, and flux flak armor to have a new matched paint jeep and any touch ups can be hand my removing and re doing a panel at a time.
Tried to install a new soft top my dad got me off marketplace but it doesn’t use the stock frame. So ordered a Bestop and will be here today. Excited since I’ve only had a 50 dollar used one with ripped zippers before. A twill besttop is going to be exciting.
Still need to install my body lift. Have the pucks from Blaine, raised body mounts from ktx fab, and new rubber body mount bushings. I also got some tabs and brackets to hold the frame fuel lines and stuff In a better way than stock. Should be able to raise them as well to have room for the transmission cross member when I get to that.
Need to also do a lot of sanding and repainting of spots since New England winter is terrible and we had a very snowy winter. Will not be driving the jeep in the snow next winter.
Future plans:
After more thinking I will be holding off on the mid arm since I don’t think I will be able to do it and outboards before the baby come. So of the 2 I want outboards more so they will be the priority.
Next is all the flux armor. I’m on the wait list for just about everything so I’m super excited to see it. After armor it will be all new brakes from Bmb (16in bbk and all new brakes plus caliper flip for rear) will get chromo shafts since I’m in there (the front outer shafts also have zero threads for the axle nut, so they need replaced anyways.
Once the brakes are installed I will do the outboards. Will do the rears over a long weekend first then follow up with the front. Then last will be the ucf skid with a genright cross member. I tried ordering jk control arm bushings to make my own but they seemed to look like poly bushings or were as stiff as poly bushings and nothing like the tj rubber that I am used to so I returned them and just expect to use the genright cross member.
Side note I got a new mtn bike to keep me more active this summer. I know there are a lot of mtn bike guys on here too.
Last edited:
Similar threads
- Replies
- 23
- Views
- 6,779
- Replies
- 7
- Views
- 1,841


- Replies
- 6
- Views
- 1,445


- Replies
- 54
- Views
- 6,037


