Wanted to update my build thread on the efforts running up to July 4th 2024, ha.
So I got the Savvy Under Armor skid on. I did the entire job solo. I try to do that, strangely enough so that I can take my time. I feel like if I rush, I’m gonna screw something up.
It makes me crazy, but most of the time I’m looking to see if anything else needs to be done, ha.
I had to disconnect the muffler from Cat section, so I got that soaked with Liquid Wrench, and luckily no issue. This is the Flowmaster 40 that was on it when we got the TJ May 2016. I pulled that out of the way for now, and got to work on the skid. It went about as simply as a mod of this degree can, not sure if that's because I've got the Savvy 1.25" BL and it doesn't squash like I hear others, plus I put Crown body mount replacements, so it's not settled or anything.
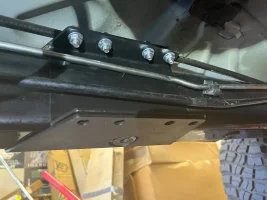
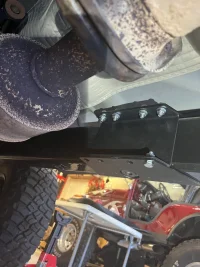
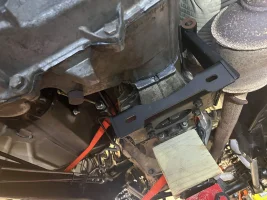
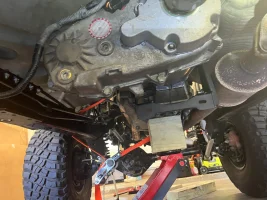
The outer channel C's went on pretty easy, I loosened all 6 main under door body mounts, and took out the bolt on the middle so I could install. I also loosened the front grill one, because I still had to go back and get the Radiator Core braces (snubbers whatever) extension etc on the front. The new ones I ordered didn't come in, so I took electric tape and taped the stock to the extension, because the nub broke off when taking them out.
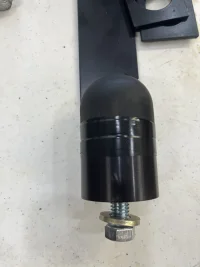
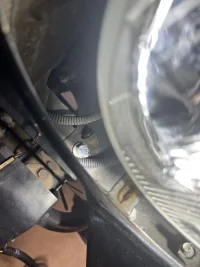
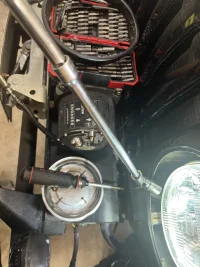
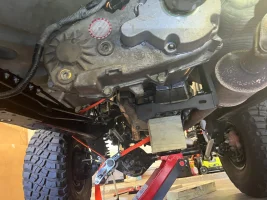
I read to take out the whole headlight bucket, but I used extensions, socket, wobbler and a couple small pieces of masking tape to keep the bolt in the socket, and I was able to get them on....just pulling the bevel, only took out 3 phillips screws each, was pretty dang simple actually. So that was taken care of for now, I'll keep an eye on if I need to install the newer when they come in, but it wouldn't be hard to replace.
I then went back and tightened down the body mounts and torqued them again.
The inner c was pretty easy as well. I then put the 4 top bolts on each side as well as 1 on bottom to hold in place, the bottom will need to come out. As an aside, the setup comes with bolts for this with a flange nut. In reading about this, repeatedly, I saw that
@mrblaine commented on a thread that the top should use a washer, and the bottom not so it doesn't hit the skid. I commented on an old thread, and mentioned instead of getting washers....a flange head bolt would work. Back to Ace, got 5 (all they had) and ordered the others so I had 8. Makes it that much simpler not fumbling with washers, plus being a flange holds tight easy.
Then I had to lift the driveline, my biggest worry watching wires so I don't smash them and end up with a massive project while getting the crossmember into place. I got high enough that it hadn't hit the tub, and tried...and sure enough the crossmember went into place. I secured it with the bottom 4 bolts each. I got the exhaust hanger on the Cat and the bolts through the trans mount and in through the bushings on the crossmember. I snugged them, Still not really tight, I did a quick run through.
I took a long piece of cardboard and ran it all over the trans and transfer case to see if it caught and was touching the tub. I couldn't find a single area. I bought the 1" lock nut etc to use to bend the tub, and it wasn't necessary. That concerns me that all the videos and walk throughs needed it, but mine did not.
I then went back and pulled any bolt and put blue threadlocker and snugged them up. All aligned I got them tight. I could not find torque values, so I used the German method of good n tight. I'll give it a few weeks and check. The only ones I used a torque wrench were the trans thru bolts to the crossmember bushings. I used the same torque value as the upper control arms use, because that's where those are from in reading on this kit.
I was able to get the exhaust hooked back up and all is good. No hits there, except it's just barely rubbing the gas tank skid. I little adjustment and that stopped. I got a quieter muffler, so for now this is good, and I'll get back to that, the flowmaster 40 drone on the highway is just getting old.
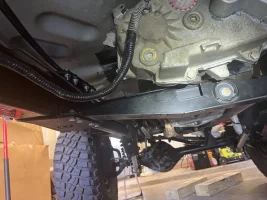
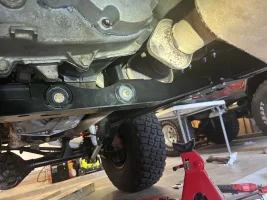
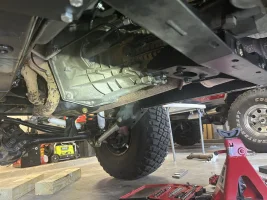
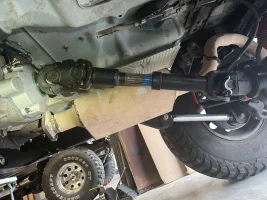
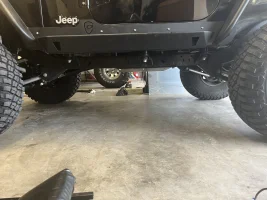
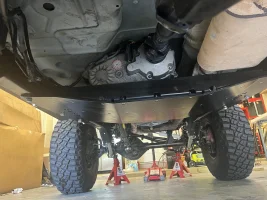
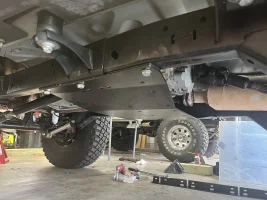
I then adjusted the rear pinion and DS angles. I was more closely aligned prior, but the lower Savvy control arms are almost all the way in, and the uppers are pretty extended. I didn't want to go farther, I got to 2 degrees difference pinion and drive shaft and went to test. I wanted to test with the front DS out, I had taken it out while this was done so that I could grease the Tom Wood's front CV centering ball.
I ran 75-80 on the Texas Tollway and it was stock smooth. I hit 83 rolling with car flow a little and still good.
I came back, hooked up the front DS, and went for a run, and same results, no vibes all good. I'm a little shocked, I think I have a touch too much Caster, it's a little heavy steering, but I'm not messing with this at the same time. I want to make sure this is all good, which it seems to be, and I'll come back and look at just that.
I got the skid up, it's so light I just held it with one palm and started a bolt on one side, switched hands and started one on the other. I had to pull the front and backs to get the spacers in for the skid after, then I snugged those 6 bolts up.
I got blue threadlocker on each beveled bolt and flange nut, and got them into the crossmember. I used a pointed bar (forget the name of that) to align some of the holes, and then get them in and the flange started. With all of those connected, I tightened them down fully. Then I tightened and torqued the big skid bolts. Then the back brace I put up on the skid (I'm wondering if that would have been easy to do before I put it on) but I got them all on and tightened down.
For my 2005 TJ this was work, not the massive problem one after the other that some projects lead to, I just went step by step and it all just went into place. Gained a couple of inches, and now I'll be able to get the oil pan skid up to this as well. Love it, great product and workmanship, went into place very well.