Black Magic Brakes Big Brake Kit Install and Review

Bleeding the System

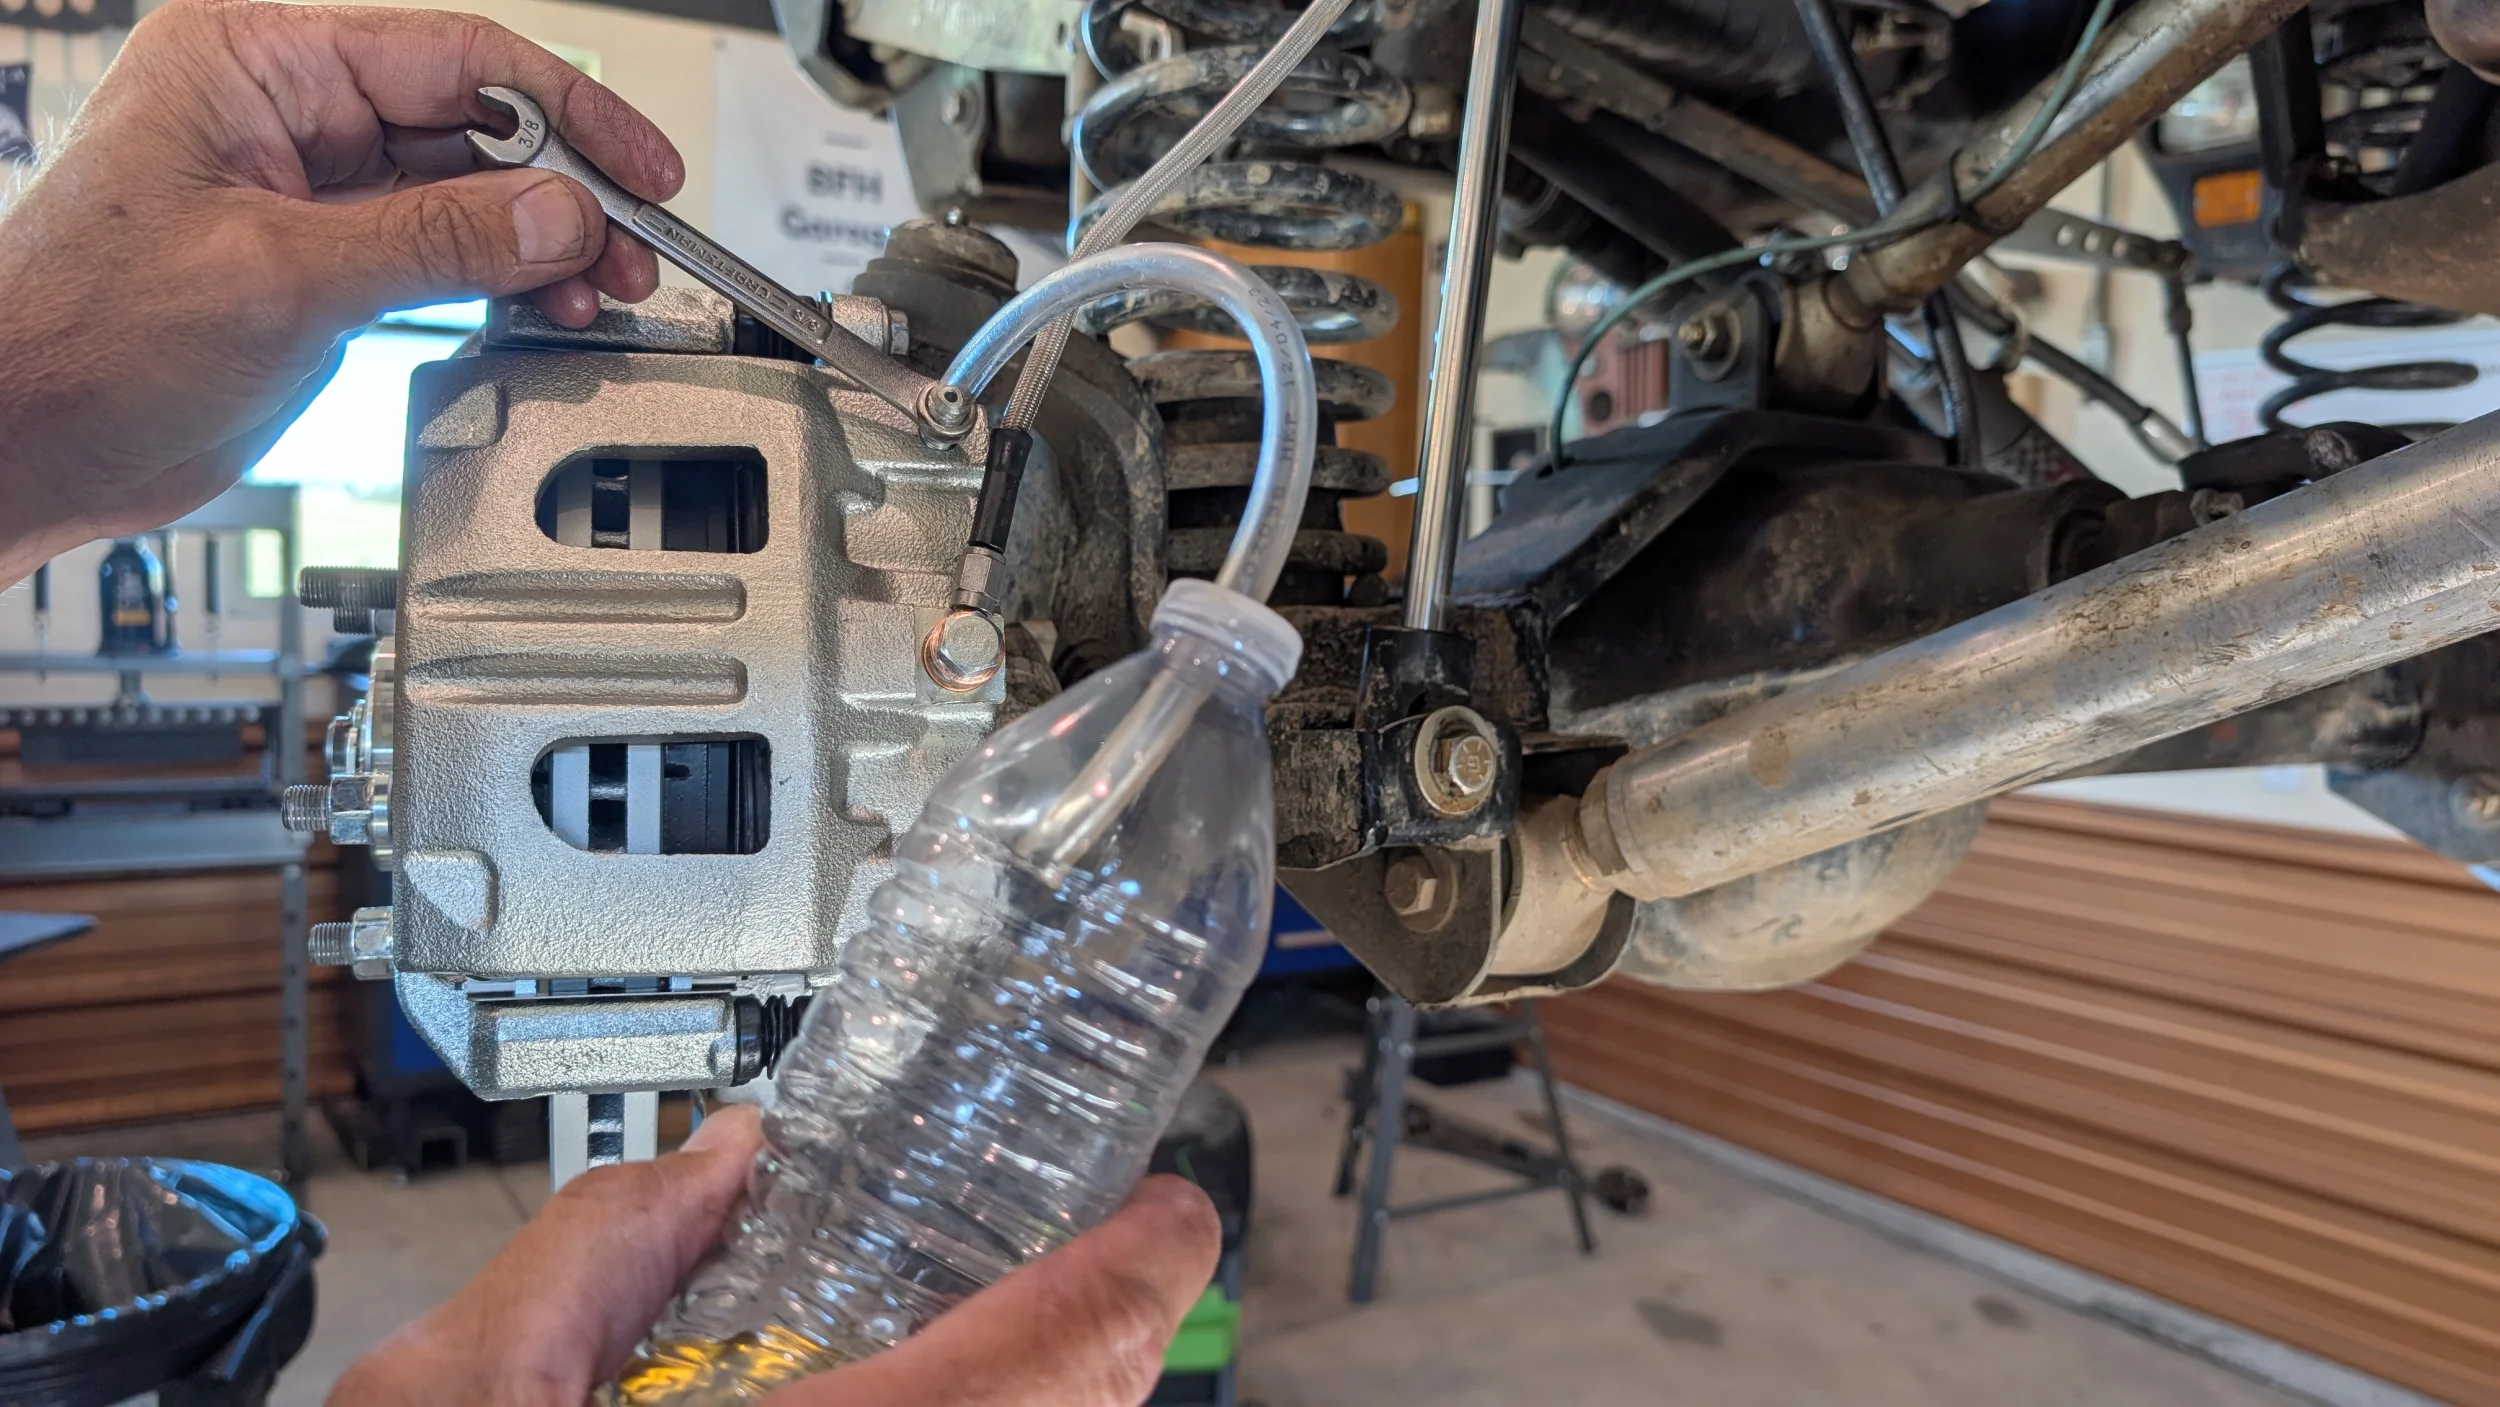
Before moving on to this step, go back through your install and make sure everything is in the correct orientation and torqued to spec. To bleed the system, it helps to have clear tubing and a clear bottle for the fluid to go into. This allows you to see the air bubbles being forced out, but it will also allow you to see when the bleeding is complete.
1789226079192.webp


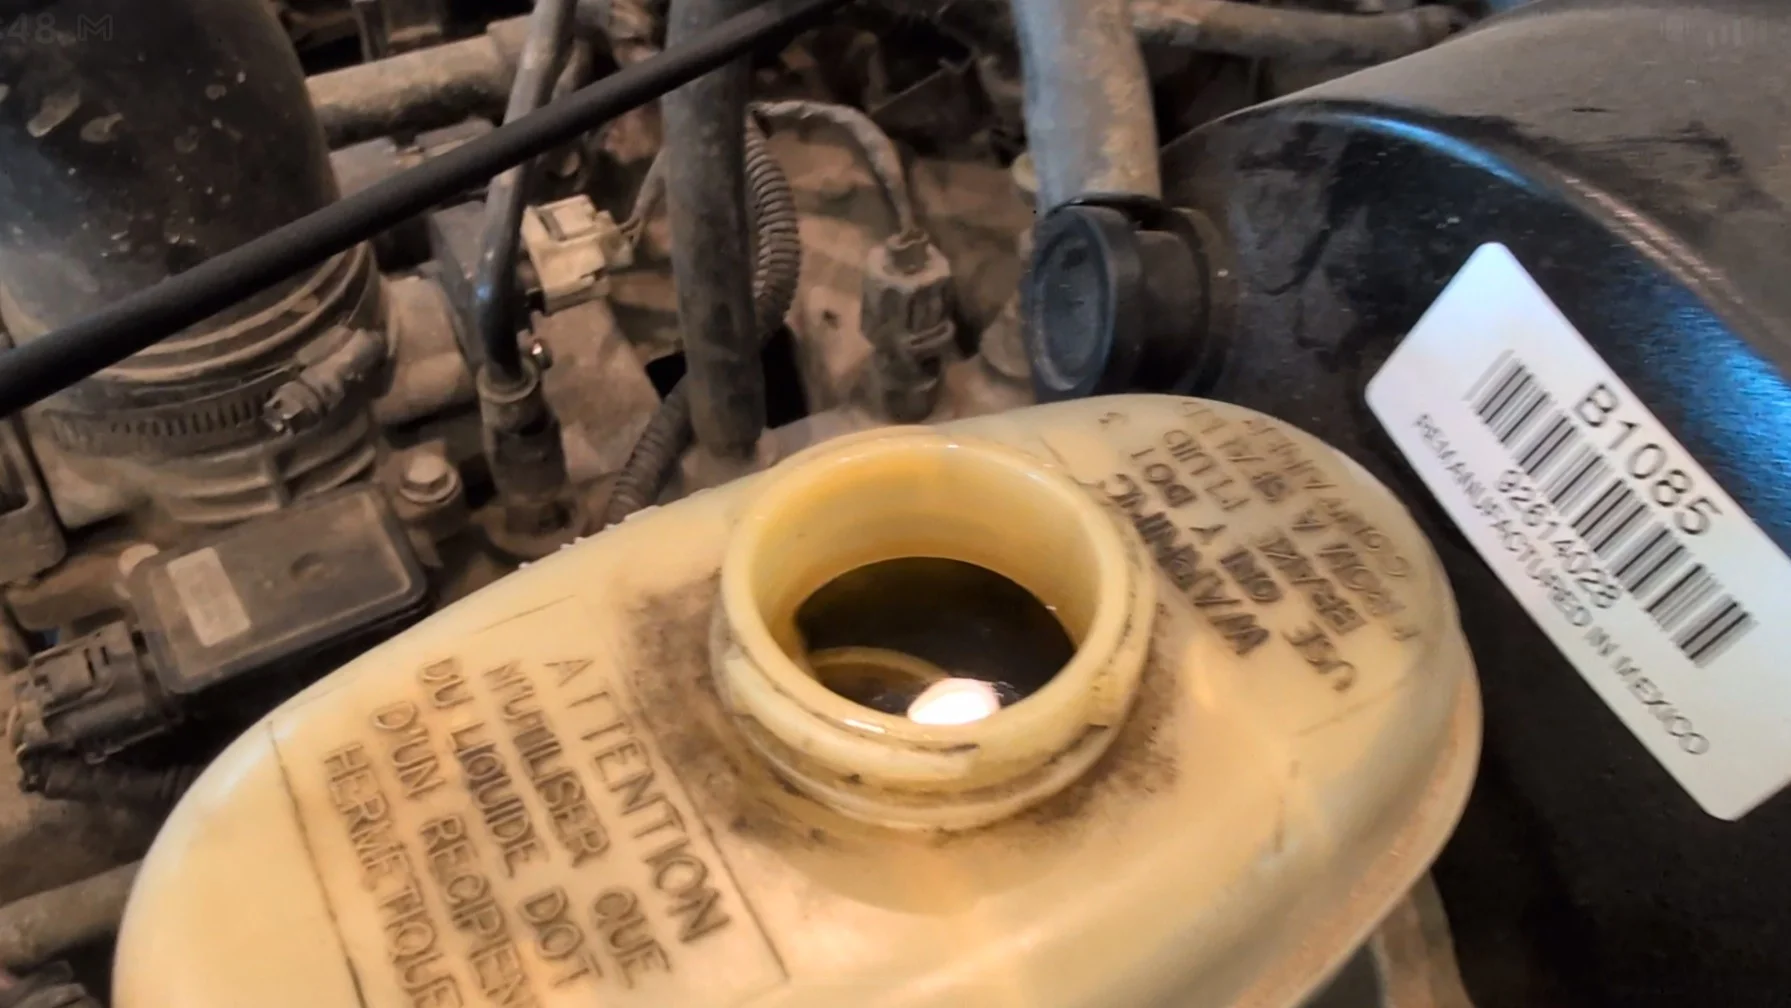
Start by removing the master cylinder cap and pulling the gasket from it. You can set this over the hole when bleeding to keep fluid from splashing out. If you have a BMB brake lockout tool, insert it at this time.
1789226135224.webp
 
Last edited:
Have your helper sit in the driver’s seat. Starting with the passenger side, place your wrench on the bleeder screw. Take your clear tubing and place one end on the nipple of the bleeder screw with the other end going into the bottle. Have your helper press the pedal down while you open the bleeder screw. Once you hear the pedal hit the floor, shut the screw. Tell your helper to release the pedal. Do this until you stop seeing bubbles come out of the caliper. Take care to regularly top off the master cylinder so it doesn’t run too low. Move to the driver’s side and repeat the process.

1789226237133.webp


Once the brakes are bled and you are sure you don’t have any leaks, it’s time to put the wheels back on and get it back on the ground. Since you changed knuckles, you should check the toe in and make any necessary adjustments.
 
Break in Procedure

The BMB brake pads need to be bedded in a very specific manner. This is one area where you will want to read the directions and have a full understanding of what you are needing to do. Once you are on the road, you can’t simply stop and look at them as you need to keep moving in order to let the brakes cool down. Do a series of 5-7 back-to-back normal to moderately aggressive stops from 40 mph to a rolling stop. Do not come to a complete stop. After the first series, drive around for 10-15 minutes trying not to use the brakes. This will allow them to cool before the second series. Repeat steps one and two again. The brakes should drive normally after that. If possible, let them cool overnight. If for some reason the braking feels lacking, repeat steps one and two again.
 
Last edited:
Unbiased Review

I've owned several Jeeps over the years, and one thing I've always felt was inadequate was the stock braking system once you move beyond stock tires. I've gotten by for years convincing myself that the brakes were “good enough”. I told myself that if I ever really needed to stop in a short distance, I could. The reality is, I've had several situations that were pretty damn close calls. Looking back, I think my ego got in the way. But I know looking back that I wanted to complete other modifications first. I had brakes already, why change it now? Because the Jeep didn't feel like it had an immediate braking problem, I put upgrading the brakes on the back burner while I spent money modifying other parts of the Jeep. After installing the Black Magic Brakes big brake kit, I now realize that was a mistake. This should have been one of the very first modifications I made. Period. I didn't fully appreciate just how much I needed a big brake kit until I completed my automatic transmission swap. With the deep gearing and a 4:1 transfer case, I found myself driving through the brakes when I was off road. If I wanted to stop and hold my position on an obstacle, I was often forced to shift the transmission into neutral. That's when the light bulb finally came on. I talked with Blaine about what I was experiencing, and we decided on the 15"/16" big brake kit since I'm still running 15" wheels for the time being. After installing the kit, I went through the required pad break-in procedure and then started driving the Jeep normally. The difference was immediately noticeable.
 
Last edited:
If you've never experienced what it's like to stop a Jeep quickly in a very short distance, this brake kit will blow you away. The stopping power is amazing. What's really surprising is that the brake pads themselves appear to be almost identical in size to what I was running before. The difference comes from the combination of the dual-piston caliper and the larger rotor. Even during the first break-in cycle, the stopping power was already noticeably greater than what the stock brakes had ever given me. If I hadn't been wearing my seatbelt, I probably would have been forced into the windshield. The first time I applied the brakes on the second cycle, I couldn’t believe the bite these things had. If you haven’t experienced that before on a Jeep, it’s hard to comprehend how good they are. The first time I drove the Jeep after the break in process, I was still trying to get used to the brakes. I barely touch the pedal and the Jeep immediately responds. With the stock brakes, I was accustomed to getting on the pedal and gradually coming to a rolling stop. That's not how these brakes feel. They respond immediately. There is definitely going to be an adjustment period while you relearn how much pedal pressure you actually need. At highway speeds, I have no problem controlling the Jeep during normal braking, and even sudden stops are much easier to deal with. No more feeling like the seat covers are trying to crawl up my ass.
 
Another thing I really like is that these brakes don't seem to need to be hot before they work well. They work great from the first time I start the Jeep in the morning. There is still one test I need to complete: taking it off road. That's where I'm really interested to see how much control I have now that I should be able to hold my position on an obstacle without constantly fighting the Jeep. Whether I'm off camber, climbing a steep incline, or dropping down something steep, I'm expecting the difference will get my mind off the brakes and shifter, and back on to concentrating on the obstacle. After everything I've experienced so far—and after hearing what others have said about these brakes—I'm not worried about whether they'll work off road. But I still want to experience that difference for myself, and I can't wait to get the Jeep back on the trail. If you're like me and have been putting this upgrade off while you spend money on other modifications, put this one at the top of your list. Outside of installing lockers, this has to be one of my favorite modifications I've made to the Jeep. And when you look at it from a safety standpoint, I honestly think it should be one of the first modifications you make. One final point: yes, this kit has enough braking power to lock the brakes and skid the tires. That's not the goal. The goal is to use that additional braking capability to make a hard,controlled stop while remaining just short of lockup. In my experience so far, that allows me to stop in a shorter distance than simply locking the brakes and skidding.
 
.... The goal is to use that additional braking capability to make a hard,controlled stop while remaining just short of lockup. In my experience so far, that allows me to stop in a shorter distance than simply locking the brakes and skidding.

This is the absolute best part of Blaine's big brakes. The amount of control and modulation during a hard braking event we have is really incredible. Once you get the feel for it, you can deliberately bring the tires in and out of a skid from highway speeds all the way down to significantly slower speeds. This is one of several massive improvements to drivability we can have that shouldn't be possible in a Jeep with big tires, but it is. You are in control of the vehicle.
 
Now, if your ball joints or your unit bearings are shot, and need to be replaced, this is a perfect time to get that done.

With the knuckles off the axle now, let's do a little comparison of them side by side. On the left is the OEM knuckle and the new big brake knuckle is on the right. First of all, the BBK knuckle is made of a different alloy, which is stronger than the OEM knuckle. The BBK caliper has a bracket that will bolt directly to the knuckle using 10.9 bolts, instead of using the knuckle as the bracket like the OEM brakes. On the BBK you’ll see two different holes. One's for the 15 inch kit, and the other for the 16 inch kit. The really nice thing about Black Magic Brakes is, if you're like me and you have a tie rod flip, you can request to have your knuckle taper from the top side instead of the bottom. Or if you are still using your standard steering setup, they can put the taper from the bottom side. Either way works. Just make sure you reach out and communicate what your needs are for that.

View attachment 709606

View attachment 709607

View attachment 709608

View attachment 709609

View attachment 709610

View attachment 709611

Now's a good time to paint the knuckles...
 
  • Haha
Reactions: John Cooper
Great write up and review Mike. Having done these a while back, I agree completely with your assessment. This is crucial upgrade. I also want to comment that while your post is even more detailed, the instructions that come with the kit are top notch and should be the industry standard.
 
I always wondered how this kit compares to just having the BMB pads with new rotors.
The problem is how variable the Jeep brakes are. Some are great, some are not so great. The great ones make the owners dismiss the need for better brakes and comment accordingly. My standard answer it it all depends on how well they work now. If they are good and could benefit from a bit more braking, the pads and quality rotors may be enough. If they are not so good, you're probably in brake kit territory.
 
Mike’s instructions follow the nice instructions with pics that are provided by BMB. Only thing I can think to add is “remember to brake with enthusiasm to keep your pads bedded in.” 🙂

And if you need the 17” BBK you will be installing a new master cylinder.