Drivers Seat Repair

Mongo Like Candy & TJ’s

Member
Original poster
Joined
Jul 6, 2020
Messages
26
Location
Mandeville, LA
I bought some factory seats for my Jeep to replace the uncomfortable aftermarket seats that were In my Jeep when I bought it. I was able to find a nice set of original factory seats, but the drivers seat needed some restoration.
FF1B9CB6-D45E-460A-A3C9-564E2C68D4B2.webp

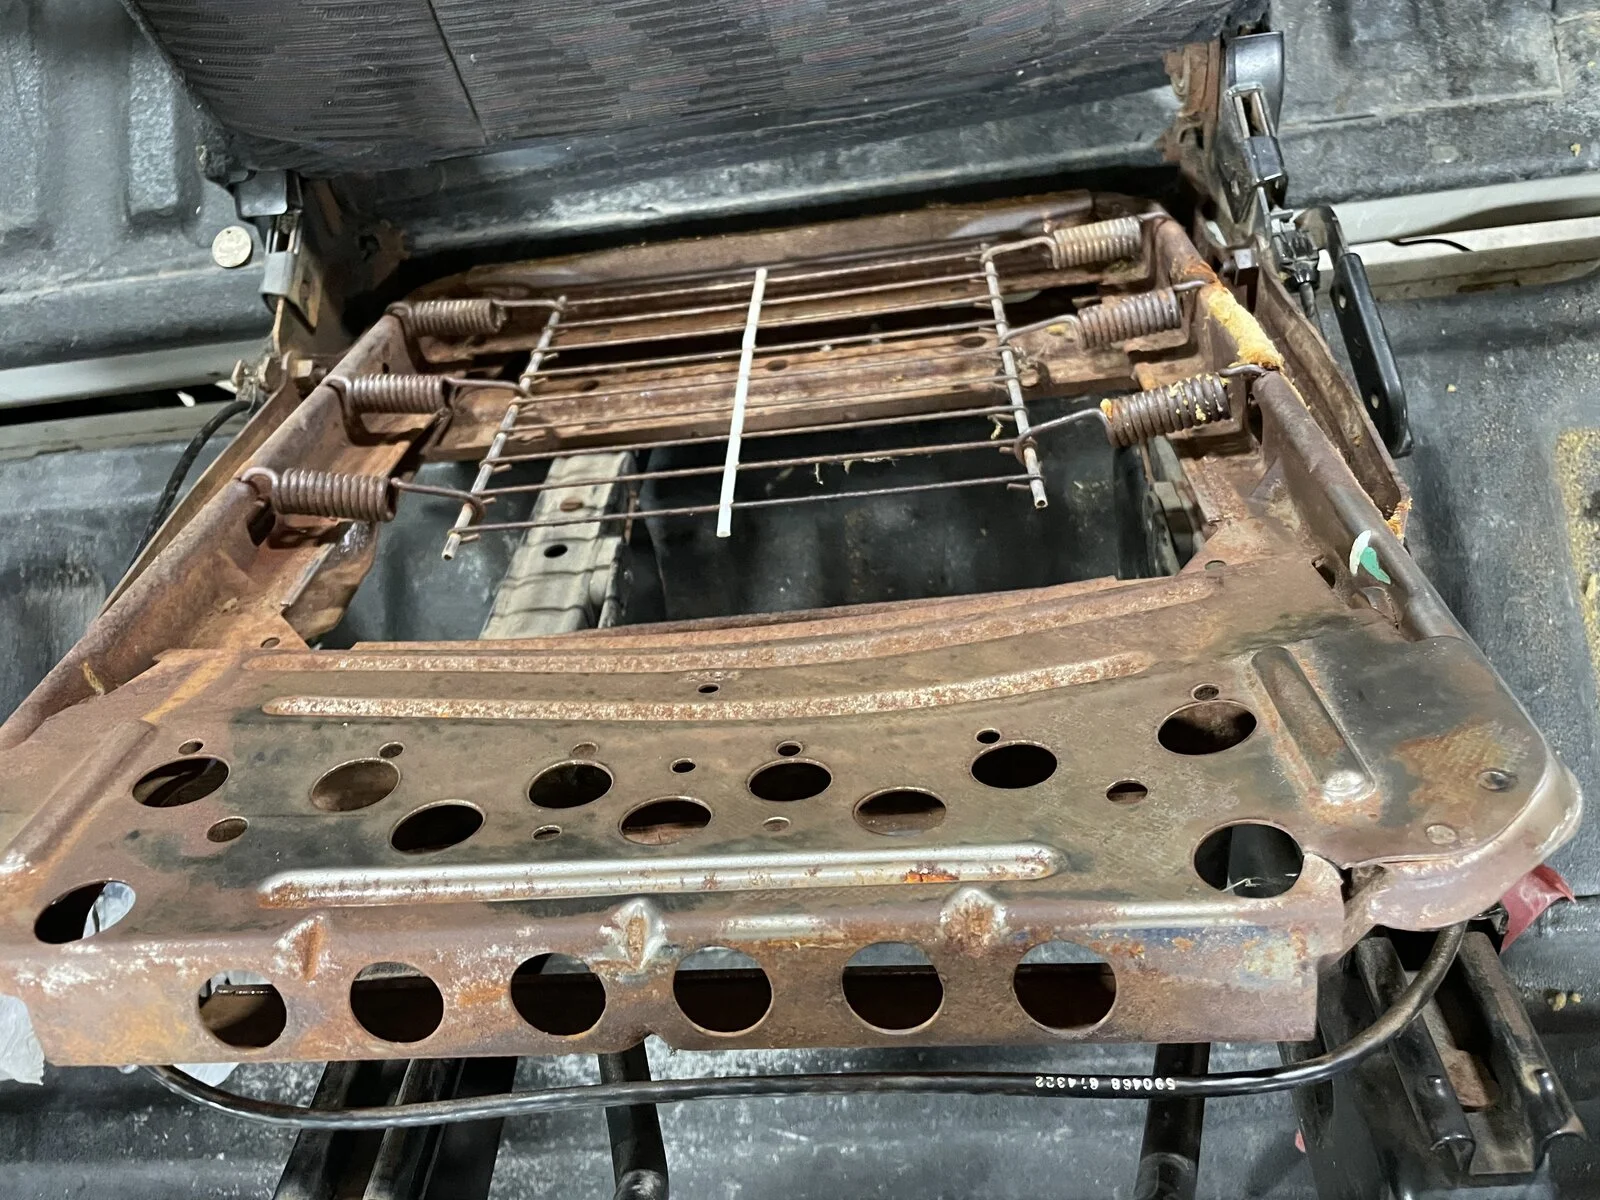
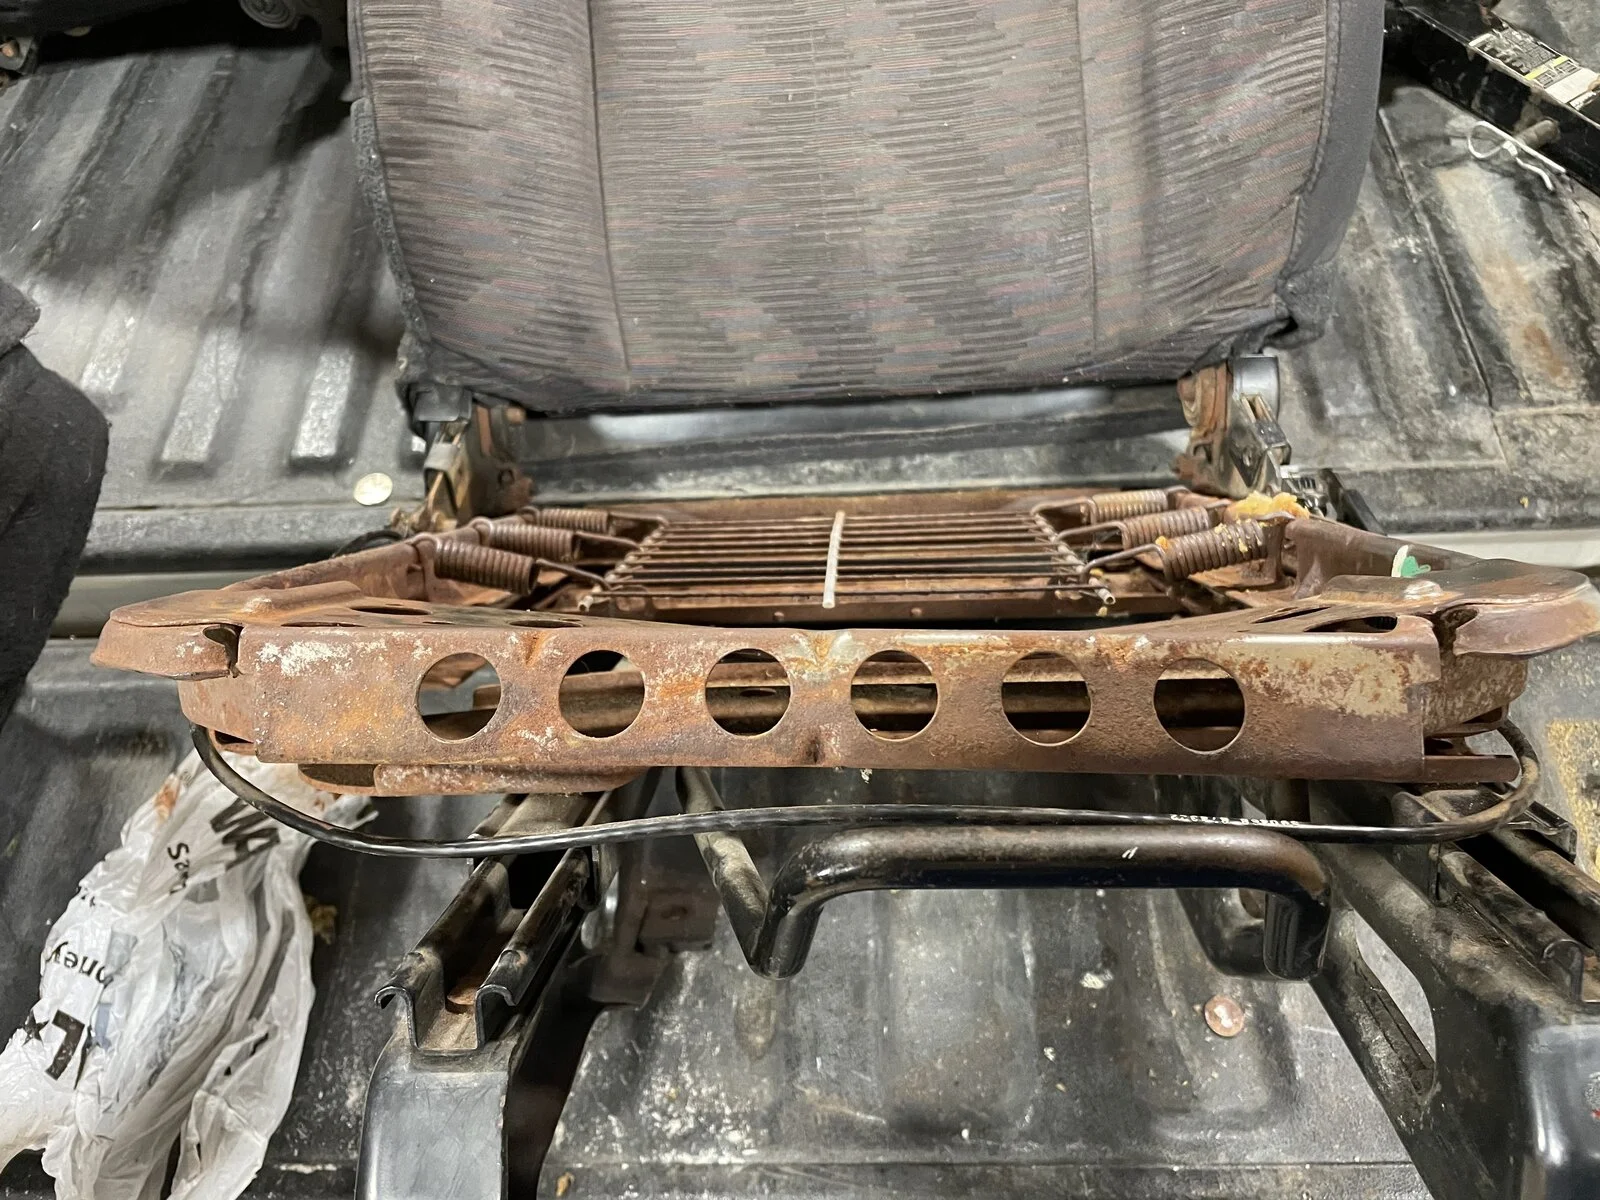
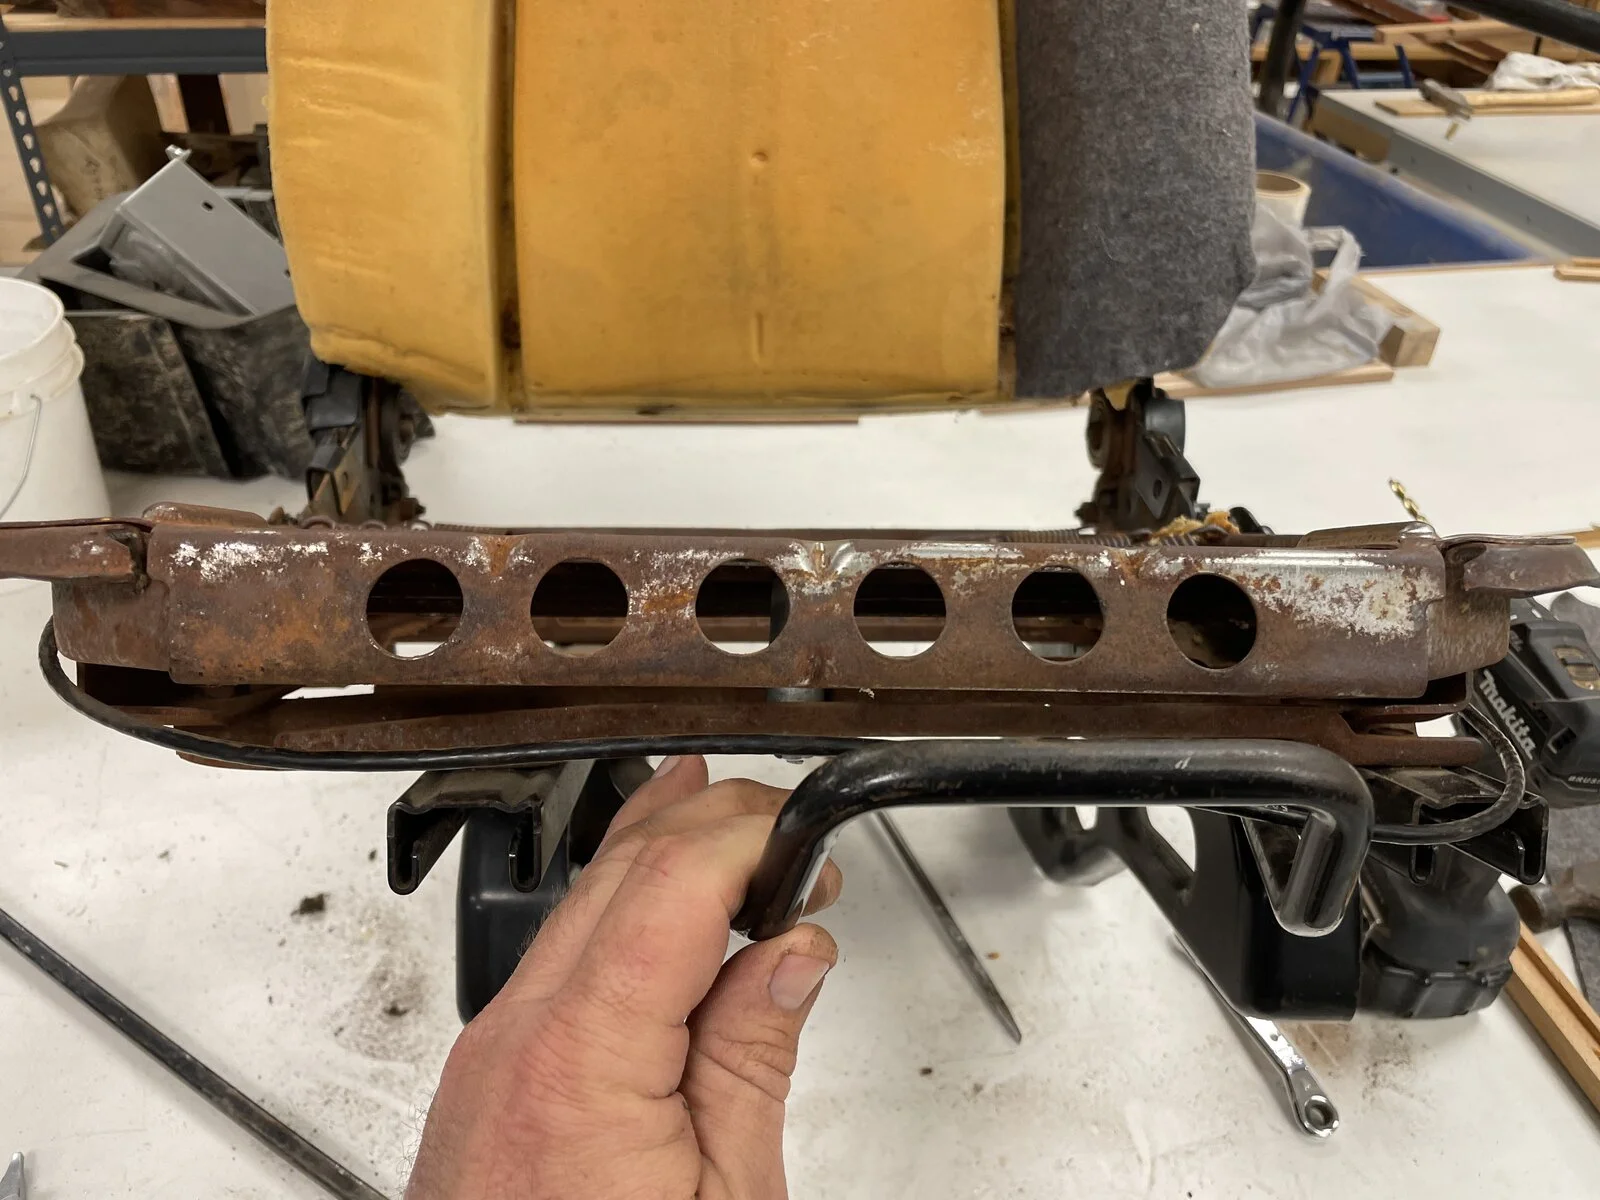
There was the usual foam deterioration on the outside of the seat and bolster, (Sorry, forgot to take before pictures!) but when I took the cushion off I found the frame itself was bent.
2A6B8F6F-4EE6-40D6-9E02-41BF7395F9E9.webp

I used a pry-bar to get the frame more or less flat and added a tack weld on the right front corner to repair a split in the metal. I knew that even though I was able to straighten the frame, it would probably bend again so I added some reinforcement.
685BFAB5-3984-458E-94F0-353F379D00C2.webp
3889DBCA-2C48-4A63-9E5B-5502A6CD01B5.webp
10FE90E4-39B4-4226-80B4-D3C7DE99F7B7.webp

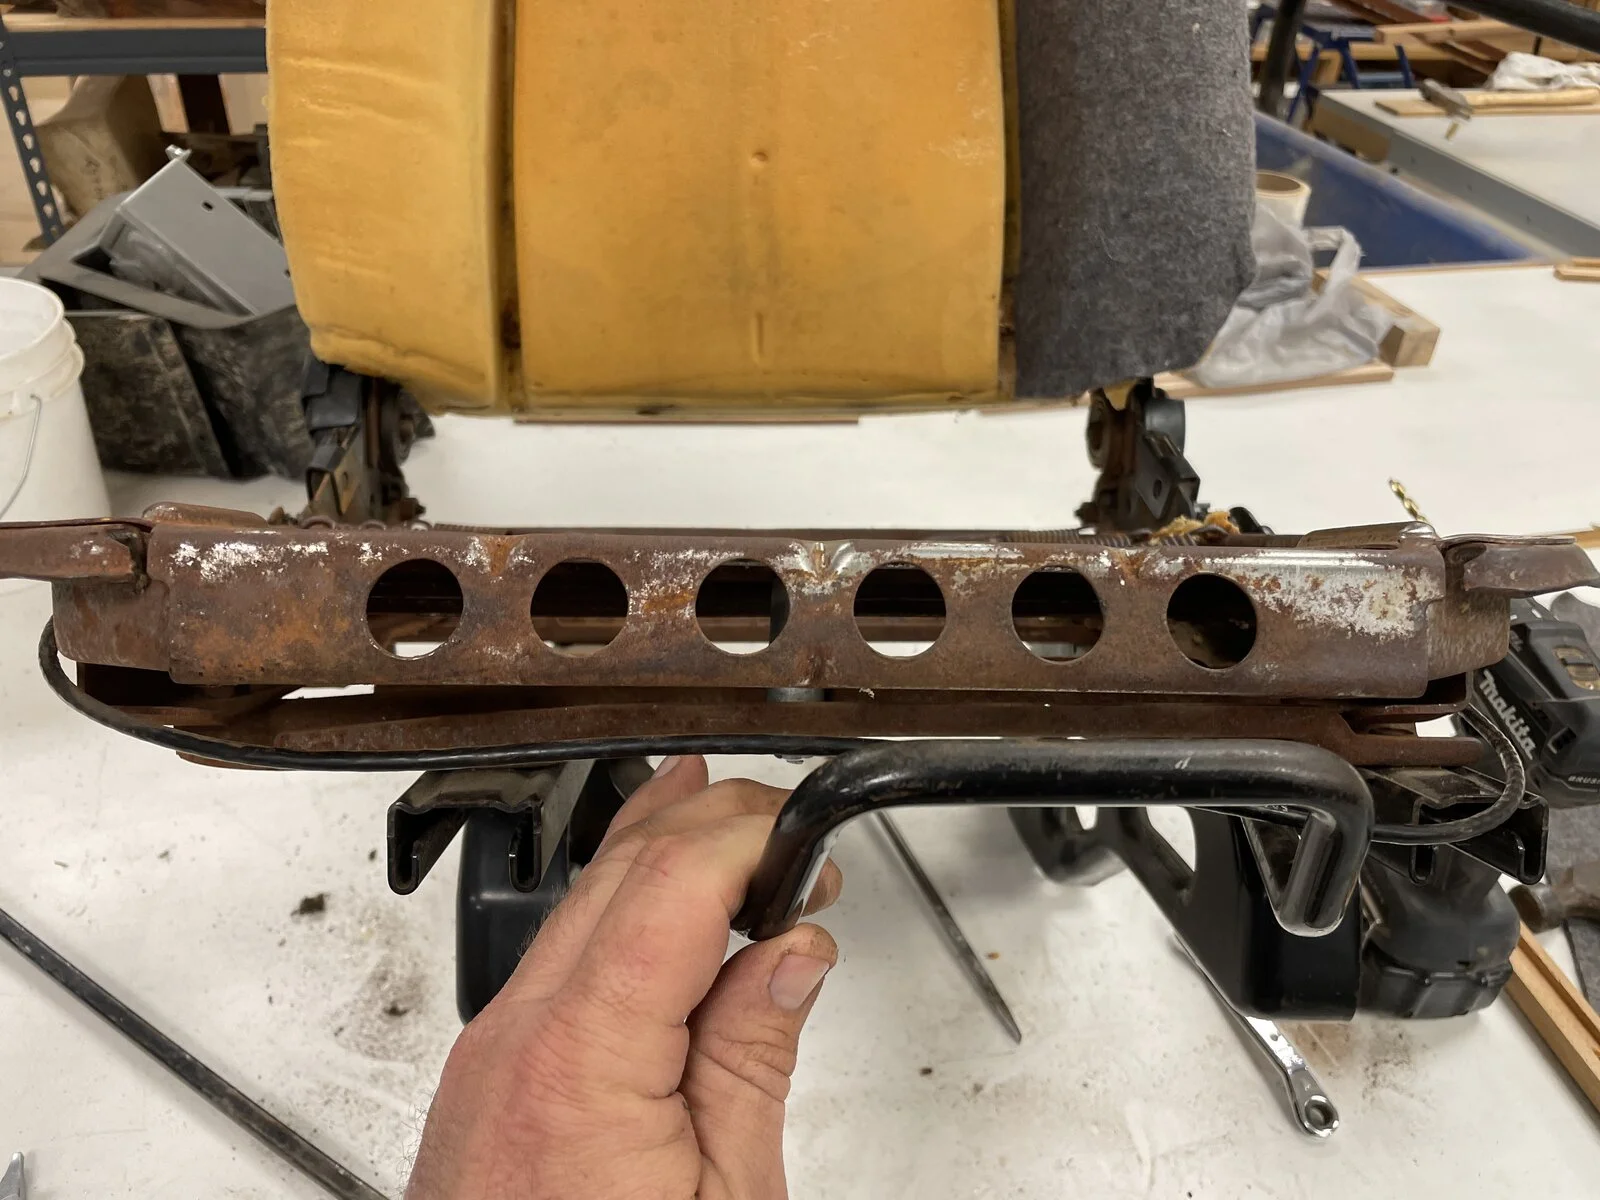
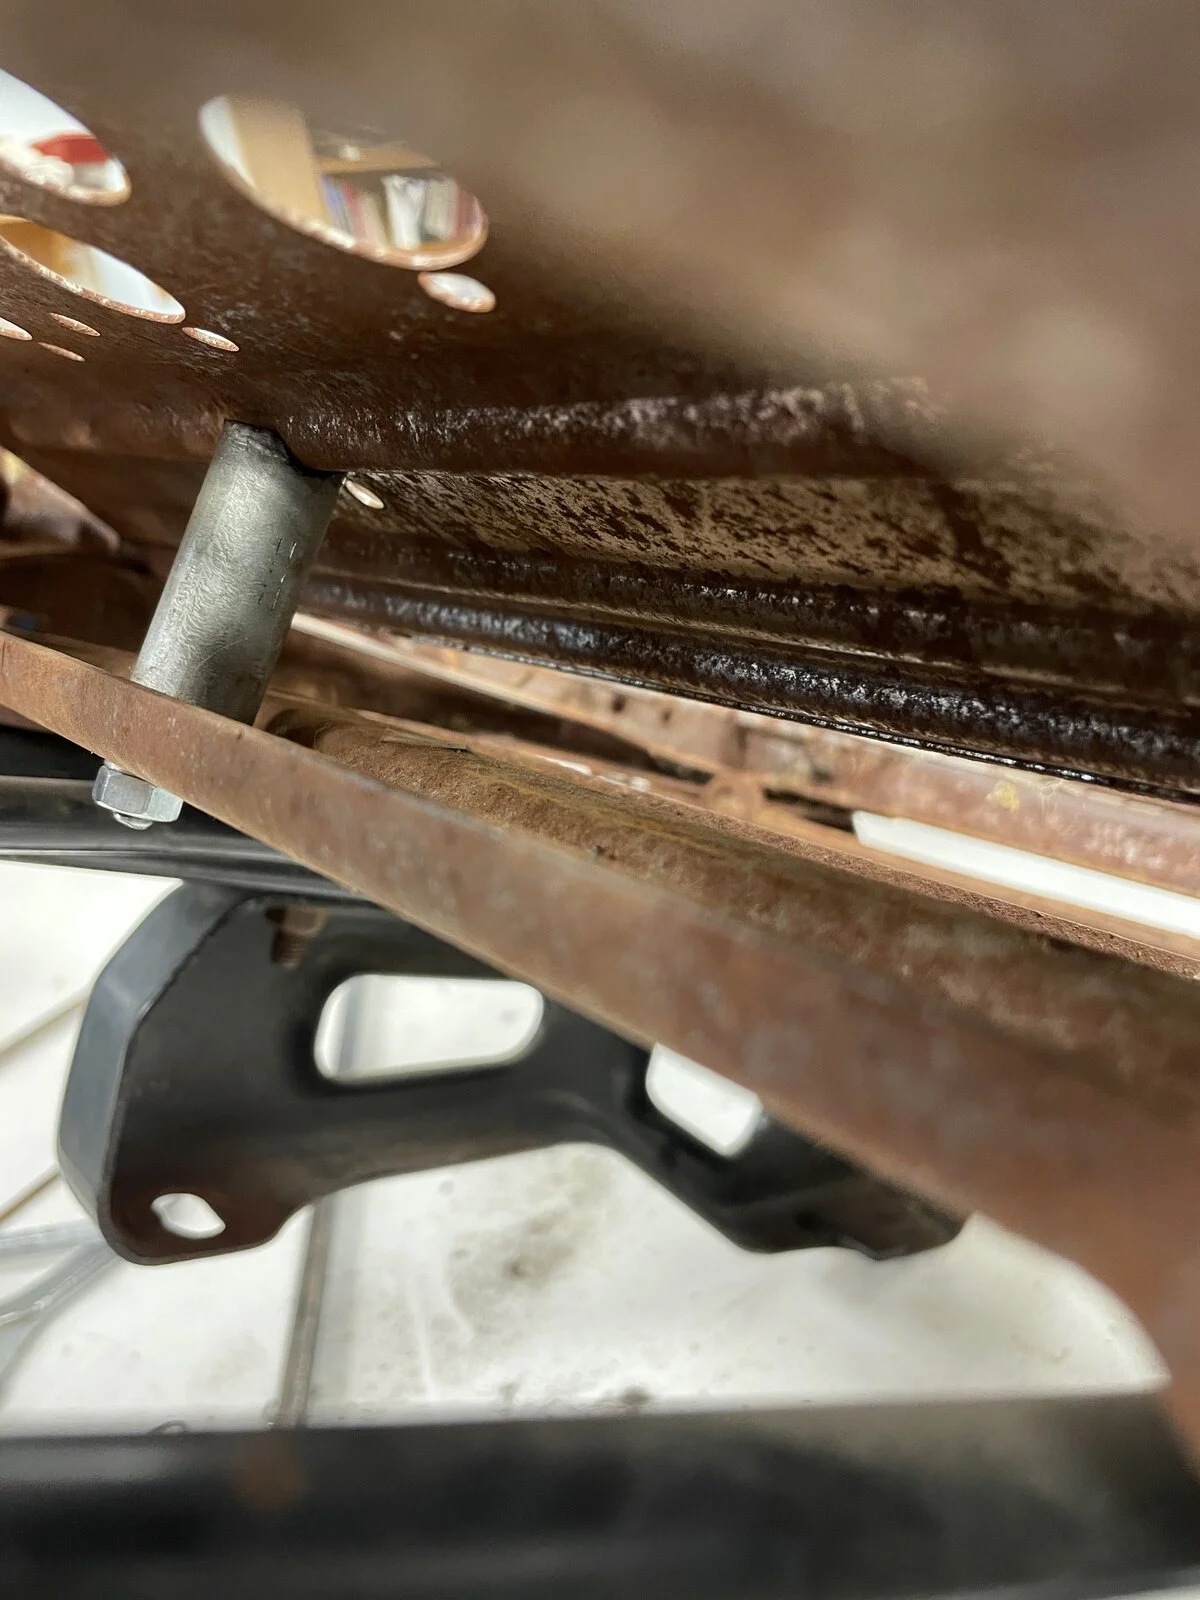
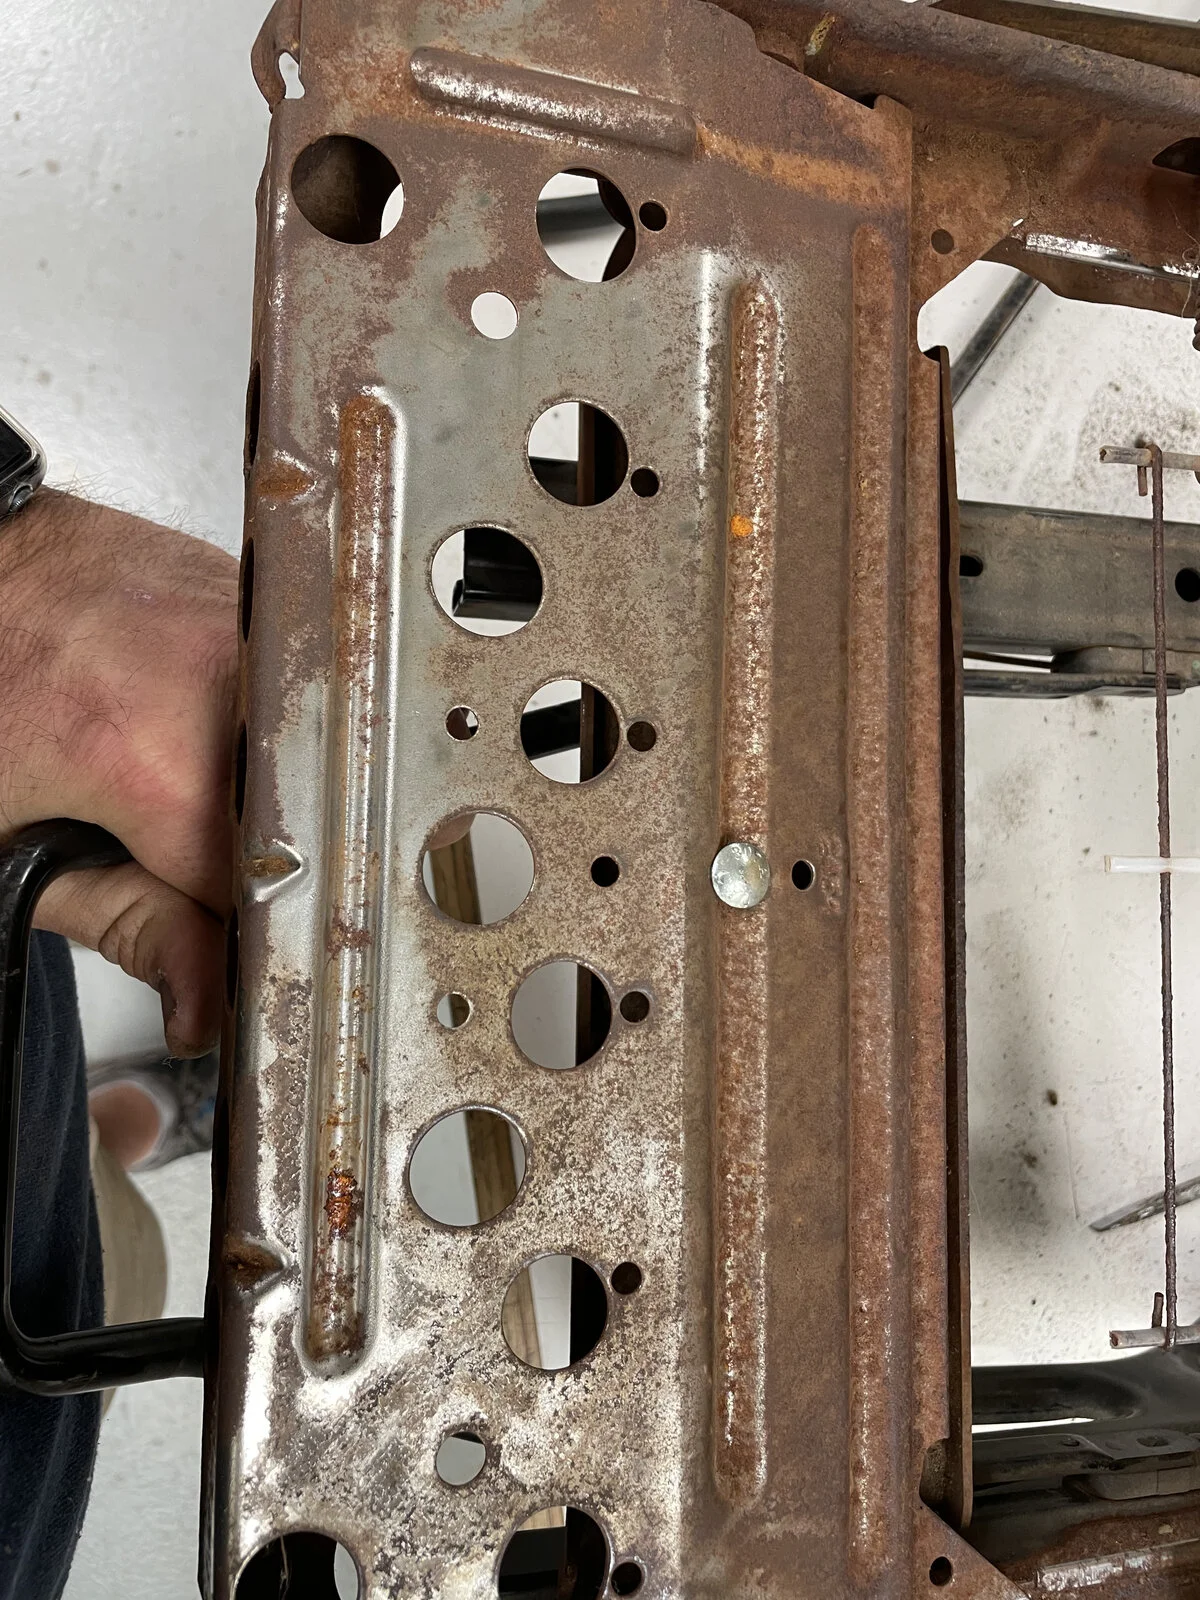
I used an existing hole in the bottom of the frame and drilled a new hole in the top frame bar so they lined up. Then I used a piece of 1/2” electrical tubing and a carriage bolt to stiffen the frame. The frame has some structural ridges molded into it, so I carved a groove in the end of my tubing with a grinder to match that ridge and then bolted it together using a lock washer.
2CBDEB99-984C-43A7-A2AC-D03948B90021.webp
E1998C5D-A394-4E83-B569-4E3585E6F3A6.webp
272510AD-98A9-4484-A5A1-E817D64D1F15.webp

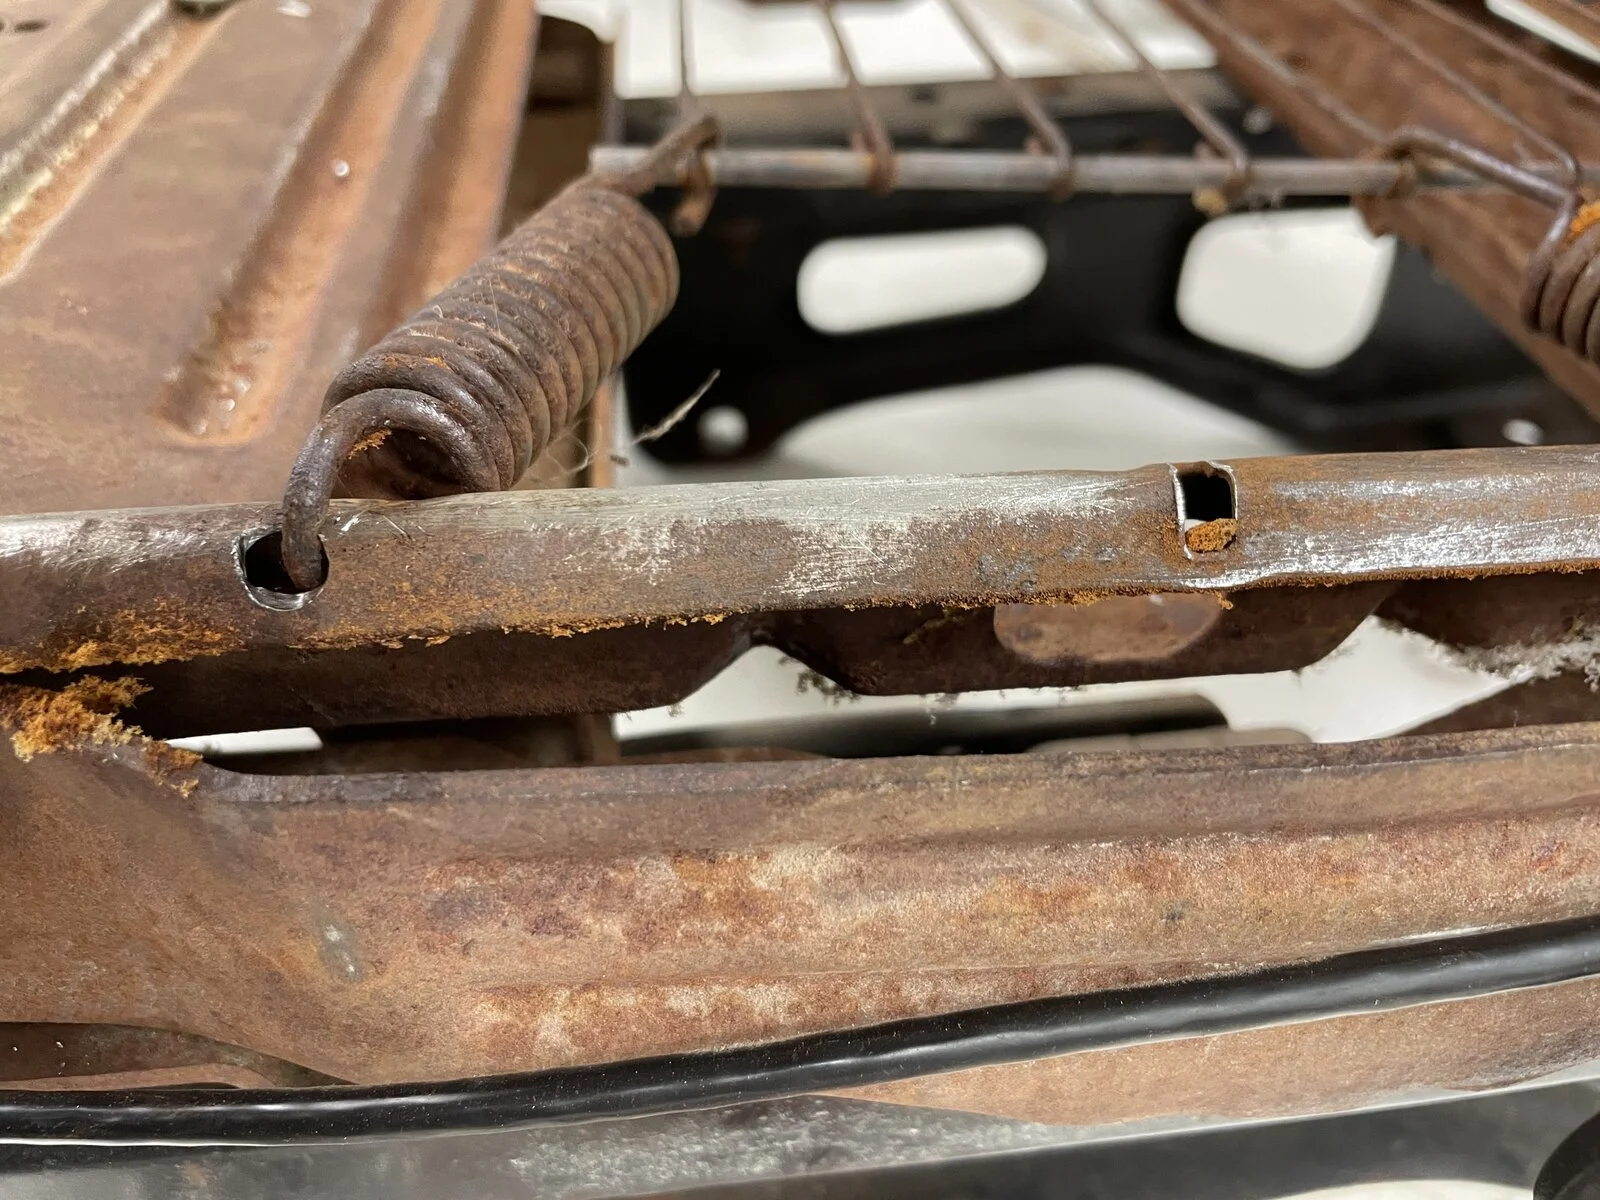
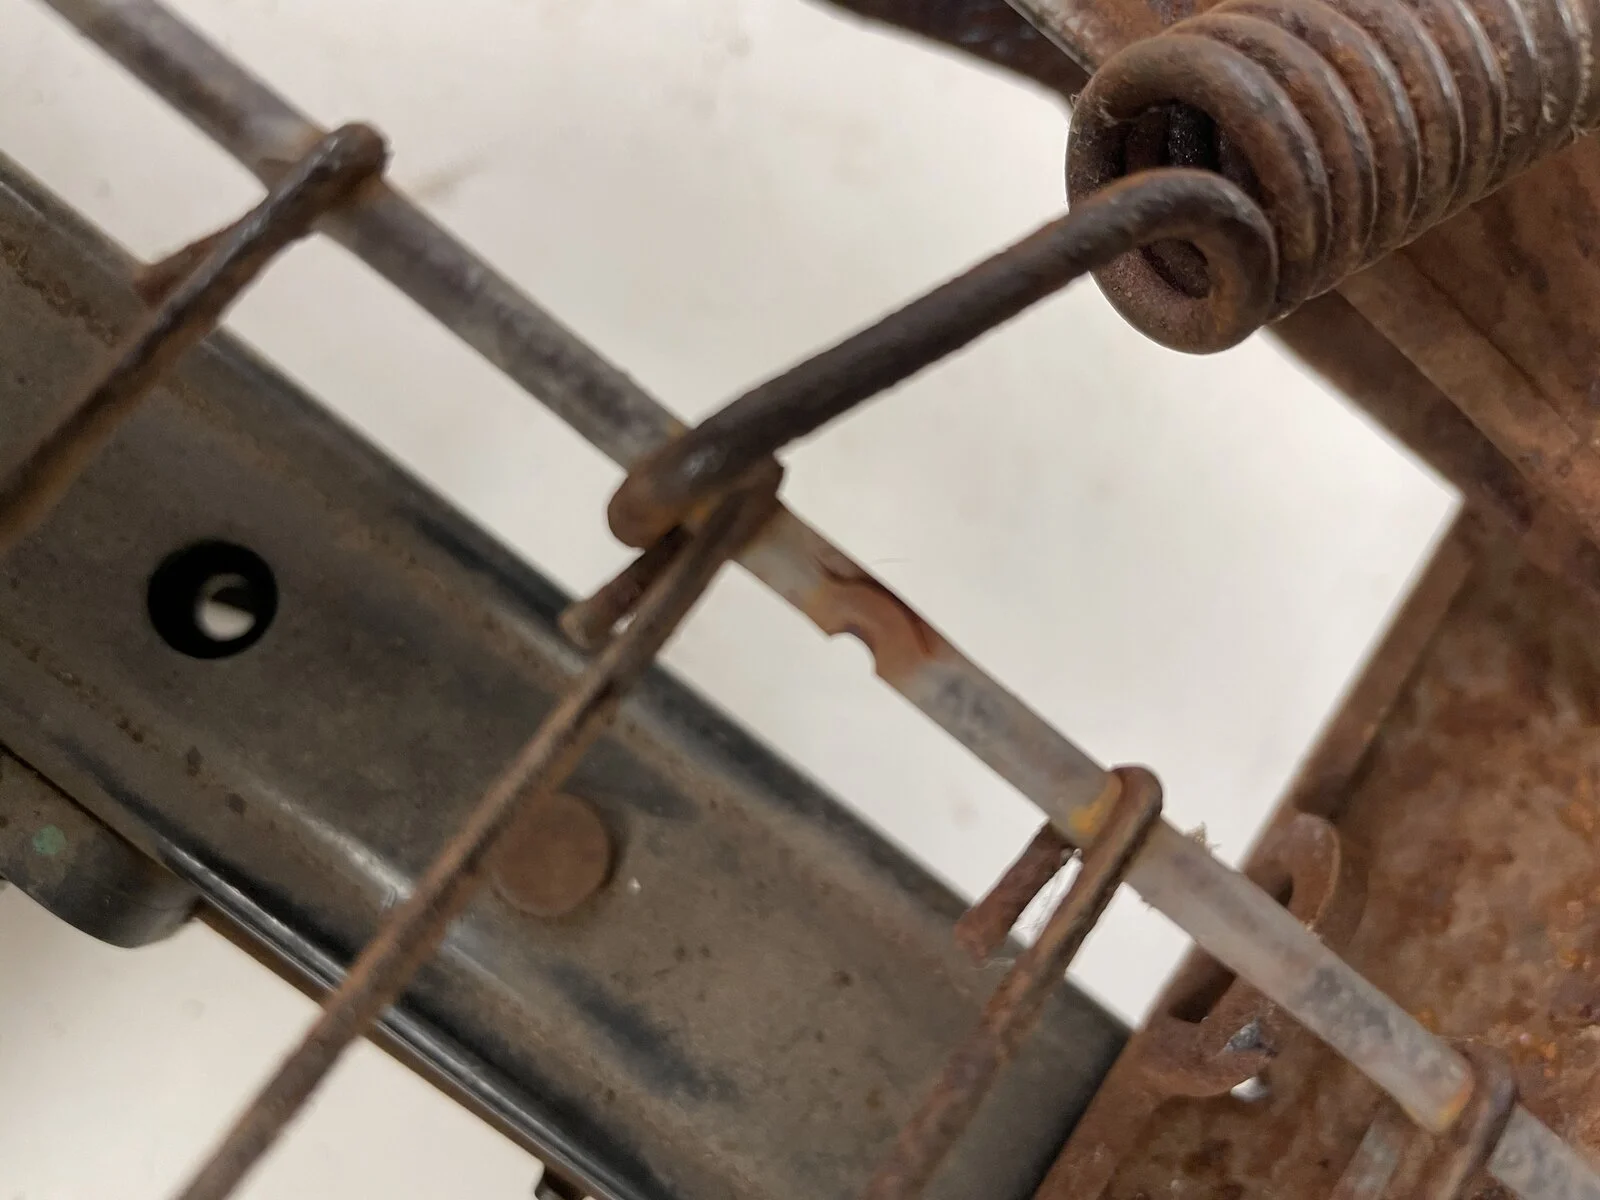
I noticed that the spring frame was loose, but didn’t have any springs laying around, so I just changed the locations of the existing springs to tighten up the whole spring frame. For the front 2 springs, I drilled new holes and relocated the springs. For the other 4 springs, I moved the springs to different parts of the wire grid. In the pictures, you can see that the springs had worn notches into the grid, so moving them was appropriate. This stiffened the spring frame considerably, only time will tell of my plan works.

.EB3CC1FB-5038-46D6-BD2E-E3384ACAB915.webp4F1EE691-679A-4E77-AA7F-99A79B44CC2B.webpDE6F5FFD-1C9B-46E7-A7A2-604CBAD29489.webpF9F785B4-BB6E-4965-A014-C0A5BAE23C87.webp97F8DB1A-C03F-4FF5-8199-B022758FEE57.webp
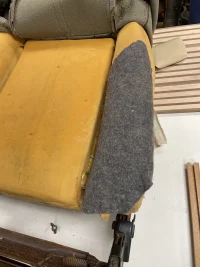
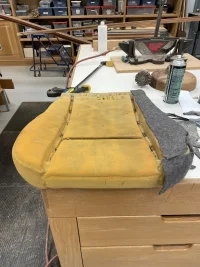
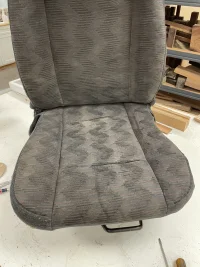
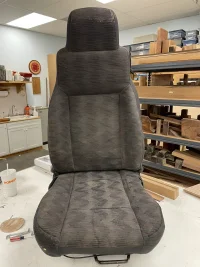
After that, I just had to repair the foam and the split seat cover seam. The foam repair I did with spray contact cement and new foam. I was able to get thick foam from an upholstery/fabric shop for free. Once I repaired the split foam, I added another layer of felt (that I just happen to have) across the entire area of the spot so it would have extra support. I am lucky enough to have a neighbor who did the sewing for me. While not perfect, I think it came out great!

0826C416-7086-4442-A385-B4118E3EBB02.webp
 
I bought some factory seats for my Jeep to replace the uncomfortable aftermarket seats that were In my Jeep when I bought it. I was able to find a nice set of original factory seats, but the drivers seat needed some restoration. View attachment 231644
There was the usual foam deterioration on the outside of the seat and bolster, (Sorry, forgot to take before pictures!) but when I took the cushion off I found the frame itself was bent.
View attachment 231645
I used a pry-bar to get the frame more or less flat and added a tack weld on the right front corner to repair a split in the metal. I knew that even though I was able to straighten the frame, it would probably bend again so I added some reinforcement.
View attachment 231646View attachment 231647View attachment 231648
I used an existing hole in the bottom of the frame and drilled a new hole in the top frame bar so they lined up. Then I used a piece of 1/2” electrical tubing and a carriage bolt to stiffen the frame. The frame has some structural ridges molded into it, so I carved a groove in the end of my tubing with a grinder to match that ridge and then bolted it together using a lock washer. View attachment 231649View attachment 231650View attachment 231651
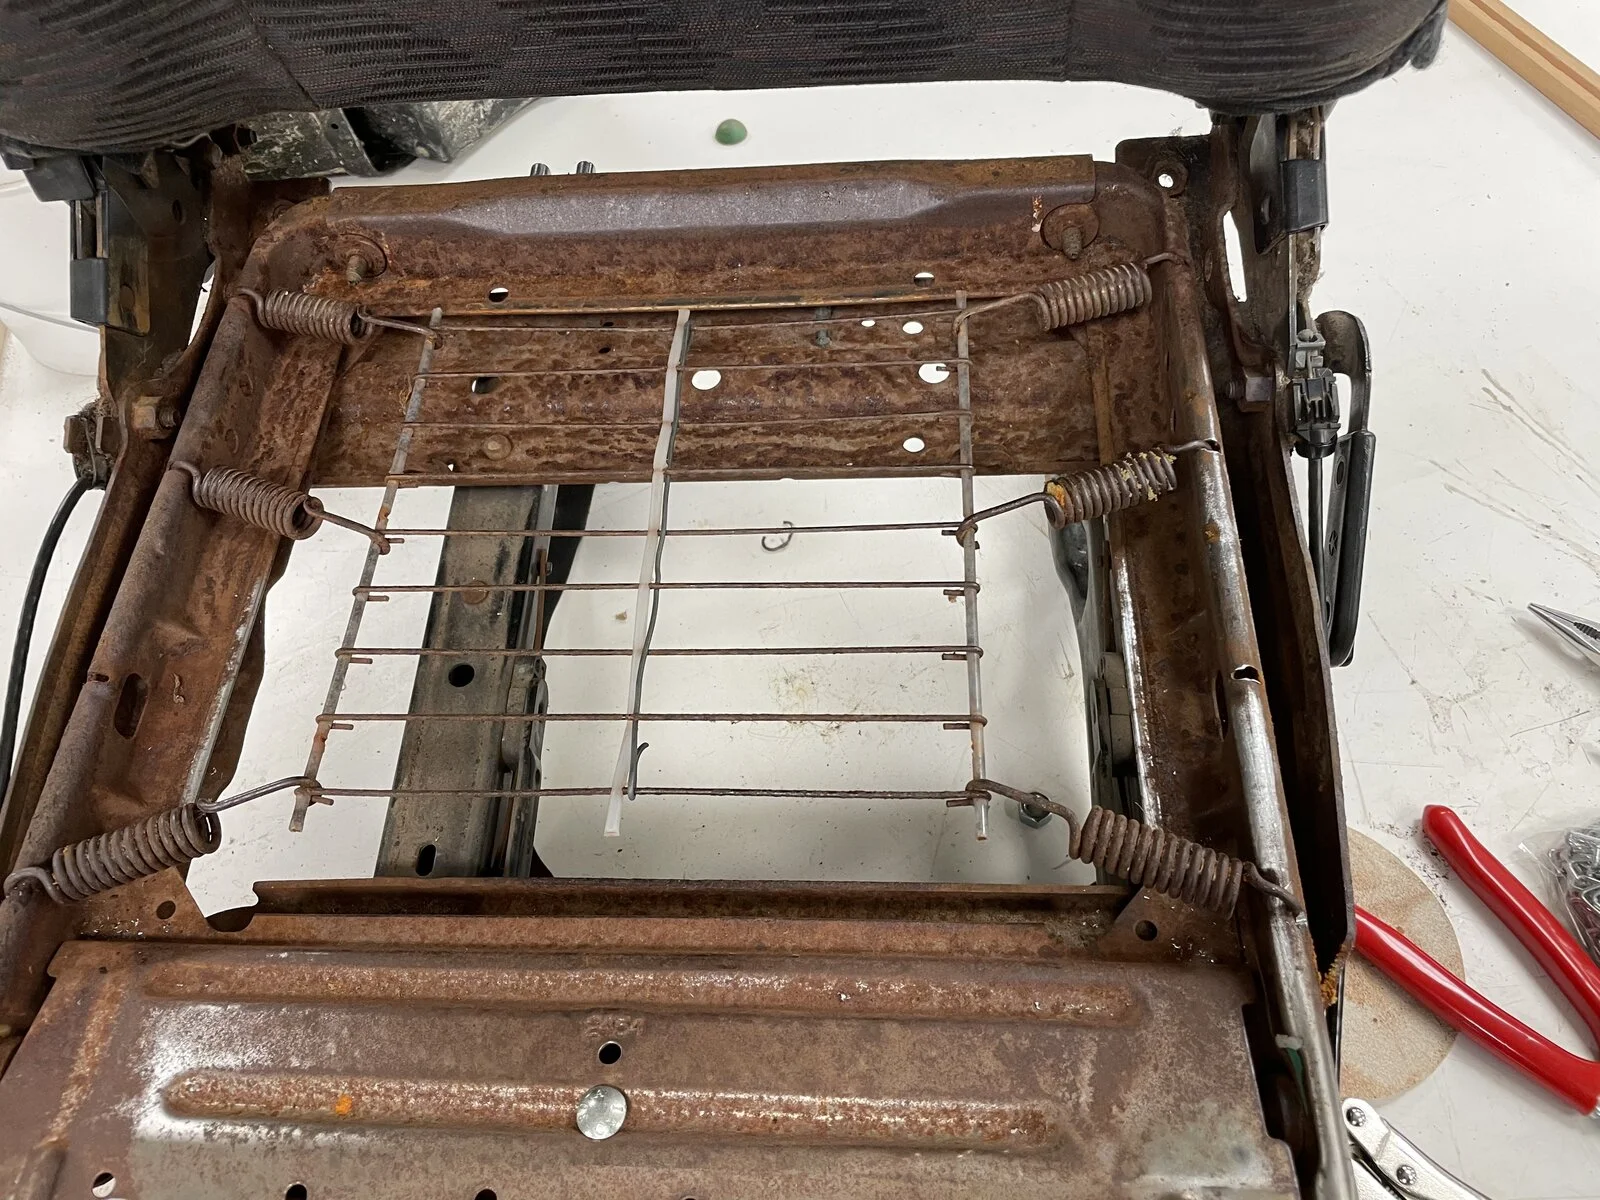
I noticed that the spring frame was loose, but didn’t have any springs laying around, so I just changed the locations of the existing springs to tighten up the whole spring frame. For the front 2 springs, I drilled new holes and relocated the springs. For the other 4 springs, I moved the springs to different parts of the wire grid. In the pictures, you can see that the springs had worn notches into the grid, so moving them was appropriate. This stiffened the spring frame considerably, only time will tell of my plan works.

.View attachment 231652View attachment 231654View attachment 231655View attachment 231657View attachment 231658
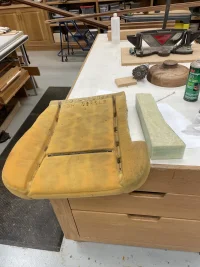
After that, I just had to repair the foam and the split seat cover seam. The foam repair I did with spray contact cement and new foam. I was able to get thick foam from an upholstery/fabric shop for free. Once I repaired the split foam, I added another layer of felt (that I just happen to have) across the entire area of the spot so it would have extra support. I am lucky enough to have a neighbor who did the sewing for me. While not perfect, I think it came out great!

View attachment 231656
Nice job! I know how much work this is. Just finished up restoring the seat bases myself. What a pain!

OxbhRrT.webp


Xh09VUN.webp
 
Nice job! I know how much work this is. Just finished up restoring the seat bases myself. What a pain!

View attachment 231660

View attachment 231661
Ahhh! You decided to really restore and paint yours! Mine look just the same as when I took them out! Really nice job! Did you disassemble and sandblast that base or is it just a really good paint job?
 
  • Like
Reactions: Irun
Ahhh! You decided to really restore and paint yours! Mine look just the same as when I took them out! Really nice job! Did you disassemble and sandblast that base or is it just a really good paint job?
I took everything completely apart, went at it with a wire wheel and flap disk, then applied these, minus the gray.

HibLuRi.webp
 
  • Like
Reactions: Nickgsjeep
I took everything completely apart, went at it with a wire wheel and flap disk, then applied these, minus the gray.

View attachment 231716
In what order do you apply these? From right to left?

I usually use self-etch primer and then top coat with Satin Enamel, but it seems like you are doing something with that Rust Reformer. I would like to know when you apply that in the process.
 
In what order do you apply these? From right to left?

I usually use self-etch primer and then top coat with Satin Enamel, but it seems like you are doing something with that Rust Reformer. I would like to know when you apply that in the process.
Two different uses for the Rust Reformer and Self Etching Primer. I only use the Rust Reformer on heavy rust, i.e. metal that is noticeably pitted or has scale removed. I wait an hour or so for it to flash dry, depending on temperature, then cover it with a top coat of choice (Satin for me).

The Self Etching Primer is used over light surface rust or previously painted surfaces. I do the same as above, after applying the primer.

As is always the case, preparation is key. I use Scotch Brite pads for light paint scuffing. Or T29 flap discs, for heavier grinding, and T27, for smoothing/blending flat surface areas. If I can't use those, it's wire wheel time! Also, I always wipe everything down with a laquer thinner and lint free cloth, before painting. (y)
 
  • Like
Reactions: JMT
Two different uses for the Rust Reformer and Self Etching Primer. I only use the Rust Reformer on heavy rust, i.e. metal that is noticeably pitted or has scale removed. I wait an hour or so for it to flash dry, depending on temperature, then cover it with a top coat of choice (Satin for me).

The Self Etching Primer is used over light surface rust or previously painted surfaces. I do the same as above, after applying the primer.

As is always the case, preparation is key. I use Scotch Brite pads for light paint scuffing. Or T29 flap discs, for heavier grinding, and T27, for smoothing/blending flat surface areas. If I can't use those, it's wire wheel time! Also, I always wipe everything down with a laquer thinner and lint free cloth, before painting. (y)
Ok, thanks, that sounds essentially like my procedure. This new to the twins TJ may need some rust reformer for certain areas. Good stuff!
 
  • Like
Reactions: Irun
Both refresher jobs look great! I just added seat covers to ‘hide’ my drivers seat wear. But you two took it to another level. This has me curious to take a look at what’s under the padding on my OE seats.
 
Both refresher jobs look great! I just added seat covers to ‘hide’ my drivers seat wear. But you two took it to another level. This has me curious to take a look at what’s under the padding on my OE seats.
Don’t look! 🤣
 
  • Haha
Reactions: fourpointzero