

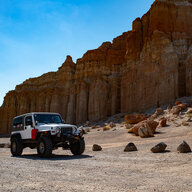
I had installed a set of PS slider after I bought my LJ. I didn’t think too much about the mounting aspect until I found this forums which actually has useful information. The mounting attached to the body mounts really dawned on me when I saw a picture of sliders mounted to the body mounts without a body lift. The light turned on. Here is my modifications to attach them to the torque boxes and off of the body mounts.
I measured up through the holes to the torque boxes and marked the edge of the torque boxes. I marked the center of the body mounts. I removed the sliders and clamped a piece of flat bar across the body mount area. I used this as a guide for a 3” hole saw. I trimmed the metal from the hole out to the edge.
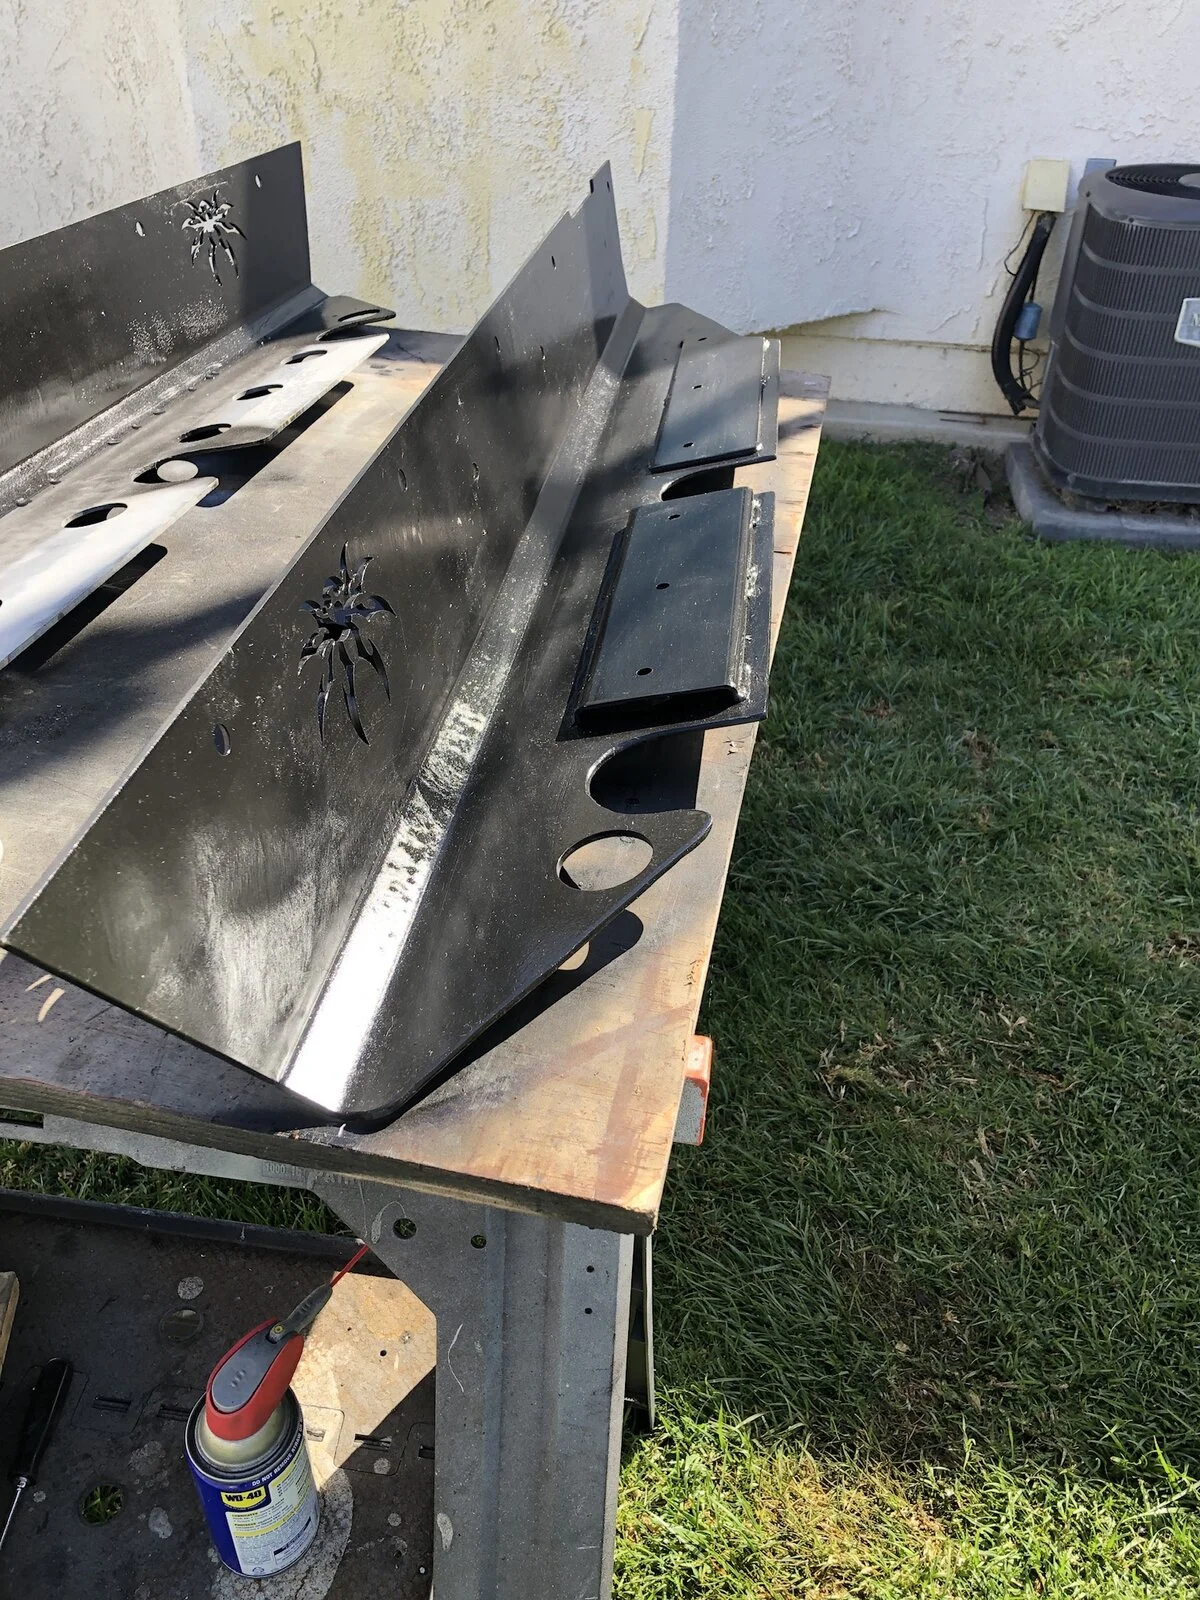
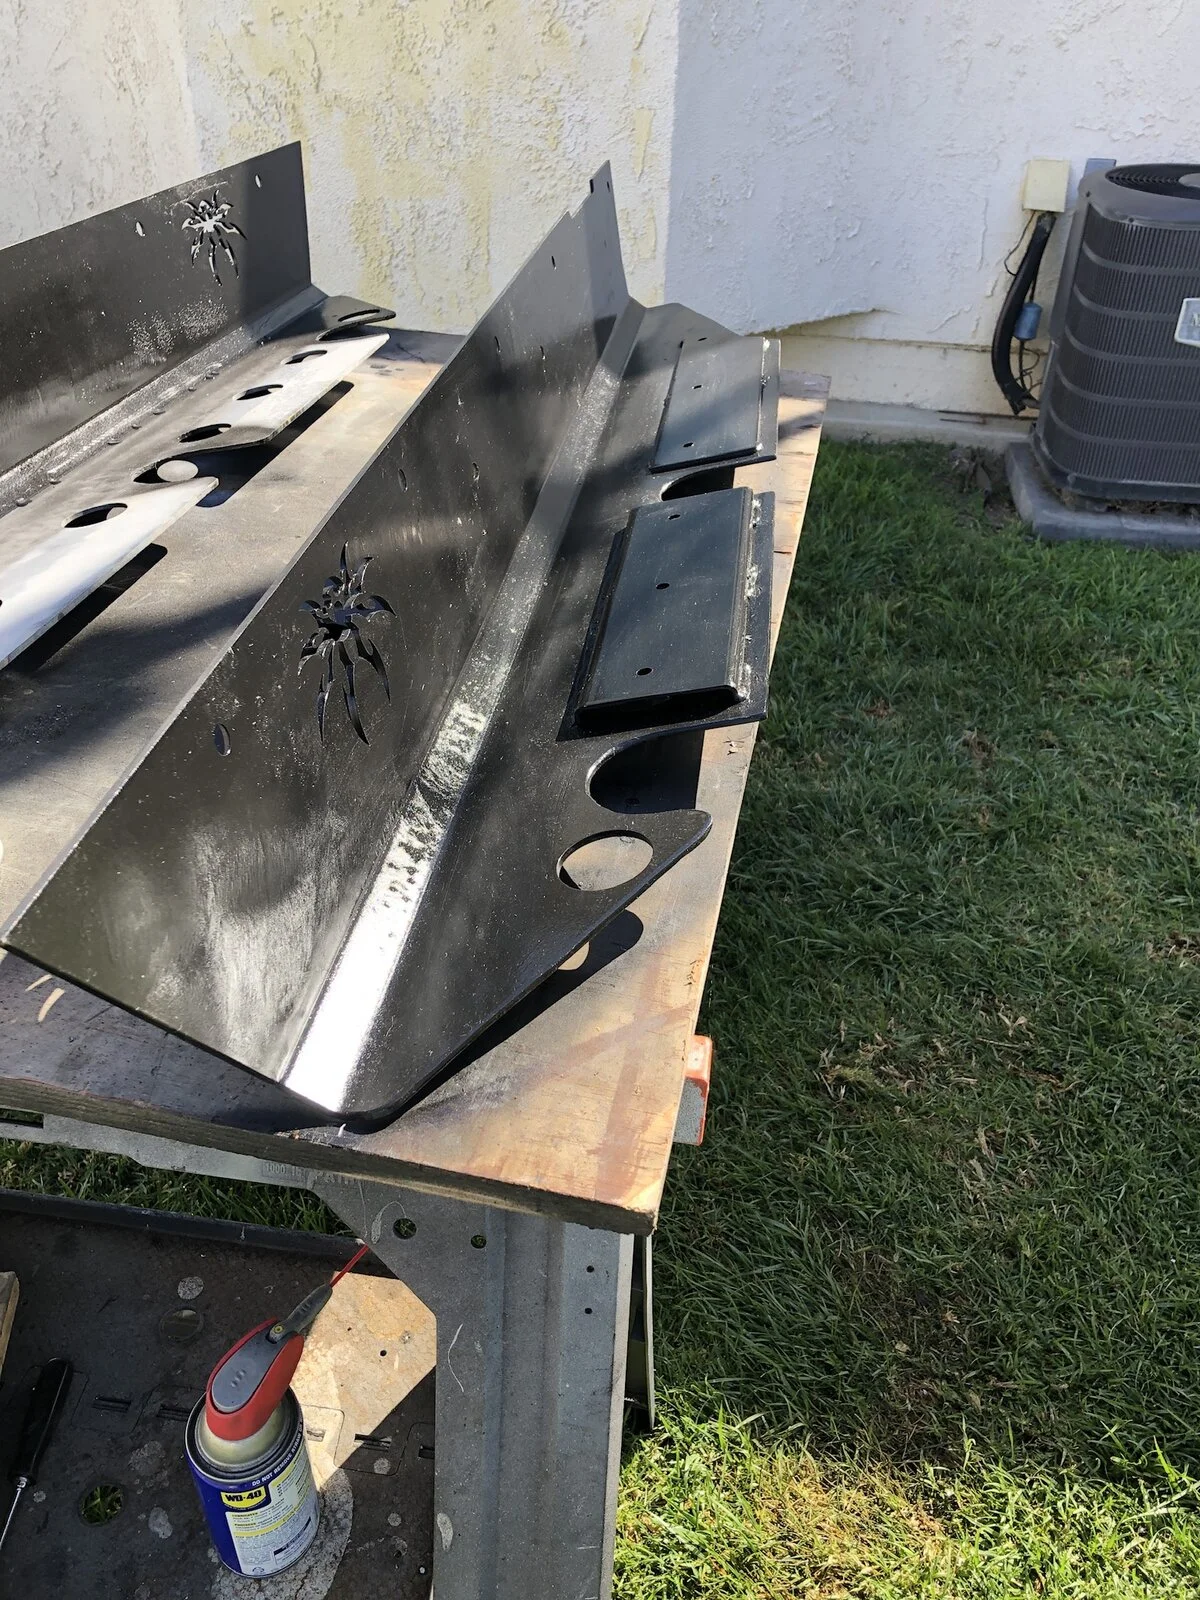
The rear section I used a piece of 4” rectangular tubing as I wanted to cover the hole completely but also pick up both vertical edges of the torque boxes for support. I used the previous measurements minus the slider thickness to section the tubing to the correct dimensions. I drilled three holes in this tubing for nutserts up to the torque box.
The front I used a piece of flat bar with three holes for nutserts. I bolted it to the torque box and put the slider up. I tacked it through the holes as the is a slight gap. I removed it an welded the edge.
The backing plate is 1/2” aluminum. I picked up the existing holes and drilled a couple more lower near the step centered between the existing upper bolts. I had to notch the backing plate due to the location of the upper holes.
I removed excess material at the front and rear of the slider to reduce mass. There was no scrapes on these areas so I did not see any purpose it.
I was able to just paint the bottom of the slider and not powder coat them. The first slider took about a day of work the second about half that time. Could I make money doing these, could you pay someone to modify them for you. No but I had them and I am happy with the results. They are off the body mounts and securely attached to the body now.
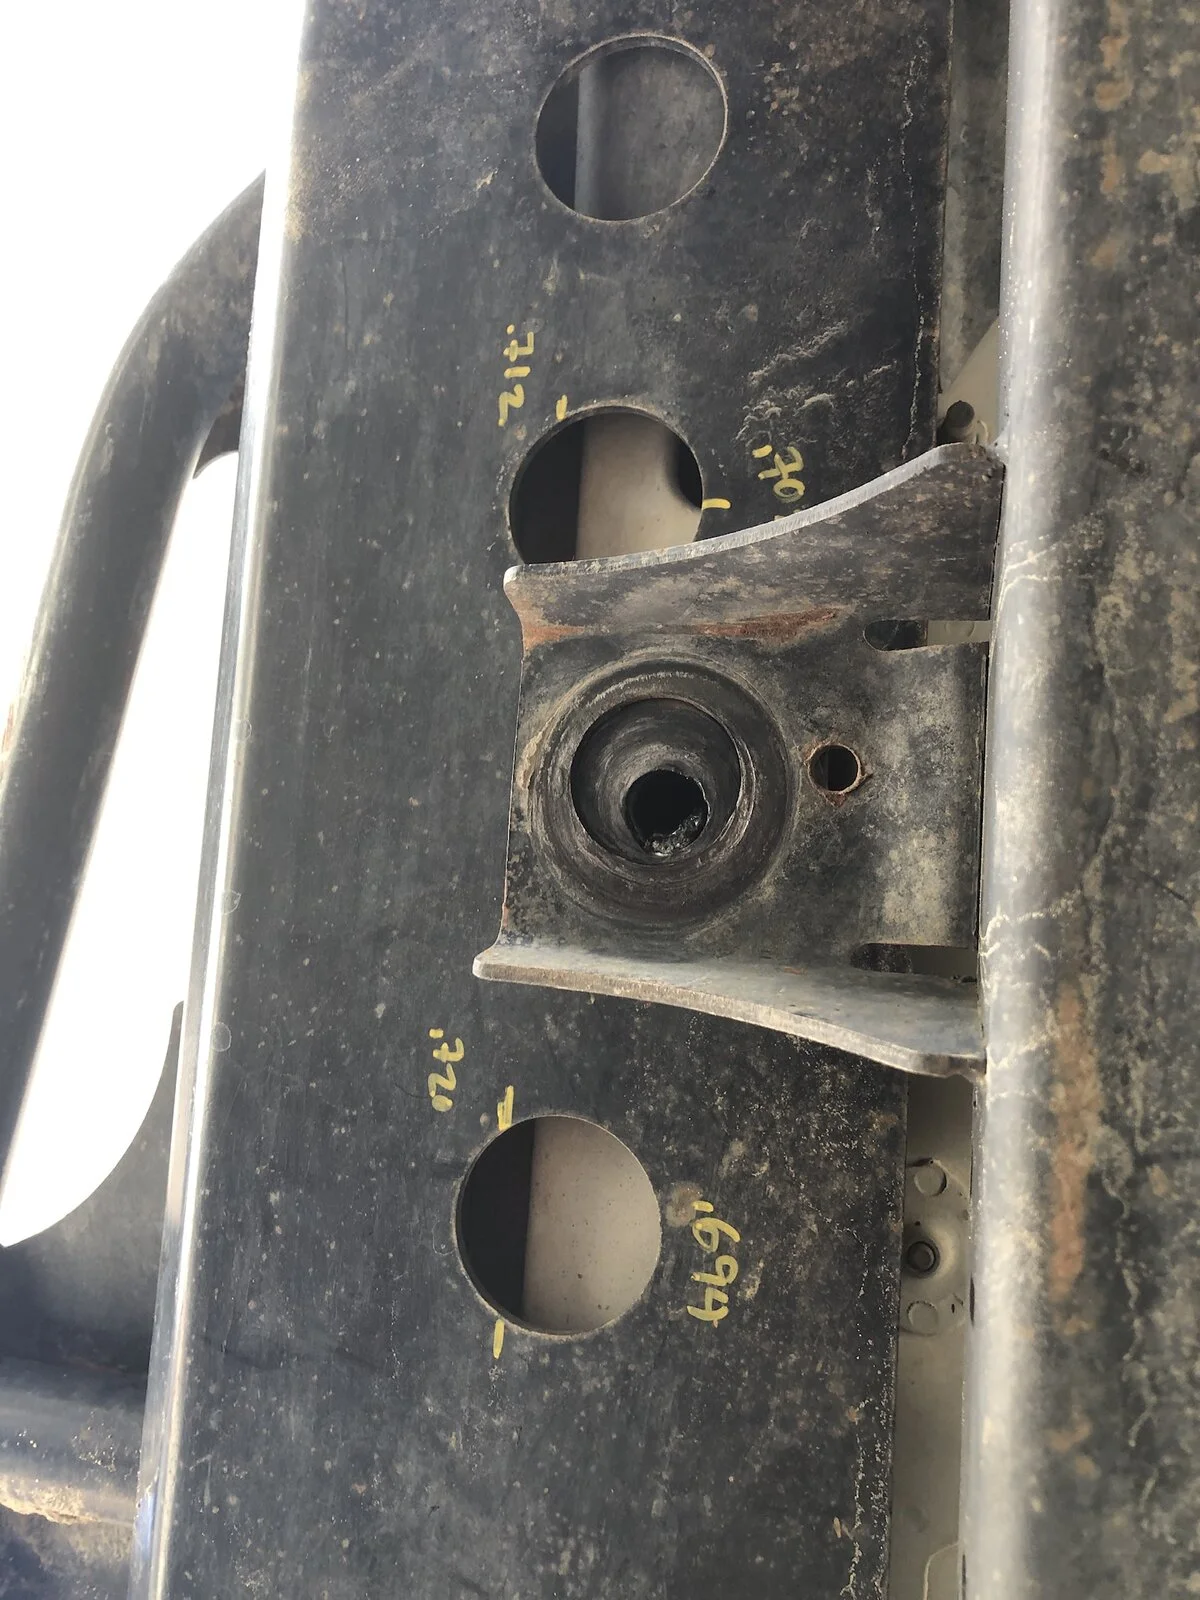



I measured up through the holes to the torque boxes and marked the edge of the torque boxes. I marked the center of the body mounts. I removed the sliders and clamped a piece of flat bar across the body mount area. I used this as a guide for a 3” hole saw. I trimmed the metal from the hole out to the edge.
The rear section I used a piece of 4” rectangular tubing as I wanted to cover the hole completely but also pick up both vertical edges of the torque boxes for support. I used the previous measurements minus the slider thickness to section the tubing to the correct dimensions. I drilled three holes in this tubing for nutserts up to the torque box.
The front I used a piece of flat bar with three holes for nutserts. I bolted it to the torque box and put the slider up. I tacked it through the holes as the is a slight gap. I removed it an welded the edge.
The backing plate is 1/2” aluminum. I picked up the existing holes and drilled a couple more lower near the step centered between the existing upper bolts. I had to notch the backing plate due to the location of the upper holes.
I removed excess material at the front and rear of the slider to reduce mass. There was no scrapes on these areas so I did not see any purpose it.
I was able to just paint the bottom of the slider and not powder coat them. The first slider took about a day of work the second about half that time. Could I make money doing these, could you pay someone to modify them for you. No but I had them and I am happy with the results. They are off the body mounts and securely attached to the body now.


