Man - you guys don't even give me a chance to finish typing!So what's the word? Is it straight?
You are using an out of date browser. It may not display this or other websites correctly.
You should upgrade or use an alternative browser.
You should upgrade or use an alternative browser.
Nashville TJ's Build - Continued
- Thread starter NashvilleTJ
- Start date
To get a measurement, rotate the disk so that the string is centered in the slot - and that line points toward the bend. And sure enough - it's out. 70 thou by my measurement. About 1/16".
View attachment 218002View attachment 218002
But - it's bent in the opposite direction I would have expected from heating the case. If excess heat had caused the case to contact on the side of the new cap, it should have pulled the tubes toward that side of the case. The bend goes in the opposite direction. So maybe this was there all along? I really wish I had checked before cutting into the case.
So help me out - what is close enough? I've heard these axles don't come out of the factory dead straight, but I don't know how much would be acceptable. Should I be straightening this thing?
I've heard the same thing about them not being 100% straight.
I had a Dana 44 straightened for my Zuk years ago and if I remember correctly they had gotten it about that close. But I'll let the more experienced folks offer their thoughts on this.
.070" isn't too bad I don't think, but I also think there might be that much room for error in your measuring setup though, hard to tell
Trev beat me to it, 0.070 is not too bad over that distance, especially considering the tolerances of the axle itself combined with the tolerances of the jig you made. I know you would probably rather take care of the issue now while it is empty and before installing the carrier and the axles, but I personally wouldn't worry about 0.070". If you get to the final install of the axles and have trouble installing, then you will know why, if the axles slide right in then no worries.
No error in the setup, I don’t think. Dead center on the spindles, and dead center in the carrier bearing. Where do you see there might be an error, Trev?.070" isn't too bad I don't think, but I also think there might be that much room for error in your measuring setup though, hard to tell
Did you check to see if your holes in the pucks for the wheel ends where the wire passes through are concentric to the OD of the puck? That plus how tight of a fit the end is around the tube could mean your wire isn't quite centered in the end of the tube.No error in the setup, I don’t think. Dead center on the spindles, and dead center in the carrier bearing. Where do you see there might be an error, Trev?
It looks like the you were coming up with the .070" measurement based off the size of the gap between the edge of the wire and the end of the slot closest to centerline? You'd have to know if the centerline of the radius in the slot is concentric to the OD of the puck and take into account that radius and subtract it from the .070".
Most of the error I think would come from the accuracy of the slotted puck, as the other pucks would have to be off quite a bit at the end of the tube to give you .070" at the diff.
I do really like this method of checking for straightness though, I haven't seen it done like this before and it's certainly a lot cheaper than buying a chrome bar. I'd be curious to see what kind of a measurement you'd get with some pucks machine to fit the tubes nicely. If you're interested, they'd be pretty easy for me to make with a few measurements off of the axle
I purposely made the pucks to be tight to the spindle, and to the bore for the carrier bearing. 0 play in each. And yes, the holes in the end pucks where the sting passes through are dead center to the OD. Easy to do with a circle. Note that the center puck is secured with the carrier bearing locks. Also, the hole in the end pieces is the exact diameter of the string - that actually made it a pain in the ass to get the string through, but that makes the string dead center.Did you check to see if your holes in the pucks for the wheel ends where the wire passes through are concentric to the OD of the puck? That plus how tight of a fit the end is around the tube could mean your wire isn't quite centered in the end of the tube.
It looks like the you were coming up with the .070" measurement based off the size of the gap between the edge of the wire and the end of the slot closest to centerline? You'd have to know if the centerline of the radius in the slot is concentric to the OD of the puck and take into account that radius and subtract it from the .070".
Most of the error I think would come from the accuracy of the slotted puck, as the other pucks would have to be off quite a bit at the end of the tube to give you .070" at the diff.
I do really like this method of checking for straightness though, I haven't seen it done like this before and it's certainly a lot cheaper than buying a chrome bar. I'd be curious to see what kind of a measurement you'd get with some pucks machine to fit the tubes nicely. If you're interested, they'd be pretty easy for me to make with a few measurements off of the axle
Thanks for the offer in the machined pucks.
Yeah I was thinking about it some more. Might be worth trying it with the string secured at the far carrier bearing, running the other carrier bearing and secured at the wheel end, then flip it around to check the other tube. I think that would give a more accurate measurements of the tube to the differential instead of both of the tubes as a whole. Otherwise both tubes could be bent in counteracting directions that wouldn't be measured correctly going off of the slot.I purposely made the pucks to be tight to the spindle, and to the bore for the carrier bearing. 0 play in each. And yes, the holes in the end pucks where the sting passes through are dead center to the OD. Easy to do with a circle. Note that the center puck is secured with the carrier bearing locks. Also, the hole in the end pieces is the exact diameter of the string - that actually made it a pain in the ass to get the string through, but that makes the string dead center.
Thanks for the offer in the machined pucks.
Well, what was I thinking. I'm not a close enough is good enough kind of builder. So I figured I'd learn something new and figure out how to get it perfect. Much easier to do it now.
I took a look at what Chris did, and also the guy in the video he posted. Chris tried heat with a propane torch followed by a quick quench. No movement. Dan in the video tried heat with a Map-gas torch followed by a water quench. No movement. Then he tried a TIG torch - nothing. Finally, he made it move with a MIG welder set on supernova. That worked.
So I skipped all the preliminaries and moved right to the Nuclear Option:
My tool points me to the apex of the curve, so I started laying big, fat, beefy MIG welds vertically on the tube right at that spot. First I laid two welds on each side of the diff at about the mid point of the tube. As the heat soaked in, I was literally able to watch the string slowly move in the puck - going the wrong way! But that made sense as the first thing the metal does around the weld it to expand - forcing the bend to be even larger. Once the weld starts to cool, that is when the contraction / shrinkage starts.
And lo and behold, when I let it cool - success. The string moved in the right direction by 20 or 30 thou - about half way. It also moved in the exact direction I expected - right where the tool was pointing. Then I laid one big fat weld on each side, let it cool and watched the movement. After 6 welds on each side - this is how the axle looked:
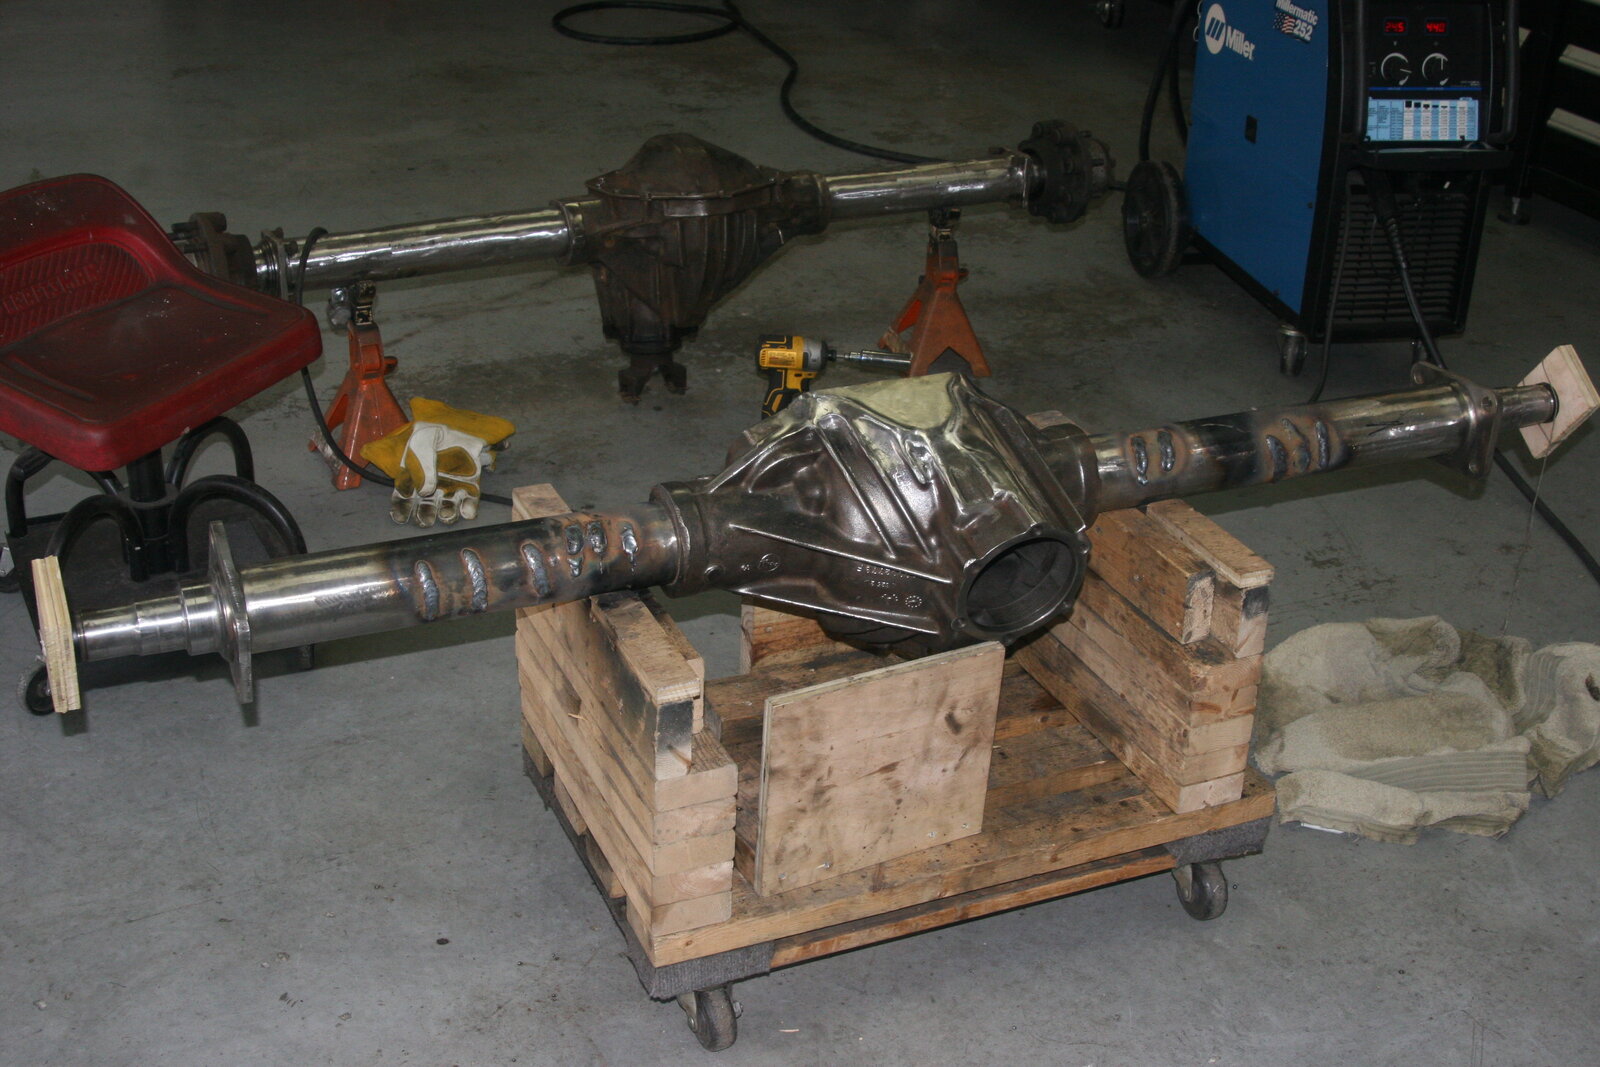
And after final cooling, this is what the tool was telling me - dead center. The string perfectly intersects every one of the radius lines on the puck.

I took a look at what Chris did, and also the guy in the video he posted. Chris tried heat with a propane torch followed by a quick quench. No movement. Dan in the video tried heat with a Map-gas torch followed by a water quench. No movement. Then he tried a TIG torch - nothing. Finally, he made it move with a MIG welder set on supernova. That worked.
So I skipped all the preliminaries and moved right to the Nuclear Option:
My tool points me to the apex of the curve, so I started laying big, fat, beefy MIG welds vertically on the tube right at that spot. First I laid two welds on each side of the diff at about the mid point of the tube. As the heat soaked in, I was literally able to watch the string slowly move in the puck - going the wrong way! But that made sense as the first thing the metal does around the weld it to expand - forcing the bend to be even larger. Once the weld starts to cool, that is when the contraction / shrinkage starts.
And lo and behold, when I let it cool - success. The string moved in the right direction by 20 or 30 thou - about half way. It also moved in the exact direction I expected - right where the tool was pointing. Then I laid one big fat weld on each side, let it cool and watched the movement. After 6 welds on each side - this is how the axle looked:
And after final cooling, this is what the tool was telling me - dead center. The string perfectly intersects every one of the radius lines on the puck.
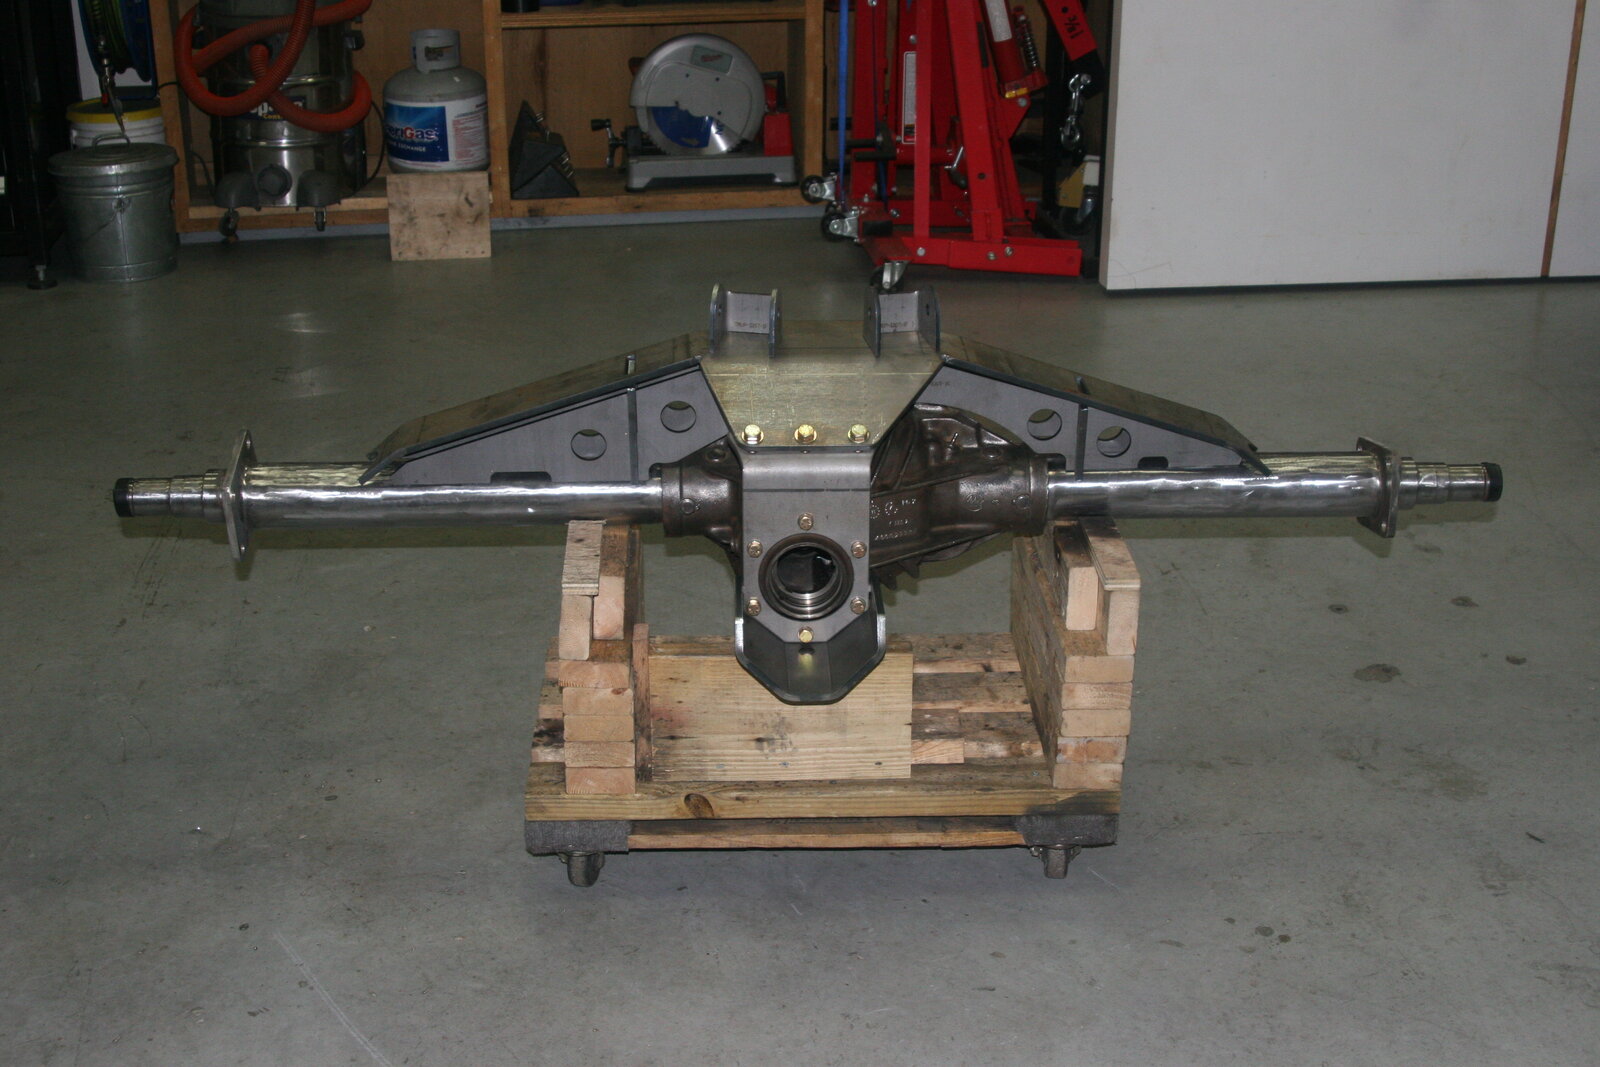
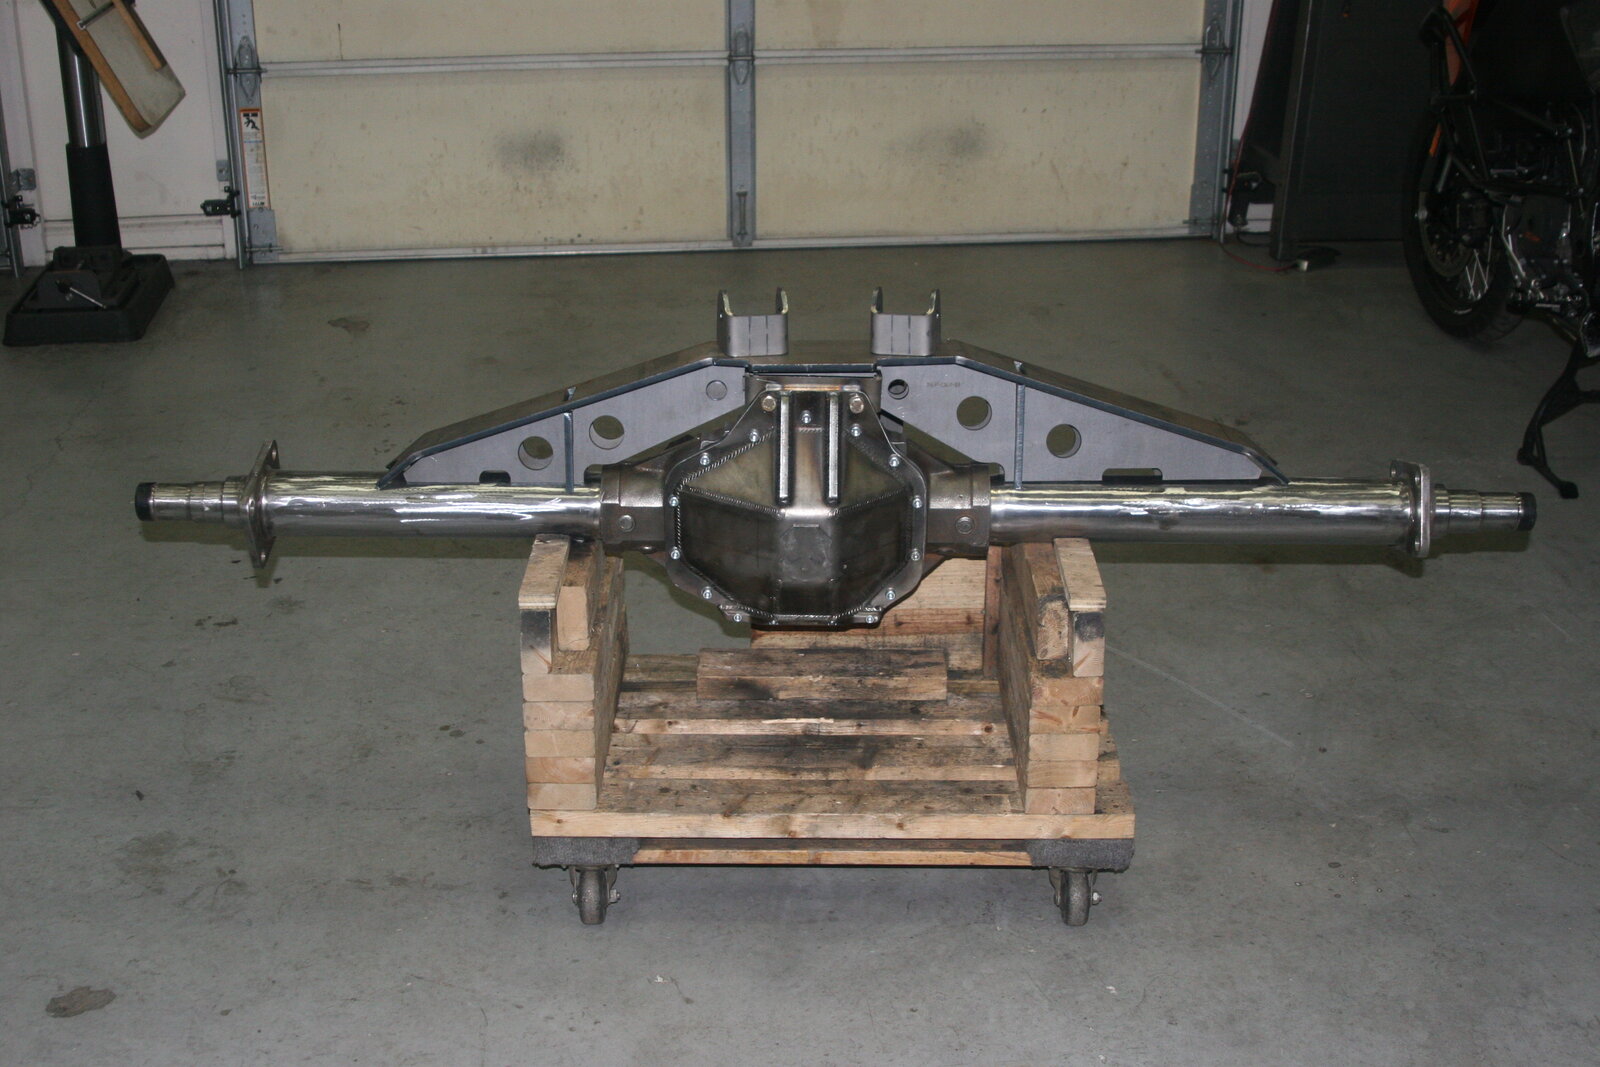
After grinding the welds smooth (again with the grinder...), I mocked up the truss on the newly dead straight axle. I can tell this is going to take a bunch of tweaking to get it to lay down correctly. But, it is definitely beefy. The top plate, pinion guard support, and pinion guard are all 3/8". Ain't gonna be light...
Considering you're using a squirt gun, why not source an alignment rod?After grinding the welds smooth (again with the grinder...), I mocked up the truss on the newly dead straight axle. I can tell this is going to take a bunch of tweaking to get it to lay down correctly. But, it is definitely beefy. The top plate, pinion guard support, and pinion guard are all 3/8". Ain't gonna be light...
View attachment 218086
View attachment 218087
Squirt gun?
Yup - just not sure how that relates to an alignment rod.You're mig welding, right?
End caps and an alignment rod would help keep the tubes straight since youre putting so much heat into it and not using a tig machine to control heat.Yup - just not sure how that relates to an alignment rod.
Gotcha. Now that makes sense. Thanks.End caps and an alignment rod would help keep the tubes straight since youre putting so much heat into it and not using a tig machine to control heat.
So what’s cheaper - an alignment rod or a TIG welder?
You could always use both.Gotcha. Now that makes sense. Thanks.
So what’s cheaper - an alignment rod or a TIG welder?

Well, I thought today was going to be a nice, easy, and clean day. My plan was to do a final fit up on the truss, and do the finish welding. Not so much...
I've mentioned that I've had concern with the height of the 14 Bolt setup - but I thought I would be OK. Well, now that I had the truss mocked up and was able to do some measurements, I've found the the new setup is 3" taller than the '60 from the centerline of the axle to the top of the control arm mounting brackets.
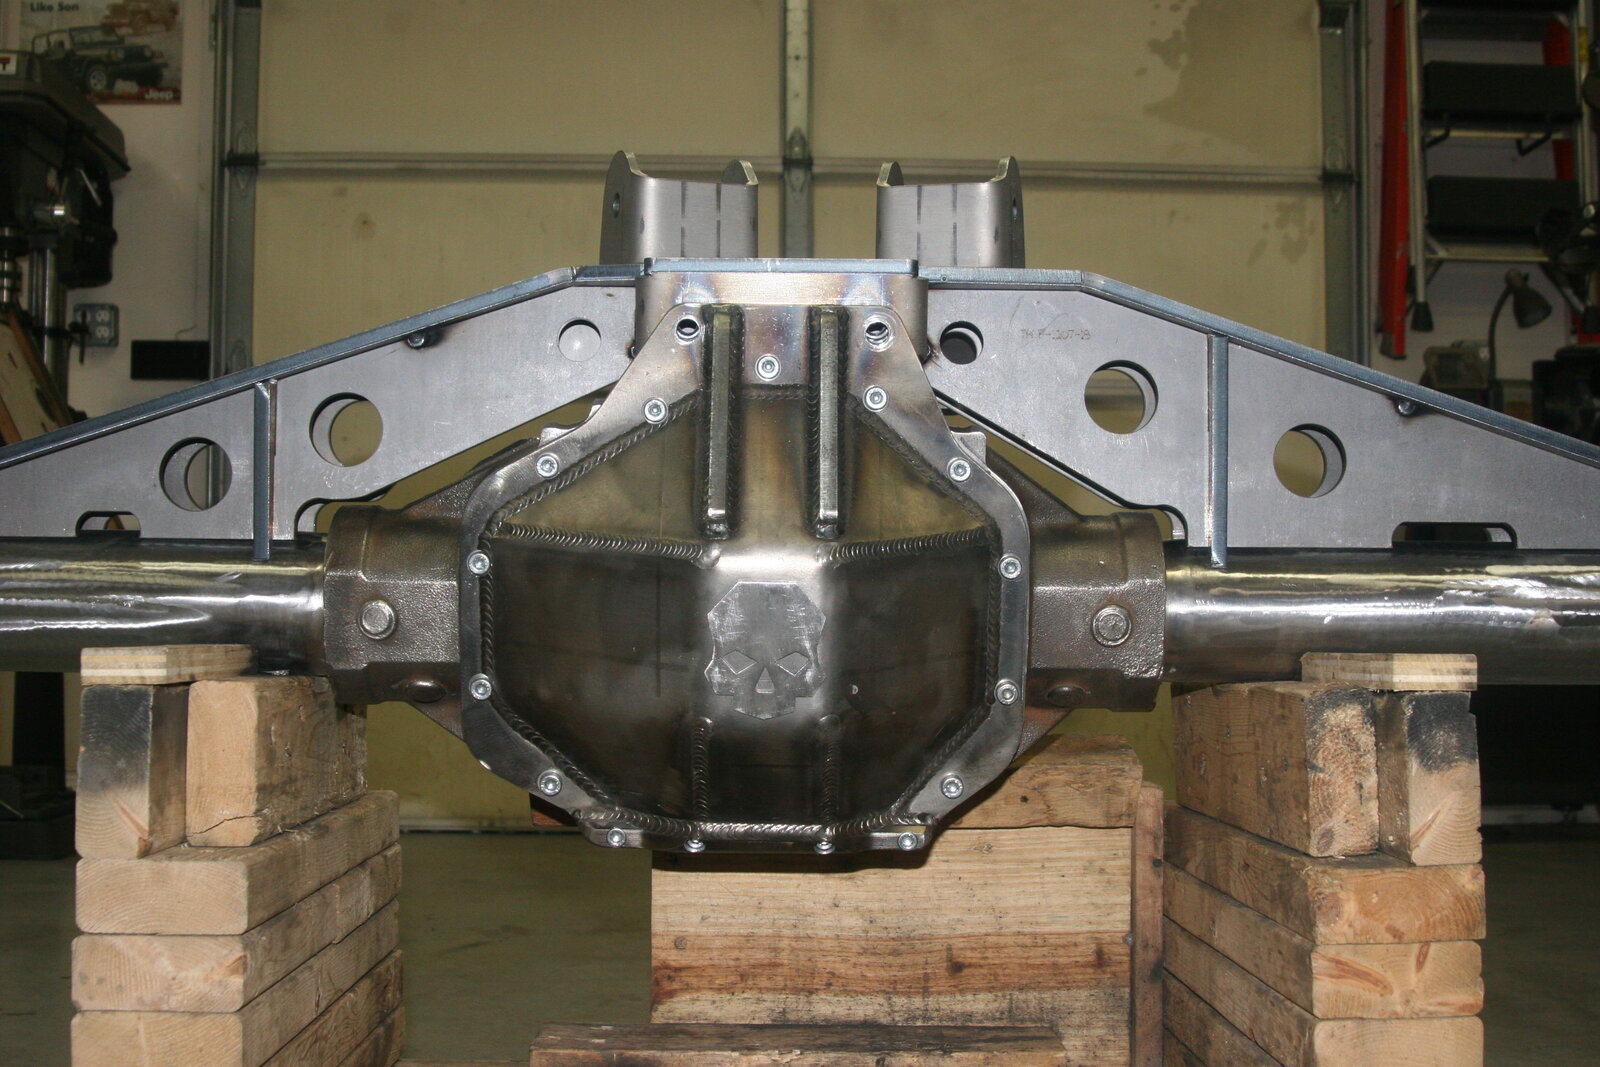
Under the rig at full stuff I currently have just over 2" of clearance to the tub - so I'm 1" short. I try to keep the rig reasonably low, and I'd rather not cut a hole in the tub to clear the control arm mounts.
I spent some time looking at the truss setup, and decided that I could lower the entire truss about an inch, and get me back into striking distance on getting it to fit. My plan was to try to get the top of the truss even with the top of the diff cover where it bolts to the truss.
So out comes the plasma (again). I cut a 1/2" off the top and the bottom of the center brace uprights, and the two vertical supports.
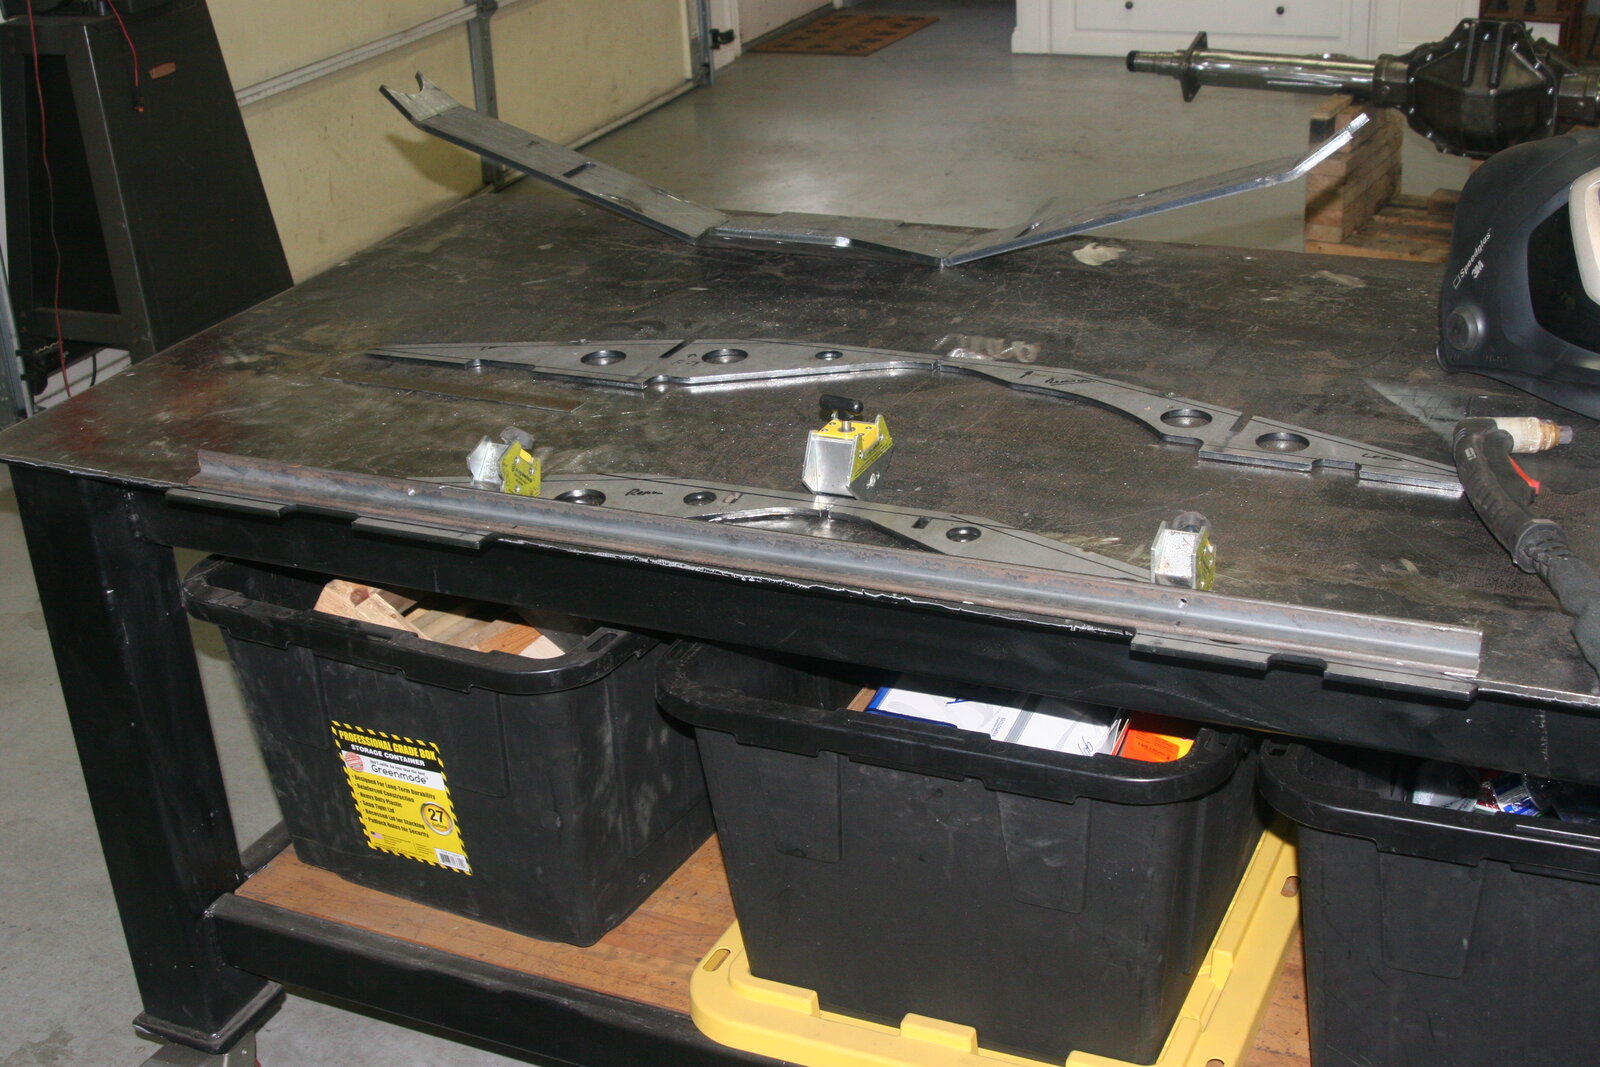
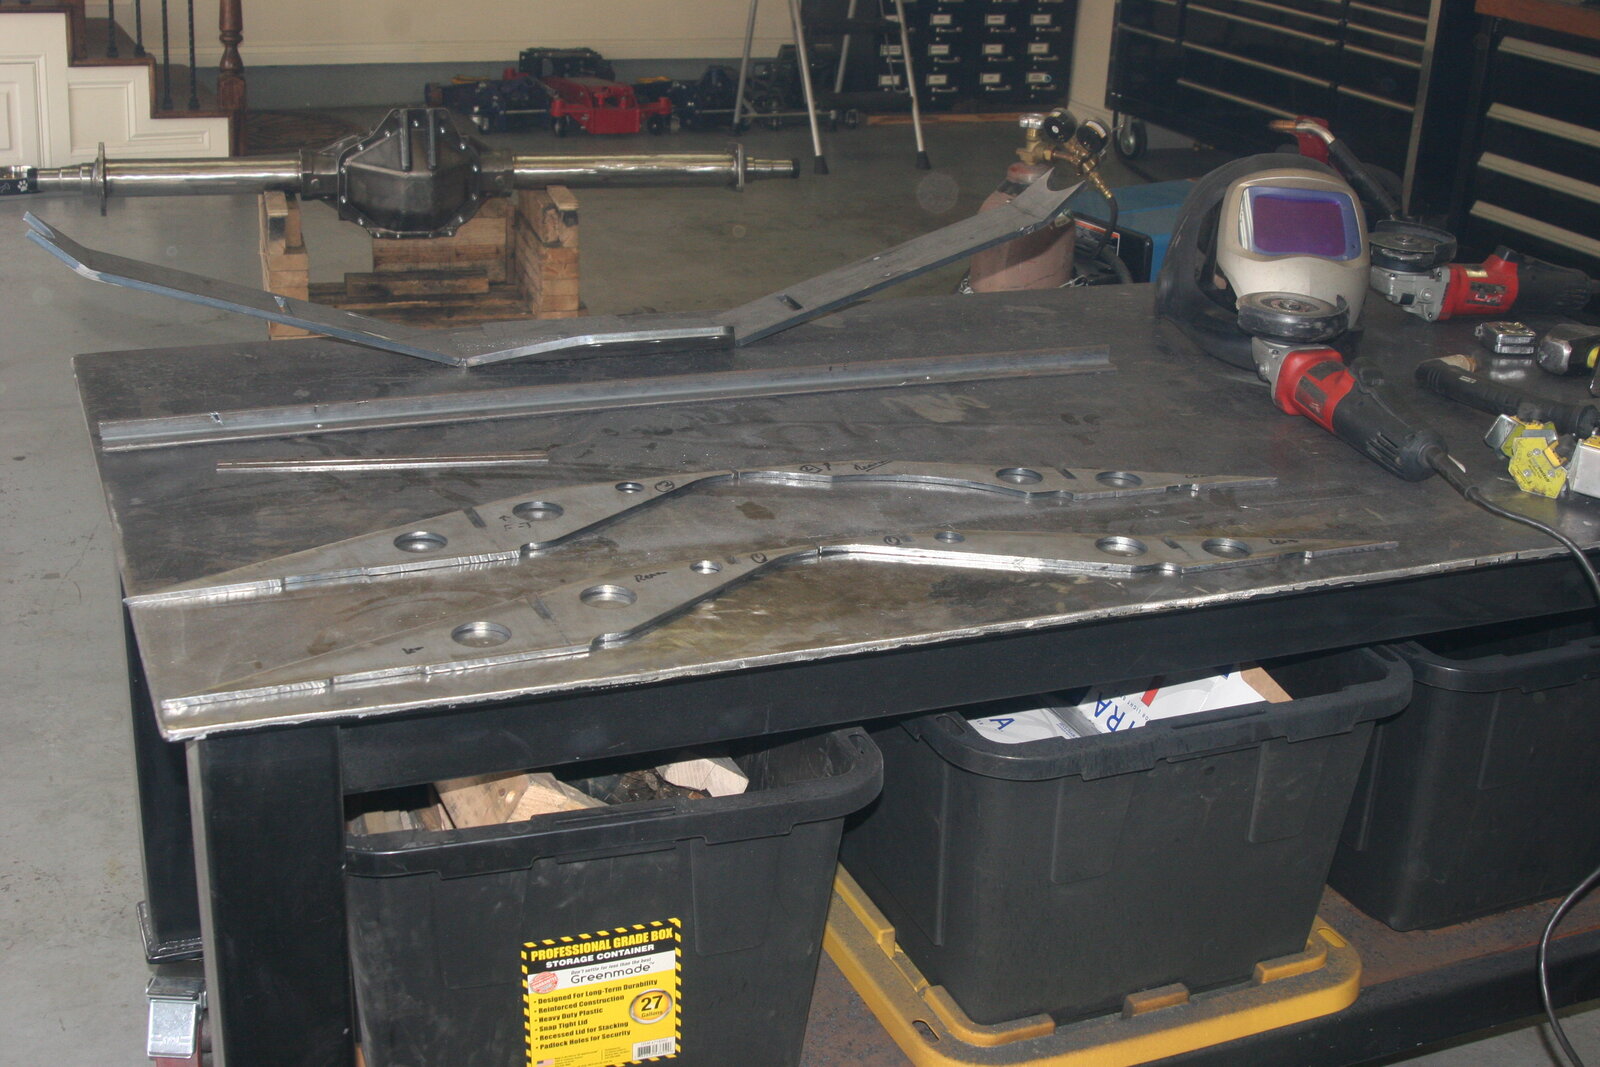
After all the cutting, I tacked it all back together.
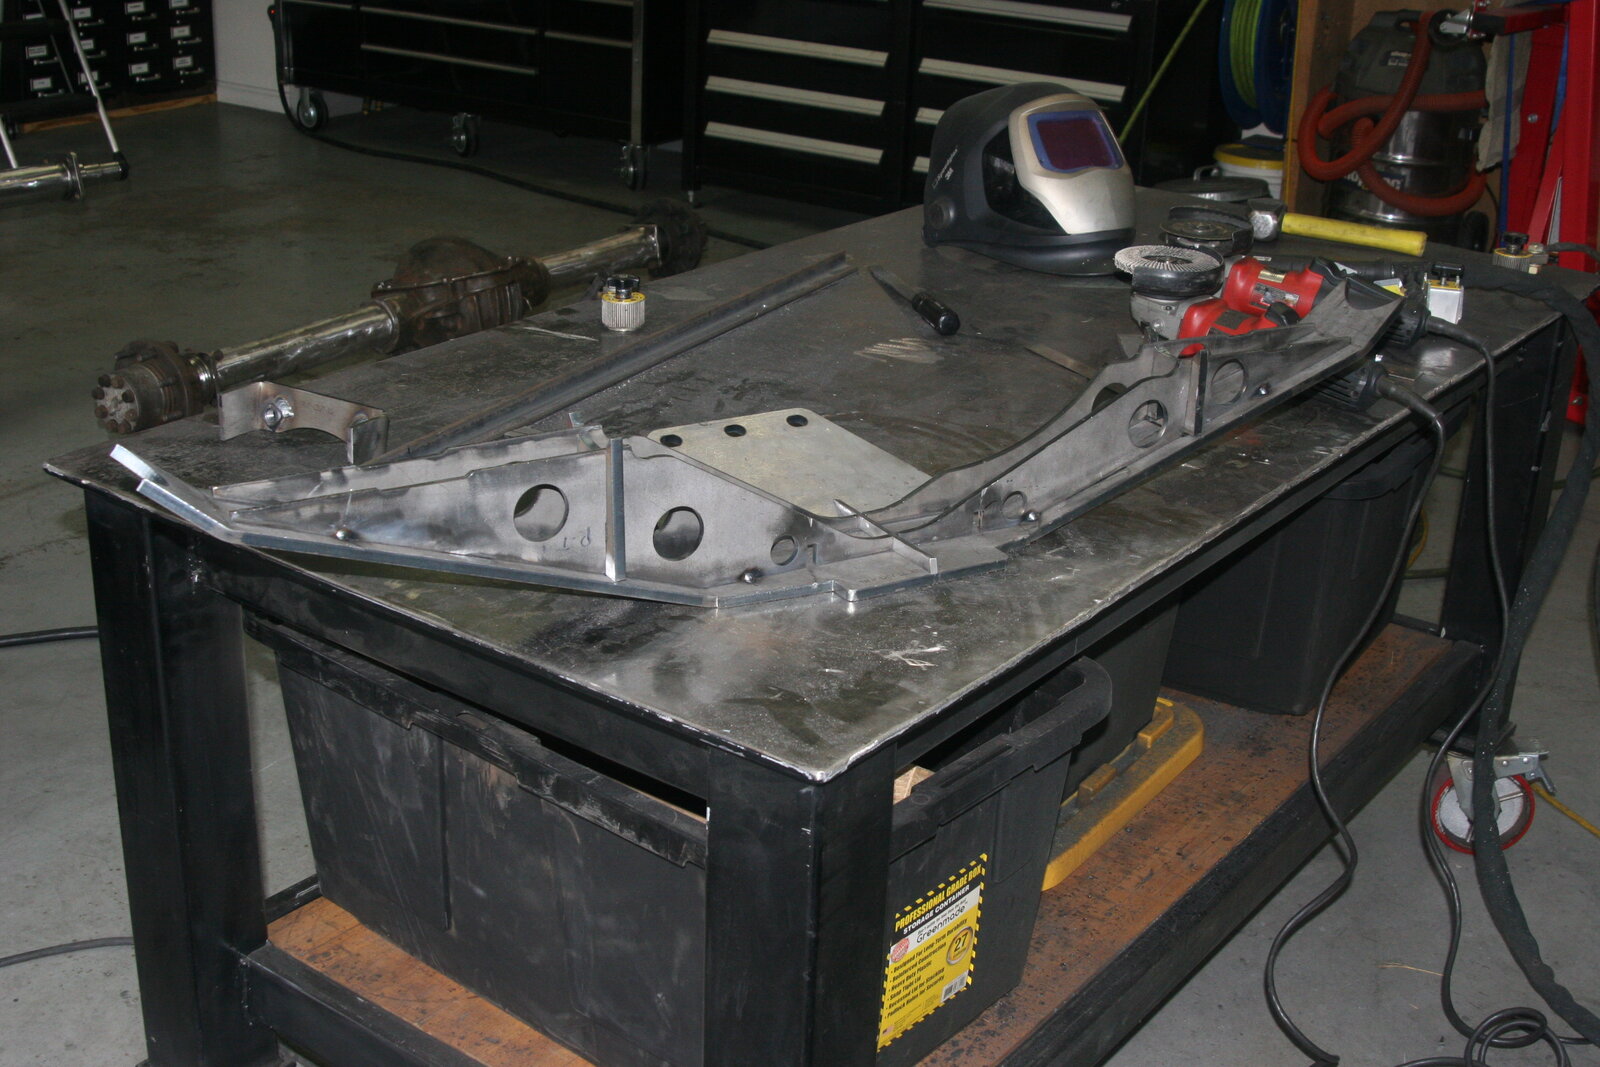
I've mentioned that I've had concern with the height of the 14 Bolt setup - but I thought I would be OK. Well, now that I had the truss mocked up and was able to do some measurements, I've found the the new setup is 3" taller than the '60 from the centerline of the axle to the top of the control arm mounting brackets.
Under the rig at full stuff I currently have just over 2" of clearance to the tub - so I'm 1" short. I try to keep the rig reasonably low, and I'd rather not cut a hole in the tub to clear the control arm mounts.
I spent some time looking at the truss setup, and decided that I could lower the entire truss about an inch, and get me back into striking distance on getting it to fit. My plan was to try to get the top of the truss even with the top of the diff cover where it bolts to the truss.
So out comes the plasma (again). I cut a 1/2" off the top and the bottom of the center brace uprights, and the two vertical supports.
After all the cutting, I tacked it all back together.
Next I fit and trimmed the ends of the truss to match up with the axle tub, and also cut an inch out of the vertical portion of the pinion support and welded that back together.
So much for a clean day in the shop...
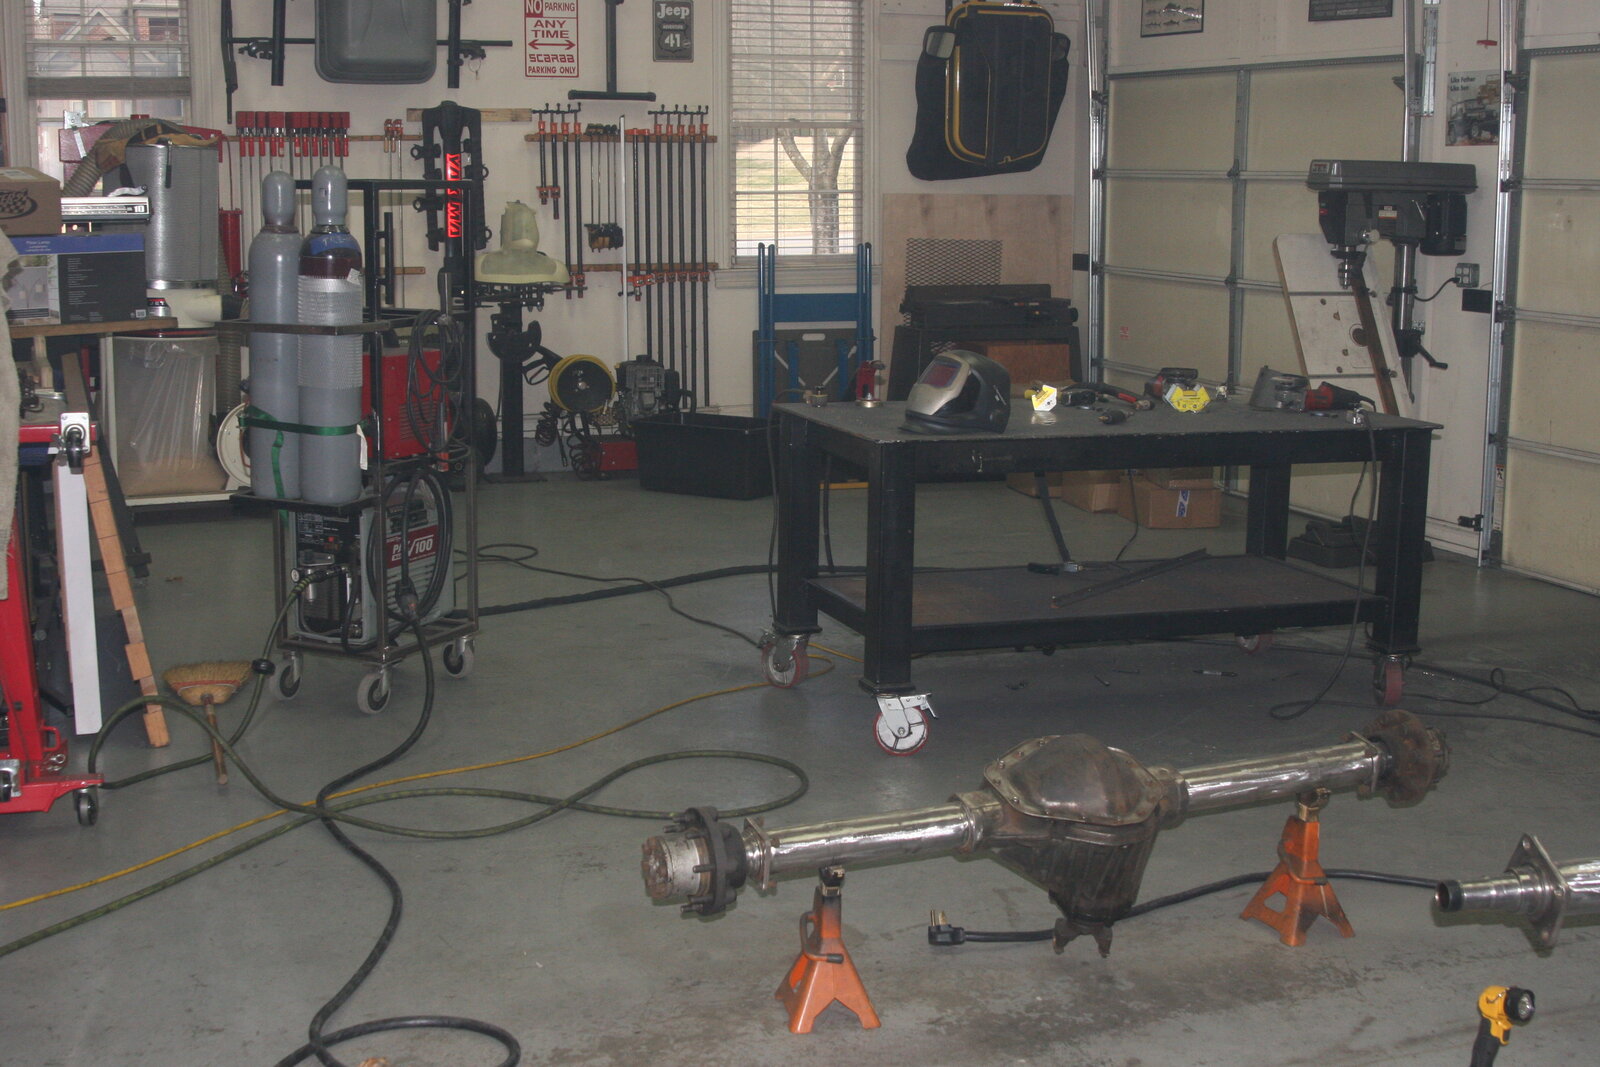
So much for a clean day in the shop...

