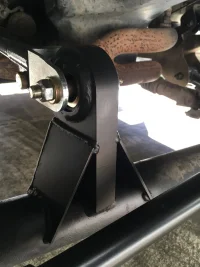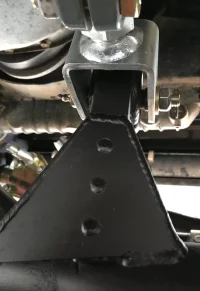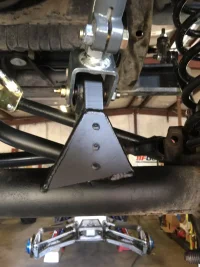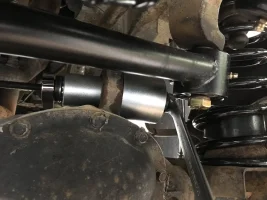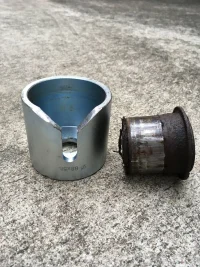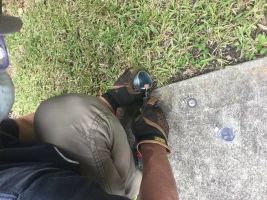
Looking for a replacement on upper passenger control arm mount. My mount is toast it’s cracked and welded on before and just plain ugly .Have 3 I’m looking at. Which is best ? And does the mount need a Jhonny joint or would a regular bushing be the same ? (I’m odering artec lower control arm mounts to)
I would also have to pay a welder to get this done.
Artec industries $150.99 with Jhonny Joints
$66 with daystar bushing
https://www.artecindustries.com/TJ_Front_Axle_UCA
Currie $205 with jhonny joints no option for regular bushing
https://www.currieenterprises.com/CE-9102K1
Teraflec with regular bushing $70
https://www.extremeterrain.com/teraflex-front-axle-bracket-upper-flexarm-mount-passenger-side-9706-tj.html?utm_content=XT Driveline - Axle|Teraflex&T5_Var4=J117587&intl=0&utm_campaign=XTW+Wrangler+Brands+&+Vehicle+Low&dialogtech=ppc&utm_source=google-pla&utm_medium=shopping&T5_Var2=shopping&T5_Var3=orange&gclid=EAIaIQobChMItu7yga-P3wIVgsBkCh1HFAReEAQYASABEgI7NfD_BwE&gclsrc=aw.ds
I would also have to pay a welder to get this done.
Artec industries $150.99 with Jhonny Joints
$66 with daystar bushing
https://www.artecindustries.com/TJ_Front_Axle_UCA
Currie $205 with jhonny joints no option for regular bushing
https://www.currieenterprises.com/CE-9102K1
Teraflec with regular bushing $70
https://www.extremeterrain.com/teraflex-front-axle-bracket-upper-flexarm-mount-passenger-side-9706-tj.html?utm_content=XT Driveline - Axle|Teraflex&T5_Var4=J117587&intl=0&utm_campaign=XTW+Wrangler+Brands+&+Vehicle+Low&dialogtech=ppc&utm_source=google-pla&utm_medium=shopping&T5_Var2=shopping&T5_Var3=orange&gclid=EAIaIQobChMItu7yga-P3wIVgsBkCh1HFAReEAQYASABEgI7NfD_BwE&gclsrc=aw.ds

 A Currie/Savvy arm will bolt onto the factory bushings, but if you need to repair the tube side...