So Blaine has been generous enough to give me a little guidance on installing my suspension parts and aligning my front diff, so here are some lessons learned from my project:
1. Doing this solo sucks.
2. no matter how careful you are, things will move when you lease expect it.
3. When in doubt ask someone who knows before you get hurt.
4. Dont be impatient, that is a good way to get hurt.
5. A good deal on a part is not always a good deal...
6. Ok now for the nitty gritty, while you think that you can get the axle in position without the steering installed, you need it to set the wheel base. I was having problems getting the wheel base set for the lower control arm length because the knuckles were moving around so I could only get it close. Blaine corrected me on that.
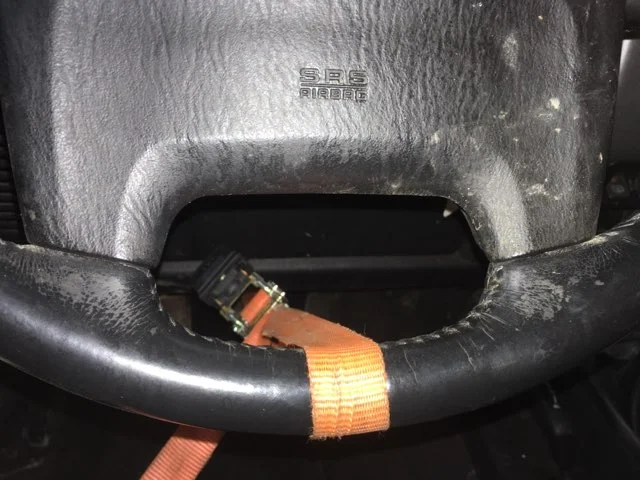
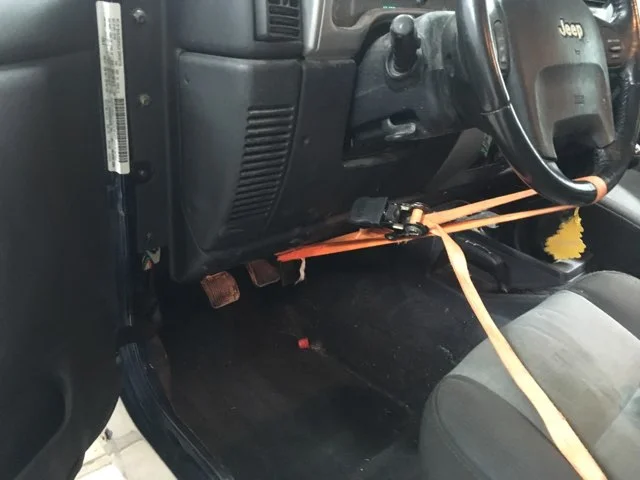
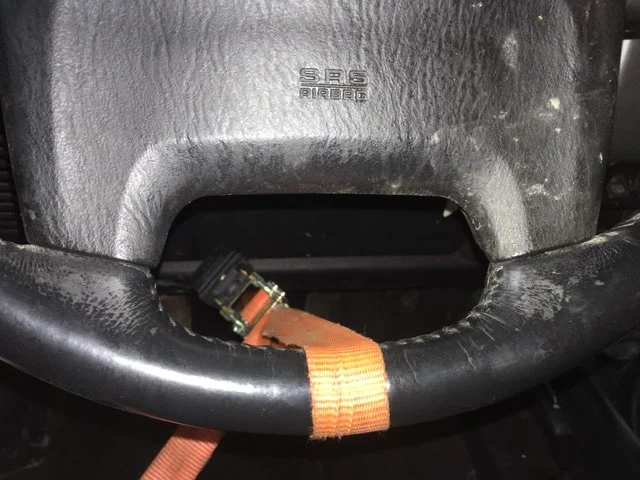
7. So I went to install the steering and now I will show you how I aligned and centered the steering: No matter how careful you are, the steering wheel will move, use a ratchet strap to hold it in place. I used the lower dash lines to level the wheel.
8. I have 2 pieced of 1" square tubing that I use to align landing gear on airplanes with, it worked for me here. They are 36" long, and I have a 3/4" hole bored through the center, my lug nut taper just centers on the hole.
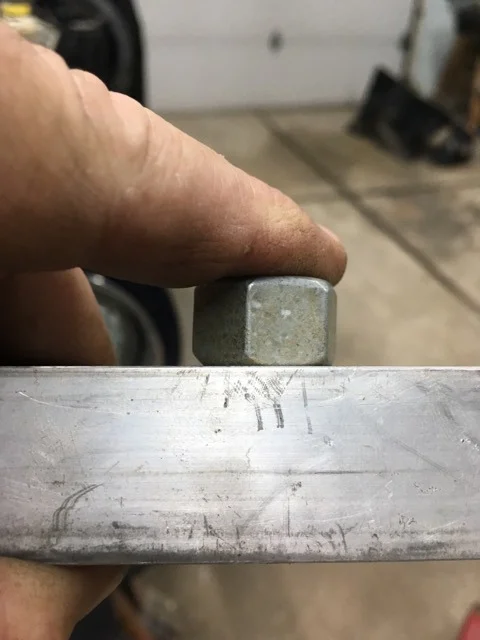
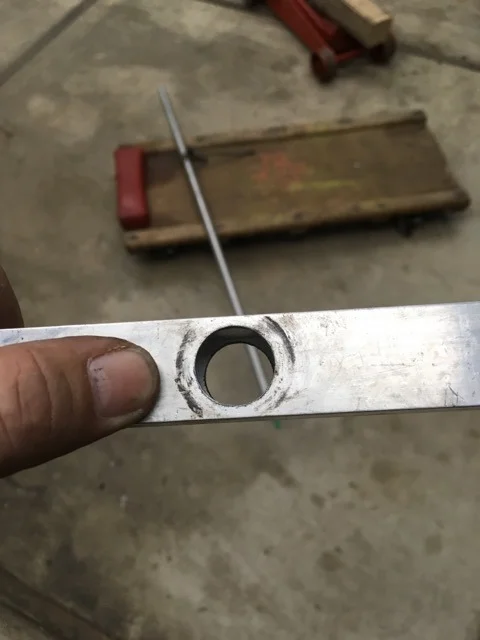
9. Now I set them up on the hub and leveled them out using the wheel studs.
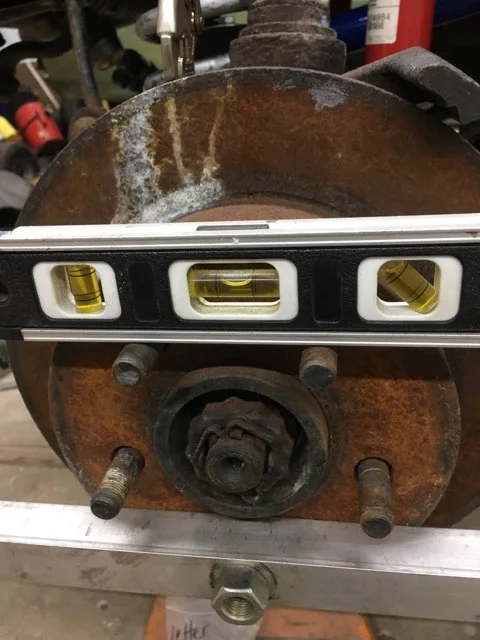
10. Once both hubs were level, I used vise grips to keep the hubs from rotating.
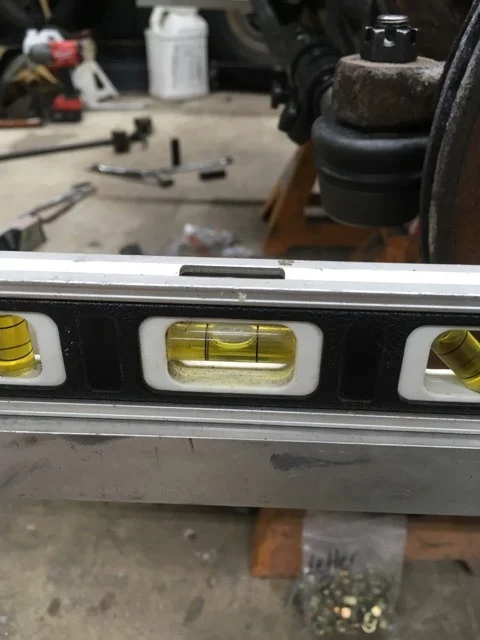
11. With the hubs level, I leveled my alignment bars and the lug nuts held them in place.
13. Next I used a tape and measured the front and rear of the bars, setting them 1/8" toe in.
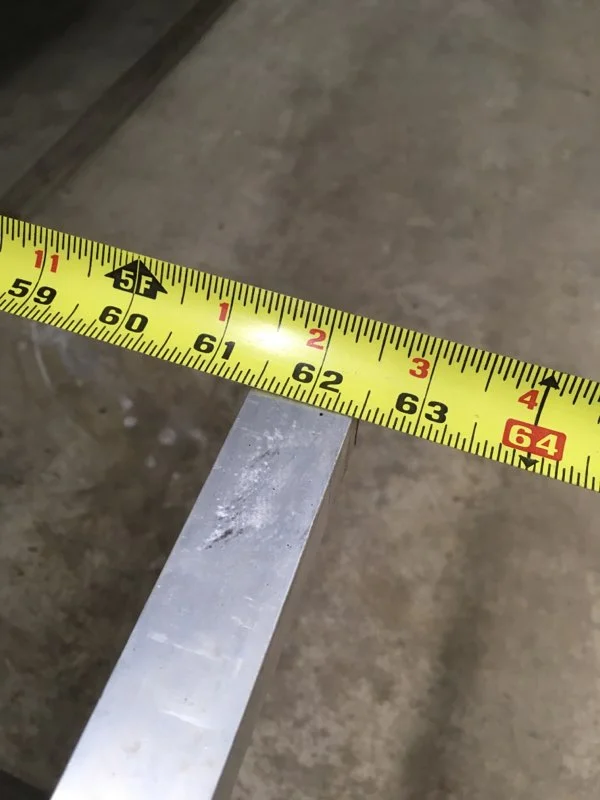
14. with the toe set, I then adjusted the drag link using the center mark I put on the front cross member which I used to center the differential...
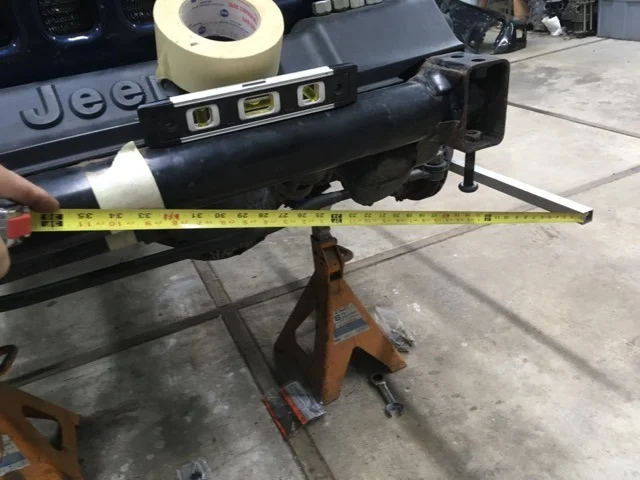
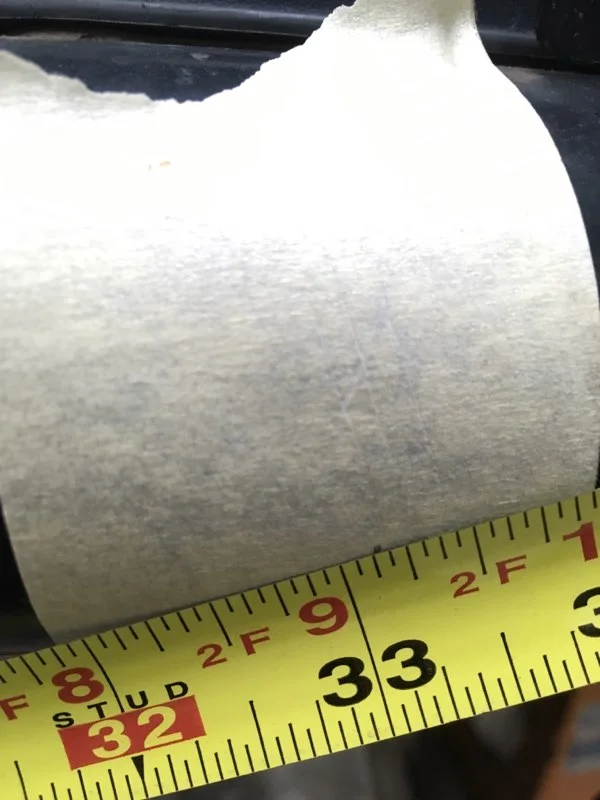
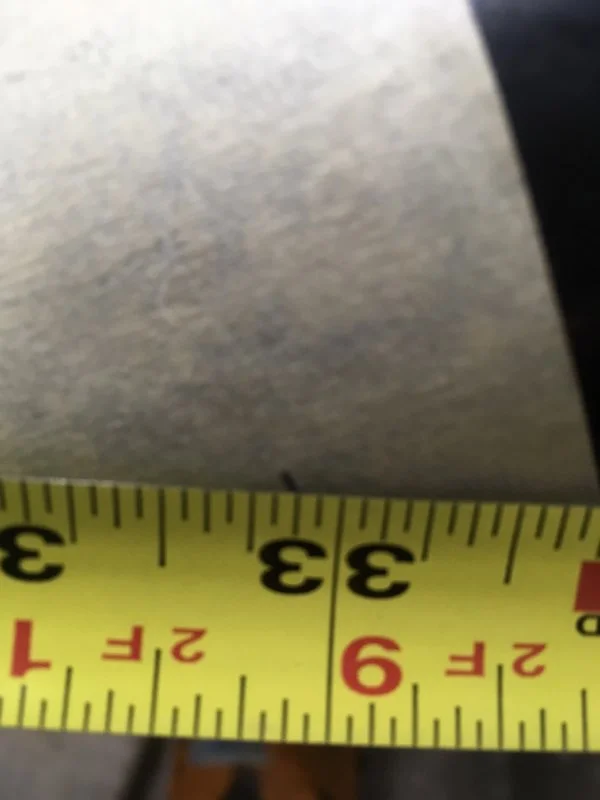
15. You can barely see the tick mark on the tape but I got it within 1/16"
15. Here is a general overview of the setup. It may not be perfect but it got me close enough to get me to the alignment shop.
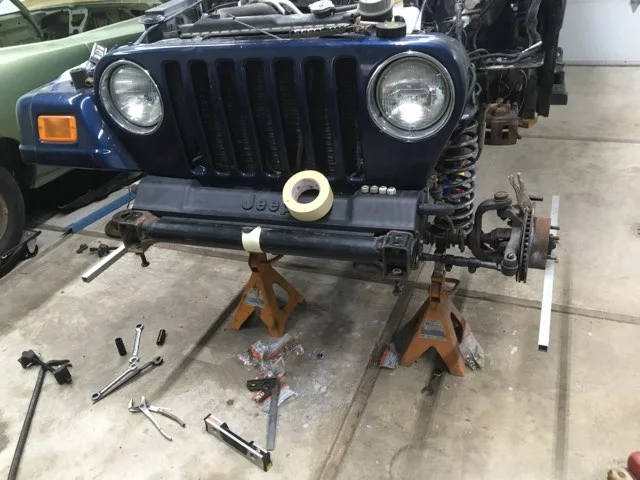
15. Once I got the wheels centered and straight, I could now check the wheelbase. It was off by 1/2", so pull the long control arm, shorten it up, it was within 1/4", pull it again, its within 1/8".
16. Set the upper control arm length to give me .6 degrees pinion down from driveshaft angle.
...now comes the crappy part, I went to check the caster, pulled the grease zerks on the upper ball joints, and the left was 1.7 degrees less than the right. I still have 5.5 degrees on the left, but it is almost 7 degrees on the right. I guess that $100 front diff was pulled for a reason.
Hope you enjoyed this one man escapade into trying to put this salvage jeep back together. Special thanks to Blaine for his email support.
Tim
1. Doing this solo sucks.
2. no matter how careful you are, things will move when you lease expect it.
3. When in doubt ask someone who knows before you get hurt.
4. Dont be impatient, that is a good way to get hurt.
5. A good deal on a part is not always a good deal...
6. Ok now for the nitty gritty, while you think that you can get the axle in position without the steering installed, you need it to set the wheel base. I was having problems getting the wheel base set for the lower control arm length because the knuckles were moving around so I could only get it close. Blaine corrected me on that.
7. So I went to install the steering and now I will show you how I aligned and centered the steering: No matter how careful you are, the steering wheel will move, use a ratchet strap to hold it in place. I used the lower dash lines to level the wheel.
8. I have 2 pieced of 1" square tubing that I use to align landing gear on airplanes with, it worked for me here. They are 36" long, and I have a 3/4" hole bored through the center, my lug nut taper just centers on the hole.
9. Now I set them up on the hub and leveled them out using the wheel studs.
10. Once both hubs were level, I used vise grips to keep the hubs from rotating.
11. With the hubs level, I leveled my alignment bars and the lug nuts held them in place.
13. Next I used a tape and measured the front and rear of the bars, setting them 1/8" toe in.
14. with the toe set, I then adjusted the drag link using the center mark I put on the front cross member which I used to center the differential...
15. You can barely see the tick mark on the tape but I got it within 1/16"
15. Here is a general overview of the setup. It may not be perfect but it got me close enough to get me to the alignment shop.
15. Once I got the wheels centered and straight, I could now check the wheelbase. It was off by 1/2", so pull the long control arm, shorten it up, it was within 1/4", pull it again, its within 1/8".
16. Set the upper control arm length to give me .6 degrees pinion down from driveshaft angle.
...now comes the crappy part, I went to check the caster, pulled the grease zerks on the upper ball joints, and the left was 1.7 degrees less than the right. I still have 5.5 degrees on the left, but it is almost 7 degrees on the right. I guess that $100 front diff was pulled for a reason.
Hope you enjoyed this one man escapade into trying to put this salvage jeep back together. Special thanks to Blaine for his email support.
Tim