Another day in the shop, and more progress to report! If you've been following along, you'll recall that I designed the center section of the cross-member and started fabricating it, on Wednesday. Today, I continued that. I decided to create the drop angles by wedge-cutting and welding the tubing. I started by laying out my top cuts (using a bend allowance, which worked out to only about 20 thou - yes, I lay things out that precisely!), and then my side wedge cuts. The bottom doesn't get cut - it's bent. The bend is only about 7°, so the wedge cuts are tiny (more on that later). I did the top cuts very carefully on the dry-cutoff saw:
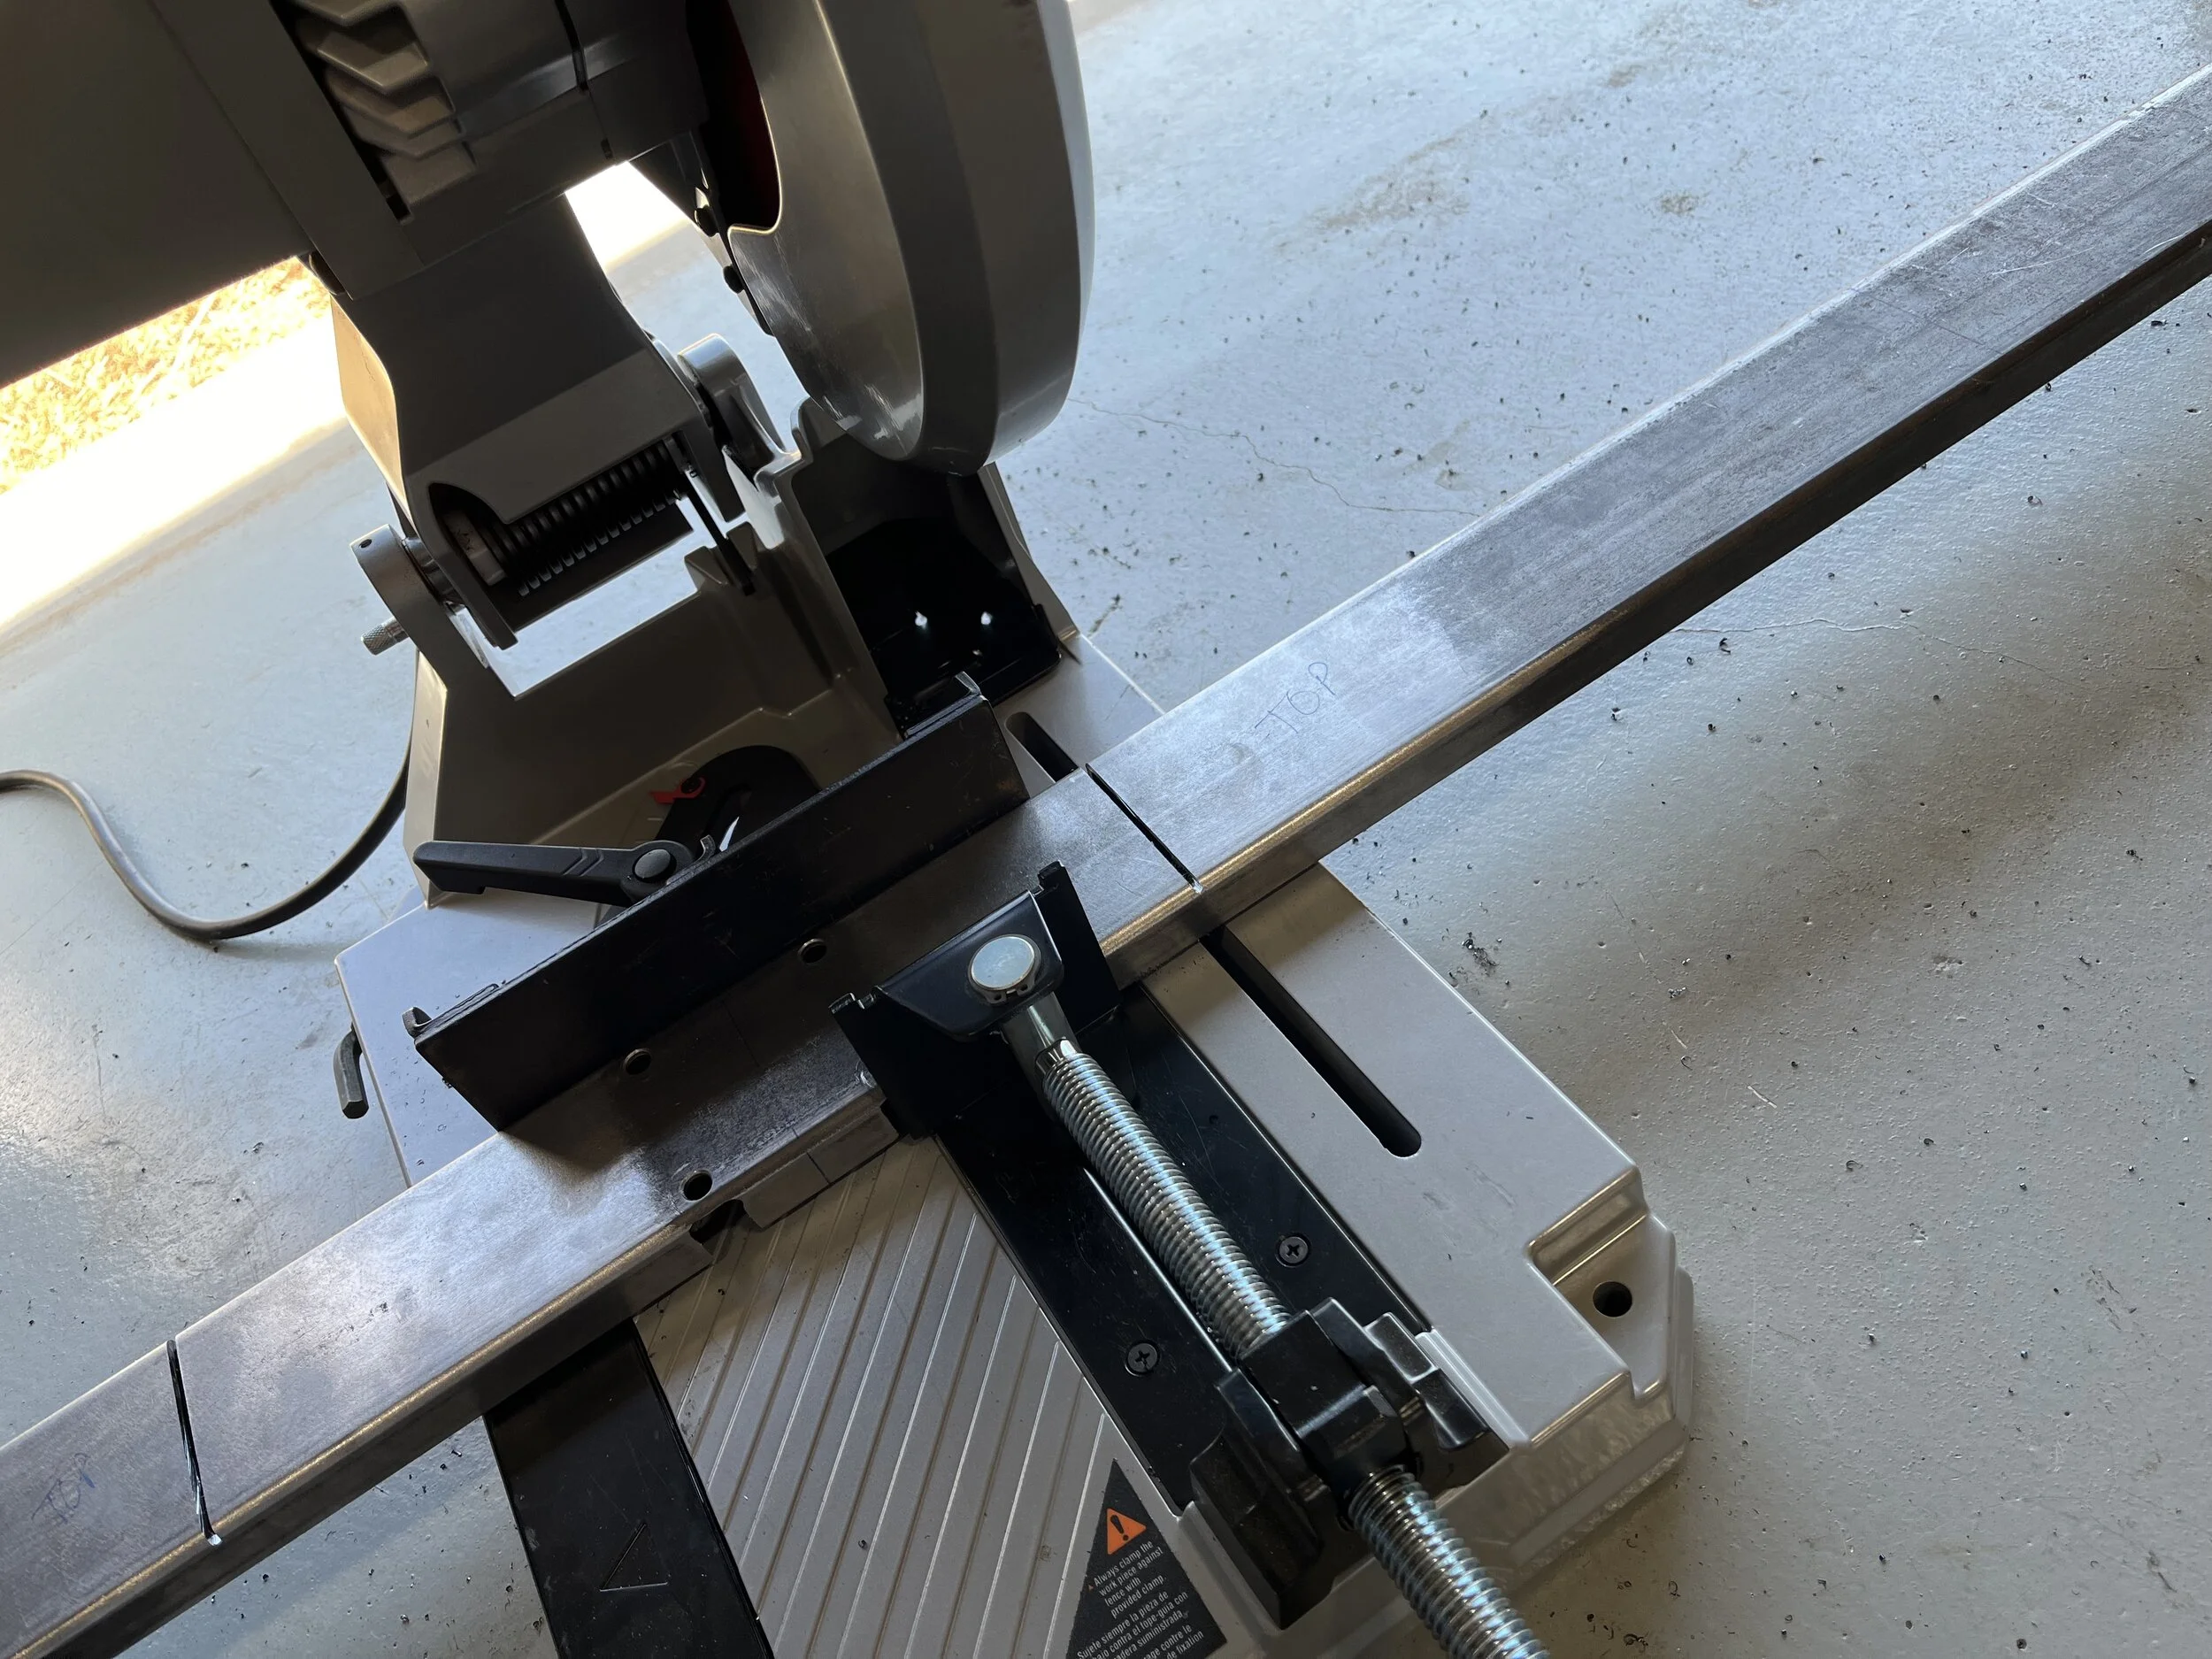
In order to limit those top cuts to only the top section of the tubing, I had to start the cut, flip the tubing 180°, and finish it for each of the two cuts. Next, I had to put my thinkin' cap on. The side wedge cuts are so fine that they require a minimal kerf, and the tool I own with the smallest kerf is my pneumatic body saw. The .120" wall thickness is quite easily cut using a quality blade on the body saw, so that's what I used, with great success, if I don't say so myself

:
The end result:
Nearly perfect - woo hoo! Next up was the onerous task of cutting the center section, between the two wedge cuts, straight down the middle on each side in order to weld the round DOM pieces to the bottom section of the tubing. By the way, I wanted the cut down the center because that's what is called the neutral axis, in the engineering world. The neutral axis is where the bending stress is zero, so putting the weld there means imperfections in the weld won't really matter much. I used the side of the fab table to fixture it:
The 1-2-3 block shown above was used (one at each end) to set the side of the tubing co-planar with the top of the fab table so that a guide could be used with a jigsaw to get the cut as straight as possible:
I didn't cut through completely because I wanted to tack the DOM tubing sections in place so that they'd line up during re-assembly of the two halves:
Next, I carefully (it took nearly an hour to get it right) fit the DOM sections into the center section. I mounted the rubber mount and then put a 13mm socket on each nut to ensure the DOM sections were centered on the rubber mount's studs. Some work with a die grinder was necessary to get the fit right. Once I got the DOM sections centered, I tacked them, and used the side of the fab table once again (the guide was left in place) to finish the cuts with the jigsaw:
Then I fixtured the bottom center section to weld the DOM to the bottom section of the tubing:
After welding those DOM sections in place, I re-assembled the cross-member center section pieces and fixtured them for welding.
@FarFire70, this picture's for you:
To attempt to keep the 1" height of the cross-member accurate, I used jigsaw blades as shims, since they are close to the cut width. Redneck, huh? As my mama used to say, "son, sometimes you just hafta work with whatya got." I then welded up the center section completely, but be fore-warned - I am incapable of stacking dimes

:
Fortunately, thanks to
@mrblaine's recommendation on the Cubitron fiber discs, by the time I clean this cross member up tomorrow, you'll never be able to tell that I'm a hack welder!
I'll clean everything up tomorrow, and then I'll use the mounted skid to set the angles precisely prior to welding, and if time allows, I'll put the ends on the cross-member for mounting. Stay tuned...
To see the continuation of my work on the cross-member, skip ahead to
Post #339.



)



 J/K. Love watching your work. The above is all envy of your skills.