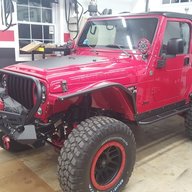
What have you 3D printed for your TJ?

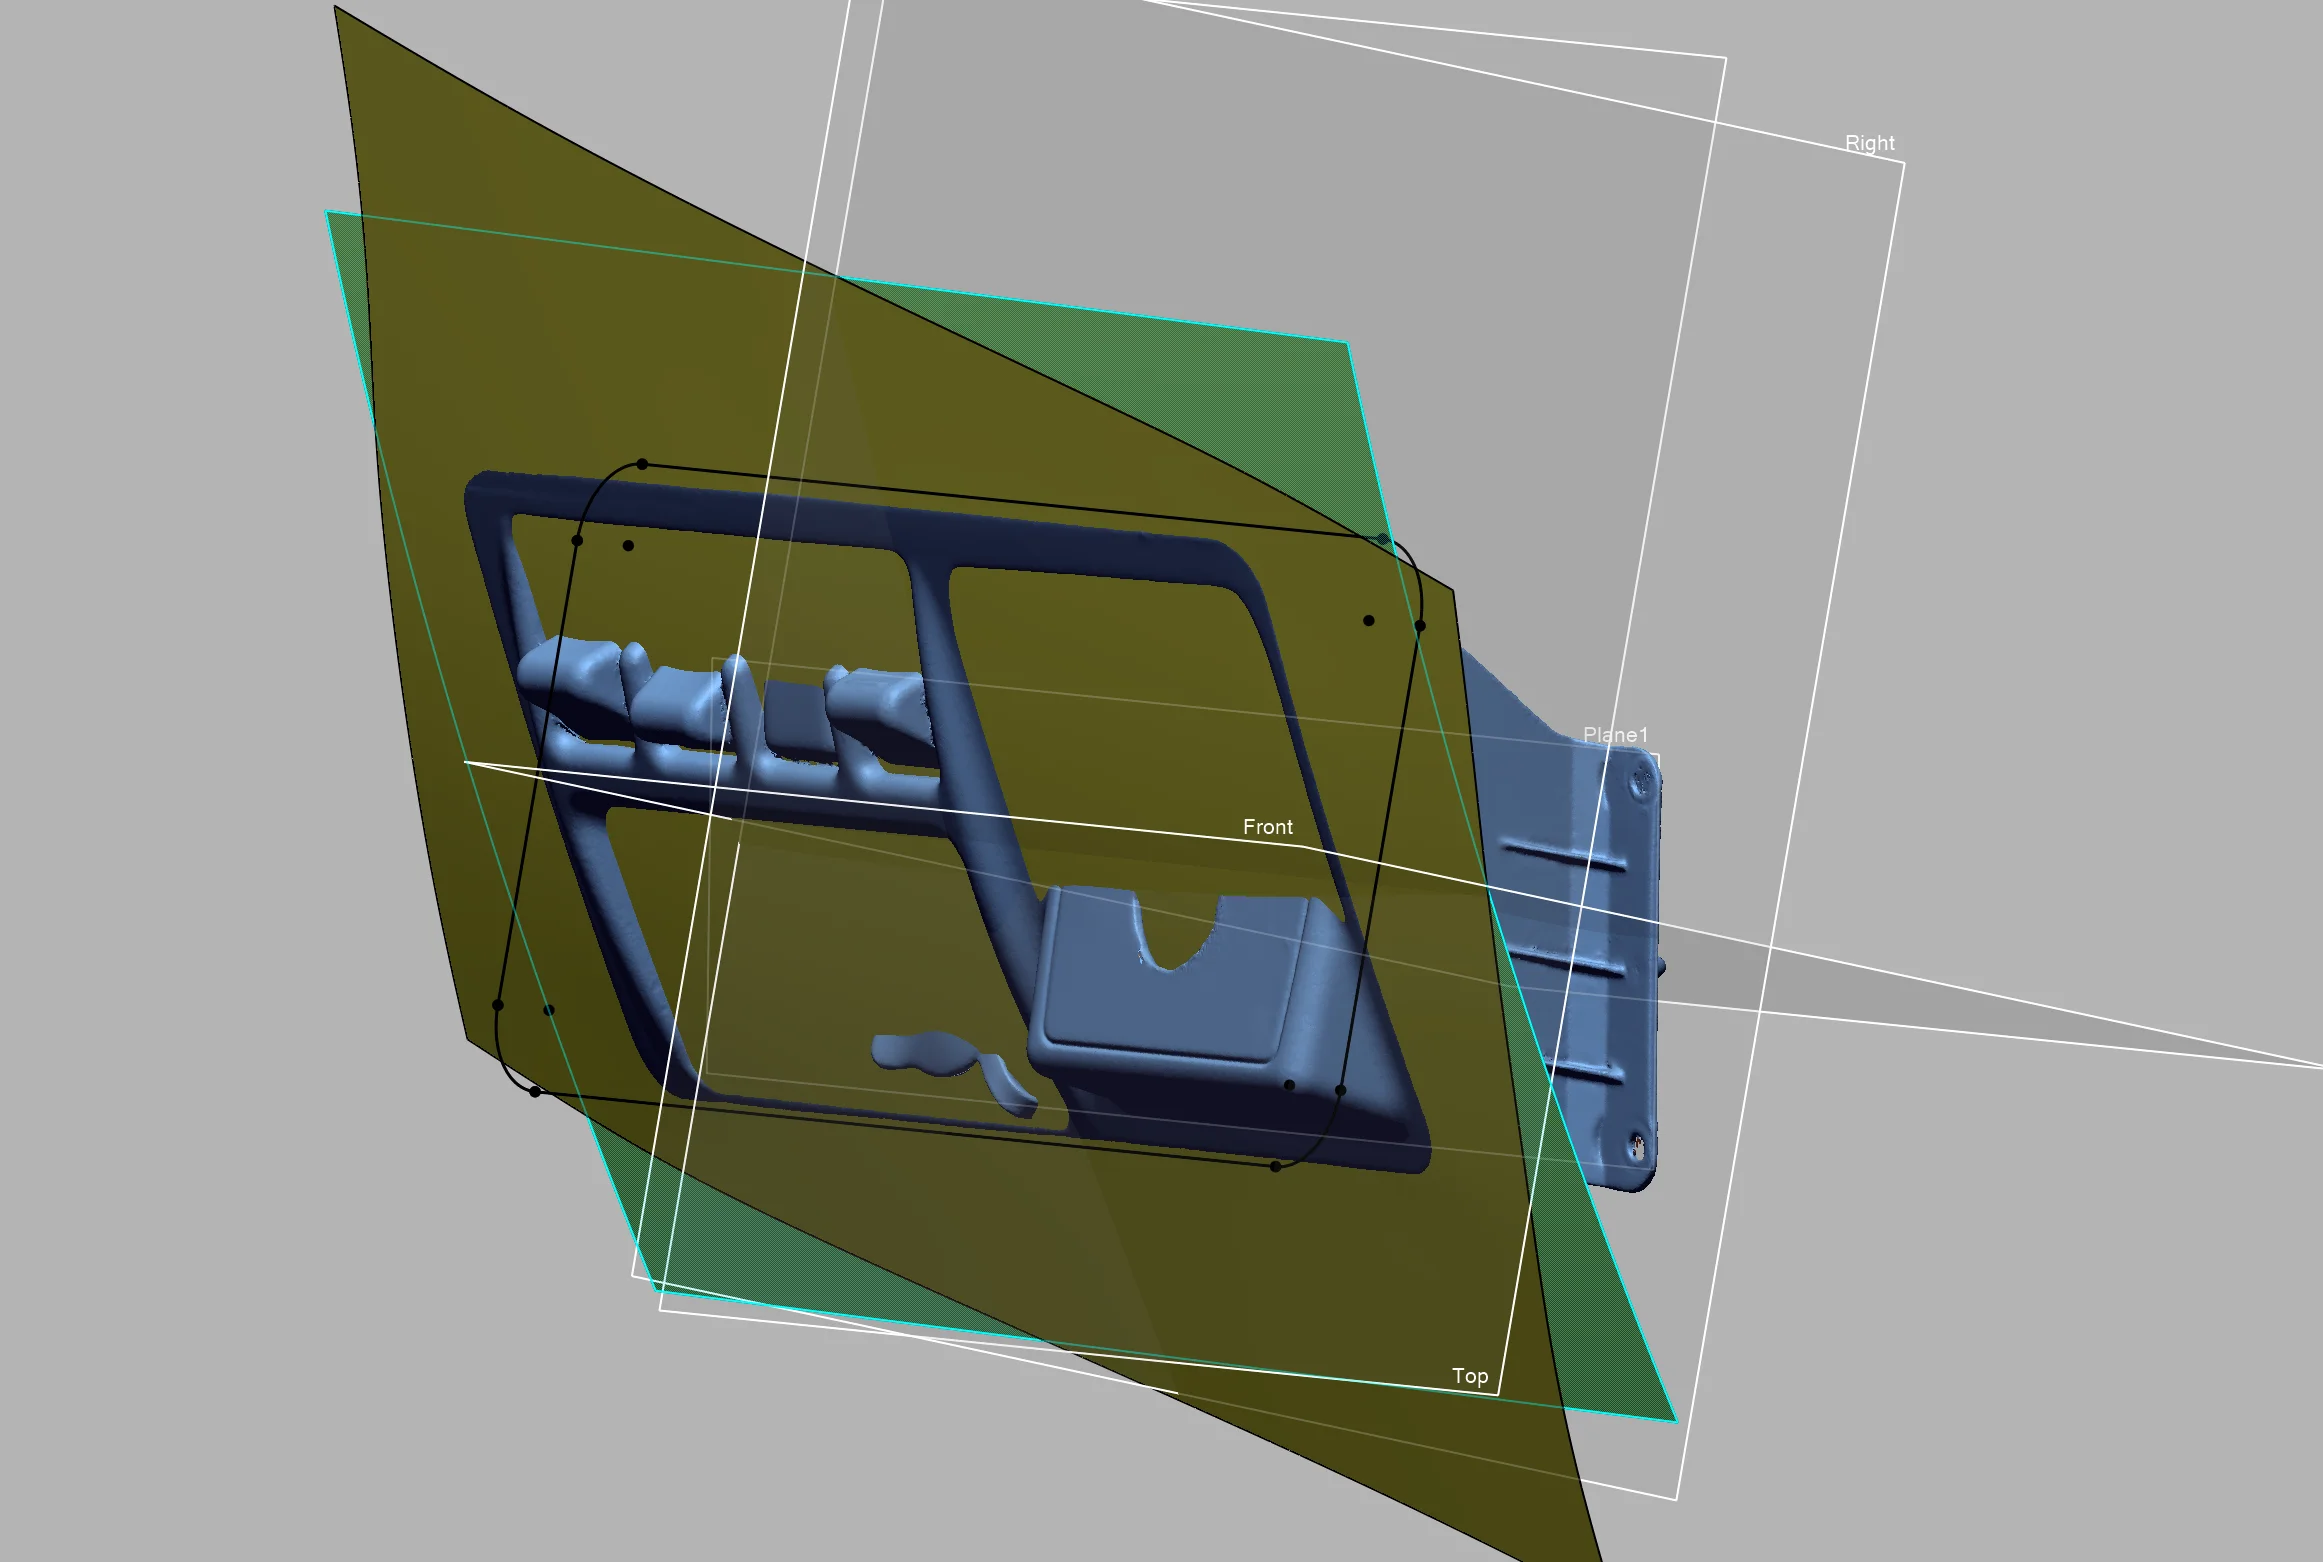
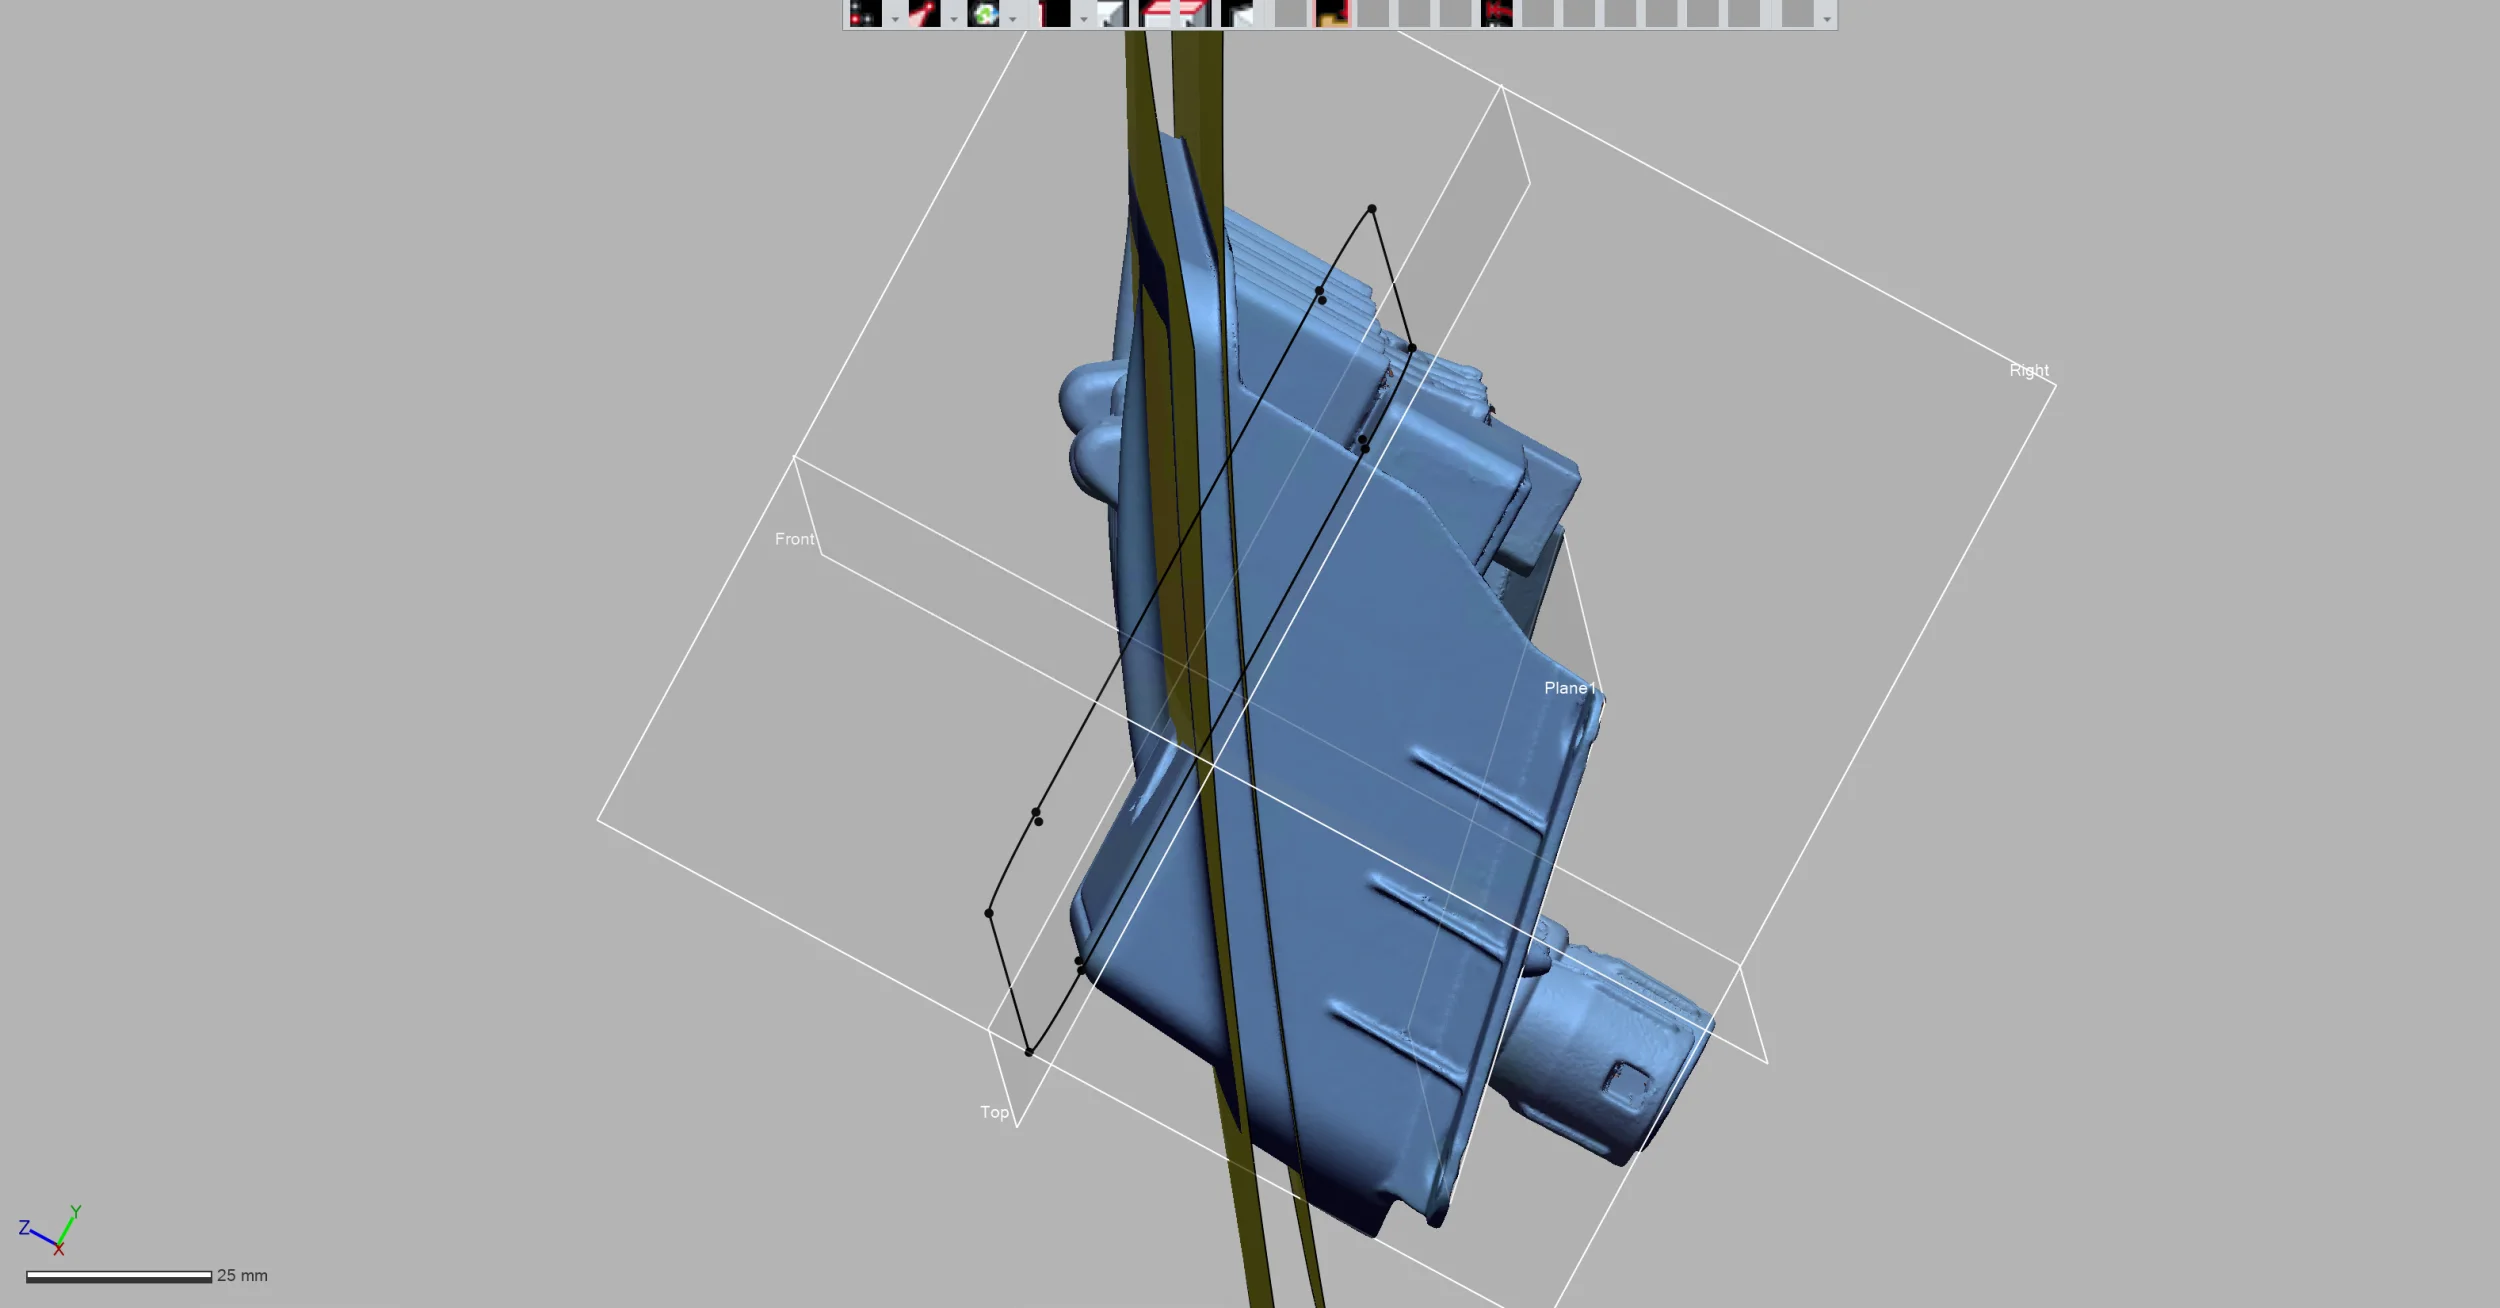
I tore my Jeep apart to get these two surfaces. that was an adventure.... I love non-planar oblique compound surfaces... NOT

I'll be publishing a CAD file for the lower switch pod thing in the dash so people can customize it for whatever. I'm a heavy solidworks user, what other file formats are preferred for things like freecad and Fusion? It

1776707862565.webp
1776751938252.webp
 
That’s awesome, nice work. I experimented with KIRI Engine a bit a few weeks ago, but not enough to get the hang of it.

I'm a heavy solidworks user, what other file formats are preferred for things like freecad and Fusion?
I use Fusion and I like when *.step files are made available with models.
 
I tore my Jeep apart to get these two surfaces. that was an adventure.... I love non-planar oblique compound surfaces... NOT

I'll be publishing a CAD file for the lower switch pod thing in the dash so people can customize it for whatever. I'm a heavy solidworks user, what other file formats are preferred for things like freecad and Fusion? It


View attachment 684063View attachment 684200

off topic.I use solidworks at work but never done surfacing. can I ask how did you learn that?
 
off topic.I use solidworks at work but never done surfacing. can I ask how did you learn that?

its a combo of tools I'm using, unfortunately its not solidworks being used to fit the new surfaces. First step was to 3d scan it. Next i loaded the scan into Geomagic Design X. Its software built to reverse engineer from scans. I used that to fit a new surface to the scanned one using only the geometry that I wanted to duplicate. Then its got a tool to move that all over into solidworks as a macro automagically. From there, just simple extrudes using the sketches made in geomagic, a set of 12" calipers, and using those two surfaces as end conditions for extrudes. I know I shouldn't need the calipers, but alas, I am also learning this junk still. I've made it this far with anger, alcohol, and obstinance. Its a learning curve for sure, I'm on the 4th try getting those surfaces alone. I'm finding its quite difficult to get the scan accurately aligned enough to make a part with a reasonable tolerance. This one is a particularly hard one with all of the angles and curves. Nothing save a couple surfaces on it are actually flat and square. Damned draft angles....
 
I'm jealous, k1n3k! I've dabbled with scanning, and it's frustrating to get a scan and then turn that into a solid model. I've started and stopped twice now, and I've gone from a $500 scanner to a $2,000 scanner. I've also paid for a year of Fusion and bought a $1,500 version of Geomagic Wrap. So, I've got over $4k invested and nothing to show for it, yet. I currently lack the time required to develop a workflow.
 
I played with it a little more before work. Green is the new part, grey is the 3d scan. I think its gonna fit and fit well!

View attachment 684266

Can you show your part without the 3D scan shown?

I'm in need of a blank insert model as I want to do something completely different with that space.
 
Last edited:
I also got a big brother for the X1C last week, so new filament and ideas unlocked. This new panel of yours may be one of them.
Solid choice. I bought the H2S and sincerely wish i had spent the extra cash and gave up the tiny bit of print area for the H2D. Dual nozzles are 100% the way to go. Last multi material print I did was ASA-CF with HIPS as support material and 70% of my used material was waste from purging. 600g of waste from a single 1kg roll was suboptimal. So now I'm waiting for the upgrade kit to be released and I'll be dropping 900 bucks to convert it over to an H2C...
 
As a daily user of Solidworks, I feel this.

I also got a big brother for the X1C last week, so new filament and ideas unlocked. This new panel of yours may be one of them.

View attachment 684409

I'd like to upgrade from my X1C but I'm going to wait until the Black Friday sales to do it. I don't need two so I'll sell my X1C. H2D is at the top of my list for now.
 
Well a test print shows that it fits pretty much exactly like a factory panel. Bolts lined up, bezel popped right on once I put the clips back on it. It fits better than the aftermarket radio bezel I have so not complaining. It seems like my dash bezel sits weird, its also not flush to the hvac controls on the right side so it makes the new part look crooked but, its really not. the curve is pretty much dead nuts on though and i'm chuffed about that. Thats a hard part to get to fit well.
1776902725305.webp

1776903238121.webp
 
Solid choice. I bought the H2S and sincerely wish i had spent the extra cash and gave up the tiny bit of print area for the H2D. Dual nozzles are 100% the way to go. Last multi material print I did was ASA-CF with HIPS as support material and 70% of my used material was waste from purging. 600g of waste from a single 1kg roll was suboptimal. So now I'm waiting for the upgrade kit to be released and I'll be dropping 900 bucks to convert it over to an H2C...

This is exactly why I went with the H2D. I just did a print with PETG-CF and used PLA as the support with a 0mm top support gap. I've never had a print with supports turn out so good. Another benefit that some don't realize using a dual VS single nozzle is cross-material contamination. If you're using a single nozzle to print PETG with PLA supports, it's hard to get the inside of the nozzle 100% purged, leading to weak bonding between the first layer after a material switch as PLA and PETG do not bond to each other.
 
it's hard to get the inside of the nozzle 100% purged, leading to weak bonding between the first layer after a material switch as PLA and PETG do not bond to each other.

Yeah I've ran into that as well with ASA and PETG. PETG makes a good support interface for ASA but I've had to bump up the purge volume for ASA because of that contamination which made the waste that much worse... I've used every mm of the bed on the H2S in the past but I think the slightly smaller bed is still worth the bump in speed and efficiency alone, then the print quality with no contamination makes it a clear choice. I just wish I would have understood how valuable dual heads were when I bought this beast.
 
Well. It seems I need to figure out a few more things with making models with a 3d scan. Somehow, some way the face of this thing is turned toward the driver by .3 degrees. I have no clue how that actually happened but it did. weird. But, I was able to cram 4 rocker switches, a CB radio, the two rear window controls, a USB charger and a cigarette lighter into the pod. I think it will work. think... Its going to be a hard print.

1777172019593.webp

1777172050699.webp
 
That’s so cool. Hopefully you can sort out the clocking of that surface…

I’ve been exchanging emails with a pretty well-known provider of finished/custom 3D products about a switch panel for this spot for, well, way too long. I haven’t pulled the trigger because I’m not ready for it electrically… but I bring it up because one thing I’m concerned about is the clearance for switchgear and wiring behind that panel. Is that all accounted for in your model? It’s pretty tight back there. The design we’ve settled on juts out quite a bit and I’m still not sure about it.

I would print one myself; I’ve already designed, printed, and tested the socket for the aftermarket switches I want to use. But I’m going with a vendor because while I’m decent at making things that work, I suck at making things that look good. My surfaces (PETG) are usually very obviously 3D-printed at a distance of ten feet (only sort of kidding). My prints work best behind the scenes doing support work.
 
Last edited:
I bring it up because one thing I’m concerned about is the clearance for switchgear and wiring behind that panel. Is that all accounted for in your model? It’s pretty tight back there.

No clue to be honest. I've got a test print going from PLA and I'm going to populate it and test fit it. if it all fits then great, no worries. if not, then I'll probably take the scanner out there and give it a quick scan and design around whatever is there. I think I'm ok because my switches are not much further back than they were from factory, maybe 3/8" or less. The CB radio is a tiny thing, its going to stick out about the same as the factory cig lighter and socket in the same spot. I'm reasonably certain it will all clear, but I'll find out tomorrow. if it works, i'll print a new one from ASA with support material.

oh and I did fix the weird angled face. I have no idea why but the sketch I made to do the reference plane was off. Fully defined and proper references, but it just... didn't work for some unknown reason.
 
Well, test print #1 did show a few small issues. Messed up the depth on the radio and need to add some additional clearance on the factory switches so they latch, but otherwise it seems like its going to work.

So, i'll make the changes, print a second that has the radio at the right depth, then do a test fit in the Jeep.


1777259739208.webp

1777259775492.webp