Austin's 98 TJ

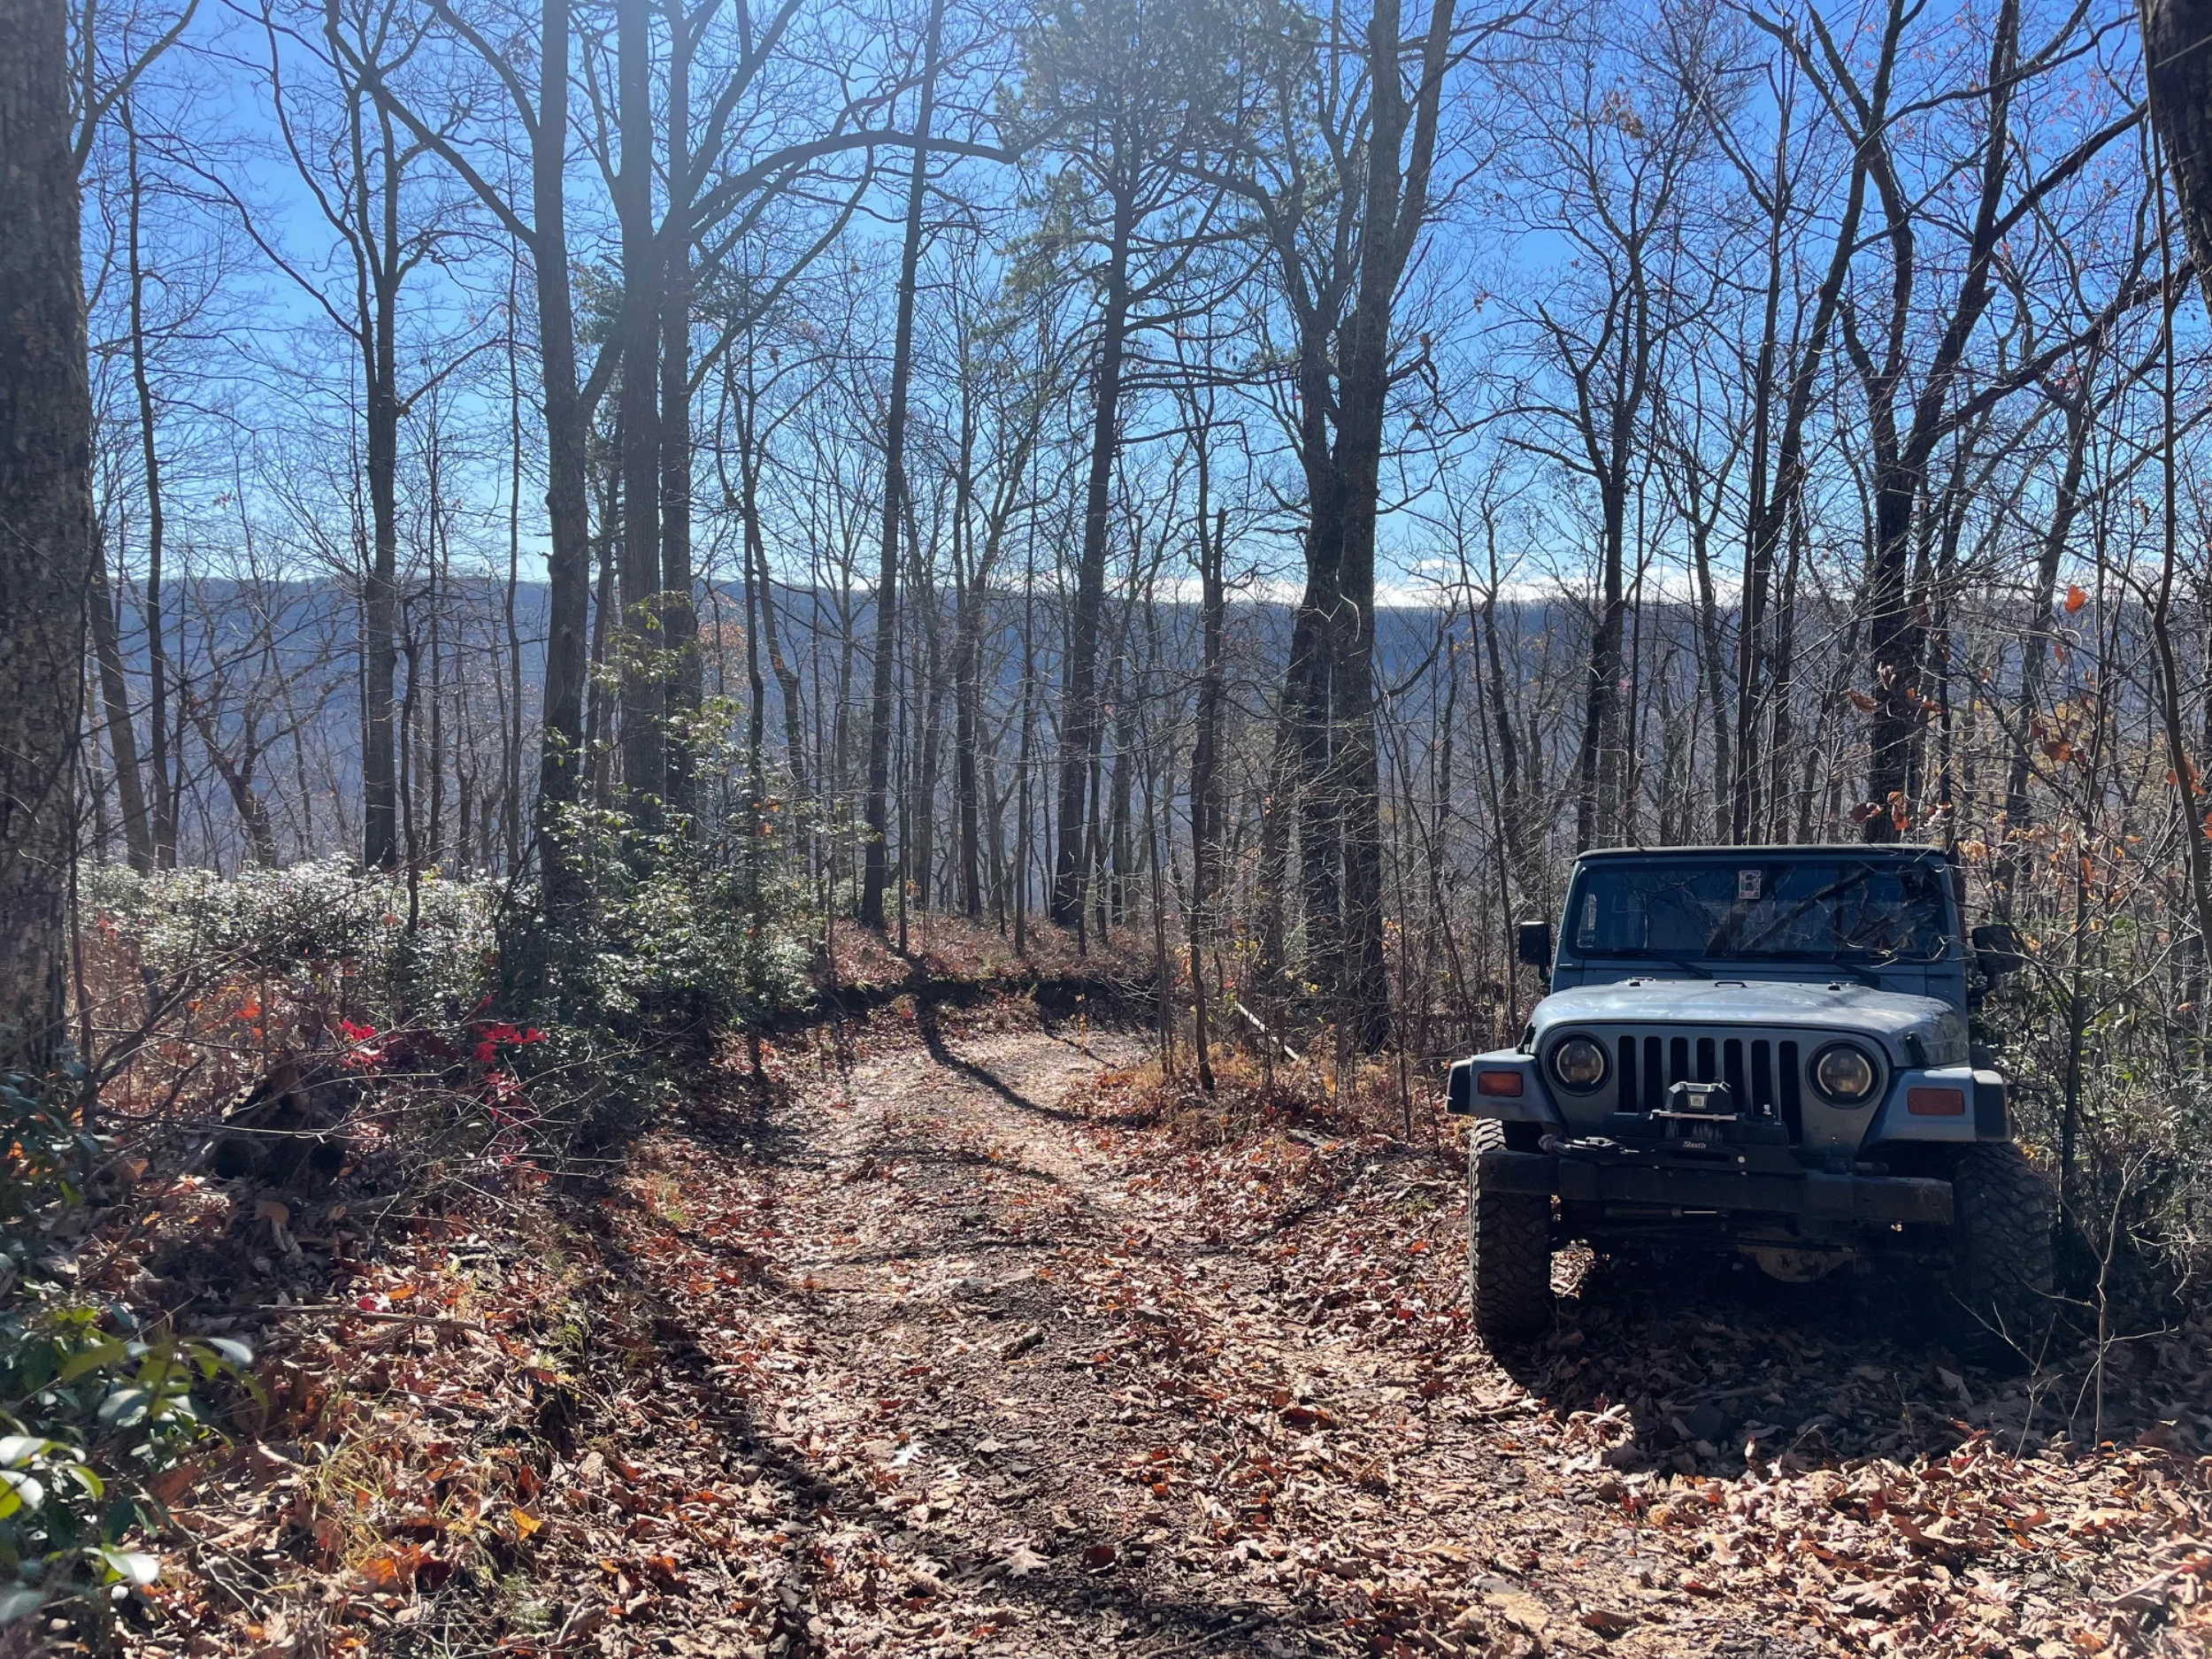
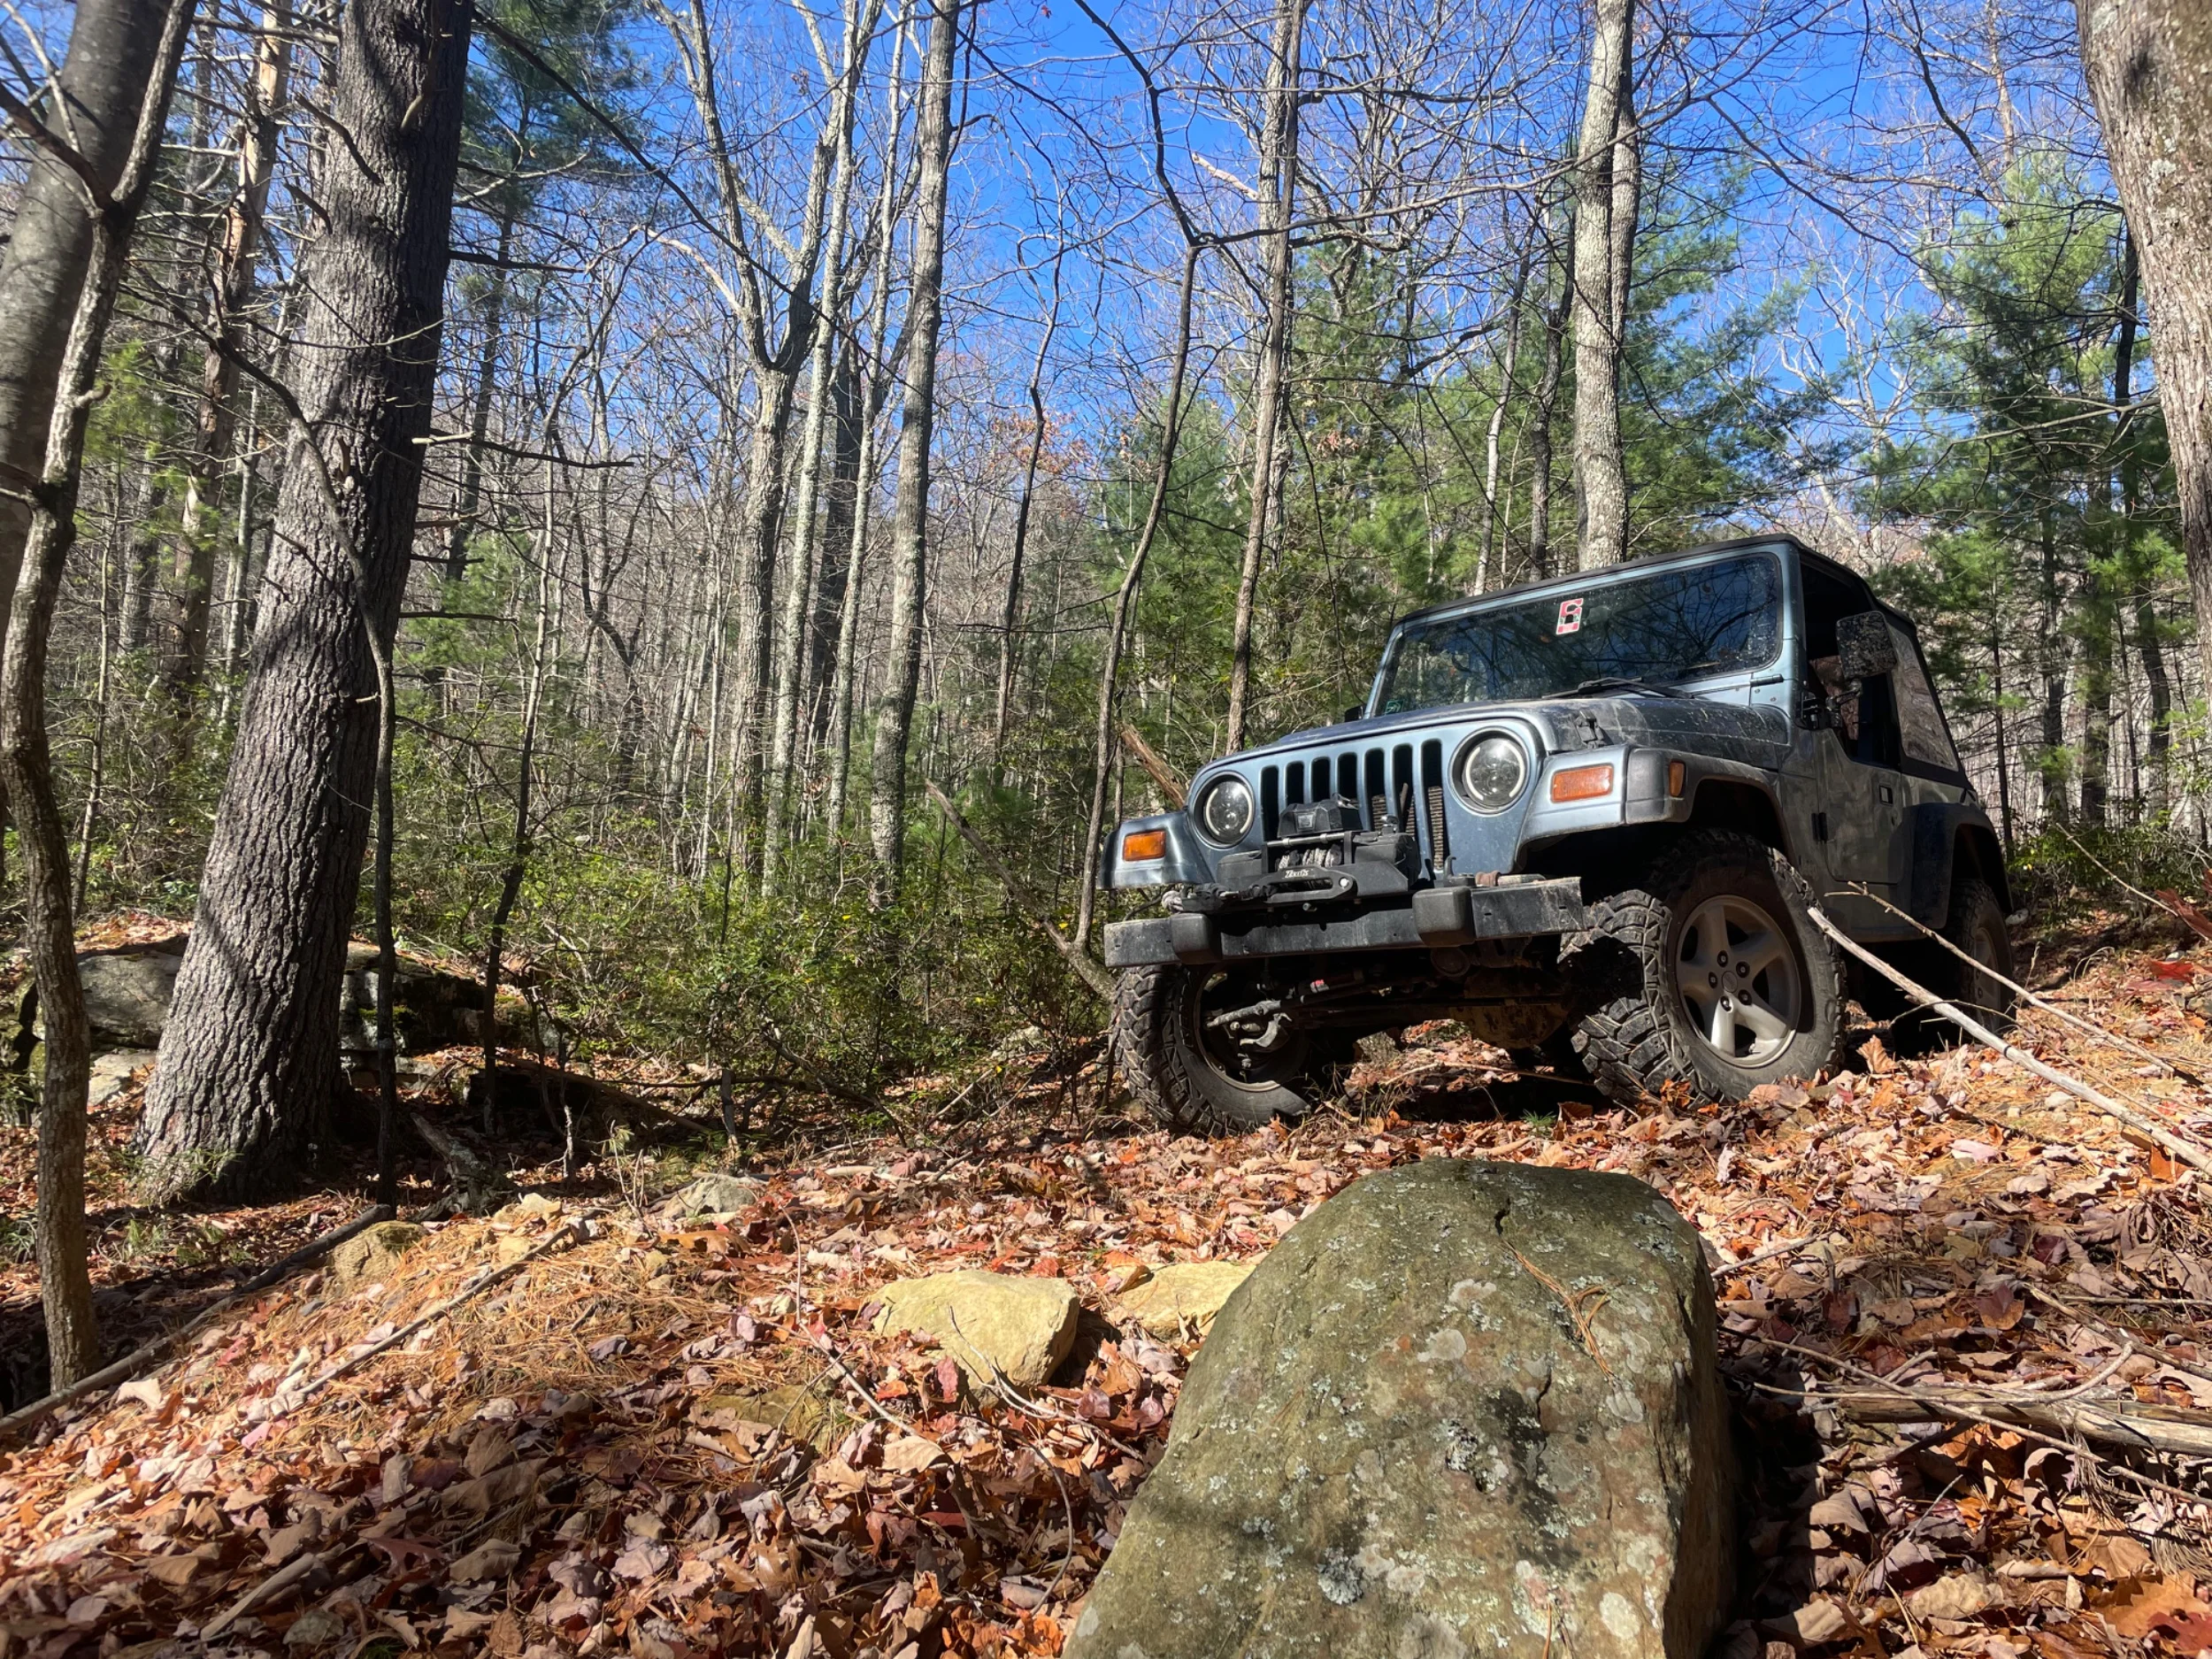
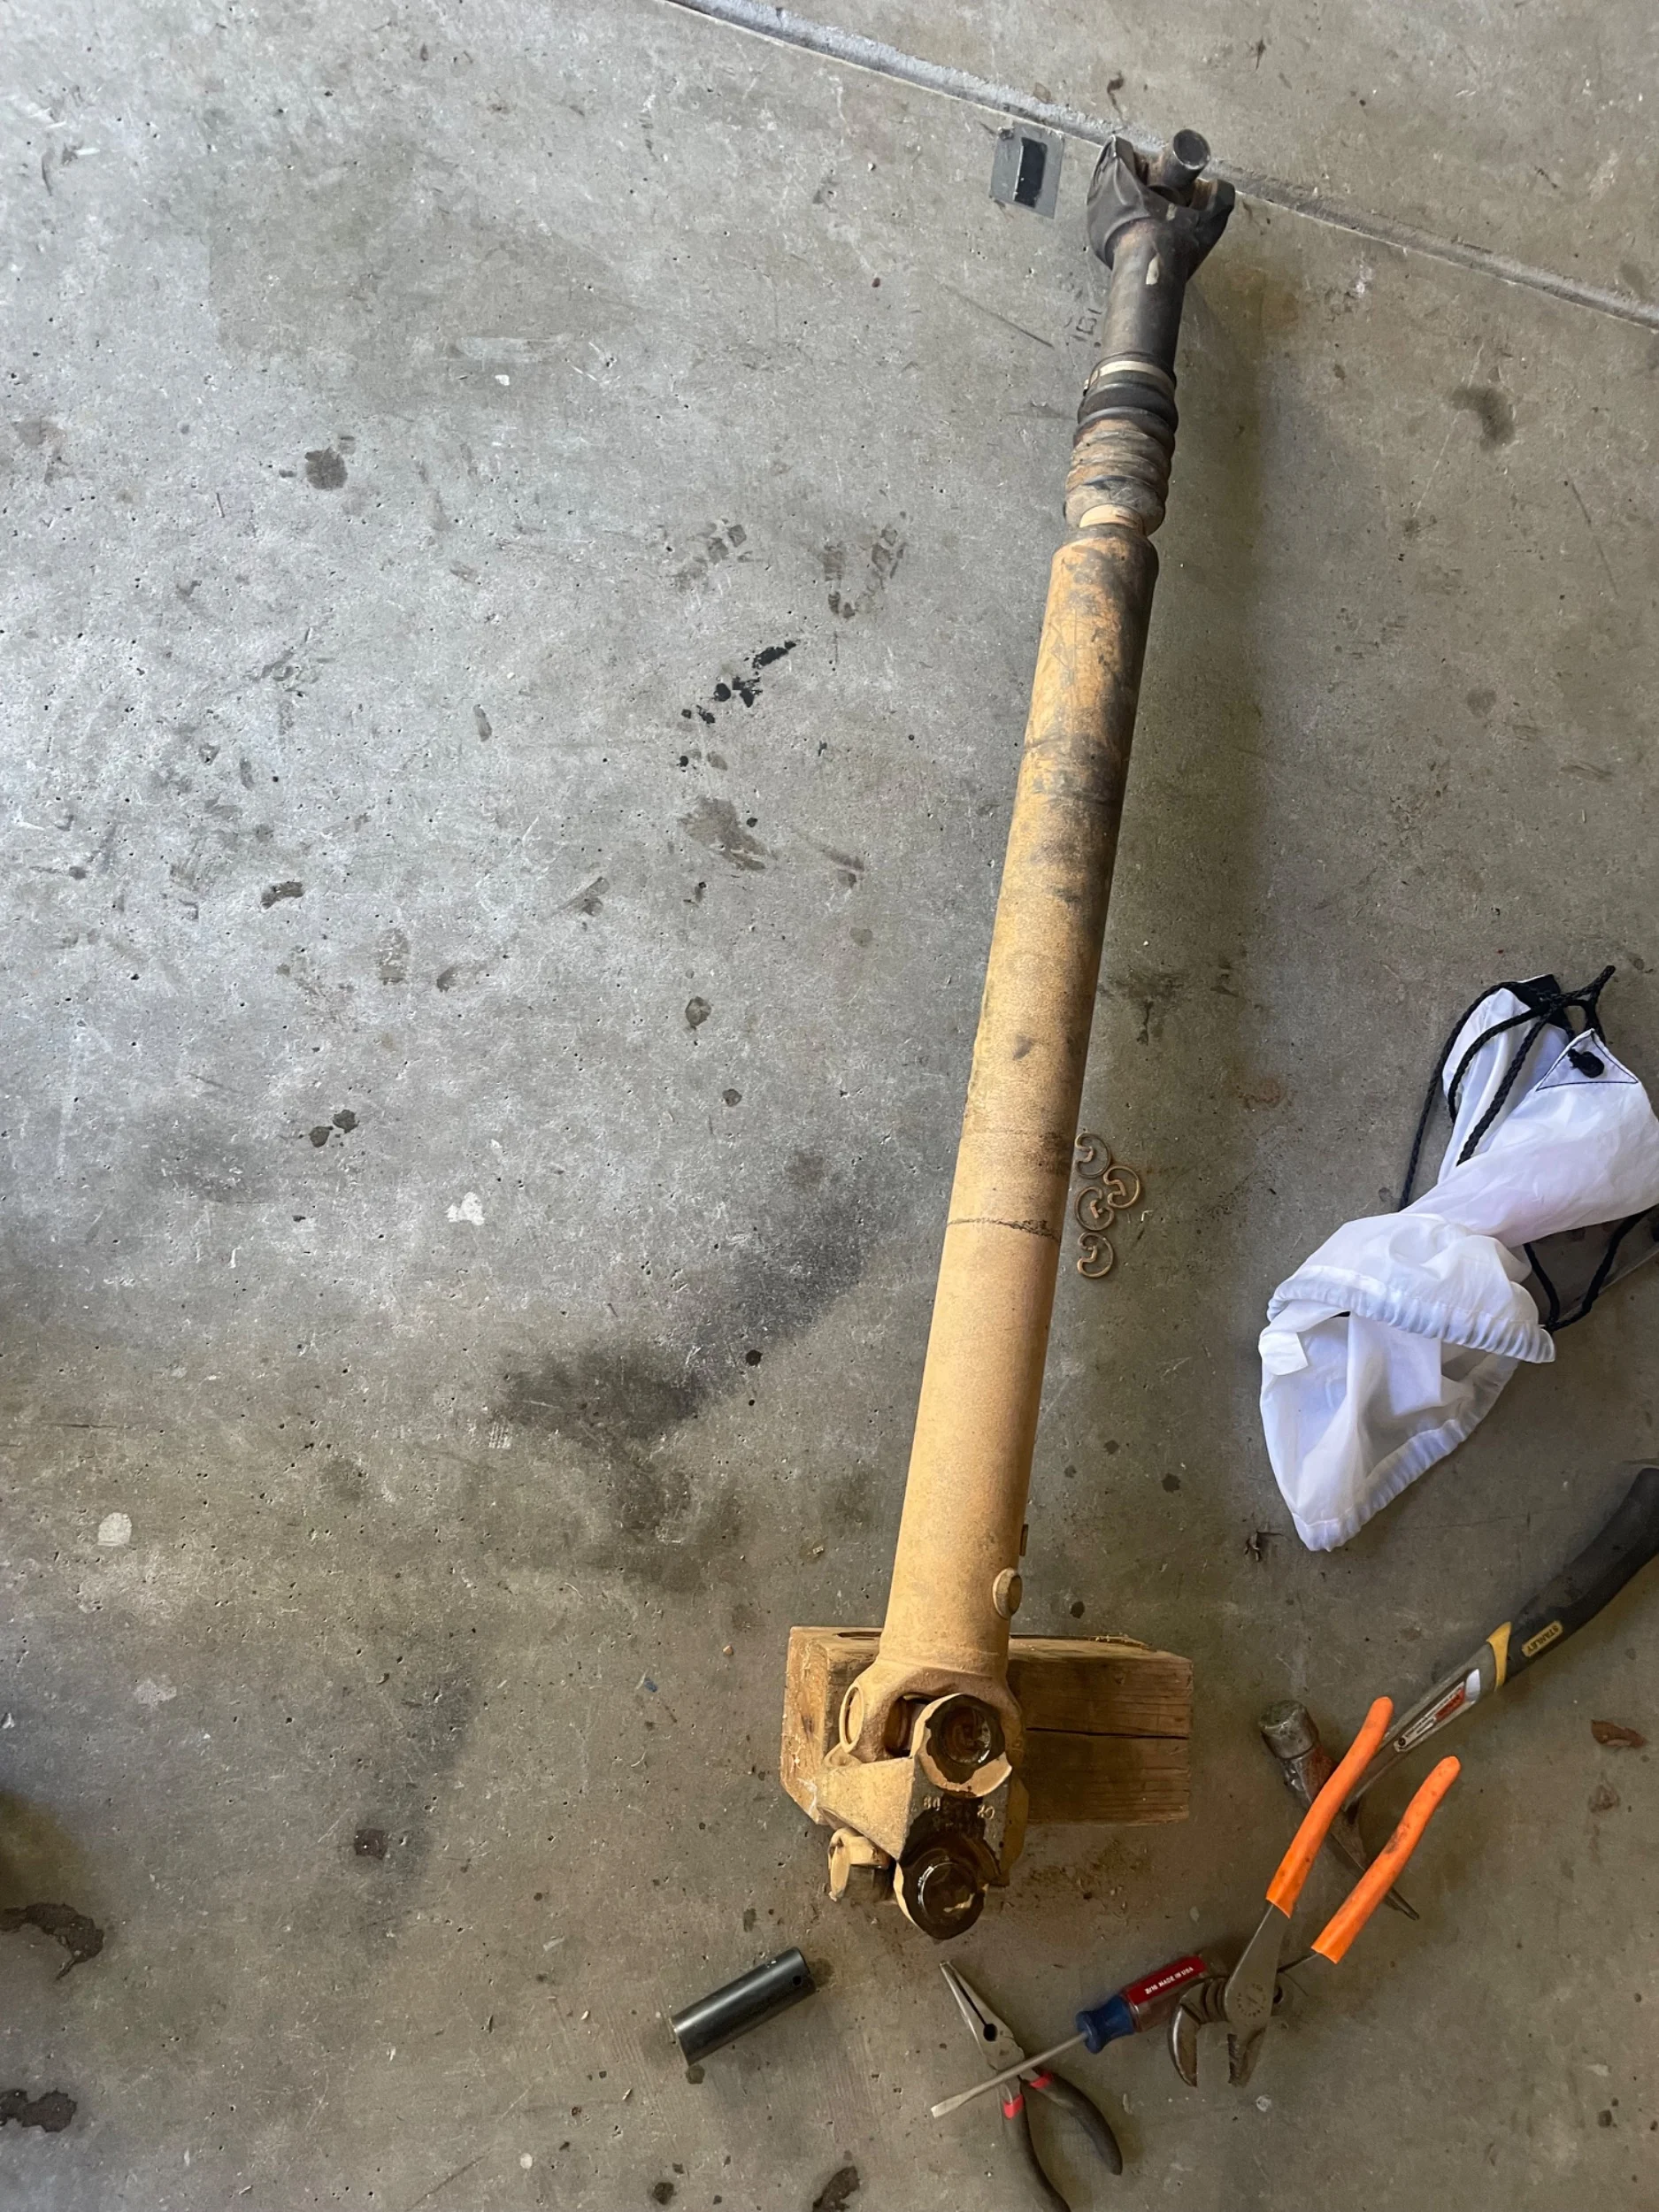
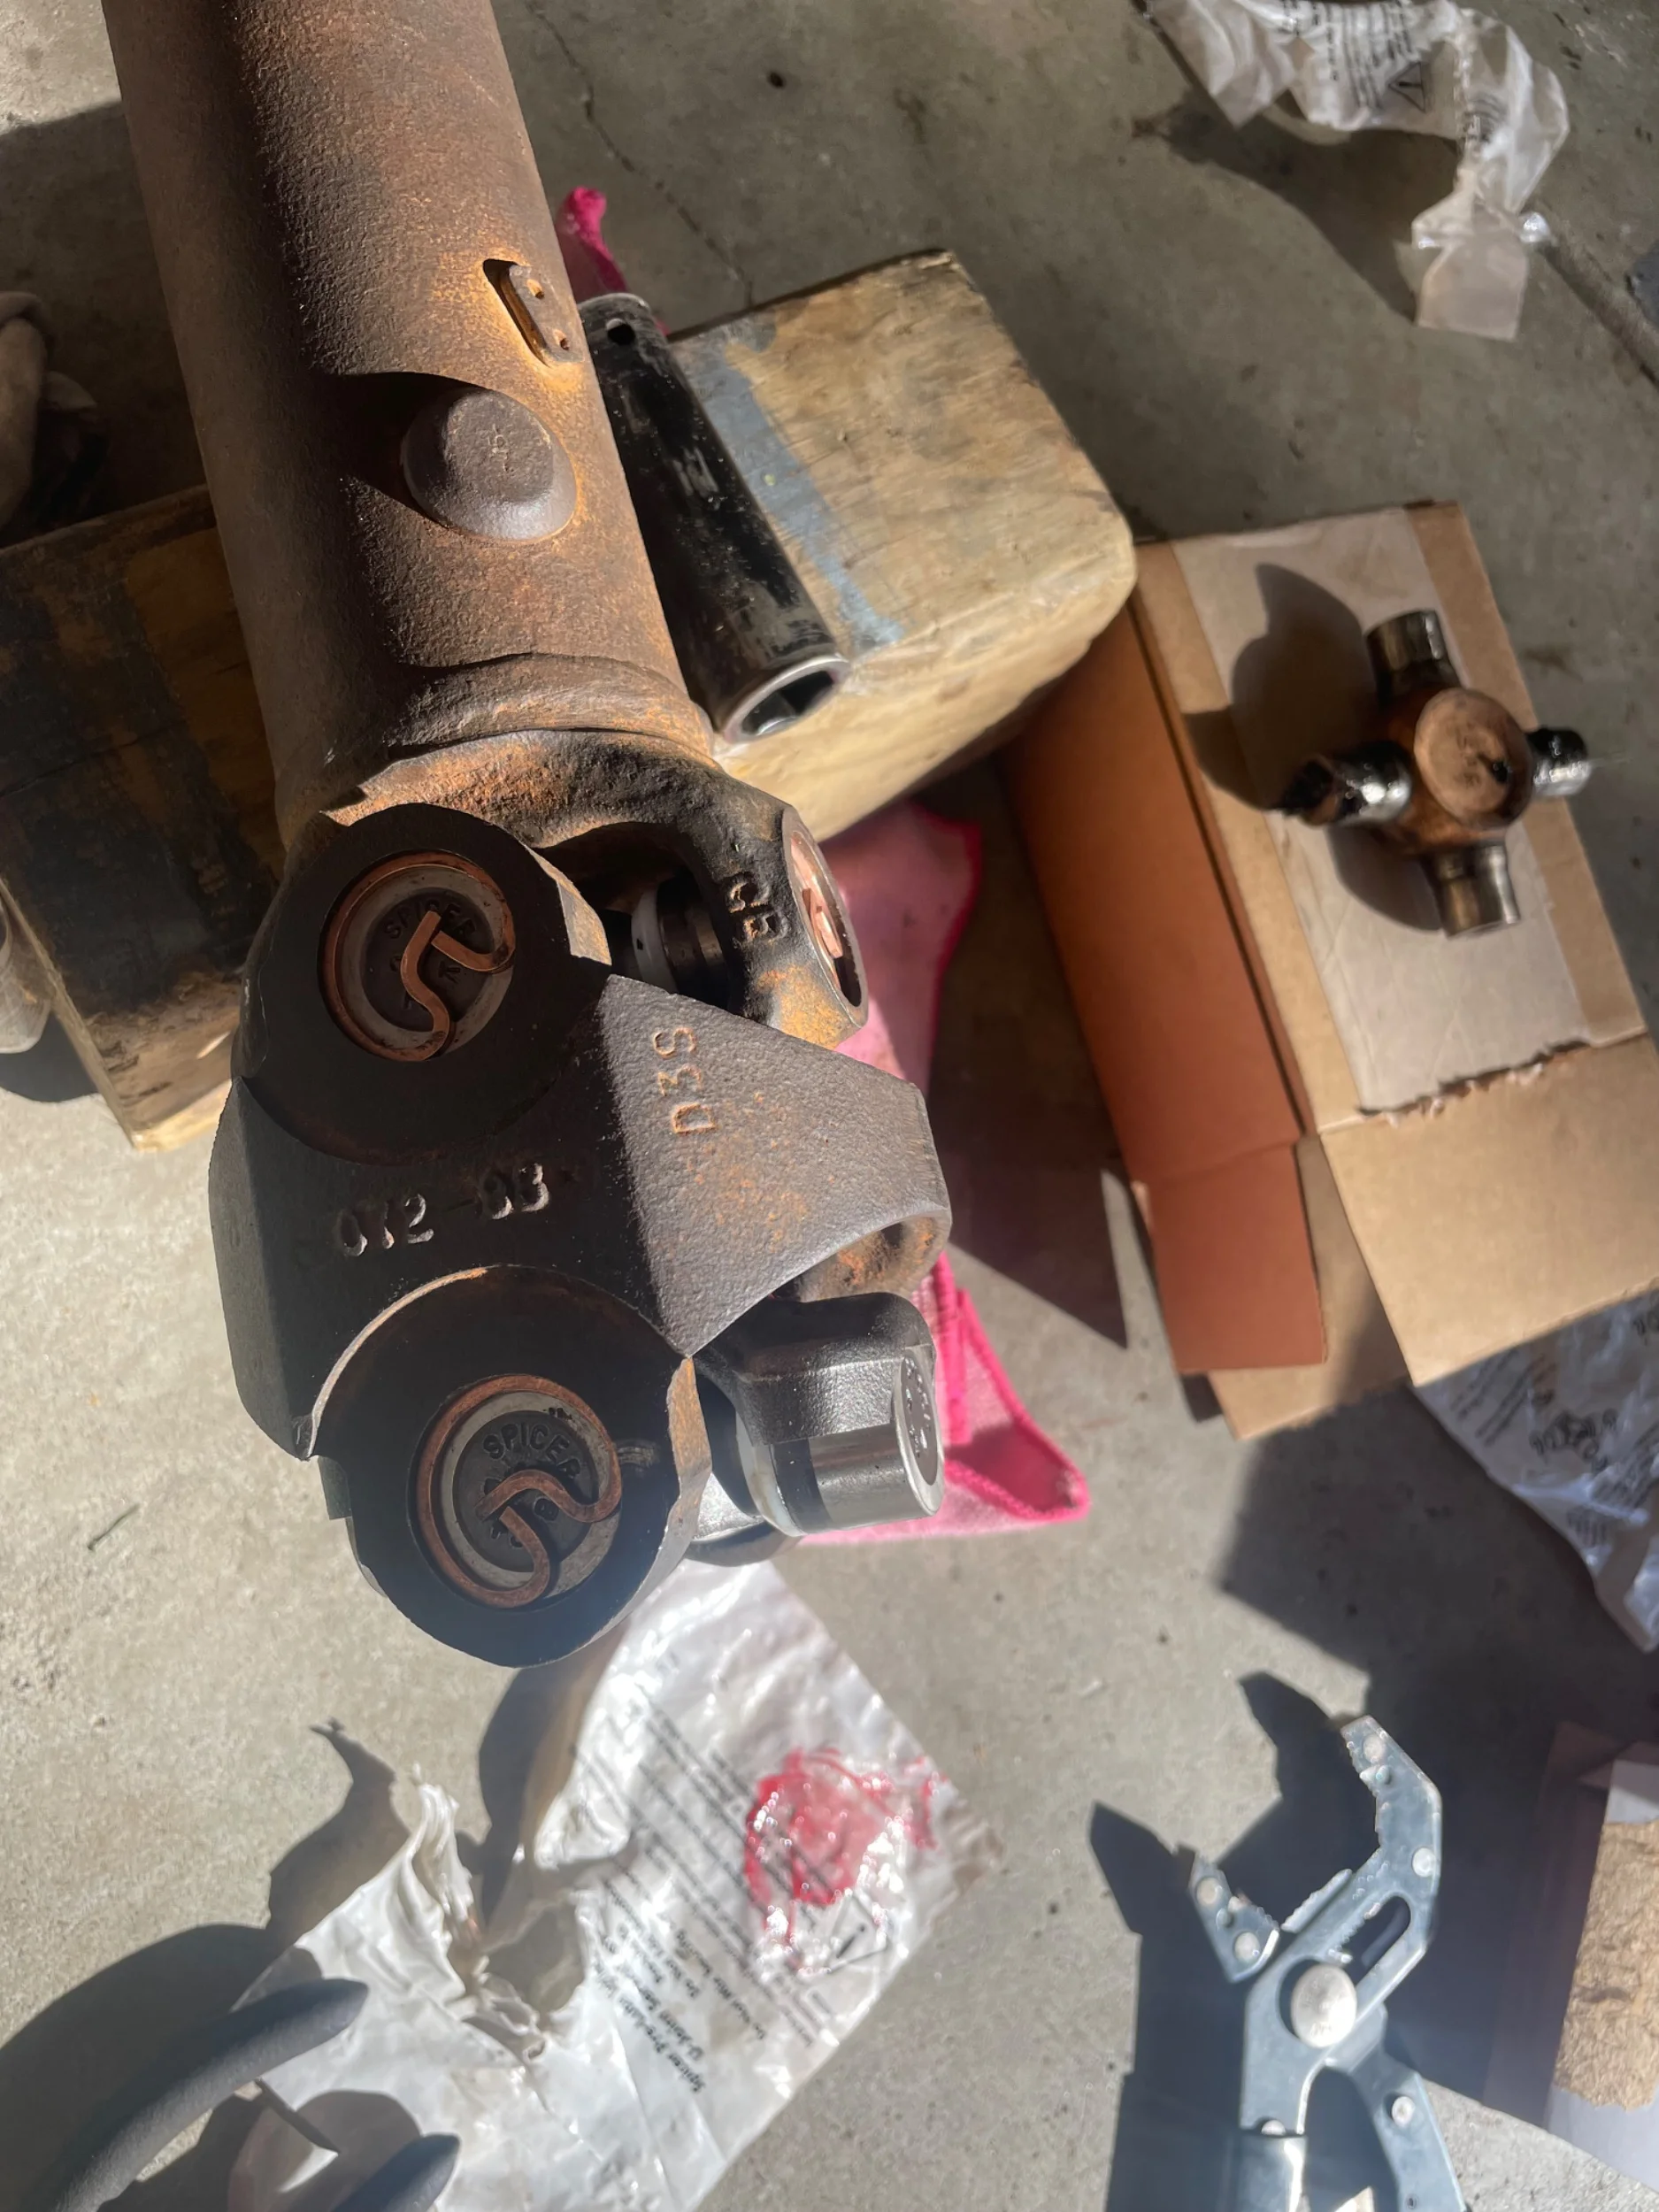
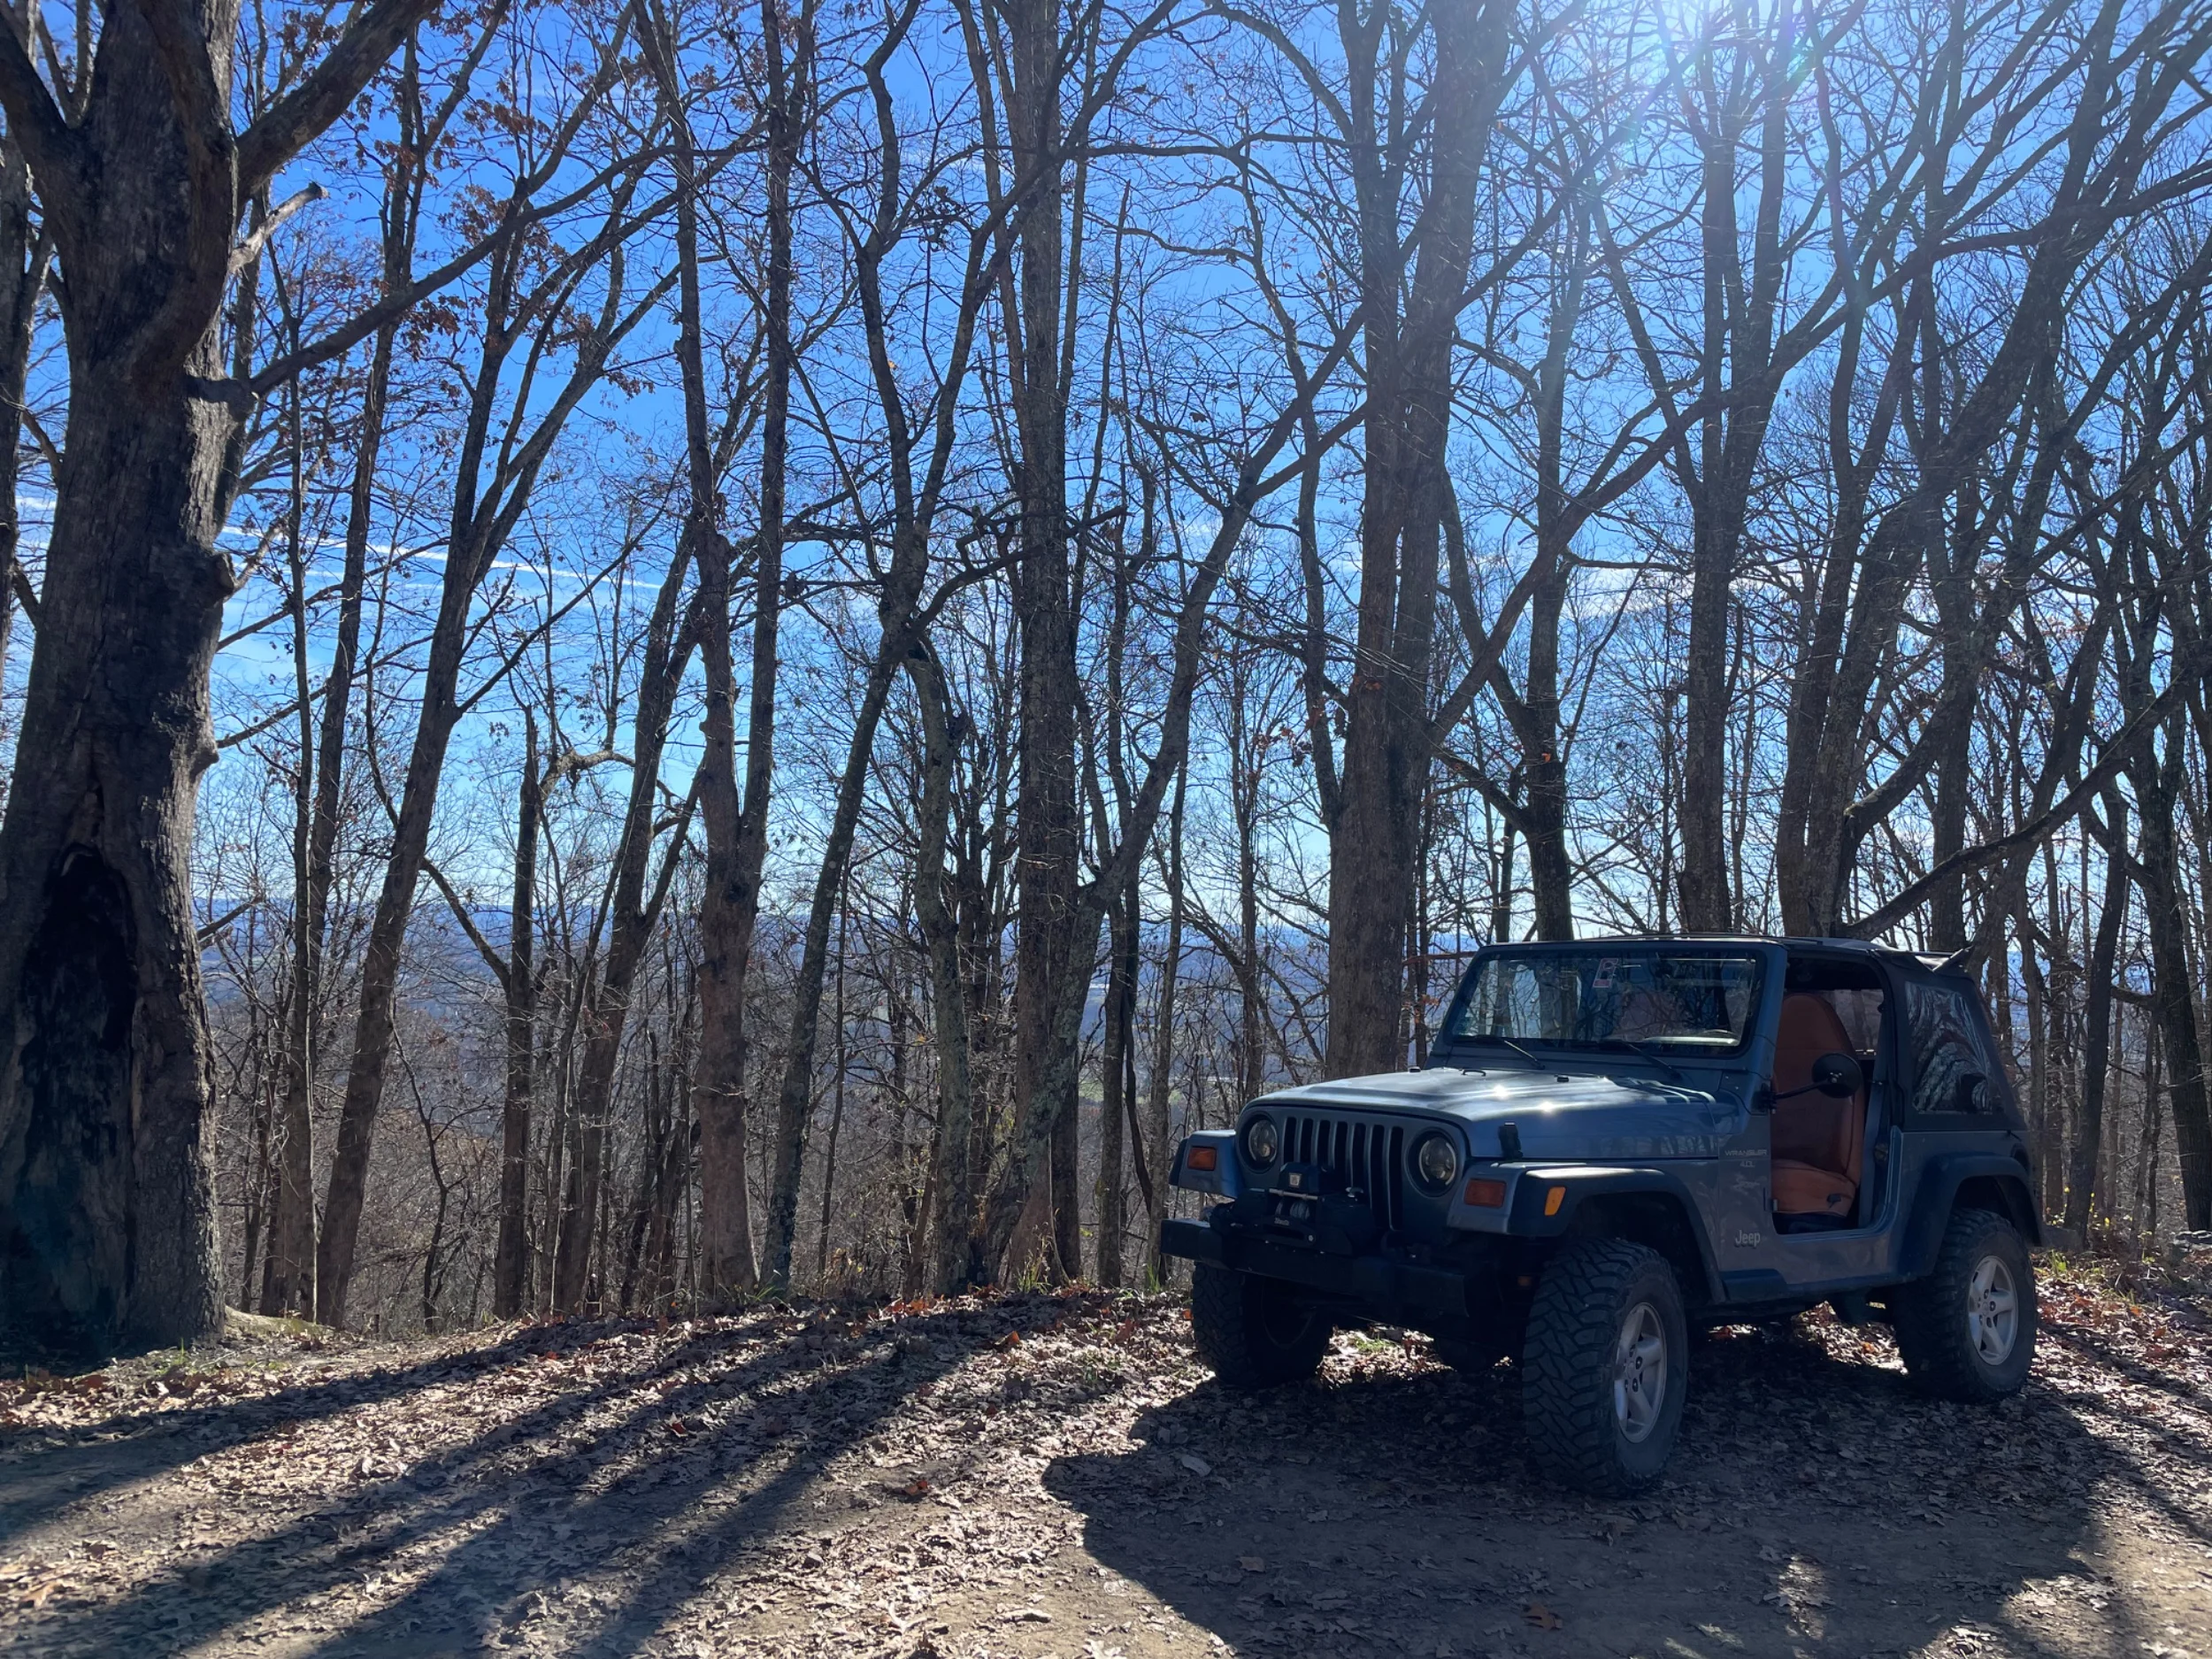
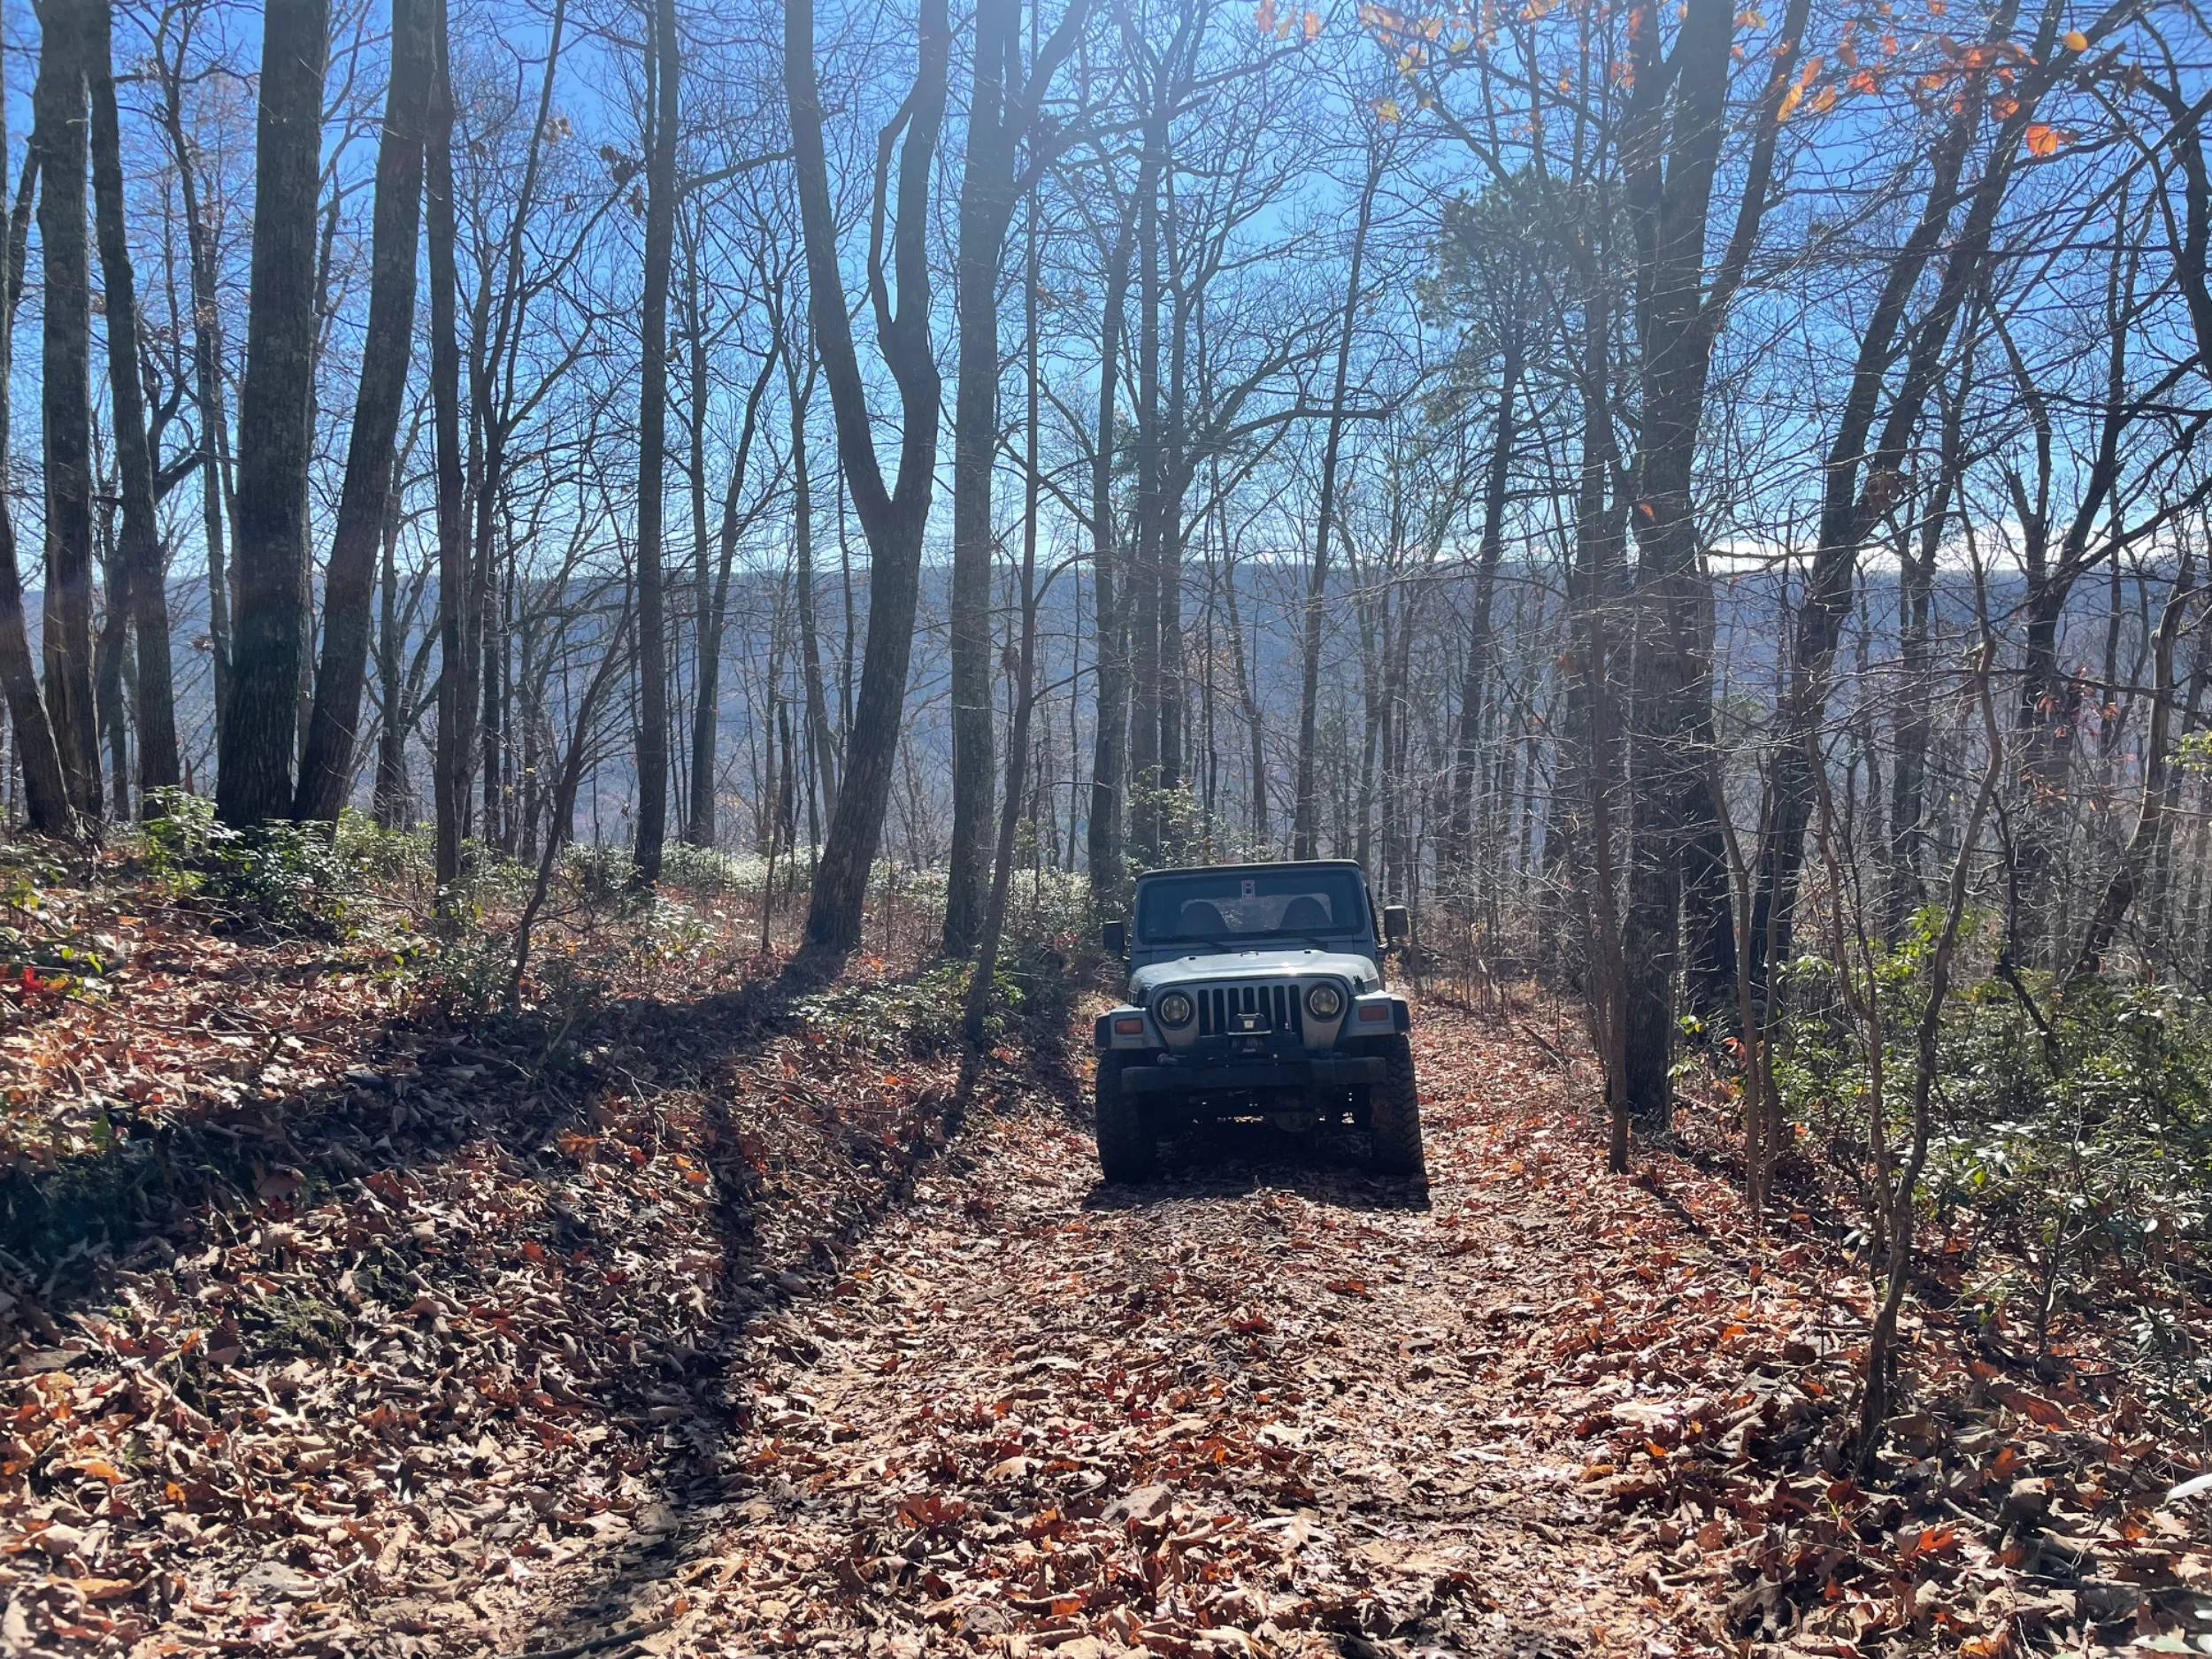
Some photos from a fire road I found last weekend, and then a replacement of the u-joints and centering yoke on my front driveshaft today. It was making quite a bit of noise.
IMG_0888.webp
IMG_0944.webp
IMG_0945.webp
IMG_0961.webp
IMG_1047.webp
IMG_1049.webp
 
twist my oil filler cap off leaving the base in the valve cover lol.

That's how my Jeep came when I bought it from my sister. :LOL: I'm guessing my BIL had that experience and passed it to me.
 
I feel you. I changed my oil Monday evening thinking oh I have a few minutes let’s knock it out! Drained my oil, replaced my filter and proceeded to twist my oil filler cap off leaving the base in the valve cover lol.
Been there, done that! I've never had that happen on a vehicle before. Leave it to Jeep to screw up an oil filler cap!
 
  • Haha
Reactions: Fluxor
Just some more photos that haven’t yet made it on here…

IMG_1528.webp
IMG_1572.webp
IMG_1556.webp

IMG_1579.webp


New underseat sub install because the one one on the tailgate got soaked in a storm and gave up. I like this one way more

IMG_1976.webp
 
  • Like
Reactions: Jamison C
New tires! BFG KO2 31s

IMG_3248.webp


Replaced my driver side wheel bearing after it started making noises, I’ve had the parts ready for a while but was waiting for it to give up. Should’ve been quick but a stripped bolt slowed it down by many days. I bought a spiral bolt extractor kit for it which I did not have faith in but it ended up working well!

IMG_3654.webp
IMG_3655.webp
IMG_3659.webp


I am waiting on a new bolt to come before I can drive again…
 
I found the source of vibrations I’ve been having while accelerating for the past couple months… (after checking various other things)

IMG_4693.jpeg
IMG_4696.jpeg


Replaced both rear driveshaft u-joints and it’s all fixed now. This was by far the easiest u-joint replacement I’ve had yet, no problems at all.
 
A couple months ago I started hearing a knocking coming from my engine. It was pretty quiet initially and I could only really hear it while idling but it eventually got a lot louder, especially when accelerating. I'm at about 176k on the engine and was quite sure it was piston slap.

This past Monday I had off from work and started the process of doing an in-frame piston replacement. I disconnected practically everything from the engine, and pulled everything out. When draining the coolant it came out quite brown so I will be flushing the system sometime soon as well. Oil looked normal, just dark.

I have known since buying the TJ that it had a non-original engine but the previous owner was unaware of where it came from or why it had to be replaced. I have now learned that it is originally from a WJ, causing me to have to unbolt the A/C compressor and fully remove its bracket due to the head having a stud and nut connection to the A/C compressor rather than just a bolt. Since I don't have an engine lift I took a 2x4 and chained the head/rest of the assembly (I didn't disconnect the intake or exhaust manifolds) to it and my dad and I were able to pull it out yesterday by lifting up the 2x4 on either side of the car. It was quite heavy and not ideal but we made it work.

IMG_5747.webp


The pistons were quite dirty and had a lot of carbon on them but didn't look damaged from the top and neither did the cylinder walls. However, unfortunately the head was cracked on the bridge between valves on cylinder 1. From my research, it seems that it's very uncommon such an issue occurs in cylinder 1 rather than cylinders 3 or 4 so I am a bit confused by it and there have never been signs of a cracked head before this. Also, I have the 0630 casting, not the 0331 that is known to crack more easily. The crack was quite small and hard to see so perhaps it just didn't go all the way through to let coolant in, hence no issues. But now I've had to order a new head that should arrive this upcoming week. Dissapointed and frustrated to have to spend another few hundred dollars that I wasn't planning on.

IMG_5751.webp


Earlier today I received the new pistons and rods from DeXJ's shop (he presses them together and then sells them with rings). I put the rings on the new pistons and they are ready to be installed soon. I also pulled the old pistons out of the engine which was easier than I expected once I figured out a good way to do it on the first one.

3a5006a1-f75d-4803-ba1c-10b2b0862b3d.webp


Upon inspection, all but one of the pistons had cracks in them, with many having 2 or 3. None extended all the way to the top of the piston but a few got pretty close. Others were minimal. I'm very glad I caught all this before skirts broke and I had bigger problems. Here is a couple of them:

IMG_5774.webp
IMG_5775.webp


Next, I need to clean up the top of the block from the awful original head gasket that seems impossible to scrape off and then install new pistons and start re-assembly. I am debating honing the cylinders as DeXj's videos and experience show it doesn't make much of a difference, I don't want to spend more money on a tool I'll only use once, and I don't want to get any debris in the main bearings. However I do know that it is what you're supposed to do...

I also need to order new gaskets, remove the intake and exhaust manifolds from the old head to put onto the new one, and buy a new oil cap as this is the second one I have somehow stripped while trying to unscrew. It's a fun project so far, hopefully the rest goes well.
 
Last edited:
Earlier today I received the new pistons and rods from DeXJ's shop (he presses them together and then sells them with rings). I put the rings on the new pistons and they are ready to be installed soon.

Next, I need to clean up the top of the block from the awful original head gasket that seems impossible to scrape off and then install new pistons and start re-assembly. I am debating honing the cylinders as DeXj's videos and experience show it doesn't make much of a difference, I don't want to spend more money on a tool I'll only use once, and I don't want to get any debris in the main bearings. However I do know that it is what you're supposed to do...

My $0.02, the new rings need a slightly coarse surface to "cut-in" (break in) with. A stone hone is pretty cheap, like $30, and just a few passes will do the job. After you rub the walls you need square up and check the ring gaps, especially that top ring.

In case you don't know, a stone hone cuts it "square".
1781525587485.webp


Glaze breakers cut it everywhere.
1781525727256.webp
 
Last edited:
My $0.02, the new rings need a slightly coarse surface to "cut-in" (break in) with. A stone hone is pretty cheap, like $30, and just a few passes will do the job. After you rub the walls you need square up and check the ring gaps, especially that top ring.

In case you don't know, a stone hone cuts it "square".
View attachment 694205

Glaze breakers cut it everywhere.
View attachment 694206

I ended up buying one of the ball/flex hones. Decided if I’m doing it I should do it all the right way.
 
  • Like
Reactions: BlueC and tworley
I ended up buying one of the ball/flex hones. Decided if I’m doing it I should do it all the right way.

Just remember those are glaze breakers, only intended to rough up the surface with a few passes. They follow surface contour, highs and lows. Likely you're cylinders are straight enough to not matter, but if you need to actually remove material and keep it straight, you'll need a stone hone too.