Welding floor pan gaps

Mrpsound

New Member
Original poster
Joined
Aug 29, 2020
Messages
23
Location
Richmond va
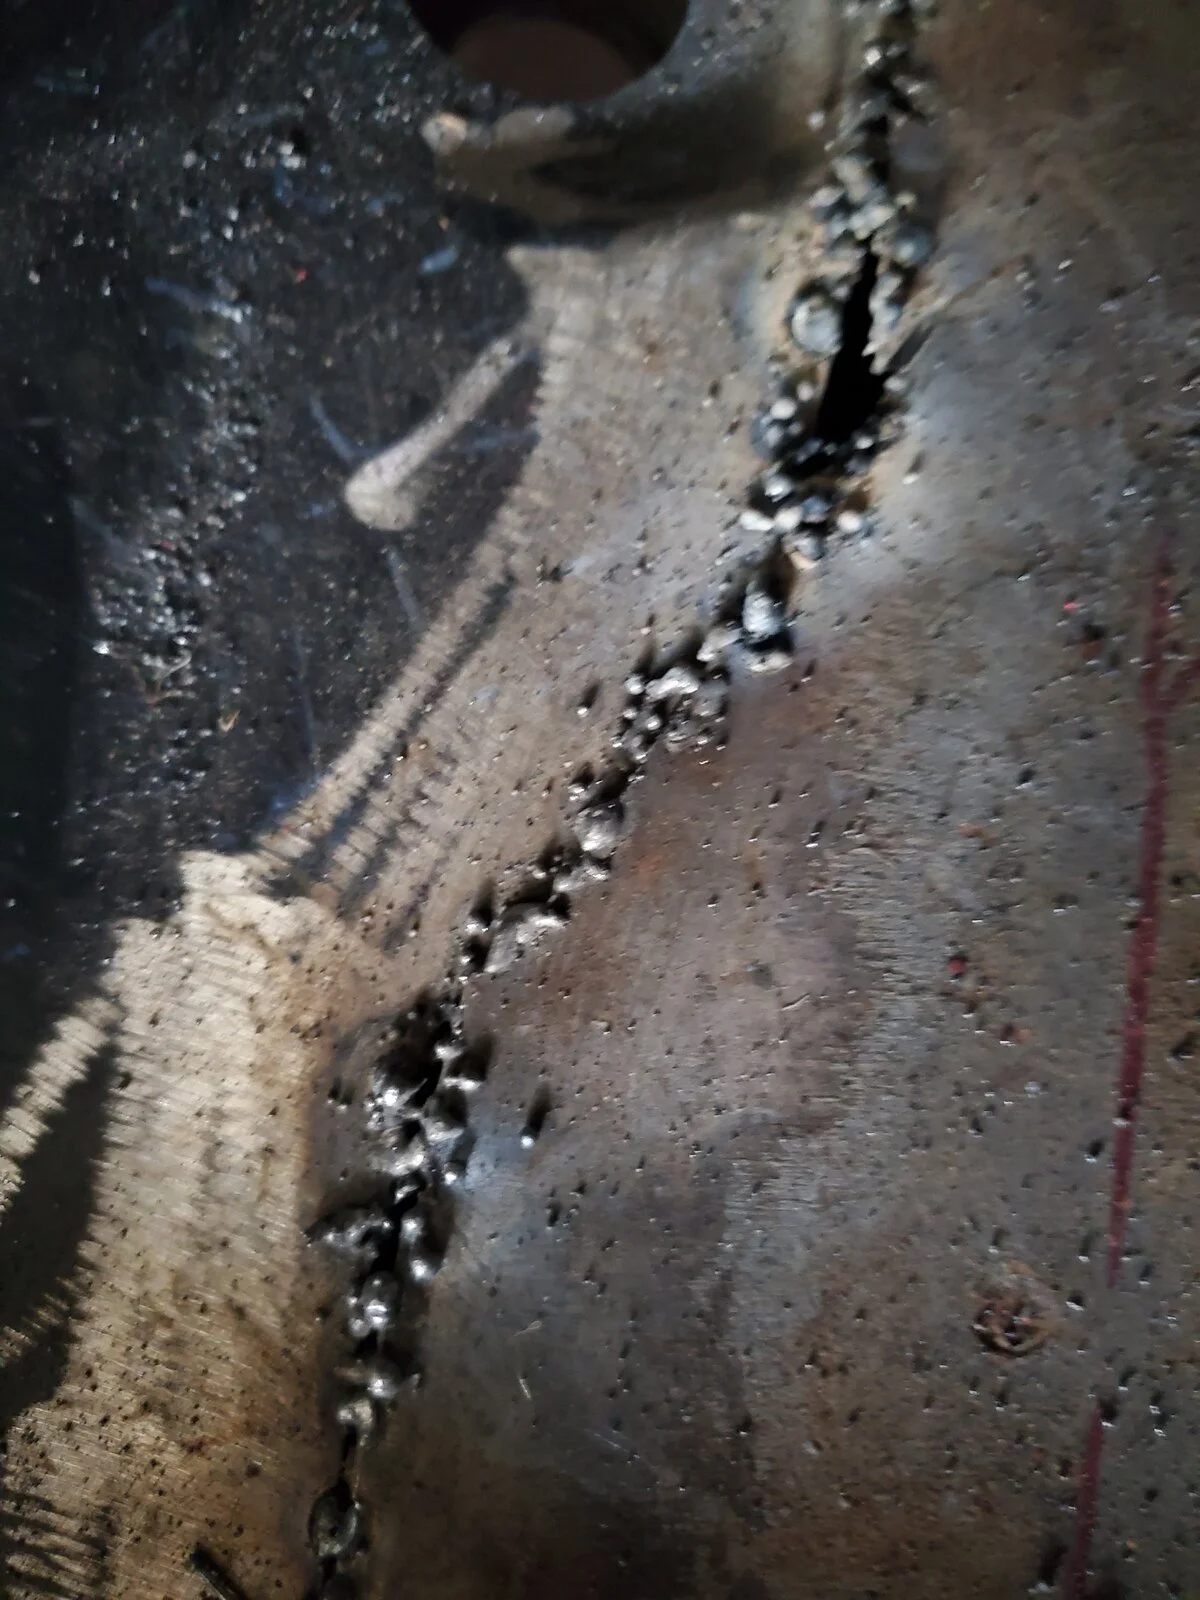
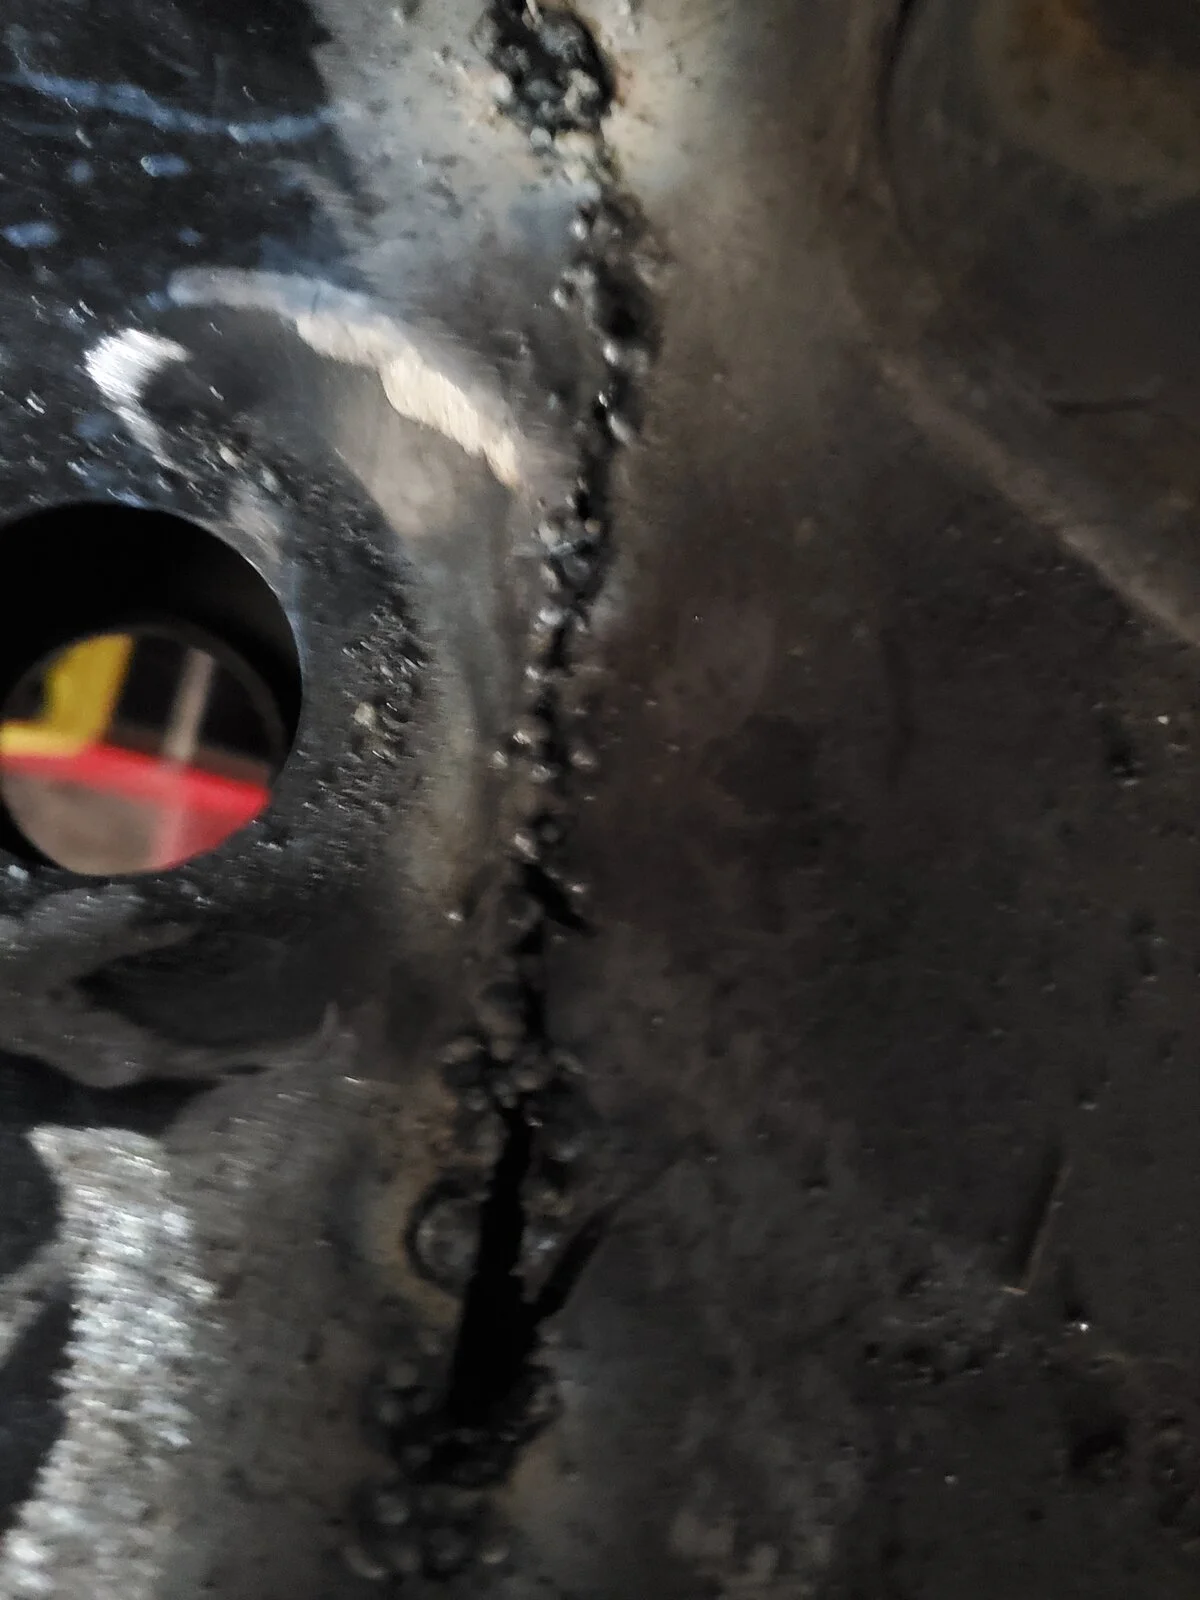
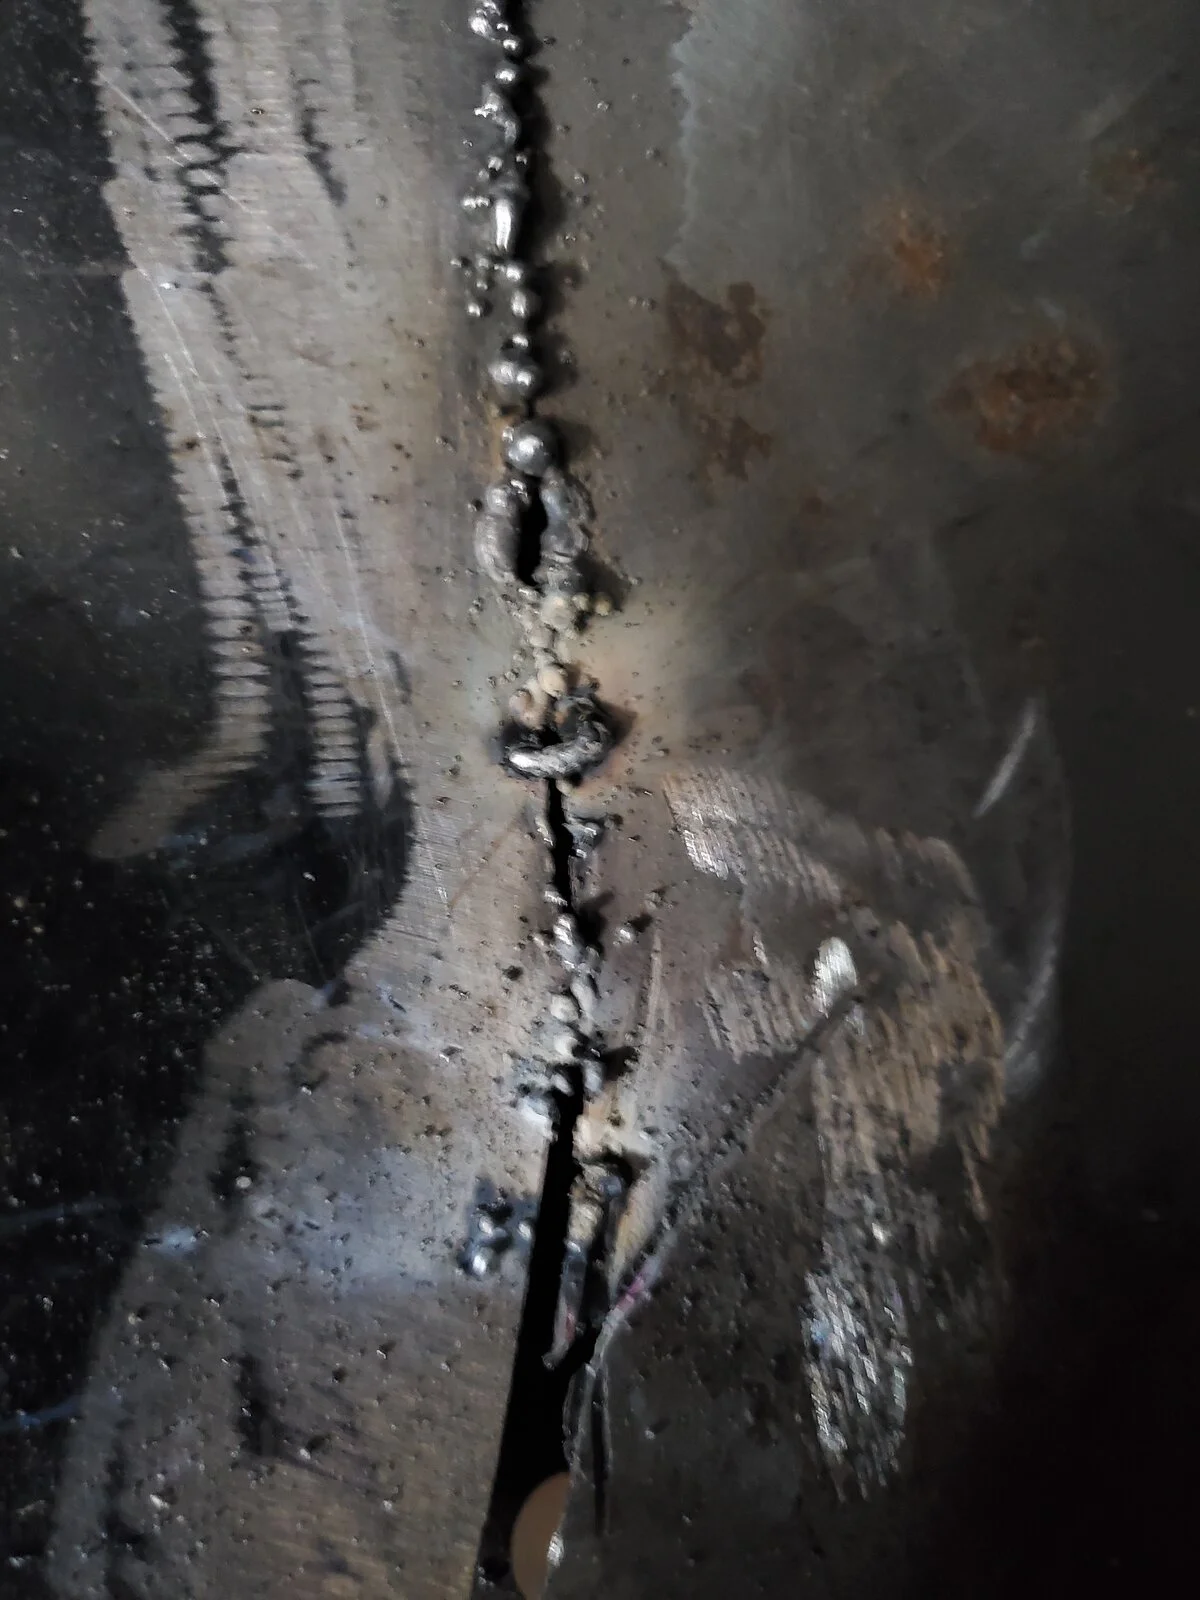
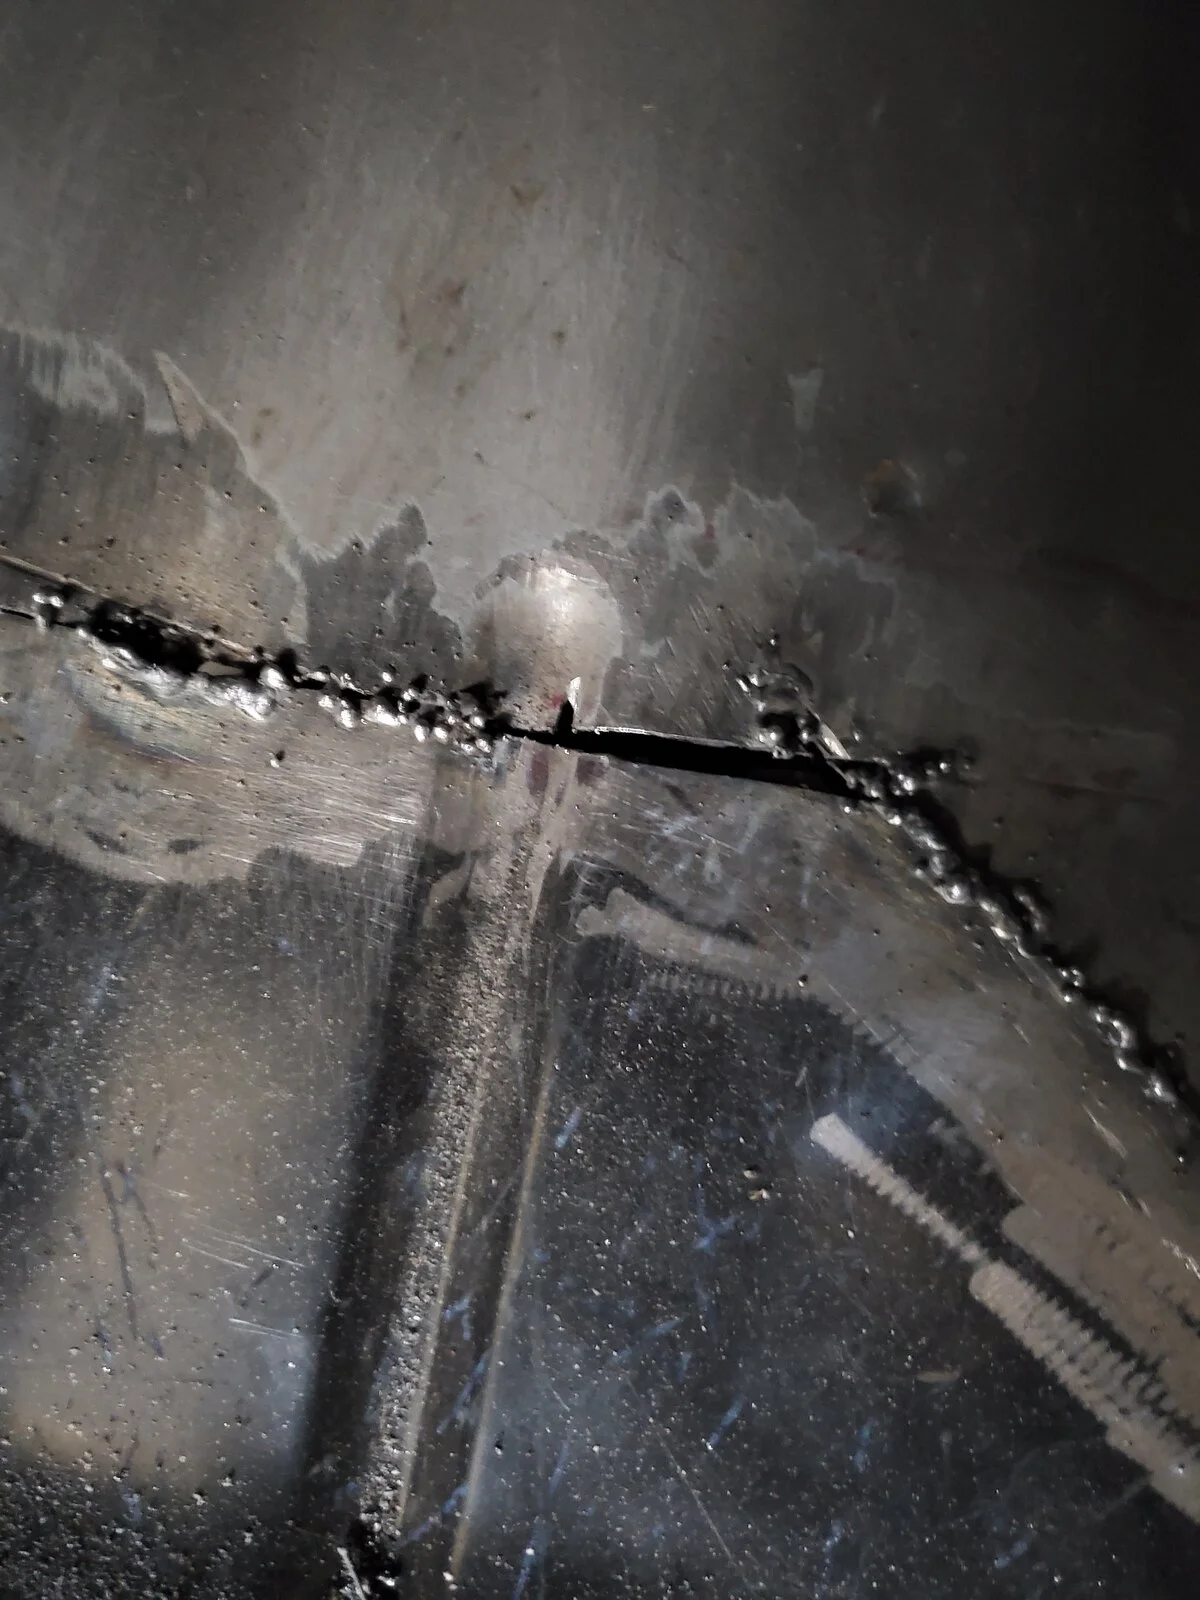
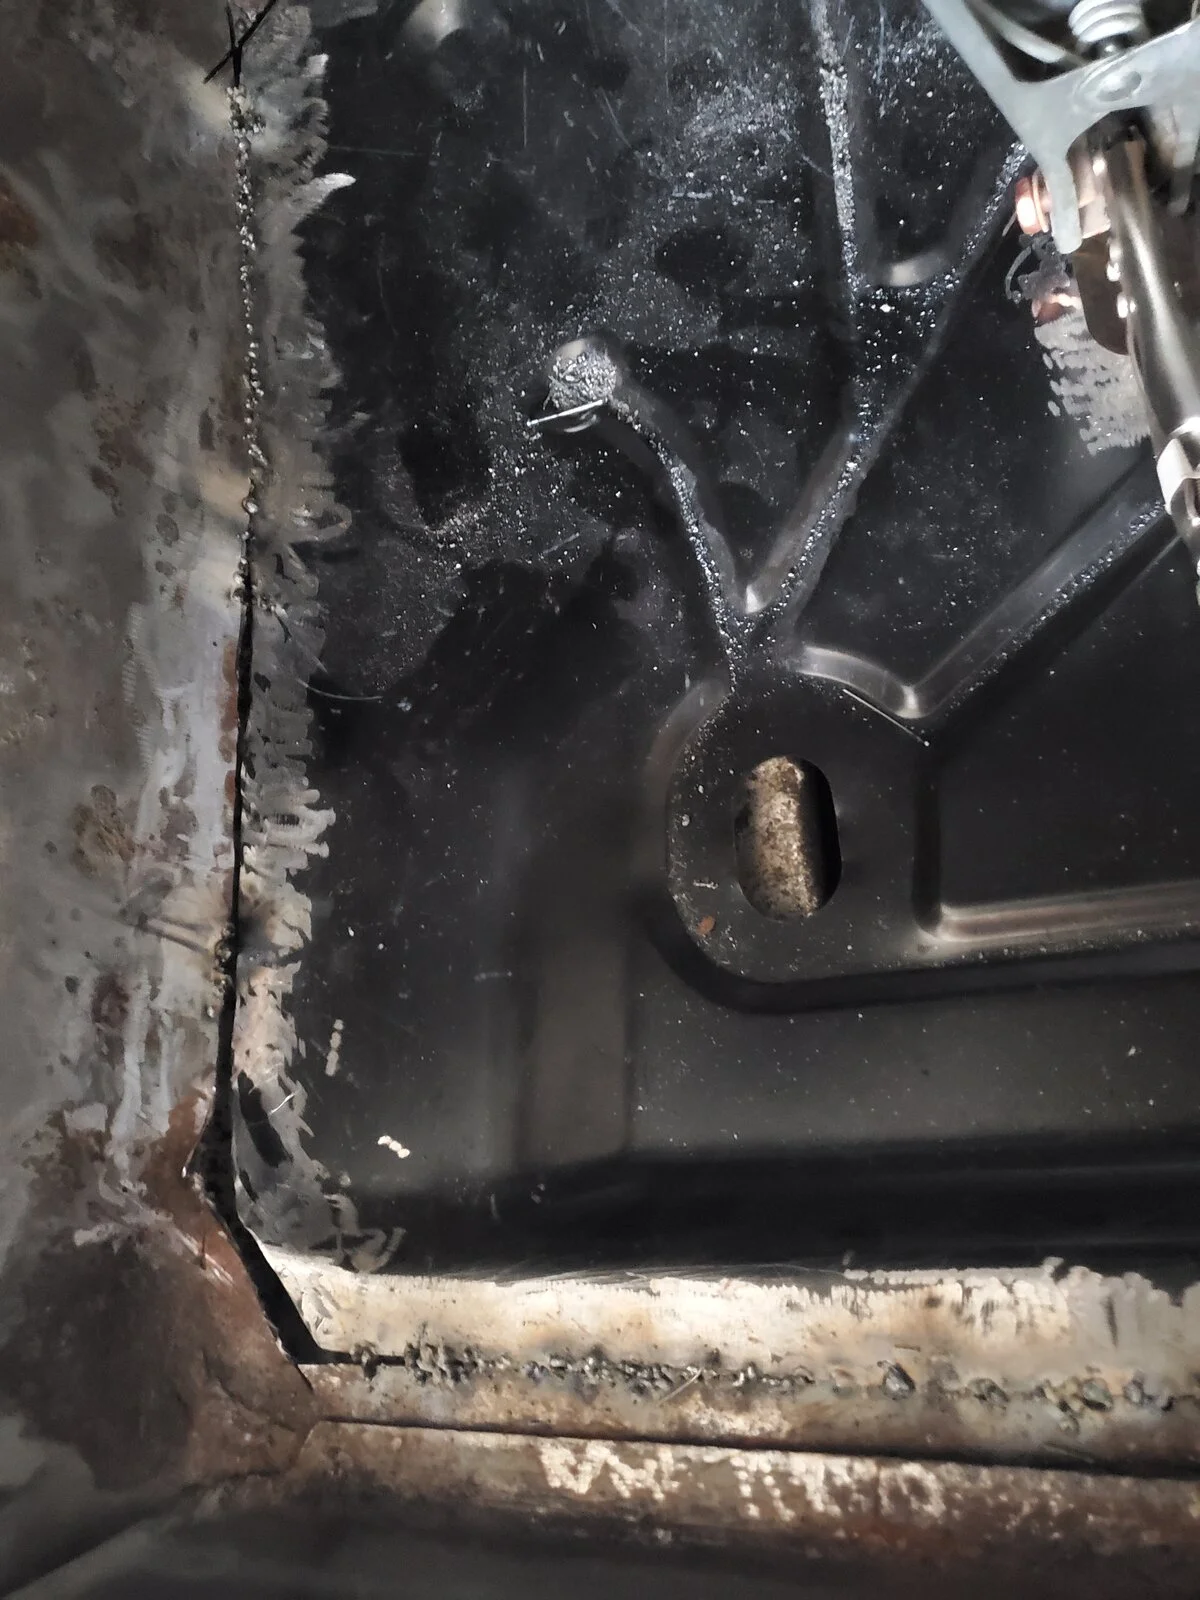
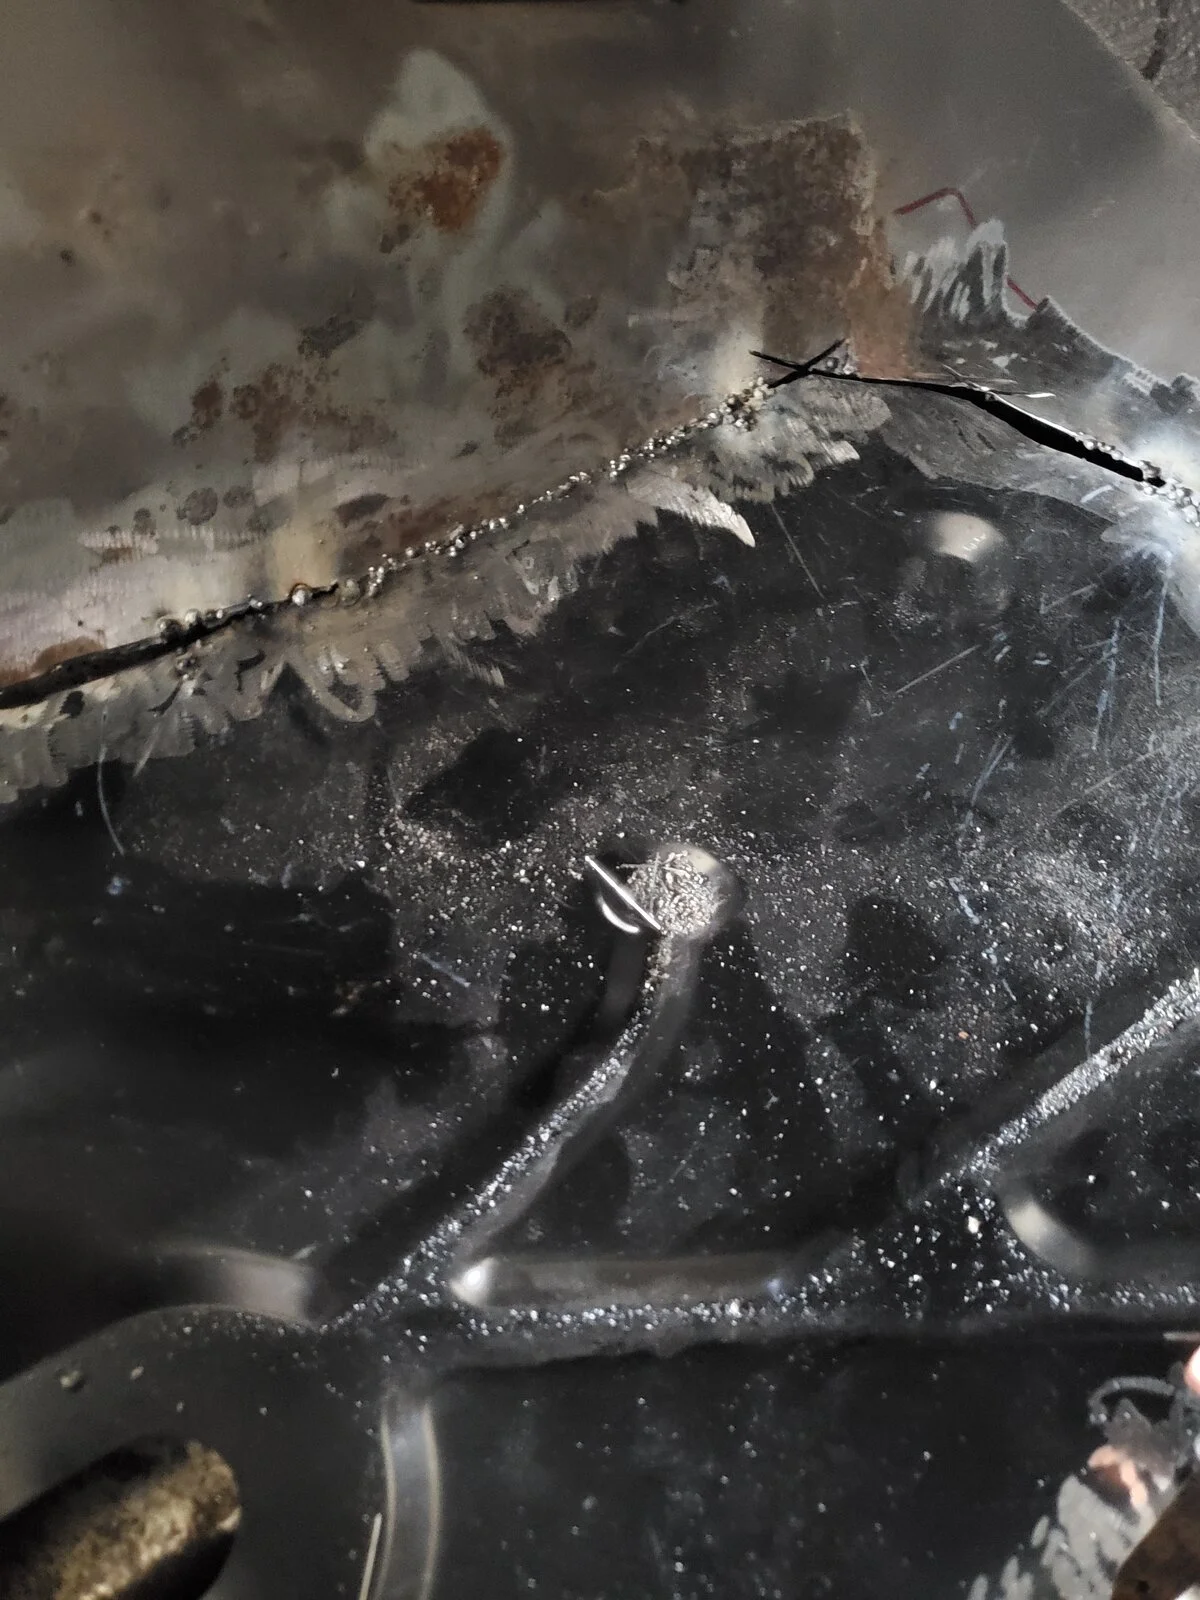
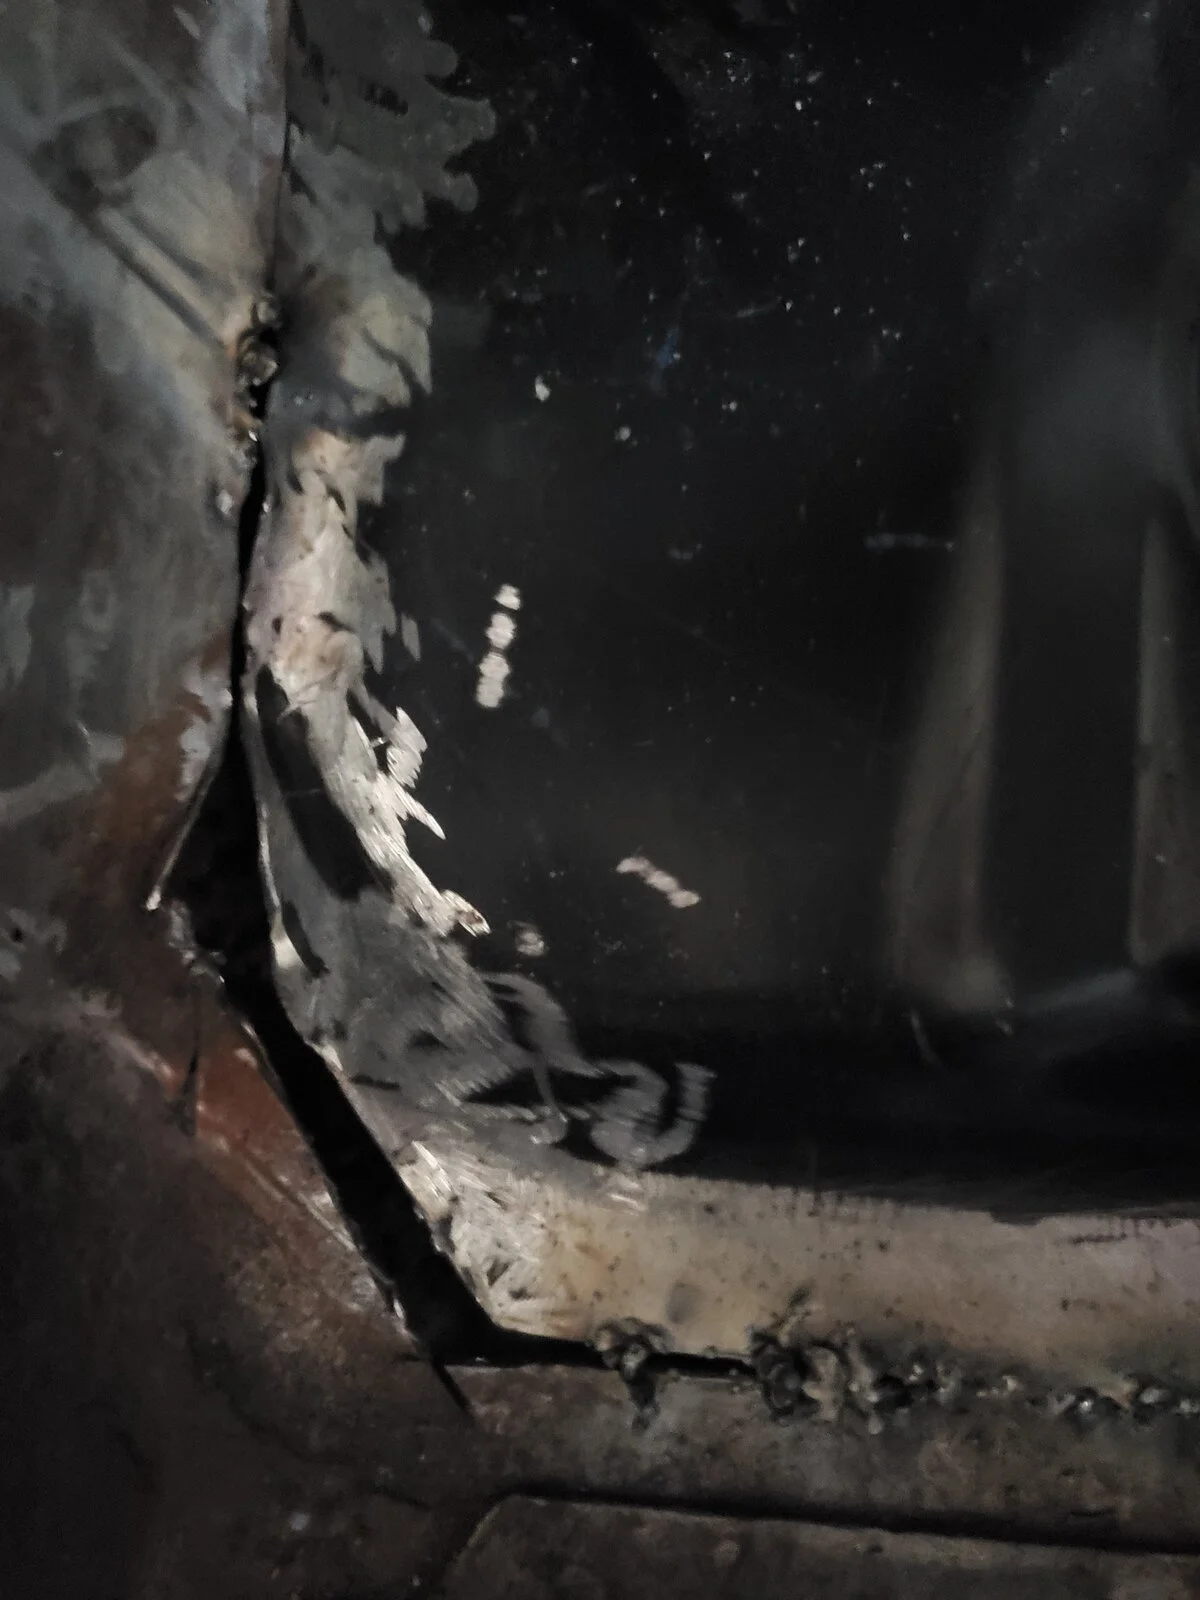
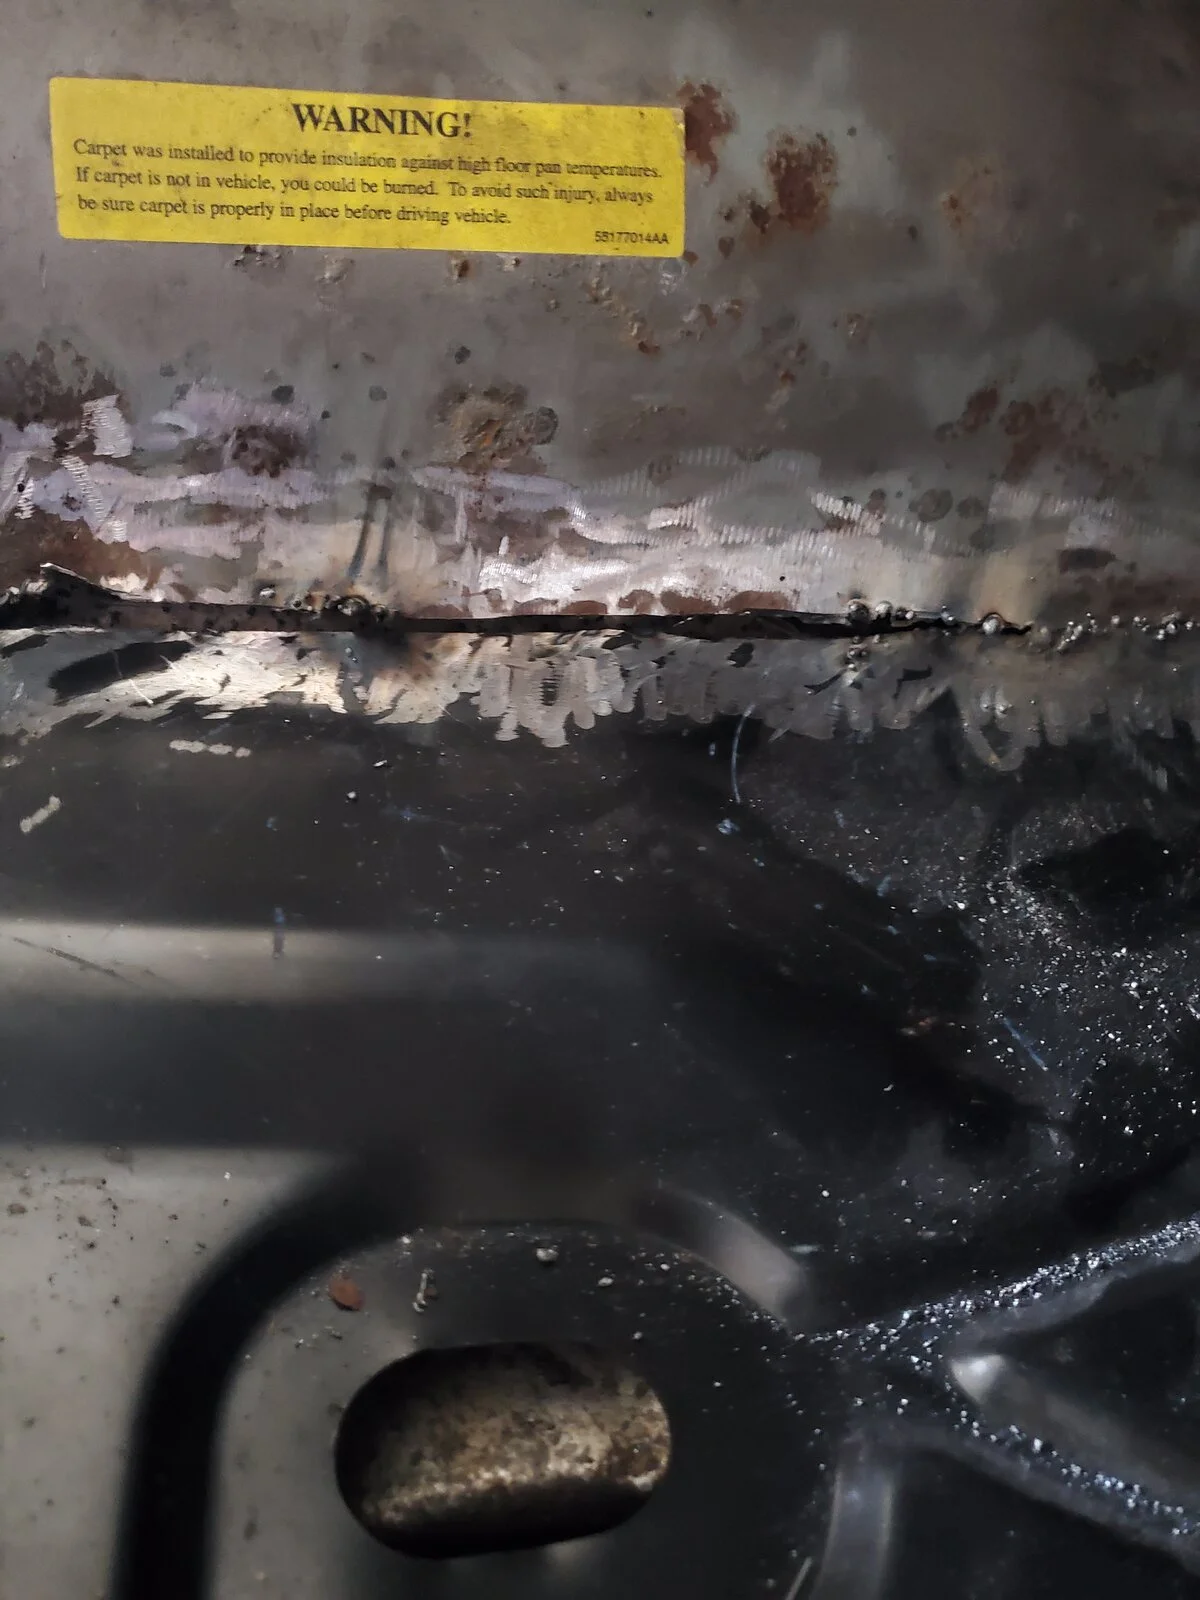
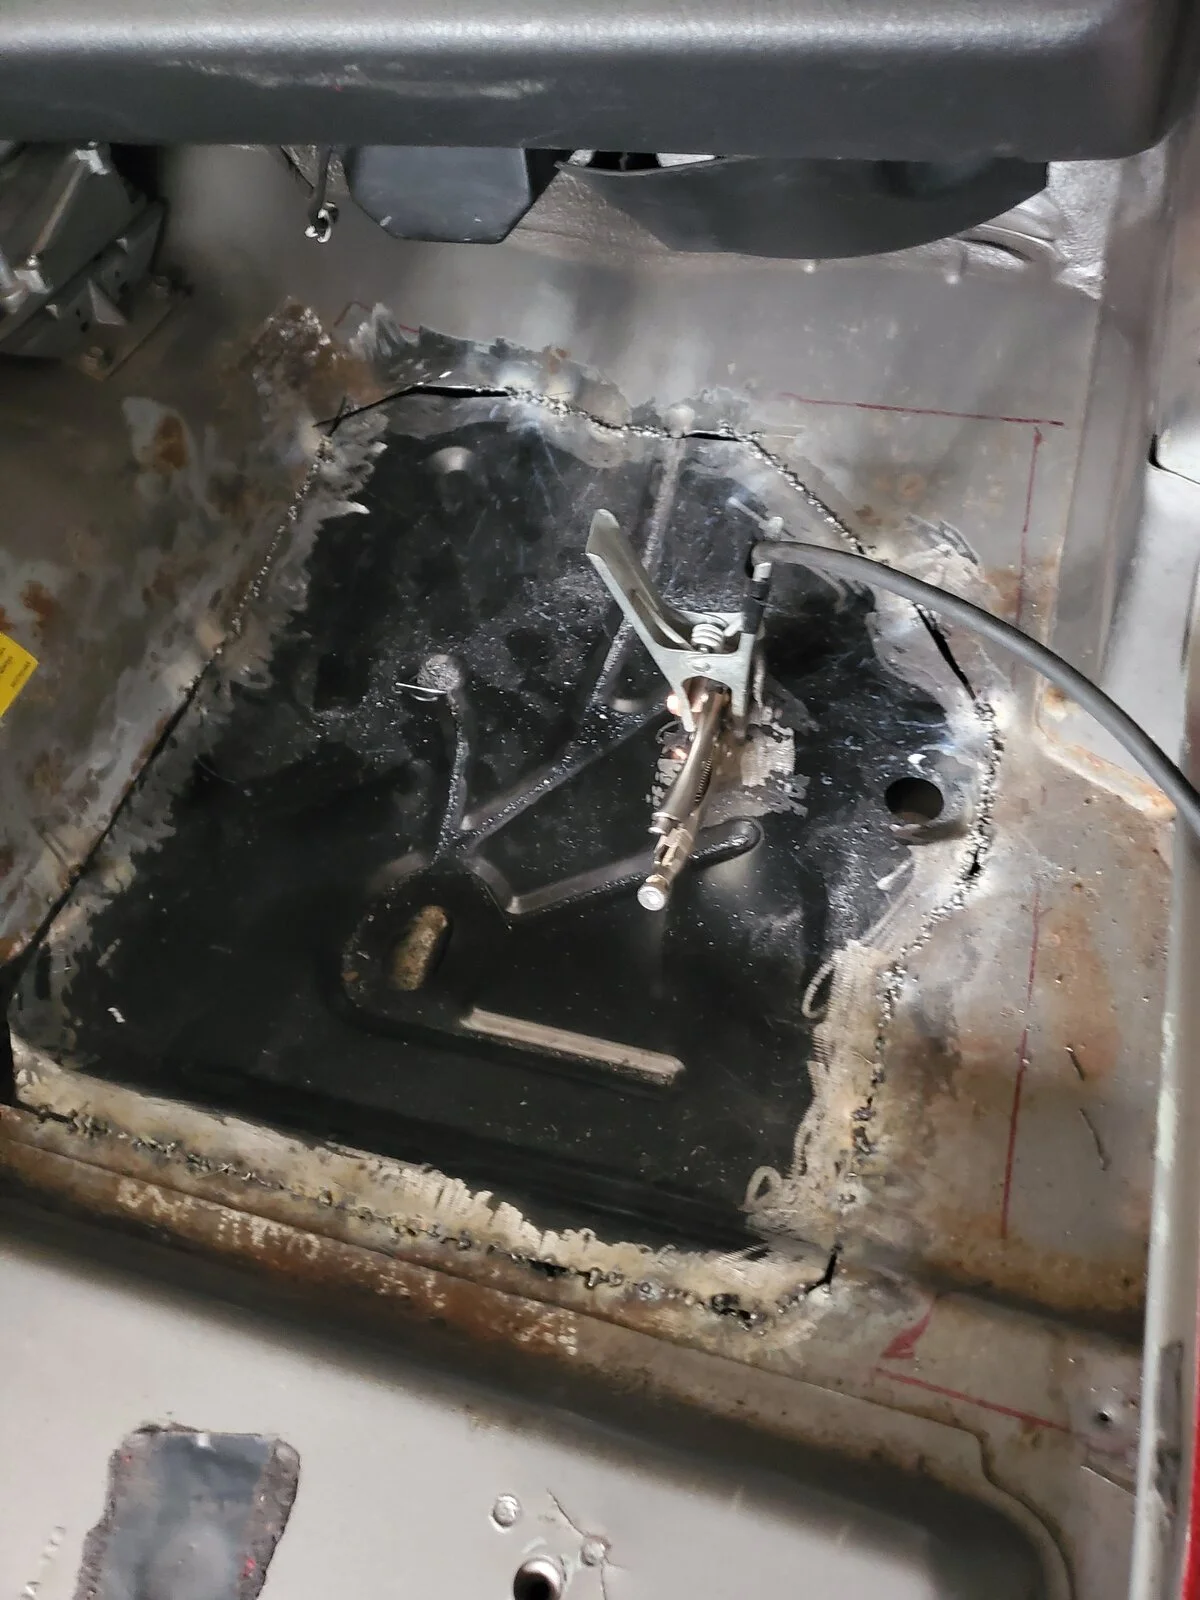
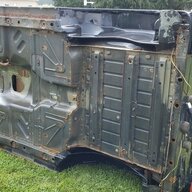
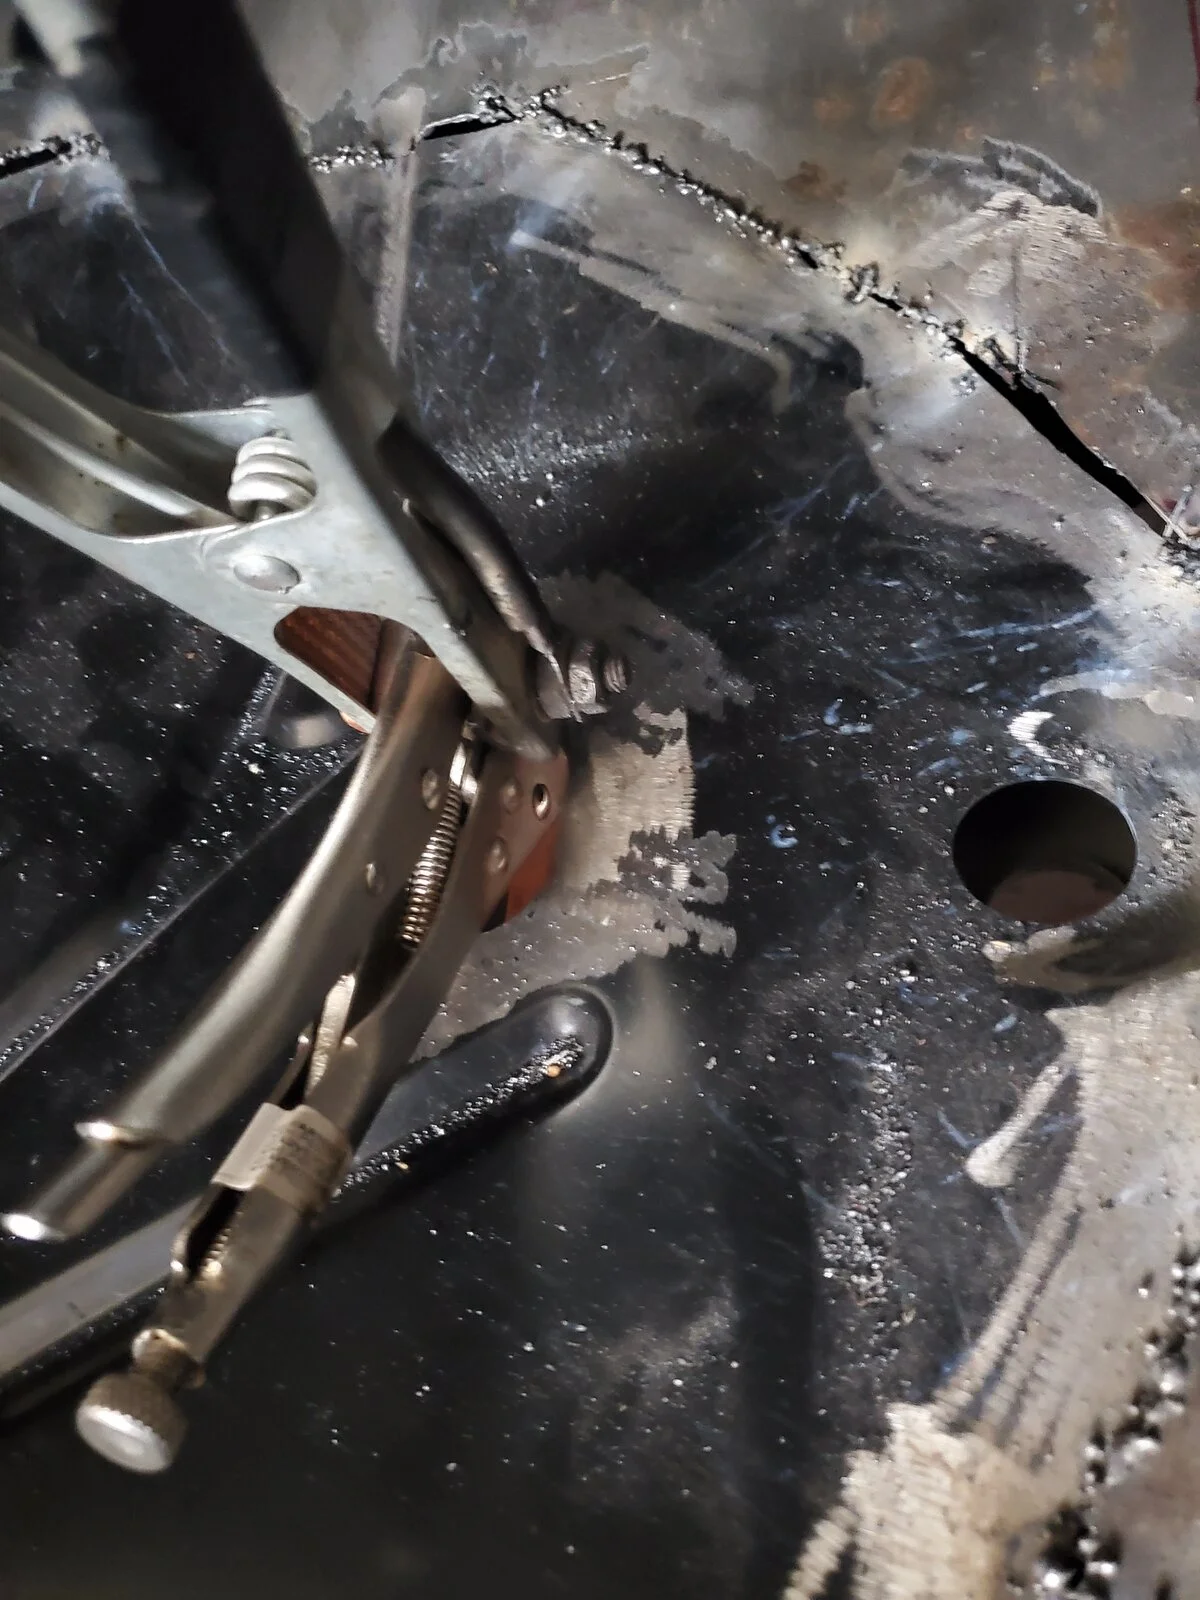
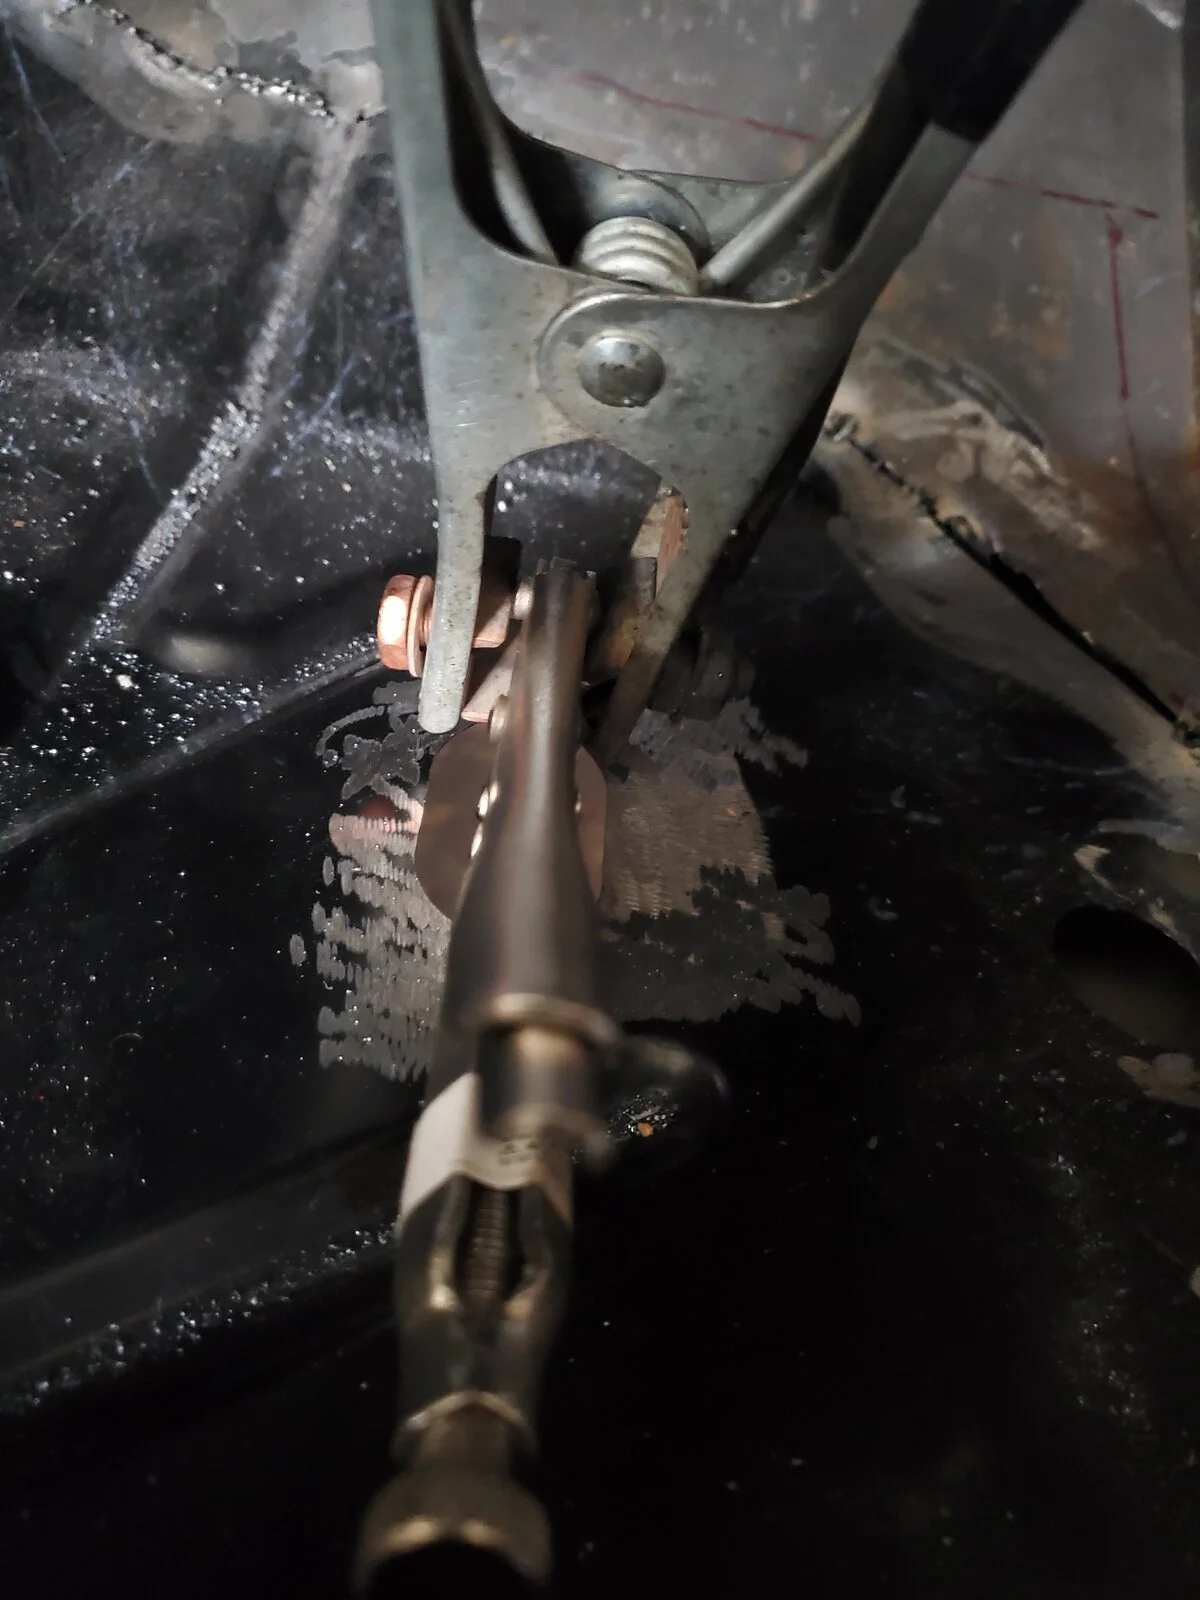
Need help finishing my poorly welding floor pan. This is my first time welding so I'm unsure as to how it should look.

Another jeep community member worked at a home depot gave me a few pointers but need help with the gaps

Am I doing it right? Any suggestions on how to approach these big openings?

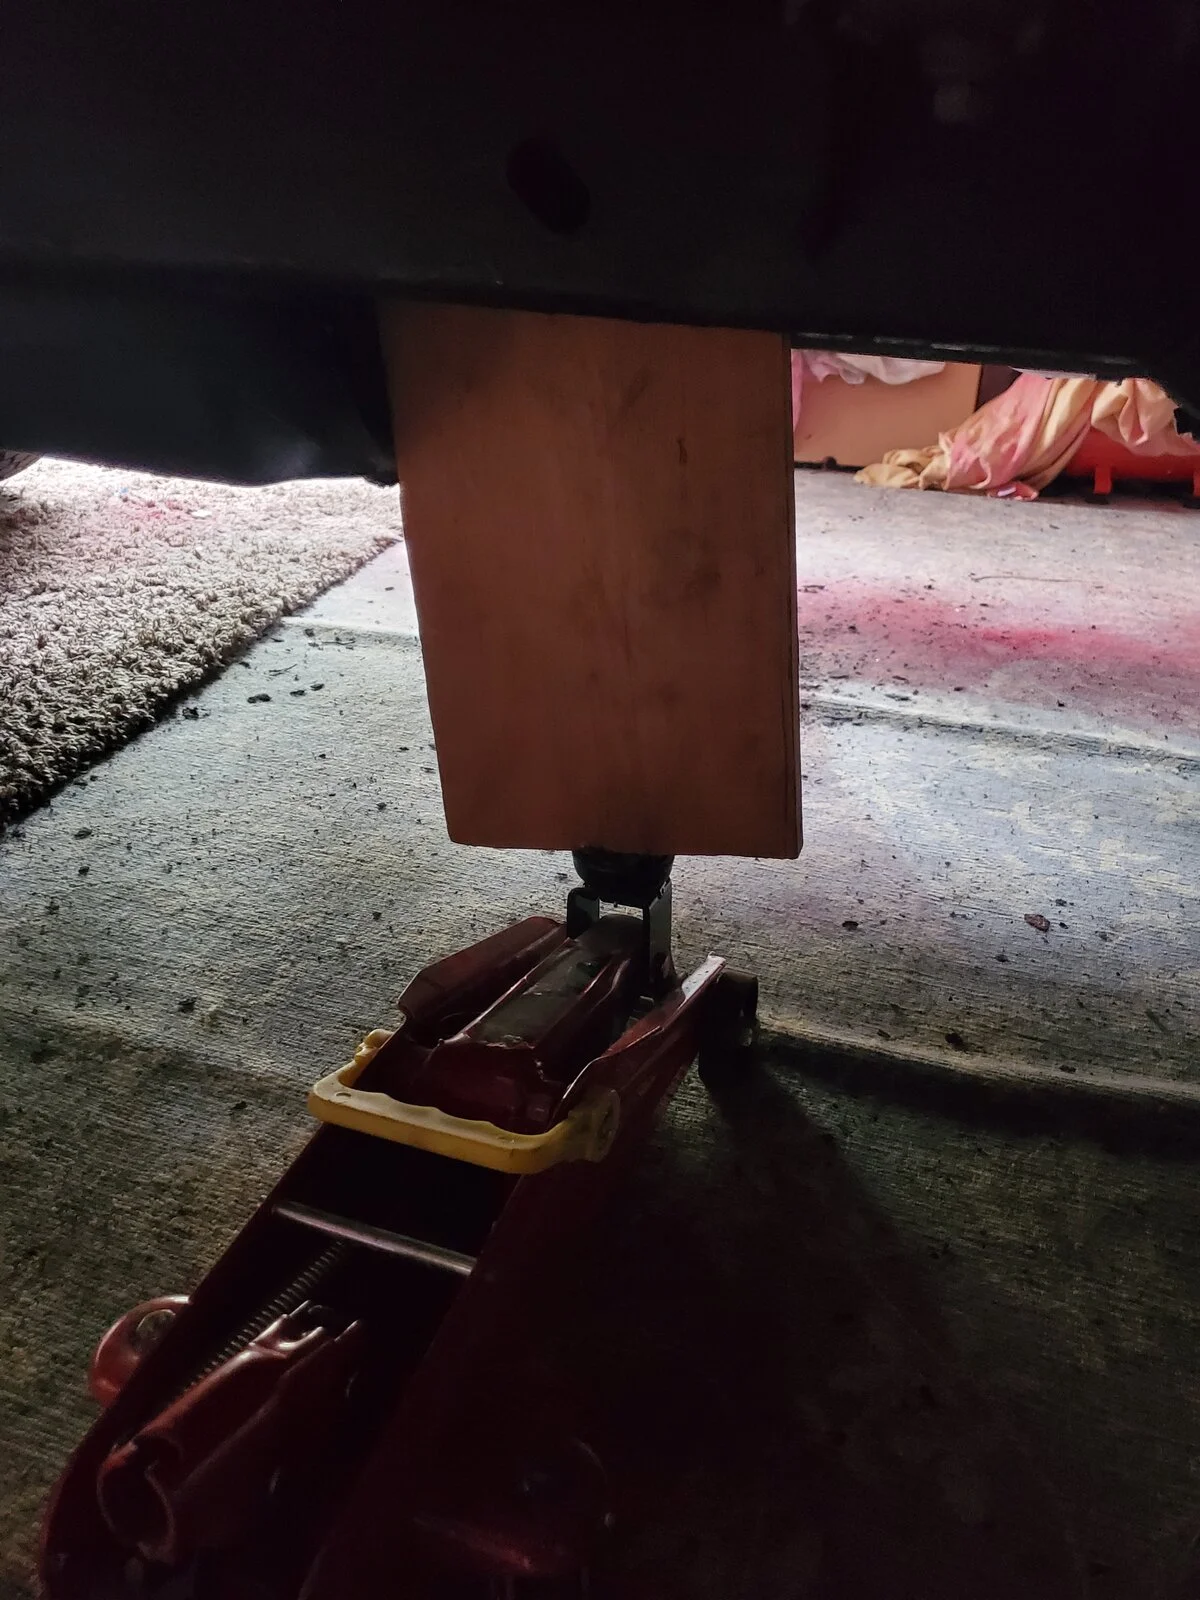
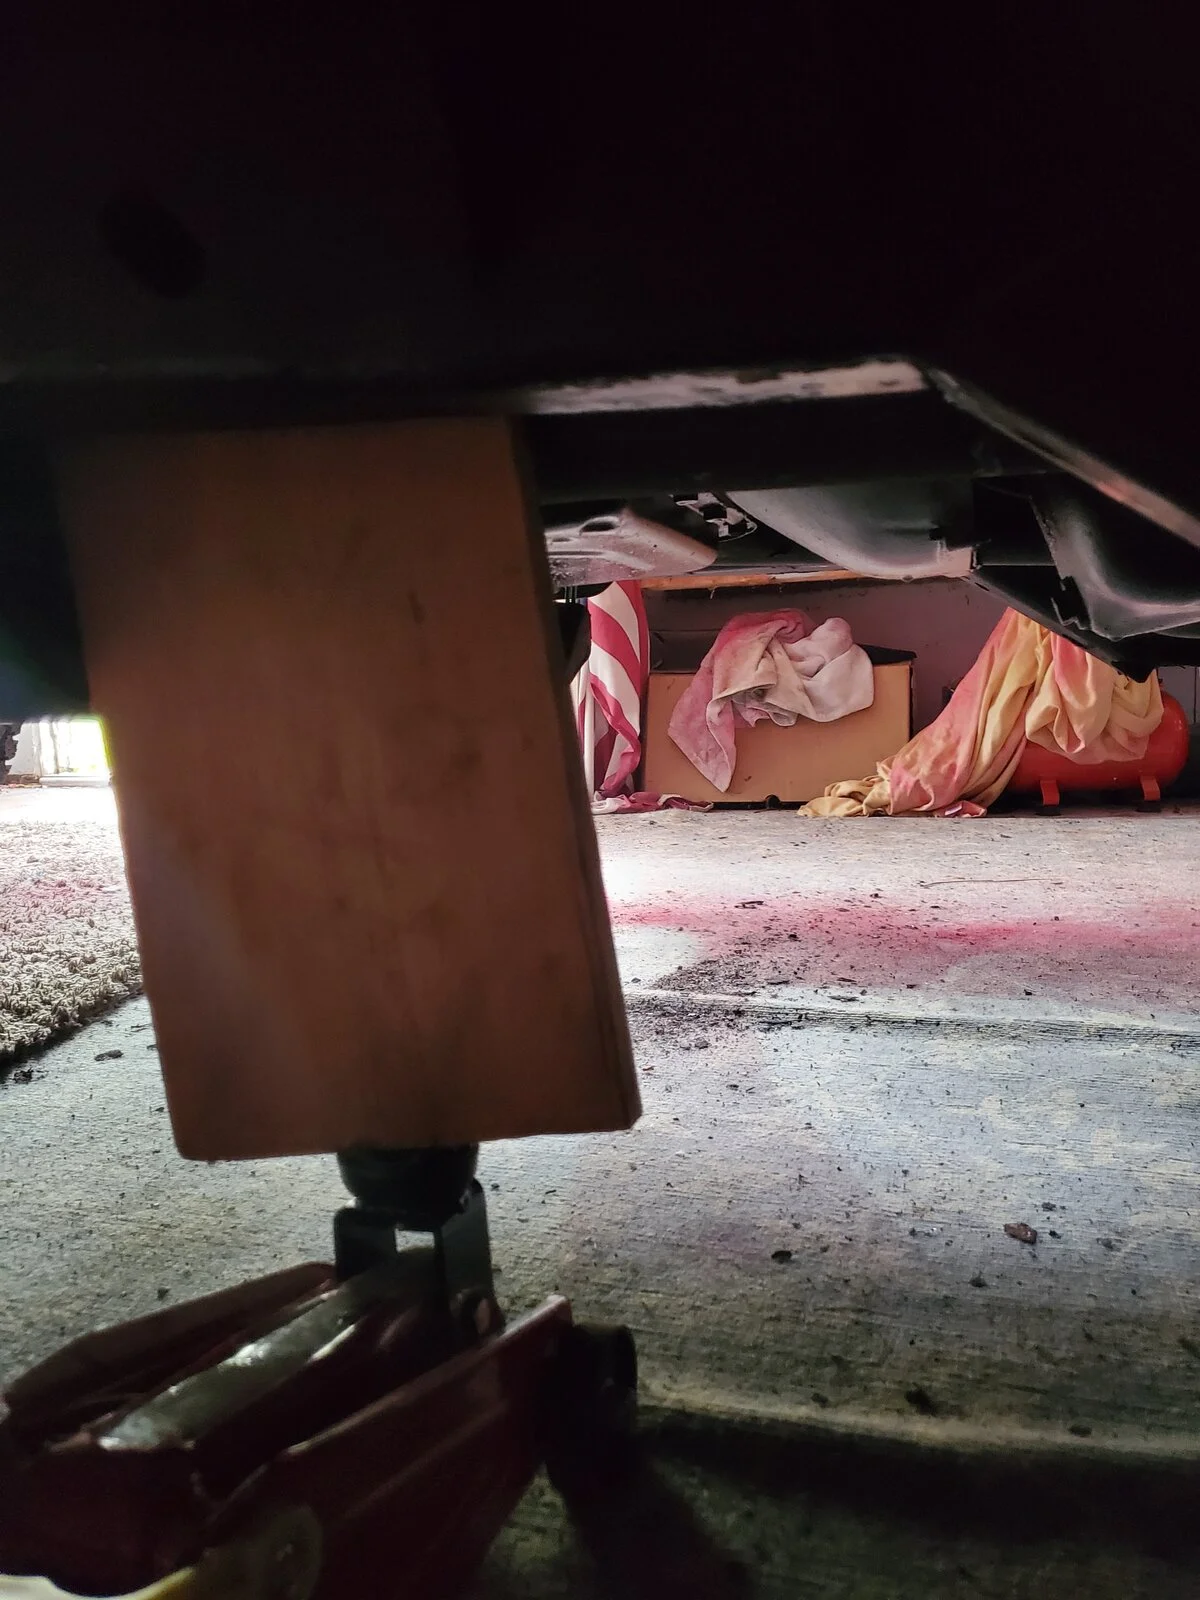
I tried a jack and wood to push the other side up but can't get a hammer behind the heat shield to bang at it
20201012_145537.webp


20201012_145549.webp


20201012_145554.webp


20201012_145603.webp


20201012_145609.webp


20201012_145617.webp


20201012_145622.webp


20201012_145643.webp


20201012_145634.webp


20201012_145650.webp


20201012_145703.webp


20201012_145716.webp


20201012_145727.webp


20201012_145731.webp


20201012_150109.webp
 
Where’s the rust king @Mike_H, he probably has experience with this stuff. Those welds look like crap though.
 
Grind all that shit off. Cut strips of sheet metal the same thickness for the wide gaps. Use tack welds bouncing around the perimeter until it’s all welded. Grind smooth and repeat as required. Using flux core wire isn’t the best choice here, a gas shield will help tremendously.
 
I don't have a lot of welding experience but it seems to me like it would be better for the patch panel to be slightly oversized so you can do a lap weld instead of a butt weld. The fitup would be less critical, and you'd just be doing a fillet instead of trying to bridge a gap.
 
Those welds are not going to get it done. Gaps can be filled but it's going to take time--this means moving around and letting areas cool somewhat before trying to add more weld. Probably only 5-8 seconds per weld.

There's a trick that is extraordinarily useful for these situations: clamp a thick piece of copper to the backside of the gap to be welded. I keep several different sizes around for this. It will backstop the liquid puddle from falling away. That copper is going to be hot so be careful when you remove it. HF has a copper "spoon" that can be useful for curved surfaces.

Once the gap is filled then it's time for the grinder and sander. Once you are done it should not be obvious there was a weld.

One more recommendation: practice the butt welds on some scrap sheet metal. Get your welder adjusted appropriately for the metal thickness before jumping in on your floor pans. The big spatter beads are a dead giveaway that you're not adjusted correctly yet.

When a MIG is adjusted correctly it makes a very distinct sound. I wish I could describe it. There are a lot of welding videos on youtube so that may be a good place to search.

Good luck. You can get this done with patience and learn a new skill.
 
  • Like
Reactions: EzPeezy
One other observation: the gaps I can see between the replacement panel and the original floor pan are not that bad. Those can be welded without additional strips of metal. If you feel like you need to "bridge" the gap, here's another tip: cut a length of filler wire and fold it over. Place the double width filler wire into the gap and weld away with the copper backing.
 
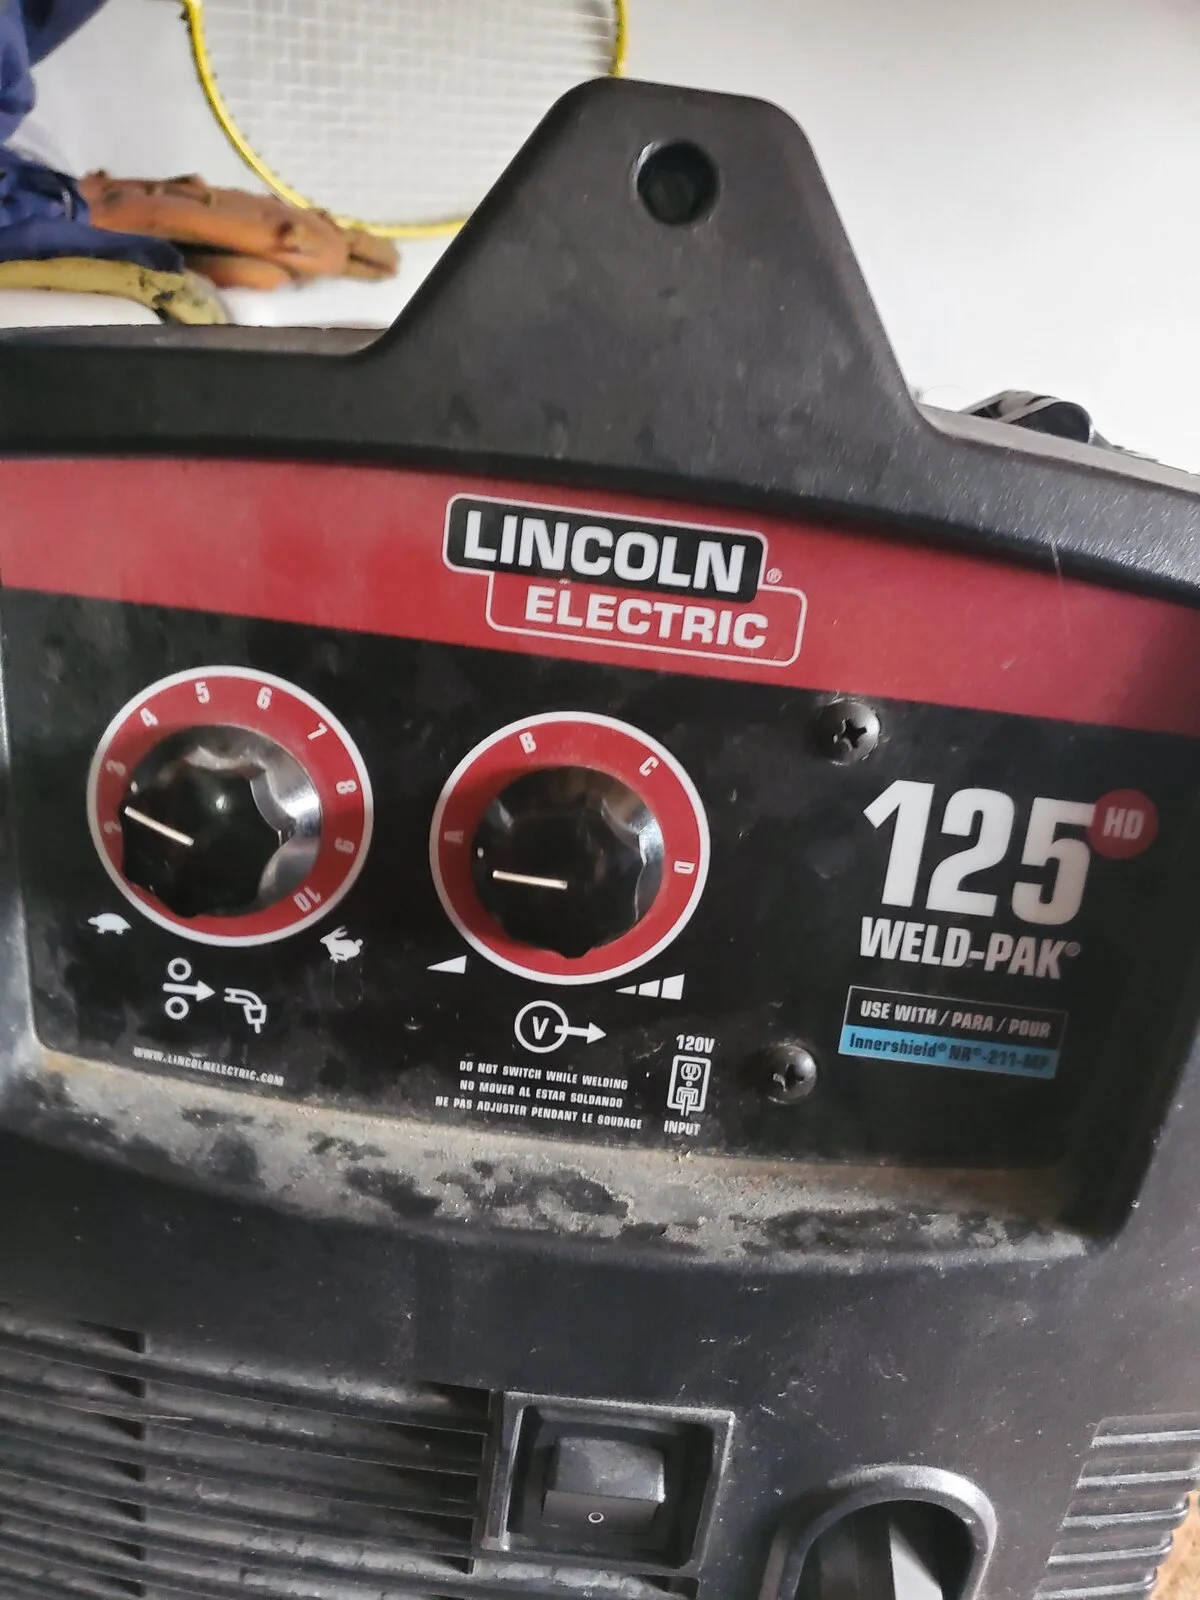
Don't get discouraged, at least you're trying. You're not going to get pro results in the beginning. Glass half-full, you're on your way to becoming an excellent grinder. :D Your machine settings are almost the slowest speed possible and coldest temp possible. Cut your scrap pieces in to strips, or whatever, and practice dialing in the machine on that before tackling the pans. I don't have experience with that particular machine, but I have use an equivalent Miller model on sheetmetal. Whatever combination works you're speed will probably wind up at 6 or less on A or B heat. I wouldn't try walking a bead, instead work around the panel making tack welds to control the heat and prevent warping.


 
I don't have a lot of welding experience but it seems to me like it would be better for the patch panel to be slightly oversized so you can do a lap weld instead of a butt weld. The fitup would be less critical, and you'd just be doing a fillet instead of trying to bridge a gap.
You are correct for this application. You trim the new panel to overlap at least 1/2". Drill 1/4" holes around the perimeter about 1-1.5" apart, use some sheet metal screws to suck the two pieces together, and then fill the plug weld. In this case, the galvanizing needs to be removed from the base metal or it will pop a hole though making the weld more difficult than it needs to be.

If I were doing this one, I'd start over completely.
 
You need more heat. That Lincoln should be able to do the weld.

You want a weave like weld not buggers. Is your surface clean why isn’t it penetrating better? Turn up the setting.
 
What @mrblaine said.
And w/ sheet metal you want to jump around w/ tacks, don't try to weld a constant bead, you will burn through and warp the base metal. But yeah, your gaps are too big to fill (on thin metal).
 
I applaud you for taking on the project and learning a new skill.

Here is my take:

  • If this is a new welder, did you assemble it yourself? If so, are you sure you have the work clamp connected to the right lug? It is a bit counter-intuitive since most of us call the work clamp the “ground” yet for flux core welding that clamp should be connected to the positive terminal inside the case.

  • Check your wire stick-out length

  • Consult the settings sheet that came with the welder (usually inside the door) and choose the correct settings for the metal you are welding. My guess is that the steel is about 18 gauge.

  • If you do go the overlap and spot weld which I agree is much easier than a butt weld, I would suggest that you get some automotive seam sealer to go around the edges both inside the Jeep and outside the Jeep when you are finished welding. – Seam sealer can be painted.

  • Since the new panel is already cut and somewhat stuck in the hole, I would continue with your butt joint approach. While it will take longer due to the need to grind down what you have done and start over, done properly it will yield a trouble-free result.

  • If for some reason, you can’t get the butt joint figured out, cut it out and then go with the overlapping method. However, until you have exhausted the learnings offered in the butt joint approach don’t spend the money on a new panel
 
Last edited:
Those welds are not going to get it done. Gaps can be filled but it's going to take time--this means moving around and letting areas cool somewhat before trying to add more weld. Probably only 5-8 seconds per weld.

There's a trick that is extraordinarily useful for these situations: clamp a thick piece of copper to the backside of the gap to be welded. I keep several different sizes around for this. It will backstop the liquid puddle from falling away. That copper is going to be hot so be careful when you remove it. HF has a copper "spoon" that can be useful for curved surfaces.

Once the gap is filled then it's time for the grinder and sander. Once you are done it should not be obvious there was a weld.

One more recommendation: practice the butt welds on some scrap sheet metal. Get your welder adjusted appropriately for the metal thickness before jumping in on your floor pans. The big spatter beads are a dead giveaway that you're not adjusted correctly yet.

When a MIG is adjusted correctly it makes a very distinct sound. I wish I could describe it. There are a lot of welding videos on youtube so that may be a good place to search.

Good luck. You can get this done with patience and learn a new skill.
Thanks a lot! I tried turn the weld up and it just burns through the smaller pieces when draging of the new pan. Could I be due to not slanting my edges 🤔
 
You need more heat. That Lincoln should be able to do the weld.

You want a weave like weld not buggers. Is your surface clean why isn’t it penetrating better? Turn up the setting.
I grind to bare metal but if you are referring to whip downs with cleaningproducts.... 😔. Maybe I should have. I'll do that with I take on the driver side

 
are you using solid wire and gas? flux core wire is not gonna weld that stuff, it's to thin.

solid wire with gas shielding and low temp then it's just tack tack tack tack tack all the way around.
 
  • Like
Reactions: DWR and Stinkbug
  • If you do go the overlap and spot weld which I agree is much easier than a butt weld, I would suggest that you get some automotive seam sealer to go around the edges both inside the Jeep and outside the Jeep when you are finished welding. – Seam sealer can be painted.
Have you found a sprayable seam sealer that mimics the OEM look?