Building Homer (2005 TJ Build Thread)

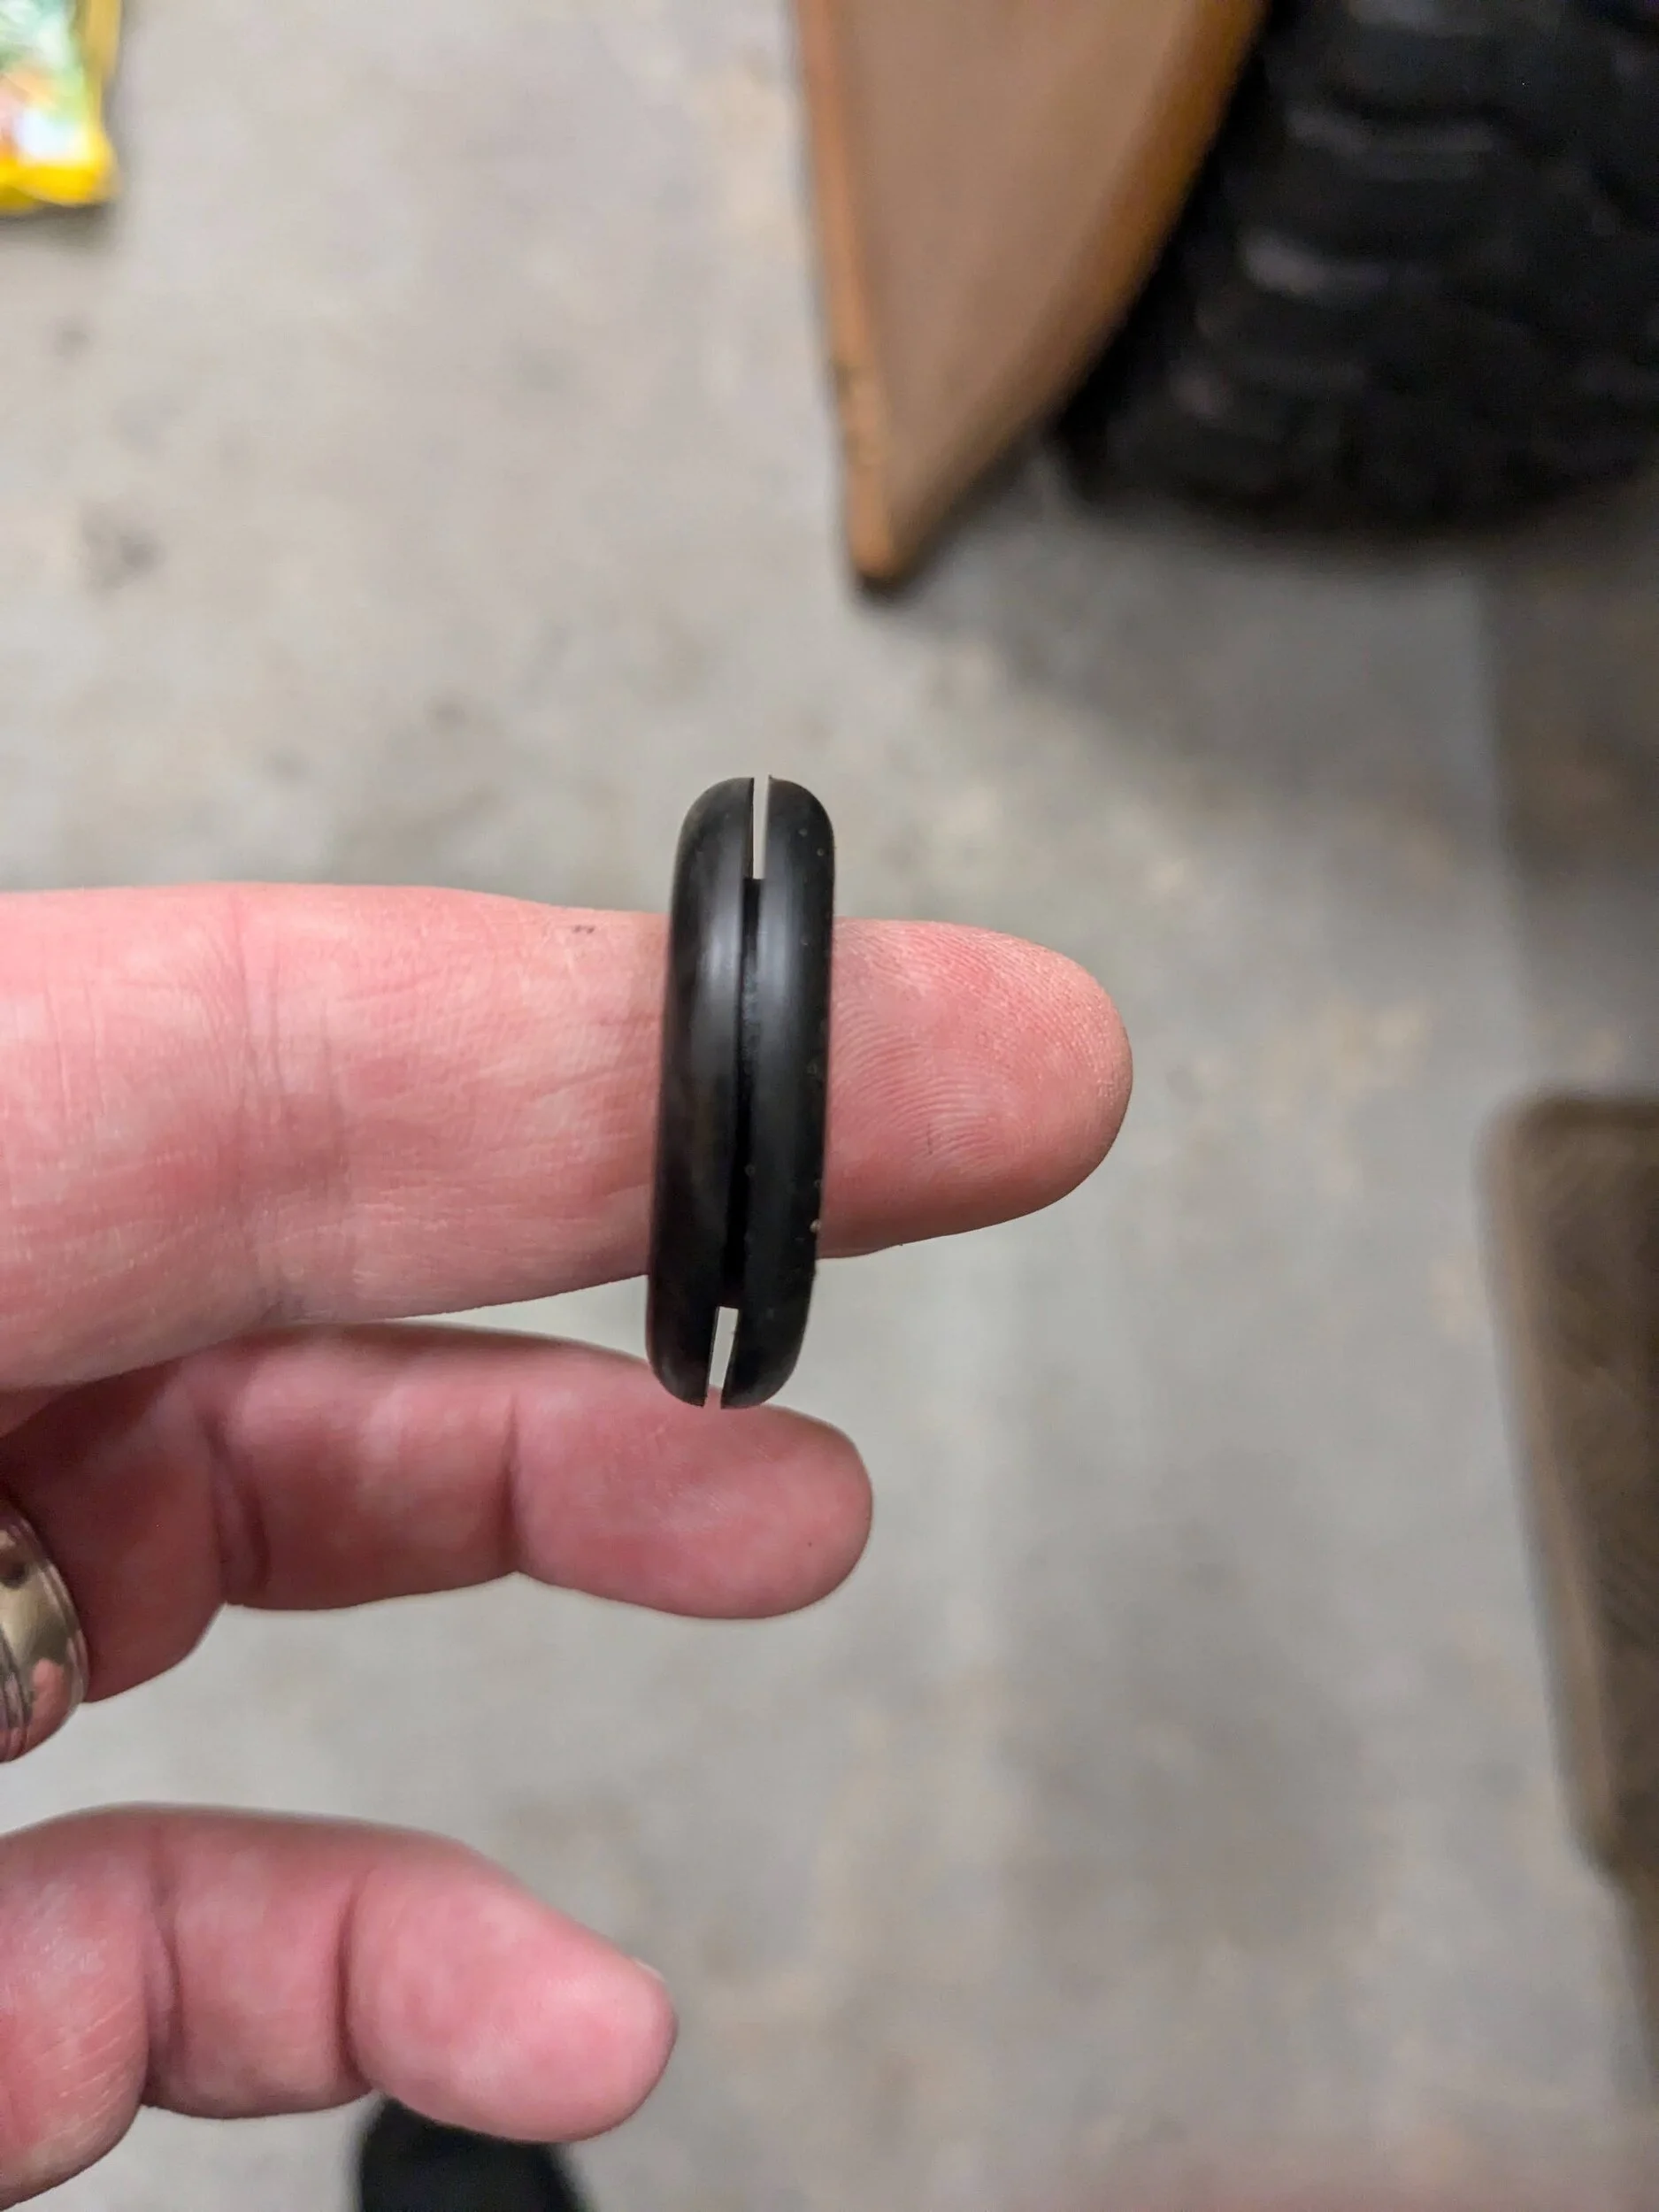
Went to install the planned grommet but I hadn't realized the extra width of the groove would cause them to be as loose as they were installed.
PXL_20240909_004206652.webp


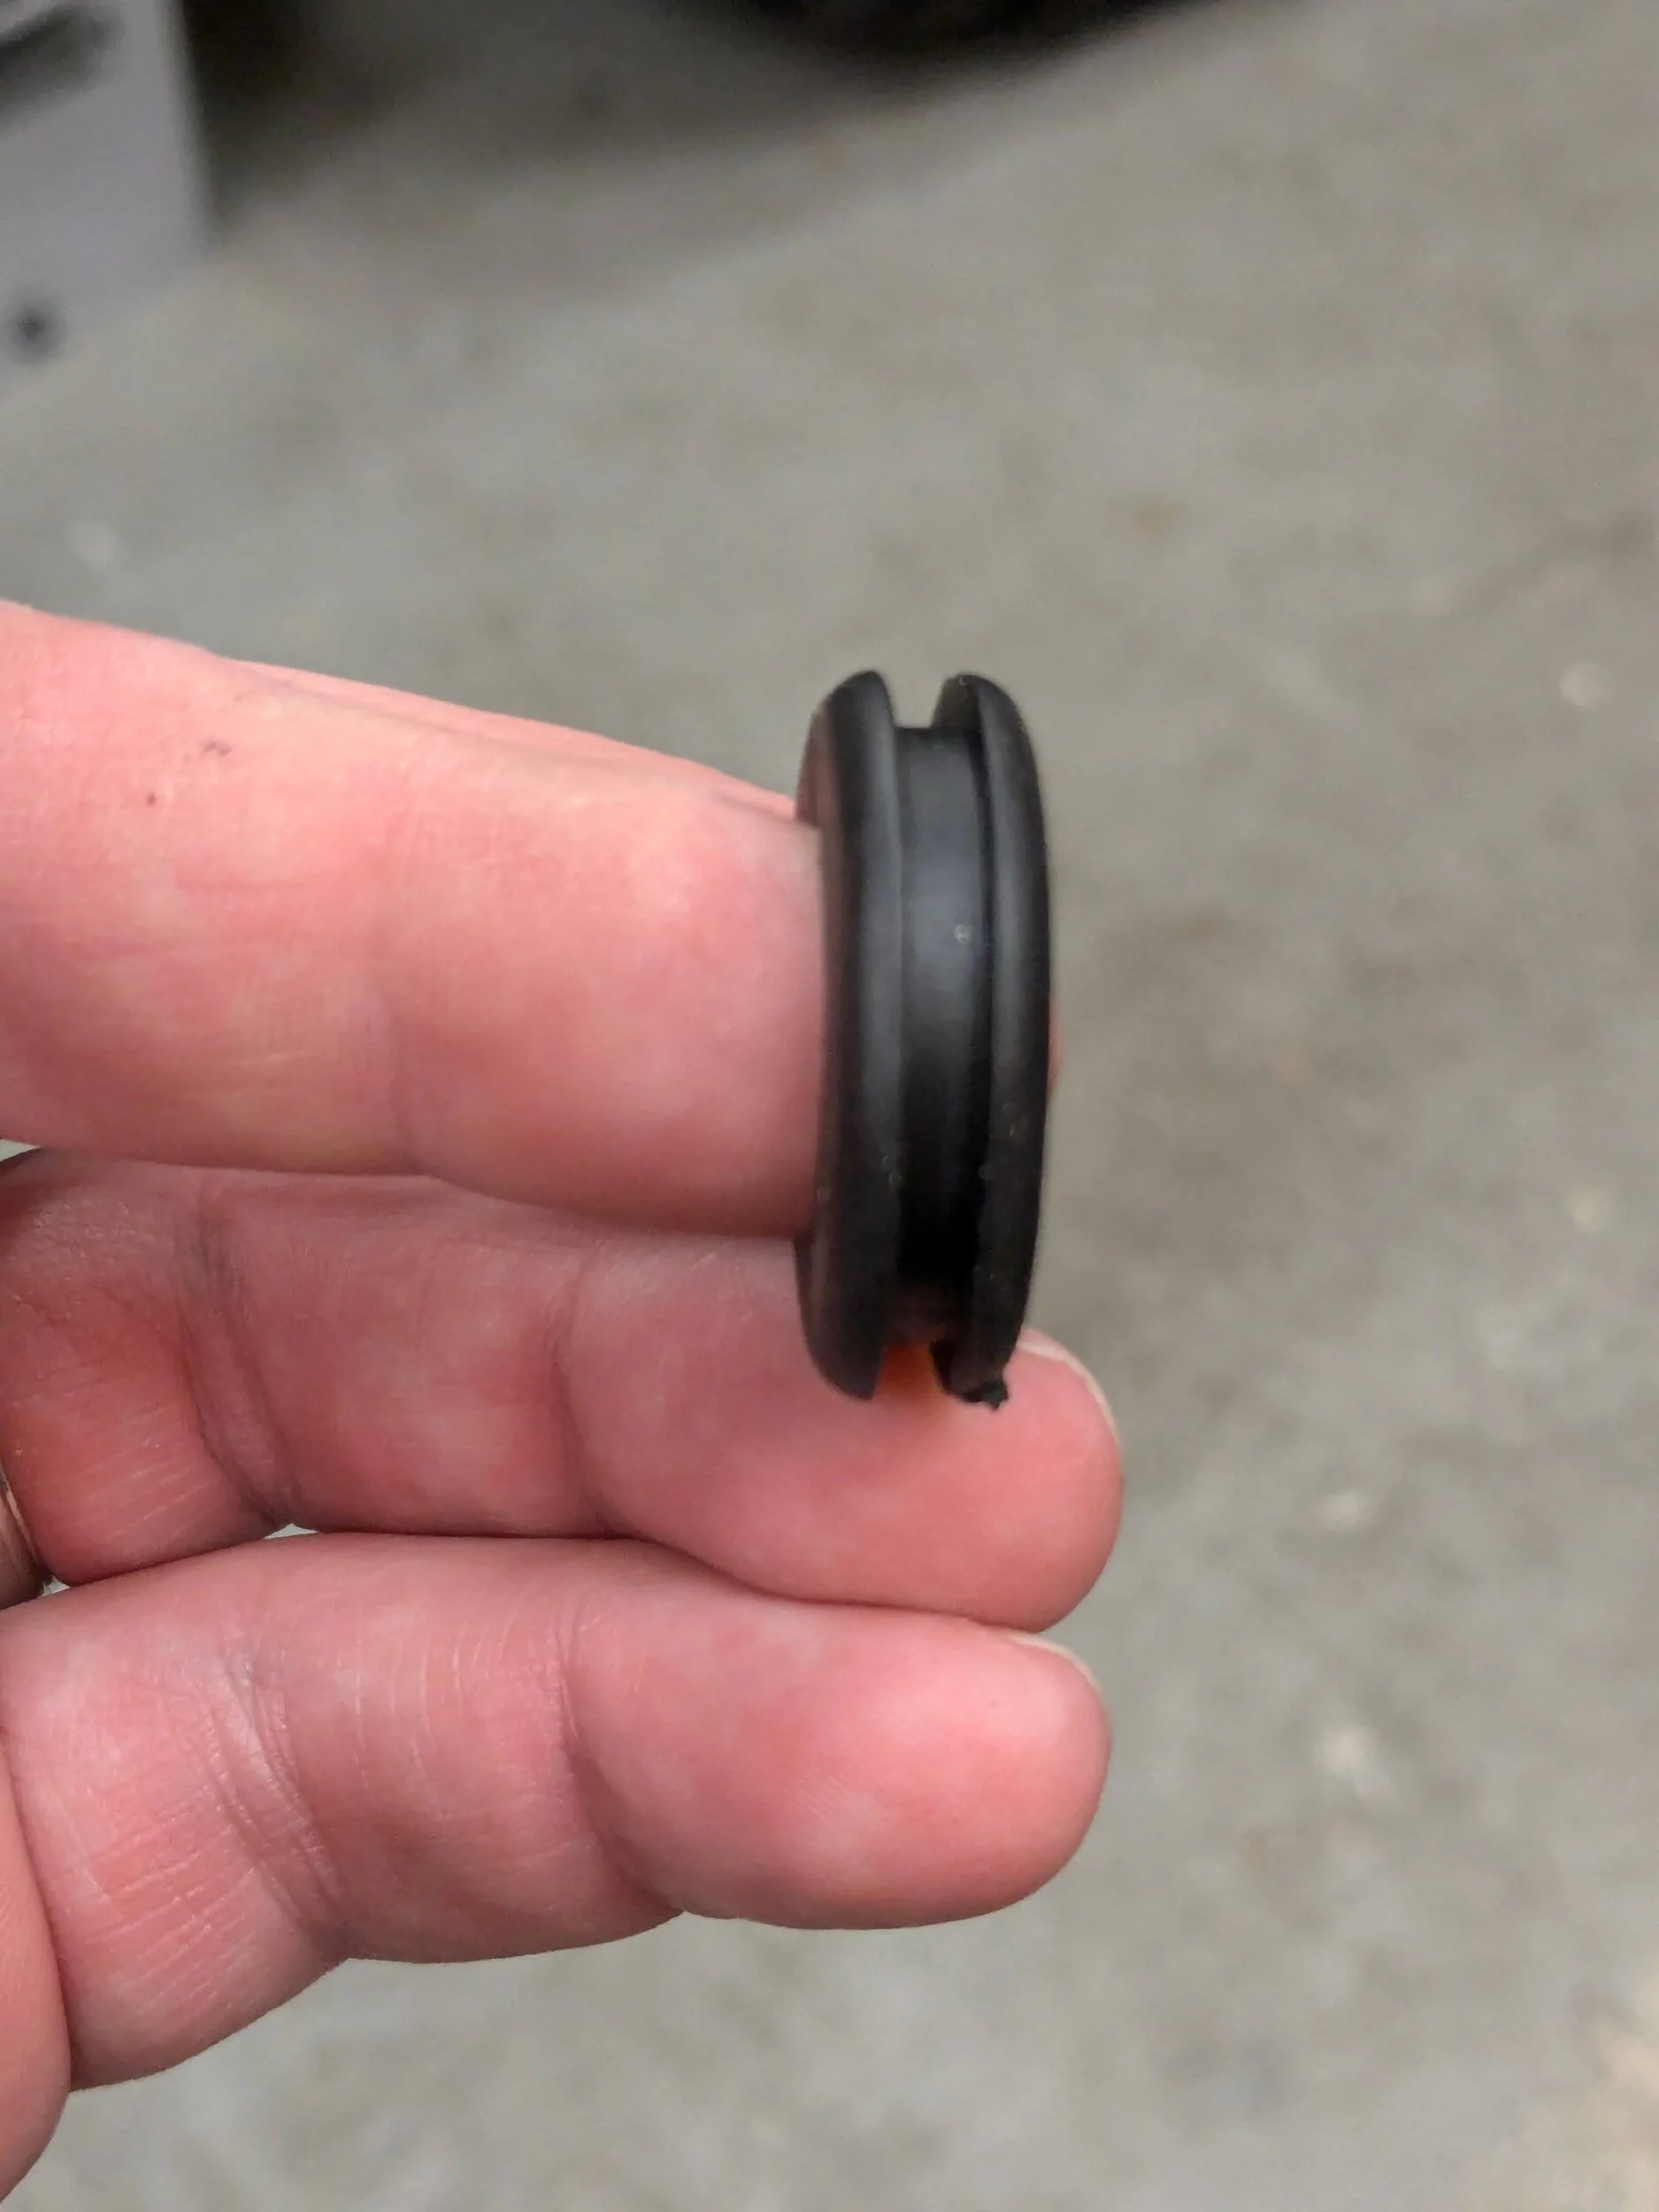
So I went with the next set in the grommet kit that were for the same size hole diameter.
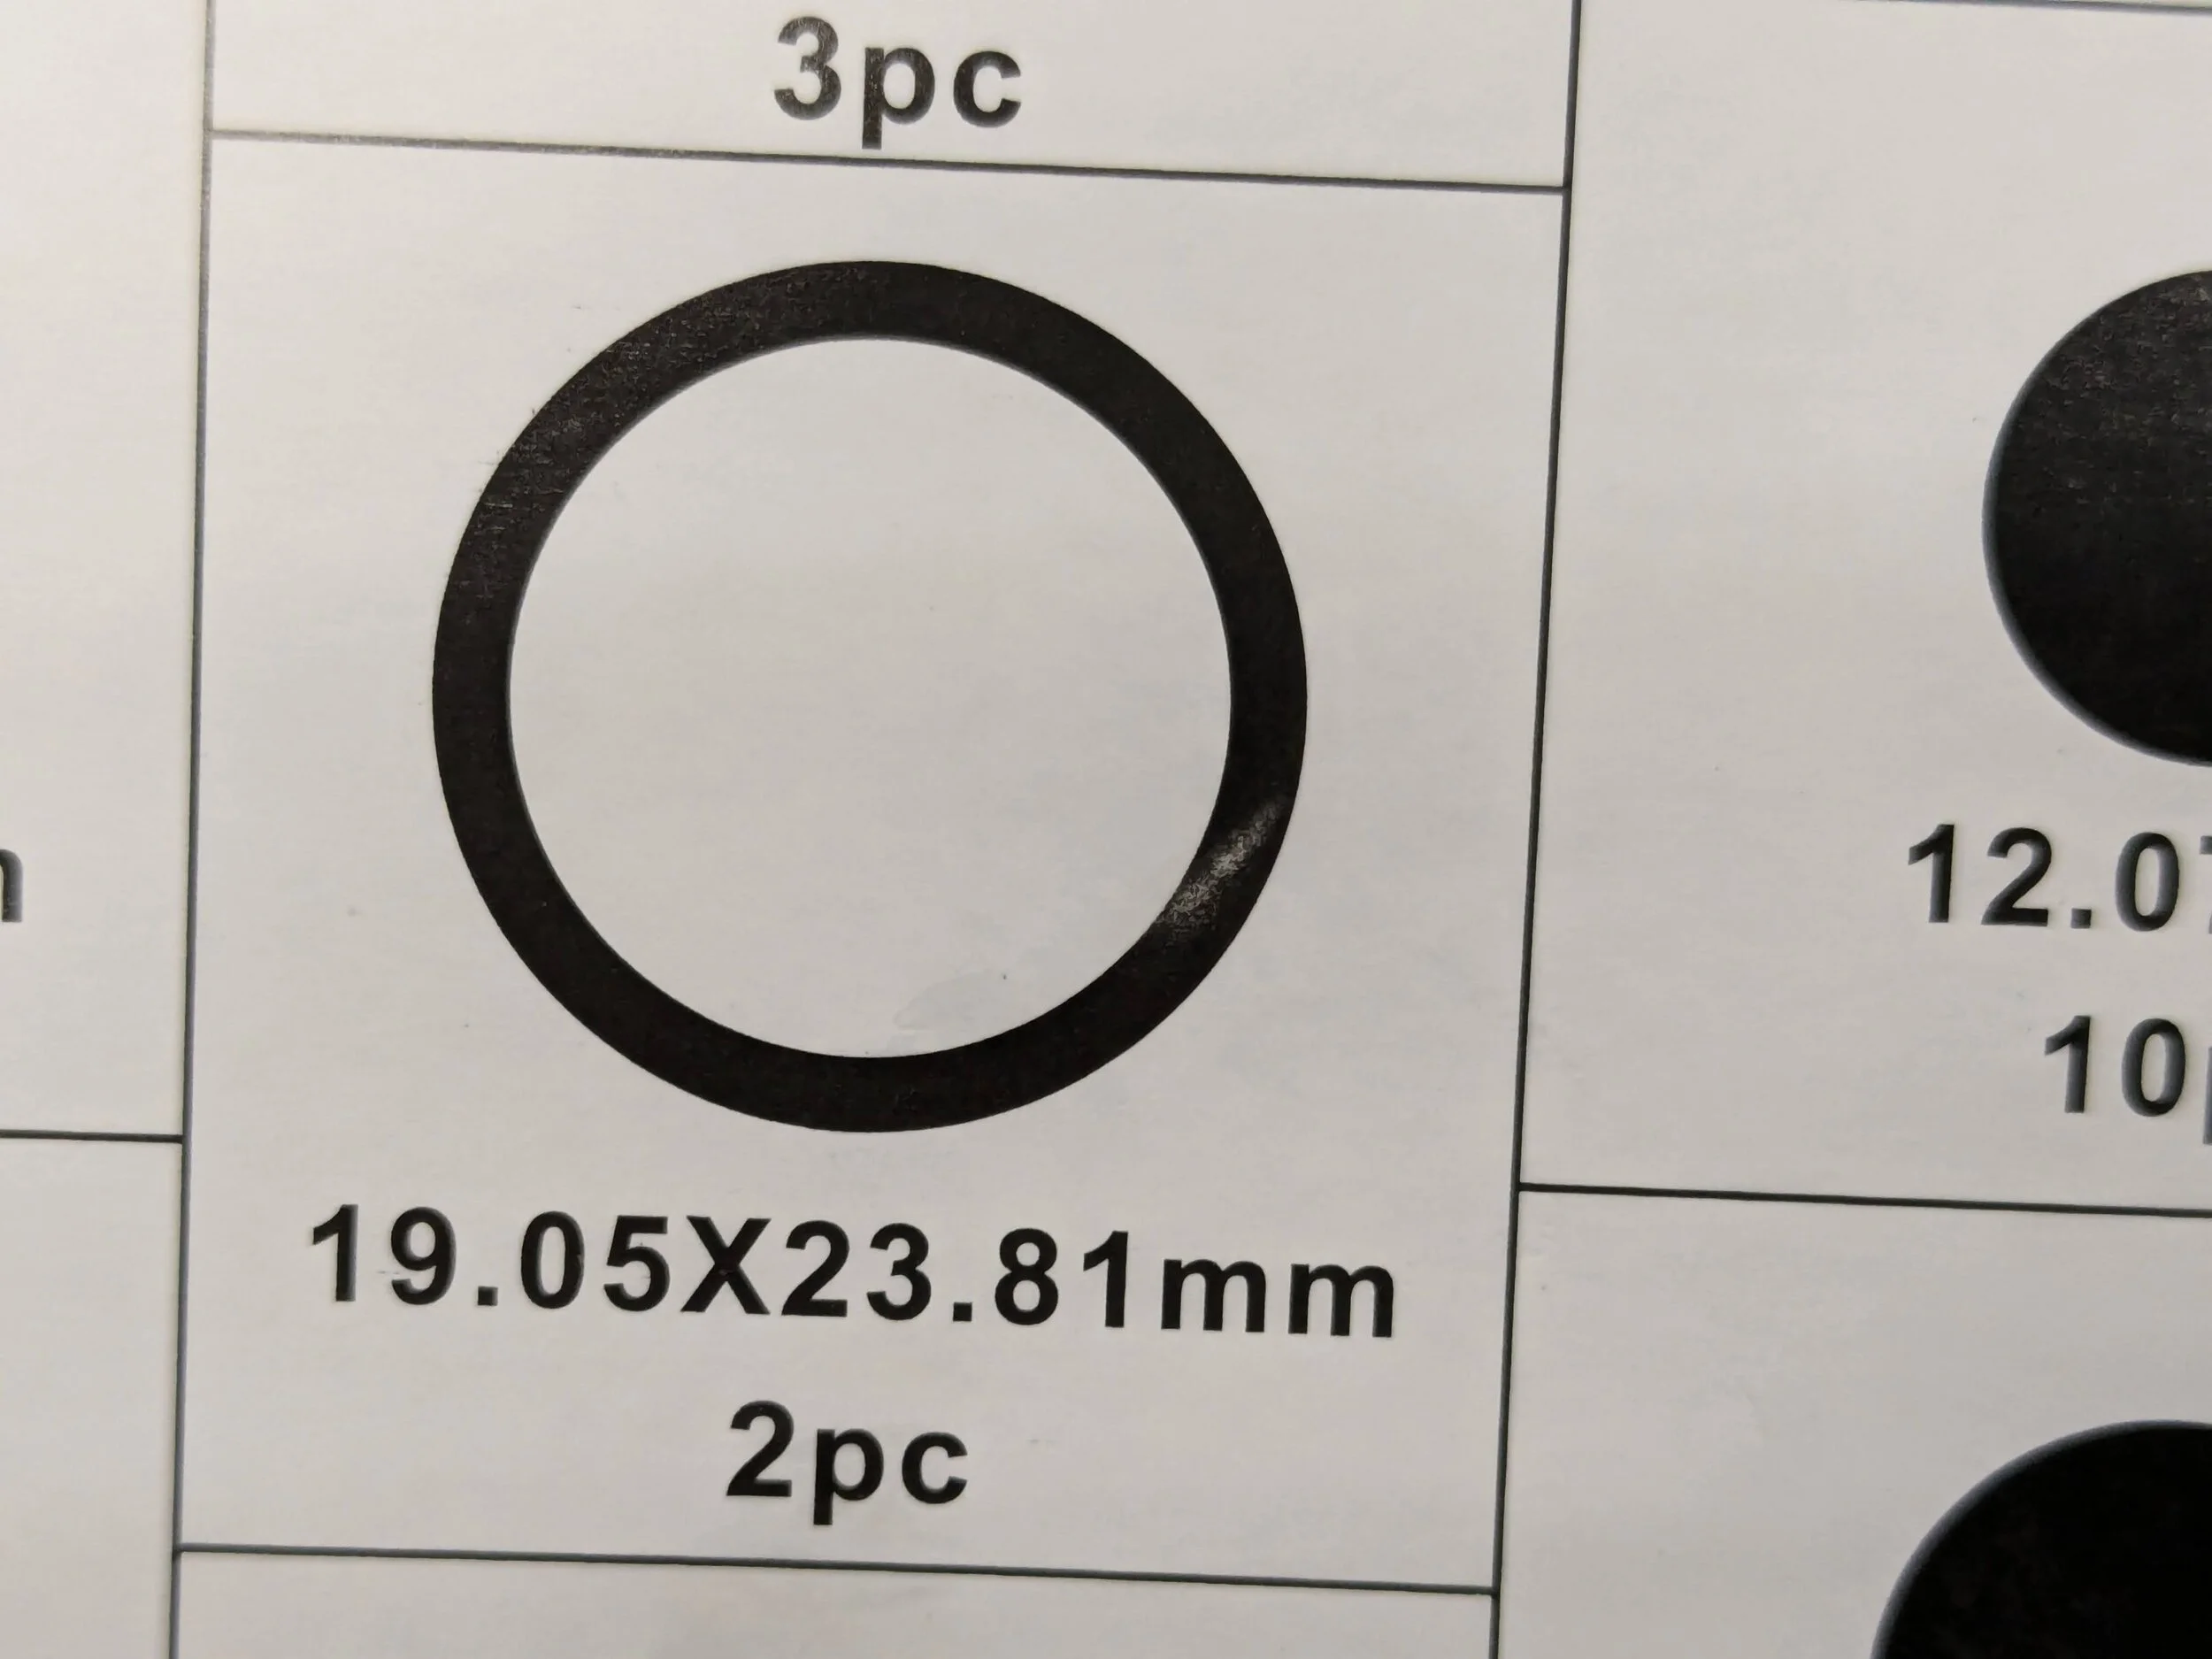
PXL_20240909_004225134.webp


PXL_20240909_004044501.webp


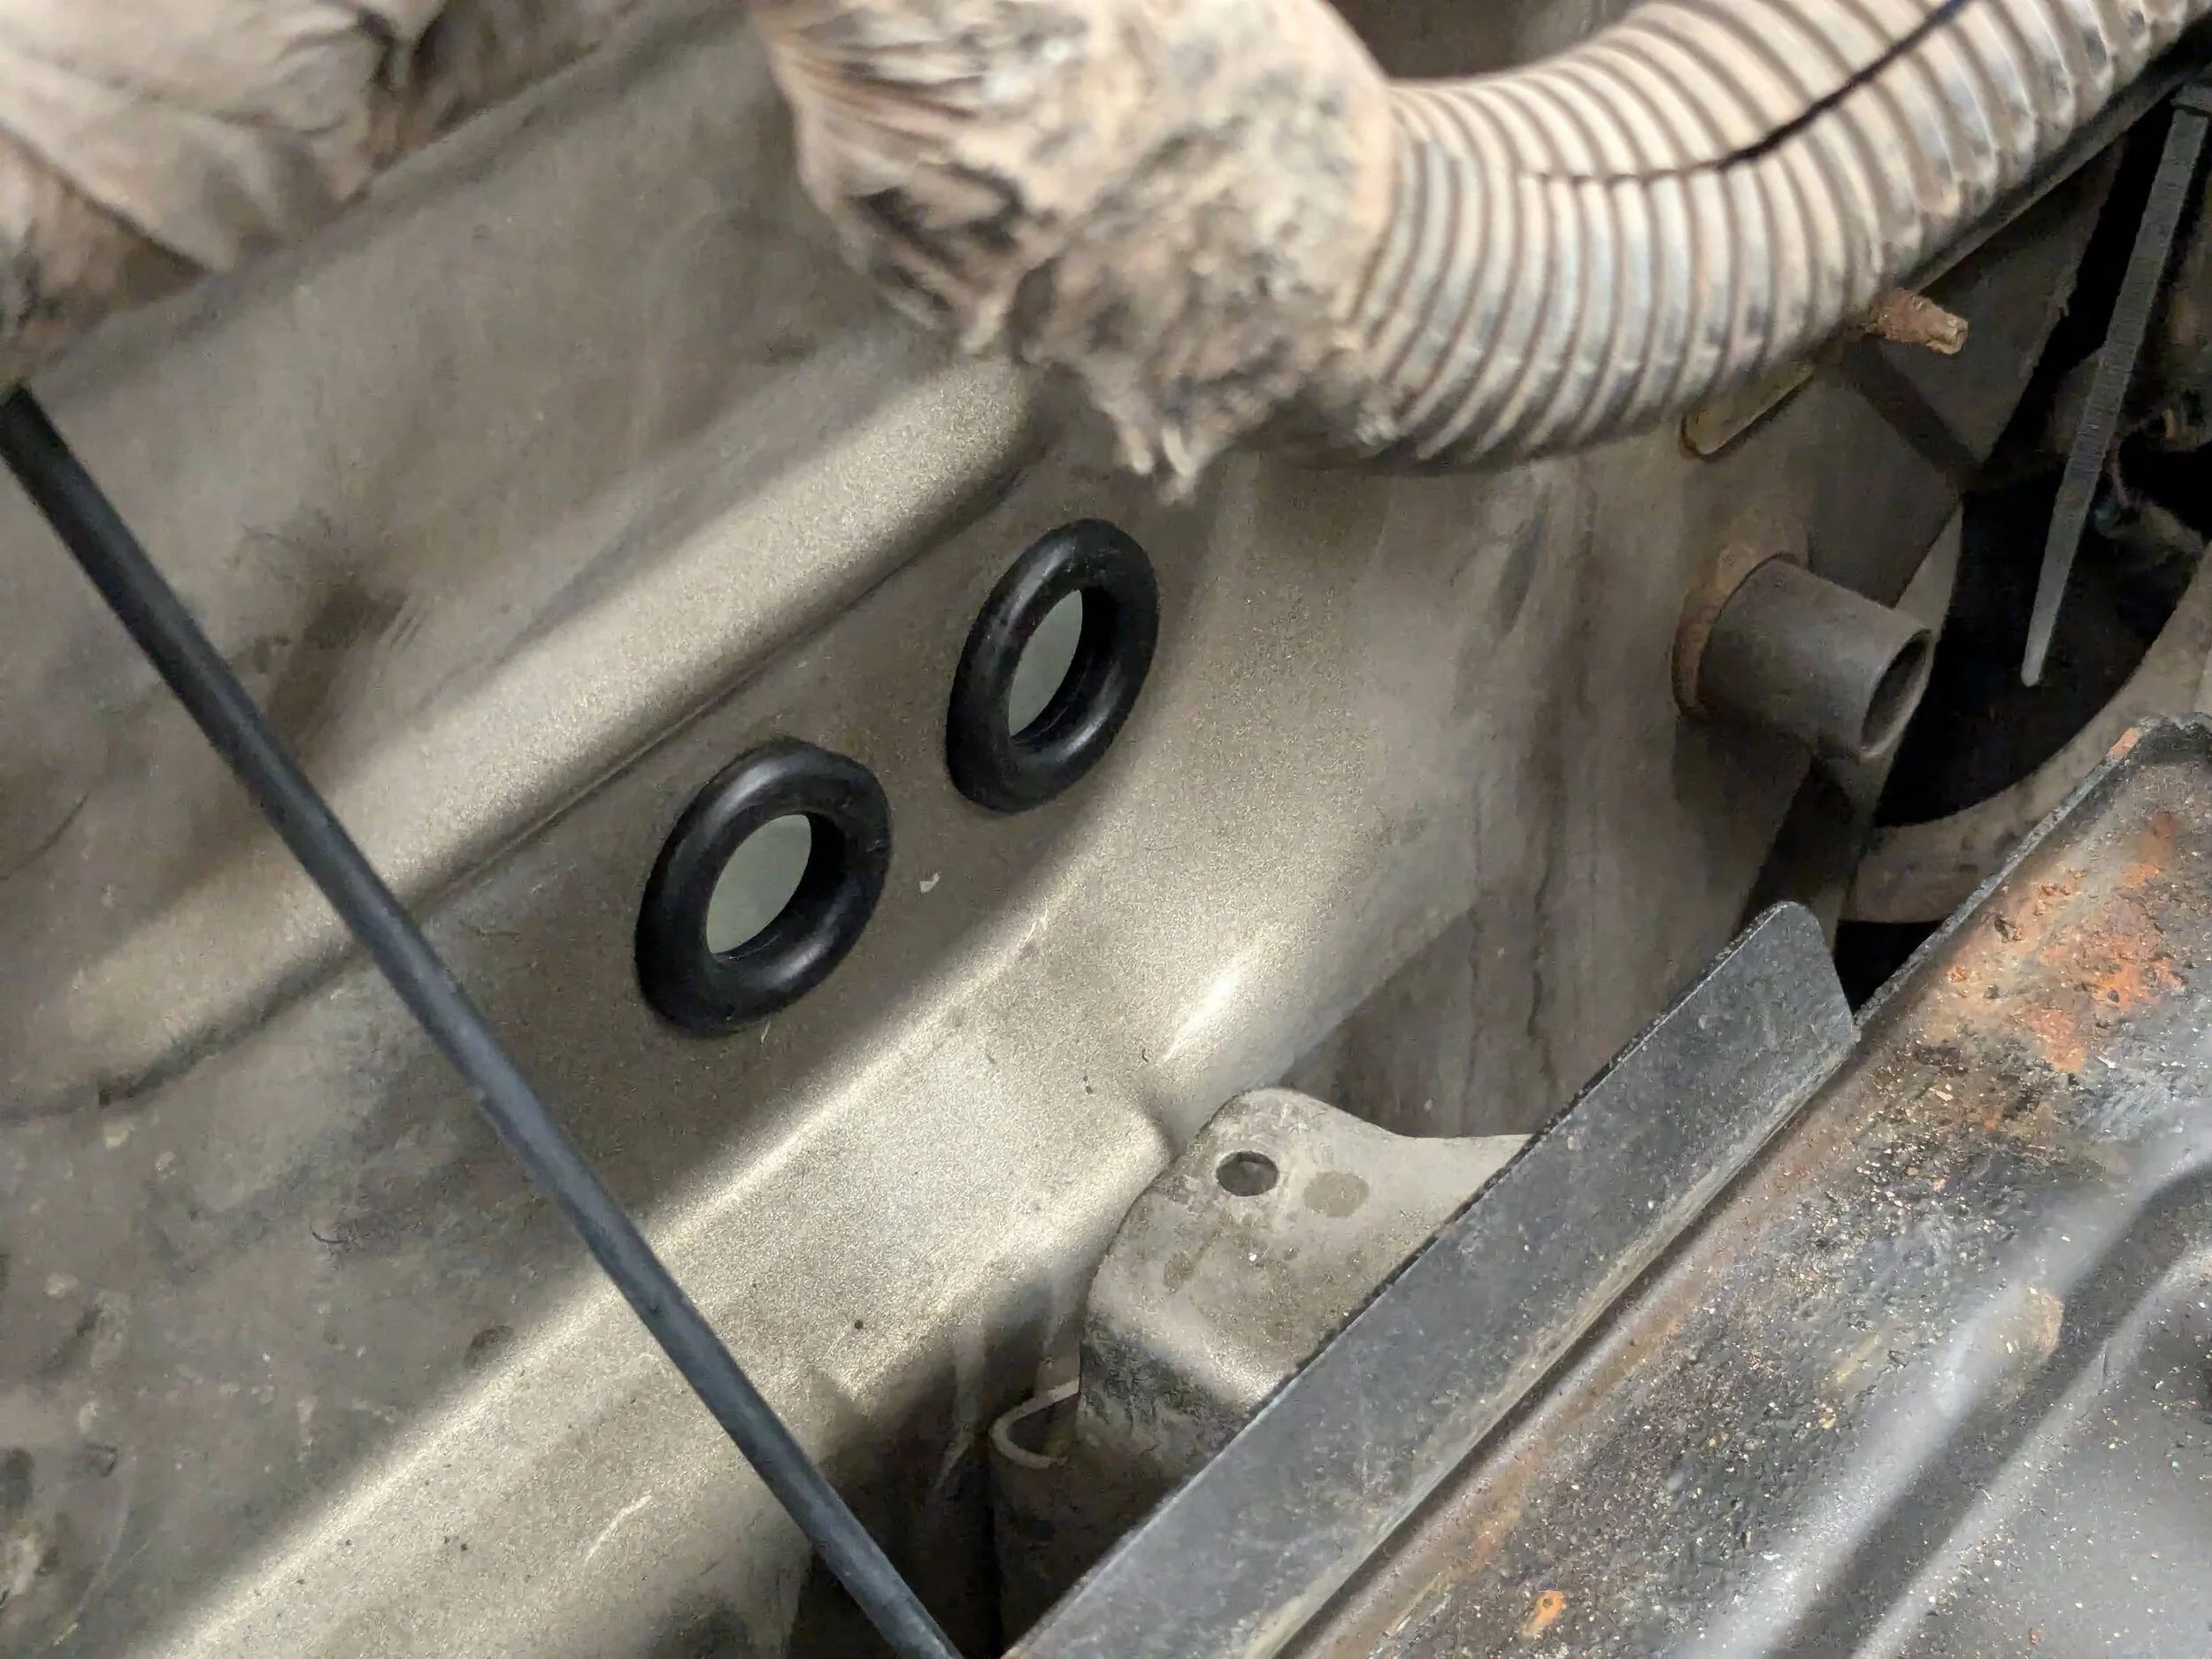
Creates a bigger hole for the wiring which is nice to fit more wires. But I may need to plug it up some if the wires don't fill the hole to avoid a spot for water intrusion.

I'm not so worried about water intrusion, give the placement on the firewall being pretty high and the battery tray providing a natural splash shield. If I see a issue, I can add more tape to the loom in the engine bay and pull that into the grommet to better fill it.

Final install.
PXL_20240909_004146955.webp
 
I'm intrigued. May go with this style before I start running cables.

I wish I'd found these sooner as I would have used them more often.

I've seen these but less of a fan because of their size intruding into the engine bay.

They work better for larger wires or things like the shifter cables. I think they make them in smaller sizes but the same concept too.
 
  • Like
Reactions: FarFire70

Pulled the trigger on this set. I like the options. Planning to go with the cone versions as a first try.

New blower motor ordered.

https://www.amazon.com/dp/B002E5BVZC?tag=wranglerorg-20

I need to pull the resistor to see how it's looking to ensure it isn't showing signs of burn-out. It's one of those 'while I'm here' that I may just replace anyway even if it looks good when I pull it...
 
  • Like
Reactions: Wildman
More teardown.

Soft top in the basement (with the door surrounds)

1000007530.webp


Speaker pods out

1000007532.webp
 
  • Like
Reactions: Wildman
Soft grab handles gone. Going to need to see if this looks better after removal and a wash ...

1000007533.webp


Going with hard handles mounted to the windshield frame.
 
  • Like
Reactions: Wildman
Roll bar down to the foam.

1000007535.webp


Coverings:

1000007536.webp


Plan to put it through the washing machine a couple times. Then hit it with fabric paint and coat coat to black.

Wasn't too bad to remove. A couple zippers we're gummed with dirt dust but hit them with liquid soap and they loosened up.
 
It bothered me since removing so many wires within the dash that I couldn't figure out the purpose of one wire.

Green/red 18g - cut end started within the dash on the passenger side and across the dash. When I traced it back, I found it ran into OEM wiring loom in the Dr. footwell. So, I figured it would be a process to determine its purpose and today started looking through the FSM...

I love that I left these notes to myself when I pulled it out of the dash back to the driver footwell.

PXL_20240913_015438865.webp

[End where?] is what that says in my chicken scratch.

On the other side of that tape:

PXL_20240913_015431769.webp


I couldn't recall where I cut it on the passengers side.... (I was removing a lot of circuits at the time and was 'pretty good' at tagging them — but this one alluded me.)

—-

After an initial look in the FSM and not seeing anything that jumped out, I went back and relooked in the Jeep at where it entered the OEM loom.

Low and behold, it then jumped out that it is coming off the OEM hardtop wiring loom that I installed after getting a hard top.

That triggered me to recall this wire ran over to the passenger dash fuse block to get keyed-12V!

😮‍💨 Glad that wasn't so tough to figure out! (Need to do better not creating work for 'future Mike')

I had tapped that wire for the +12V to the CB (hence why I tagged it that way on the tape). I just must have missed the terminal end that plugged into the fuse block (since this was an OEM not-factory-installed loom).
 
  • Like
Reactions: Wildman
Also found another repair for me left when I installed the OEM hardtop wiring kit...

I couldn't get one of the hardtop kit pin to seat in the existing connector. After several attempts, I just cut off the pins and crimped the appropriate wires together. I actually think I used a M/F set of spade connectors (we'll see when I unwrap it).


PXL_20240913_015416883.webp


But that tape job is garbage so I'll go back after that and see about a more protected solution with a better (pinned) single wire connector to keep it safe and weatherproofed.

Glad to be finding more of these now, rather than later. We all learn as we grow - this was another young, dumb, poor install. It was a good solution at the time to not try 'one-more-attempt' to use the existing connector and risk damaging it and causing a much larger issue...

——

I was able to get an OEM 2005 hardtop wiring kit at the time. And I will say the Jeep did a great job with the 'after factory' install product and instructions. It went in really well (other than these couple minor issues). Very clean product.

I then modified the end connector at the hardtop to match up with the 2000 hardtop that I got for a steal (given today's prices...).
 
  • Like
Reactions: Wildman
I've been considering replacing the CC buttons on the wheel since the lettering is so worn. Since the wheel is off again, I figured to pull the trigger.

But the new are running $85+ per side.

So I went with better-than-mine on eBay.

s-l1600.webp


One spot is a bit worn but way better than mine and save me $100+...!
 
  • Like
Reactions: Wildman and Rickyd
I've been considering replacing the CC buttons on the wheel since the lettering is so worn. Since the wheel is off again, I figured to pull the trigger.

But the new are running $85+ per side.

So I went with better-than-mine on eBay.

View attachment 557933

One spot is a bit worn but way better than mine and save me $100+...!

My current version....

PXL_20231231_144447765.webp


They look so sad every time I look at the wheel...
 
  • Like
Reactions: Wildman
Pulled the blower motor resistor since I'm already replacing the motor and the resistor is known to fail (and has for me a couple times already) as the motors age.

Looks like that was a good call. This one looks to be on its last breath before failing...

1000007550.webp
 
  • Like
Reactions: Wildman
You really are doing a complete redo of stuff. Those little things like the CC buttons can be a big deal. If mine was a DD I'd add CC to it.

Nice work all around.
 
  • Like
Reactions: FarFire70
You really are doing a complete redo of stuff. Those little things like the CC buttons can be a big deal. If mine was a DD I'd add CC to it.

Nice work all around.

Thanks!

I still think of it as being that Jeep that's only a few years old... but I'm opening my eyes and seeing it really needs TLC.

It's sat more years than it has driven in the past 10 years (engine + COVID Lift project) so I'd like to get it back to being a quality and reliable DD.

The CC is nice on the highway and I drive a lot of long highway & highway-like roads around my area to get to pretty much anything that's isn't a 5-min drive. I hate the wear on the current ones every time I jump in...
 
Thanks!

I still think of it as being that Jeep that's only a few years old... but I'm opening my eyes and seeing it really needs TLC.

It's sat more years than it has driven in the past 10 years (engine + COVID Lift project) so I'd like to get it back to being a quality and reliable DD.

The CC is nice on the highway and I drive a lot of long highway & highway-like roads around my area to get to pretty much anything that's isn't a 5-min drive. I hate the wear on the current ones every time I jump in...

Don't wash or wipe any of those white lettered buttons on the column or wheel with anything but a water damped rag. A lot of the shiny goop and cleaners remove the letters quick