LJ Adventure Build

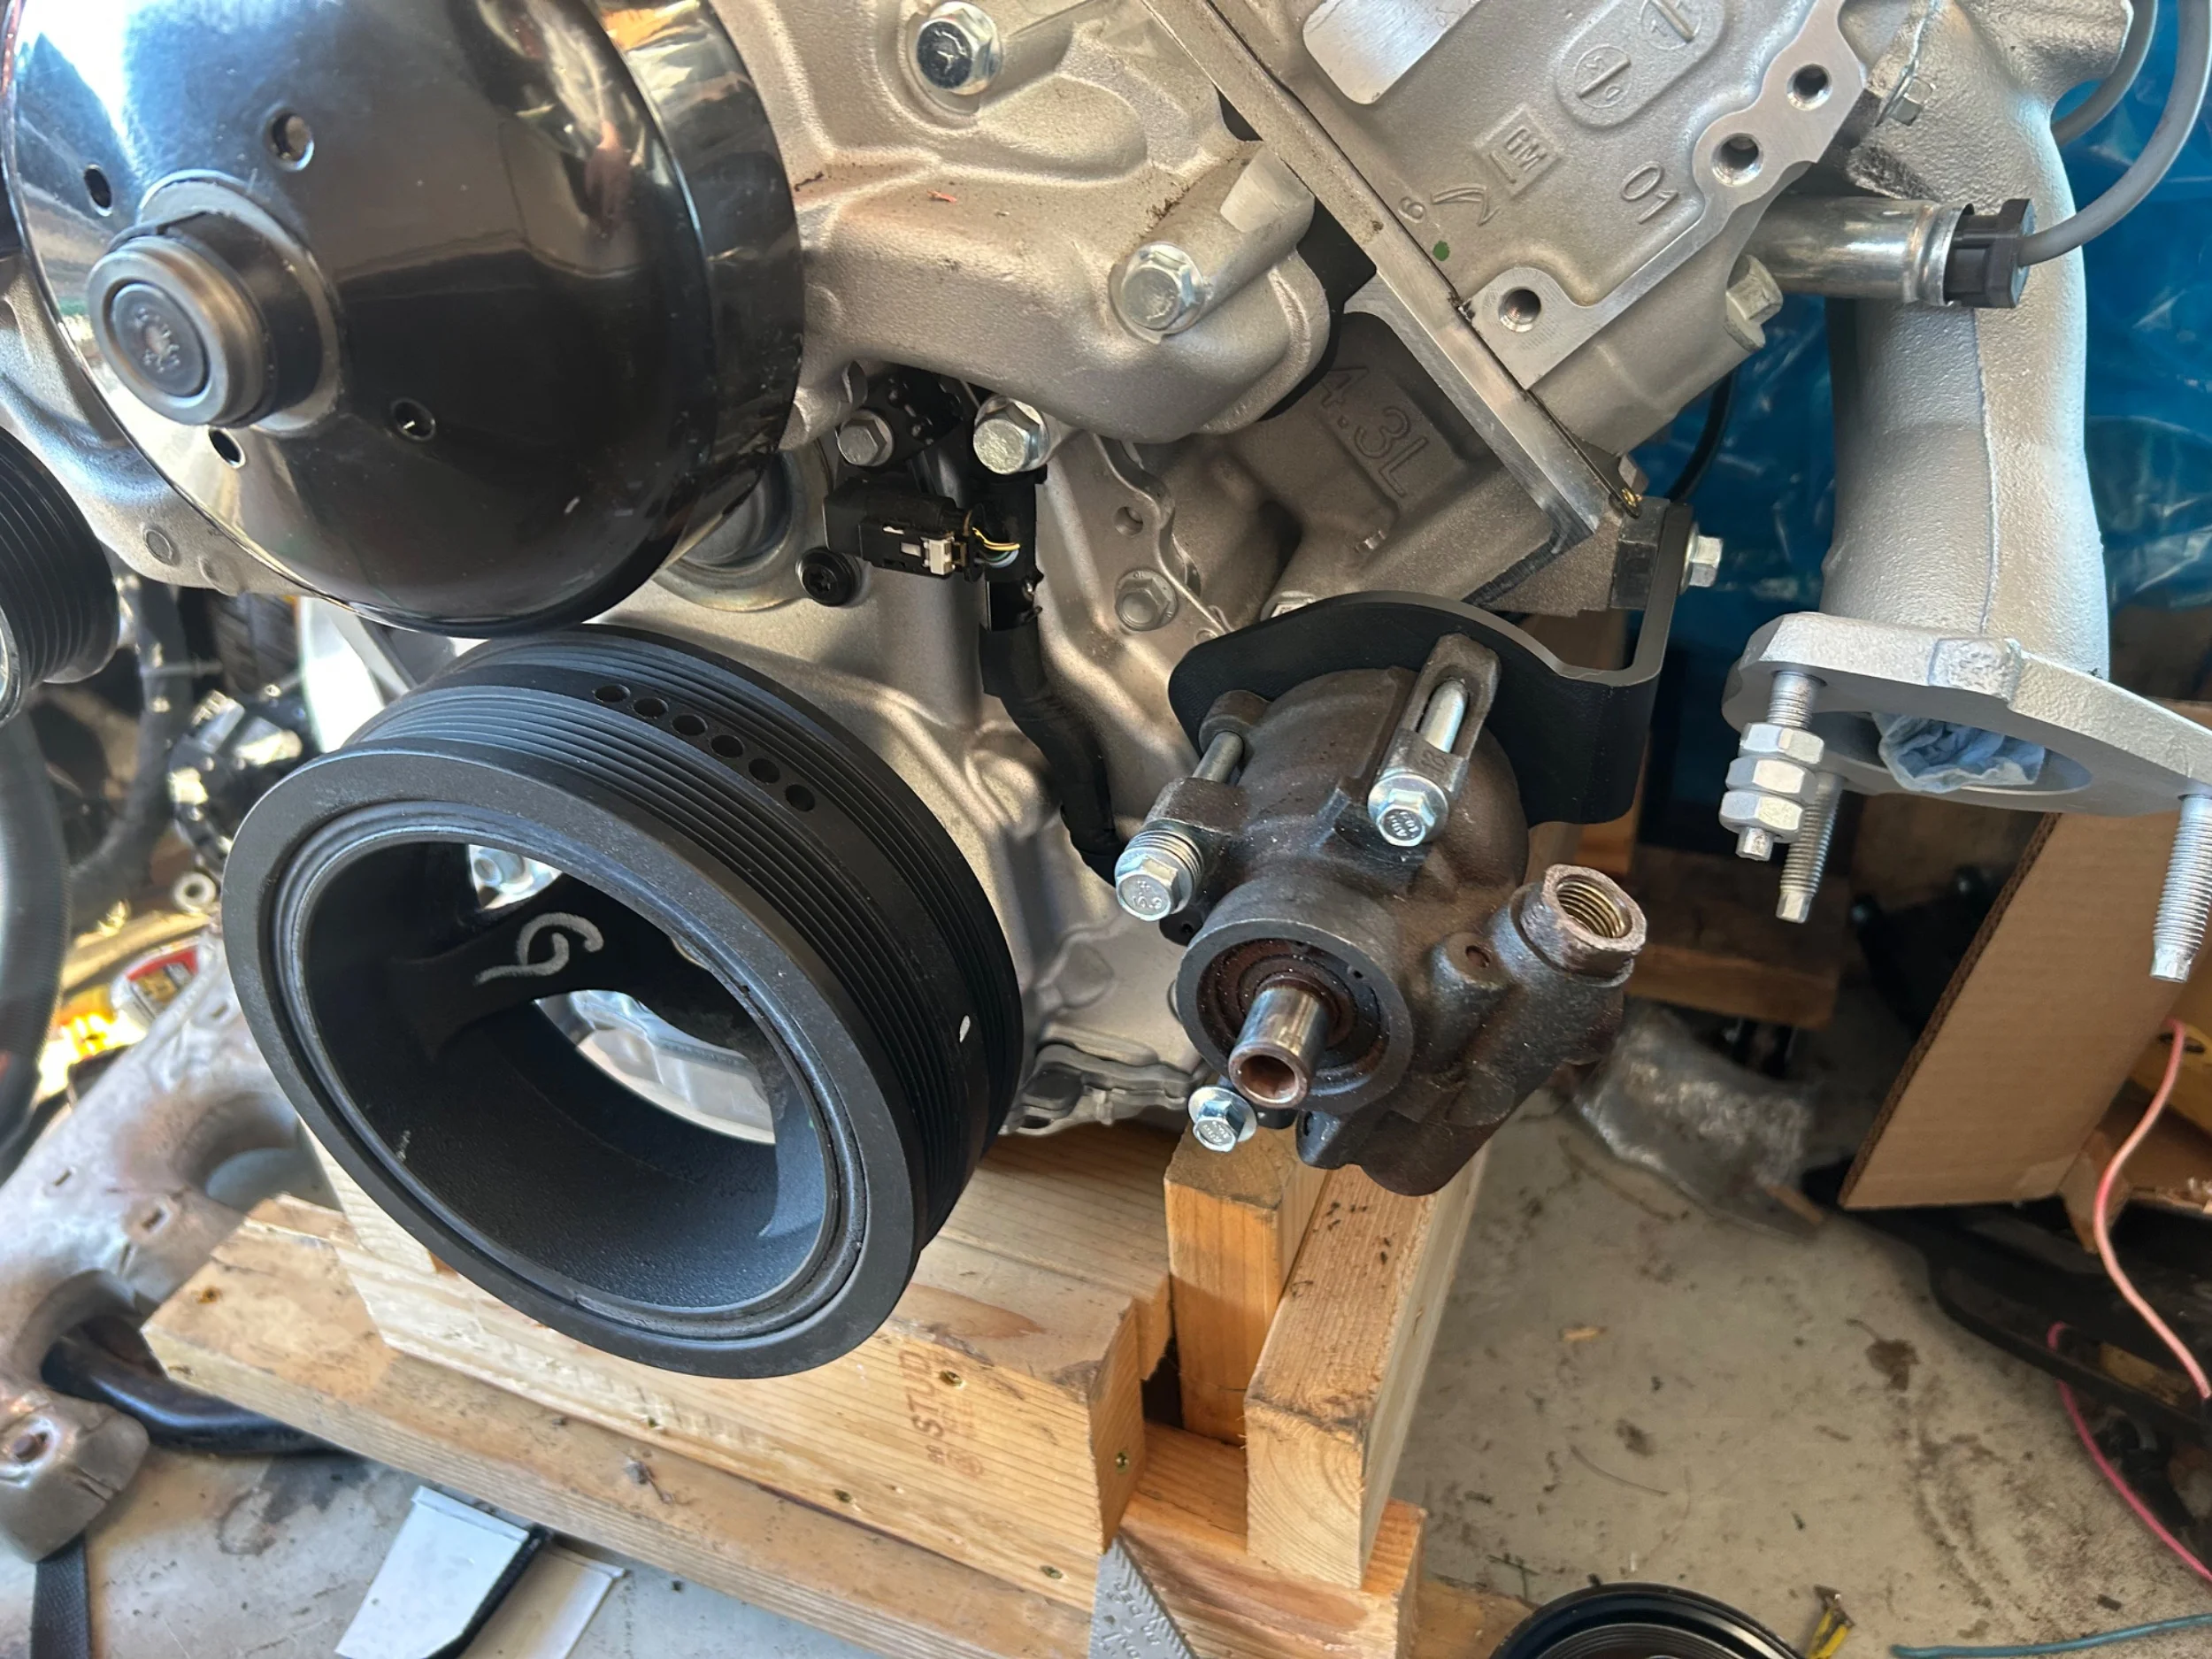
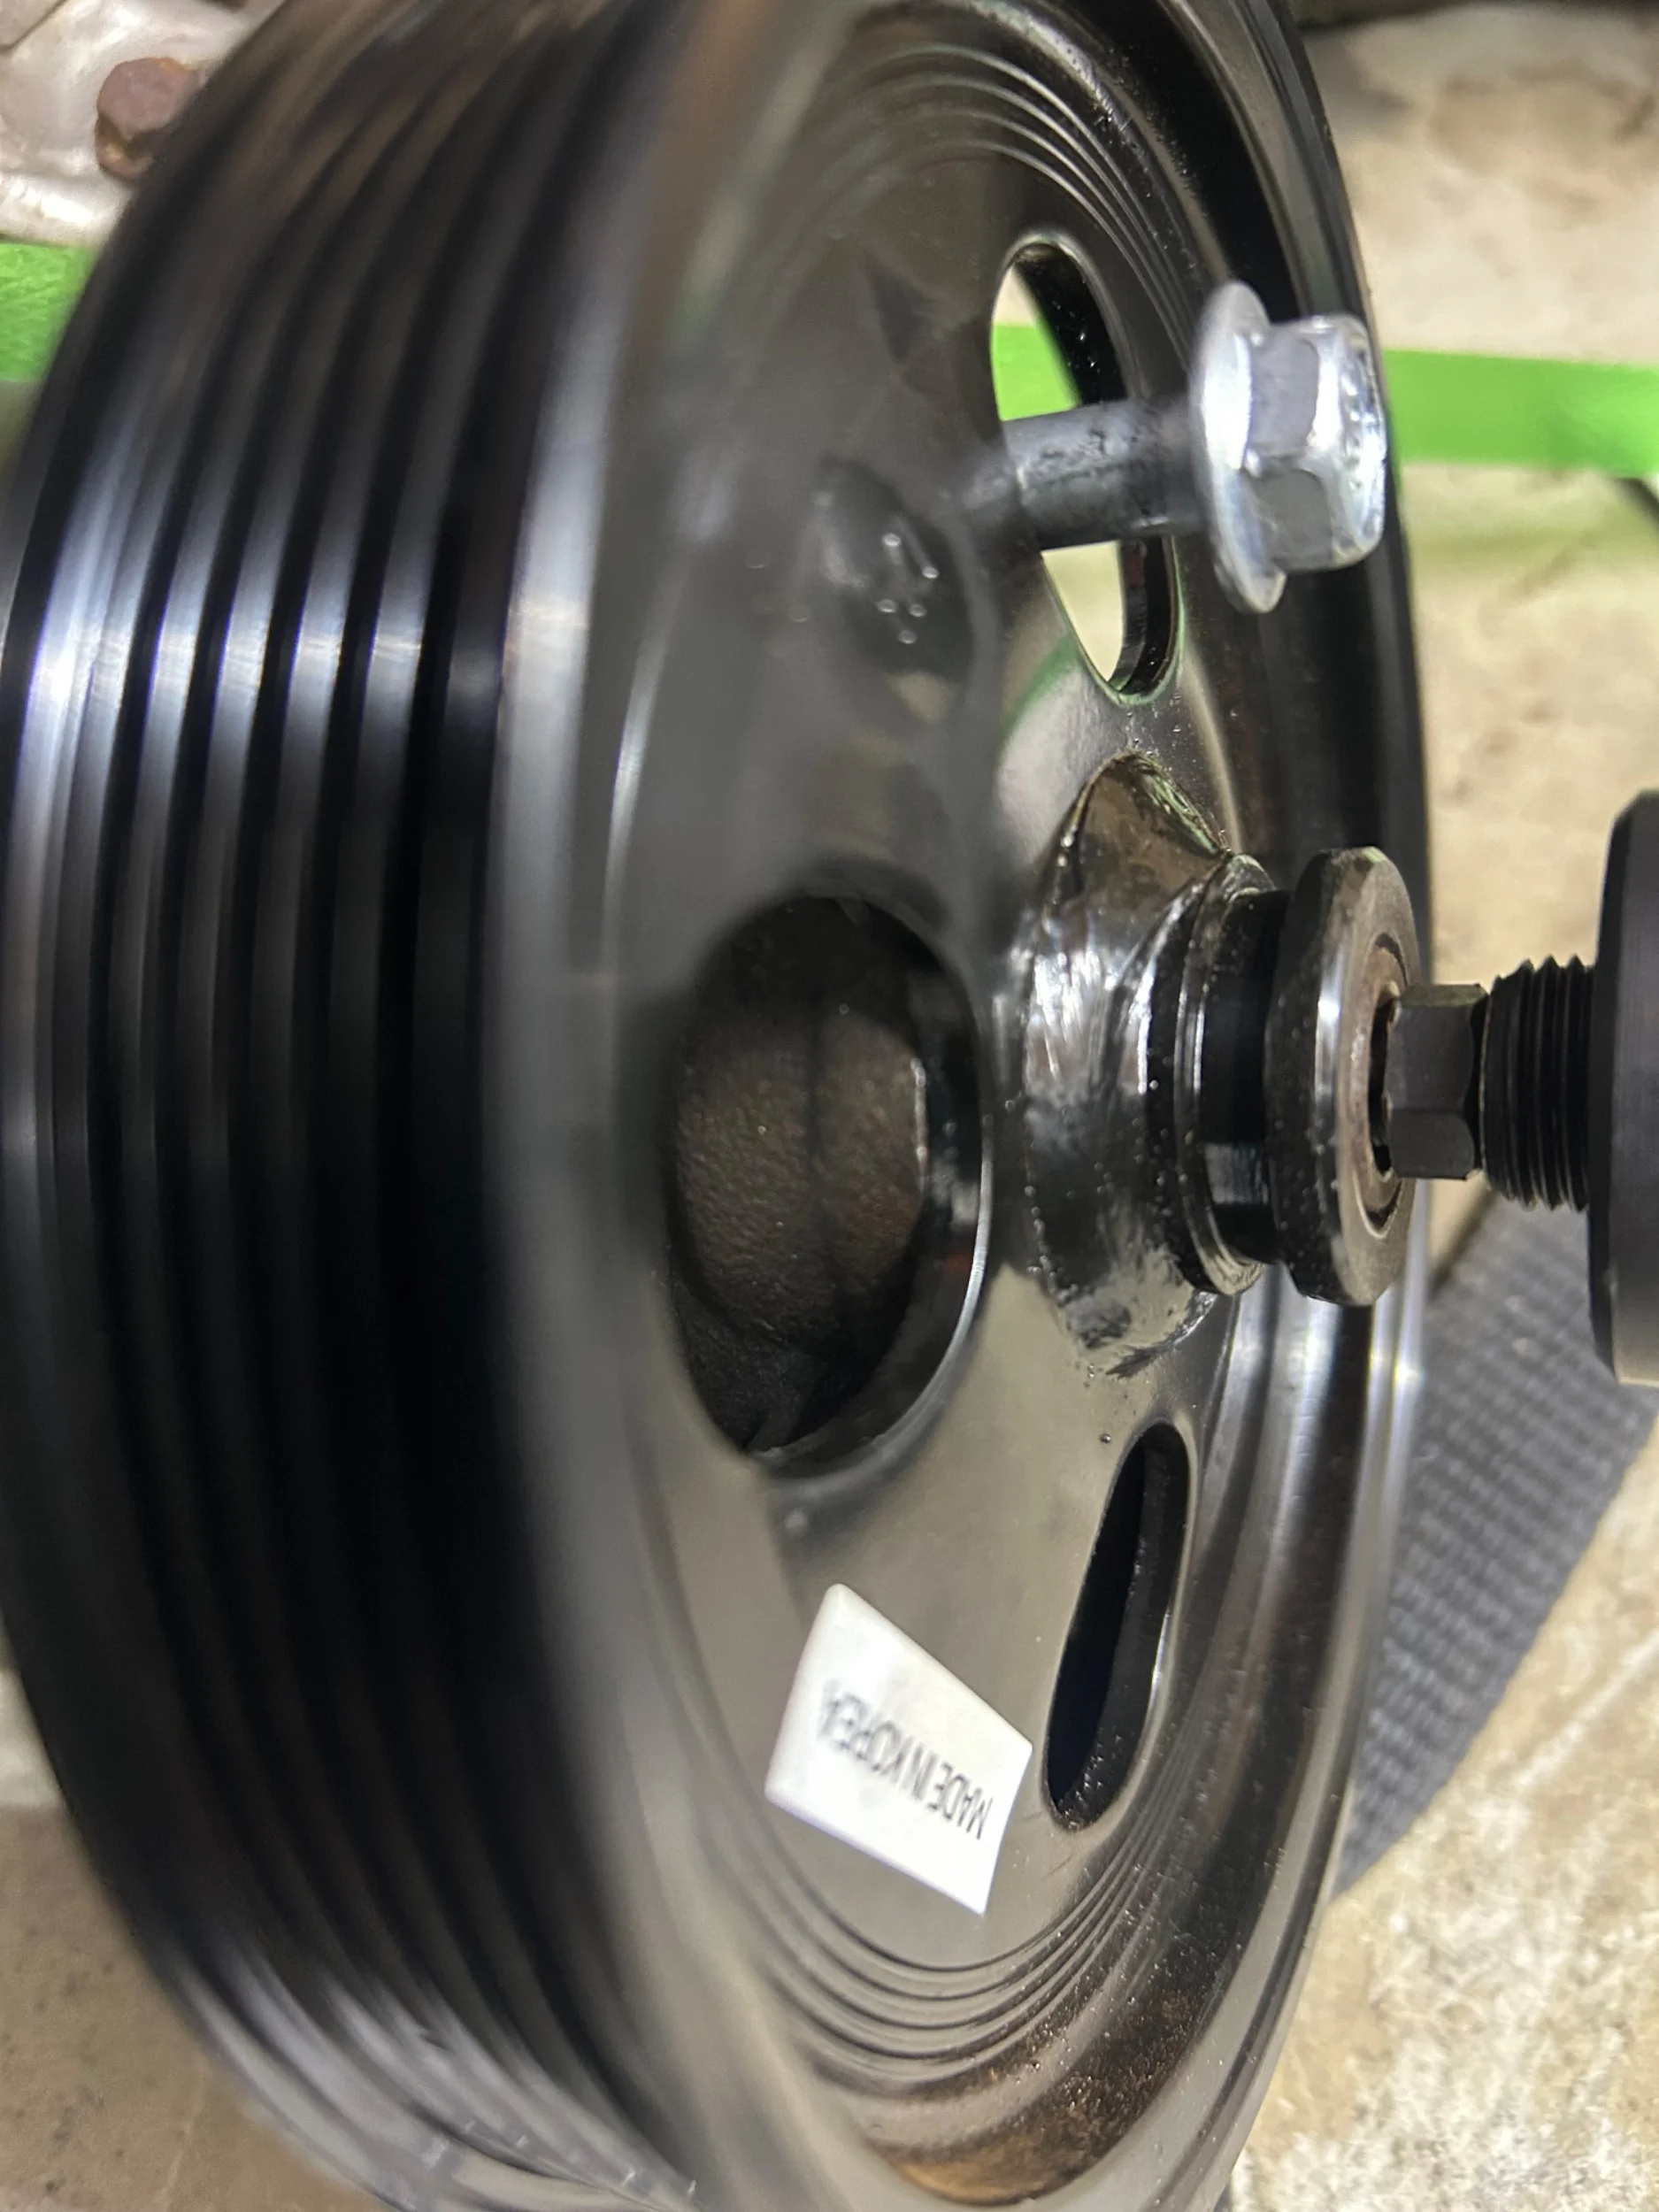
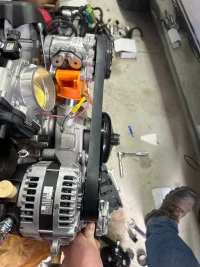
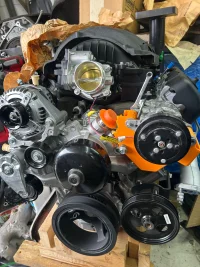
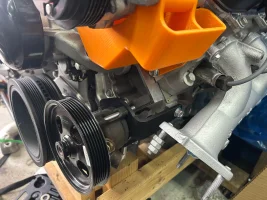
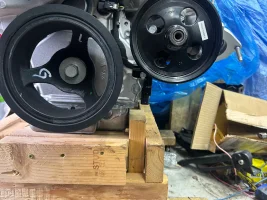
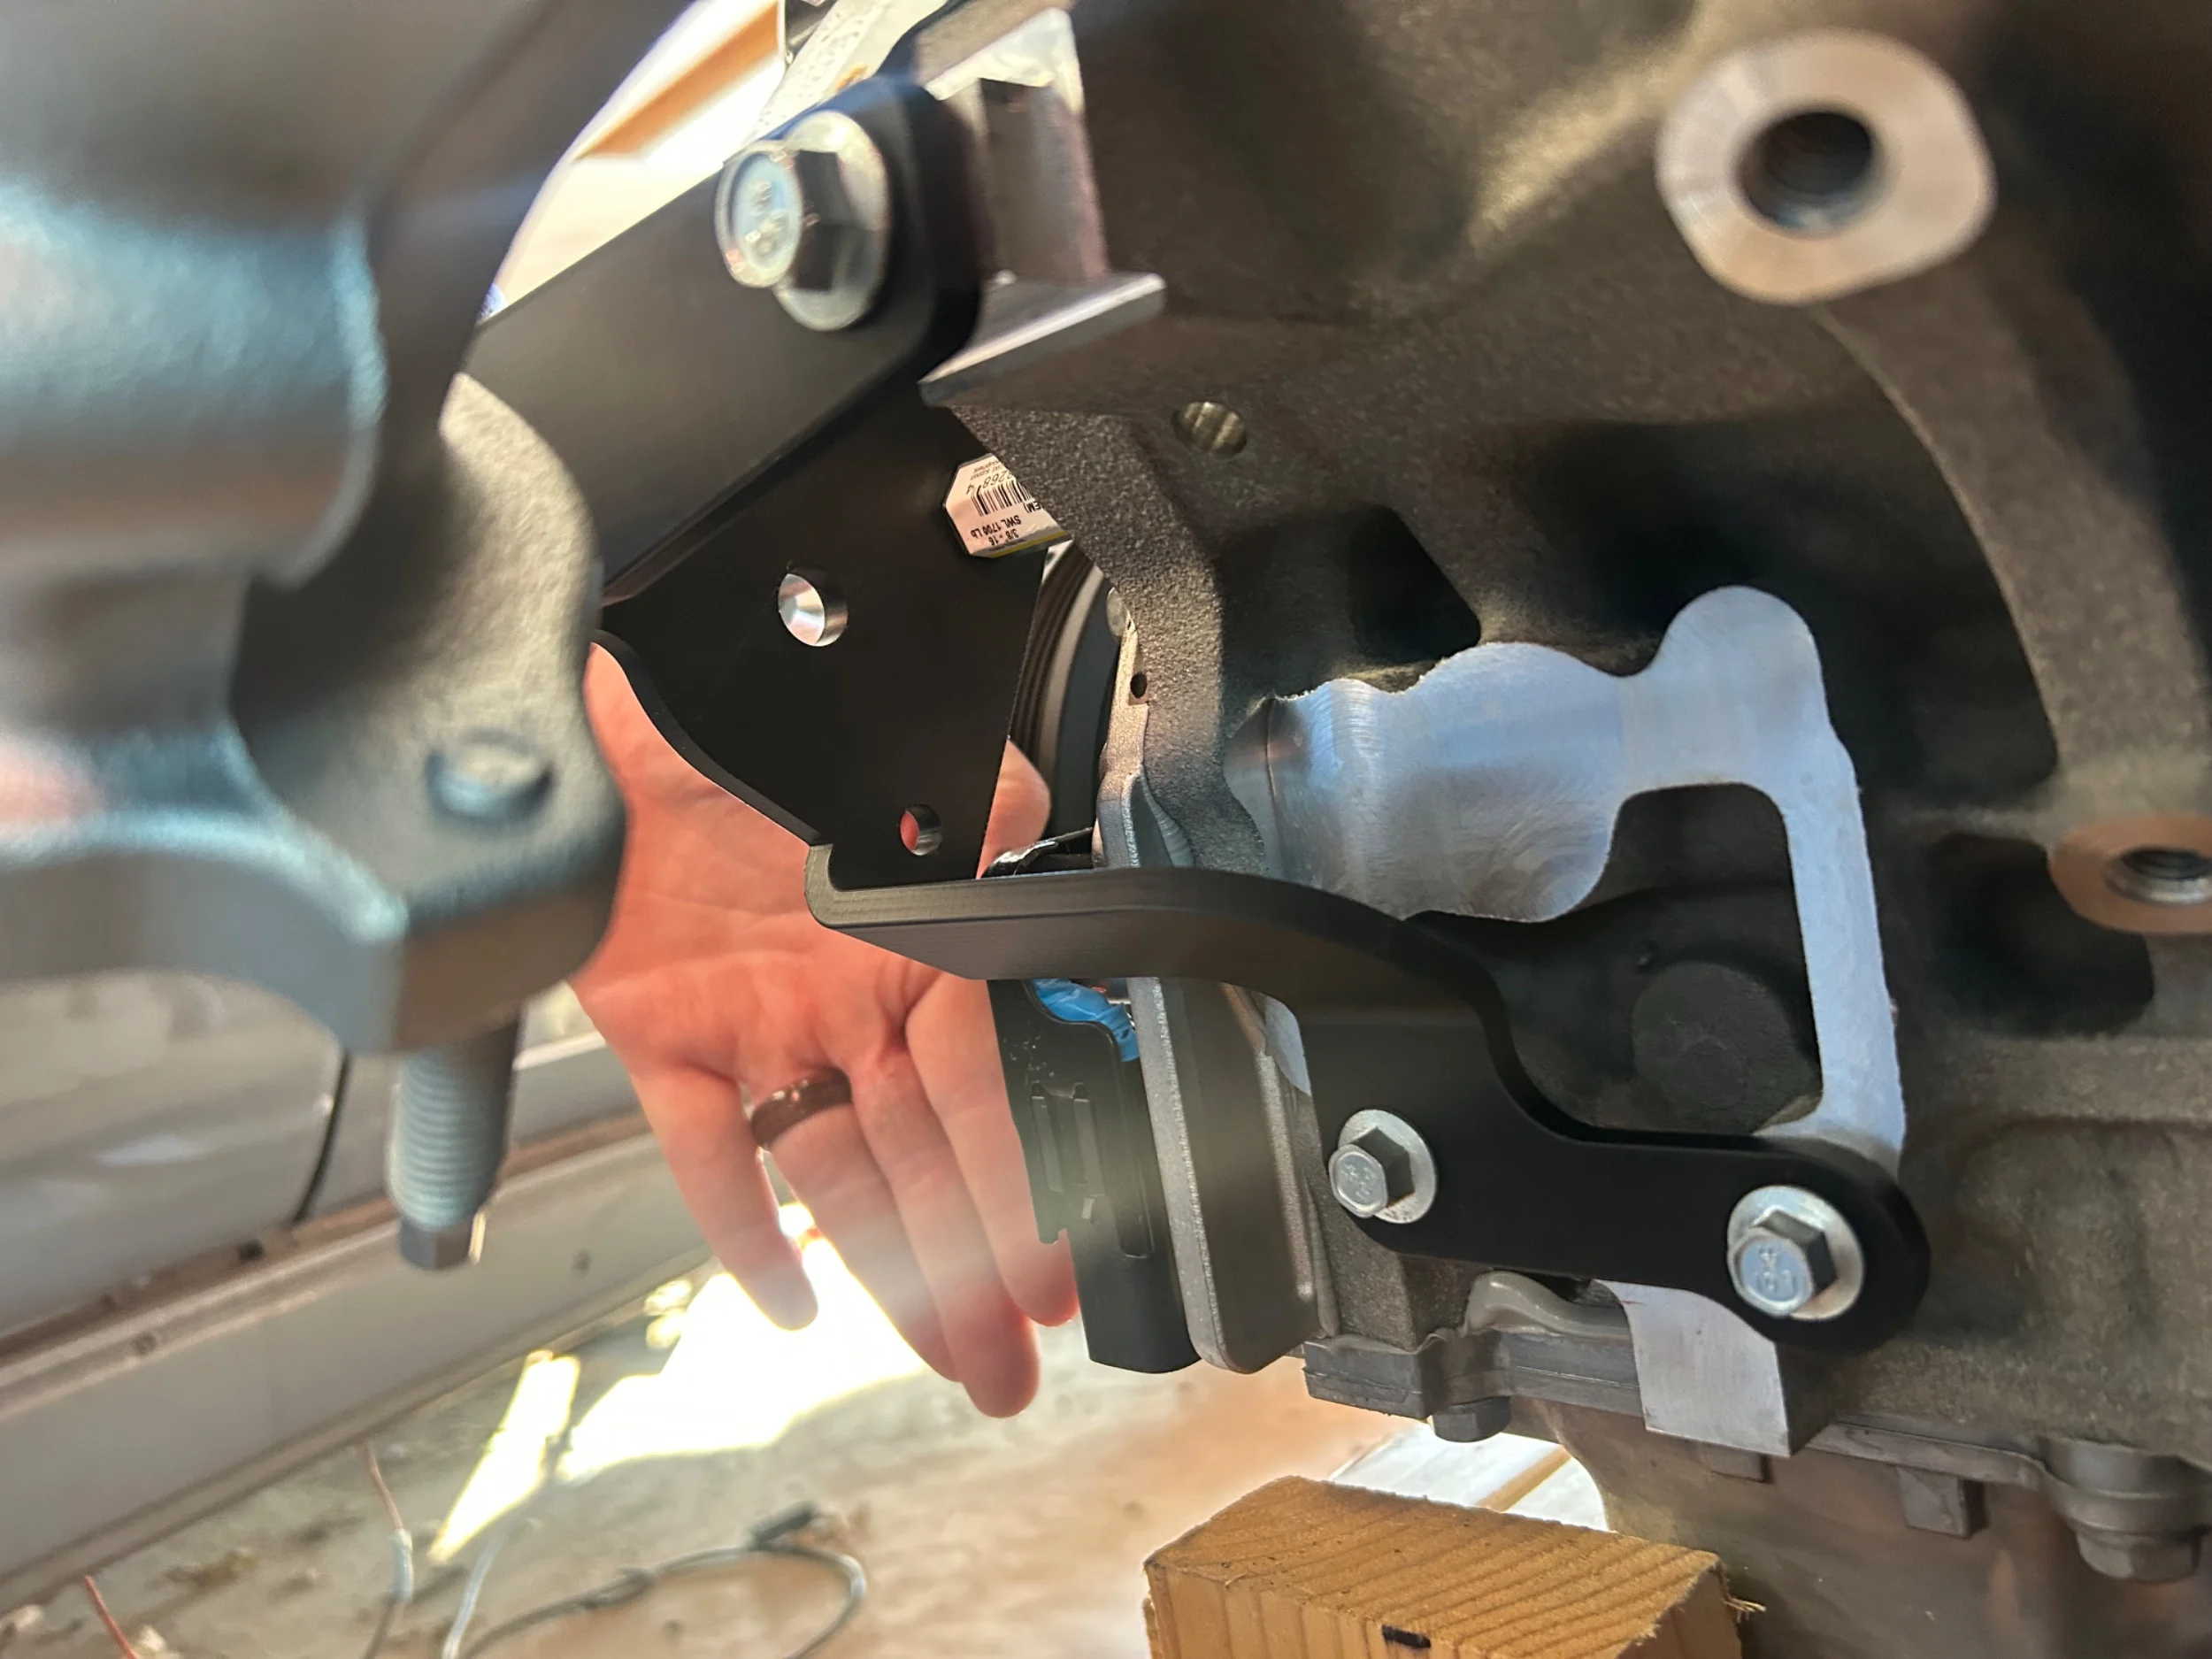
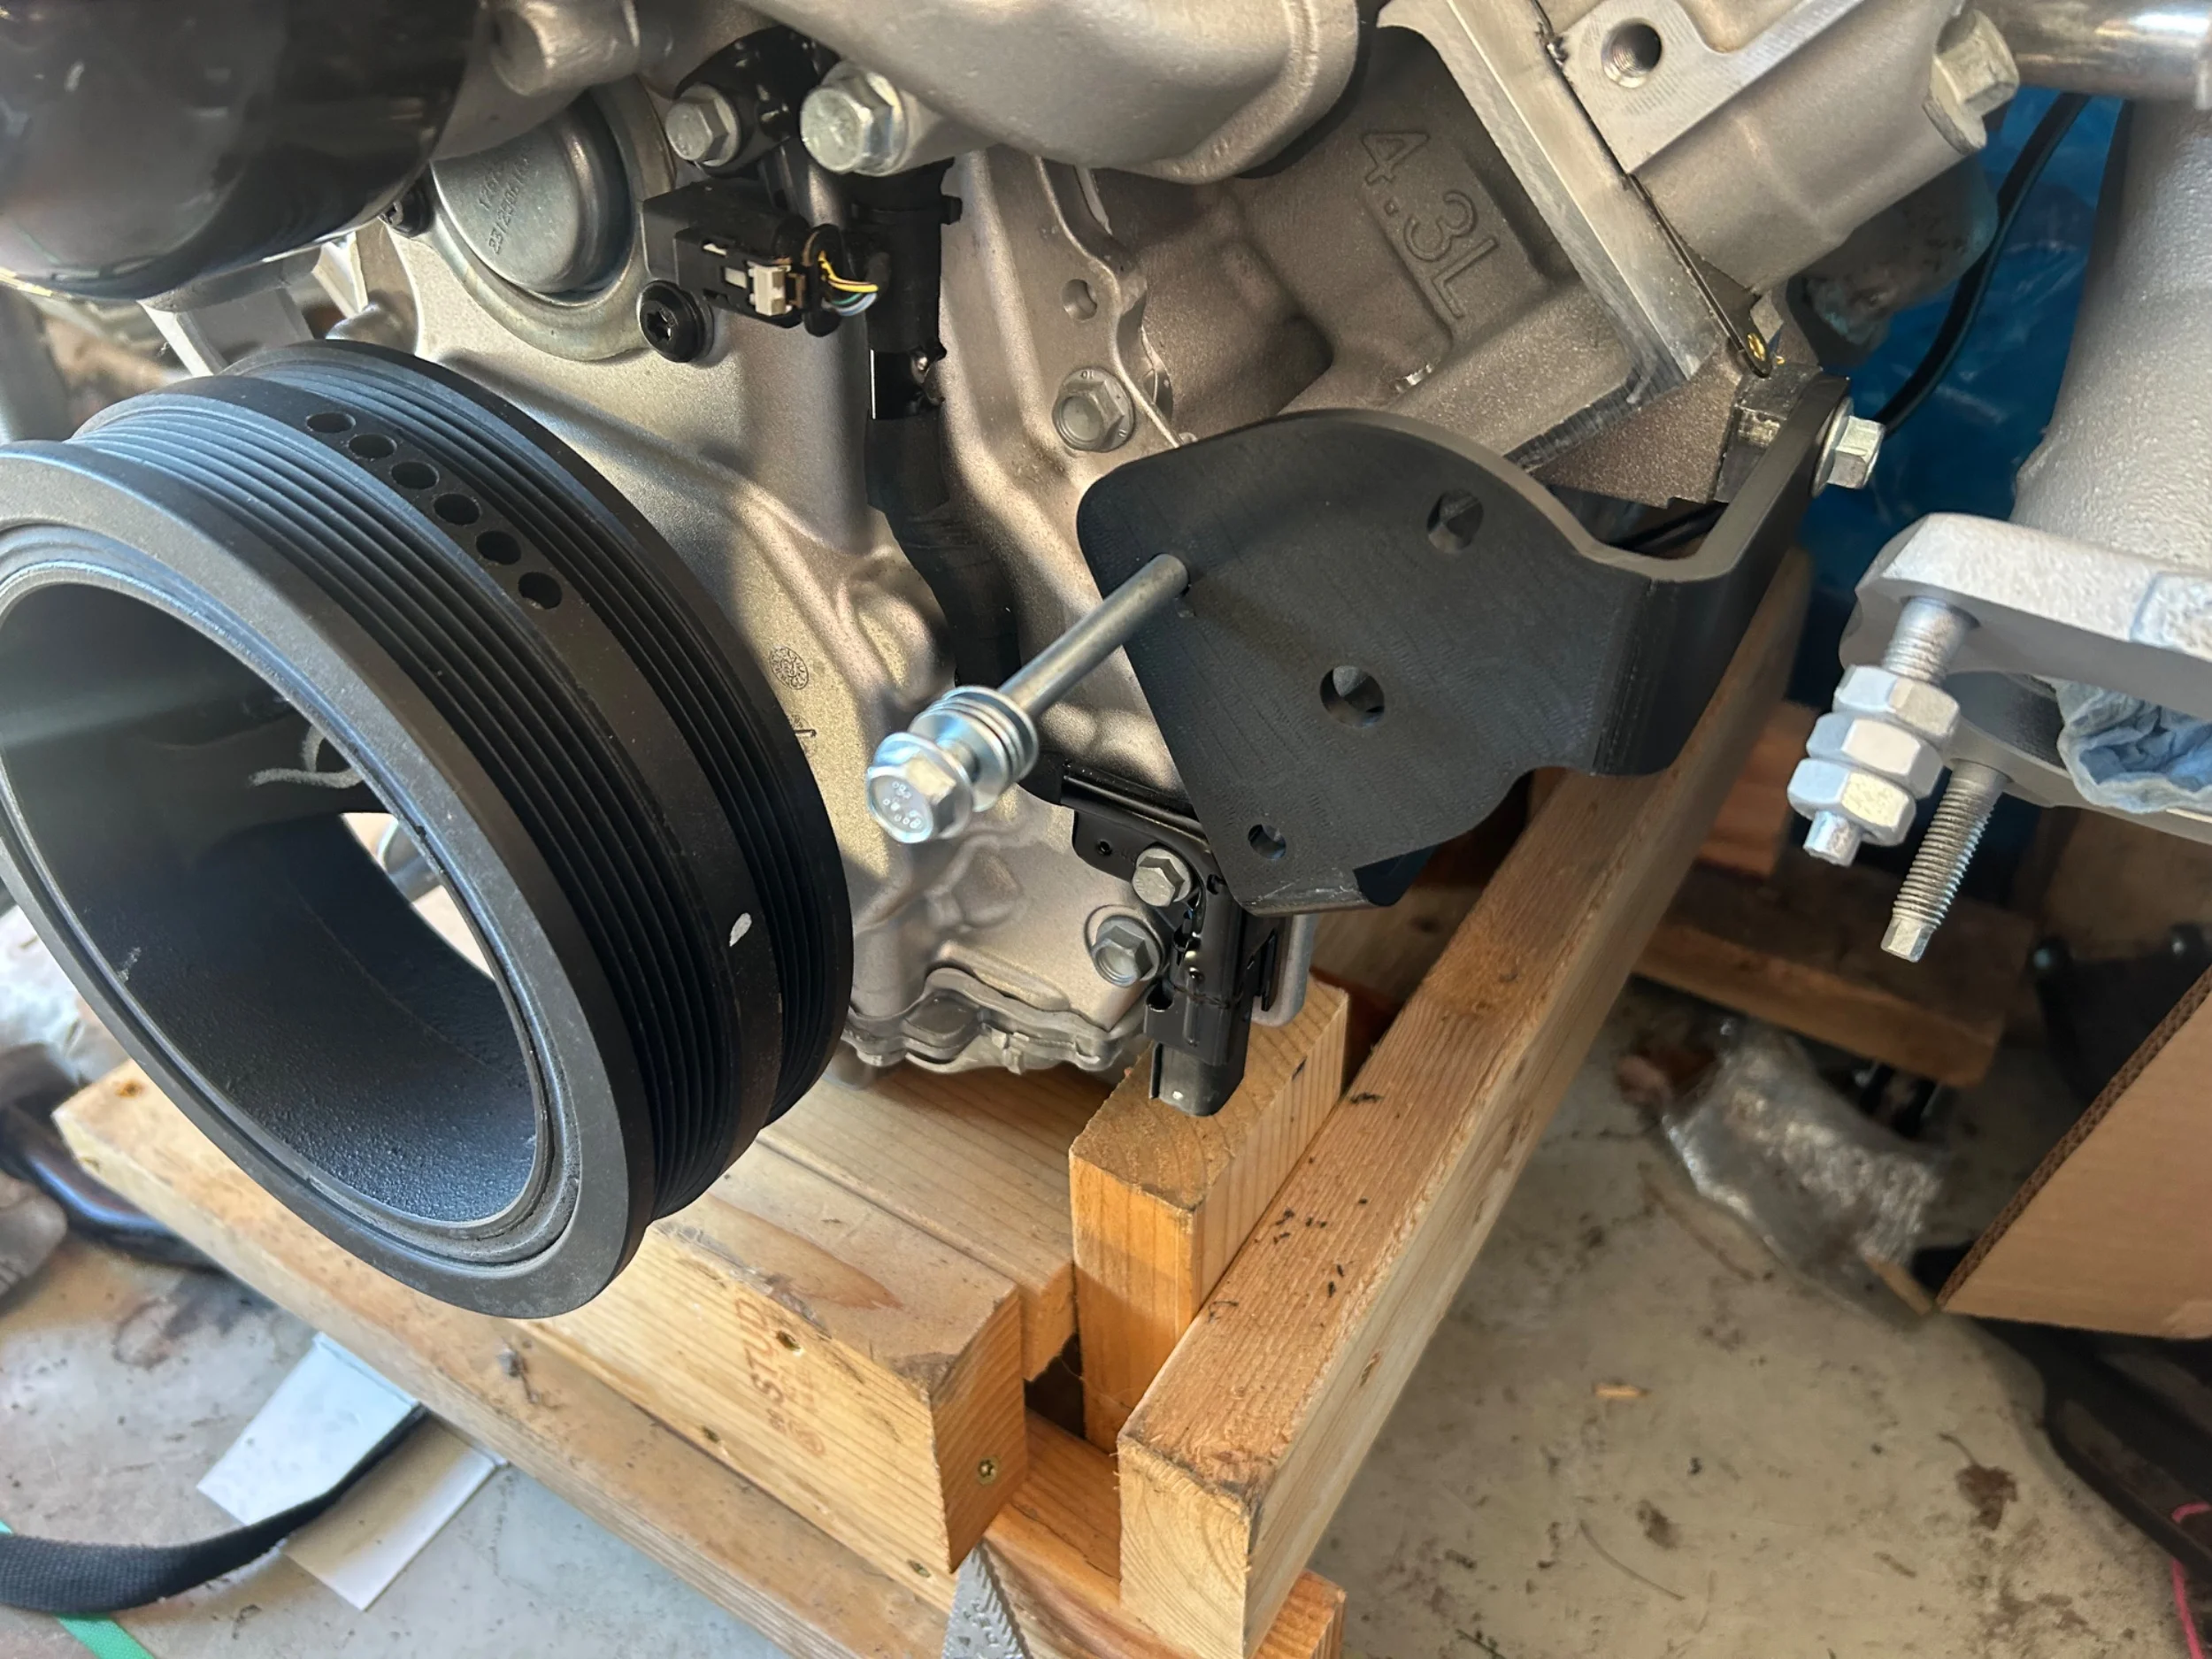
Got the prototype PS pump bracket and I got all the block dimensions correct and need to tweak the pump mounting a bit by opening up some of the holes. So, I am happy about that. Buuuuttttt, I tried to install a GM pulley from the native 2019 Express 4.3 onto a TJ pump.

When bottomed out, the pulley rubs on the pump body. Looking at pictures of the pumps between a TJ and Express van, the bodies are very slightly different but I guess different enough.

Now my next move is to try out a C5 vette PS pulley. The pump body on those appear to be closer to the TJ so in theory the pulley should also work with the TJ pump. I might have to alter the bracket a bit but just a matter of changing the length the tabs that mount to the side of the block and the spacer that mounts to the front depending on the offset of the ribs.
IMG_2116.webp


IMG_2114.webp


IMG_2118.webp


IMG_2121.webp
 
Awesome progress. Excited to see this come to life

Thanks! Im hoping to start making big strides soon. My biggest hold back is space right now. I need to finish up my buddies 78 Corvette LS swap to free up some garage space. Who ever monkeyed with wiring of this Vette in the past should not be allowed to have wire nuts and duct tape in the same building as a vehicle anymore!
 
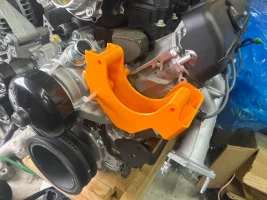
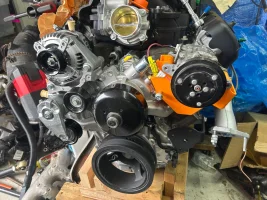
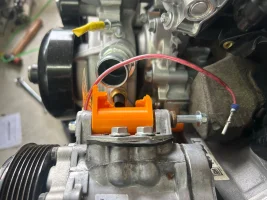
Got the prototype AC bracket and its needs way more work which even before I got the 3D printed part I started redesign foreseeing the issue. But what I have learned from this is I got the forward facing mounting holes on the cylinder head dead on, and I am fairly certain I got the belt alignment pretty close as well. So with that said the issue I fore saw was the upper rad hose interference.

IMG_2128.webpIMG_2129.webp
IMG_2133.webp
IMG_2131.webp
I made some quick destructive modifications to install the bracket as much as I could and found other issues I did not foresee. The main one is I forgot the SD7 compressors have threaded holes, not through holes on the front tab and the compressor bolts cannot be installed from the rear with the bracket installed. I also found out there is a random hump that interferes with the large radius opening so that will need some clearencing as well.

IMG_2132.webp

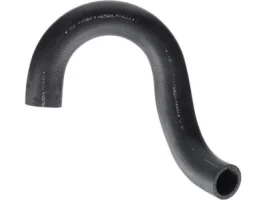
I think I figured out what hose I want to run in order to be able to use a stock style TJ radiator, as in stock inlet/outlet locations but going thicker core rad. The prospective hose from a Honda Element goes up, makes a wide U-turn then goes back down a few inches then a slight 45deg bend which should straighten it out horizontally where I can add a straight metal coupler. Using an aluminum coupler has the added benefit of giving me a spot to weld a bung for a TJ coolant temp sensor. Unlike with an LS swap where it has 2 CTS ports, one in each head so the TJ CTS just goes in the other head, the Gen V LT engines only have a single CTS port in the water-pump.

IMG_2141.webp

Overall I am happy how it came out and showed me where I got it right and where it needs to be adjusted. The next one will move the compressor driver side about 1/2” and down 1”. But it looks like it should all work well with the stock TJ PS pump, reservoir and lines when it comes to that part.

IMG_2136.webp
IMG_2135.webpIMG_2140.webp
 
Got the second rev of the AC bracket back and it works way better. But the only thing I want to adjust is raising the idler pulley boss since the belt interferes with it self wrapping around the water pump and tilting the compressor a bit more so the outer mounting bolt will clear for ease of install. At this point I don't think I need to make another 3D printed prototype and can go straight to the metal work.

The Element hose also worked great. A little tight fit on the barb but it fits.

Back to the PS pump. The Corvette pulley worked better but its CLOSE to the fitting. But it all works out with a factory TJ pump and pressure line.

I also found I need to adjust the PS pump bracket since the reservoir does not sit flush with the back of the pump and protrudes past the rear face a bit and interferes with the mount. I might take this chance to raise it up an inch or so to maximize clearence below. I am also considering just using a 2.5 TJ pump with remote reservoir provisions and then I can leave the pump bracket alone.

IMG_2167.webp


IMG_2175.webp


IMG_2179.webp


IMG_2169.webp


IMG_2181.webp


IMG_2177.webp


IMG_2166.webp
 
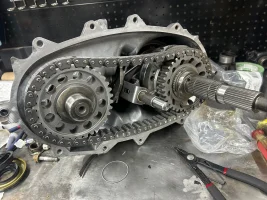
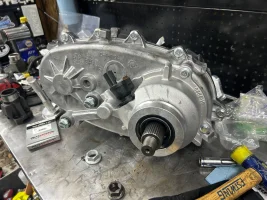
For my birthday weekend, on top of many other things, my wife and I started the process of tearing down the NP242J to be used for a rebuild, SYE, 6 pinion planet swap and input shaft swap for mating to a 6L80. This was our first Jeep project together and her first time really wrenching on something but was fun teaching her how things work!

Tonight all we did is tear it down but I am still on vacation until next week so this week I will see if I can get the case halves to a shop to have them cleaned up. It was filthy but free!

Its neat seeing the difference between the NP231 and these NP242s in person.

922545986113172381.jpeg


IMG_2233.jpeg


IMG_2231.jpeg


IMG_2228.jpeg
 
Last edited:
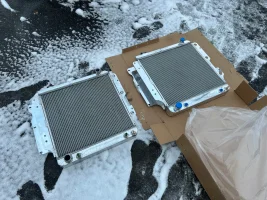
While I was running around doing errands, the radiator decided to start leaking and I managed to get it home. So I had to decide do I get a cheap throw away radiator since I doubt a stock style rad could cool the extra 140hp that the new engine will have or just go ahead and buy a thicker radiator now. Again my goal is to be able to source parts store parts in case something breaks while away on a trip….like the radiator in my LS TJ that has leaked twice now. I want the future radiator to have the inlets and outlets in the same as a stock TJ rad so I can get a parts store rad if something happens while traveling.

I really was unsure what I wanted for the engine swap and I was hoping I had more time to figure this out but I need this LJ to be on the road right now and it forced my hand to decide.

Jumped in my “reliable” Honda and took a 1hr drive to Jegs and ended up getting a Champion 3-row that came with a Spal Fan and shroud for the future engine swap with a wiring kit if I wanted to retrofit to the 4.0. I know Aluminum radiators can be a controversial subject, but the very few places that have Mopar rads available are pricing them at close to $600-700 and I am not that confident that the Mopar will be enough for 330hp. I am sure the Champion will cool the new engine fine, but I do question long term reliability since my experience with the all alum rad on my LS TJ does not last long until it needs repaired/replaced. But the whole kit with rad, fan, shroud and wiring was under $500 and I got it same day.

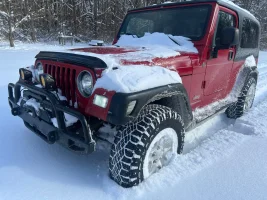
Of course it had to snow last night so made the job that much more fun. Either way the rad is in with the stock fan and shroud and it works great for now and really stands out among all the grease stains and dirt.

IMG_2242.webp


IMG_2247.webp


IMG_2249.webp


IMG_2250.webp
 
Worked some on the transfer case. Toom the internal bits to a machine shop to throw them in their wash cabinet and I spent sometime media blasting and cleaning the case parts. Wife had fun with wire wheeling the case, she likes the detailing stuff like this.

We started assembling it a little bit but still more to do. Since she wants to learn all this stuff, we are going slow so she can learn how to wrench on stuff. About all we got done tonight was get the input shaft assembly installed and assemble the rear output SYE shaft.

While we had it this far, I wanted to check to see if the input shaft assembly from a transfer case (I think NP246) that was in 4L80 equipped Silverado if it will work with the 6L80 and it mates up great with the Novak adapter! Which hopefully soon we will be taking that apart.

Also found out it may not have been the radiator leaking, but it seems to be either the water pump or thermostat housing so unfortunately I have to waste money on parts that I wont be using for long. So I just bought the cheapest I could find on Rockauto.

IMG_2274.webp


IMG_2276.webp


IMG_2280.webp


IMG_2283.webp


IMG_2286.webp


IMG_2285.webp


IMG_2270.webp
 
Been too cold and too much snow for any real progress. Just got the transfer case mostly put together and I found out a few
weeks ago that ICT Billet sells their bolts now ala-carte so I have been buying them for everything including for the transfercase. The new radiator also leaked after a week, got the replacement but still waiting on a refund so thats a bit annoying.

IMG_2298.webpIMG_2328.webpIMG_2310.webp

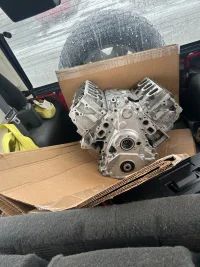
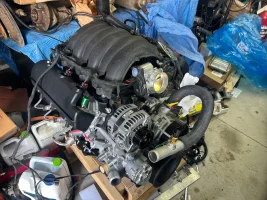
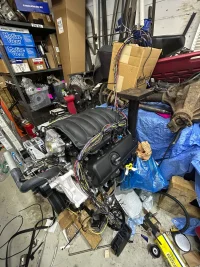
Not much to report other than I just bought a cheap LV core that needs a sleeve, but short term I plan to strip it down to a bare block and use as a mockup. Long term I might turn it in as a core for another brand new engine from GM for a different project. But been having fun with this “historic” snow we got while also being sick all week. I think we got like 20in in 24hrs which for middle OH is a lot, but is certainly nothing compared to when I lived out West.

IMG_2353.webpIMG_2337.webp
 
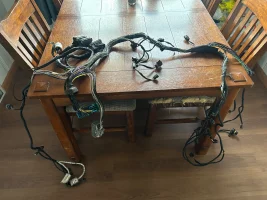
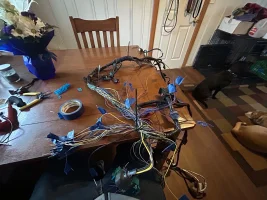
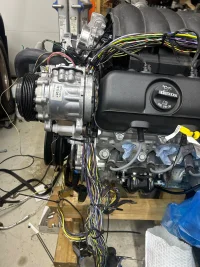
Got practically all of the engine wire harness stripped down and setup for the swap. These Gen V GM engines are pretty neat on the electronic side. Definitly more to them than the older Gen 3 and 4 engines but not too super complicated. My goal with this swap is to utilize the stock TJ PDC for all the fuses and relays that will power the engine harness and no external aftermarket fuse/relay center to keep it looking clean. I have spent a lot of time digging through the wiring schematics for both the TJ and GM engine and this will be fairly easily doable. I plan to utlize the 3 plugs in the center of the firewall for all of the engine to body connections and will run the rest of the wires where they need to go. I spent a few hours running all the wires going to external connections to one bug trunk coming out the back of the engine harness as shown hanging over the card board box that will get terminals for the 3 connectors.

As far as I can tell the fans are only controllable via a PWM controller which does somewhat make this easier to wire up. Ill be using a 6th gen Camaro fan controller that only needs 3 inputs. Large fused 12v battery, large ground and a small PWM signal wire that goes from the PCM. Then its only 2 thick wires to the fans on the output side. No relay needed.

The fuel system can also be done 2 different ways, one way is just a relay triggering the fuel pump and having it regulated to 58psi or you can run a GM fuel pressure controller which takes a few more inputs like fuel line pressure and other tune related variables from CAN signals and it will control the pressure of the fuel pump via a PWM signal. The benefit of this is extended fuel pump life and better effiencency. I do not think a TJ fuel pump can work with PWM controller, but I do think a GM fuel pump housing assembly with the PWM capable pump and safety relief can drop right into a TJ tank.

Today was the first test fit of the stripped down harness and I will need to readjust some positions of where connectors are placed but for the most part I am happy with placement. I also still need to run a twisted pair of wires for a CAN signal to the external connection trunk and run a ground wire towards the back for the transfer-case 4x4 switch. The LJ is still operational, but doing the step really will save a lot of down time and I might get a body harness from a part-out and work on that off to the side as well.
 

Attachments

  • IMG_2415.webp
    IMG_2415.webp
    622.5 KB · Views: 46
  • IMG_2450.webp
    IMG_2450.webp
    597.9 KB · Views: 45
  • IMG_2469.webp
    IMG_2469.webp
    399 KB · Views: 43
  • IMG_2527.webp
    IMG_2527.webp
    670.1 KB · Views: 35
  • IMG_2528.webp
    IMG_2528.webp
    586.4 KB · Views: 40