So much has happened in the past couple weeks to finish up this build it’s pretty hard to jam it all into one post but I’ll try.
I replaced the two damaged nutserts on the drivers side frame with a new pair I got from Region Off-road. Honestly if I knew they were going to be so easy I would have replace all of them. I believe when I replace the OEM skid plate in the future I’m just going to replace the remaining one for maintenance sake.
View attachment 557572
I used a step bit to drill out the old ones and to size up the hole for the oversize nutsert, it was a piece of cake job.
View attachment 557573
As you can see the frame is still plenty thick here where a lot of Jeeps rot out. I got very lucky this frame wasn’t in bad shape considering how the rear section was looking.
View attachment 557575
I also threw in a new Savvy cable shift kit and new 4wd switch I picked from EBay. I was having the issue of the 4wd light being on when it was in 2wd and then going off when it was in 4wd.
View attachment 557576
I knew I was having a vacuum leak issue because the HVAC was in default defrost. I initially thought it was because of a cracked line on the manifold but there were multiple issues here. The second major issue being a mouse chew here on the main vacuum line.
View attachment 557577
I had to pull it from the fire wall to make the repair.
View attachment 557578
Here I just used a heat gun and a pick to make the hose a little bigger to accommodate for the splice. For the splice I used a piece of the sprayer from a brake clean can. It was what I had on hand and it works fine.
View attachment 557579
Another problem arose with the actuators. This one here the arm popped out and needed to be put back in place and the other one needed to be cycled by hand once to unstick it. It was stuck in defrost and floor mode.
The biggest problem I had with the Jeep was the emissions testing. Initially I had 4 incomplete when we hooked it to the scanner. I drove it a bit and got a check engine light. That revealed a bank 2 downstream O2 was bad. Replaced that and still had two incomplete. I drove it to work that night and gave it a cold start and drove it home and was able to clear the EVAP incomplete but still no luck on the O2 heater. One incomplete was good enough for a pass in PA.
View attachment 557585
Finally! The boys were so happy the Jeep was done.
View attachment 557588
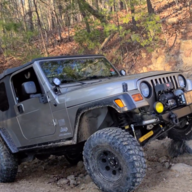
I went with the Yokohama Geolander M/T in the 255/85/16 variety. I absolutely love they way the look on the Jeep.
View attachment 557589
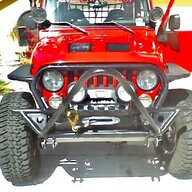
As you can see here in this picture I also slapped on some original Warn bumpers and winch guard. Underneath the cover is a
Warn 9.5 XP that I acquired for $200 in need of some serious repairs. I’ll get into that in another post. One more thing I’m going to add is a spacer in the front springs probably 1/2 inch just to bring the front up a smidge. It doesn’t look terrible but I just want it to have a little less rake.
View attachment 557600
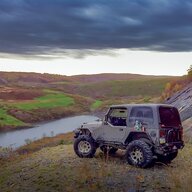
Needless to say this project was a serious labor of love for saving an LJ Rubicon. Believe it or not I’ve saved worse off Jeeps but in the end it was all worth it. I wish I would have stopped along the way more to get take more pictures but when I’m in the zone I just want to keep busting moves.
After all the replacement parts and repairs done I can honestly say this Jeep rides and drives brand new. It was worth all the blood sweat and tears and yes I’d do it again.