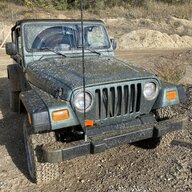
Project: Probably Shouldn't Be Alive AKA Sue

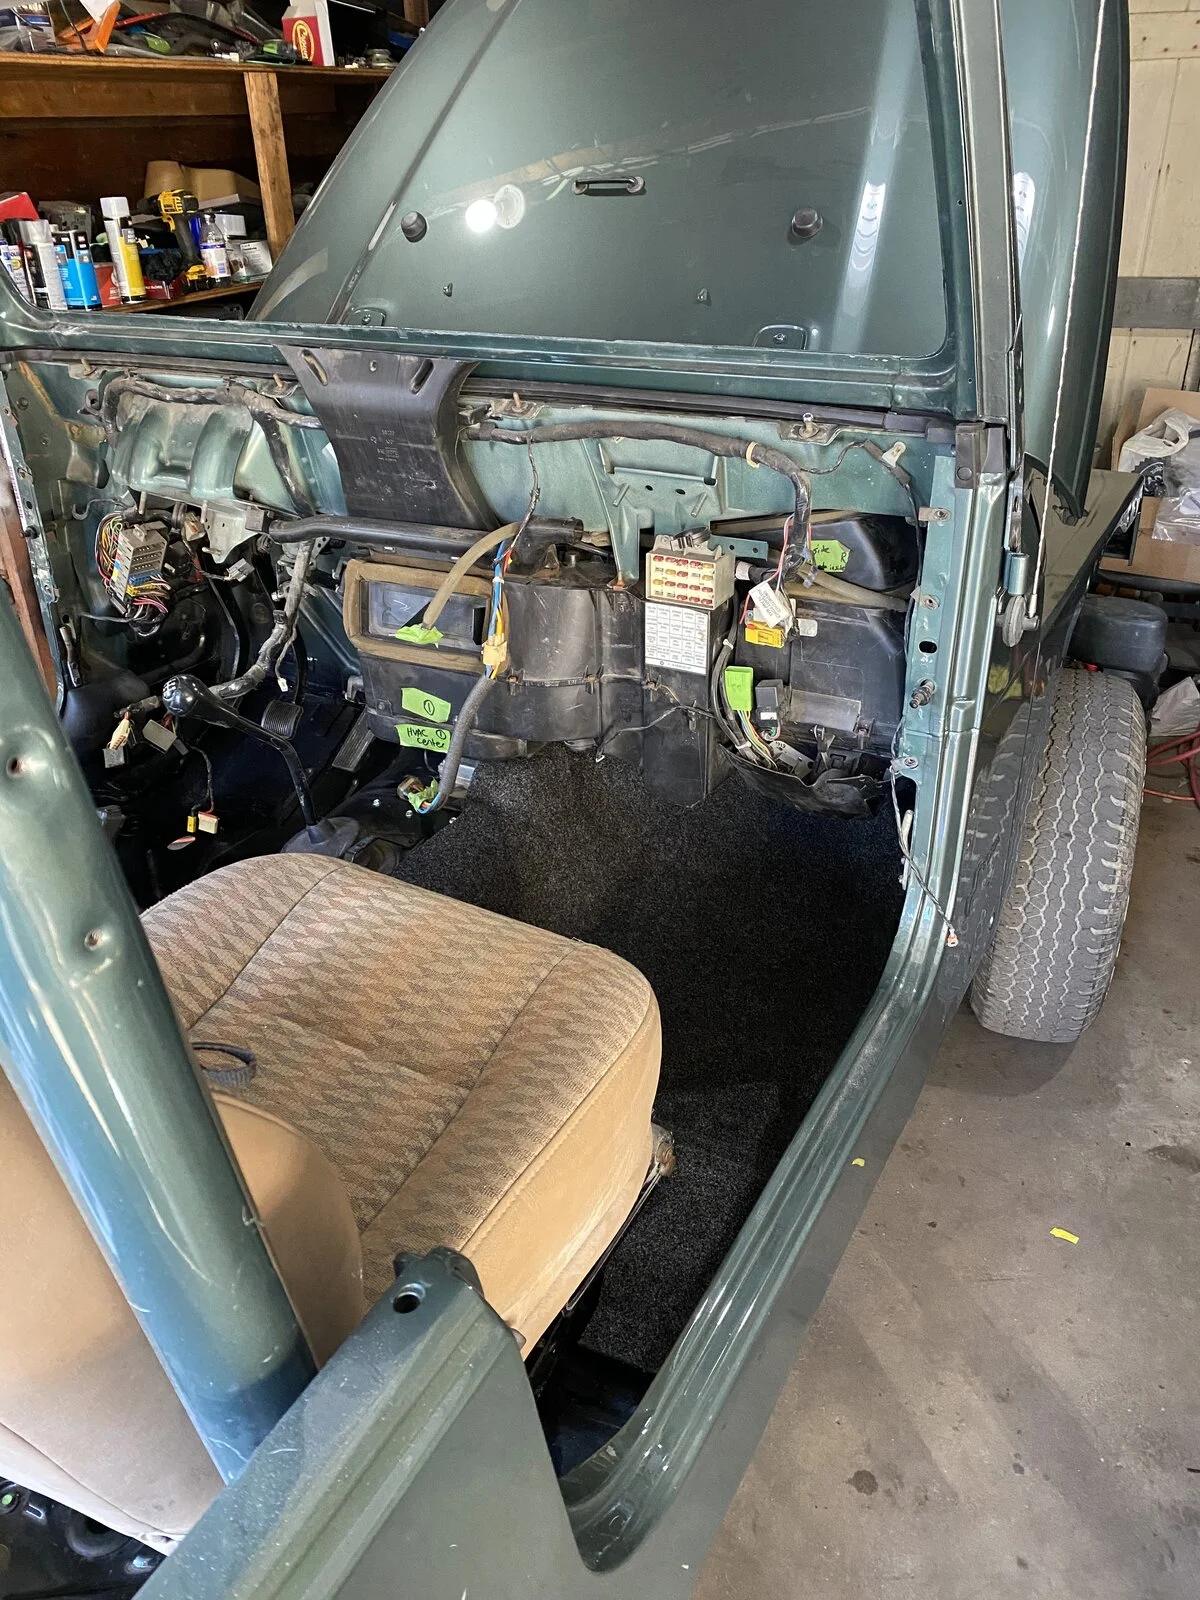
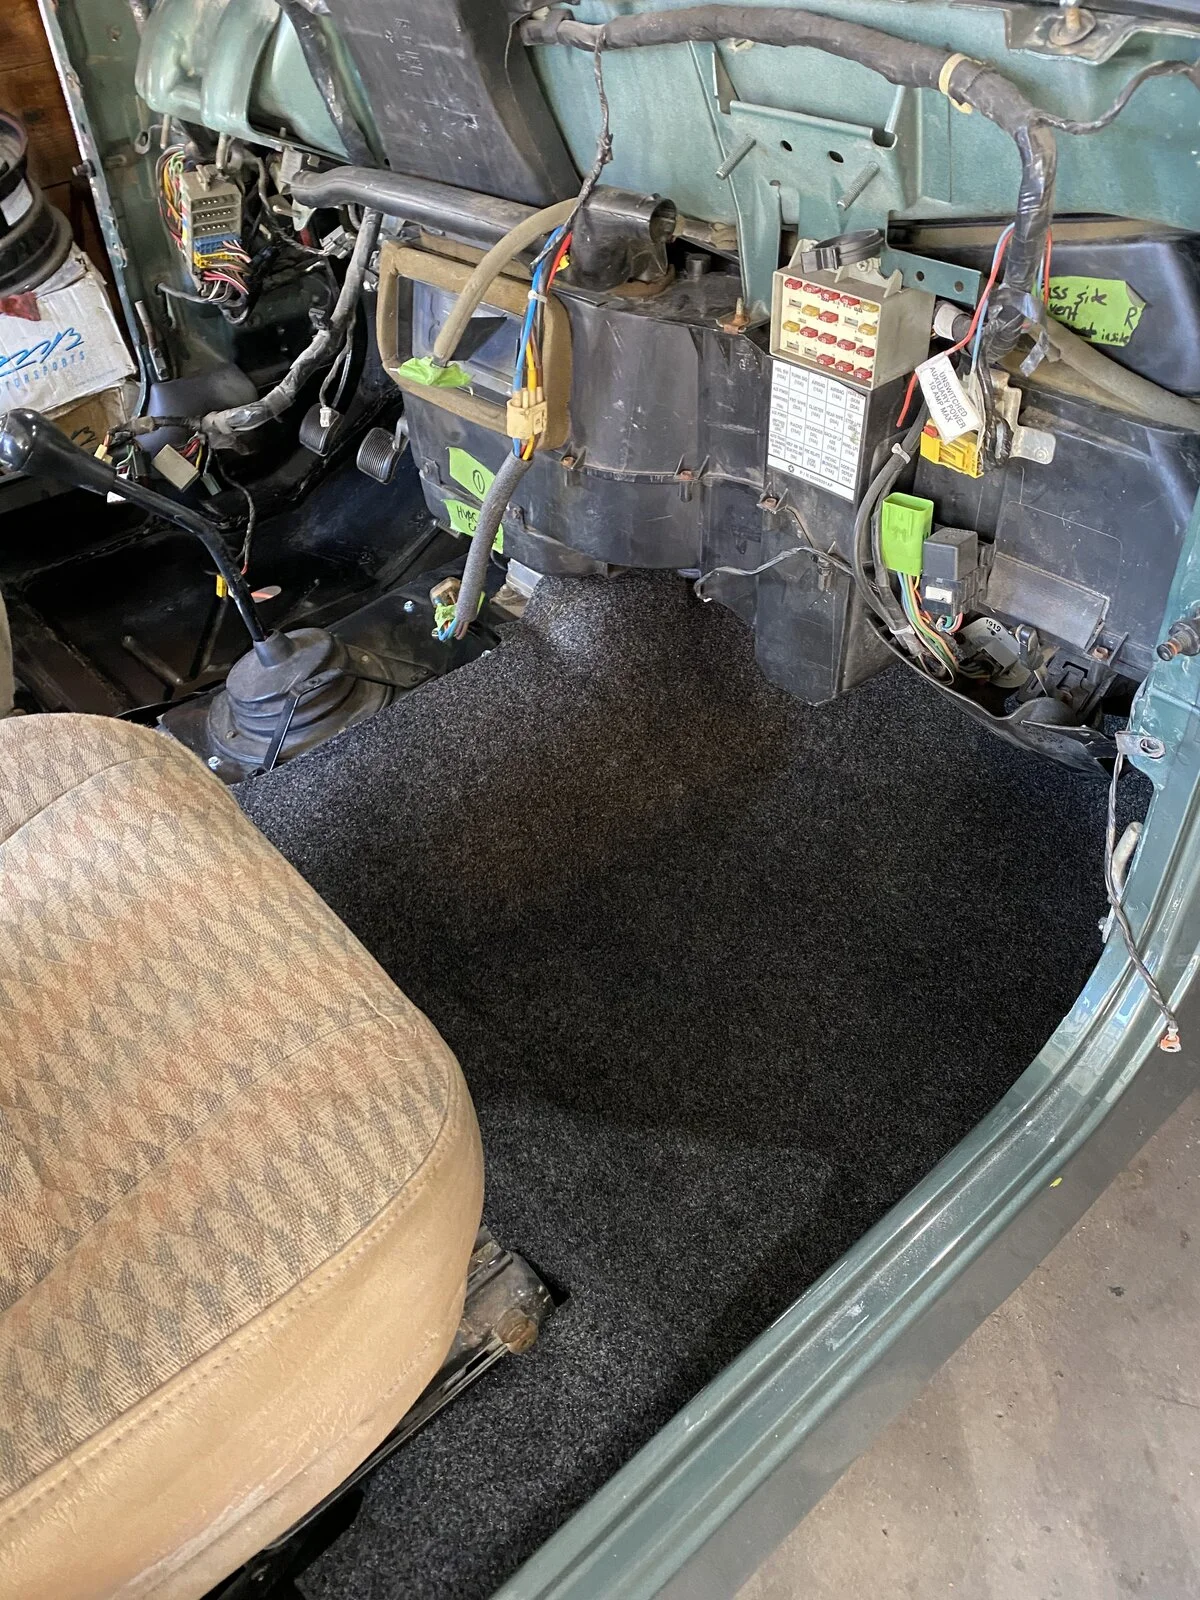
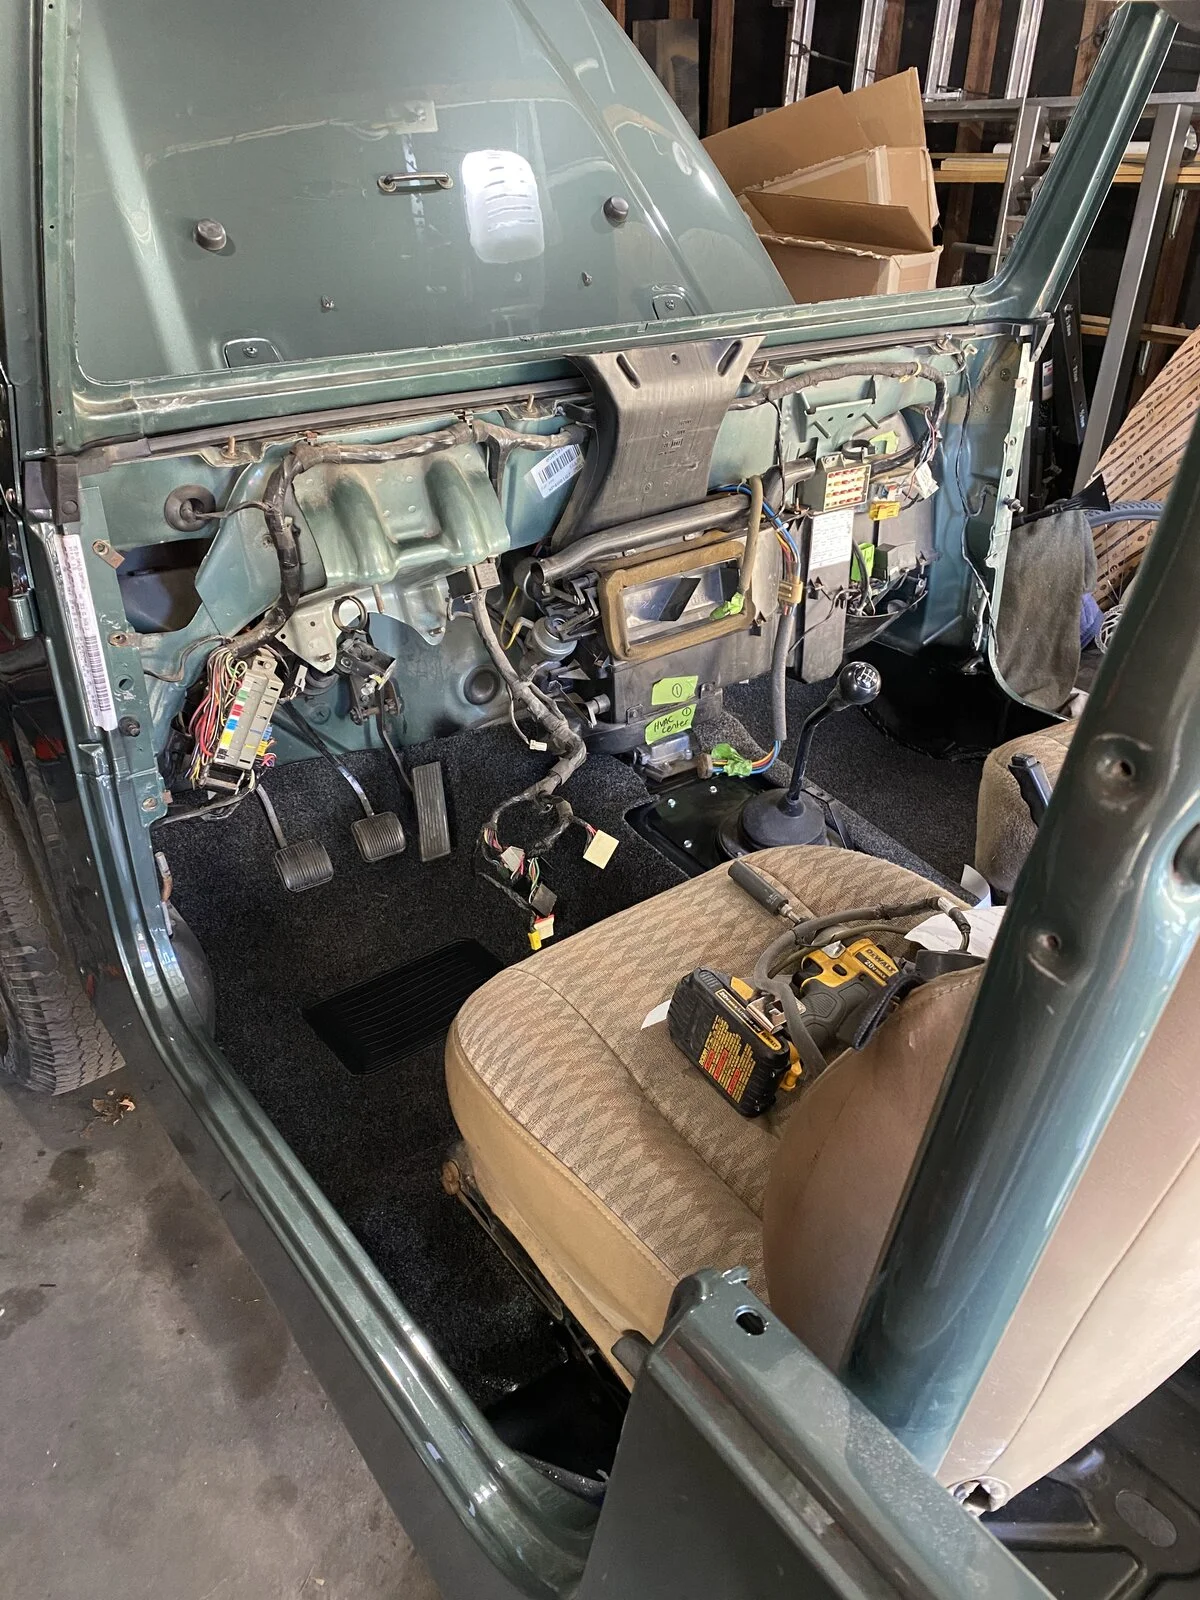
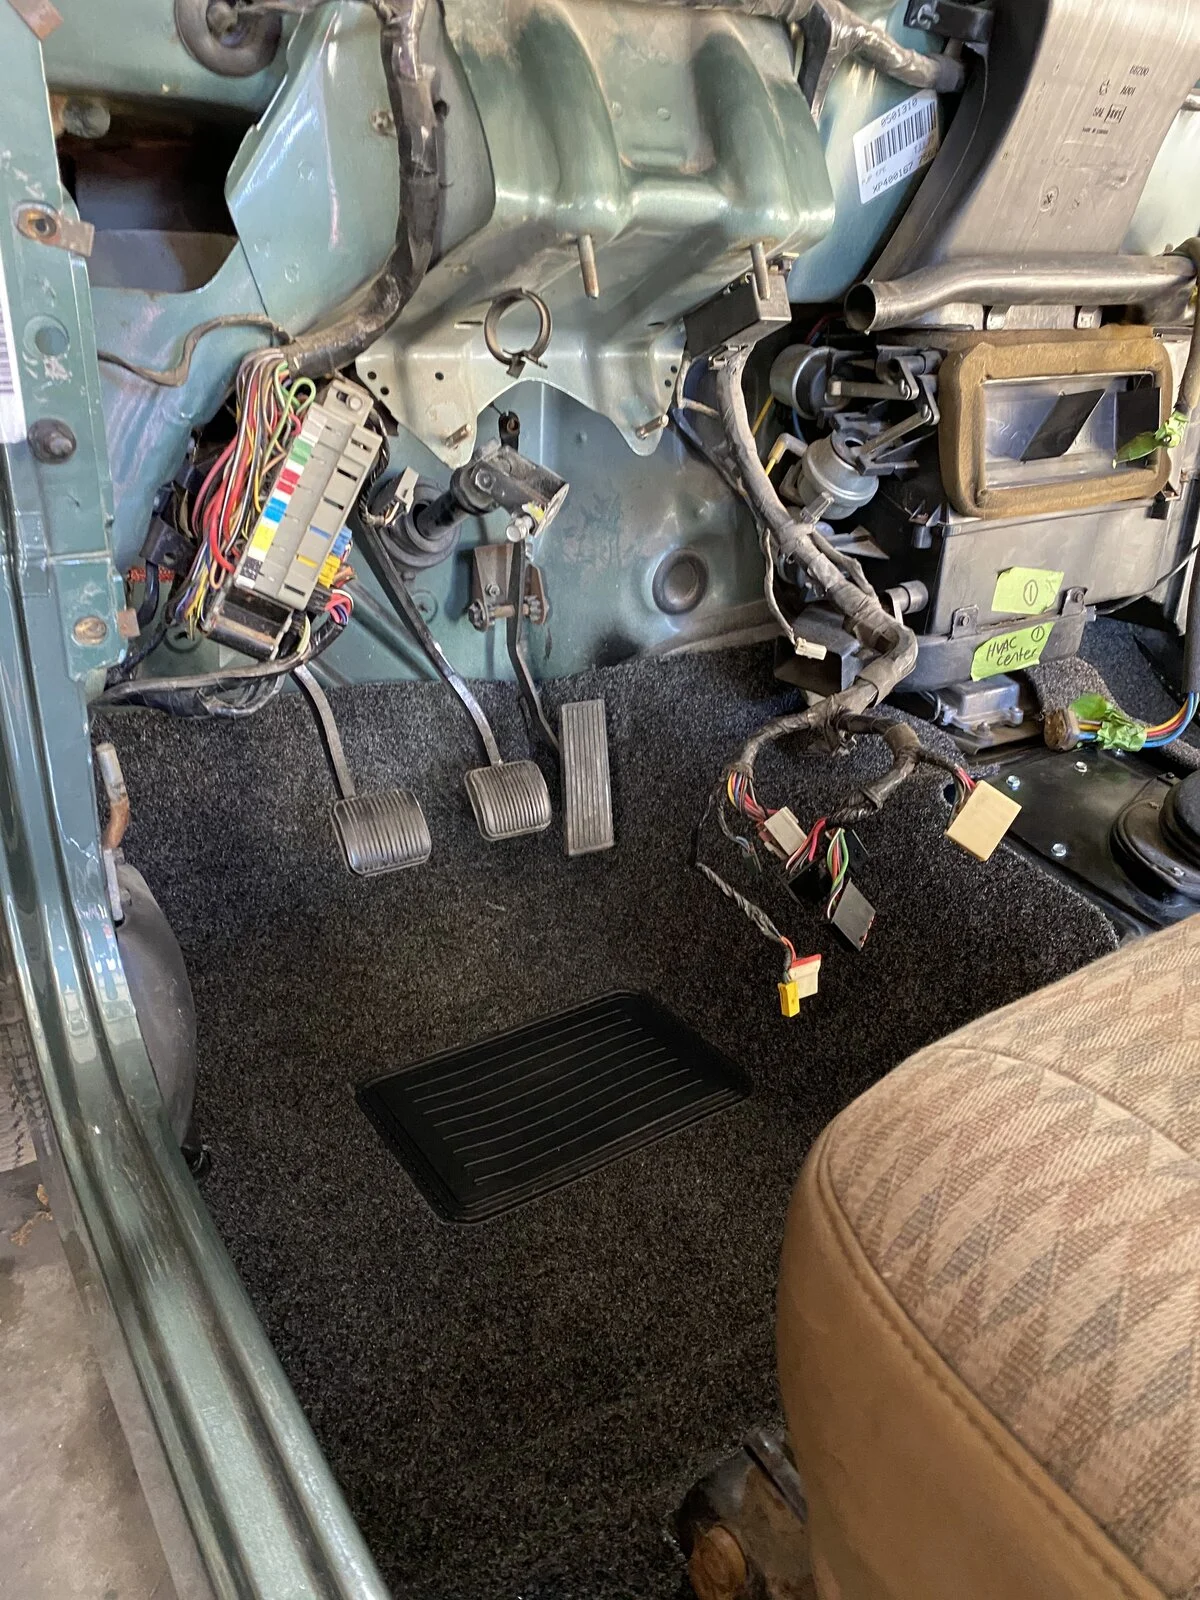
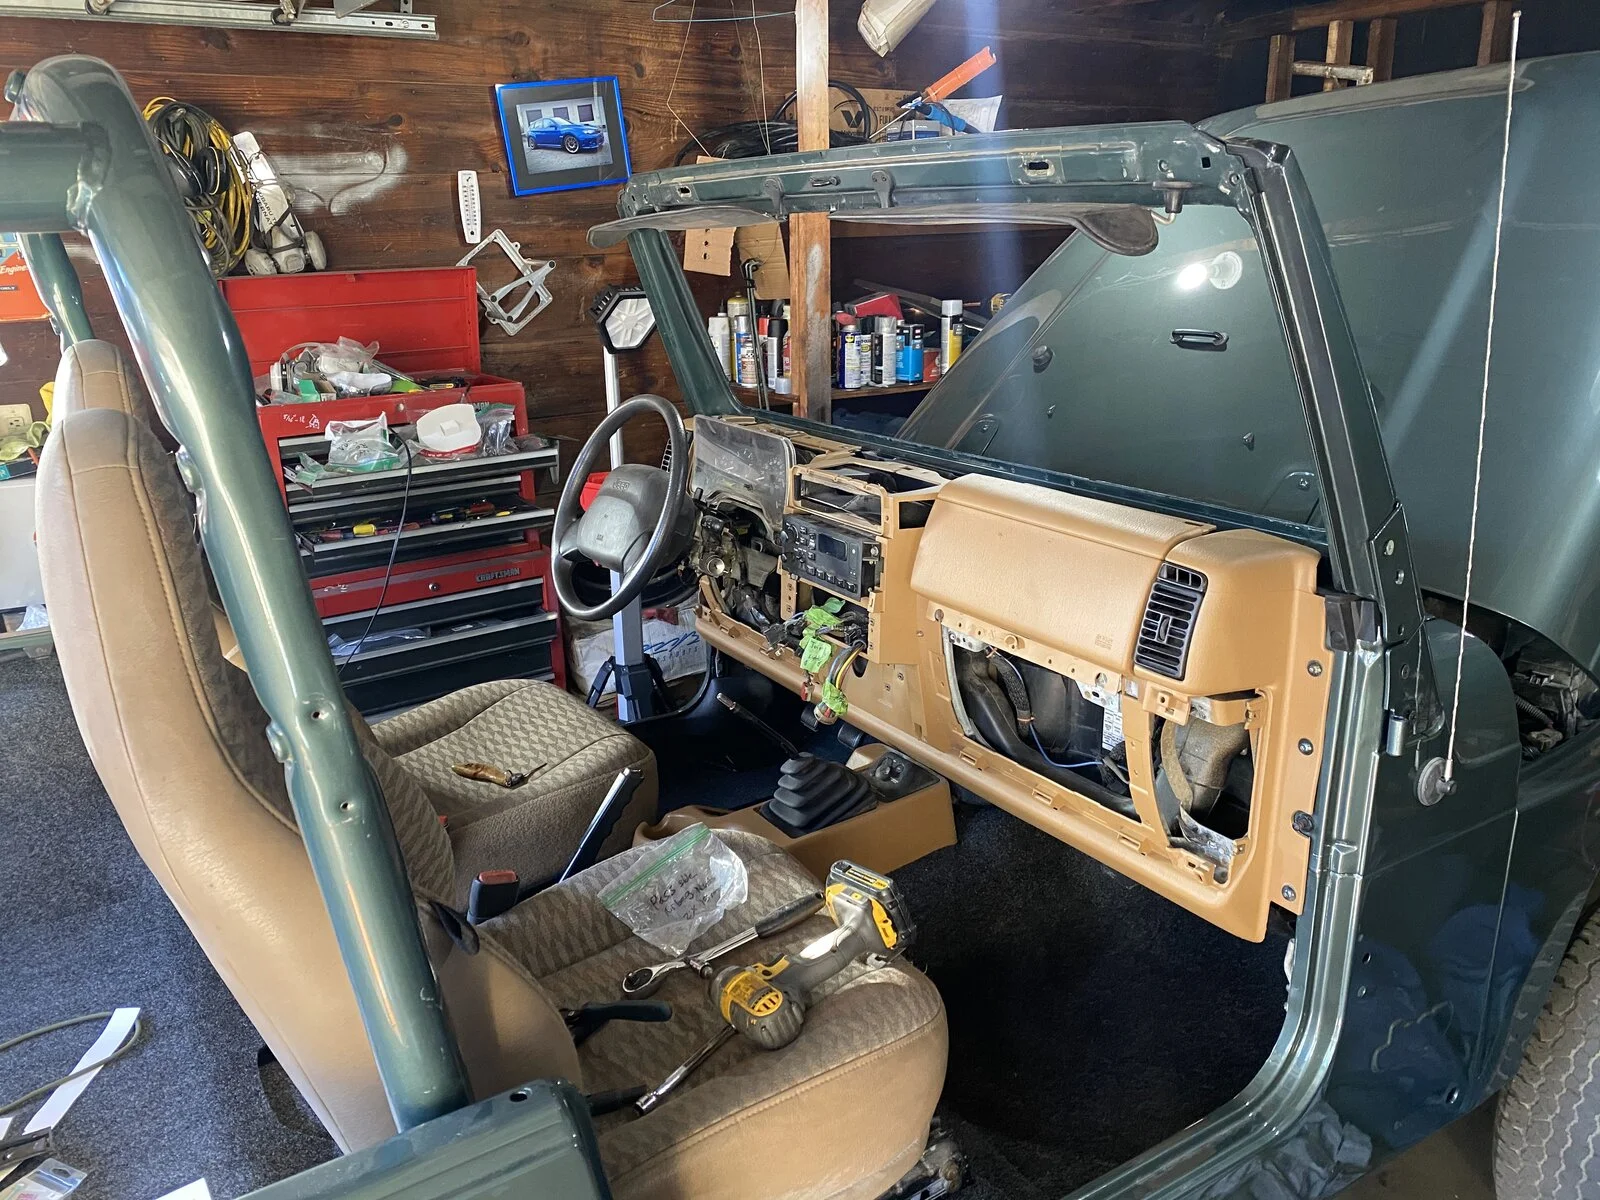
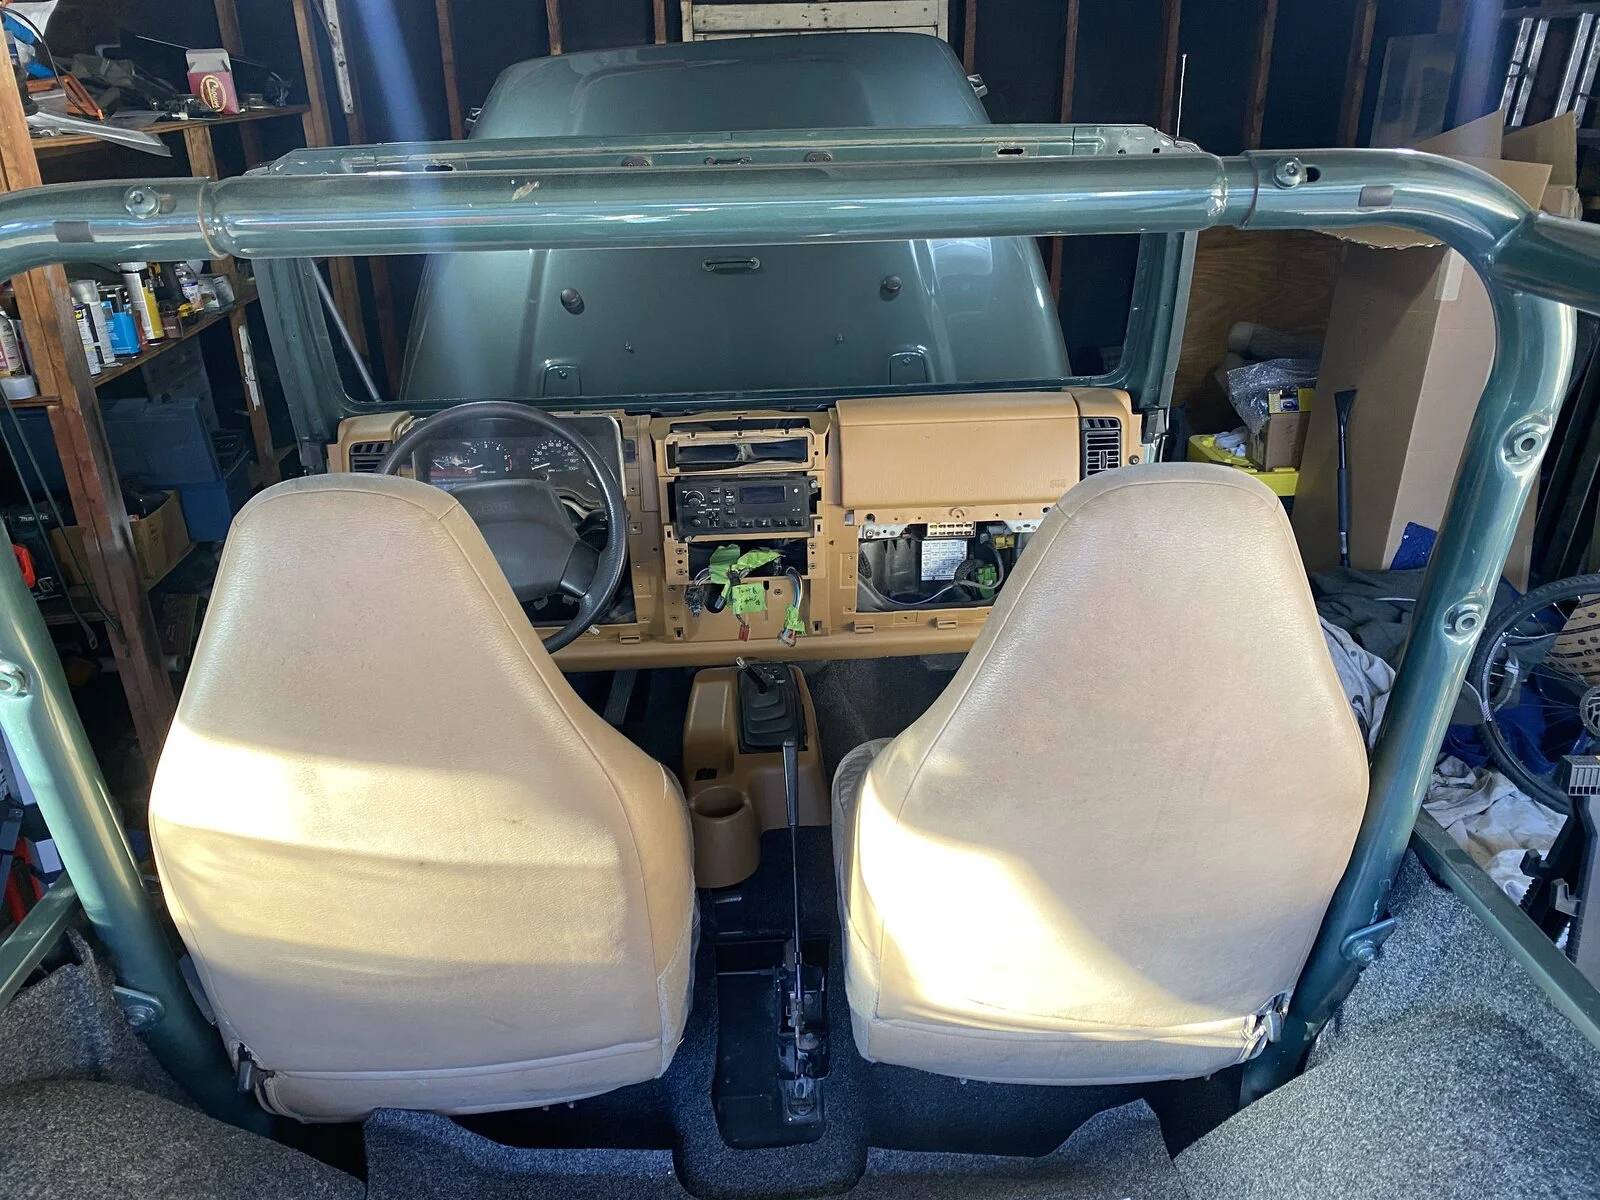
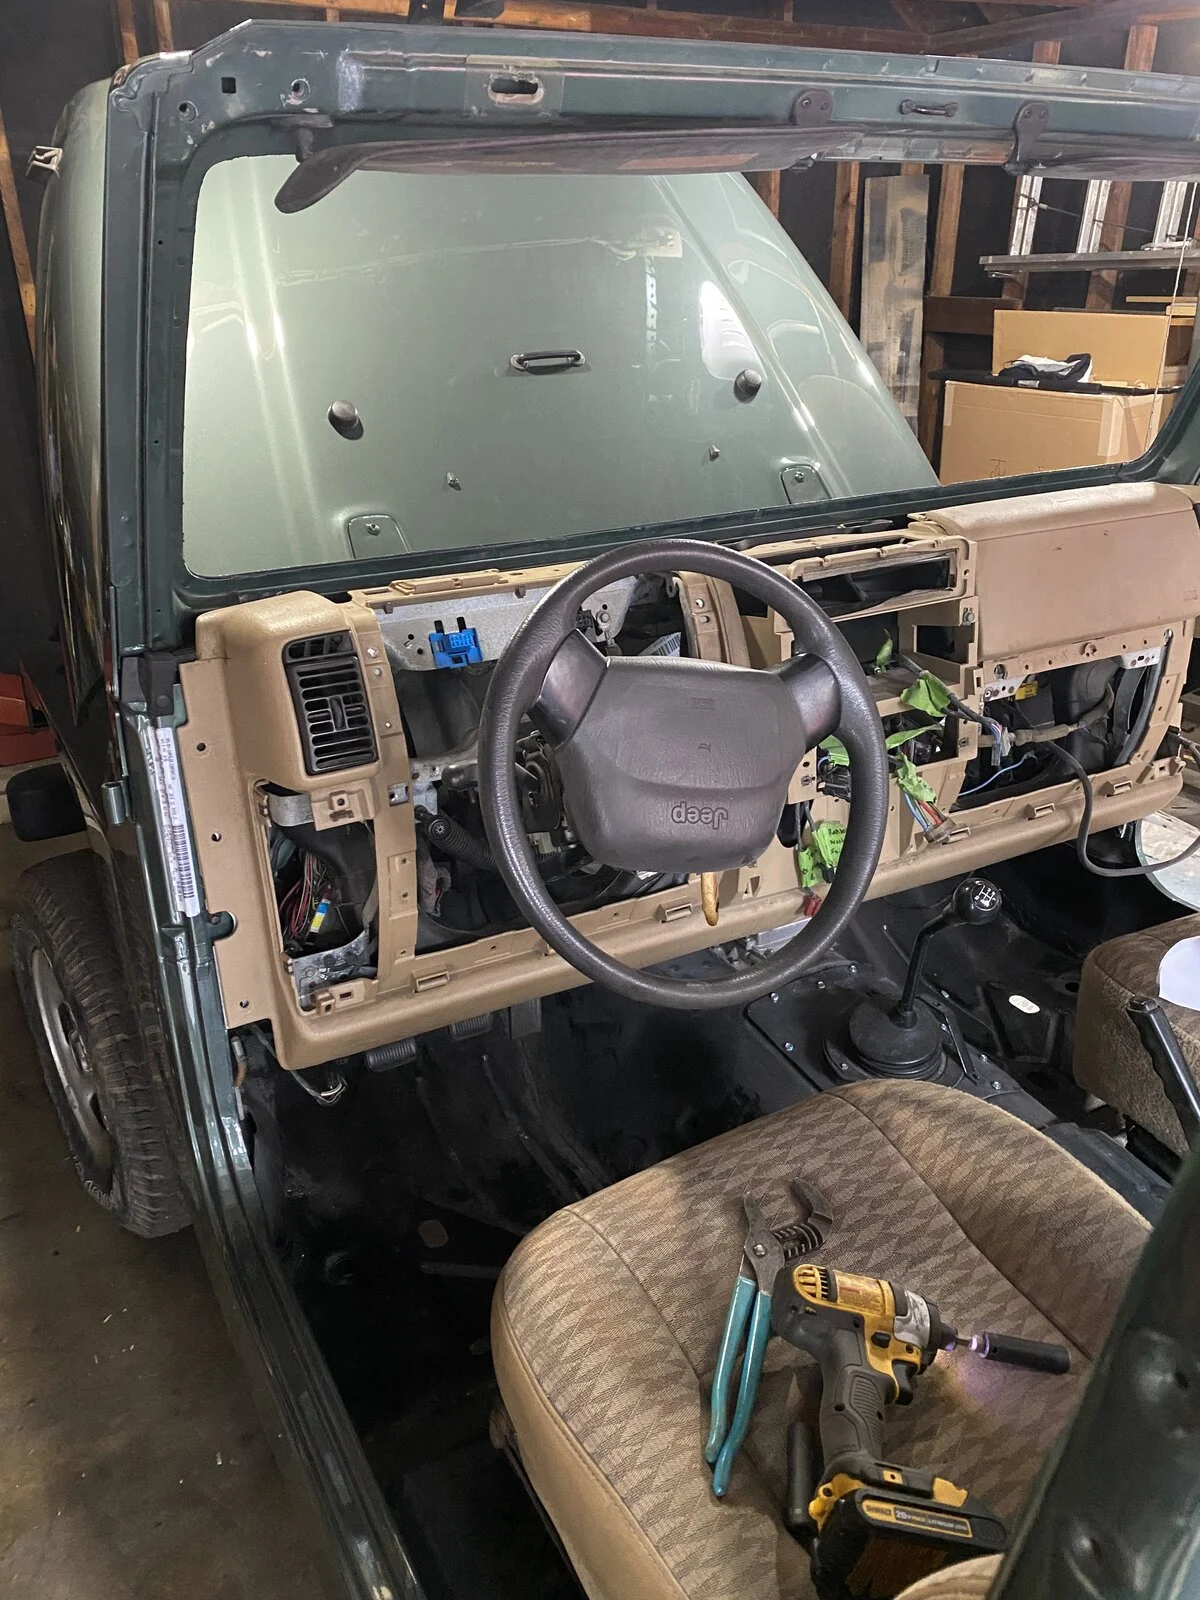
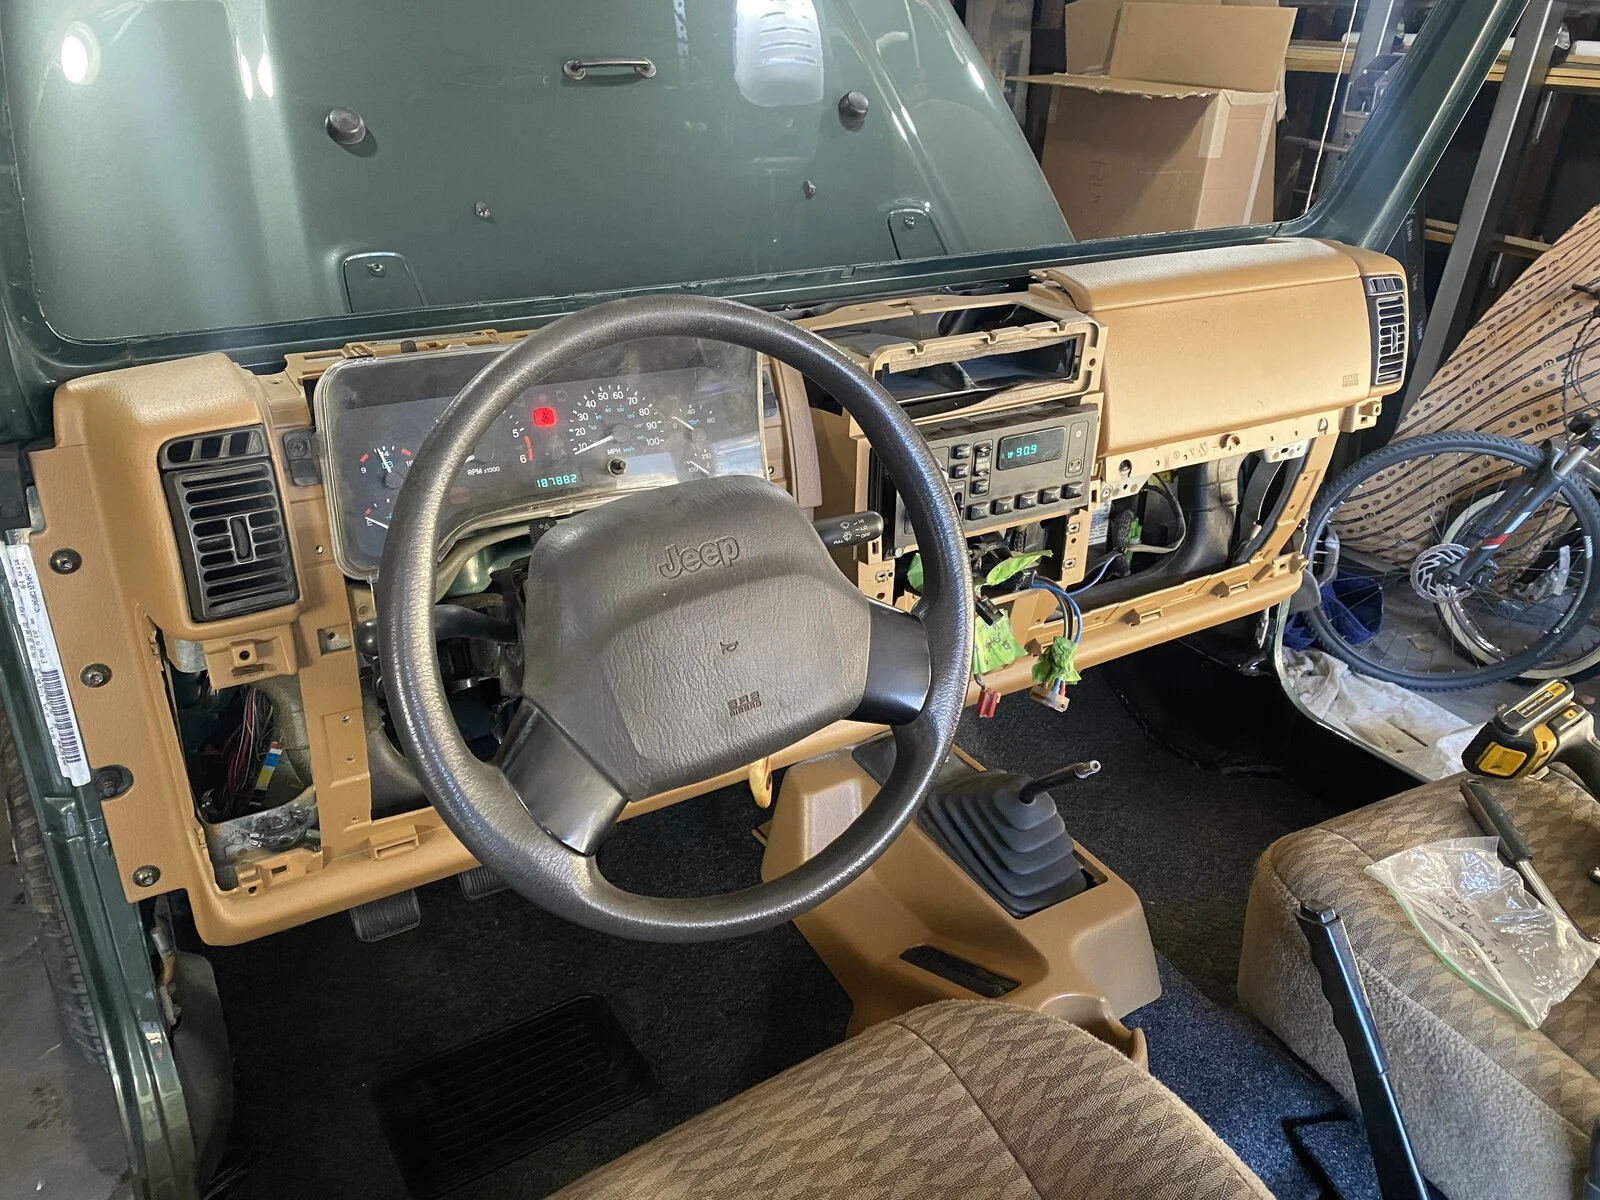
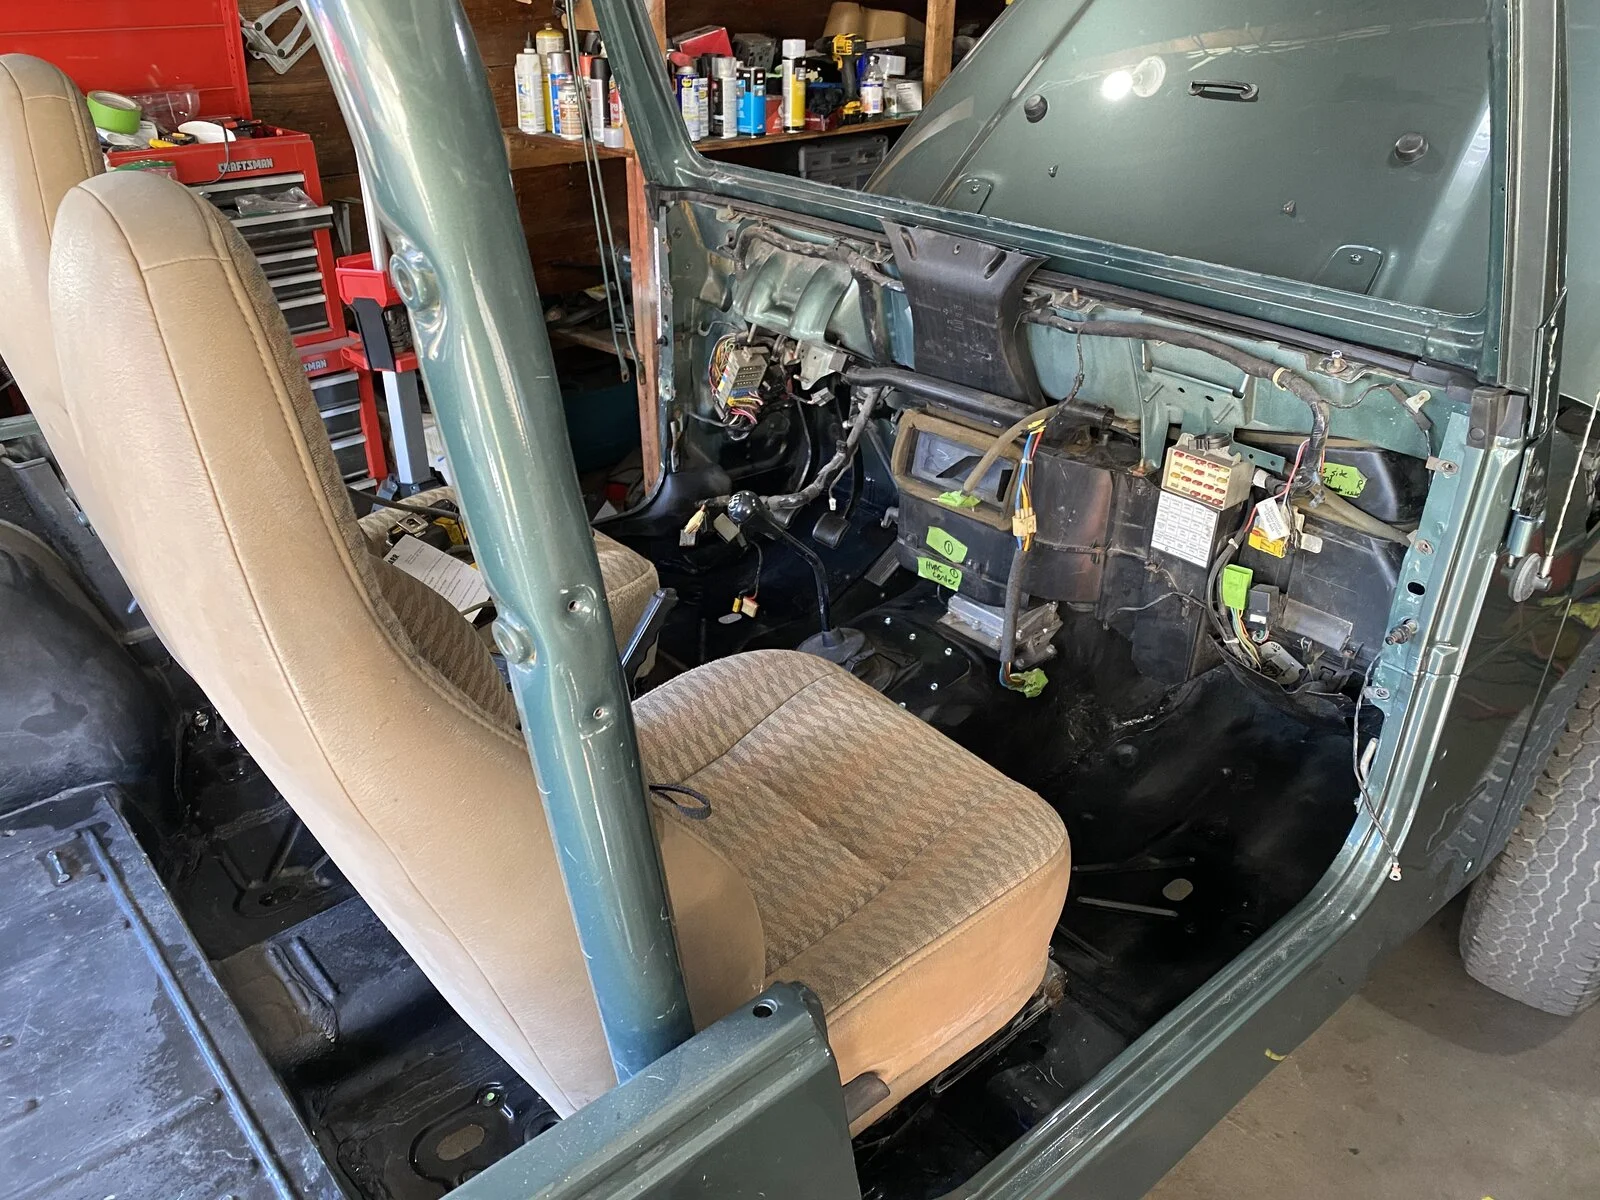
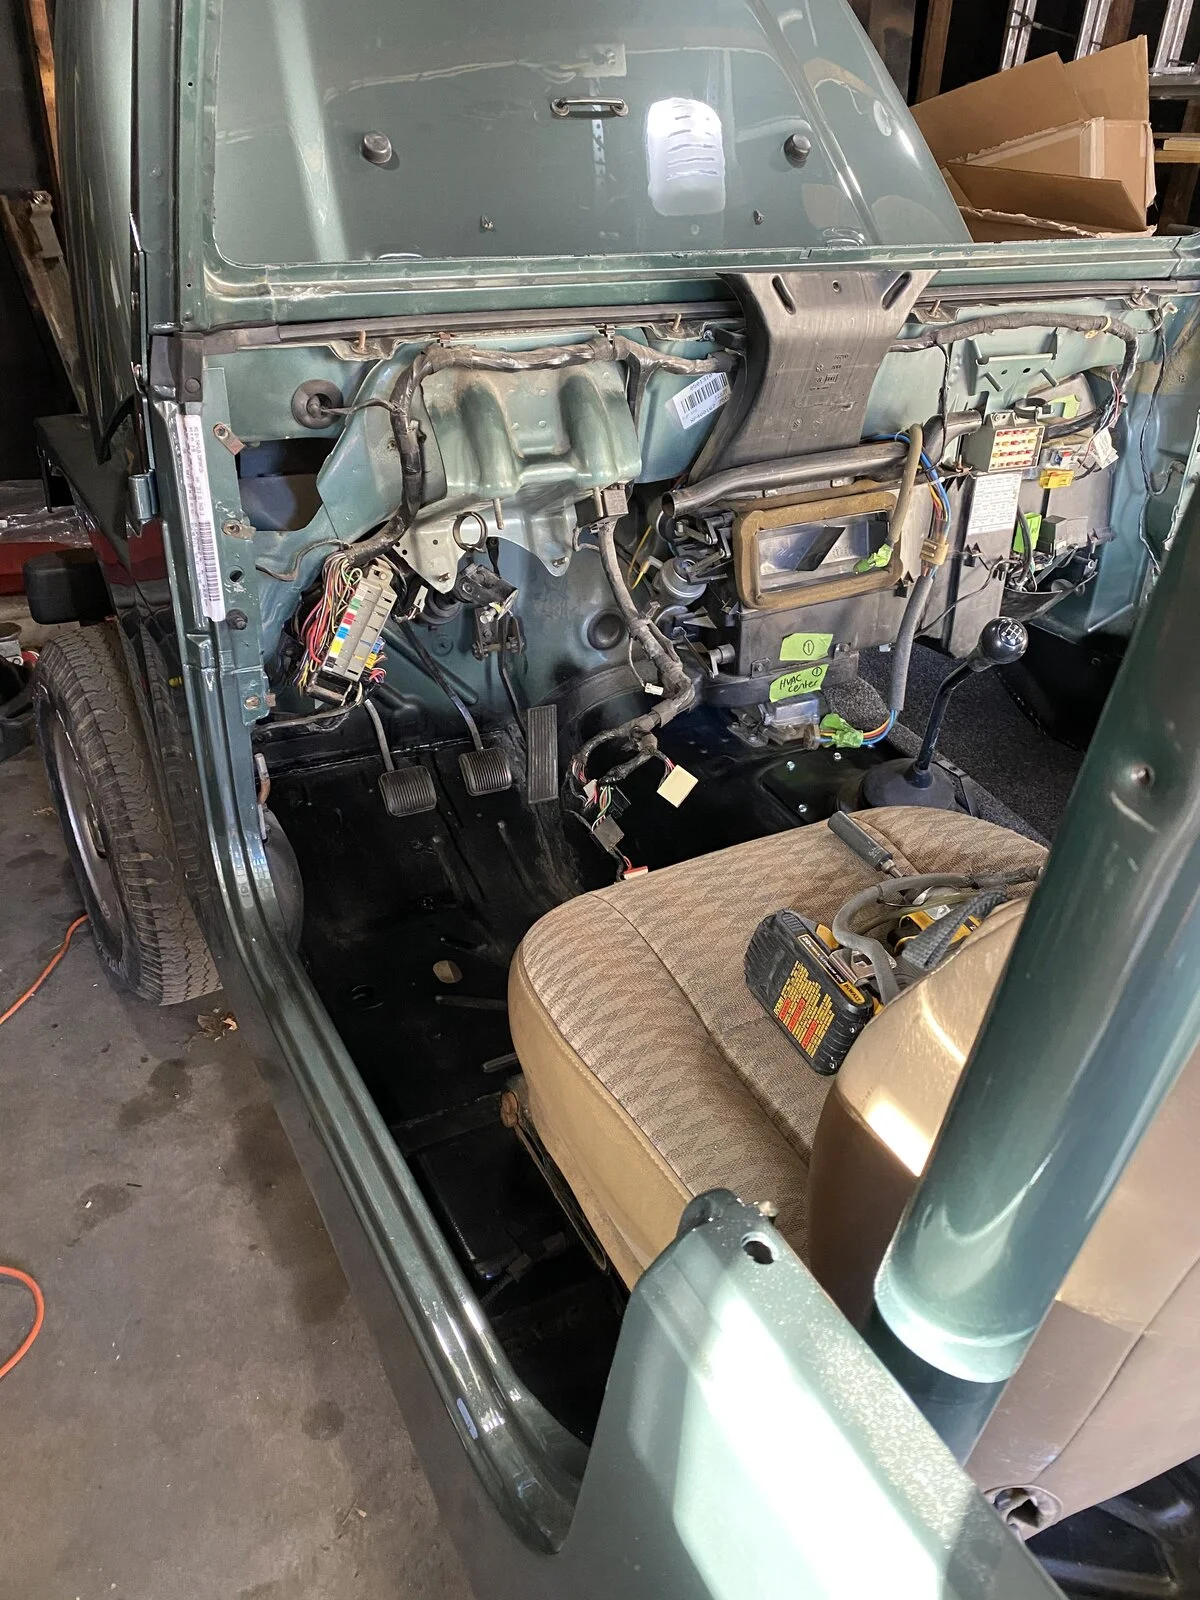
Some shots of the interior coming back together. Used Bedrug to finish off the floor, really cleans it up!
IMG_7915.webp


IMG_7916.webp


IMG_7918.webp


IMG_7919.webp


IMG_7920.webp


IMG_7921.webp


IMG_7931.webp


IMG_7932.webp


IMG_7933.webp


IMG_7934.webp
 
People following this thread for a while may remember that I was suggested to do a V8 swap. I was insistent that I wanted to run the 4 cylinder and get it driving though. Well - I got a full summer (2021) out of it before the head gasket went on my 2.5L. Turns out your heater hose falling off and dumping all of the coolant on the highway isn't great for the head warping... Regardless, I decided it was time to upgrade! So here are the pictures of me removing the 2.5L.

IMG_1636.webp


IMG_1638.webp


IMG_1641.webp


IMG_1643.webp


IMG_1644.webp


IMG_1646.webp


IMG_1651.webp


IMG_1652.webp
 
Ended up finding a 5.2L Magnum out of a 2001 Dodge Ram 1500 at a salvage yard with 70K miles on it. Drove it home and threw it on the stand. Great... Another project. This thing didn't exactly look pretty.


IMG_3043.JPG


IMG_3047.JPG


IMG_3049.JPG


IMG_3050.JPG


IMG_3051.JPG


IMG_3052.JPG


IMG_3042.webp
 
Skipping right along, cleaned up the heads, the block, sanded down the block to prep for paint. Ended up hitting the block with a base coat of POR-15 in preparation for a high heat top coat of POR-15.

IMG_3351.webp


IMG_3353.webp


IMG_3354.webp


IMG_3425.webp


IMG_3426.webp


IMG_3427.webp


IMG_3429.webp


IMG_3430.webp


IMG_3431.webp


IMG_3432.webp


IMG_3434.webp
 
  • Like
Reactions: Alex01
Did you do anything to the internal like a new cam? Are you going to run the stock exhaust manifolds?
This is a good site for hop up stuff for our magnum engines.

https://www.utawesomeperformance.com/index.html

Are you going to build your own wiring harness? I've got some cheat sheets if you want them.

So no new cam yet... As you can probably tell I am one of those weird guys that does something, regrets it, and then does it a year later haha!
As for the exhaust, I bought headers from Summit racing which fit nicely.

We're still about 2 months behind in the forum where I am in real life. They fit nicely up to an aftermarket downpipe I found for a dodge ram and cut to size.

As for the wiring harness, as you will see in my next post, I used the TJ harness and spliced the connectors and fuel injector drivers in as needed. It seemed to do the trick, but I have yet to start the new engine up yet. Appreciate the cheat sheets, I may bother you for them depending on how the first start goes!
 
  • Like
Reactions: Wildman
So while I was cleaning up the engine, I was also splicing together my TJ harness with a harness out of a 2001 Dodge Ram. The Ram harness was WAY longer than the TJ harness, so I figured extending the TJ wires to match would be easier, and fit the engine bay better. The Ram was also an auto, so I was able to cut away quite a few wires to get down to what I needed. Pictures below shows me mocking up the TJ harness length, as well as my process for de-pinning the BR harness and adding to the TJ harness. Most of the wiring work was matching connectors based on the FSM(s), and extending wires as needed. I added convoluted tubing and silicone pasted/heat shrinked just about every wire in the engine bay, and in doing so really helped organize and make everything look neat. There will be some more pictures in the next few posts of the wiring harness in the Jeep.

IMG_4628.webp


IMG_4629.webp


IMG_4631.webp


IMG_4633 (2).webp


IMG_4635.webp


IMG_4641.webp


IMG_4643.webp


IMG_4644.webp
 
  • Like
Reactions: Wildman
Some shots of cutting out the old frame mounts and locating the new ones. There are little screws welded to the engine mounts sold by Advanced Adapters, which make it easy to place them in the right spot. It's not shown here, but I did go back and clean up those half cut off original mounts later.

IMG_3831.webp


IMG_3832.webp


IMG_3833.webp


IMG_3914.webp


IMG_3915.webp


IMG_3916.webp


IMG_3917.webp


IMG_3918.webp


IMG_3921.webp


IMG_3922.webp


IMG_3923.webp


IMG_3924.webp


IMG_3925.webp
 
  • Like
Reactions: Wildman and PRNDL
Mounting the engine was honestly one of the easier parts of the project. With the 1" body lift installed, a cherry picker, and an engine angling tool, it was a pretty straightforward process. There was plenty of clearance between the transmission bellhousing and the body of the truck, so we just had to get it at the right angle and slider the assembly in!

IMG_4135.JPG


IMG_4140.JPG


IMG_4316.JPG


IMG_4318.JPG


IMG_4321.JPG


IMG_4322.JPG


IMG_4323.JPG


IMG_4324.JPG


IMG_4332.JPG


IMG_4333.JPG


TFIN2642.JPG
 
Last edited:
One thing I haven't seen too much conversation about is the skid plate. So here's the deal: The engine moves roughly 2 inches forward with the Advanced Adapters Magnum Engine kit, right? So that does a few things:
1) Both driveshafts, front and rear, are now the wrong length (too long and too short respectively)
2) The transmission is now too far forward (closer to the front of the vehicle), and will not sit in the mounts on the skid plate.

I know that there is a difference in the skid plate design between the '97-'01(?) and the '02-'06 TJs which affects how the transmission sits on it, and is secured to the frame.

I saw a skid plate for sale online that would instantly fix this issue, and also get rid of the "shovel" profile that the stock plates have, but it was $250. Being the cheap-ass I am, and having some spare steel and too much time on the weekend, I decided to fabricate my own solution. I ended up cutting a pocket for the transfer case to live in, and extending the mounting slots out approximately 2". I also added a few pieces of supporting steel not shown here to ensure that it wouldn't all come crashing down on me. It mounted right up to the frame and the transmission, so at least for now it is working well.

IMG_4297.webp


IMG_4299.webp


IMG_4301.webp


IMG_4304.webp


IMG_4305.webp


IMG_4306.webp


IMG_4307.webp


IMG_4308.webp
 
It's probably going to feel like a huge leap, but here is just about where I am now. The accessories are mounted to the block, the headers are on, and the wiring is almost complete. I have a few things that I want to make prettier, and some details with fuel delivery to sort out, but I am pretty sure it is close to starting! I will take some more pictures today or tomorrow to show more detailed shots of the engine, the transmission mounting, and the exhaust routing.

Oh, one detail: The clearance between the steering shaft mid-bearing and the exhaust headers is almost non-existent. Maybe a few mm at best. I really don't know where I went wrong, but I am not sure of a good way to get more space there.

IMG_4703.webp


IMG_4704.webp


IMG_4787.webp


IMG_4788.webp


IMG_4789.webp


IMG_4802.webp


IMG_4803.webp


IMG_4804.webp


IMG_4805.webp


IMG_5077.webp


IMG_5079.webp


IMG_5099.webp


IMG_5104.webp
 
One thing I haven't seen too much conversation about is the skid plate. So here's the deal: The engine moves roughly 2 inches forward with the Advanced Adapters Magnum Engine kit, right? So that does a few things:
1) Both driveshafts, front and rear, are now the wrong length (too long and too short respectively)
2) The transmission is now too far forward (closer to the front of the vehicle), and will not sit in the mounts on the skid plate.

I know that there is a difference in the skid plate design between the '97-'01(?) and the '02-'06 TJs which affects how the transmission sits on it, and is secured to the frame.

I saw a skid plate for sale online that would instantly fix this issue, and also get rid of the "shovel" profile that the stock plates have, but it was $250. Being the cheap-ass I am, and having some spare steel and too much time on the weekend, I decided to fabricate my own solution. I ended up cutting a pocket for the transfer case to live in, and extending the mounting slots out approximately 2". I also added a few pieces of supporting steel not shown here to ensure that it wouldn't all come crashing down on me. It mounted right up to the frame and the transmission, so at least for now it is working well.

View attachment 356139

View attachment 356140

View attachment 356141

View attachment 356142

View attachment 356143

View attachment 356144

View attachment 356145

View attachment 356146

If it's not late, knowing you are ahead of the posts, you should consider an independent crossmember for the trans. They are invaluable and make maintenance so much easier when you can remove the skid and not have to support the trans.