Daily Driver, Go Where I Want To Build

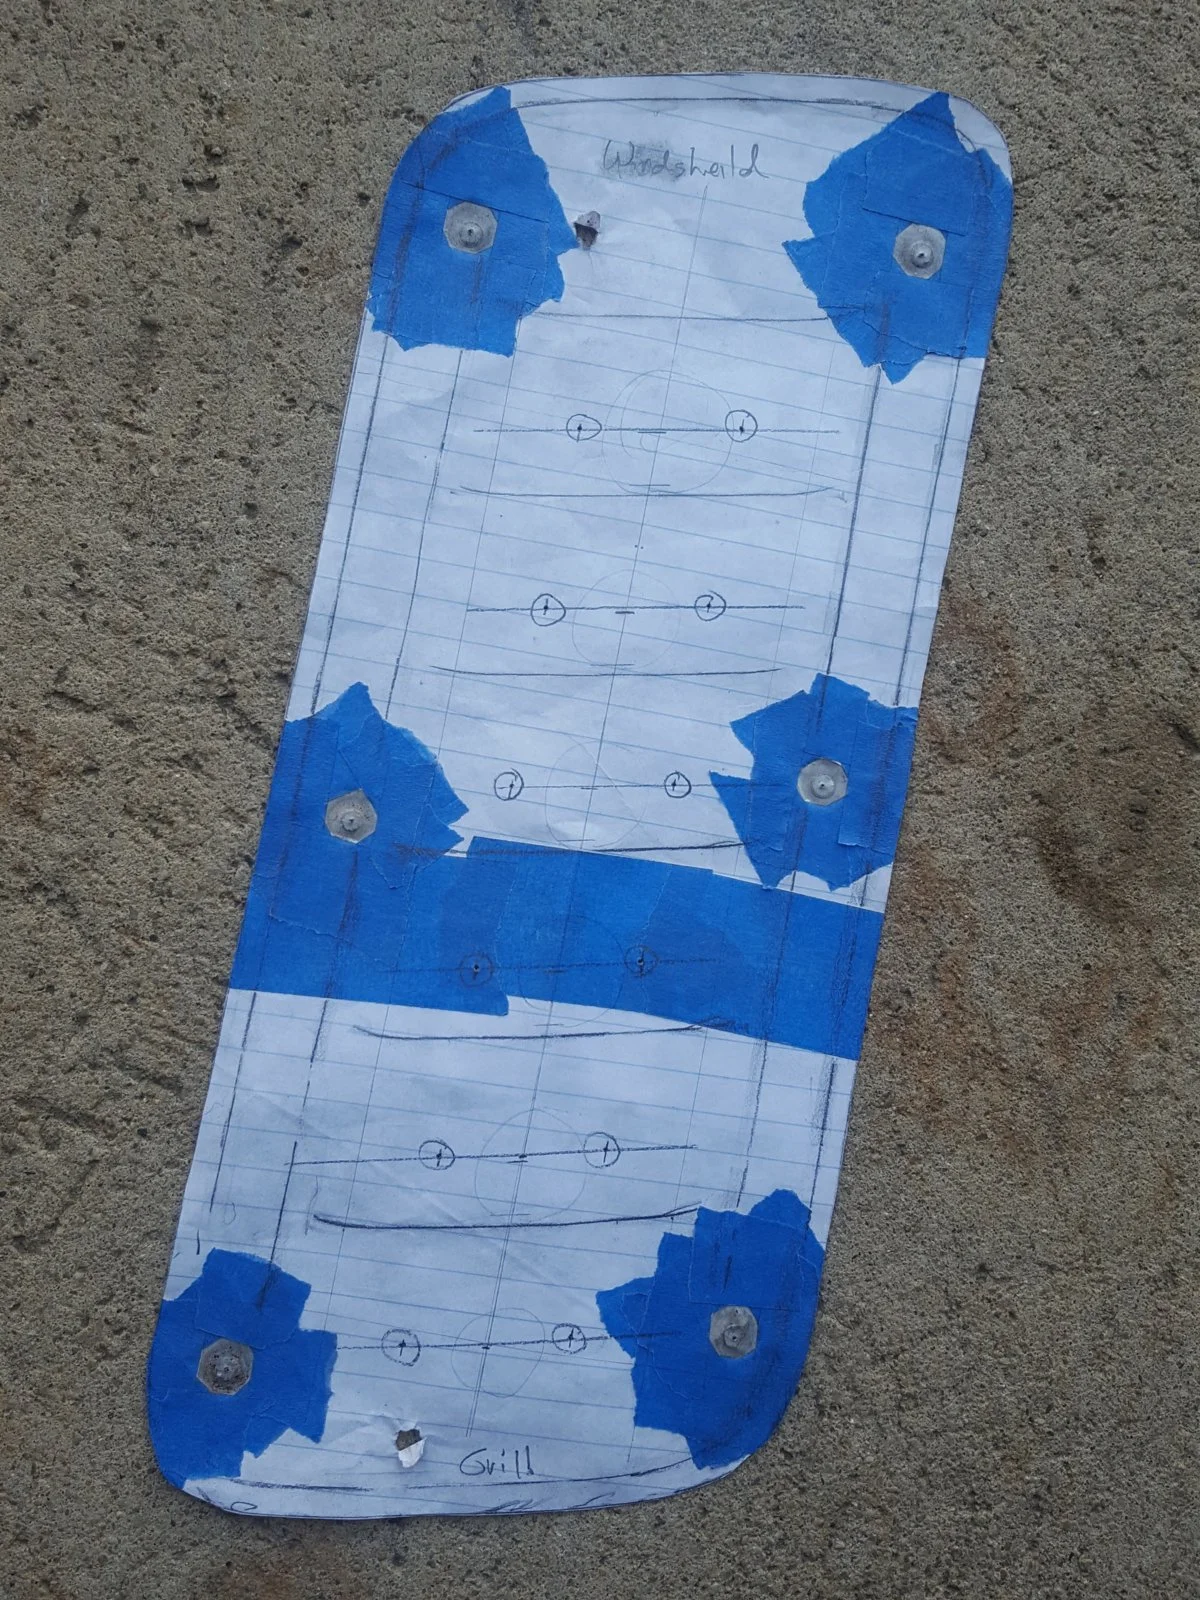
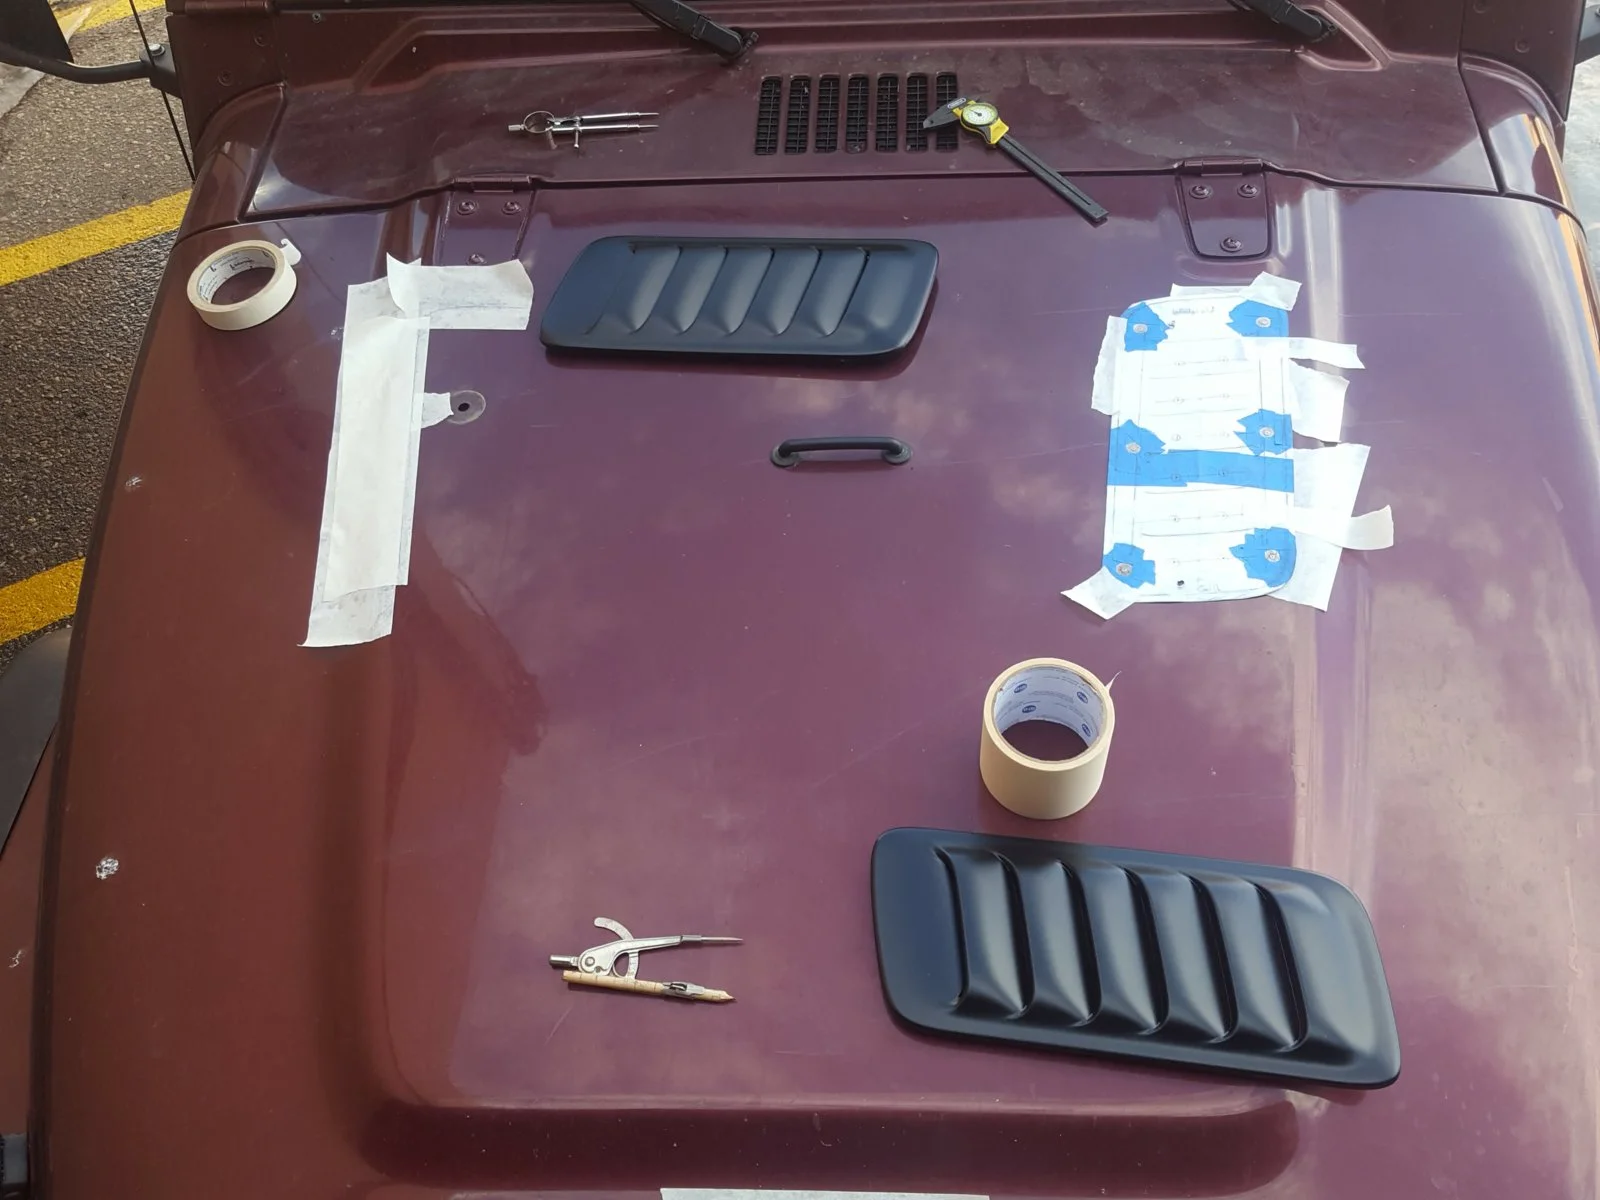
A template.
20161230_120612.webp


20161230_115842.webp


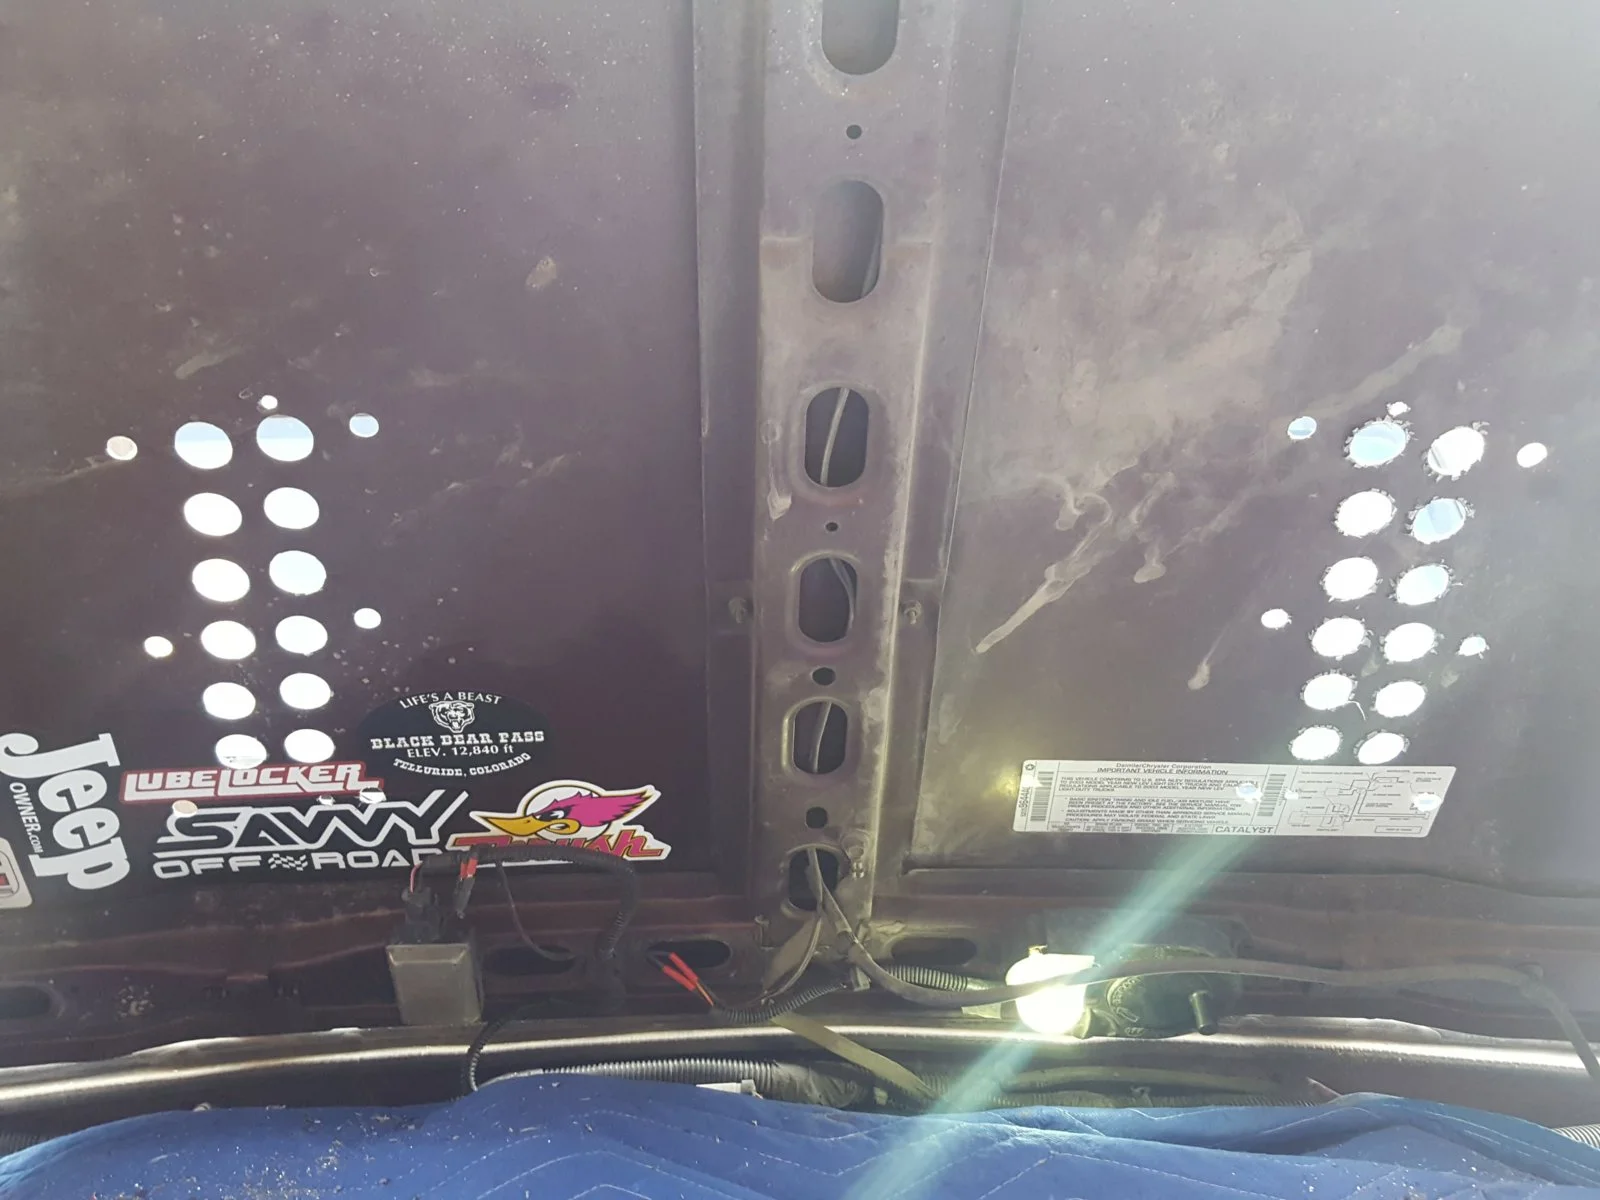
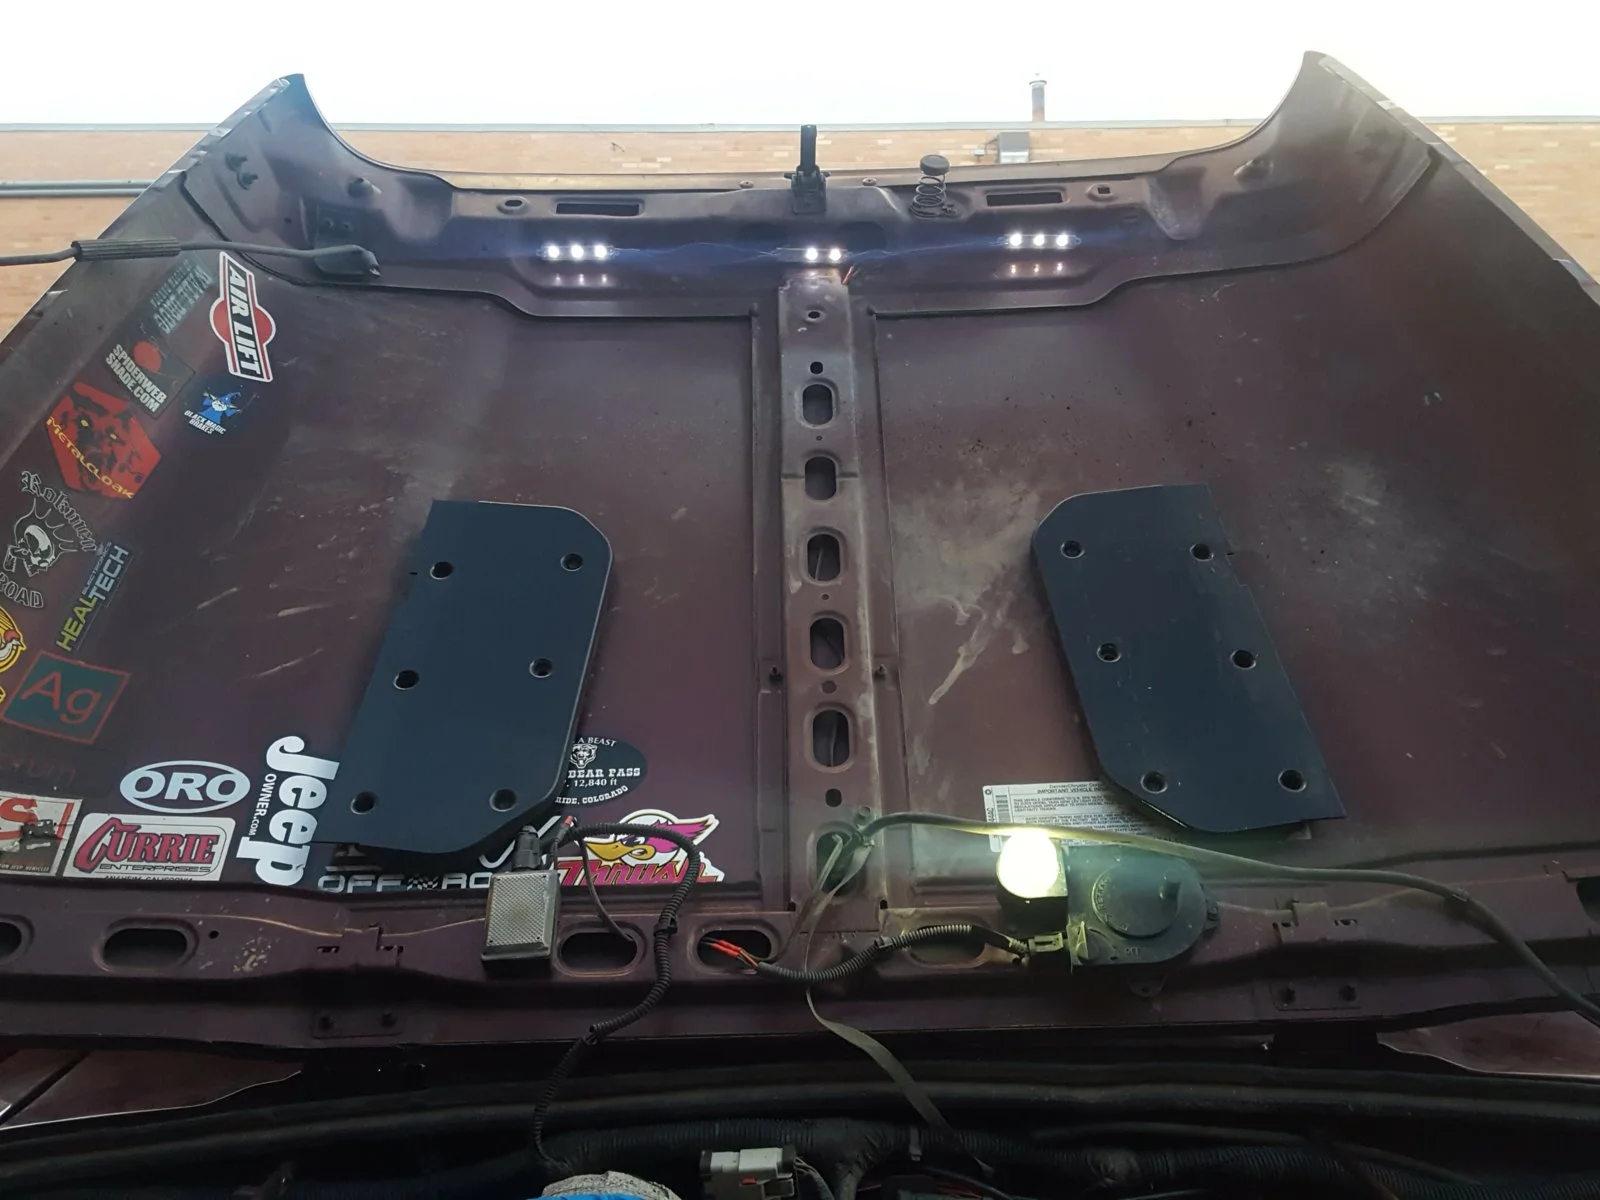
Marking with a center punch.
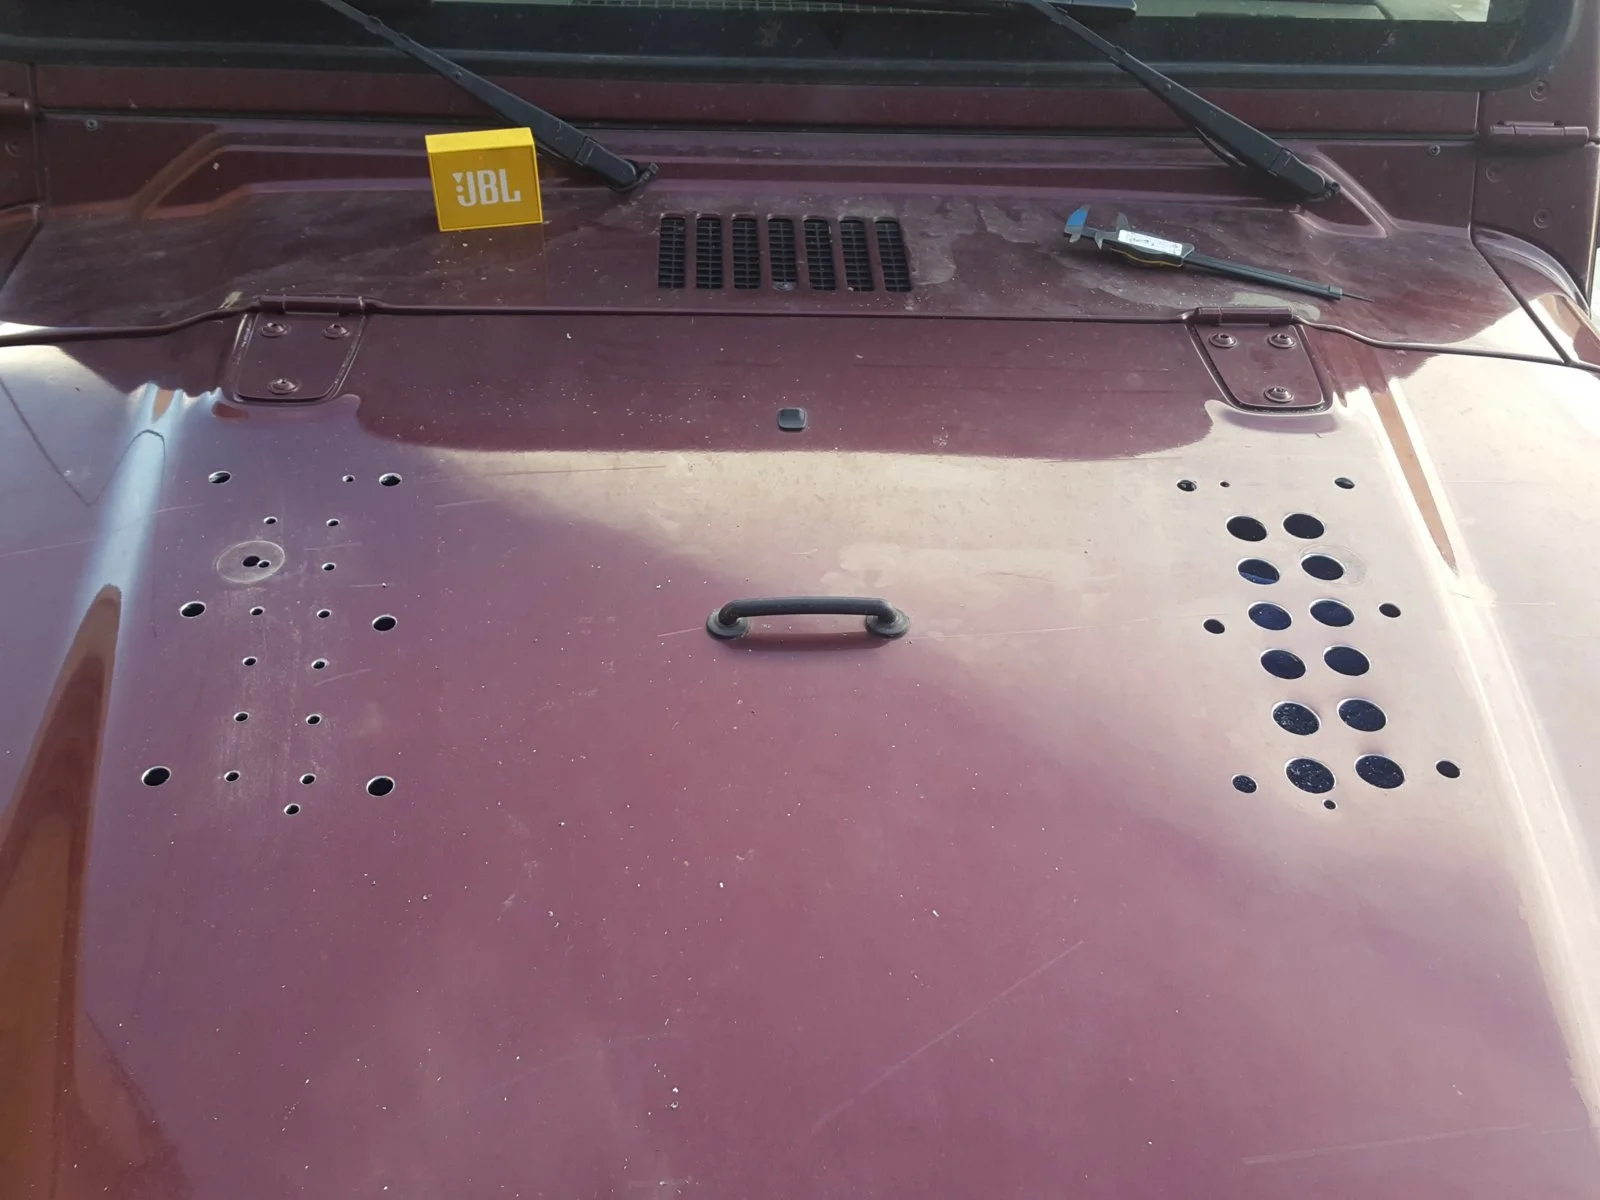
20161230_120803.webp


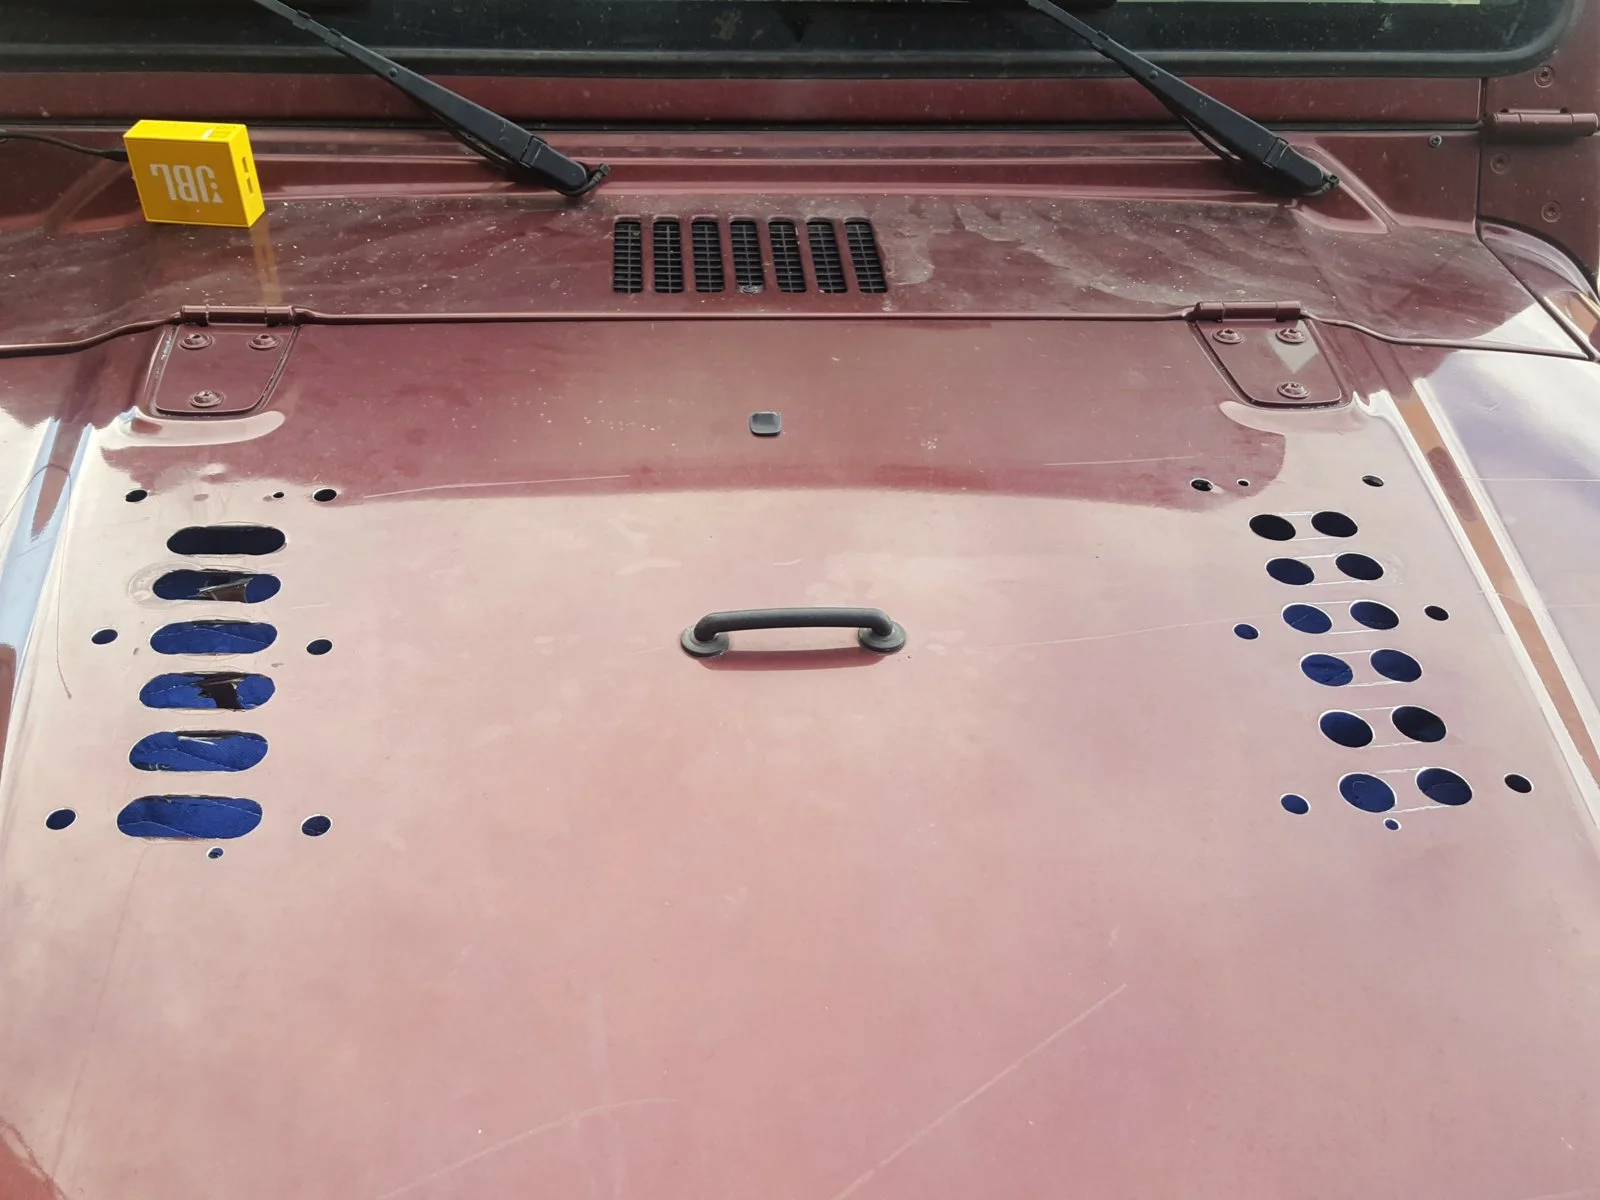
Drilling and drilling and drilling.
20161230_142950.webp


20161230_150020.webp


Holes turn into slots.
20161230_152833.webp


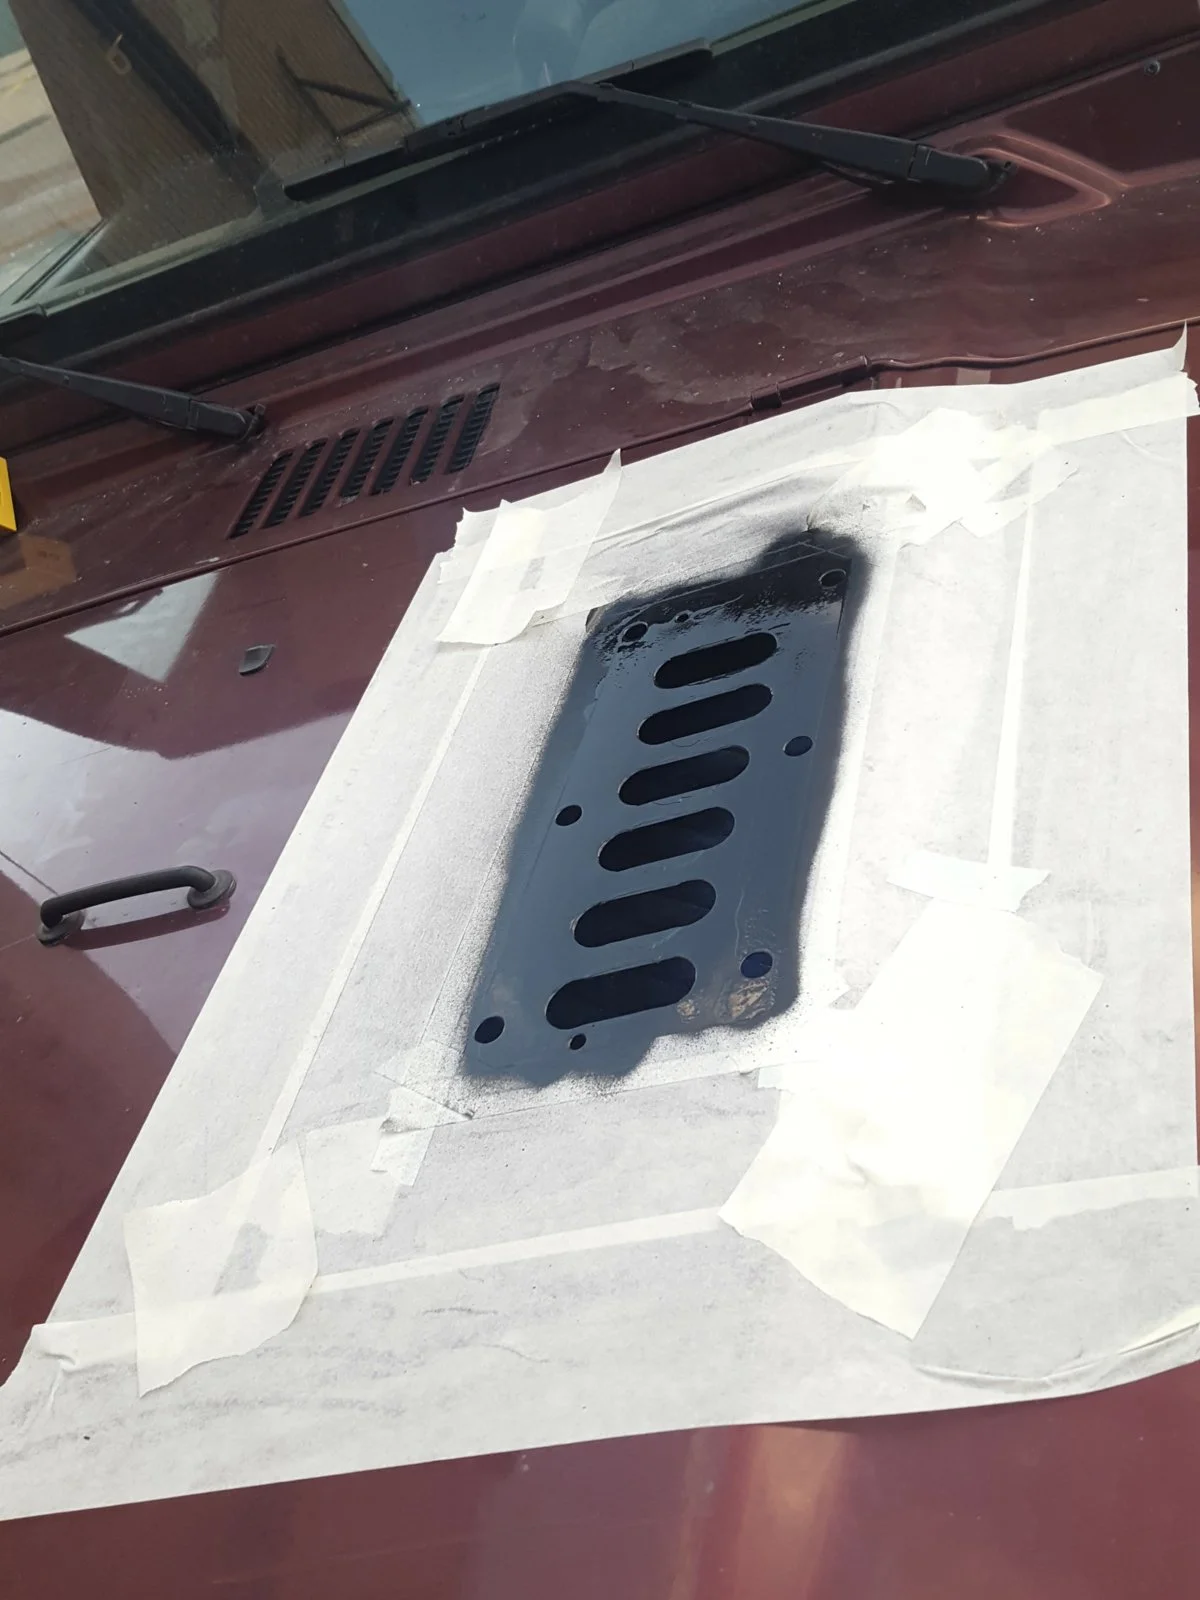
Paint.
20161230_162932.webp


20161230_163127.webp


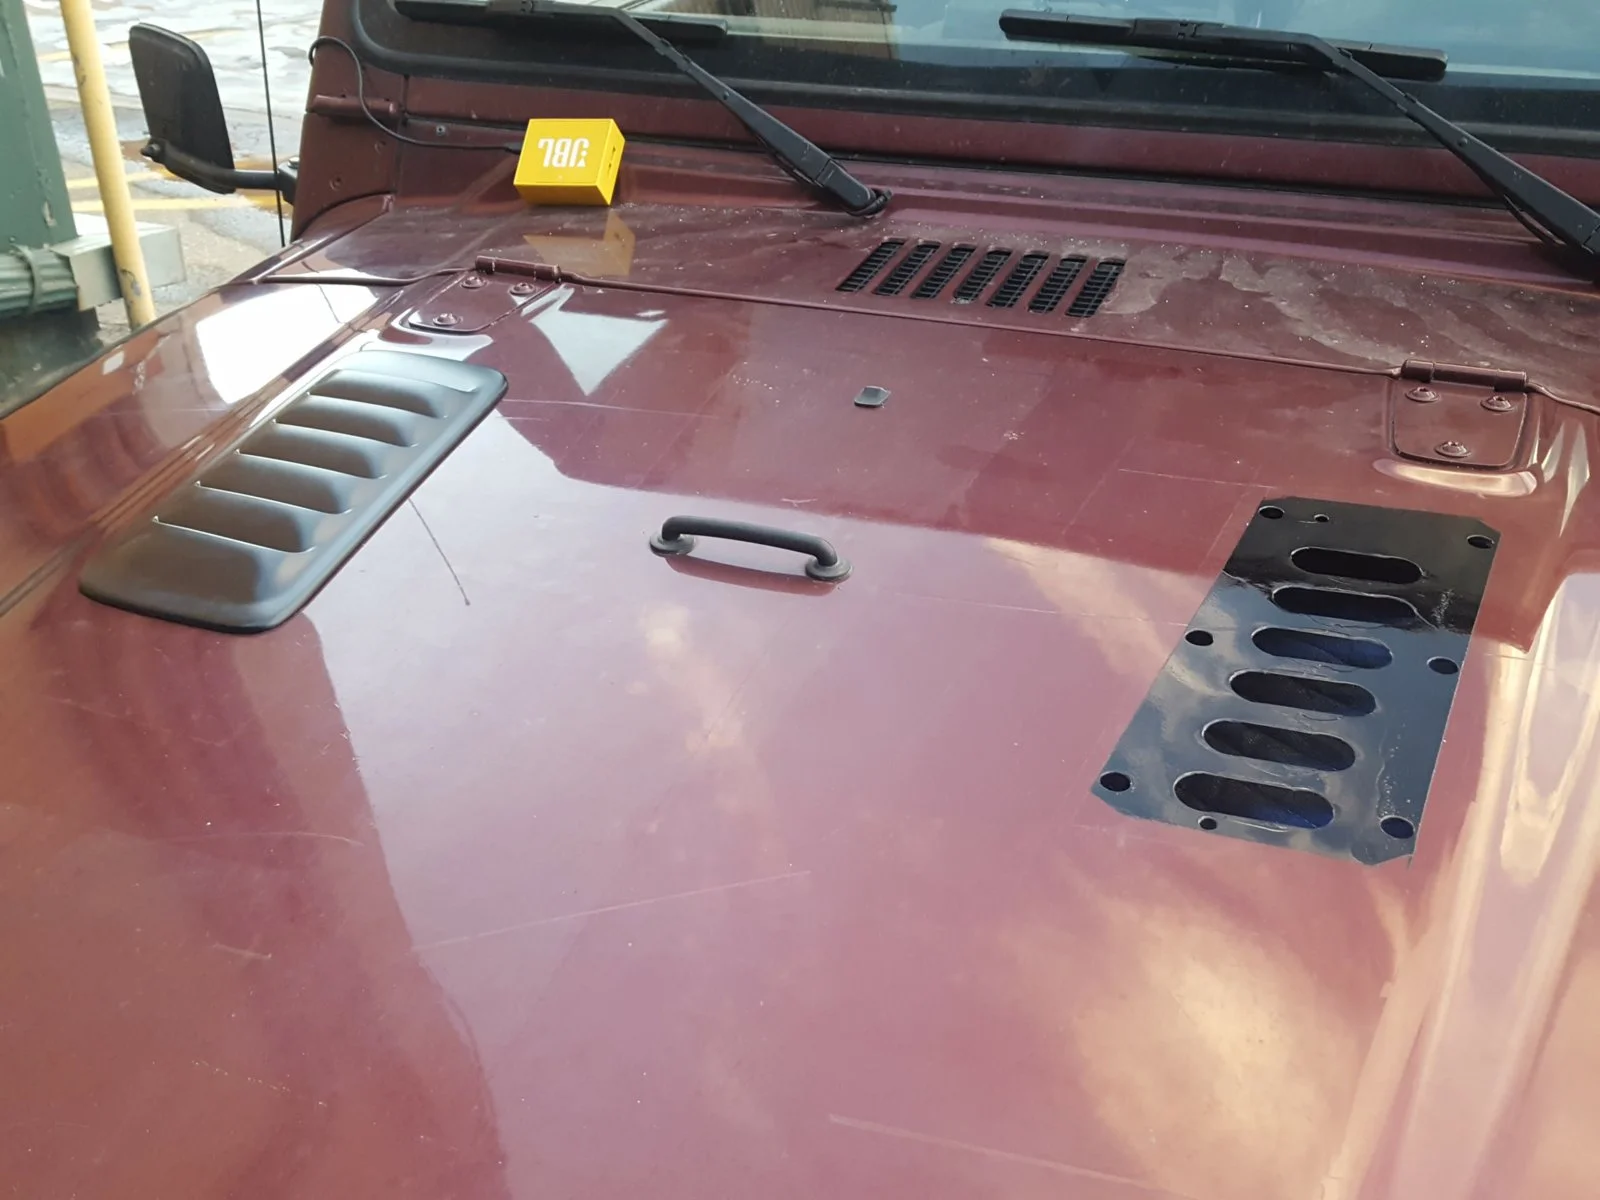
Attach.
20161230_163901.webp


20161230_163916.webp


The drip pans.
20161230_163720.webp


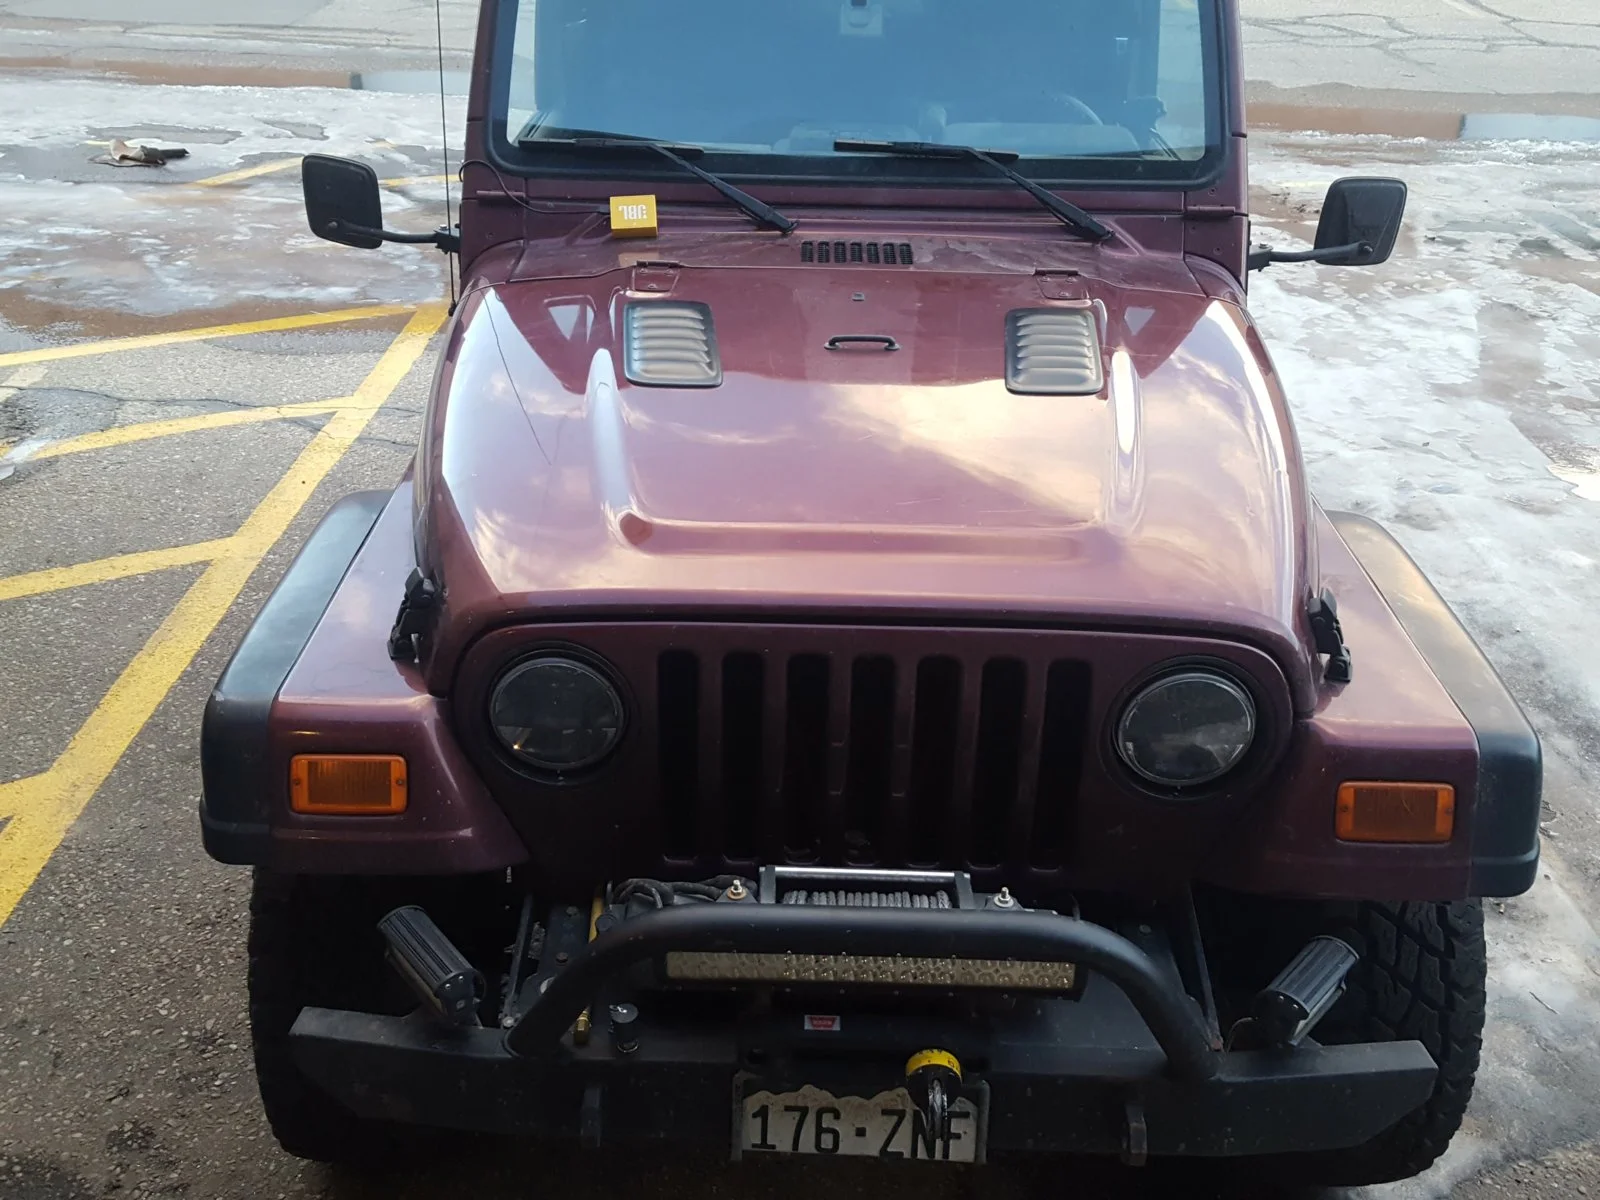
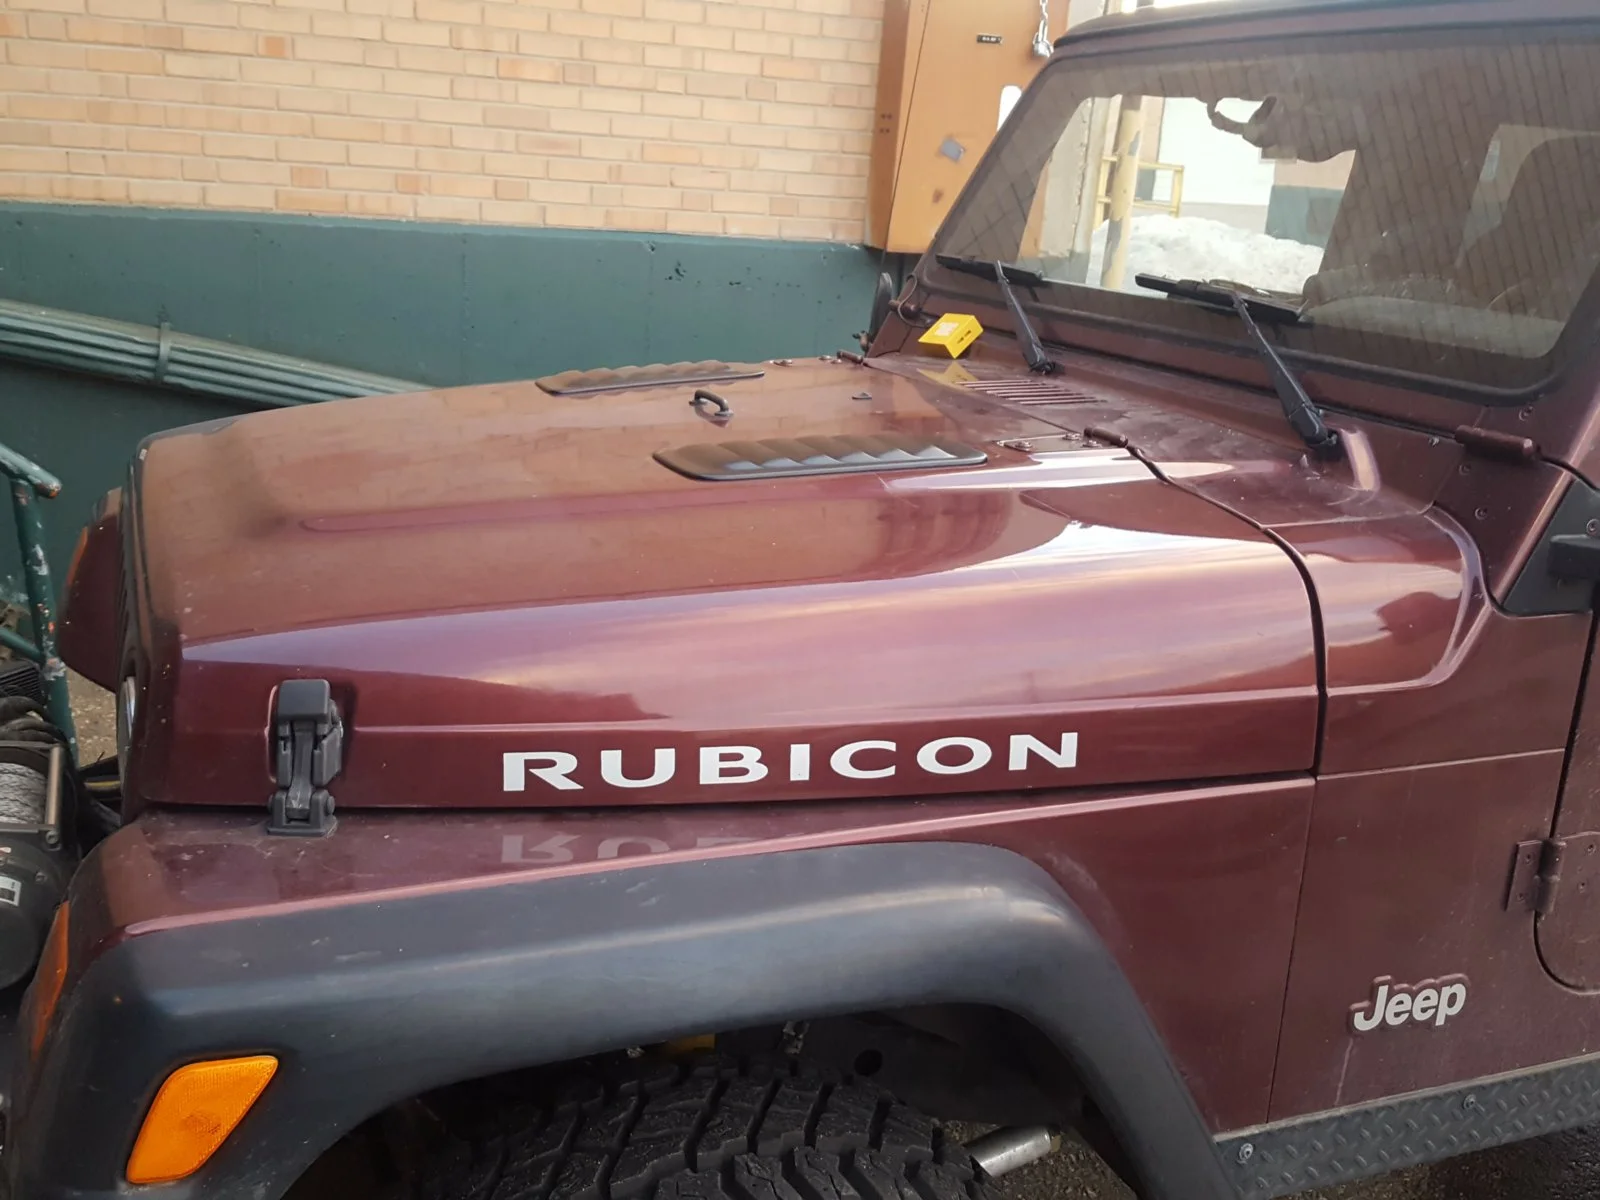
On their maiden voyage to the grocery store, the louvers do in fact allow heat to escape.
 
Last edited:
December 27, 2016

Today I concluded my quiet experiment in laziness, ignorance and driving a month without a steering stabilizer.

When I bought the used Currie steering, I didn't get the mounting post for the stabilizer. When that arrived and I installed the steering, I learned that the new post is too large for the factory stabilizer. Weeks went by and I eventually bought a cheap new Monroe. I finally installed it today. It is small and black and you can barely see it.

This was an interesting experience considering how much people will fixate on steering stabilizers on Jeeps and lifted vehicles. Driving without one for a month was fine. My front end is tight and adjusted as well as my tape measure will allow. No wobbles or shakes. My only complaint was the increased input from the road and the steering reacting to the ruts in the road, but this was only a problem in that it was something I was aware of. If the Jeep wasn't my daily, I maybe could have gone indefinitely without a stabilizer.

With the stabilizer back in I do notice smoother handling and far less input from the road transferring to the steering wheel. Tracking is noticeably better. I think I understand better how a stabilizer is not intended to fix bad steering and poor handling, but is meant to soften and improve upon what is already there.
 
Jan 01, 2017

Today was my first day running errands with the vents. Since I added the Windstar induction 2+ years ago, I have had an intake temp gauge on my spare phone running Torque. The intake temps seem to have decreased another 10-20*F, to where the intake is 40-50* above ambient temperature rather than 60-70* in the same conditions. That would indicate that the underhood temps are cooler with venting. The lowest I have ever seen them was 5* above ambient on a windy day on the highway. I might see that more often now. As expected, the engine temps remained in the normal 195-205 range. Those are my observations.
My primary intention behind the louvers is to reduce hood flutter from passing semis on two lane highways. That often made me nervous. I also wanted to add one more thing to keep the York OBA cool. As well as possibly prolong the life of the plastic stuff in the engine bay just bit longer. There is also that lingering curiosity to see if mileage might somehow improve if the intake was that much cooler, but I know that isn't realistic. Honestly, I just like the way they look! My hopes of ever cooking a burrito in the engine bay again are forever gone. That was a nice feature.
 
January 15, 2017

A pile of control arm mounts begins to pile up.
20170115_054544.webp


And the rear arms are installed. Finally!
20170115_052551.webp


This may be the only time you will ever see Savvy mid arms with a factory skid. I had to cut out the corners to make room for the frame brackets. I also took measurements off of a friend's Savvy skid so I could trim the brackets to fit the skid that I don't have yet.
20170613_142345.webp


So far the Thrush muffler fits. I'll get pics once the skid is installed. I need to clean up all the electrical and plumbing that was connected to the old upper arms. But the Jeep is drivable. I'll fine tune the lengths and pinion and clean up some details shortly.

The handling is different. I don't feel the small impacts from the road as much. There is a bit more body roll than with the factory rear. The change is best described again as more freedom of movement. Very similar to a softer sway bar. I can see where stiffer shocks would be helpful.

I discovered that the rear does require some bump stop extension. No more than 3" to keep the rear uppers out of the tub. The spring seats also need to be relocated. Nothing lines up anymore now that the pinion has been raised.
20170129_194710.webp


20170129_141249.webp


Anyway, I'll work out how much and get that resolved soon. This change of events will most likely change what I run for springs in the rear. More on that once I get better measurements.

Speaking of measurements...

Full droop is limited by the rear sway bar.

18" between spring seats.
20170114_231320.webp


28" between factory shock mounts.
20170114_231017.webp
 
January 19, 2017
The Savvy skid has arrived and is nearly installed!
20170118_133700.webp


The belly was raised 3.75" to just under 18" at the cross member. The t case rear output was lifted 3".
20170119_221025.webp


The muffler is sitting on top of the cross member right where the cut out for the factory cat would normally be. I need to go back in and open that up some more to create space for isolation. That should quiet most of the new noise down. Then I can build the exhaust hangers and run a tail pipe.
20170120_231119.webp


Also left to finish is relocating to locker pumps to the ABS tray in the engine compartment. The rear air bags need to get hooked up again and some misc wiring and hoses need to be secured and cleaned up. Then I can move on to moving some mounts around.

This is very exciting!
 
  • Like
Reactions: derekmac
Moving the rear spring mounts around.

Track bar mount is gone.
20170204_174044.webp


the lowers are rolled forward on the axle tube. This will eliminate the lift created from raising the pinion.
20170204_165043.webp


The upper is removed and trimmed to fit higher into the frame.
20170205_000929.webp


Dry fitting
20170205_001000.webp


Checking full bump and adding extension to keep the lower arms out of the frame
20170211_143043.webp


Making it permanent.
20170211_131137.webp


Somehow after all this juggling, the compressed shocks still match the new bump stops.
20170211_144419.webp
 
  • Like
Reactions: derekmac
More irritating exhaust work.

The muffler needs to clear the rear stiffener on the skid. You can also see where the skid needs to be notched to clear the new rear control arm mounts.
20170211_213626.webp


Using a big hammer...
20170211_213653.webp


The cross member is also scooped out a bit to clear the muffler.

20170211_230850.webp


Buried in there is a modified muffler hanger. Somehow it all works and is quiet.

This is the muffler and cat assembly.
20170528_190621.webp
 
Last edited:
  • Like
Reactions: JMT and derekmac
Somewhere during all this misery, I cut and raised the stock gas tank skid one inch higher.

The process is to cut the top off of the skid and overlap them one inch.
20170129_201608.webp
20170129_201623.webp


20170129_213724.webp


20170129_213739.webp


enlarge the slots for the straps and squeeze it all together
20170129_220348.webp

To clear the raised gas tank, I needed to cut the dust guard off of the driver's side Old Man Emu shock.
20170130_001007.webp
 
  • Like
Reactions: JMT and derekmac
Gotta finish the tail pipe. My local Ace Hardware has cheap exhaust fittings for tractors.

Full droop. The wood blocks are meant to simulate the free length of a Currie 4" spring. Building for the future.
20170226_004429.webp


Full bump. Notice how the upper arms have dented into the tub.
20170226_004615_001.webp


Drive shaft at full bump
20170226_004846.webp


Drive shaft at full droop. I probably need to make it longer.
20170226_005115_001.webp


Also notice that with the mid arms and their flatter travel arc, the drive shaft is getting longer. This is the day I discovered that I have just over 12" of travel without driveshaft bind. That is unusual for a lifted Rubicon.

Something important to note on my process of installing the Savvy mid arm kit is that I am doing this exactly backwards from what Savvy intended. This kit is sold as an upgrade to an existing Currle 4" (or really any 4"+ arrangement) that has already been dialed in.

Because I am doing the install on a Jeep that is is for all intents and purposes still stock, I am forced into dialing things in all at once from the very start. To make matters worse, I am doing this on my only vehicle! This means I had to break everything into manageable steps that allow the Jeep to drive by Monday morning, often in a semi-compromised state of functionality (though, not unsafe...). Moving the rear spring buckets was a big milestone in that I don't need to worry about my shocks nearly as much or bottoming out.

To summarize, don't do this this way I am doing it!!!! Start with a well sorted 4" lift, preferably with a tummy tuck and you will be done after a long weekend.
 
Last edited:
  • Like
Reactions: JMT and derekmac
The locker pumps get moved from the old factory transfer case skid to the ABS (not a spare battery) tray under the hood.
20170122_182701.webp
20170122_190903.webp
20170122_192431.webp
20170122_193101.webp
 
  • Like
Reactions: derekmac
mid February 2017

A friend of mine helps me regear the axles from 4.10 to 4.88. we installed Motive Gears.
My new 75mph is 3000rpm. It feels like a new Jeep! it is very nice to be able to accelerate in overdrive.

While we worked on the axles, I installed a pair of Superior Cro-Moly front axles shafts I found on CL.

I also installed the Black Magic Brakes rear caliper flip kit. This is in preparation to outboard the rear shocks.
20170218_145327.webp


20170218_145335.webp
 
  • Like
Reactions: derekmac
First time out since all the work. There is too much snow in March to do much.
20170304_134955.webp


20170304_135955.webp


I like this picture. Before the Savvy skid, I could not have climbed this little hill.
20170304_125947.webp
 
Who remembers my cup holder project? After the Ammo can center console and the switch to an early-TJ front console, I was left with one cup holder. I wanted two again.

Apparently there are versions of the late-TJ console without the storage box but with two cup holders. This is the double cup holder!
20160903_165335.webp


20160903_170405.webp


20160903_180647.webp
20170308_083525.webp
 
  • Like
Reactions: derekmac
April Fools Day run at Chinaman Gulch in Buena Vista, CO
DSC_0783 - Copy - Copy_zpskqcyhcio.webp


This is a section where we are supposed to get pics of wheel stands. Mine wouldn't do it.
DSC_0807_zpss7zdaixa.webp


DSC_0869_zpswfk5oqjf.webp


DSC_0900_zpsr821sclr.webp


DSC_0901_zpsedqpbir2.webp


DSC_0905_zpsm94v50fl.webp


DSC_0907_zpsgs91hjr5.webp


DSC_0921_zpsp1kaqtzw.webp


tapatalk_1491273219146.webp


The Jeep did great. Except for one thing. If I got it twisted up just right, the engine would cut out. I made it most of the way through, but still needed to be dragged out near the end. I had no idea what was going on.
 
Last edited:
  • Like
Reactions: derekmac
...
 
Last edited:
April 8, 2017

I initially think that I am dealing with a heat soak issue causing the engine to cut out. After wasting a bunch of time on that idea, I begin to wonder if the terrain has anything to do with it. I head out to a nearby trail to try a few things.

I have been very successful in killing the engine.
I can easily climb back and forth over this hump all day long.
20170408_115228.webp


But if I shift over so that I twist up the suspension, the engine kills the moment the rear wheel starts to climb up to a certain point.
20170408_115357.webp


This position will reliably kill the engine every time. There is another opposite position that will sometimes do it. Every time the Jeep must be pointed up hill.

On another dirt hill similar to the one above, I wore it down to were the engine would die, but I couldn't roll back into a start position. I had to use the starter to move the Jeep. As it was rolling, the moment it flattened (or became untwisted) enough, the engine fired up.

This feels electrical.
 
I discover that when the Jeep does this, the fuel pump cuts out.
20170408_160837.webp


This is progress. With the Jeep teetering on two wheels, I can get the engine to kill. With the key still in the run position, if I rock the Jeep to one side I hear the fuel pump prime.

I think I can recreate this position with the forklift and then track down the pinch point or whatever is shorting or grounding out.
 
My trash can index has been measured. Does this mean anything? :)
20170408_194552.webp


20170408_194623.webp


More importantly, this is the kill position. The fuel pump is dead.
20170408_212226.webp


Rocking the Jeep back and forth creates the problem.

The fuel pump has continuity during the rocking. I don't believe the problem is there.

The fuel pump relay clicks during the rocking motion. Not sure yet where to go from there. Could it be the signal wires to the relay?
 
In researching this, several people with a somewhat similar problem have traced it back to the ASD relay not liking the signal the CPS is providing. This cuts power to the fuel pump. Those people are reporting seemingly random cut outs during normal driving.

Rocking the Jeep triggers the fuel pump relay. I pulled it and still heard a faint click. It's the ASD relay. Pulled that and heard nothing.

Something is triggering the ASD.

From the 2003 FSM:
(The ASD) is used to connect the oxygen heater element, ignition coil and fuel injectors to 12v + power supply.

Later on...

The ASD relay will be shut down (by the PCM) if:
There is a crankshaft position sensor signal to the PCM that is lower than pre-determined values.

I'll be surprised if this is the answer. Why would a sensor care how the suspension and body were twisted up. It just feels too much like a wiring issue, but I can't find anything that is pinched or pulling.

The only hopeful observation I have from last week is that on some easy hills, the engine would still cut and misfire. Dropping off of a couple ledges the right way would do the same. So this twisted position is not necessarily the only way to cause the problem. It is only a reliable way.

Maybe something is loose and flopping?