


First thing is to keep that whole ribbon cable that makes up the clock spring from unwinding and twisting itself all over the floor. It's already tried to spring out even with the light handling that I've been doing. Taking two pieces of electrical tape and carefully lifting each side of the ribbon cable out, I was able to secure the ribbon cable from unwinding accidentally. I did make sure to leave the outer layer and 2 inner layers out of my tape so that I could make repairs on what I've seen so far:
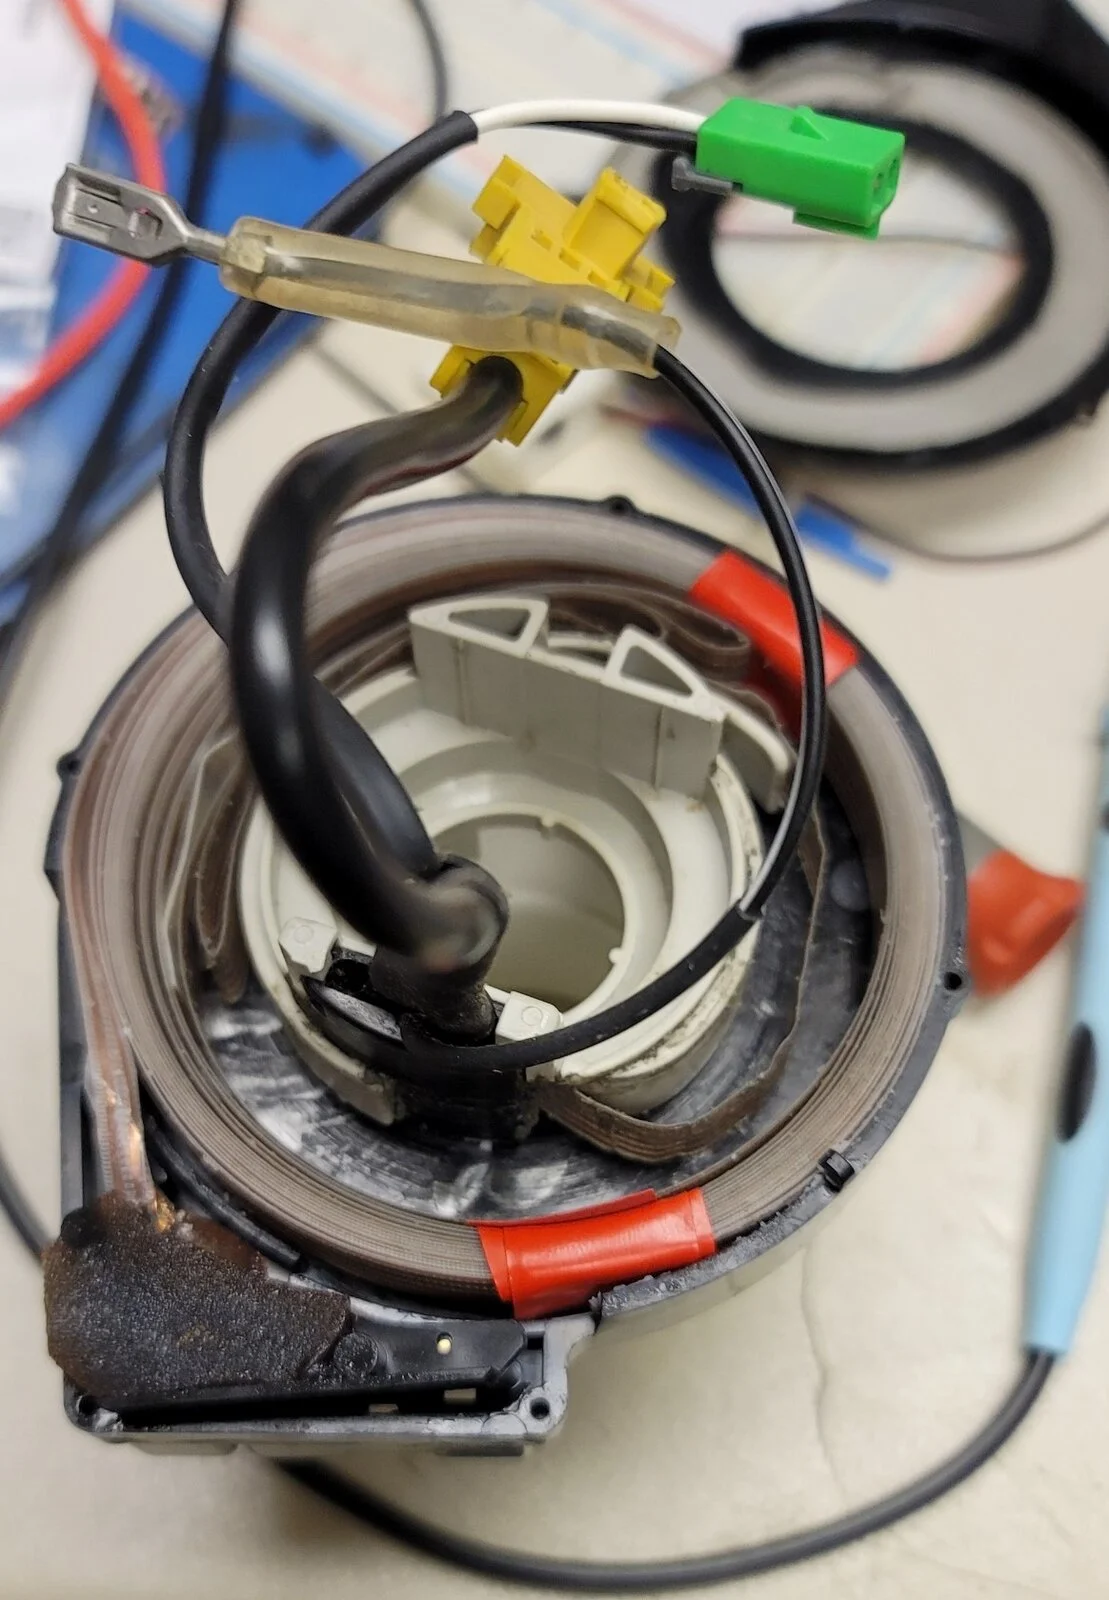
With that secured, I can now safely pull the center hub and the connector piece from the clockspring's housing. Starting with the connector side, I've encountered the first of several "snot-sealants" that will need to be removed. They are super-sticky and I'm suspecting part of the waterproofing/dustproofing for this part. The one think one (about 1/4") on the connector came off pretty much intact and looks like I can reuse it later. The others are too thin and are unlikely to be salvageable.
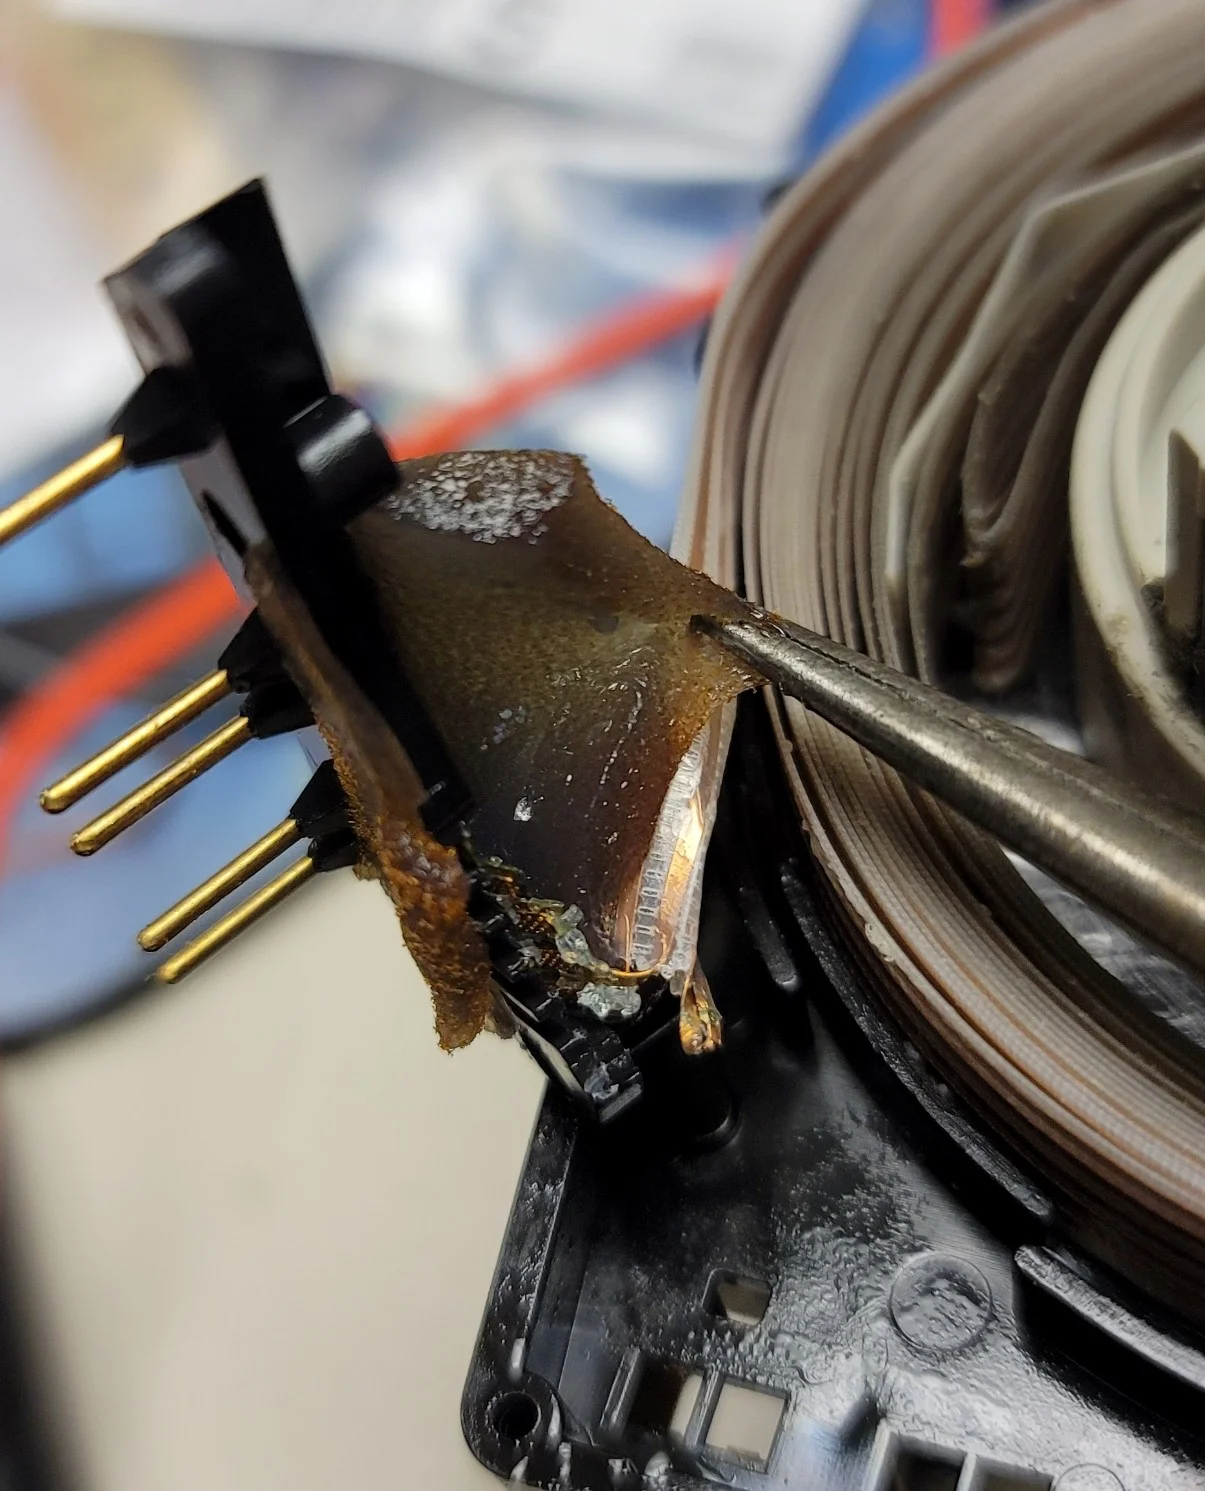
Inspecting the connector end further, the breaks are clear and bad:
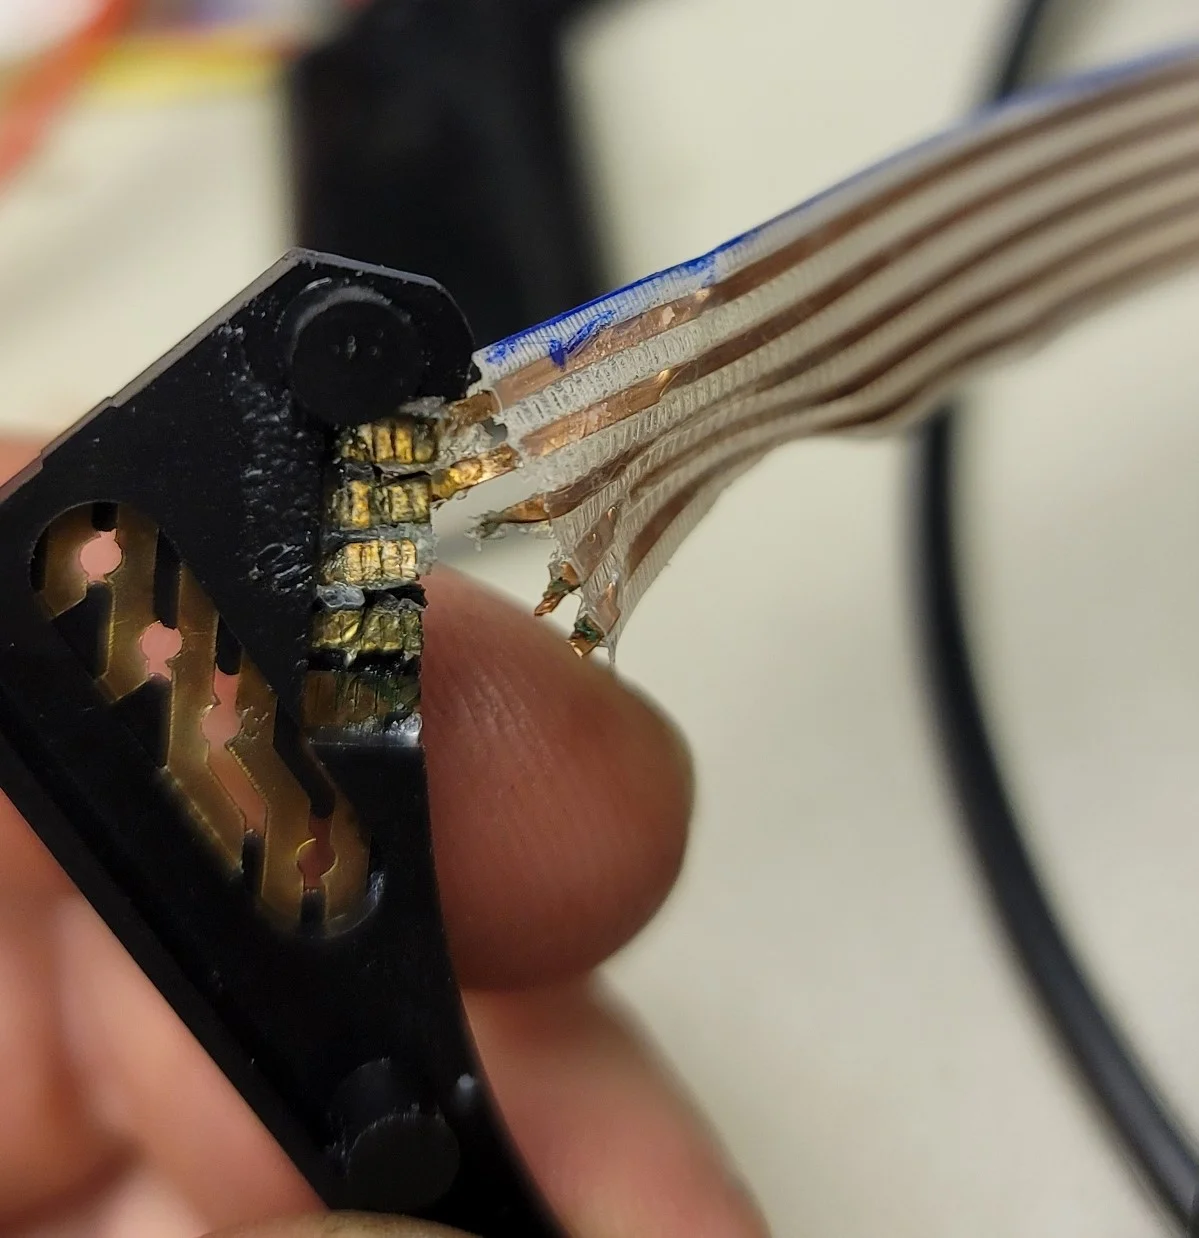
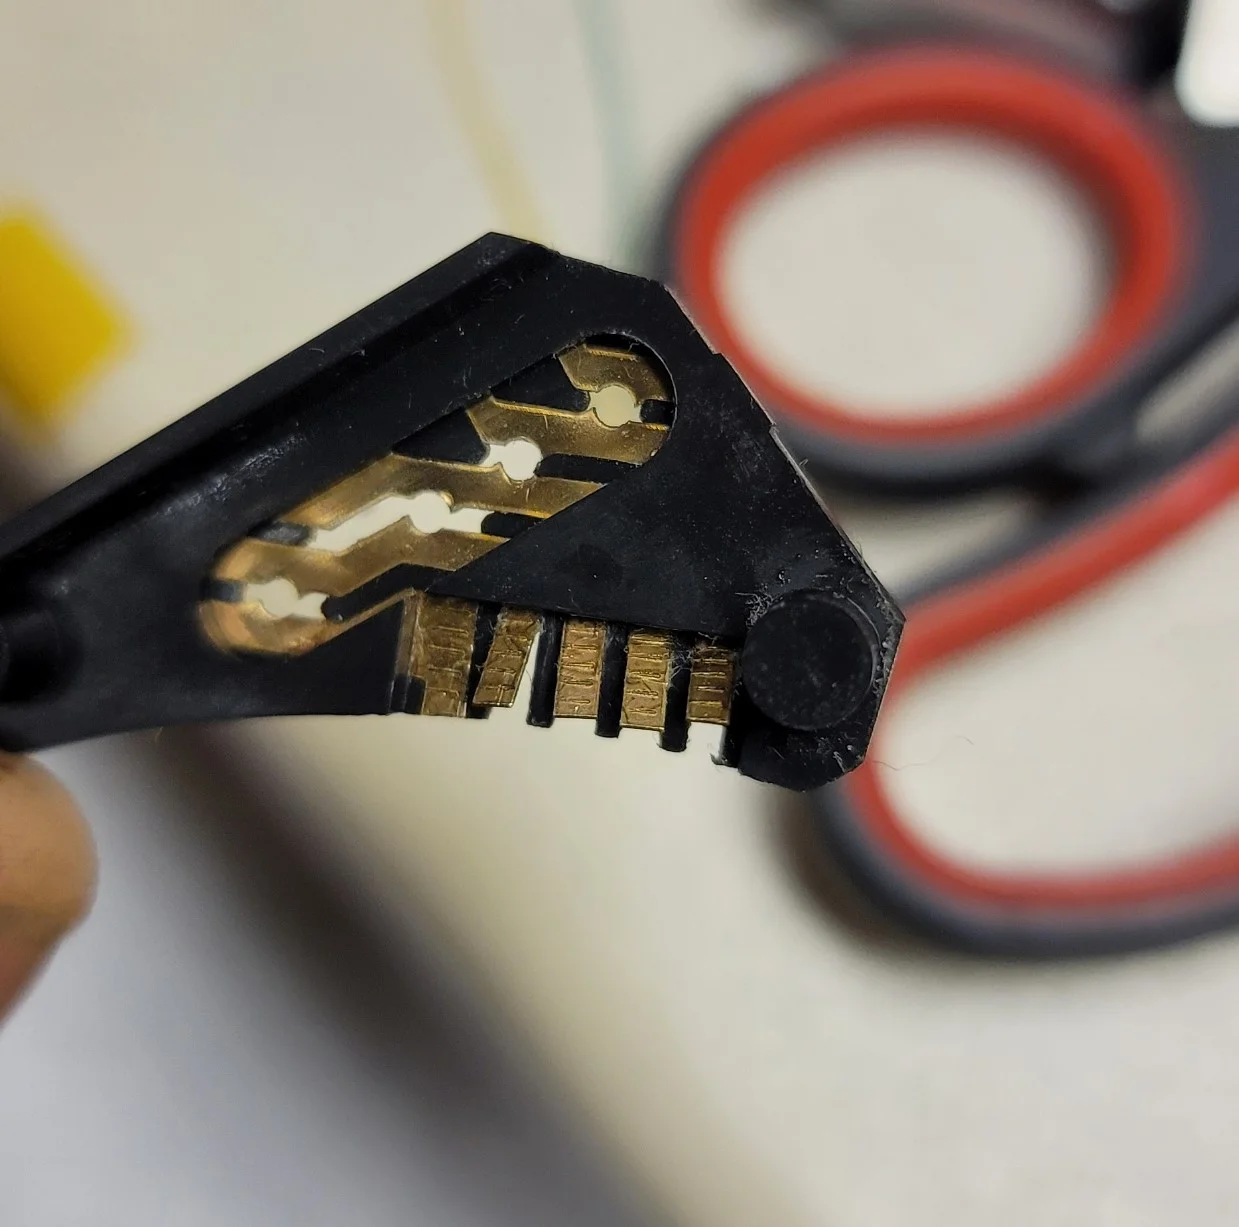
The blue ink on the top of the ribbon cable is my own. I marked the top edge of both the connector and center hub ends so that I can keep the orientation straight for my rewiring attempt. Since this connector end is toast, might as well cut it off with some sharp electrical scissors and clean up those contacts for future soldering:
Pulling the center hub out, I could also see several more breaks in the ribbon cable's copper:
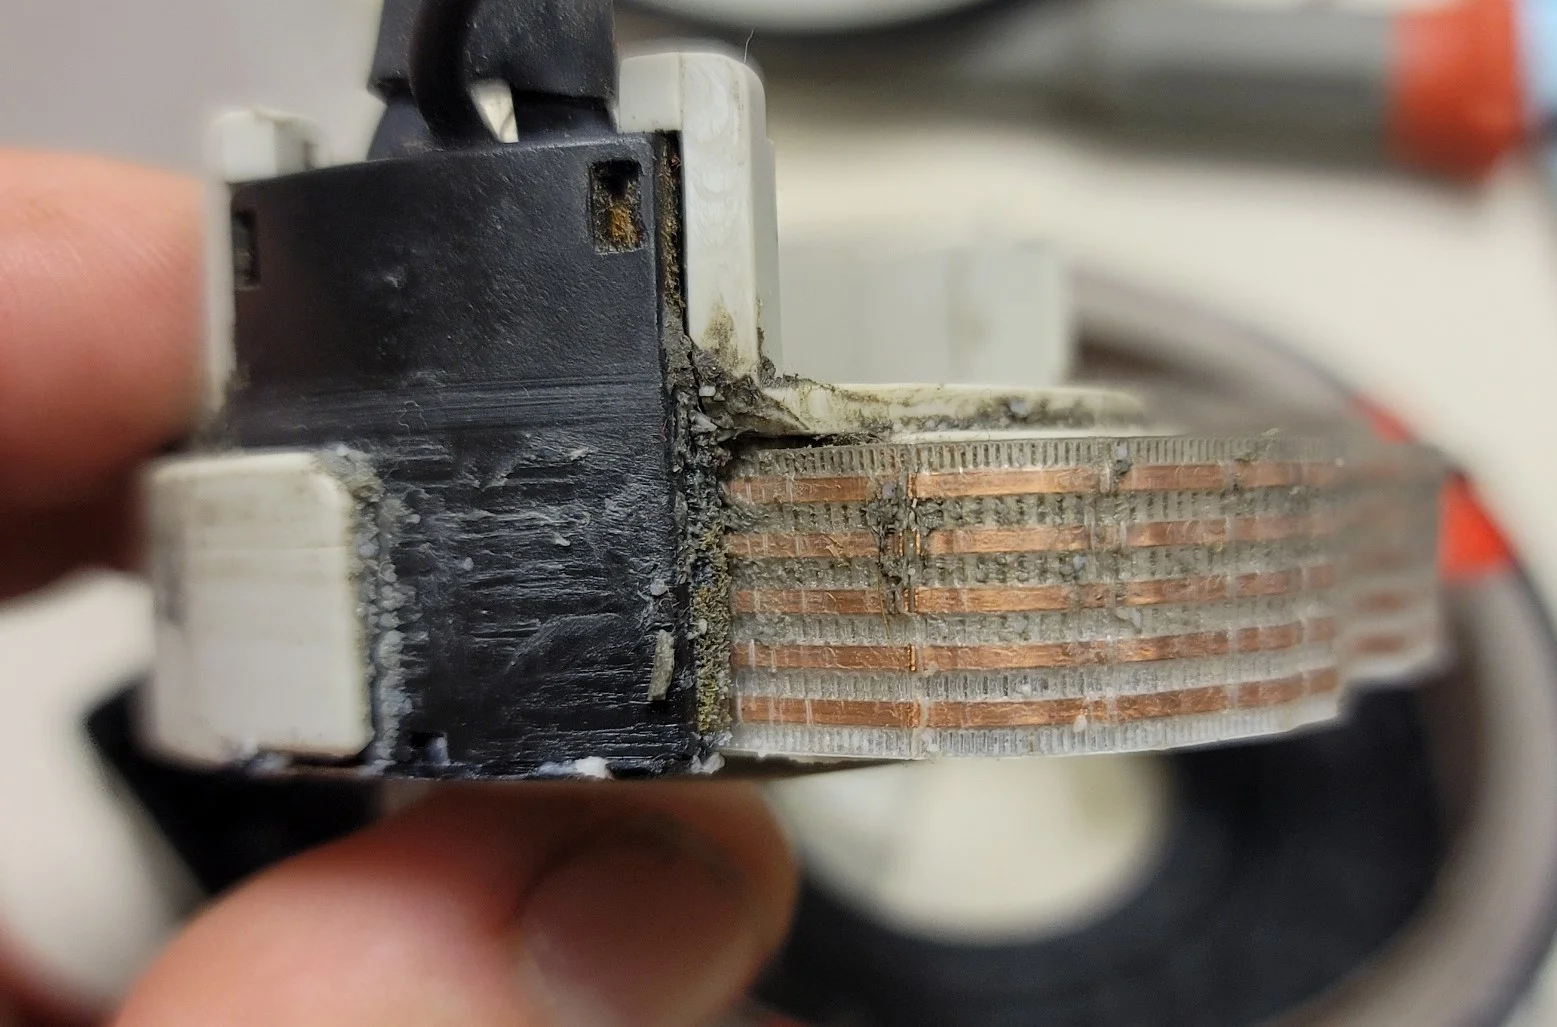
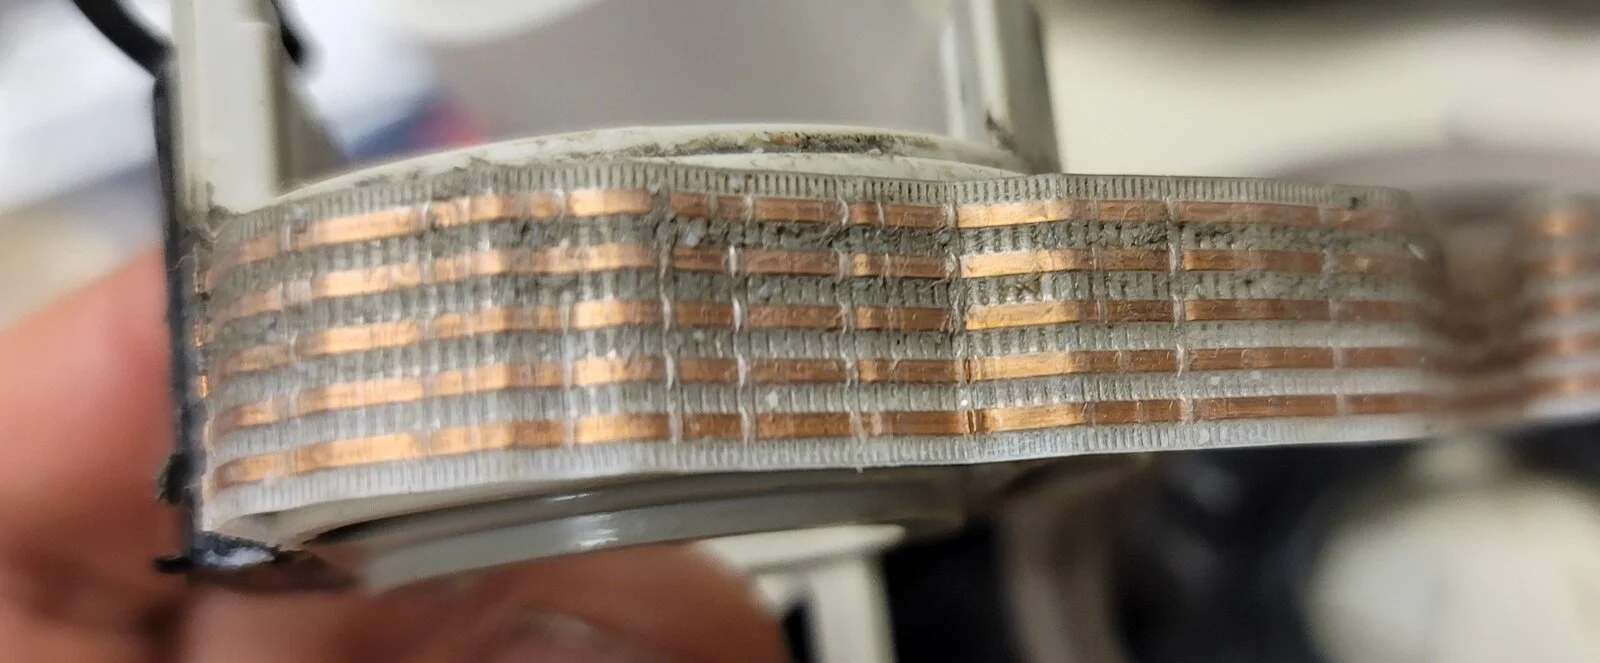
There's a small black tab on the center hub that holds the black hub cable connector to the light gray center hub itself. Gently prying that out, I could get to the center hub connector too:
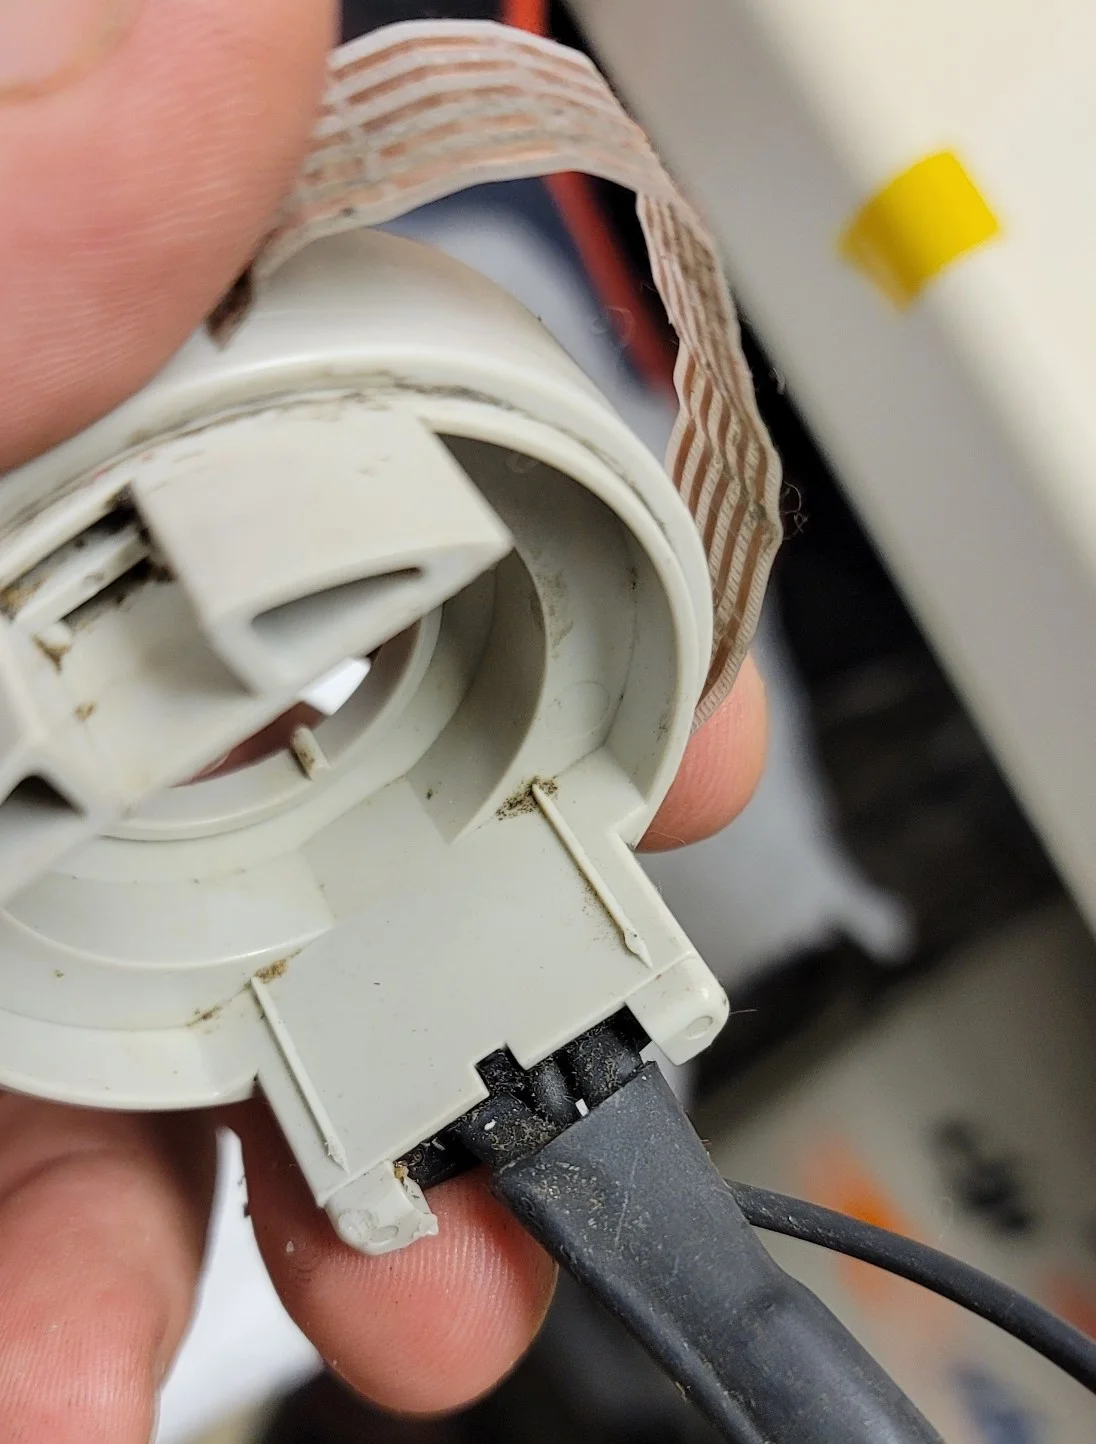
Since the hub wiring is so bad as well, I just went ahead and cut it back to where the ribbon cable seemed in good condition. I also straightened and inspected some of those other loopbacks:
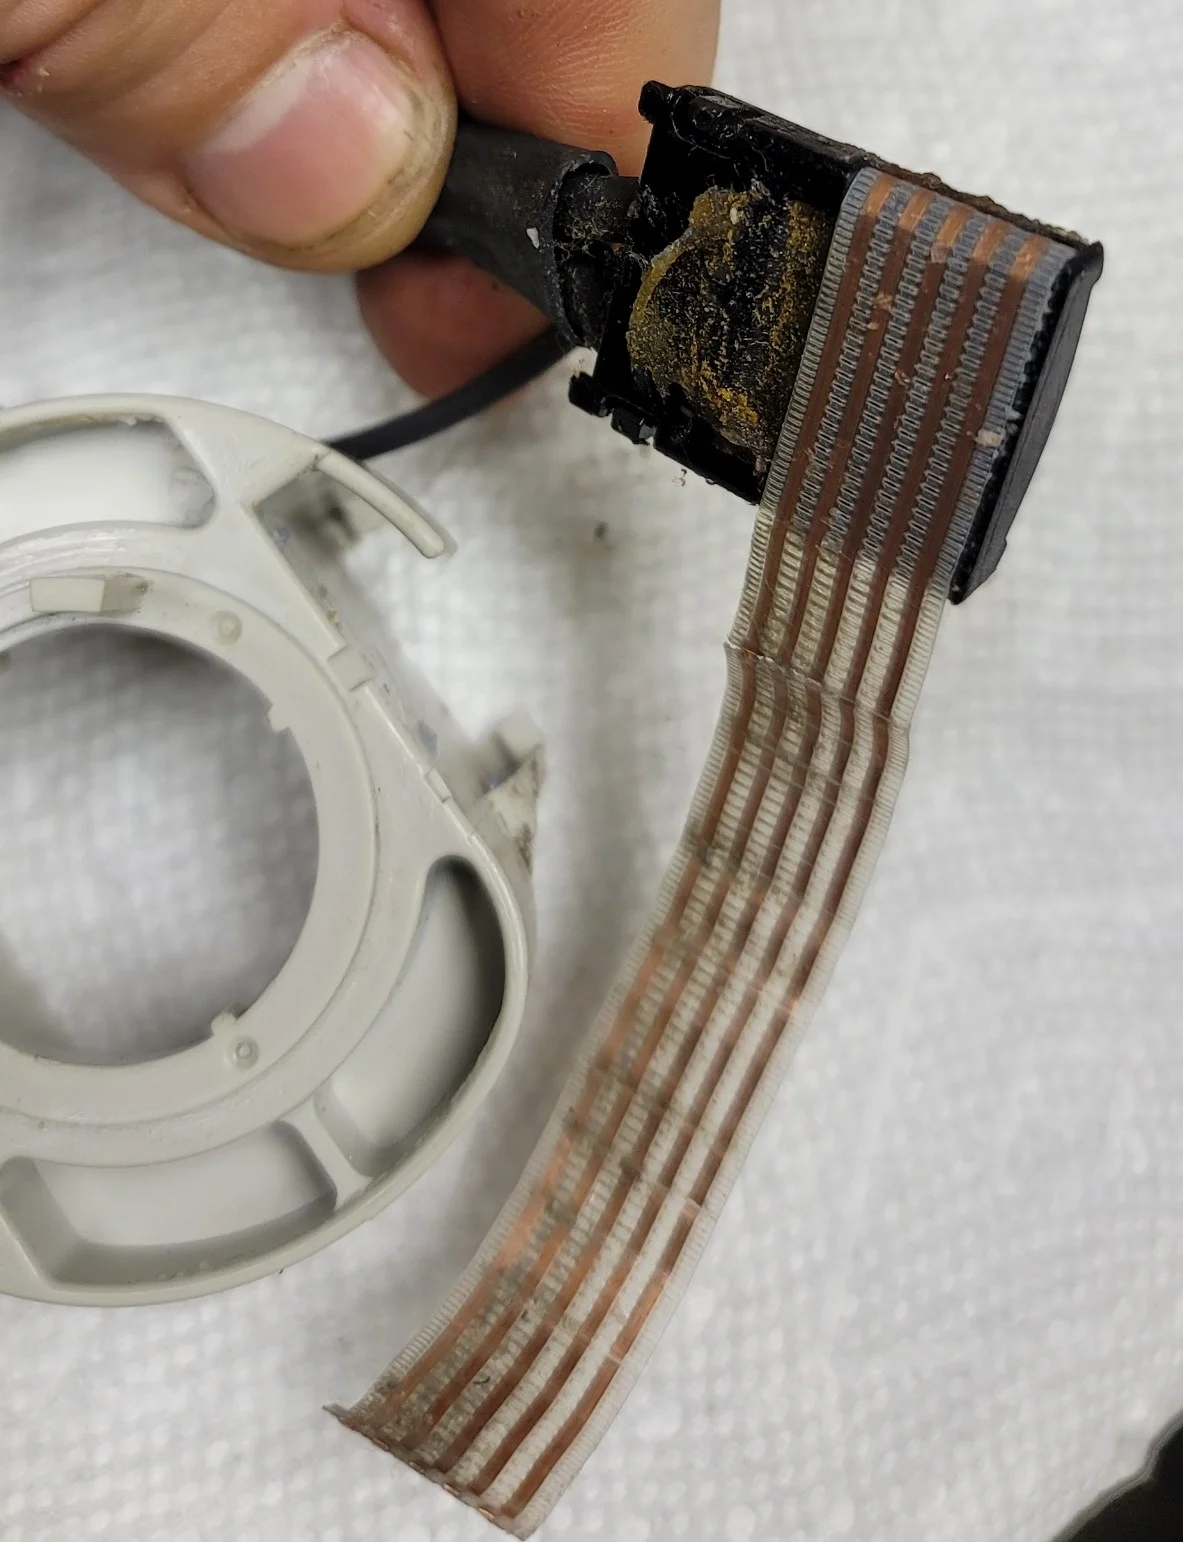
The center hub connector has more snot-sealant to be removed so that we can work our way to the connection point for some attempted resoldering:
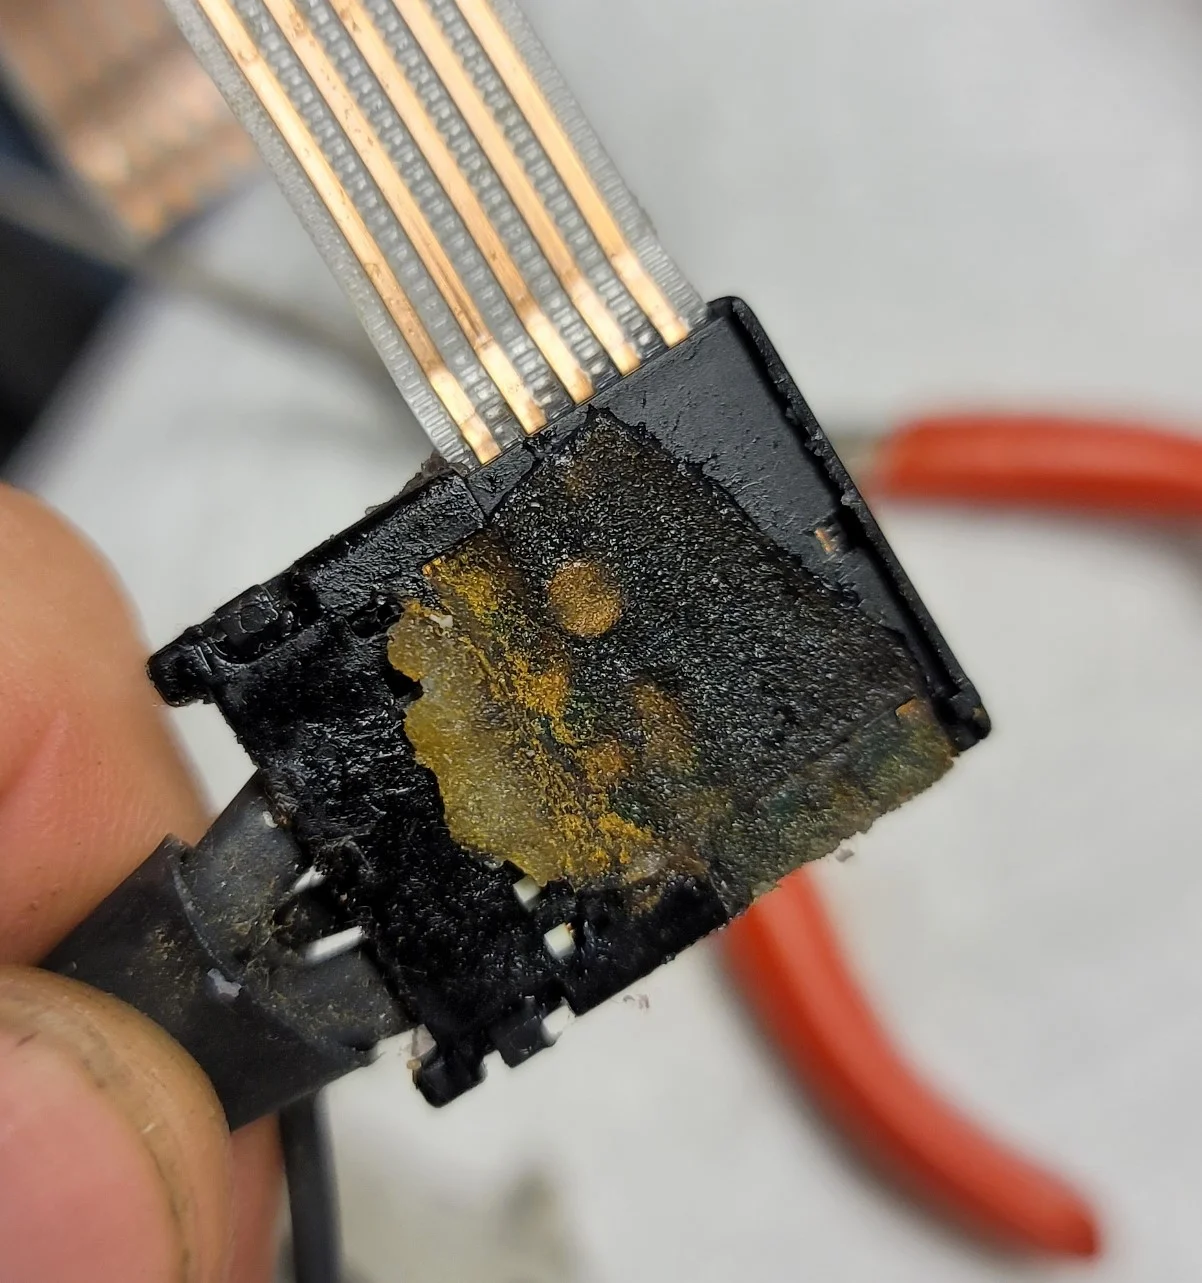
This black center hub connector is made up of two parts that clamp the ribbon into place. Gently prying back two black tabs, we can remove the "cover" and that will let us access the rest of the connector...with more snot-sealant in the way of course:
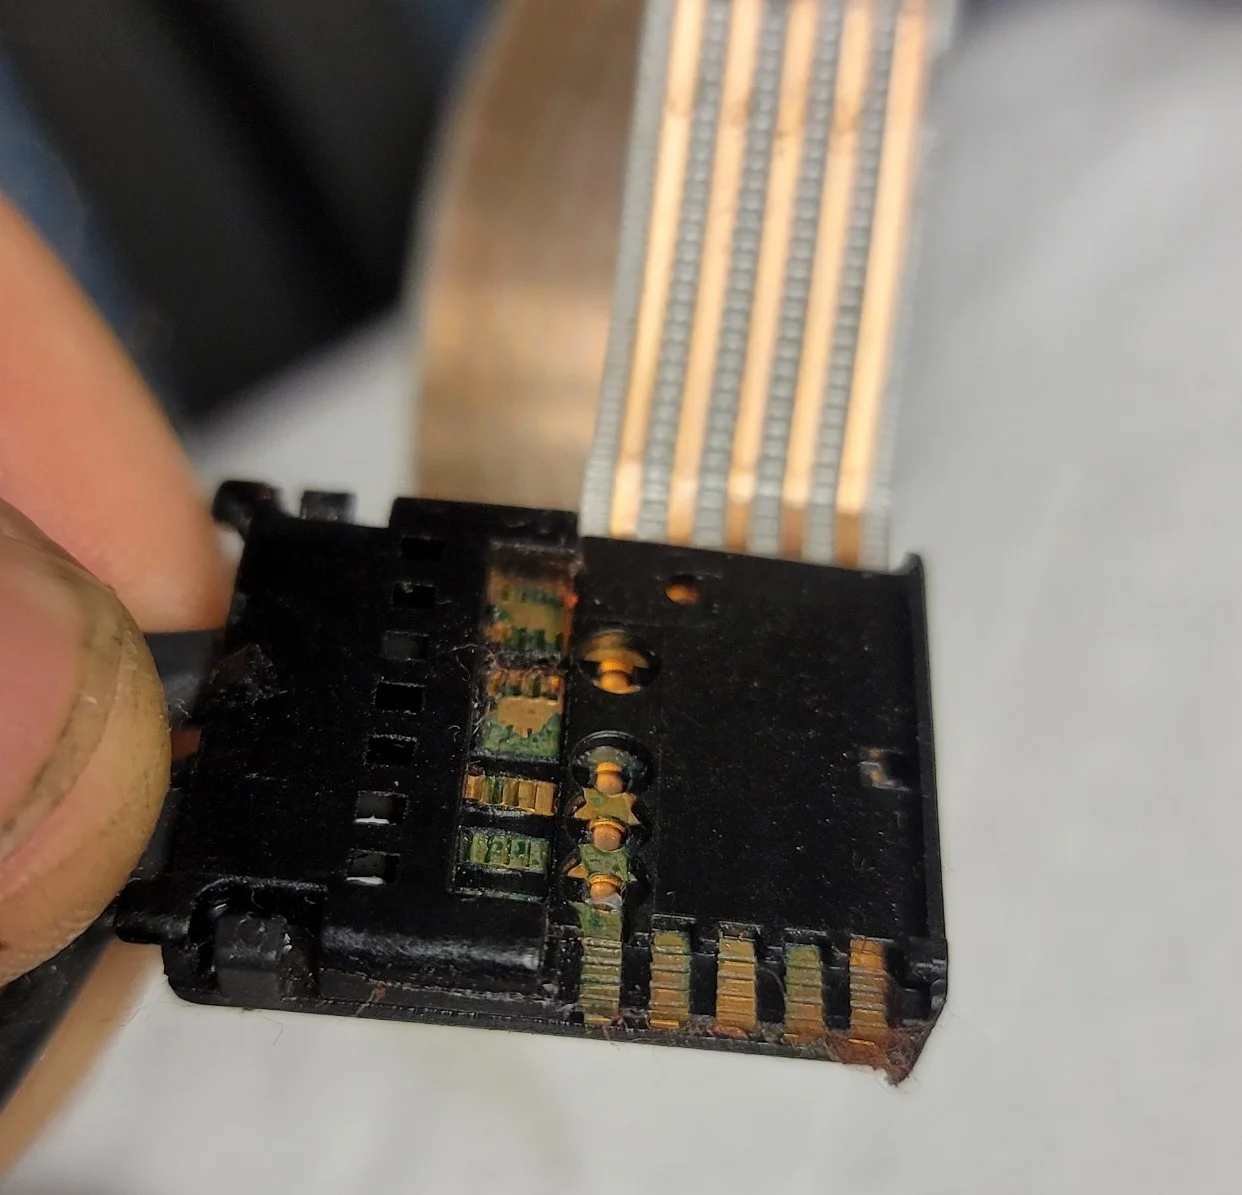
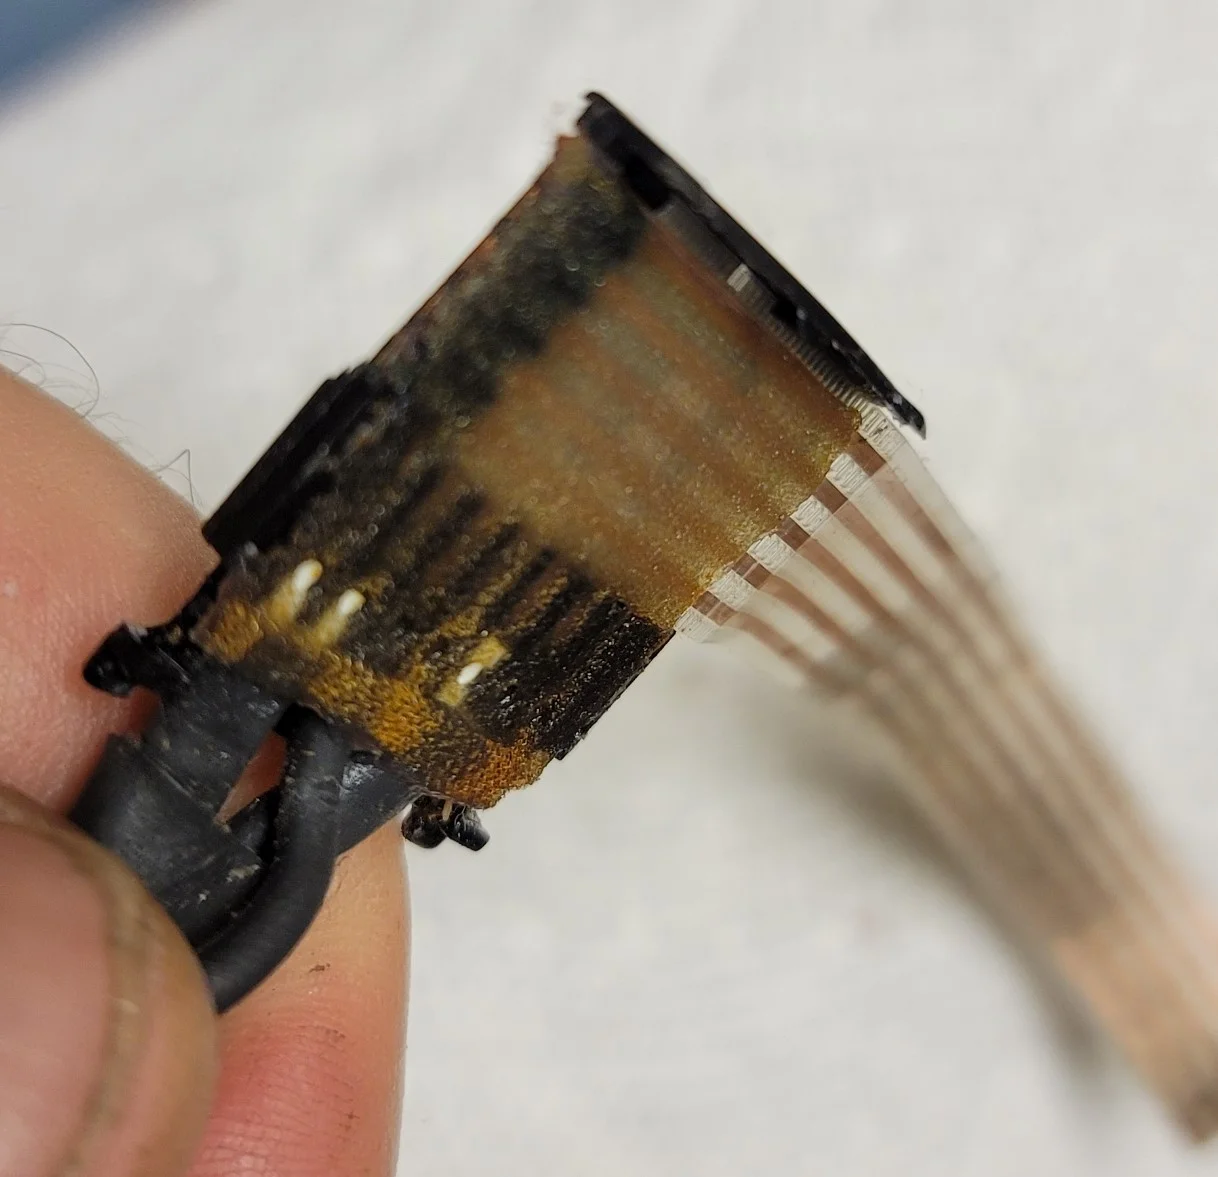
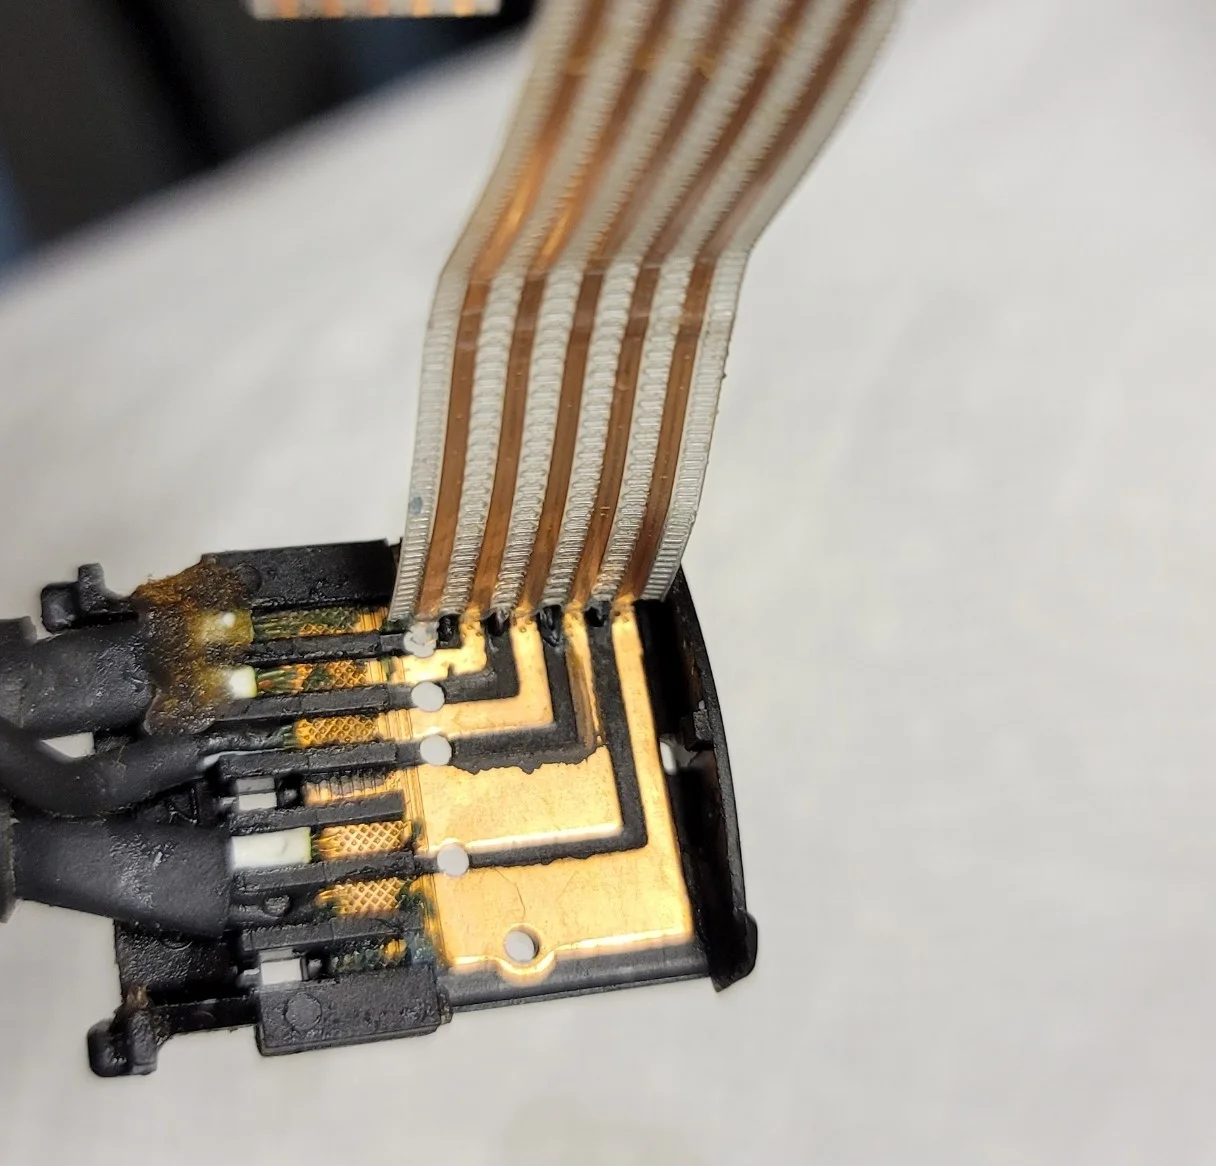
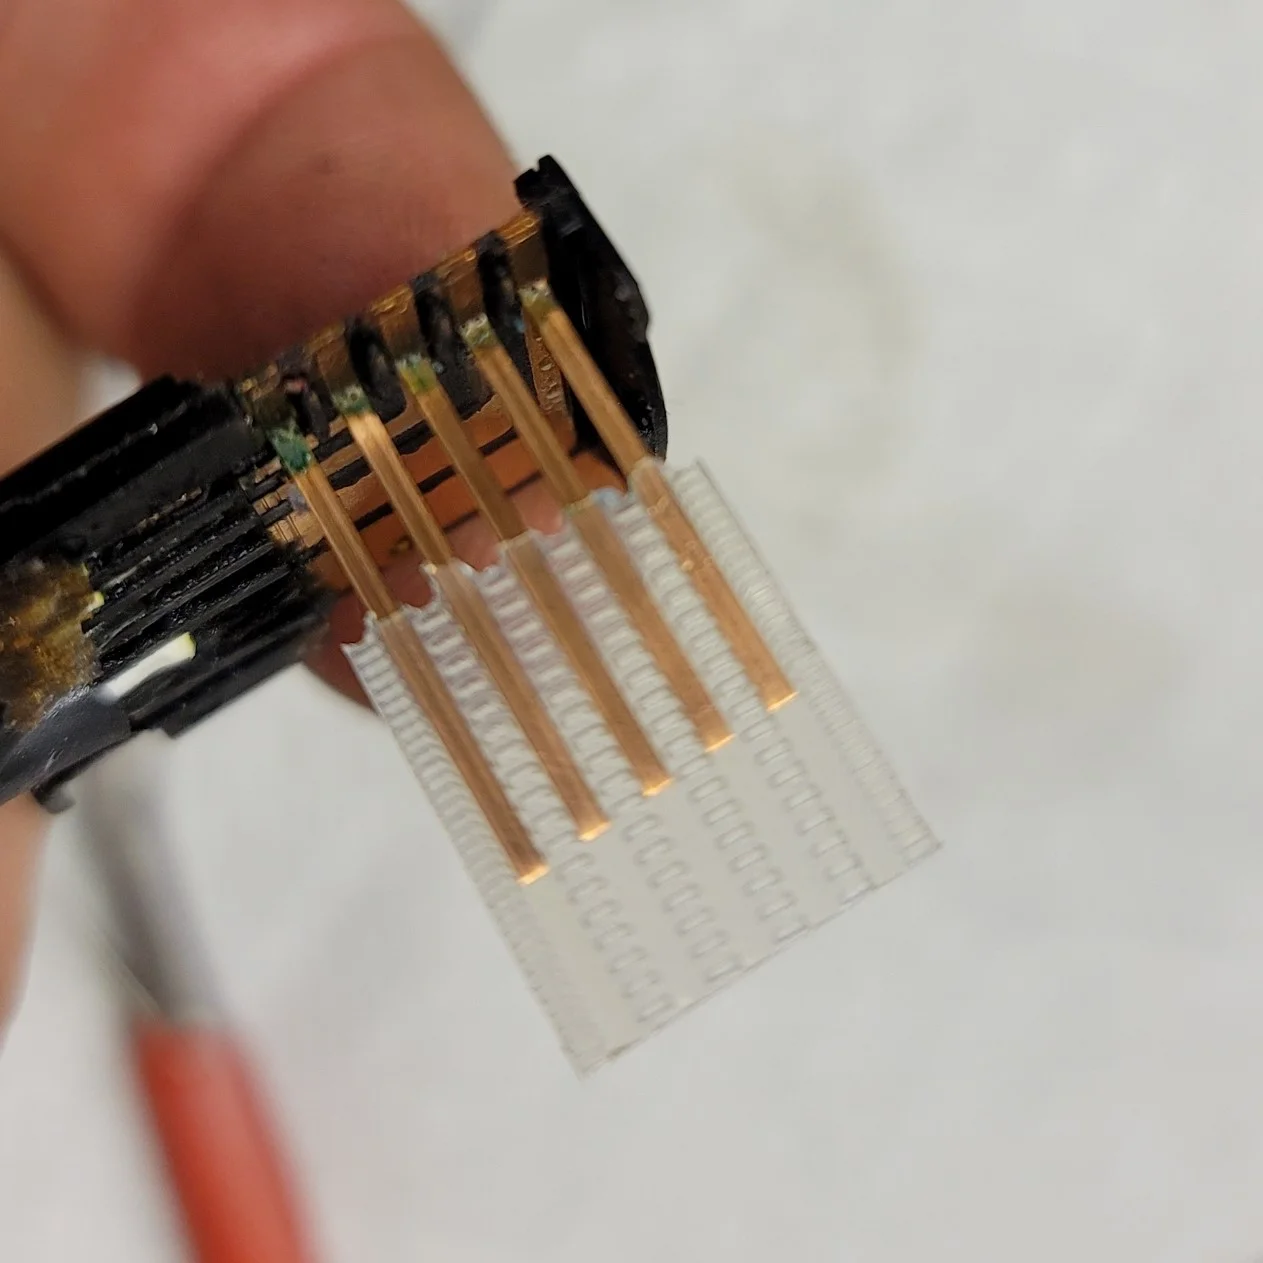
Trimming the ribbon back also yielded one more discovery. If you gently pull on the ribbon cable's clear plastic jacket, you can slide it off of the copper wires. This is a handy technique for exposing the wires for soldering.
And yet another discovery. This entire interior ribbon cable has a clearly marked part number:
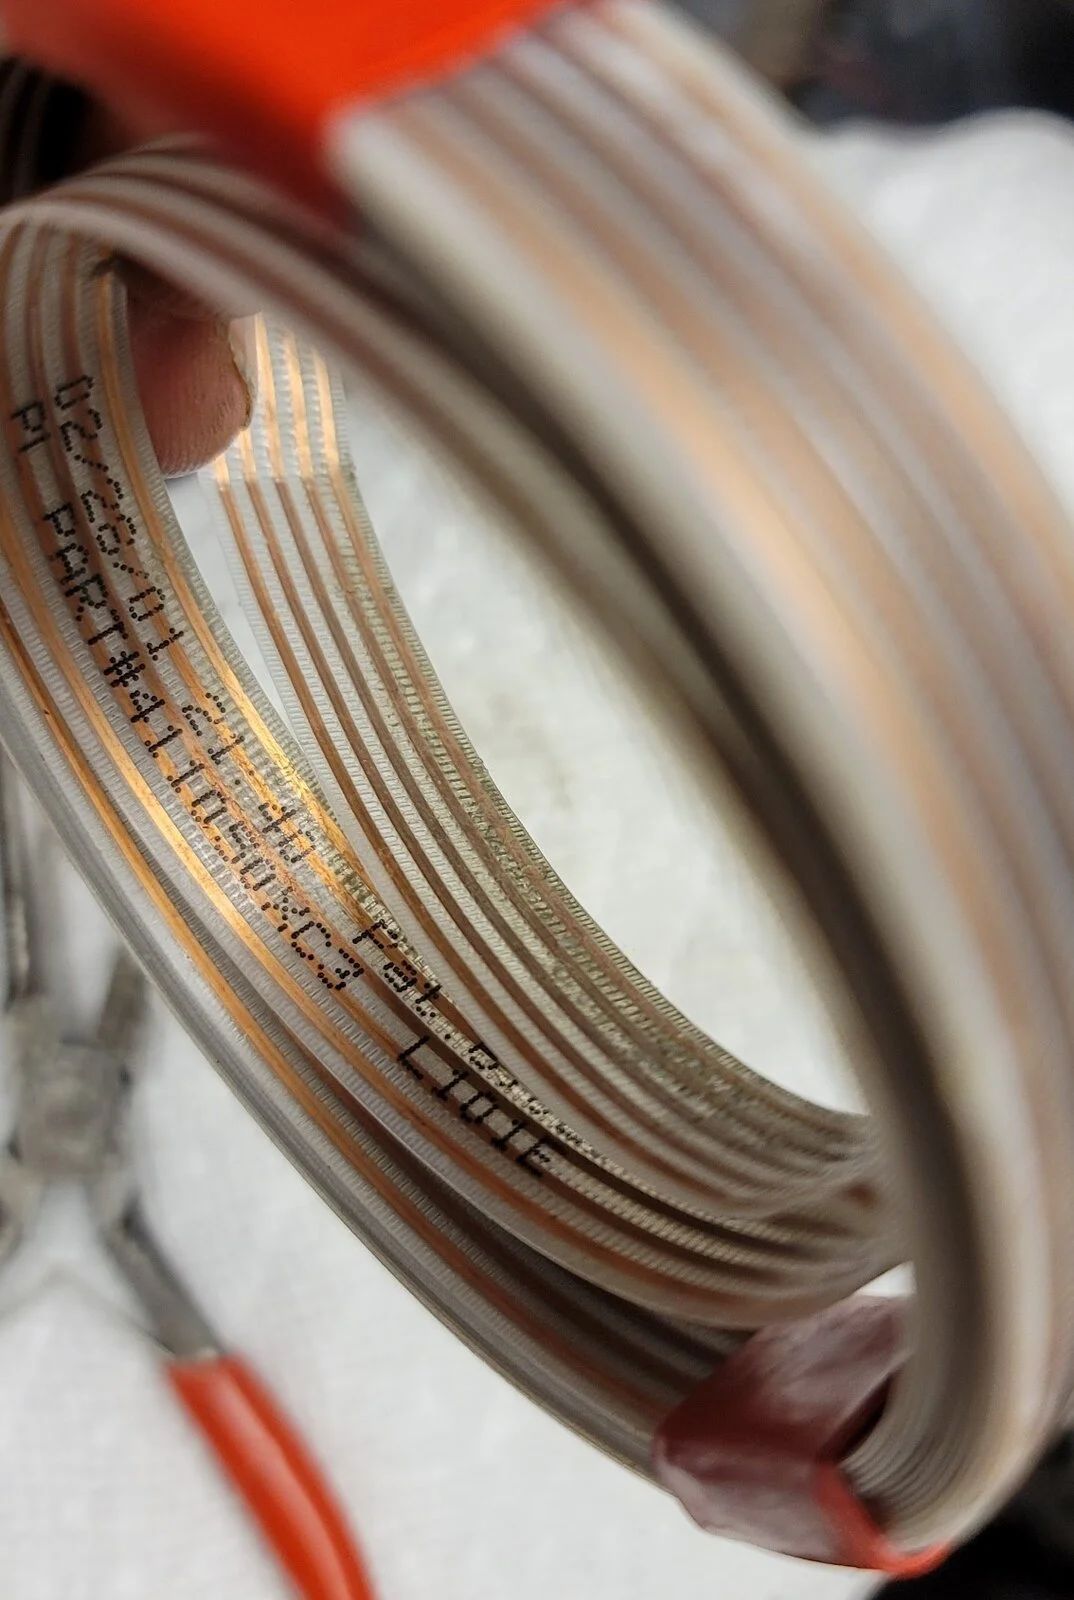
I already searched online for it and couldn't find anything. If anyone can locate it, that would be some helpful information for future repairs.
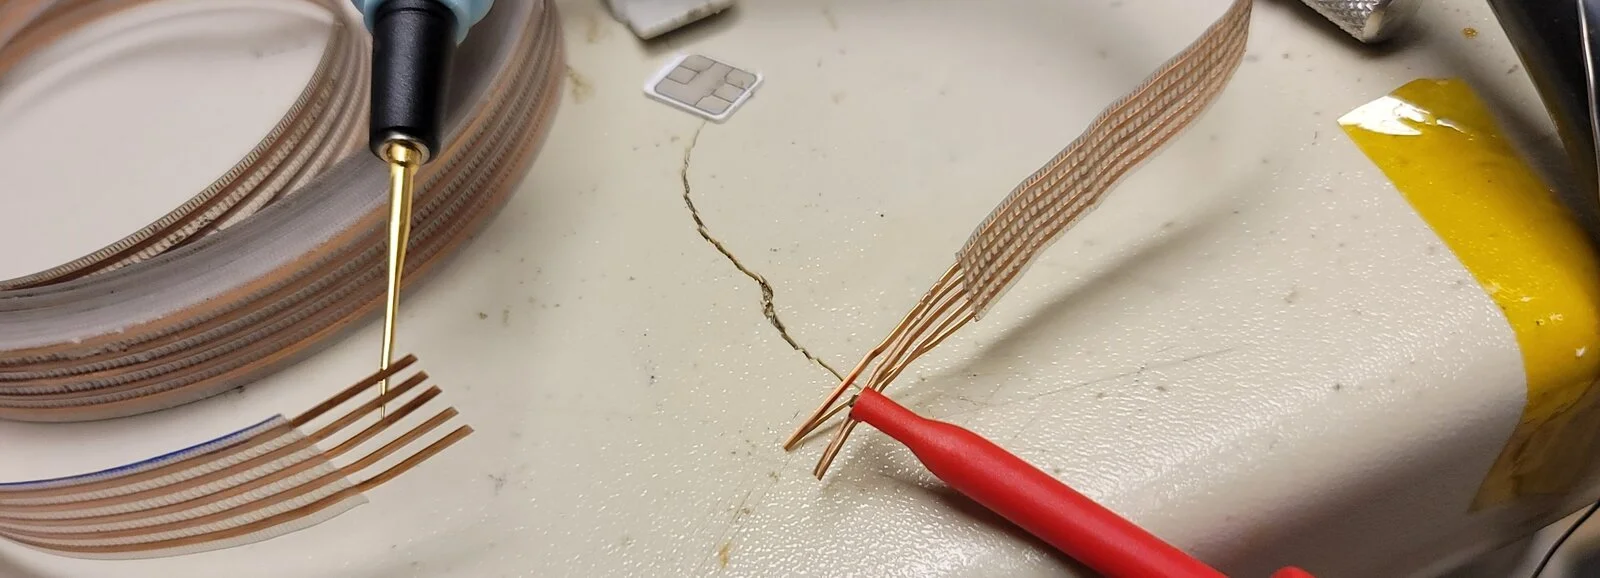
Last steps before we start to reassemble is just to test out the ribbon cable and see if there are any other obvious issues. Continuity testing each segment independently and then cross-checking them all for shorts shows that the rest of the cable (not counting the roughly 12" i cut from the ends) seems to be in good condition. I did wiggle and lightly bend the ribbon cable while testing to try and make a short show up if one existed down in that spool, but it all seems to be in working order.
Next post will be the reassembly process!
With that secured, I can now safely pull the center hub and the connector piece from the clockspring's housing. Starting with the connector side, I've encountered the first of several "snot-sealants" that will need to be removed. They are super-sticky and I'm suspecting part of the waterproofing/dustproofing for this part. The one think one (about 1/4") on the connector came off pretty much intact and looks like I can reuse it later. The others are too thin and are unlikely to be salvageable.
Inspecting the connector end further, the breaks are clear and bad:
The blue ink on the top of the ribbon cable is my own. I marked the top edge of both the connector and center hub ends so that I can keep the orientation straight for my rewiring attempt. Since this connector end is toast, might as well cut it off with some sharp electrical scissors and clean up those contacts for future soldering:
Pulling the center hub out, I could also see several more breaks in the ribbon cable's copper:
There's a small black tab on the center hub that holds the black hub cable connector to the light gray center hub itself. Gently prying that out, I could get to the center hub connector too:
Since the hub wiring is so bad as well, I just went ahead and cut it back to where the ribbon cable seemed in good condition. I also straightened and inspected some of those other loopbacks:
The center hub connector has more snot-sealant to be removed so that we can work our way to the connection point for some attempted resoldering:
This black center hub connector is made up of two parts that clamp the ribbon into place. Gently prying back two black tabs, we can remove the "cover" and that will let us access the rest of the connector...with more snot-sealant in the way of course:
Trimming the ribbon back also yielded one more discovery. If you gently pull on the ribbon cable's clear plastic jacket, you can slide it off of the copper wires. This is a handy technique for exposing the wires for soldering.
And yet another discovery. This entire interior ribbon cable has a clearly marked part number:
I already searched online for it and couldn't find anything. If anyone can locate it, that would be some helpful information for future repairs.
Last steps before we start to reassemble is just to test out the ribbon cable and see if there are any other obvious issues. Continuity testing each segment independently and then cross-checking them all for shorts shows that the rest of the cable (not counting the roughly 12" i cut from the ends) seems to be in good condition. I did wiggle and lightly bend the ribbon cable while testing to try and make a short show up if one existed down in that spool, but it all seems to be in working order.
Next post will be the reassembly process!




