Building Homer (2005 TJ Build Thread)

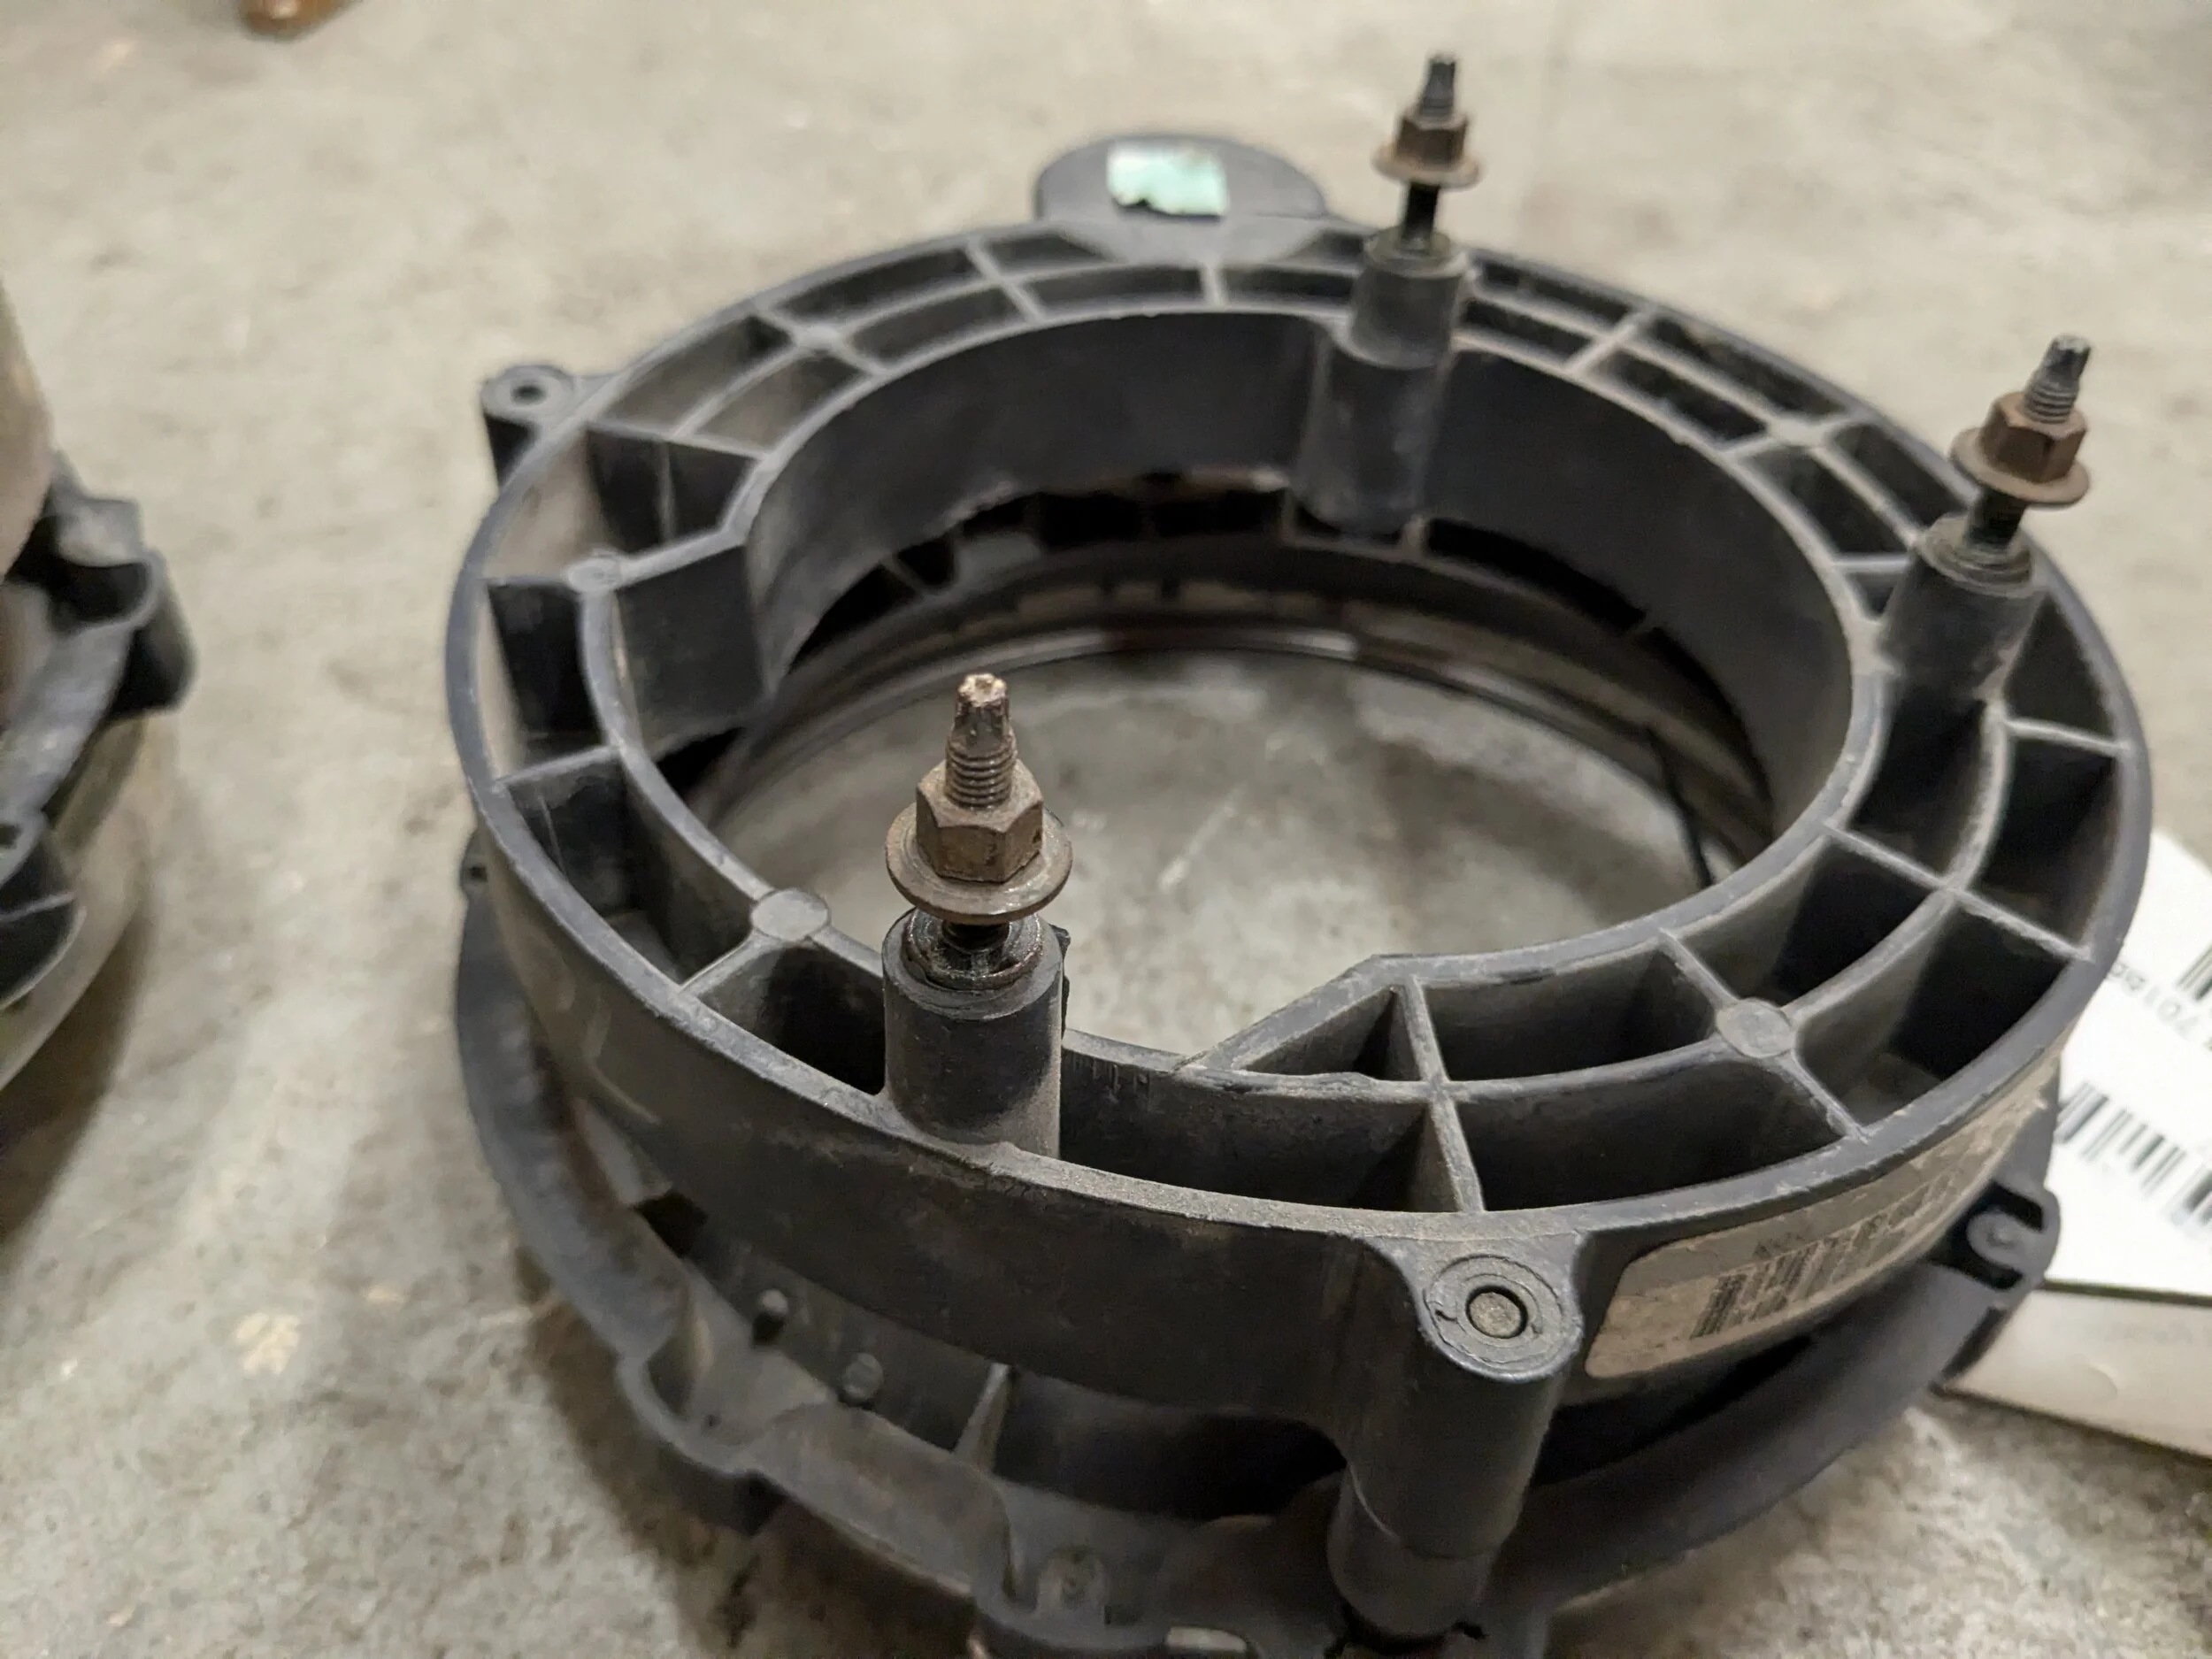
New mounting bracket arrived today.
1000007024.webp


Mounting points look good.

1000007025.webp


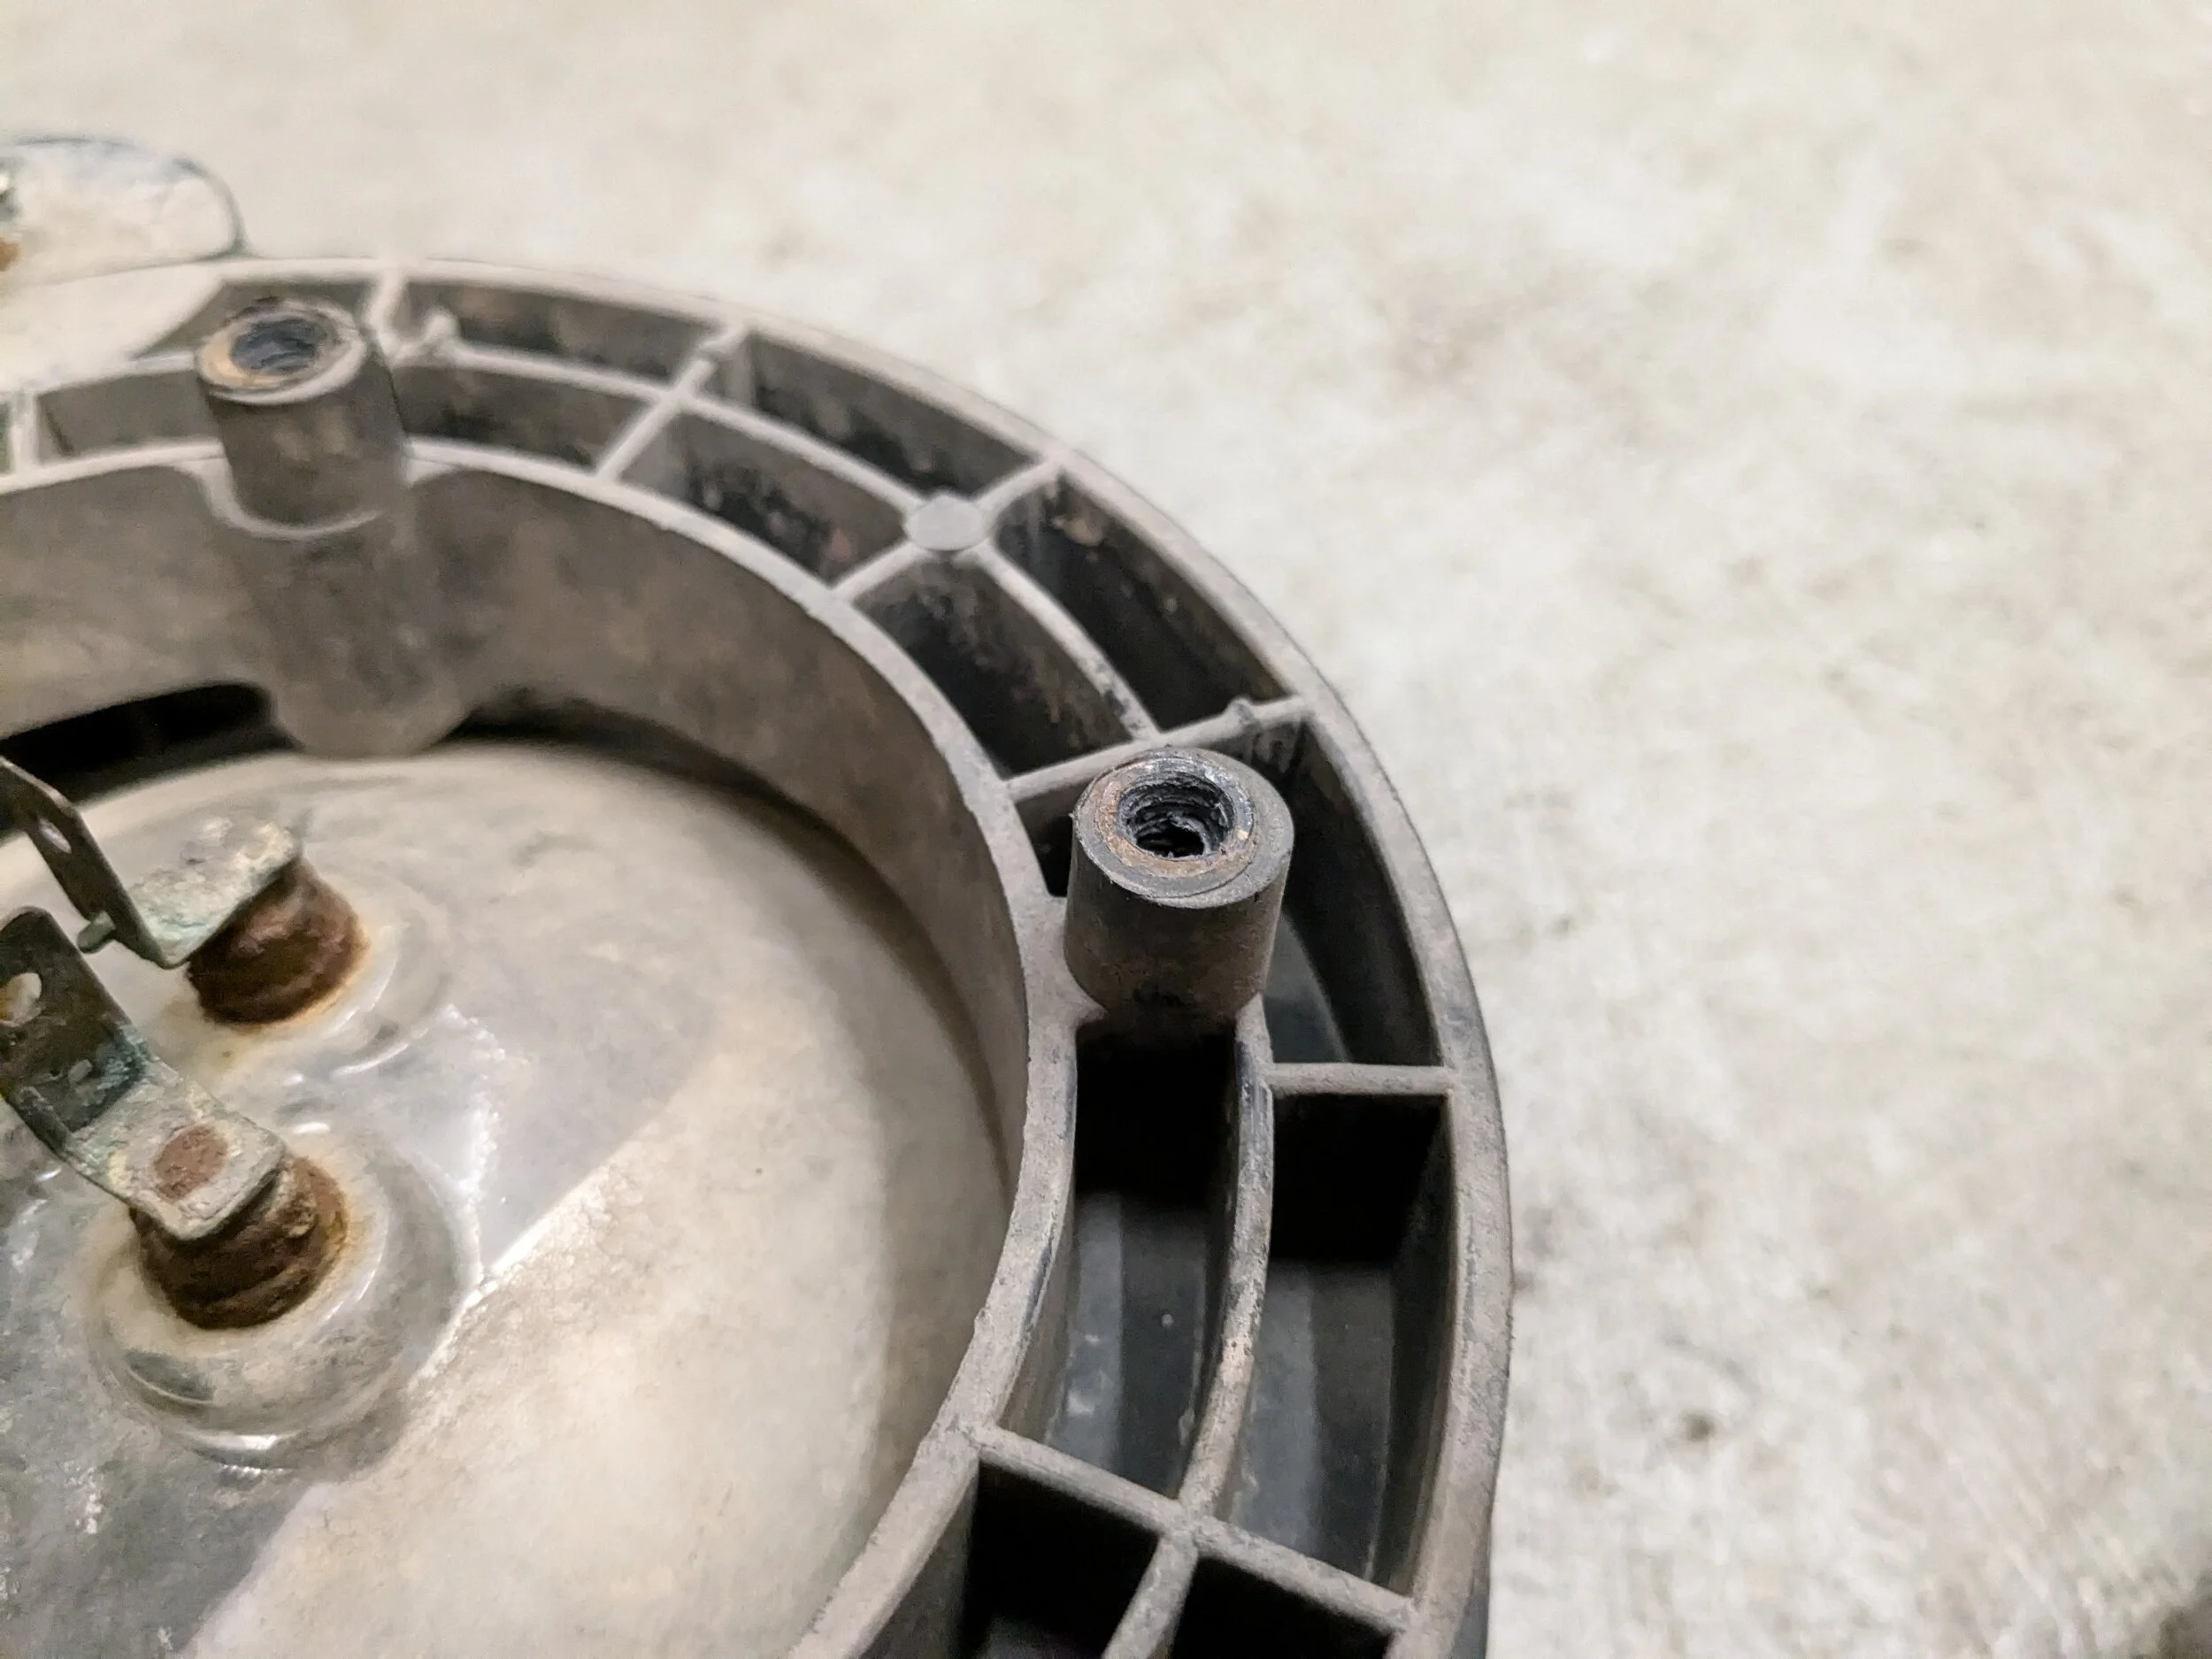
My OEM stripped out...

1000007027.webp


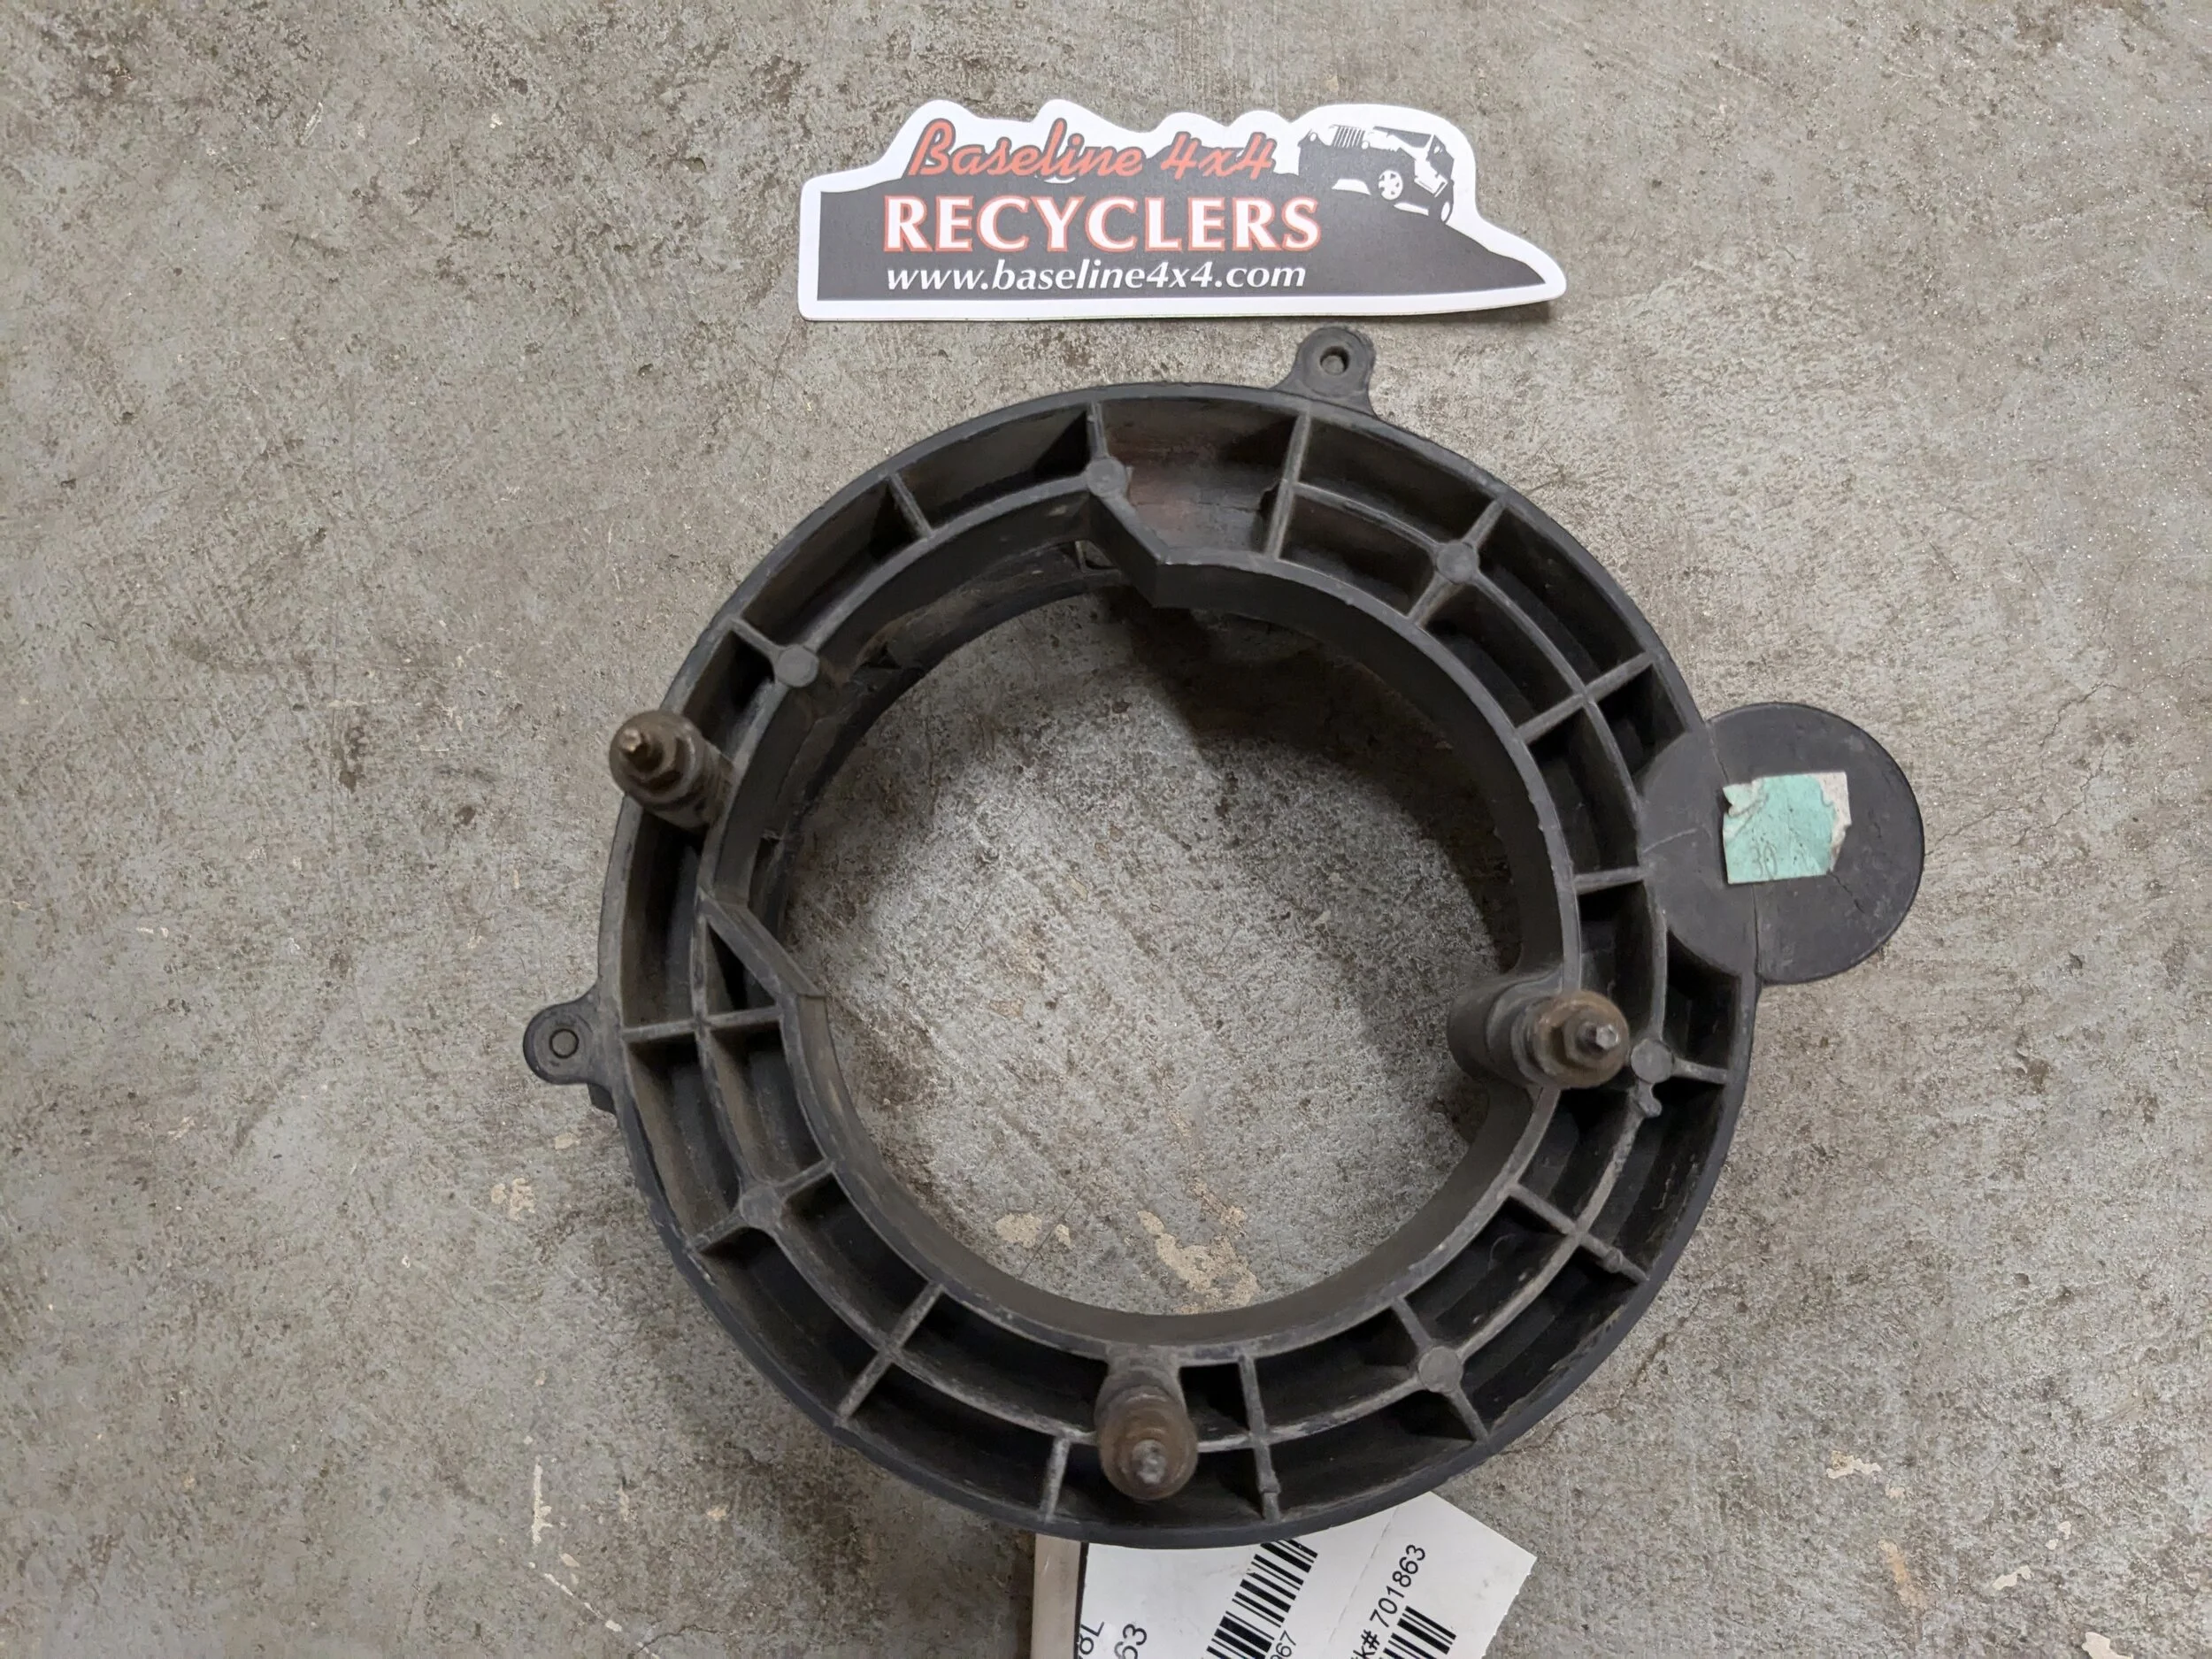
Sticker included! :p

1000007028.webp


Got the part in 3 days and they were the cheapest one selling this part used. I'd buy from again.

I go with stickers on the tool chest/cart in the garage but I'm out of real estate on those so I'm thinking of how I'll create new spots in the garage. Jeep is sticker-free. (Other than OEM)
 
  • Like
Reactions: Rickyd and Wildman
I pulled out the OEM headlight from the bracket to swap over and realized then - Why? I plan and have parts to upgrade. Don't do it twice.

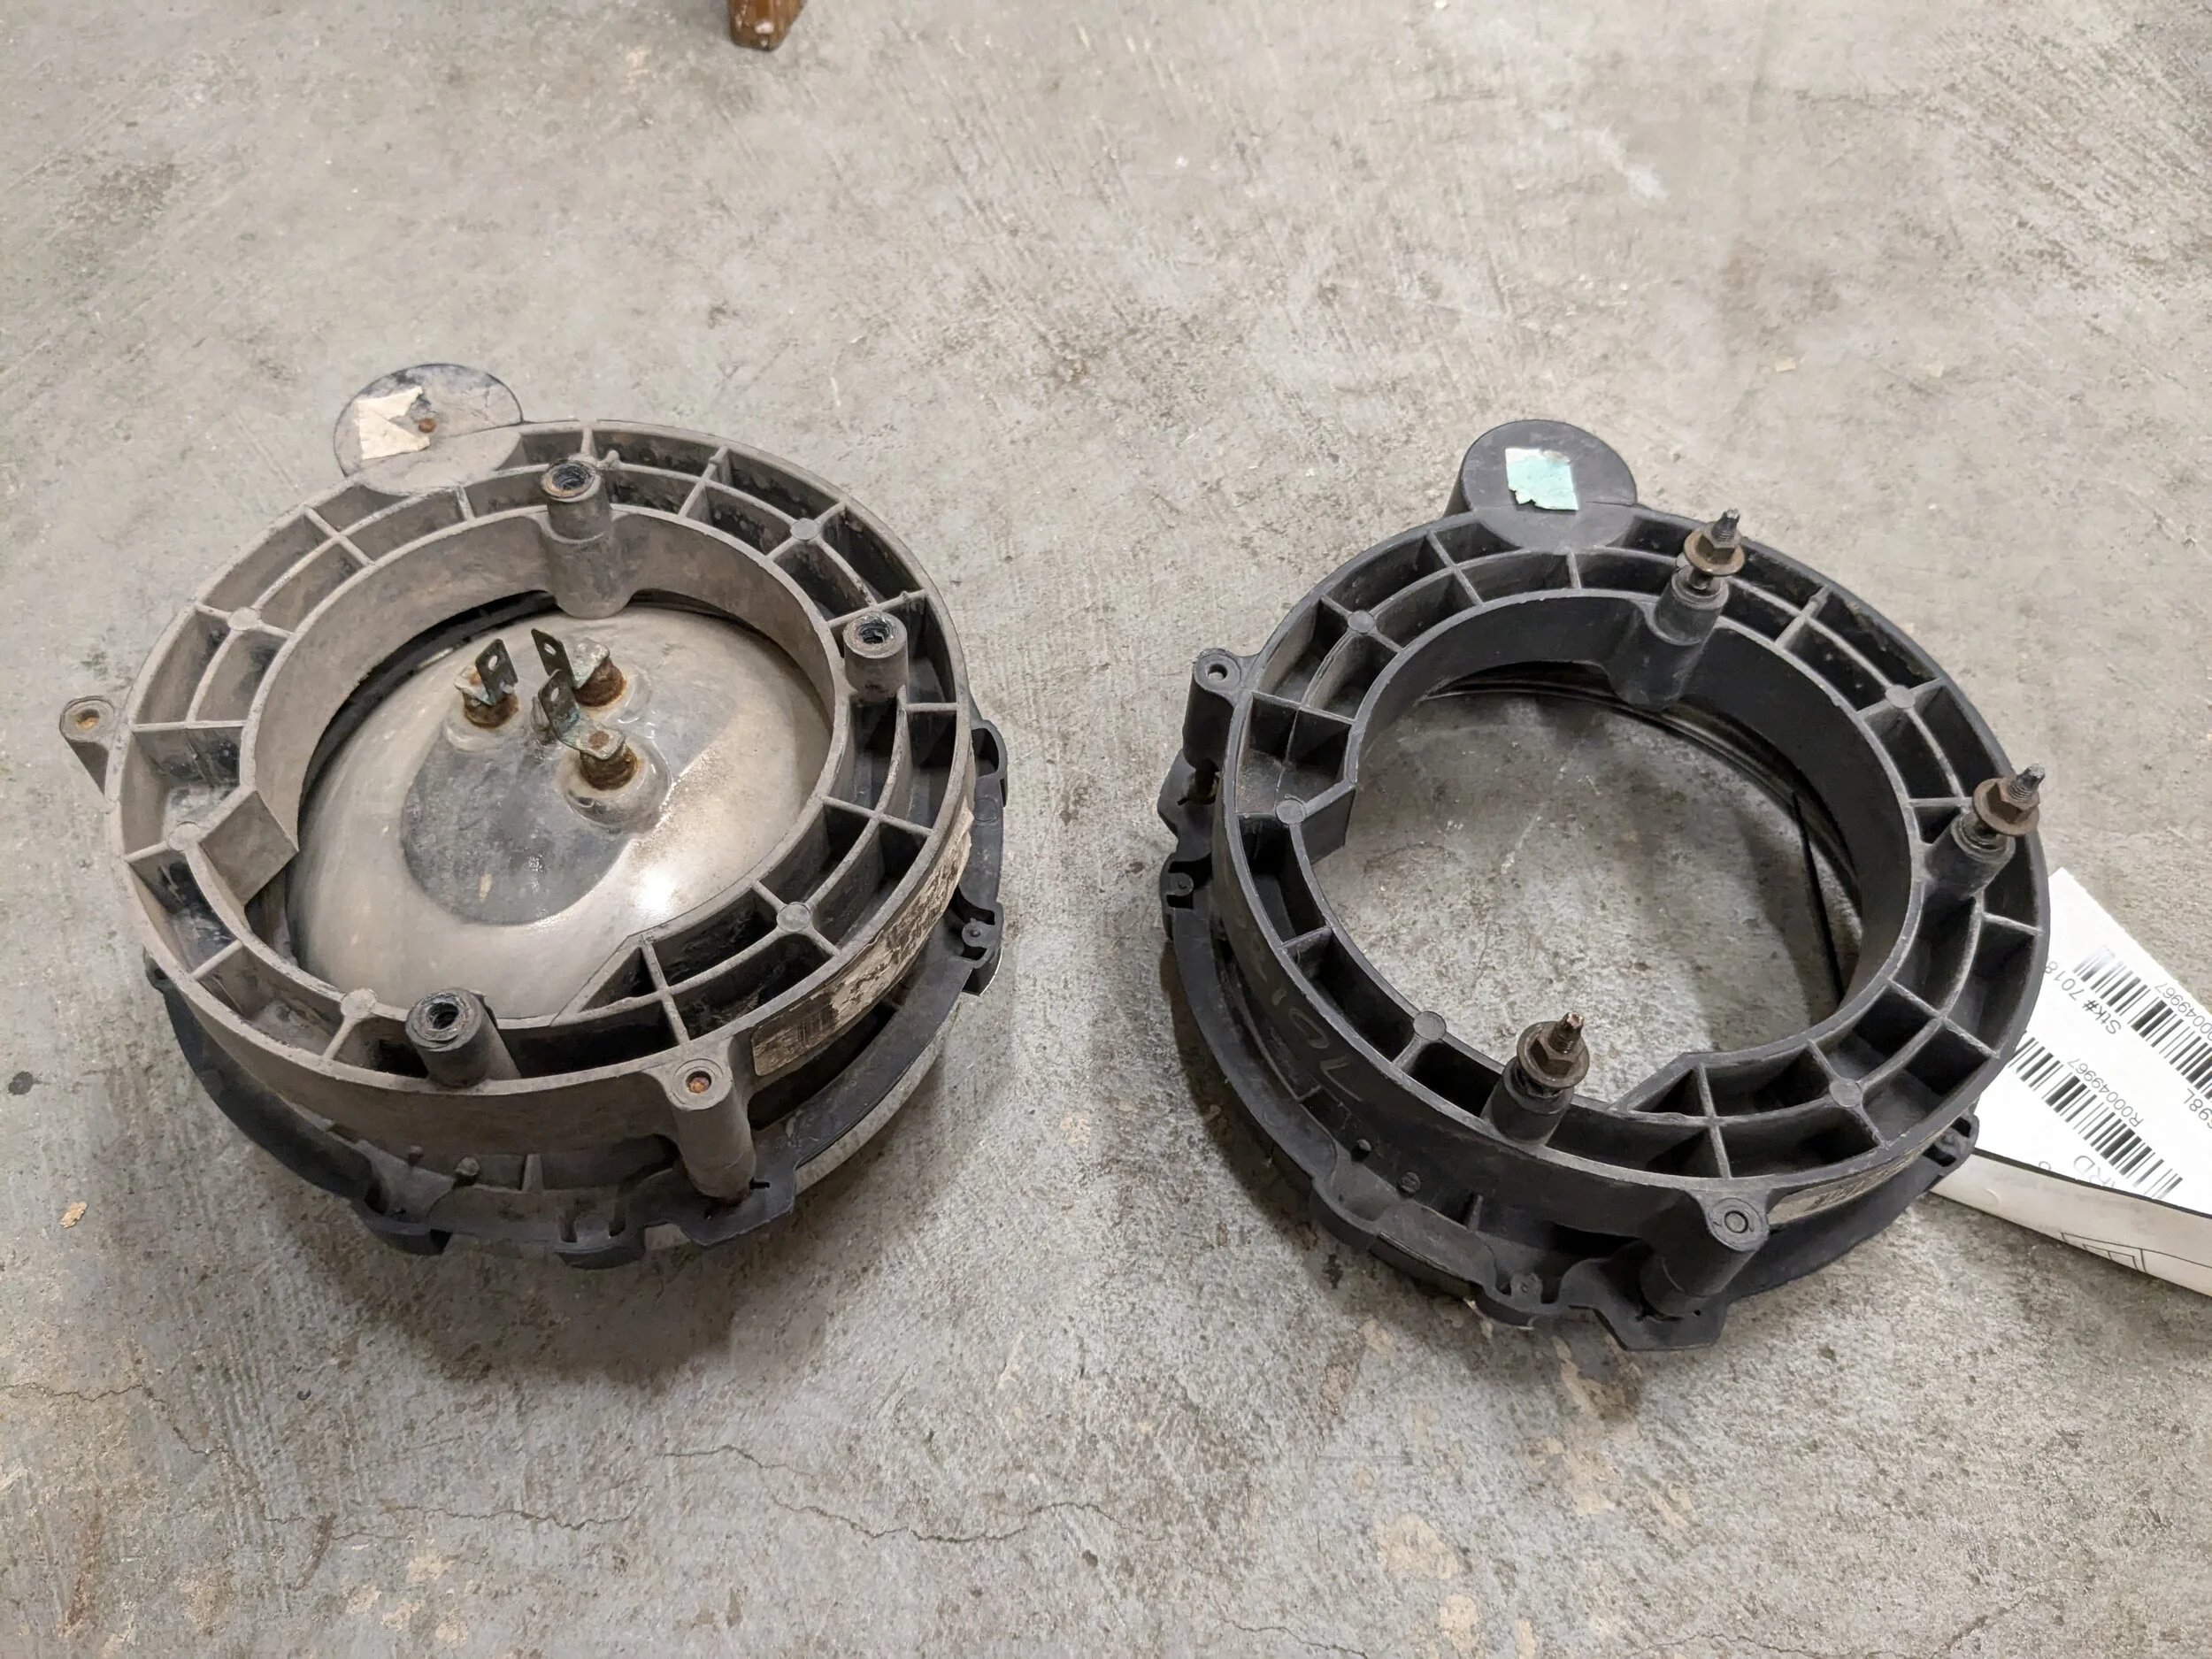
So I pulled these out of my parts pile.

1000007029.jpg


They're Cibie H4 glass headlight which were all the crazy when I bought them 6+ years ago when I picked up headlight upgrade parts...

So it went in (left).

1000007031.jpg


I'm already happy with this 'new' OEM part:

1000007030.jpg


You can see the rust from mine living in salt land...

I'll keep it out to hit the mounting locations with the incoming paint.

1000007033.webp


Pulling Pass head to upgrade.
 
  • Like
Reactions: Wildman and Rickyd
Human nature got the worst of me - Do what you just did...

So I lubed up the passenger mounting nuts to remove:

1000007034.webp


After the first came off easy, the second (upper near the radiator) fought me.

That's when it hit me — What am I doing? Just replace the headlight glass...

So I put the mount nuts back on tight and pulled the headlight.

Ghost face

1000007035.webp


Installed the new passenger headlight.

1000007036.webp


1000007037.webp


Now I just can't drive at night until I install the wiring harness and bulbs...

But I don't have a third brake light and also a passenger rear brake/turning light mounted, so he isn't moving until I detail him anyway...
 
  • Like
Reactions: Rickyd and Wildman
Again, I picked up all these headlight parts with the best of intentions before I decided on a full suspension rebuild. So these were the hotness at the time and will be going in the new glass.

1000007038.webp


I actually have 2 sets of the bulbs due to folks talking about burn out of them. So it'll be a bit before I look to the next upgrade after these. Been watching talk of newer LED H4 options.

Looking forward to the brighter visibility with these at night!
 
Planning to do a new wiring harness to the headlights. So that'll be another part of this upgrade to remove electrical current threats to the interior switch.
 
  • Like
Reactions: Wildman
Bumper off so I can paint frame in prep to install @Fluxor beautiful bumper!

1000007050.webp


Zip tied the fog light wiring harnesses up in the engine bay for now.

I like the stock fog lights with an OEM or black bumper but I plan to keep the bumper raw aluminum so I'll need to see if I want to replace the fog lights.

I usually only used the fog lights at night anyway because the OEM headlights didn't give enough light on back roads. So with the new H4 bulbs, that may not be a consideration.

I don't have a winch yet but I may use the winch plate that Fluxor includes to mount the front license plate since my nanny state requires one...
 
  • Like
Reactions: Fluxor and Rickyd
Ordered some 99% isopropyl alcohol based on recommendations on the forum as an approach to removing some of this grit off the aluminum fenders.

1000007051.webp


1000007052.webp

Most of the grit is sweat and other contaminations collected during the install and been on the aluminum for a couple years in the garage during the build.

I'll try the alcohol before going more aggressive to remove this staining...
 
  • Like
Reactions: Wildman
I spray my aluminum with quick detailer to help prevent stains. I use the fender as a shelf pretty regularly when wrenching , this doesn’t help matters.

I'm planning to clay bar the paint this weekend so quick detailer will already be in my hand to try out on the aluminum(y) Thanks for the tip!
 
Clay bar finished.

They say you can use a piece of clay for 3-6 vehicles. Jeep said - Nope! Here's what it looked like after just the tub. Lost of contaminates picked up.

1000007060.webp


Used a fresh piece for the hood and grill. Saved that piece for future use as it had life left.

Made a huge difference! Still some contaminates in the paint but this is a million times better.

1000007061.webp


1000007062.webp


Taking a lunch break and then trying my first go at orbital polisher.
 
  • Like
Reactions: Rickyd and Wildman
Great time with the orbital polisher! First time I've done this so it was a little intimidating initially.

Went with this polisher & pads:

Griot's Garage Random Orbital Polisher

Polishing Pads

Started with the driver door since it may be rusted out on the bottom anyway (TBD) so if I really messed up my first time, at least it's a spot that may be replaced anyway... ;)

Since I was completely new to this, I started with the blue pad with 3M Rubbing Compound (I ordered it when I did the polisher, a couple years ago) and then moved to the red with Turtle Wax Polishing Compound (left over from hand polishing our old WK).

71ywBM3YnUL._SX522_.webp


Other than making the rookie mistake of splattering compound everywhere.... It went pretty well. I didn't grab any pics of the door, but more coming.

After feeling good with the polisher, I decided I wasn't ok using it on the tub with the amount of contaminants around the rear wheel wells after the clay bar. I worried if that got into the pad that it would swirl all over the paint and make the job 1000% more complicated.

So I went at the contaminants by hand with microfiber cloth and rubbing compound.

Before (every little black dot needed to be removed - different black dots than the artillery fungus, these are all road contaminants):

PXL_20240817_185137231.webp


PXL_20240817_185141398.webp


After:

PXL_20240817_192610476.webp


PXL_20240817_192620561.webp


Now I was ready to step up with the polisher.
 
  • Like
Reactions: Rickyd
Moved to the passenger side with the polisher - mostly because I wanted to address this damage from putting on the hardtop years ago, before the hoist.

PXL_20240817_192615315.webp


Started with the blue pad but these scratches weren't impacted much. So I went up to the light cut orange pad with rubbing compound, followed by blue pad with rubbing compound, finished with red pad with polishing compound.

End results around the wheel well:

PXL_20240817_200052105.webp


PXL_20240817_200222261.webp


PXL_20240817_200241865.webp


So much better!!

Most of the scratches leftover are down to the primer. Touch-up paint should be here Thursday.

Tried to grab a picture of the difference between the before/after. Left of the arrows is the finished product. Right of the arrows is the untouched paint.

PXL_20240817_200151368.webp


I may try to go back through with the yellow or green pad to address this:

PXL_20240817_200222261.webp


But I'll try that after I get through the rest of the Jeep to increase my time with the polisher.
 
I was pretty inefficient on the passenger side. I worked rear wheel well area, door, then tub under and in front of the door.

Each time, I started orange, then blue, then red.

In the future, I'd quadrant the vehicle, and stay orange all the way in 1 quadrant, move to blue, then red - then next quadrant. Learning and trying to develop a system.

Examples of the door before:

PXL_20240817_200343078.webp


PXL_20240817_200336289.webp


After:

PXL_20240817_215306637.webp


PXL_20240817_215252904.webp


Really impressed how much improved the paint looks! Cautiously optimistic how it'll look in sunlight. I'll pull it out in the driveway before I wax.

Finished passenger side:

PXL_20240817_210153540.webp


PXL_20240817_210209138.webp


Tough to tell in the pictures but it is vastly improved. Those pics of the door scratches lifted are just a small example of all the damage lifted.

Next up driver side (including the door again starting at orange pad). Then the front end as I need to wet sand the tailgate to remove the rust left behind by the spare bracket.

Lots of touchup left behind.
 
I was pretty inefficient on the passenger side. I worked rear wheel well area, door, then tub under and in front of the door.

Each time, I started orange, then blue, then red.

In the future, I'd quadrant the vehicle, and stay orange all the way in 1 quadrant, move to blue, then red - then next quadrant. Learning and trying to develop a system.

Examples of the door before:

View attachment 551421

View attachment 551422

After:

View attachment 551423

View attachment 551424

Really impressed how much improved the paint looks! Cautiously optimistic how it'll look in sunlight. I'll pull it out in the driveway before I wax.

Finished passenger side:

View attachment 551425

View attachment 551426

Tough to tell in the pictures but it is vastly improved. Those pics of the door scratches lifted are just a small example of all the damage lifted.

Next up driver side (including the door again starting at orange pad). Then the front end as I need to wet sand the tailgate to remove the rust left behind by the spare bracket.

Lots of touchup left behind.

I'll bring mine over next and you can practice on it.... It's in dire need of some love.
 
I'll bring mine over next and you can practice on it.... It's in dire need of some love.

I'd welcome the meet-up! I don't provide any guarantees on final product.

You trailering it over or will I see you in Sept driving it over? ;)
 
  • Like
Reactions: Wildman
I'd welcome the meet-up! I don't provide any guarantees on final product.

You trailering it over or will I see you in Sept driving it over? ;)

It's gunna be trailered all over, them there Dang Nab tires cost to much to wear them out on the road. It's got to drive out of the garage on it's own first of course.
 
  • Like
Reactions: FarFire70
It's gunna be trailered all over, them there Dang Nab tires cost to much to wear them out on the road. It's got to drive out of the garage on it's own first of course.

Tracking. Poking you in jest on your end of month plan to be mobile. ;)

It was very intimidating to start with the polisher but damn - those results are amazing (in my eye) after only a few hours trying it out.

I also talked myself into —> 'You'll never sell this Jeep so if you mess it up, you can fix it over time.' If I tried on the other vehicles in the driveway and really messed up, I kill my trade-in value. :LOL:
 
  • Like
Reactions: Wildman
Tired of body work for the day so went mechanical.

Pulled off steering wheel for the clockspring that arrived today

1000007093.jpg


I'll install the clockspring maybe tomorrow.

Next I'll play with electrical...
1000007094.webp
 
Pretty straight forward.

1000007106.webp


I suspect the extra long cable is for older Jeeps and is labeled to go from the battery to the fender (Driver I suspect, given the length). I'll toss it in since you can't have too many grounds...
 
  • Like
Reactions: Wildman
Pic captures my feelings for this air intake...

1000007107.webp


Breather pulled off the RTV. The air box rubs on all the cables to the throttle body anyway. Needs more support structure.

I alluded to this earlier that I need to re-work. I guess this forces my hand some...
 
  • Sad
Reactions: Wildman