
Too bad they closed the back side to wheeling. Some fun stuff up there.

You are using an out of date browser. It may not display this or other websites correctly.
You should upgrade or use an alternative browser.
You should upgrade or use an alternative browser.

05 Flame Red TJ Build
- Thread starter JMT
- Start date


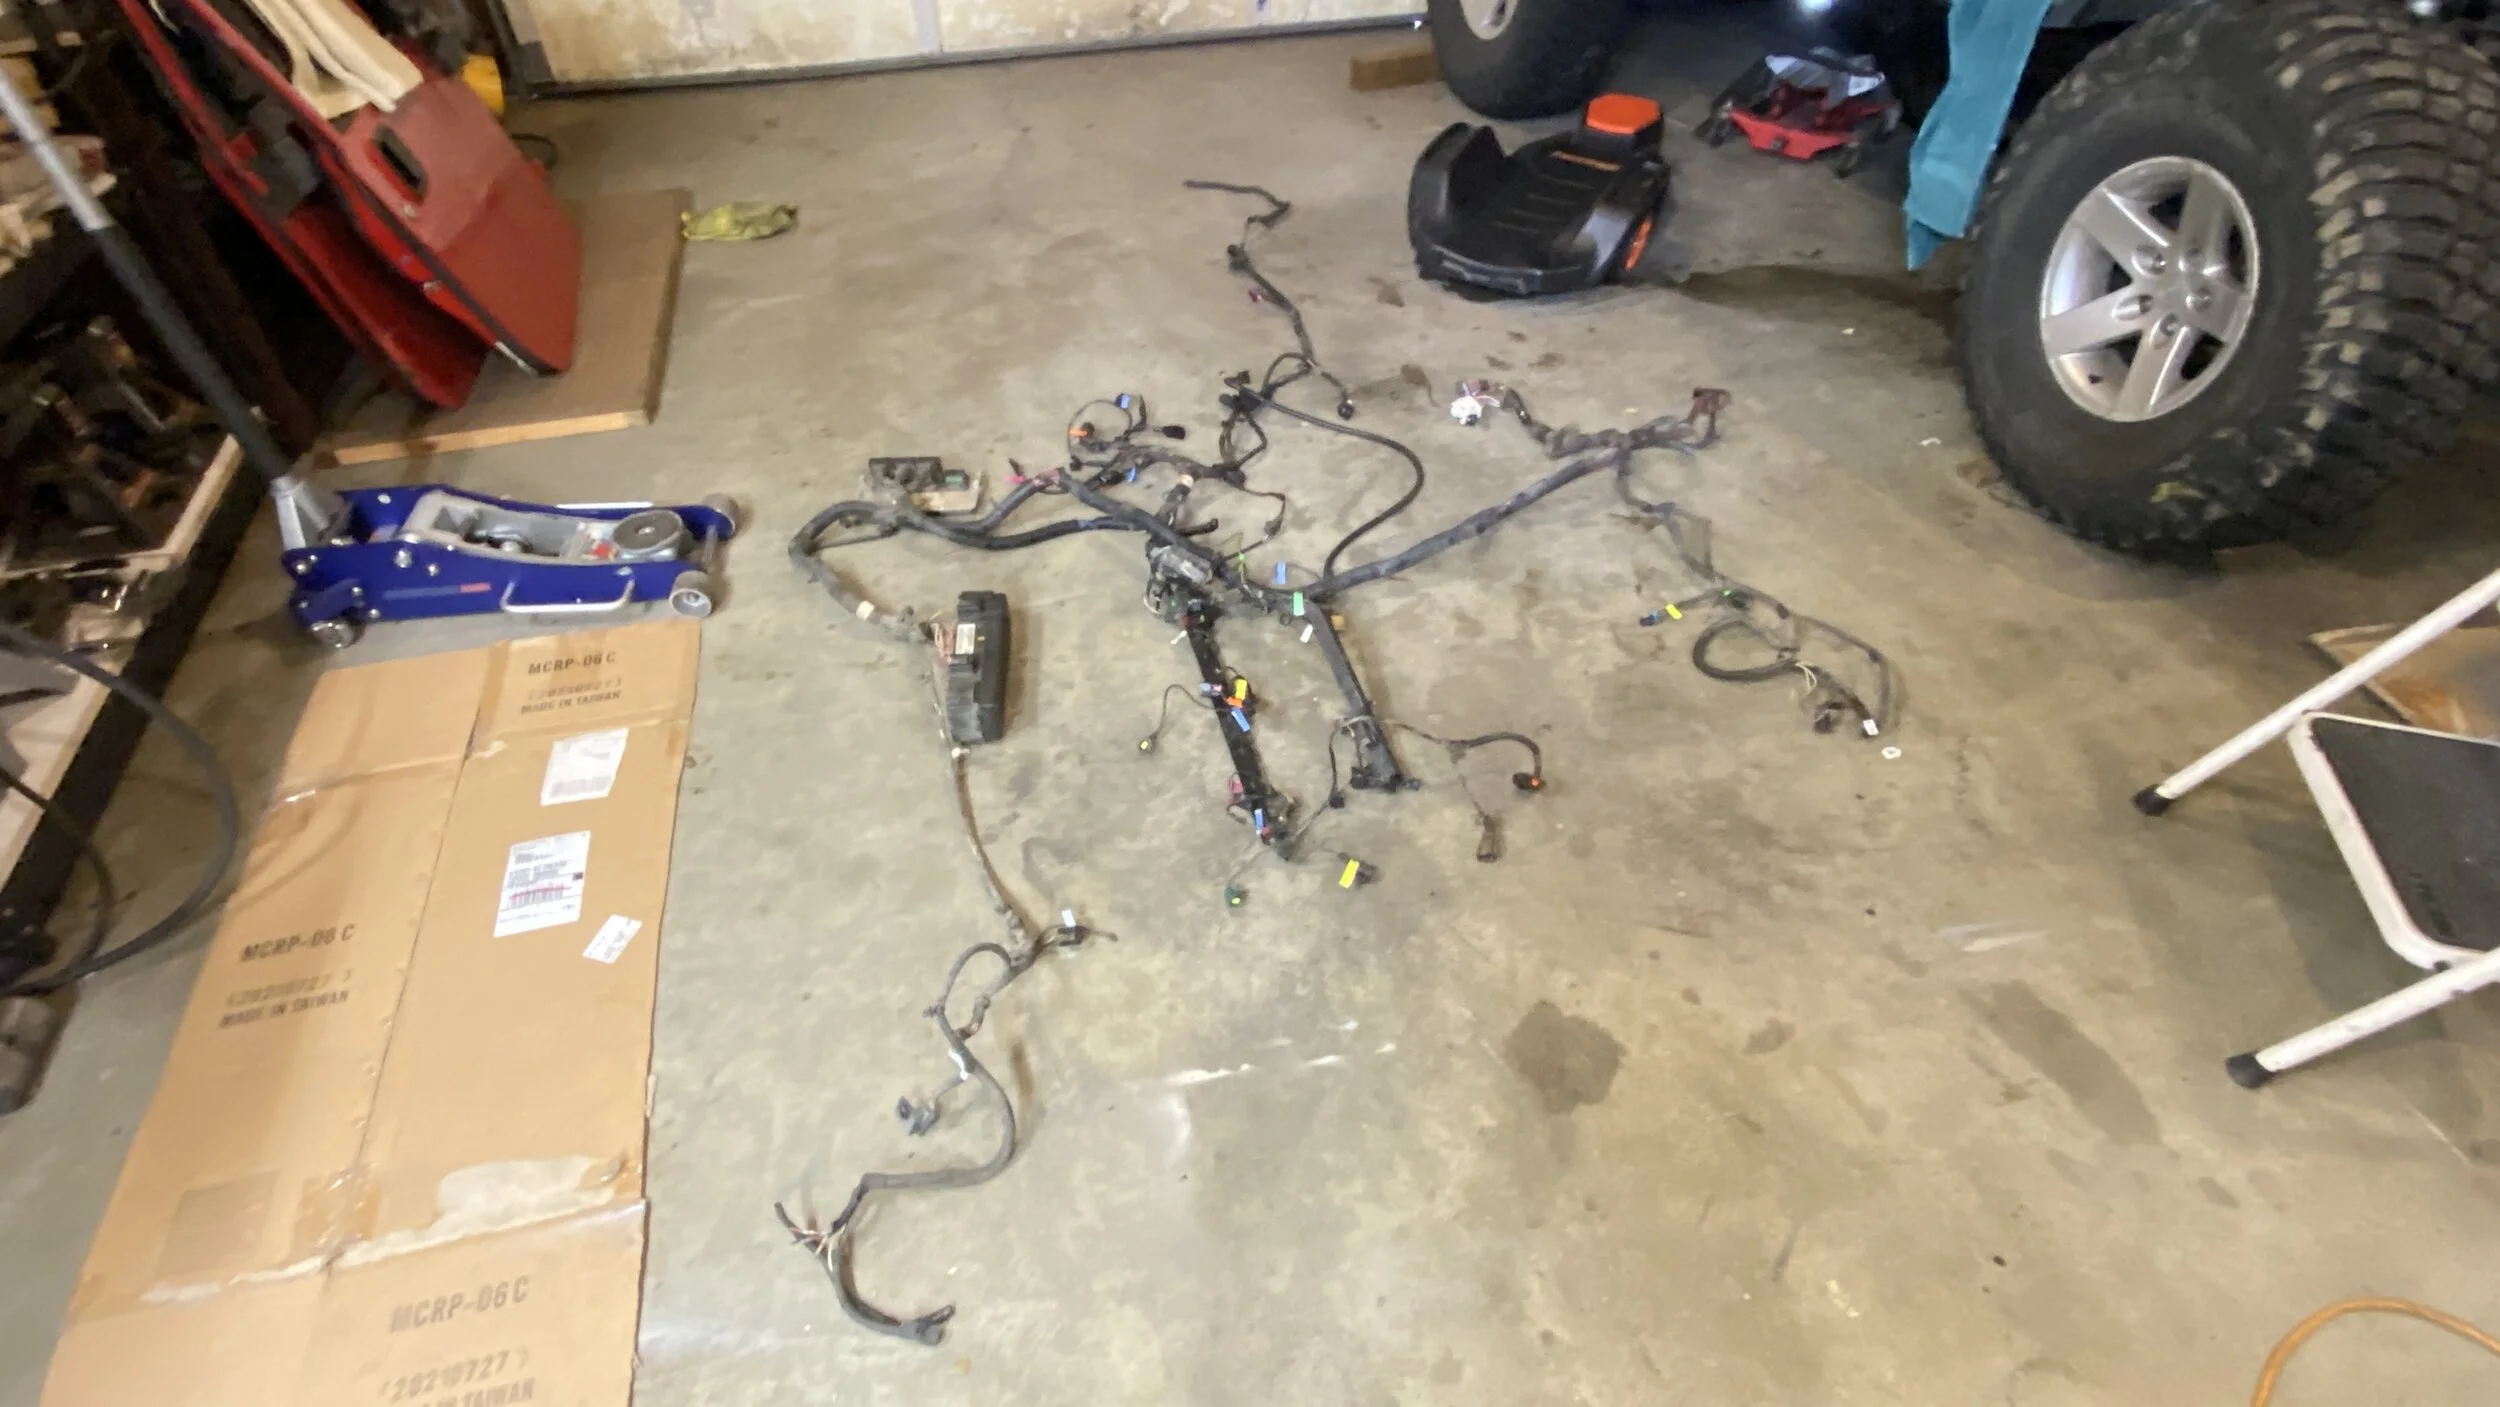
NSG370 harness removed. My thumbs are hurting from removing connectors. Good advice to spray each connector with Electrical Cleaner before trying to release them. If one is giving you hell a little WD-40 after cleaning seemed to help.
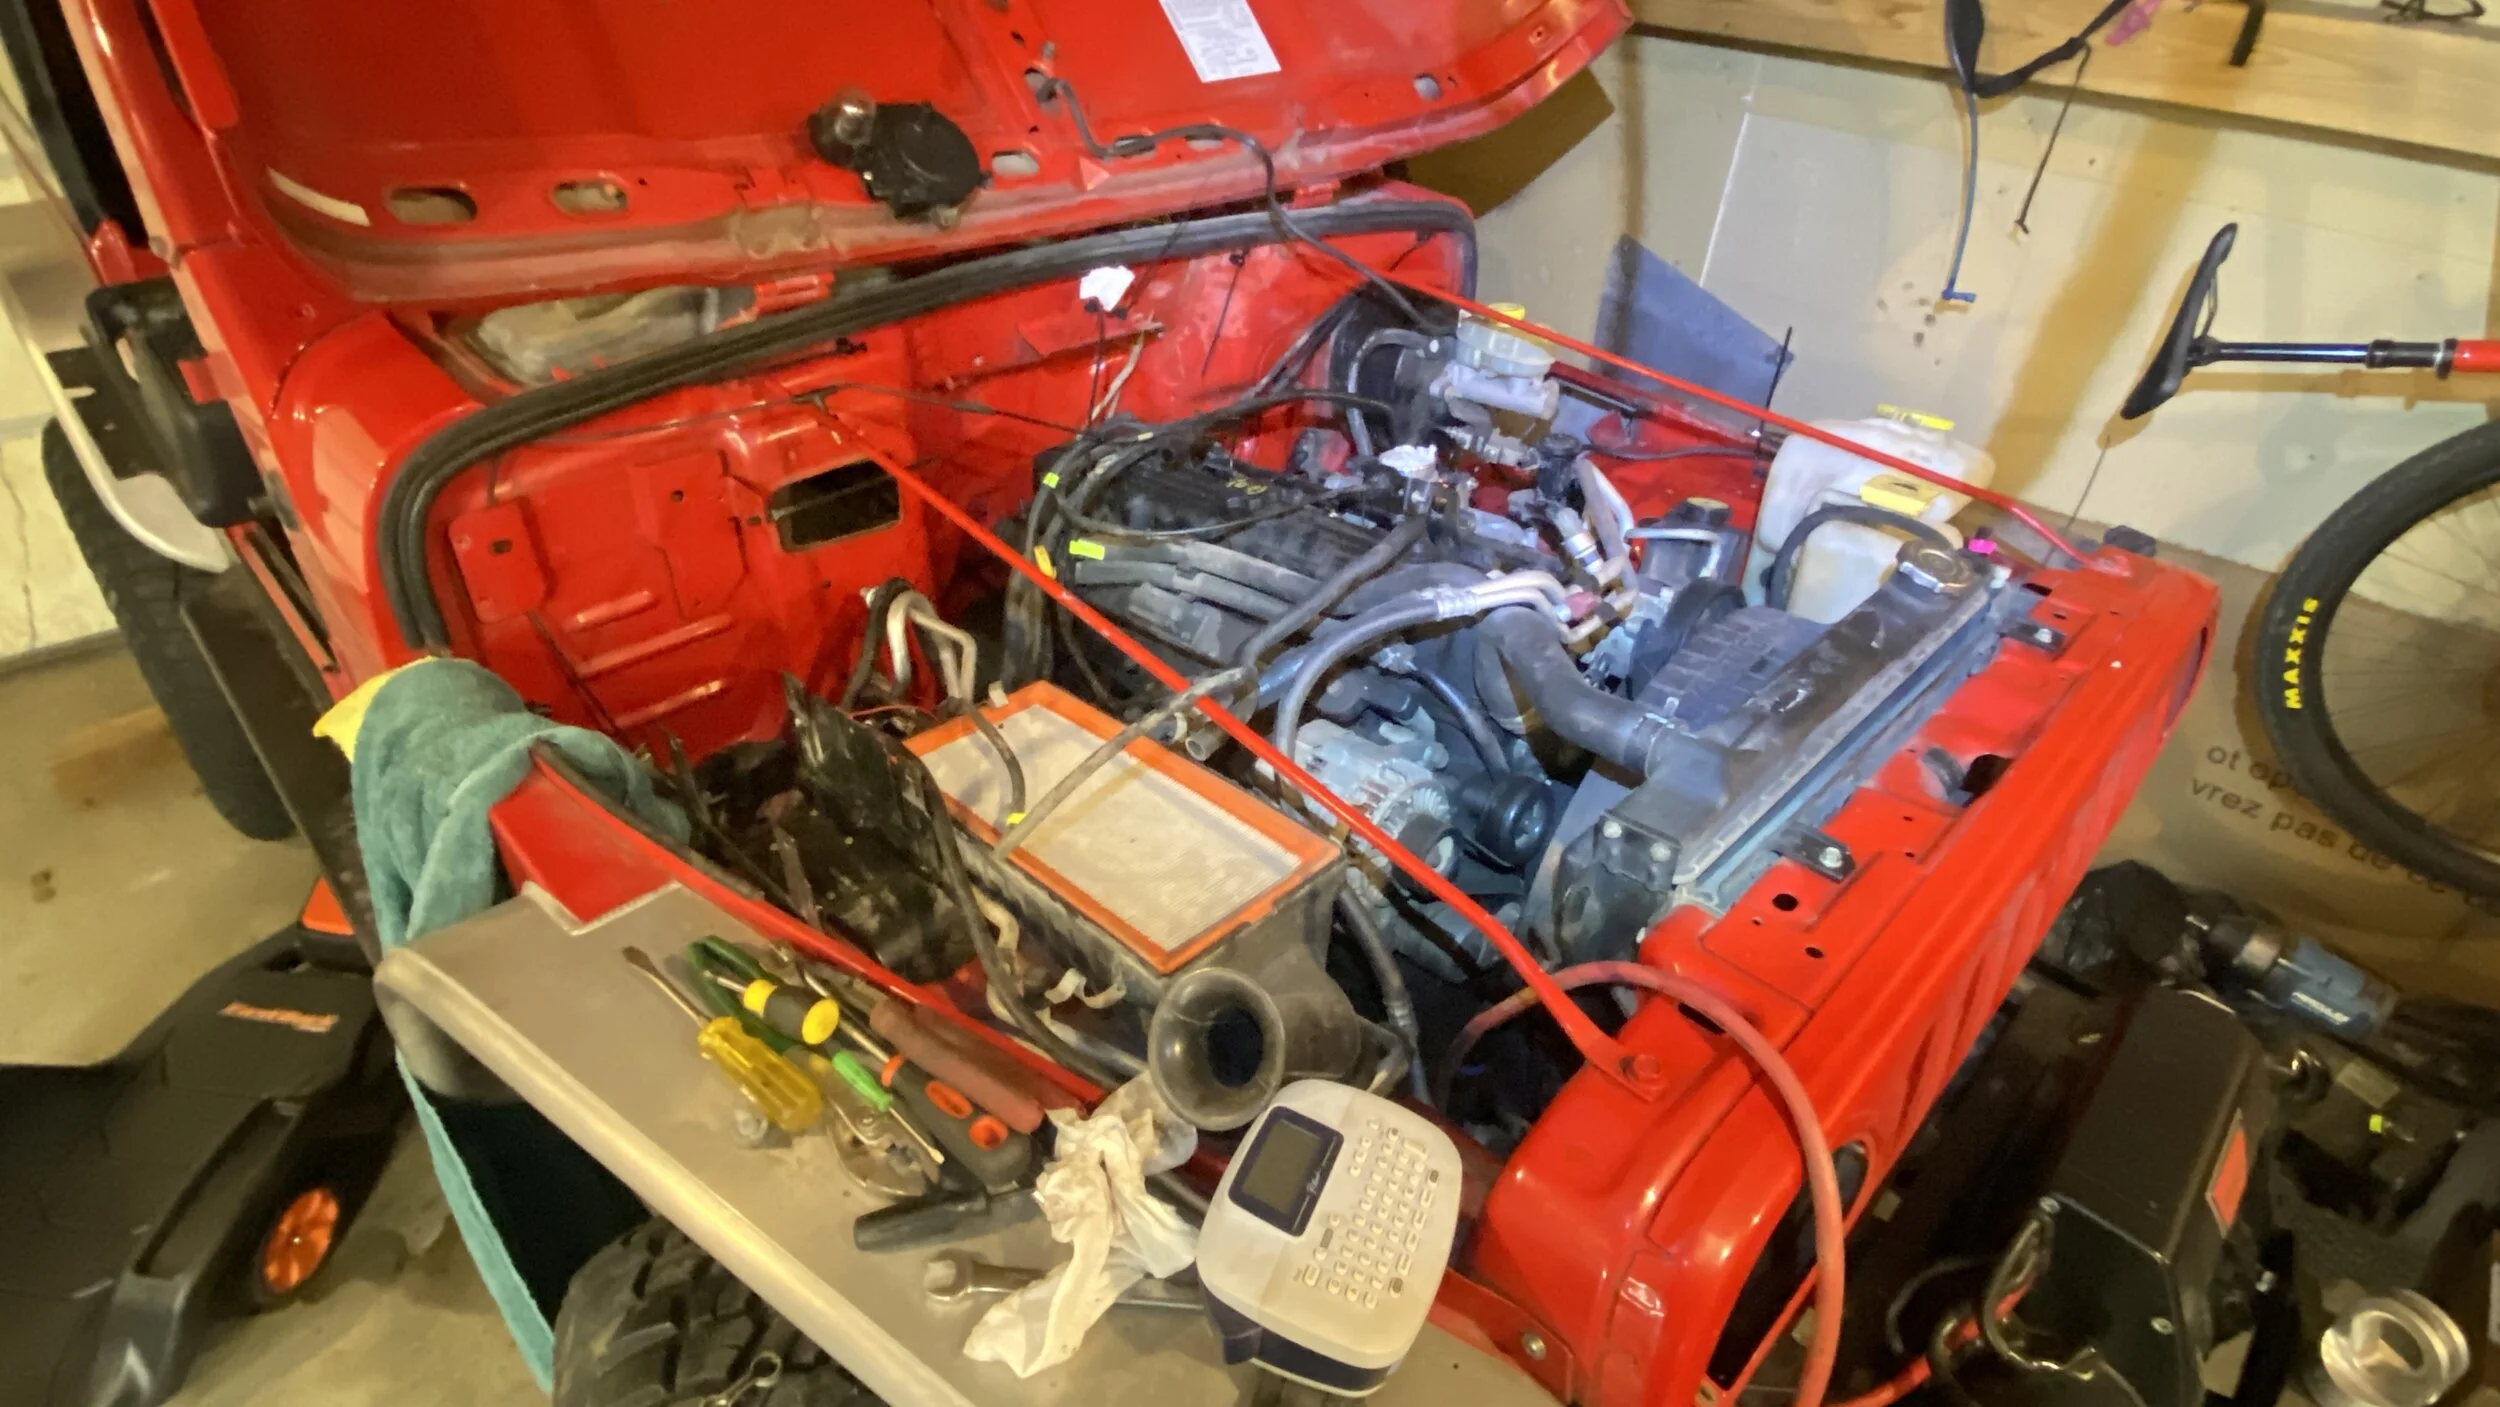
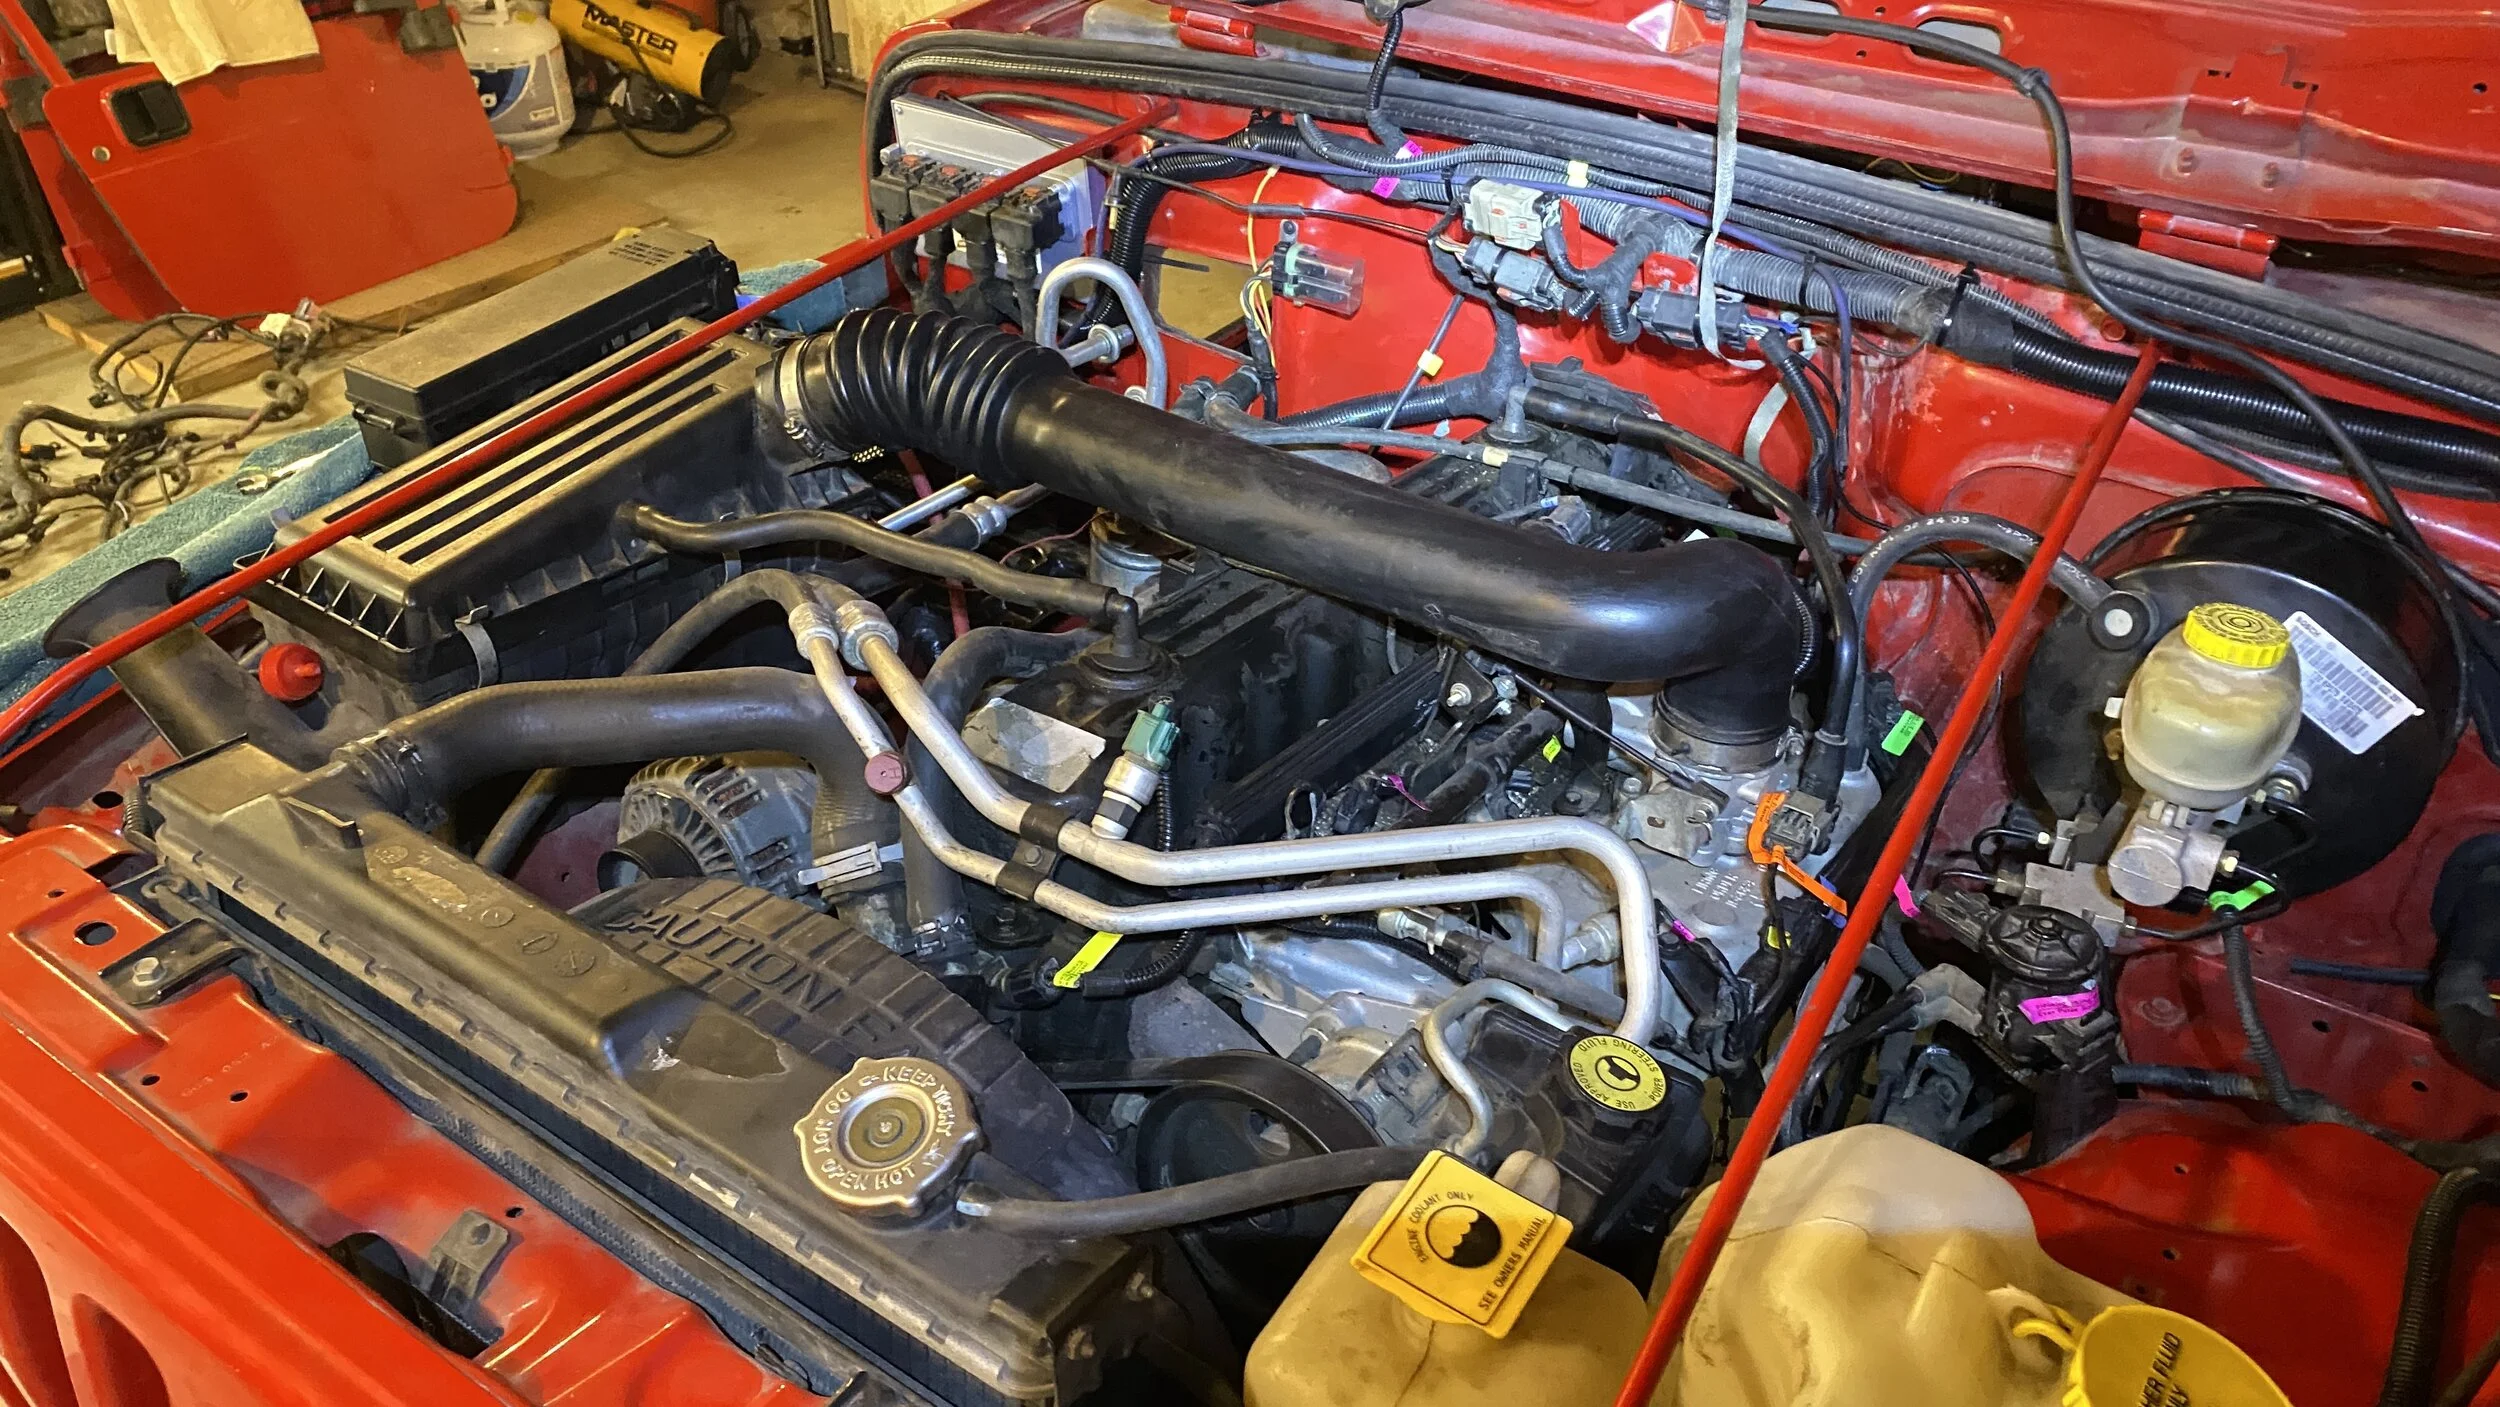
Engine bay somewhat cleaned up.
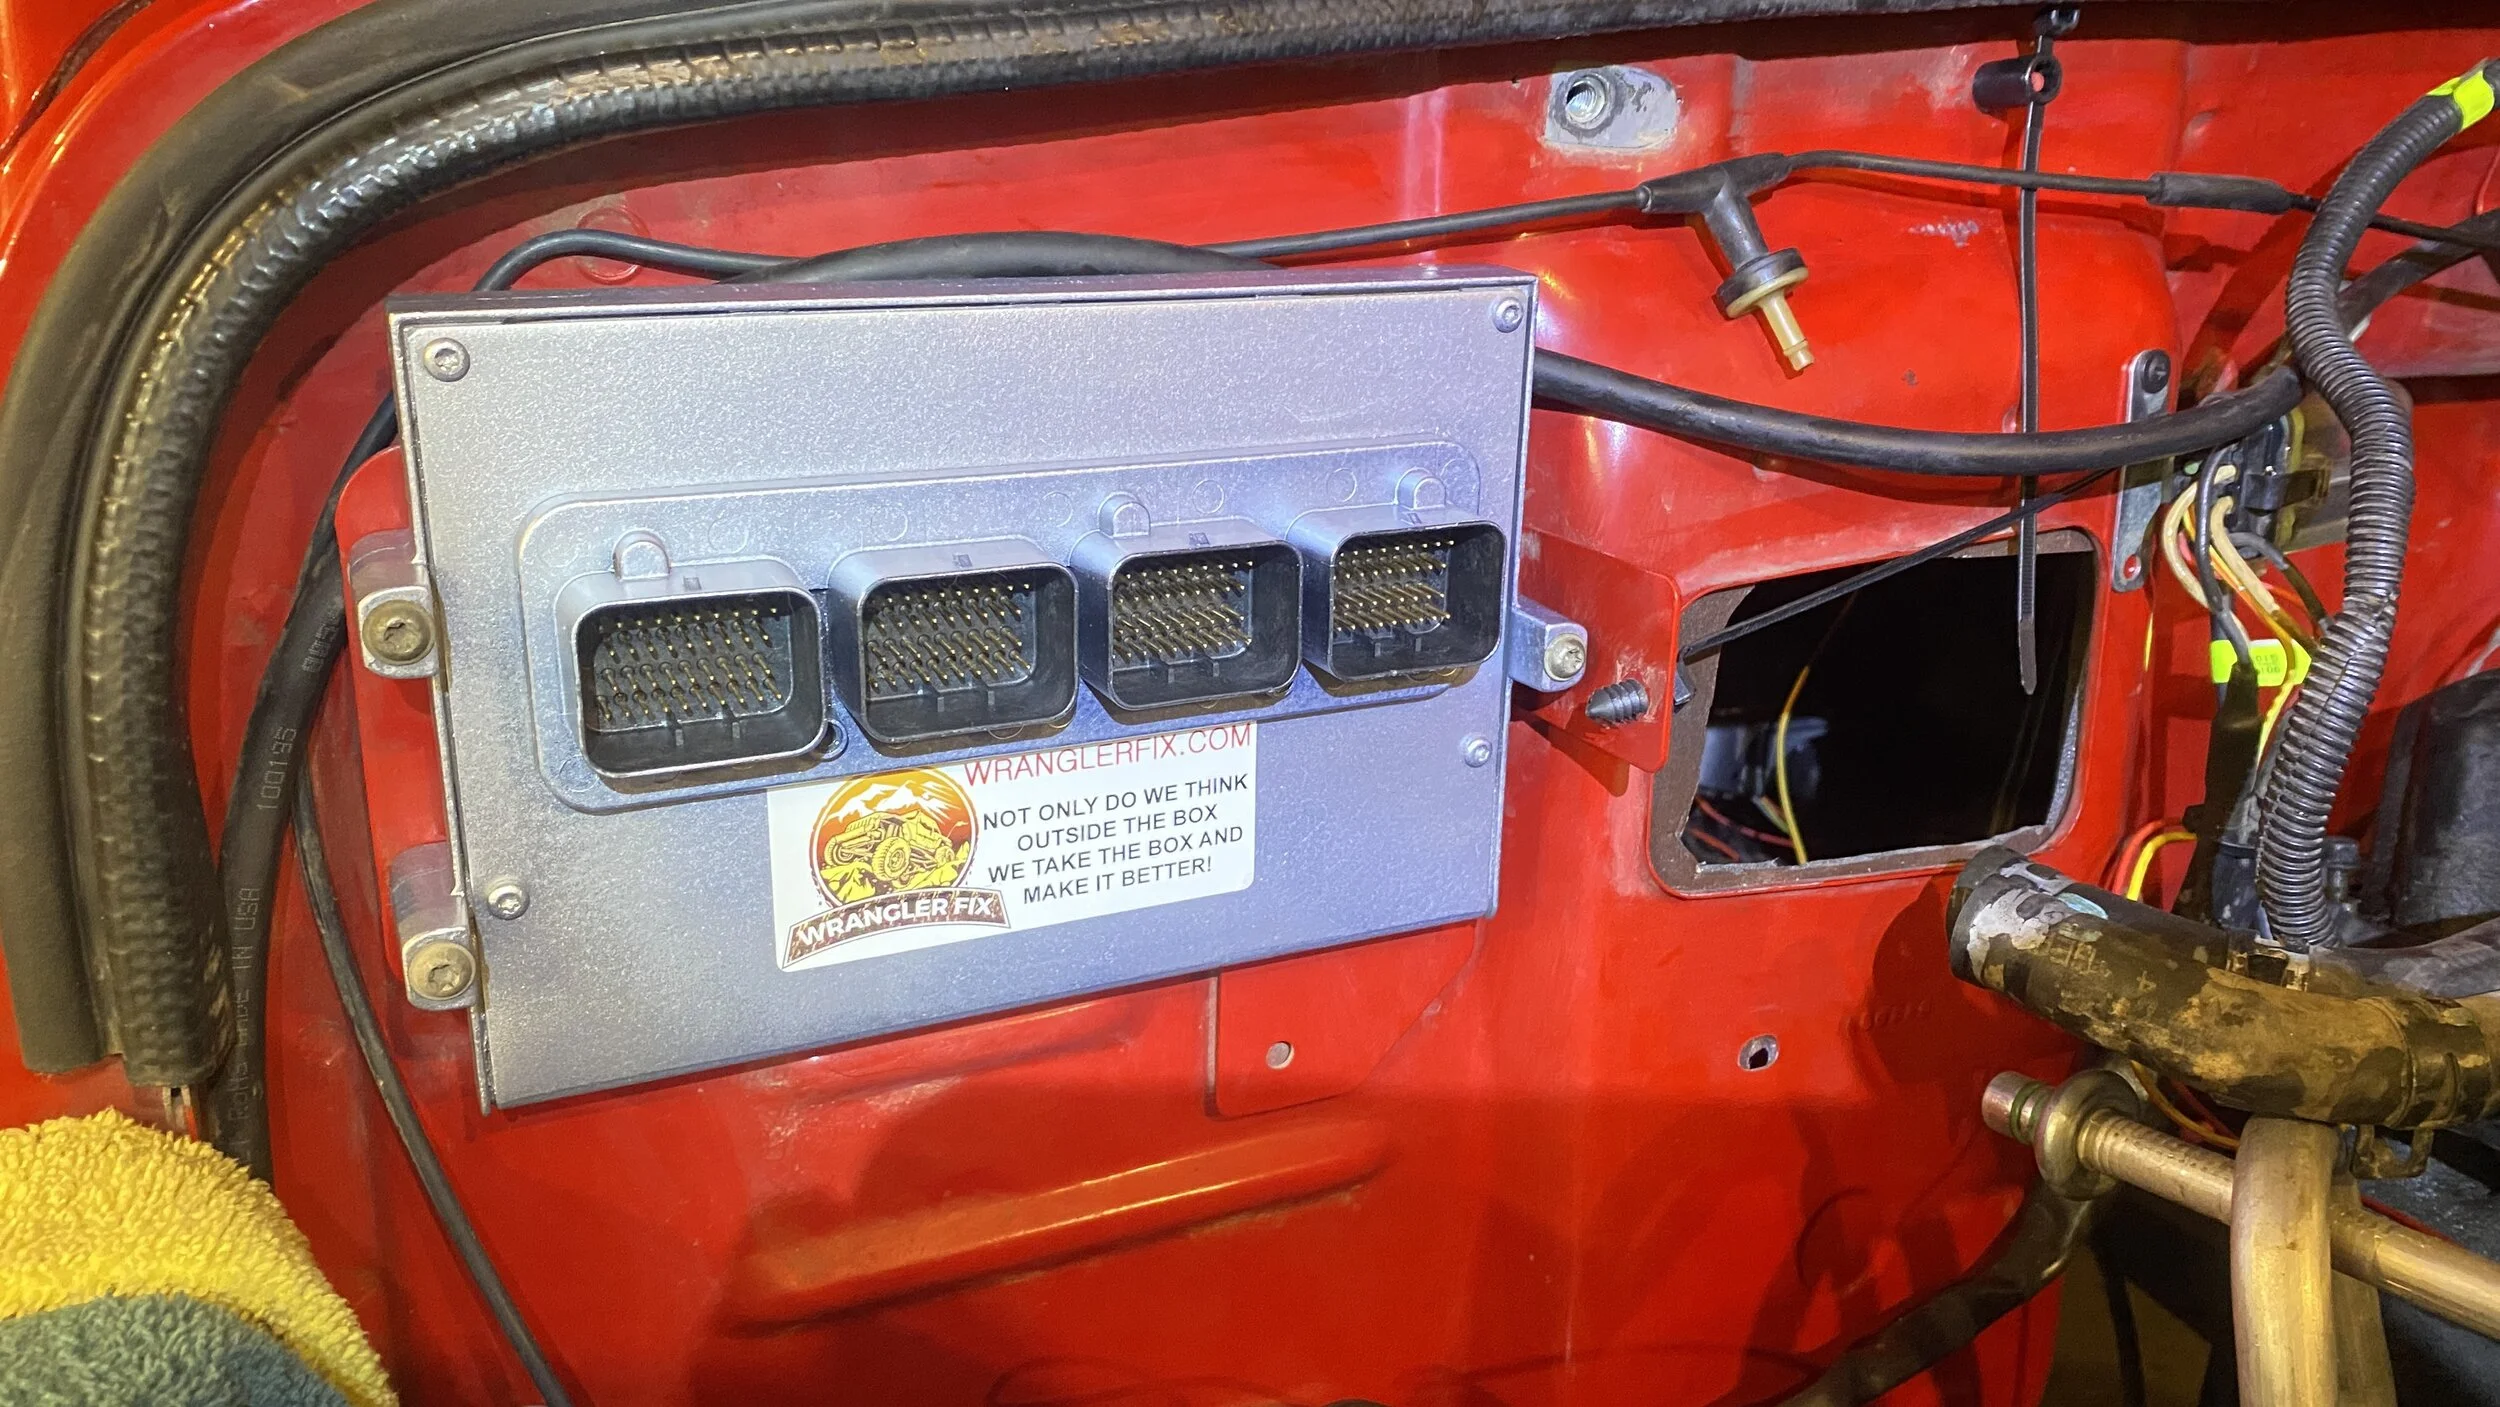
New computer installed!
Engine bay somewhat cleaned up.
New computer installed!


Not closed per se. You need a permit from Inland Paper.$$Too bad they closed the back side to wheeling. Some fun stuff up there.

Too bad they closed the back side to wheeling. Some fun stuff up there.
WA sucks. We’ll all be driving EV’s soon.

WA sucks. We’ll all be driving EV’s soon.
They will have to pry my tj out of my cold dead hands.


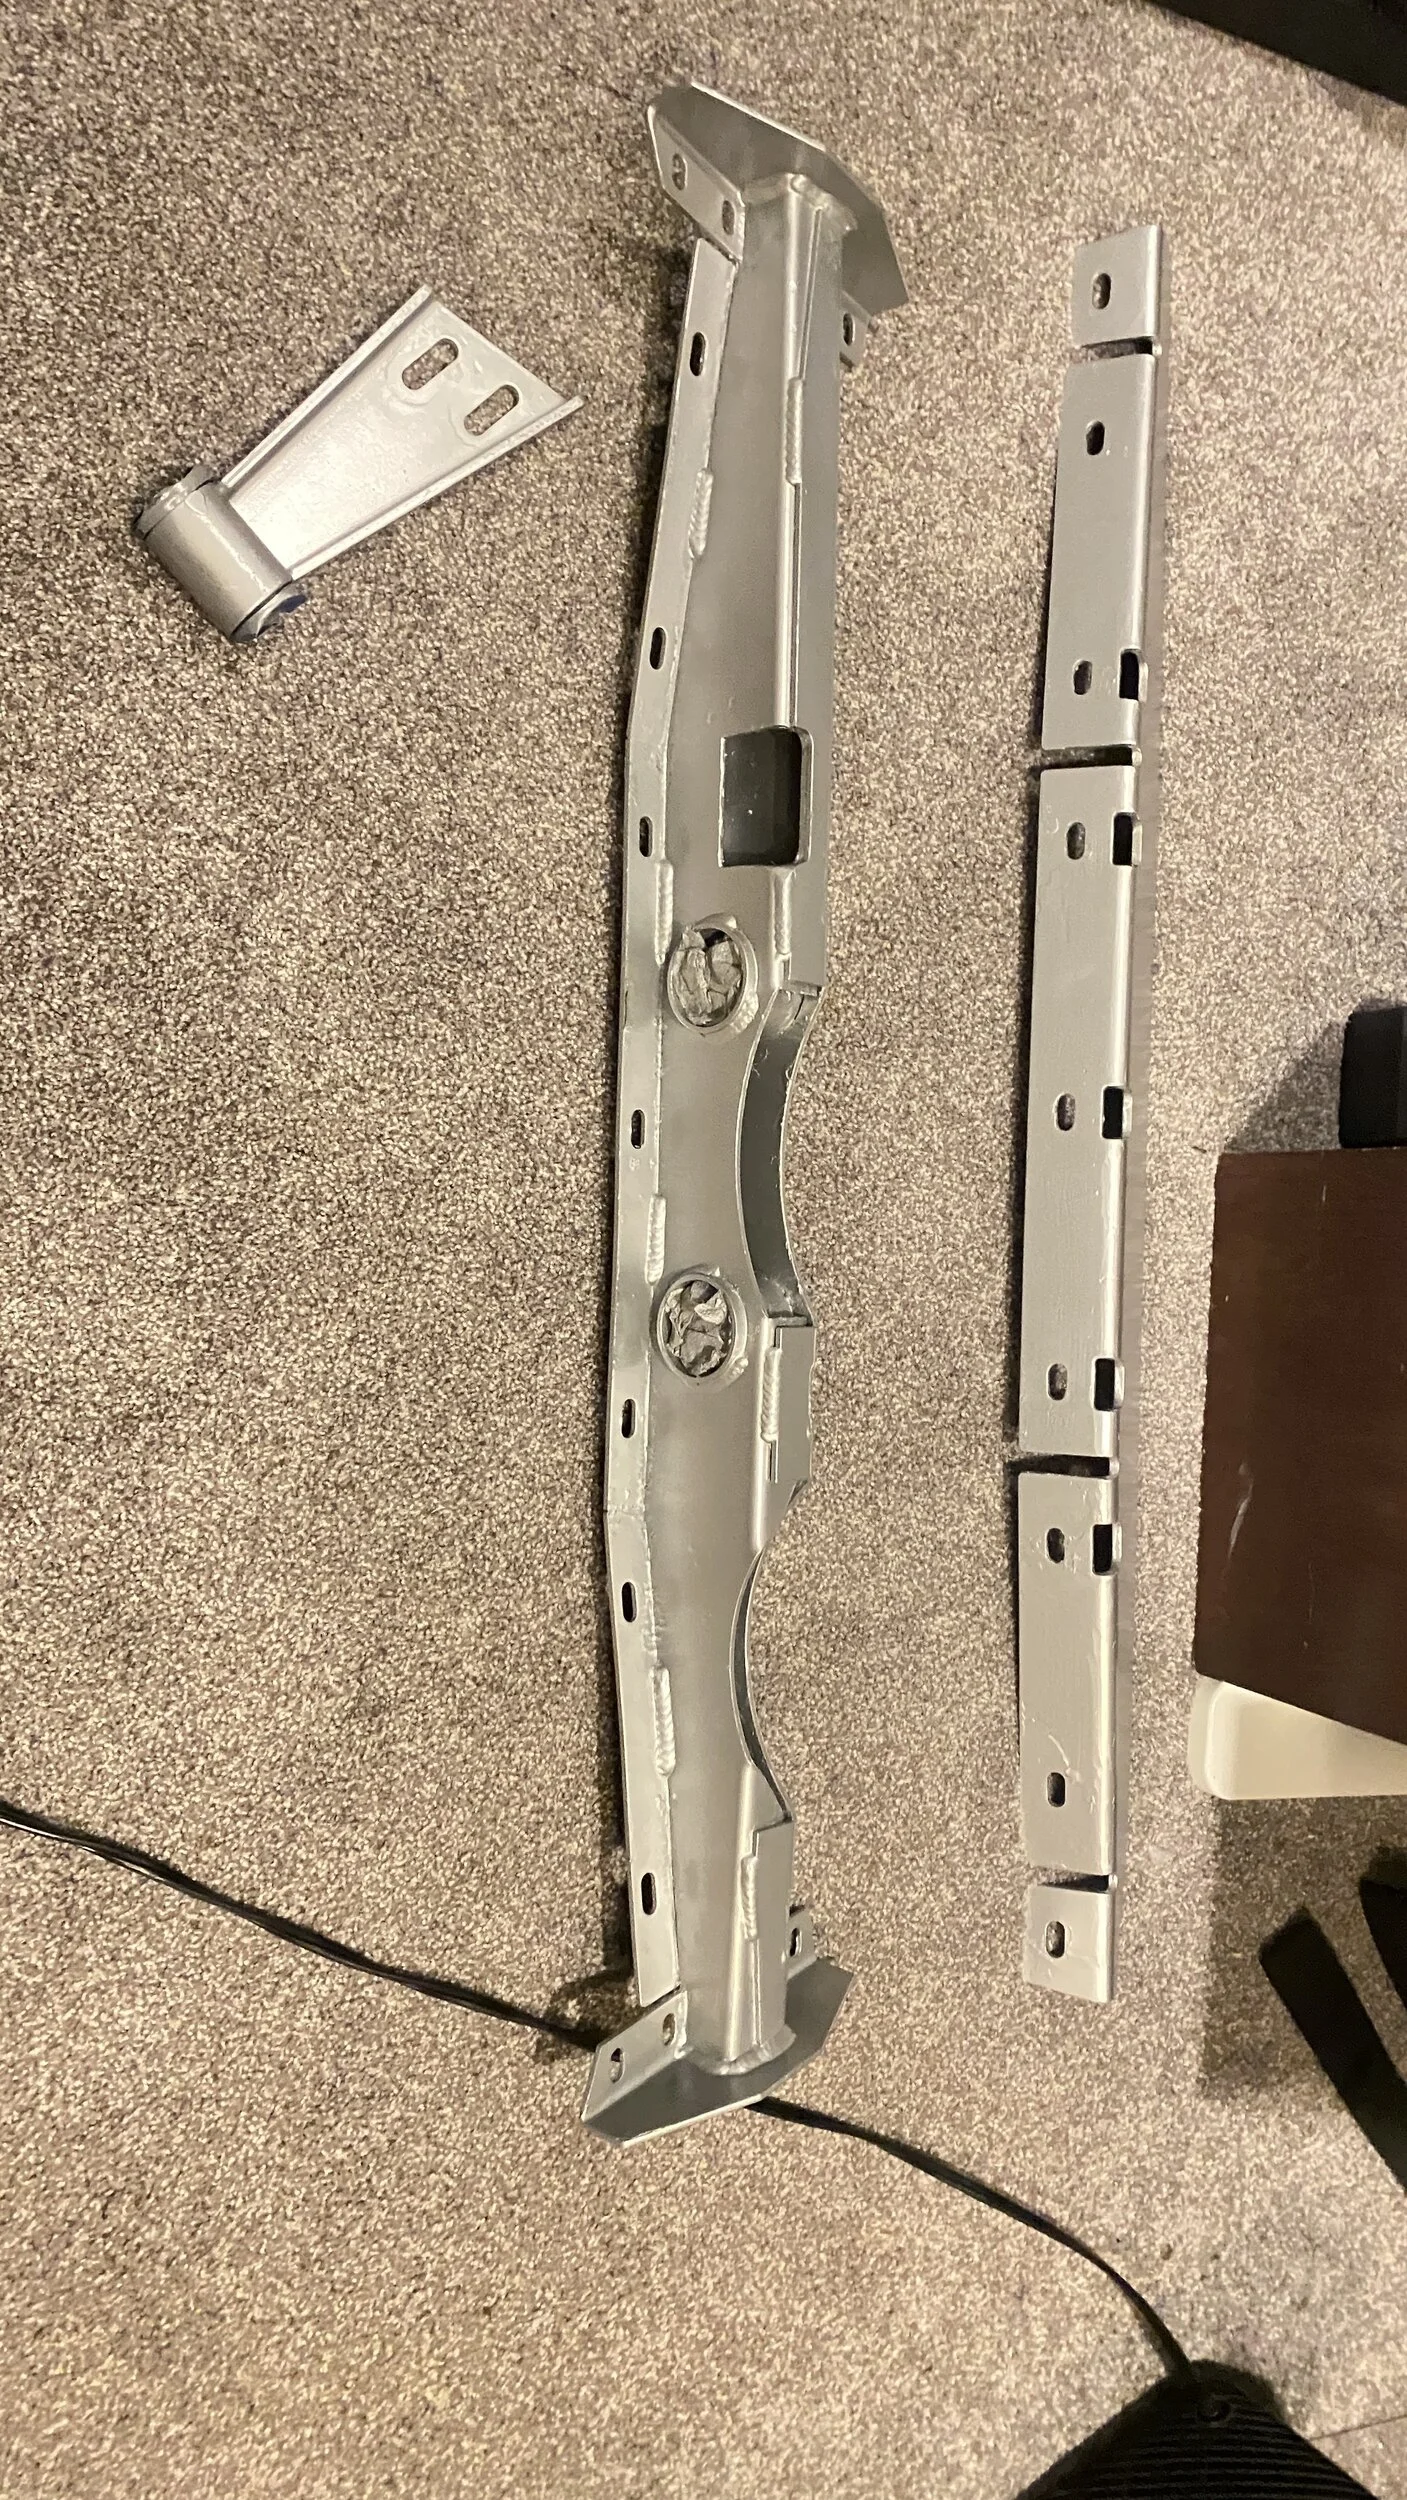
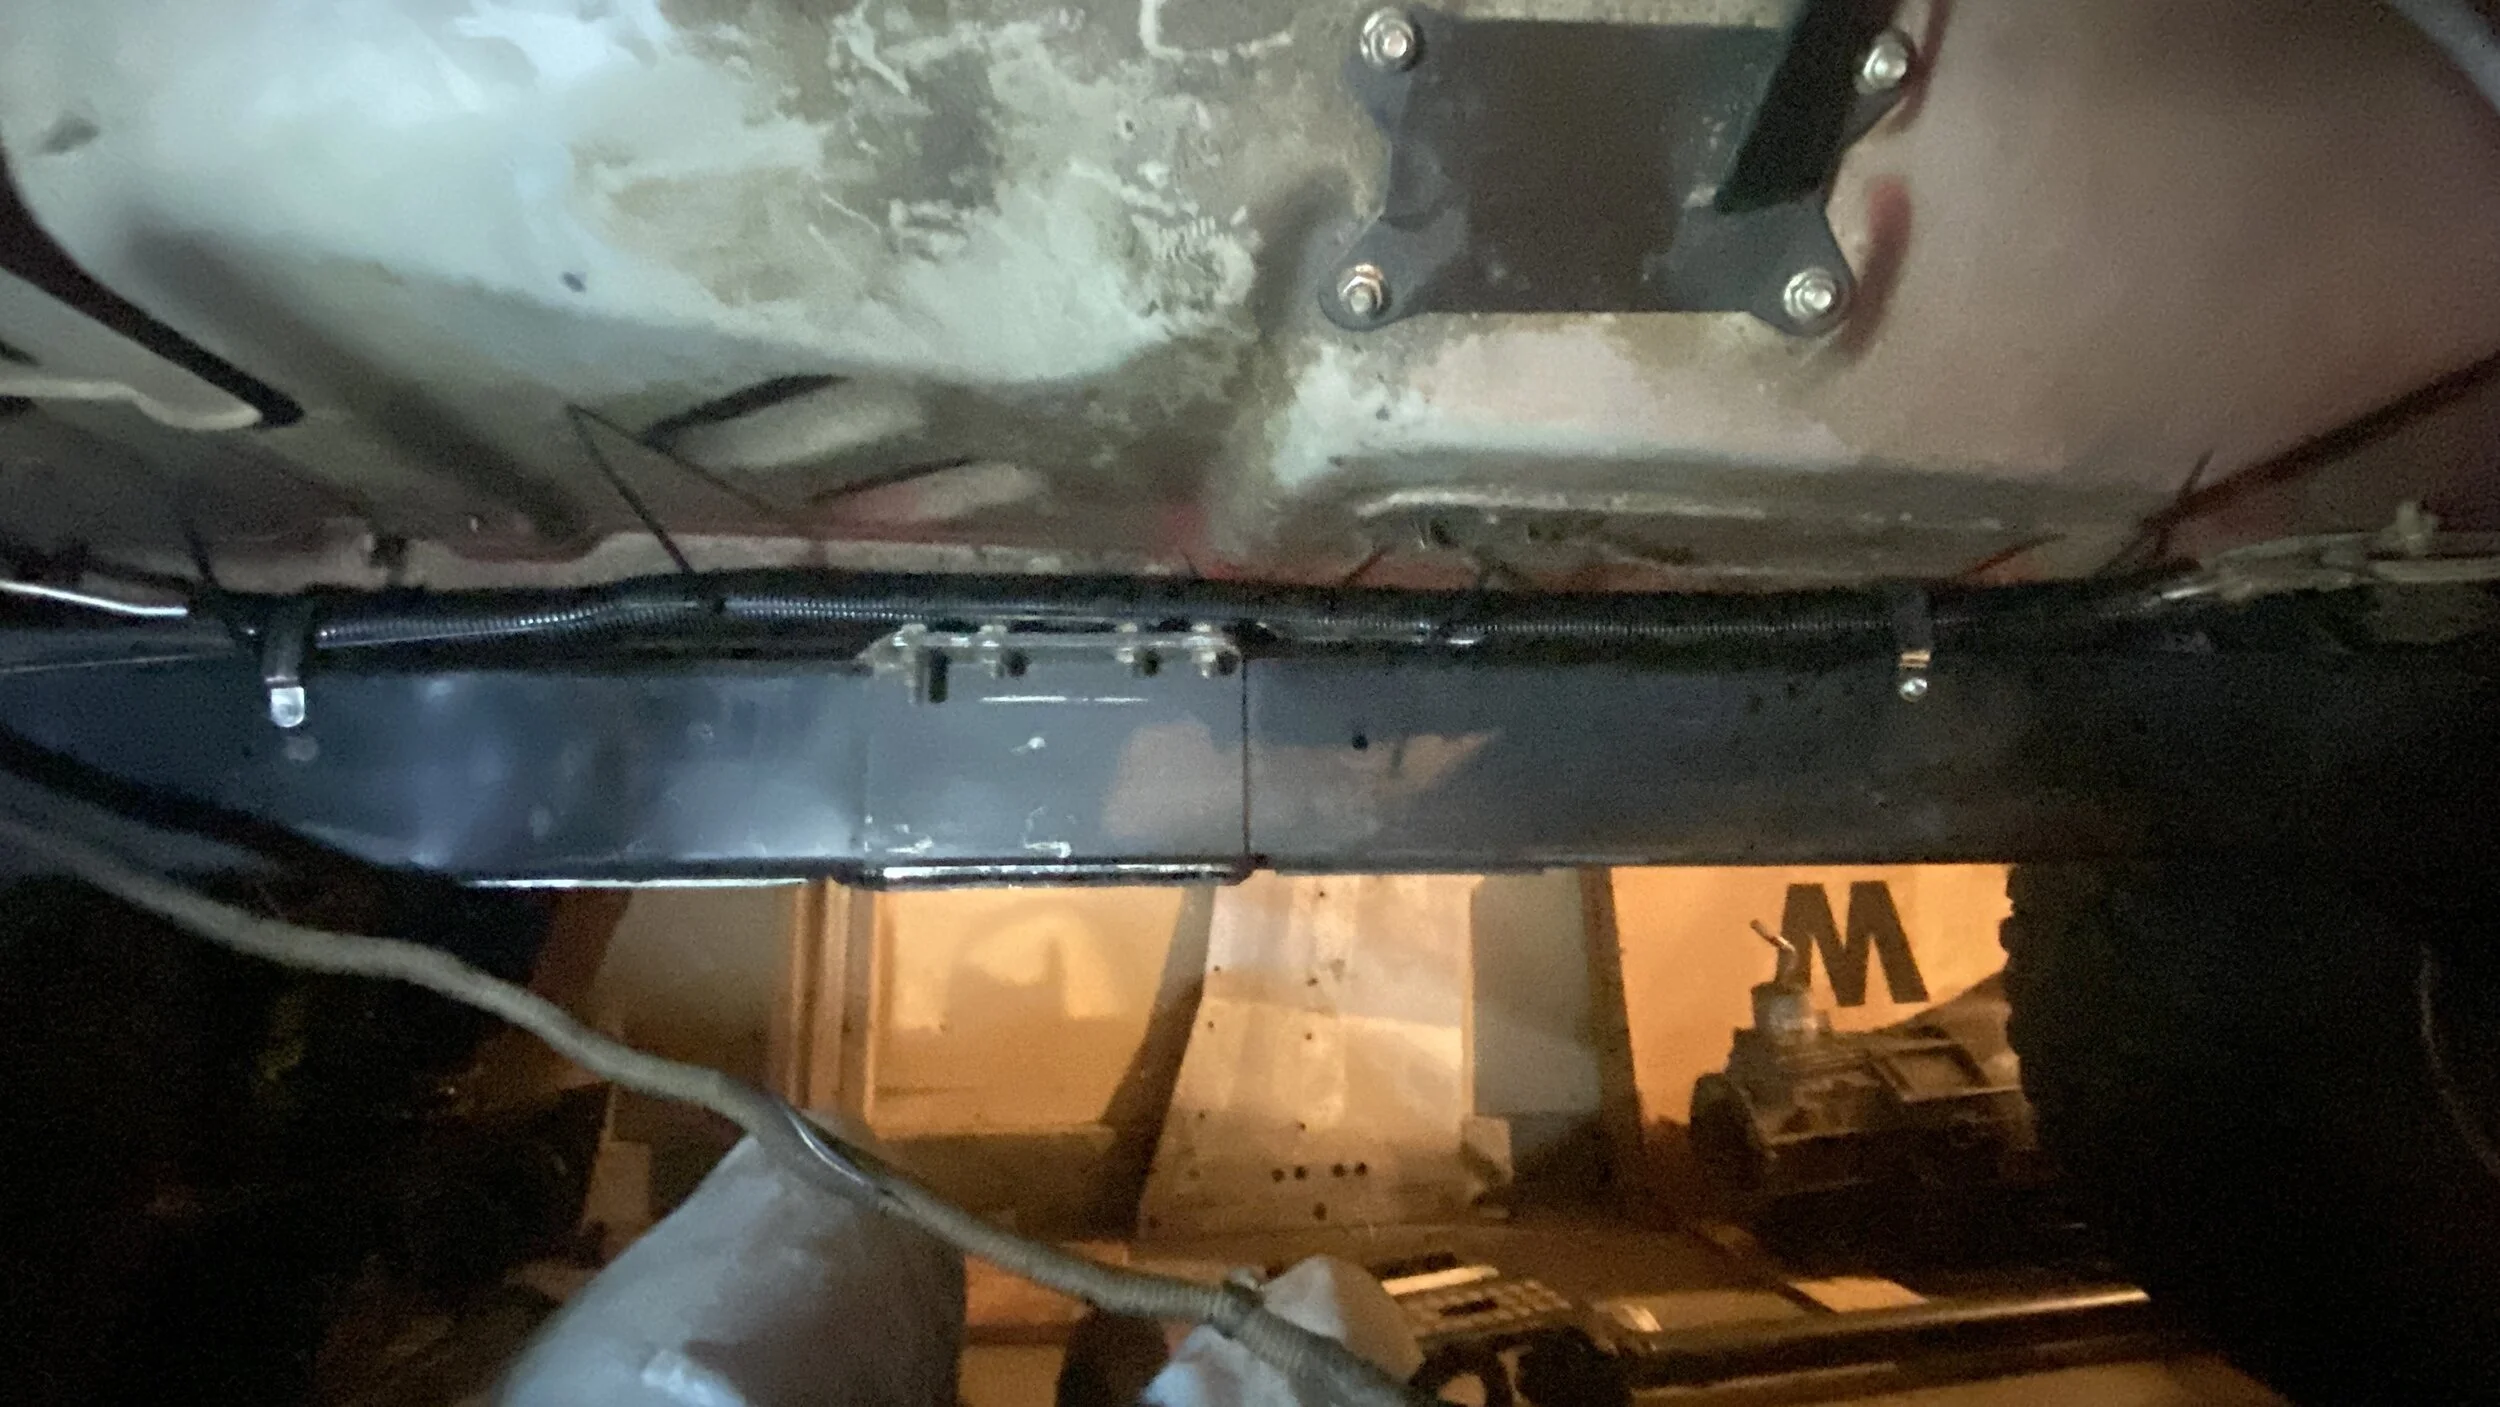
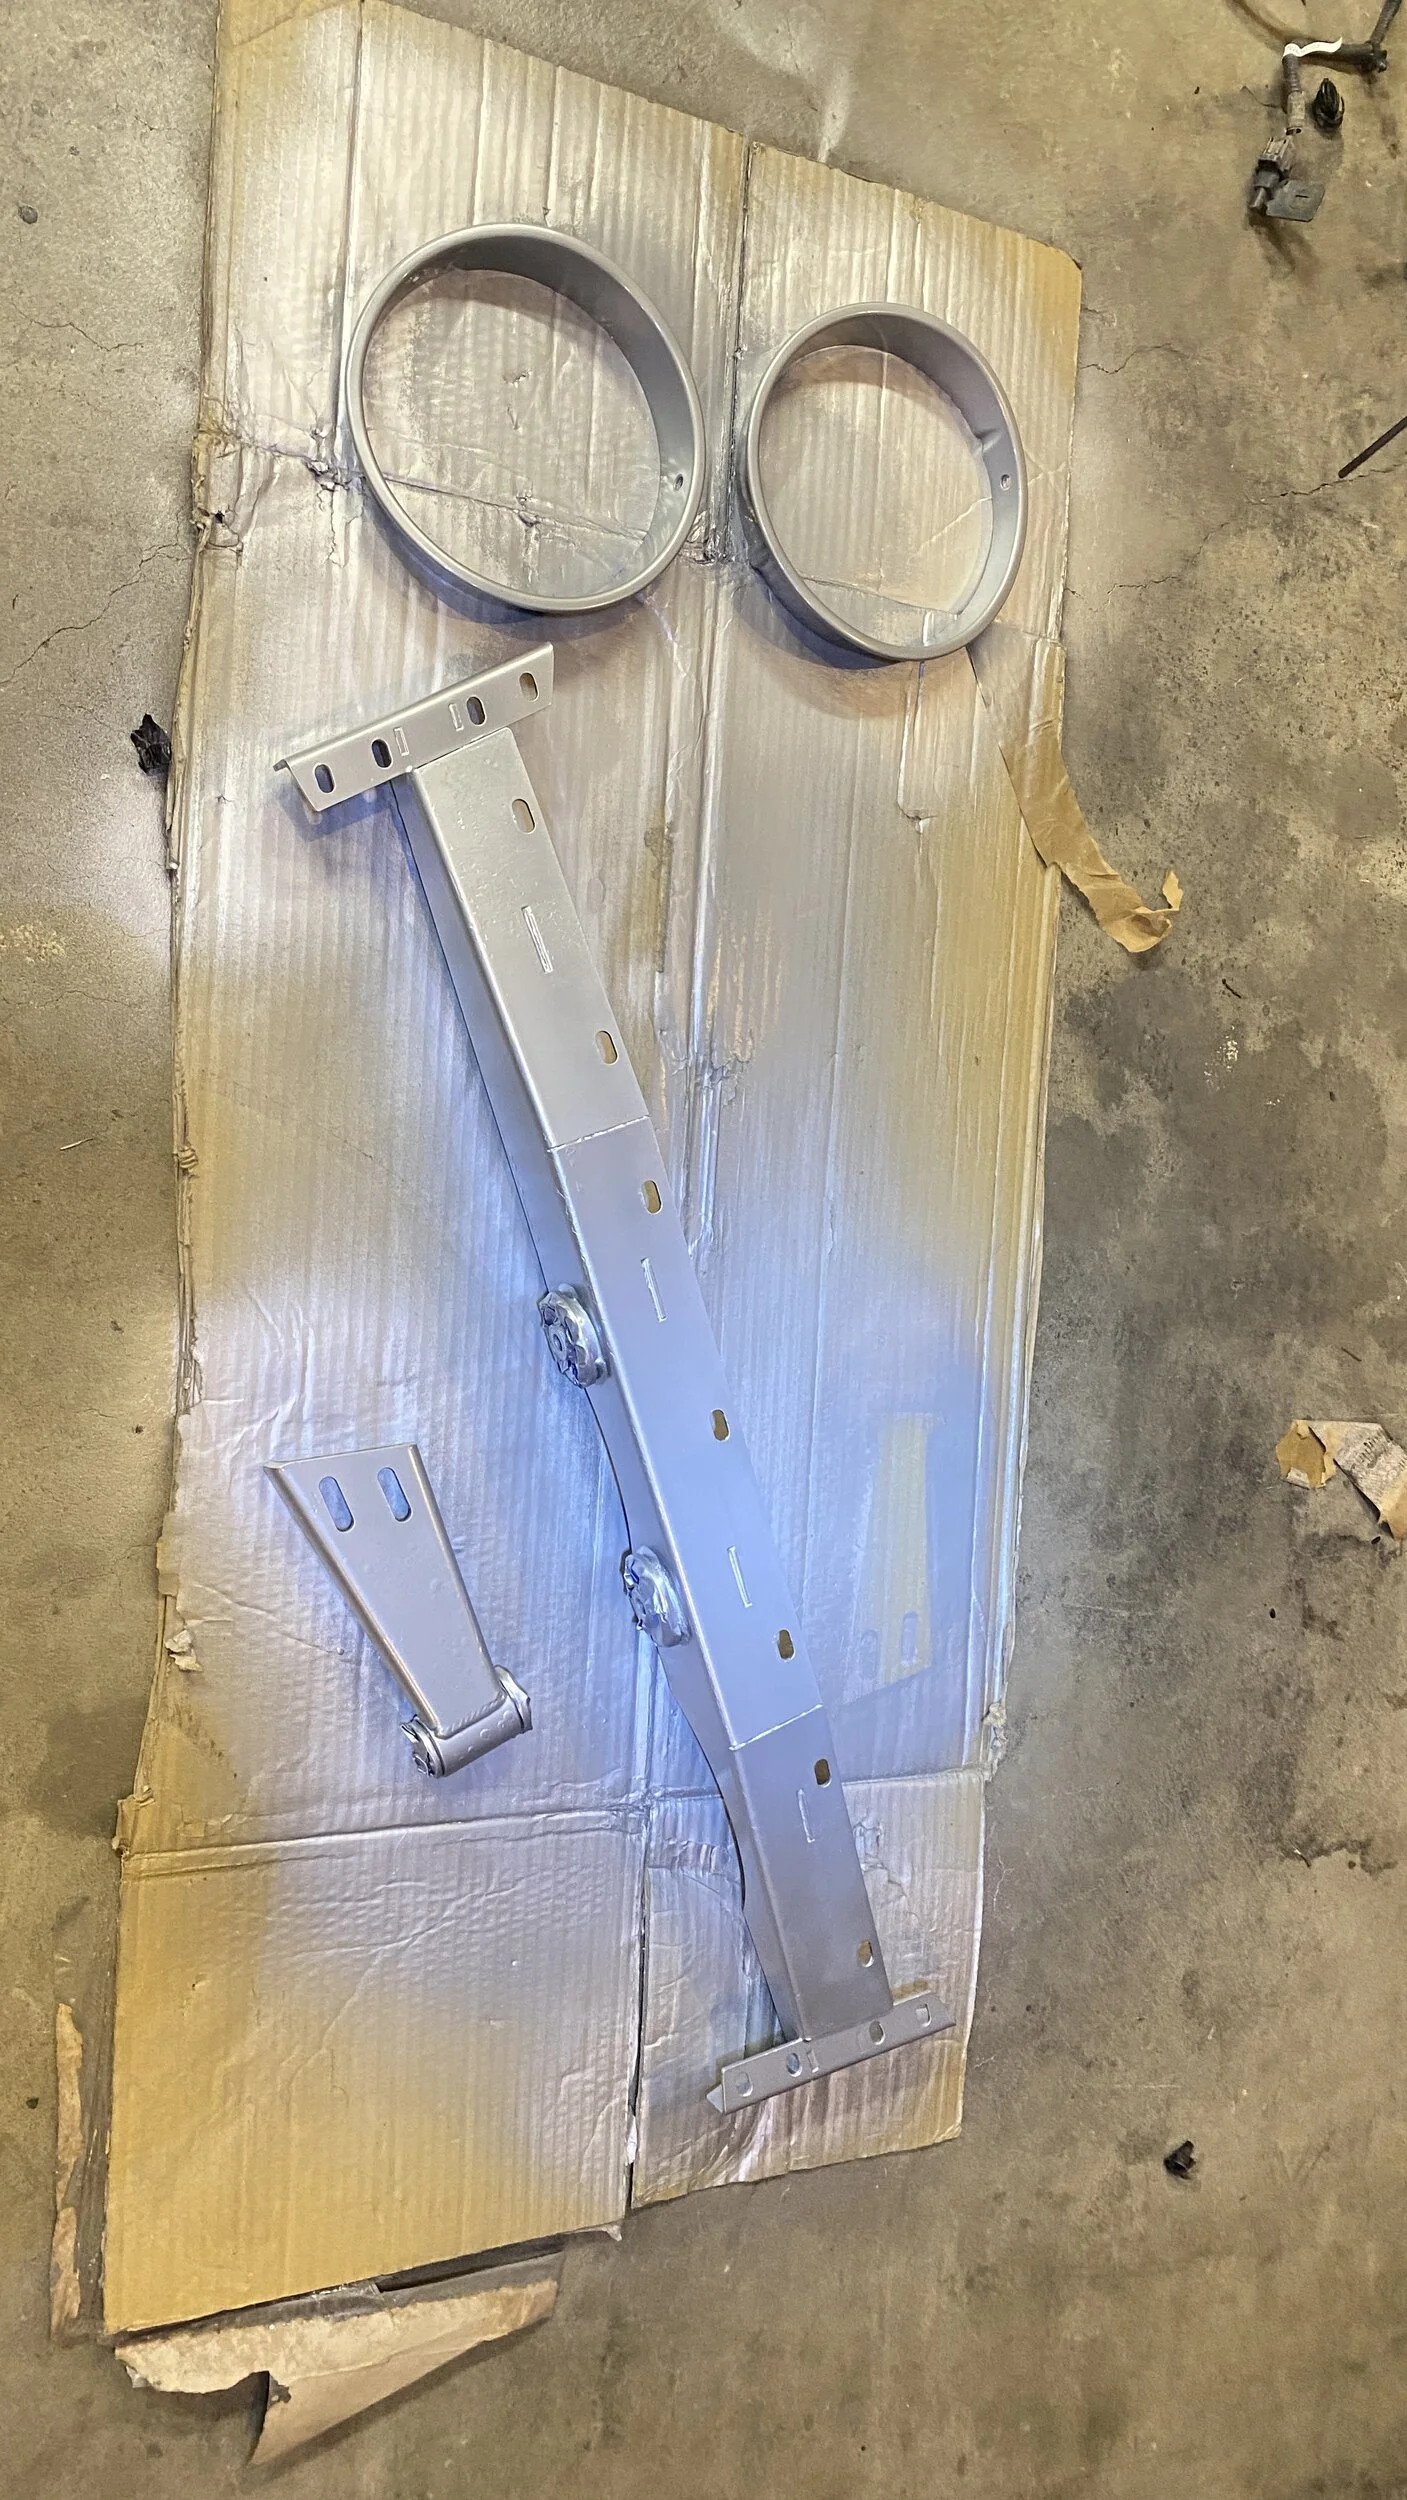
I can’t remember everything I’ve done. Probably doesn’t look like much, but I’m fixing anything I see that’s wrong along the way. I moved the wires and brake lines that go to the rear from inside the rail to on top of the rail. I re-painted the Savvy MUA crossmember, support, and inner C bracketry.
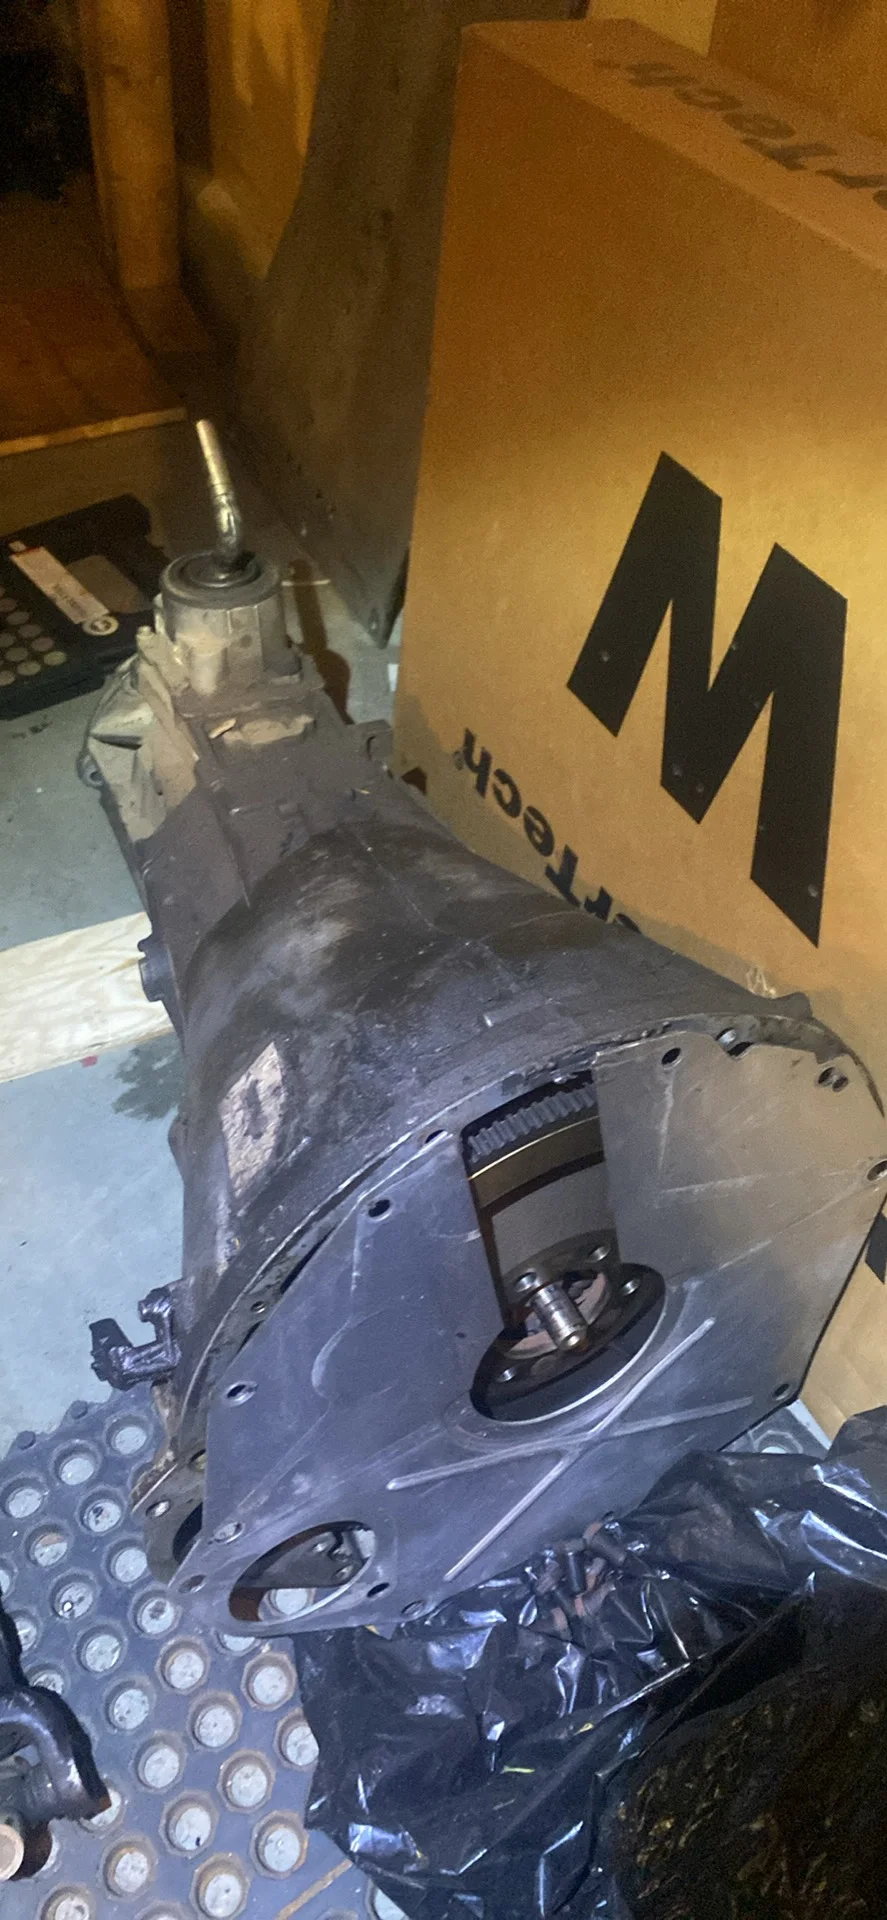
After I got the NSG370 engine harness removed I sold the tranny locally. Very happy to not be nicking my shin on the camshaft position sensor anymore since I’m working in tight quarters. So tired of that. Bye bye!
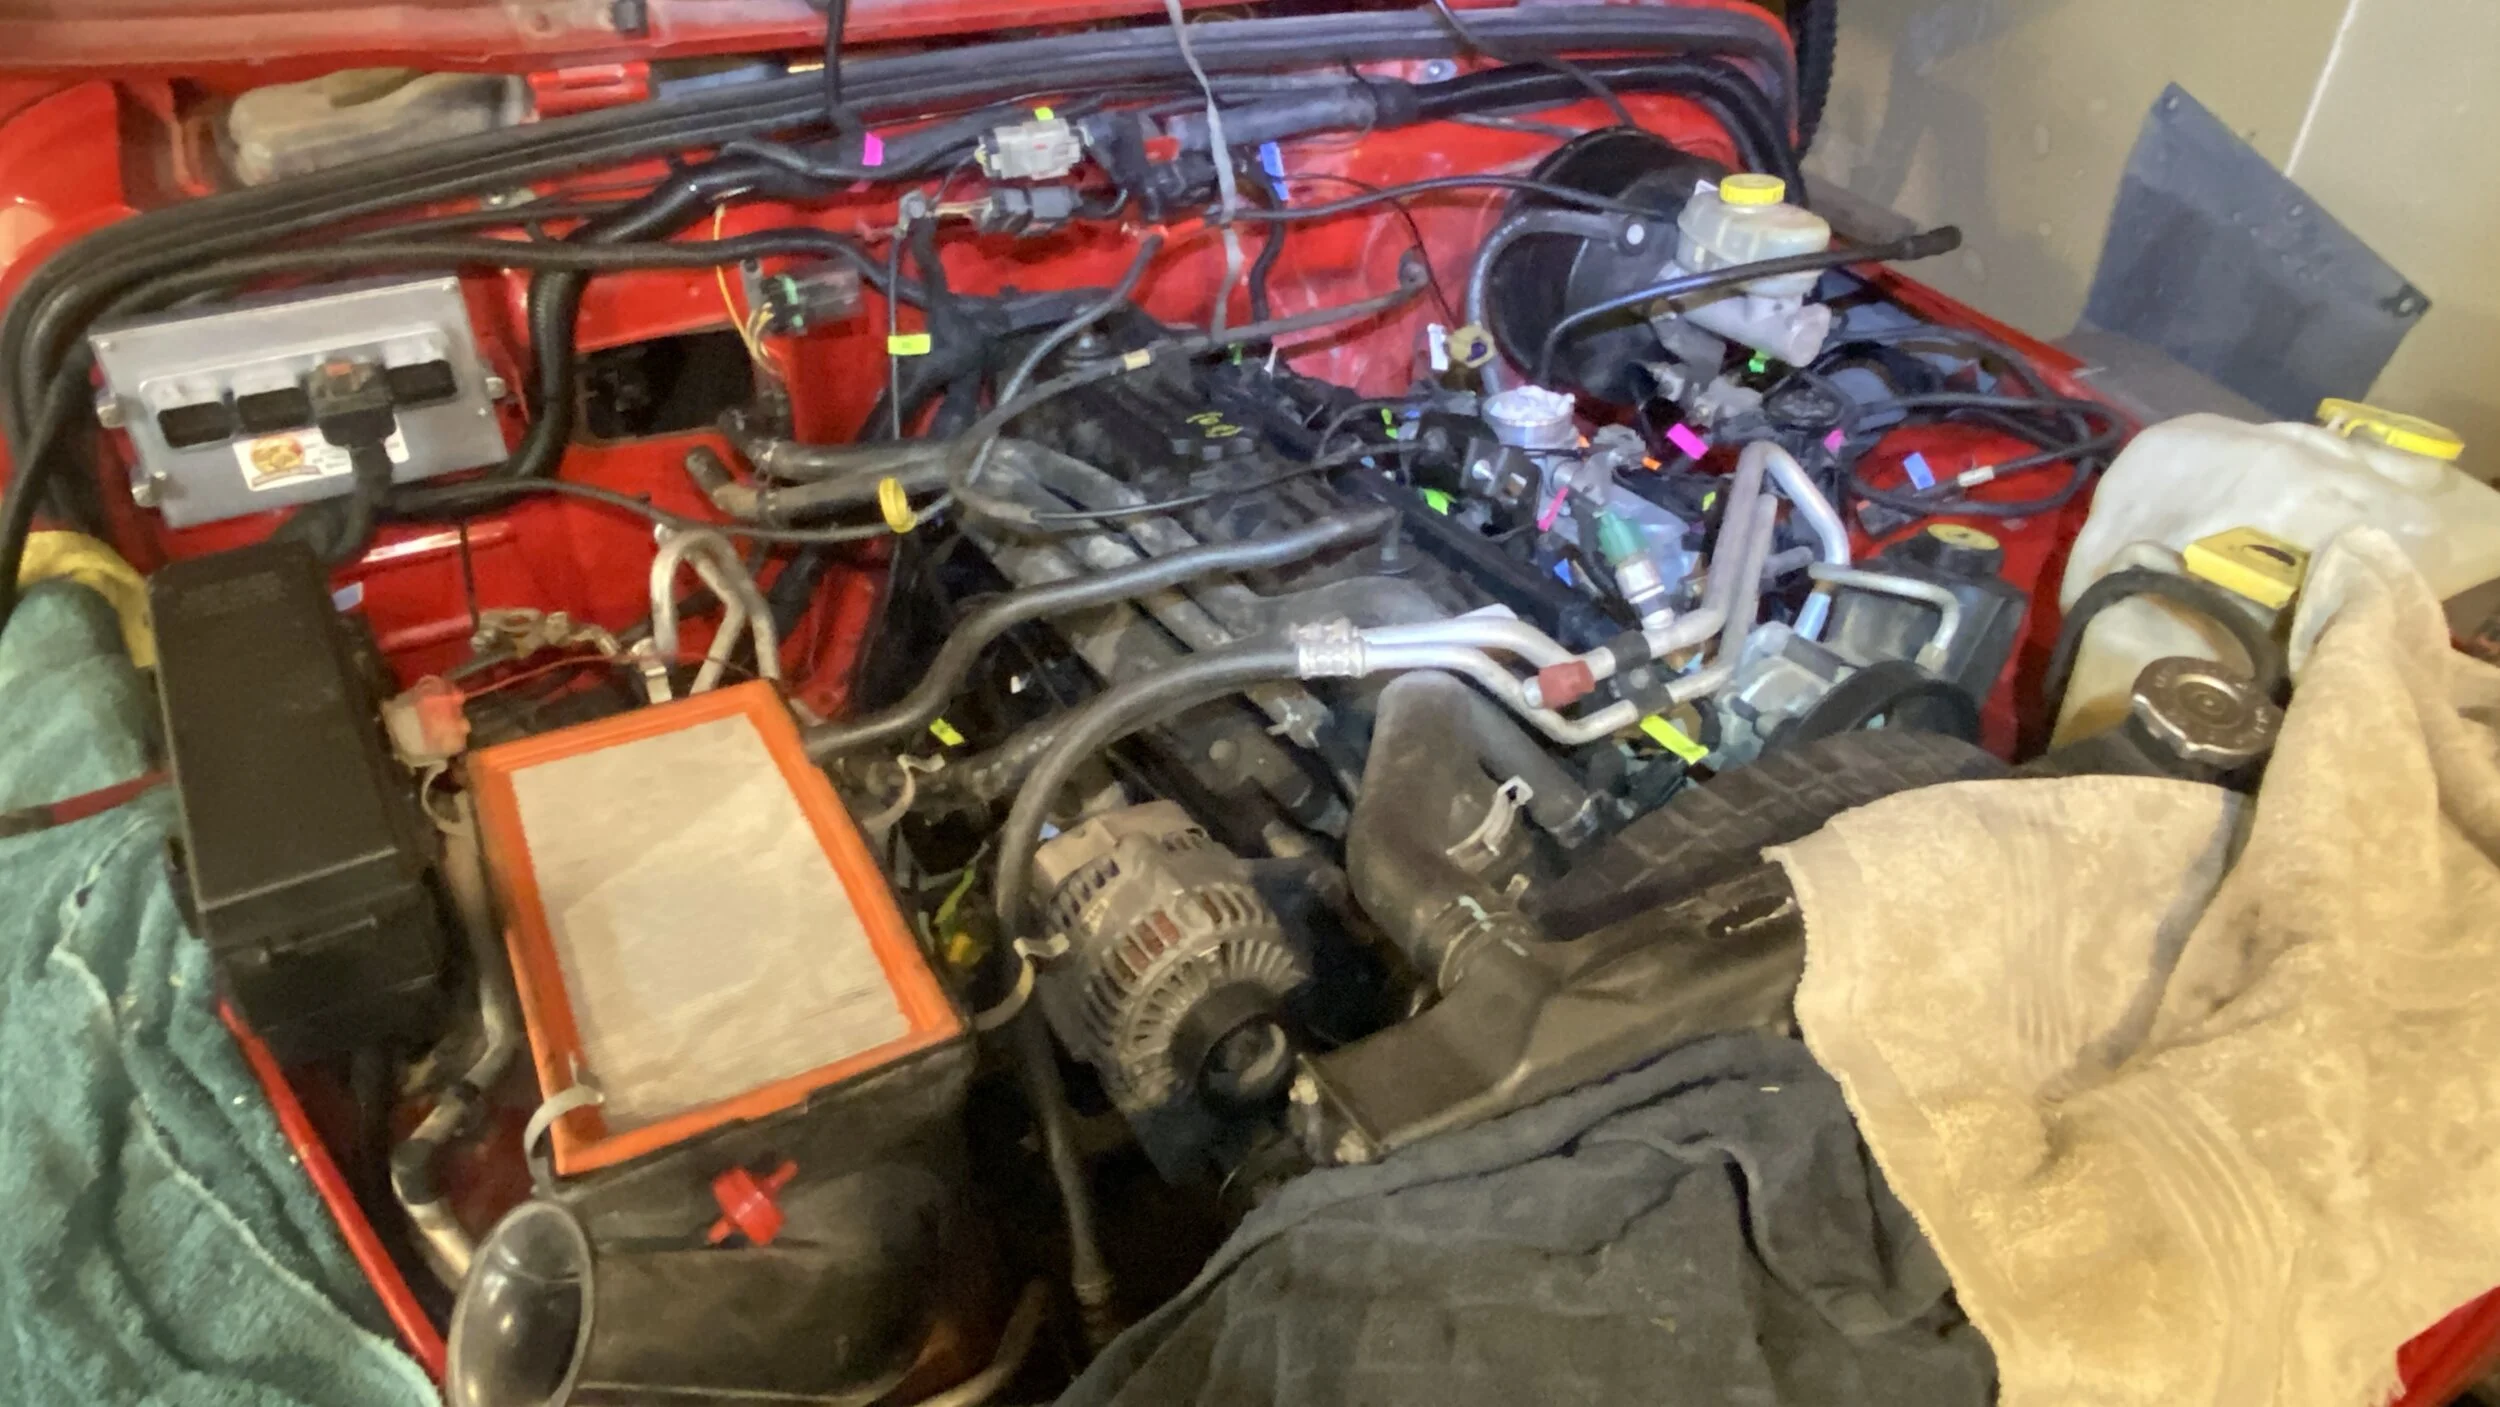
Had help from my son and his girlfriend moving the 42rle harness over the engine so I could stuff all the tranny and fuel wiring down under the engine and get everything fairly lined up. They saved me a lot of time!
Once you look at it all it takes time to sort out the routing. I had memorized most of it, but the e-locker, amp, speedo healer, cruise control layover harness, and other aftermarket wiring just clutters stuff up, so I haven’t decided exactly what to do with all of that. Most everything on the engine is plugged in. I have 2 connectors to fix. I think I’ll swap them over from my other harness. Everything is zip tied where it needs to be except a couple that depend on the HEVAC being installed, so I’ll finish that when the AC Evap arrives.
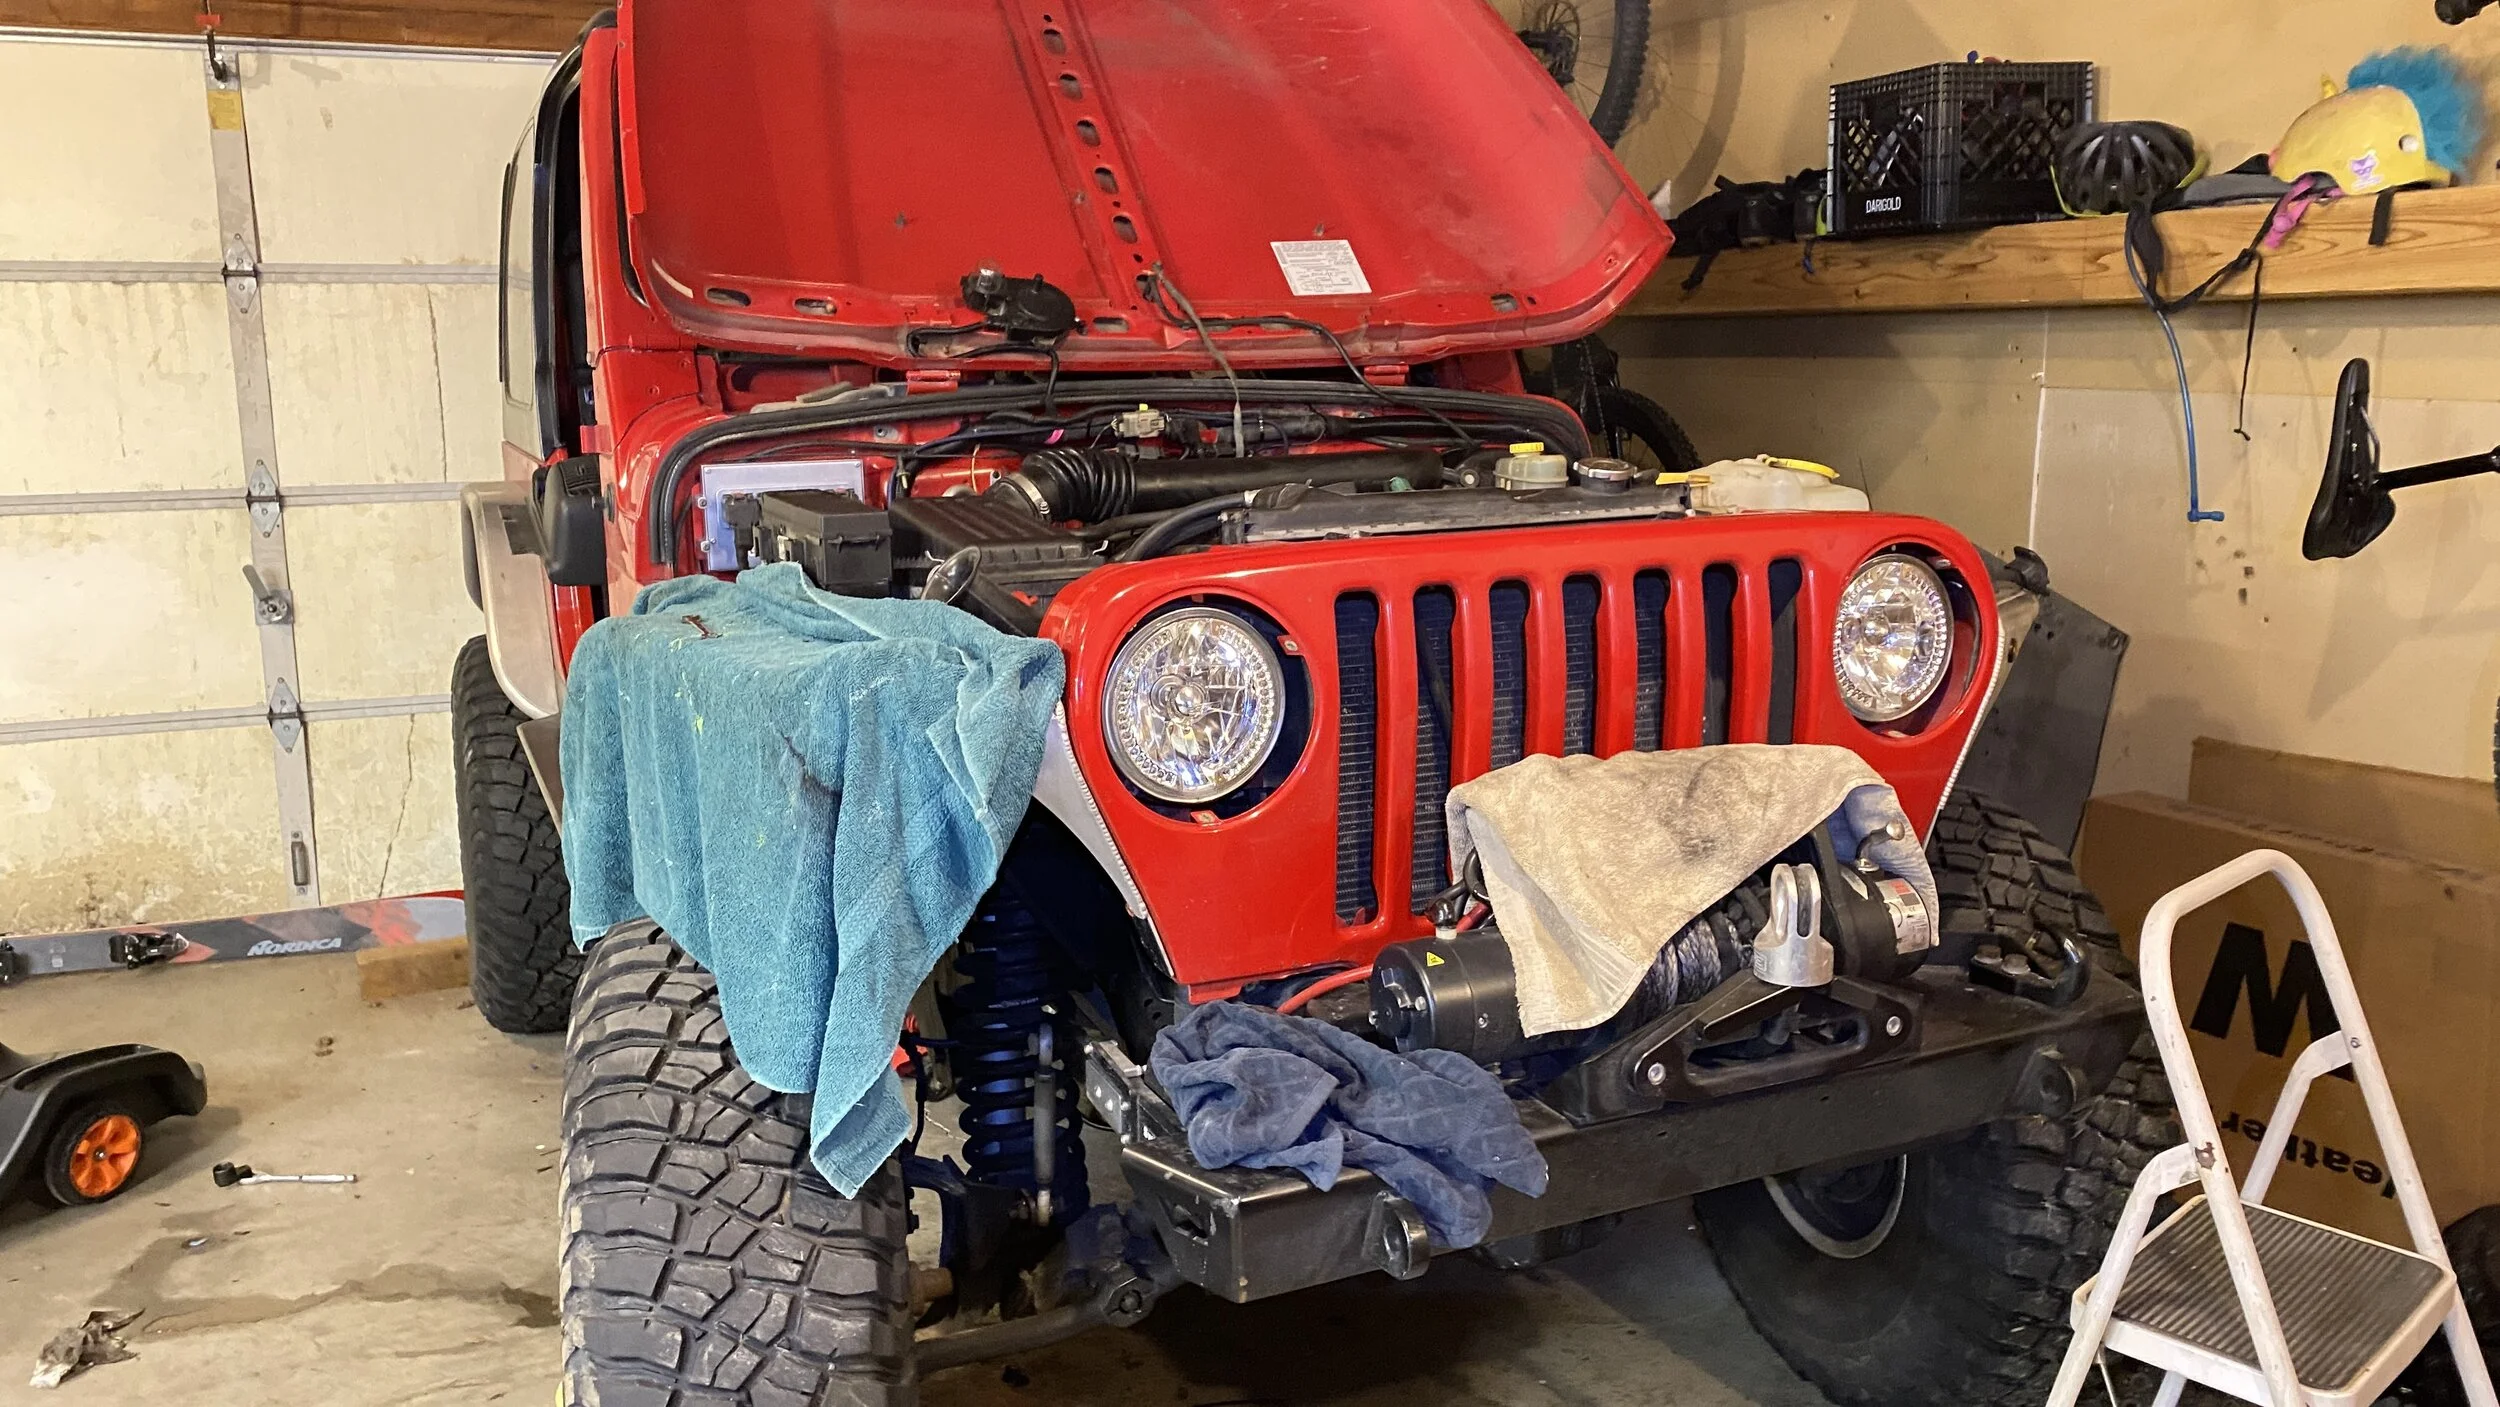
Added Blaine’s 3/4” Amber LED side markers/turn signal to the passenger side. Happy about that.
Here’s what it looks like now.
Lot's more to go, but if I can get the dash back together early next week I'll be down to the tranny, small parts at the console, TCase, a bit more wiring, and then make sure I go over everything and check all the boxes.
After I got the NSG370 engine harness removed I sold the tranny locally. Very happy to not be nicking my shin on the camshaft position sensor anymore since I’m working in tight quarters. So tired of that. Bye bye!
Had help from my son and his girlfriend moving the 42rle harness over the engine so I could stuff all the tranny and fuel wiring down under the engine and get everything fairly lined up. They saved me a lot of time!
Once you look at it all it takes time to sort out the routing. I had memorized most of it, but the e-locker, amp, speedo healer, cruise control layover harness, and other aftermarket wiring just clutters stuff up, so I haven’t decided exactly what to do with all of that. Most everything on the engine is plugged in. I have 2 connectors to fix. I think I’ll swap them over from my other harness. Everything is zip tied where it needs to be except a couple that depend on the HEVAC being installed, so I’ll finish that when the AC Evap arrives.
Added Blaine’s 3/4” Amber LED side markers/turn signal to the passenger side. Happy about that.
Here’s what it looks like now.
Lot's more to go, but if I can get the dash back together early next week I'll be down to the tranny, small parts at the console, TCase, a bit more wiring, and then make sure I go over everything and check all the boxes.
Last edited:
Where is the Bank 2/Sensor 2 O2 plug supposed to anchor too? It’s got a push connector on the bottom of the plug that’s supposed to insert somewhere. It’s broken, so I need a solution for that. I really don’t like that they routed it all the way from the passenger side over the tranny to the driver side. Makes no sense to me.

Looking great Jeremy. You're enjoying the joys of Jeep ownership to it's fullest. And yep I too enjoy dealing with all those connectors.

Where is the Bank 2/Sensor 2 O2 plug supposed to anchor too? It’s got a push connector on the bottom of the plug that’s supposed to insert somewhere. It’s broken, so I need a solution for that. I really don’t like that they routed it all the way from the passenger side over the tranny to the driver side. Makes no sense to me.
Two on the little plastic rail that the injector harness is in, one is on a little bracket bolted to the oil pan, and the last is on a bracket that bolts to the bell housing, IIRC.
It’s been about 17 days since I started the swap. It would be pretty crazy to do this in a weekend, so for those who have…kudos. It might be possible if you didn’t do anything else along the way and you had an extra set of hands. So, if you are considering doing this, just know it’s a lot of stuff.
I suggest fixing or improving things along the way. Why not? You’re already there.
Engine harness is done with the exception of two O2 sensors. Easy, but I’m tired. I still don’t know why Bank 2 Sensor 2 departs from the harness on the passenger side, goes over the transmission and drops. I’m thinking of extending the wire just to keep it away from the engine and tranny unless I can find where it is supposed to plug in. CC layover harness I decided to roll up and put behind the battery since it would just clutter up the upper firewall. Removed the fat loom housing the amp power wiring, re-routed it, and added a much better ring terminal and heat shrink to the + terminal.
Had to swap the throttle body sensor bc it was broken. Had to swap the hood light since I replaced the OEM with the retractable GM a few years ago. Completed wiring Blaine’s 3/4” Amber LED’s. Made sure the master brake cylinder connector was in the right orientation. Not sure why that connector doesn’t force you to put it in a specific orientation.
Finished painting. Painted the outer headlight bezels. They were originally chrome. I had painted them black in 2017. Now they’re aluminum match.
I’m going to install the transmission and TCase next so I can reach in through the center console opening to tighten the upper bolts.
Lots more to go…
I suggest fixing or improving things along the way. Why not? You’re already there.
Engine harness is done with the exception of two O2 sensors. Easy, but I’m tired. I still don’t know why Bank 2 Sensor 2 departs from the harness on the passenger side, goes over the transmission and drops. I’m thinking of extending the wire just to keep it away from the engine and tranny unless I can find where it is supposed to plug in. CC layover harness I decided to roll up and put behind the battery since it would just clutter up the upper firewall. Removed the fat loom housing the amp power wiring, re-routed it, and added a much better ring terminal and heat shrink to the + terminal.
Had to swap the throttle body sensor bc it was broken. Had to swap the hood light since I replaced the OEM with the retractable GM a few years ago. Completed wiring Blaine’s 3/4” Amber LED’s. Made sure the master brake cylinder connector was in the right orientation. Not sure why that connector doesn’t force you to put it in a specific orientation.
Finished painting. Painted the outer headlight bezels. They were originally chrome. I had painted them black in 2017. Now they’re aluminum match.
I’m going to install the transmission and TCase next so I can reach in through the center console opening to tighten the upper bolts.
Lots more to go…
Two on the little plastic rail that the injector harness is in, one is on a little bracket bolted to the oil pan, and the last is on a bracket that bolts to the bell housing, IIRC.
Ok, yeah, b2 s2 attaches to the bellhousing. No wonder I couldn’t find it. Transmission isn’t there yet. It’s been hard to ‘just go check’ my son’s rig since he’s hardly ever here, but he’s off today for President’s Day, so I have daylight access even though I’ve got to work most of the daylight. I noticed the cooling lines are tucked between the cats and the block. Not sure how I’ll manage that. May be worth it to remove the cats again for easier routing access.
I’ve decided I work slow…sometimes I do dumb things too.
Cooling lines, O2 sensor, and shifter cable. Routing that O2 sensor outside the cooler lines looks like a bear. How the heck you supposed to get your hands in there?!
How the shifter cable attaches to the bracket on the transmission.
Last edited:
Ok, yeah, b2 s2 attaches to the bellhousing. No wonder I couldn’t find it. Transmission isn’t there yet. It’s been hard to ‘just go check’ my son’s rig since he’s hardly ever here, but he’s off today for President’s Day, so I have daylight access even though I’ve got to work most of the daylight. I noticed the cooling lines are tucked between the cats and the block. Not sure how I’ll manage that. May be worth it to remove the cats again for easier routing access.
I’ve decided I work slow…sometimes I do dumb things too.
Cooling lines, O2 sensor, and shifter cable. Routing that O2 sensor outside the cooler lines looks like a bear. How the heck you supposed to get your hands in there?!
View attachment 502310
How the shifter cable attaches to the bracket on the transmission.
View attachment 502312
That's kinda why I was questioning your decision to put it back together before it was ready to ALL go back together. Some of that stuff you have to run along the engine is a WHOLE lot easier to do without the cats in the way. I spent a lot of time on the phone with Blaine and chatting with Josh via PM making sure I had my wires, vent hoses, cooling lines, shifter cables, etc routed correctly.
I envy you having one sitting in the drive you can look at.
Week 3
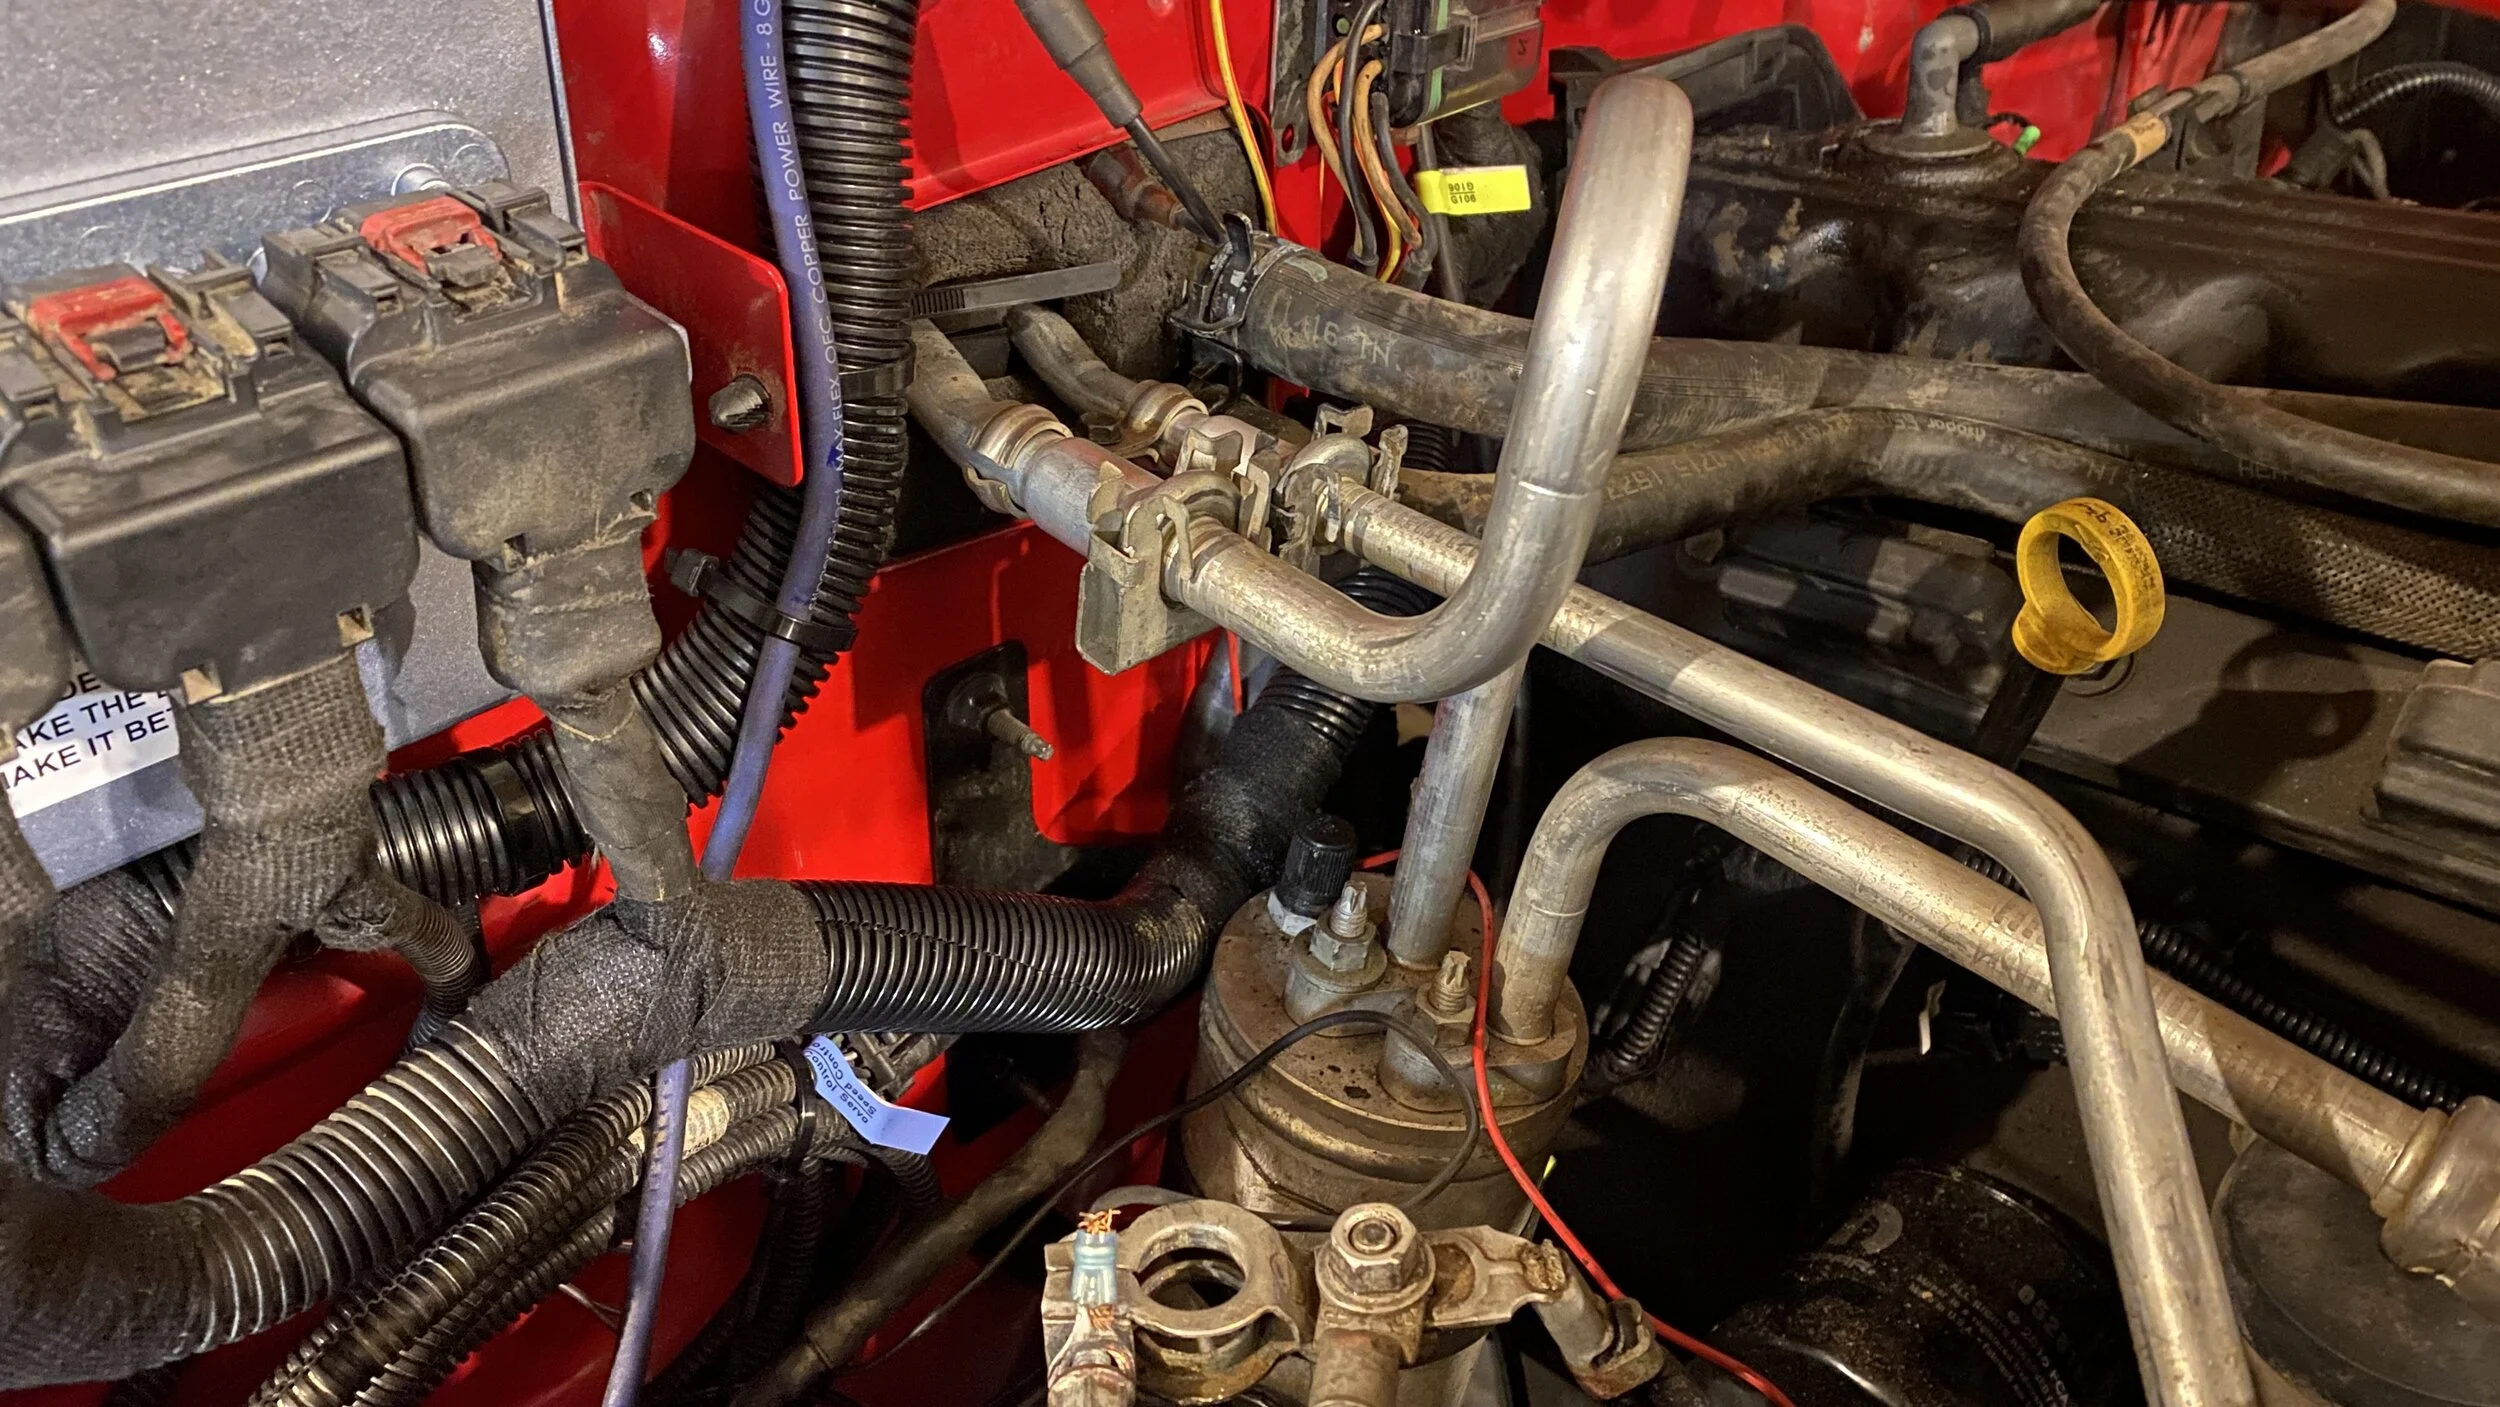
The 4-Seasons AC Evap arrived. Installed it and the Heater Core, closed up the HEVAC. Be careful as you do this. If it won’t close there’s something blocking it. Take your time and find it. Don’t force it.
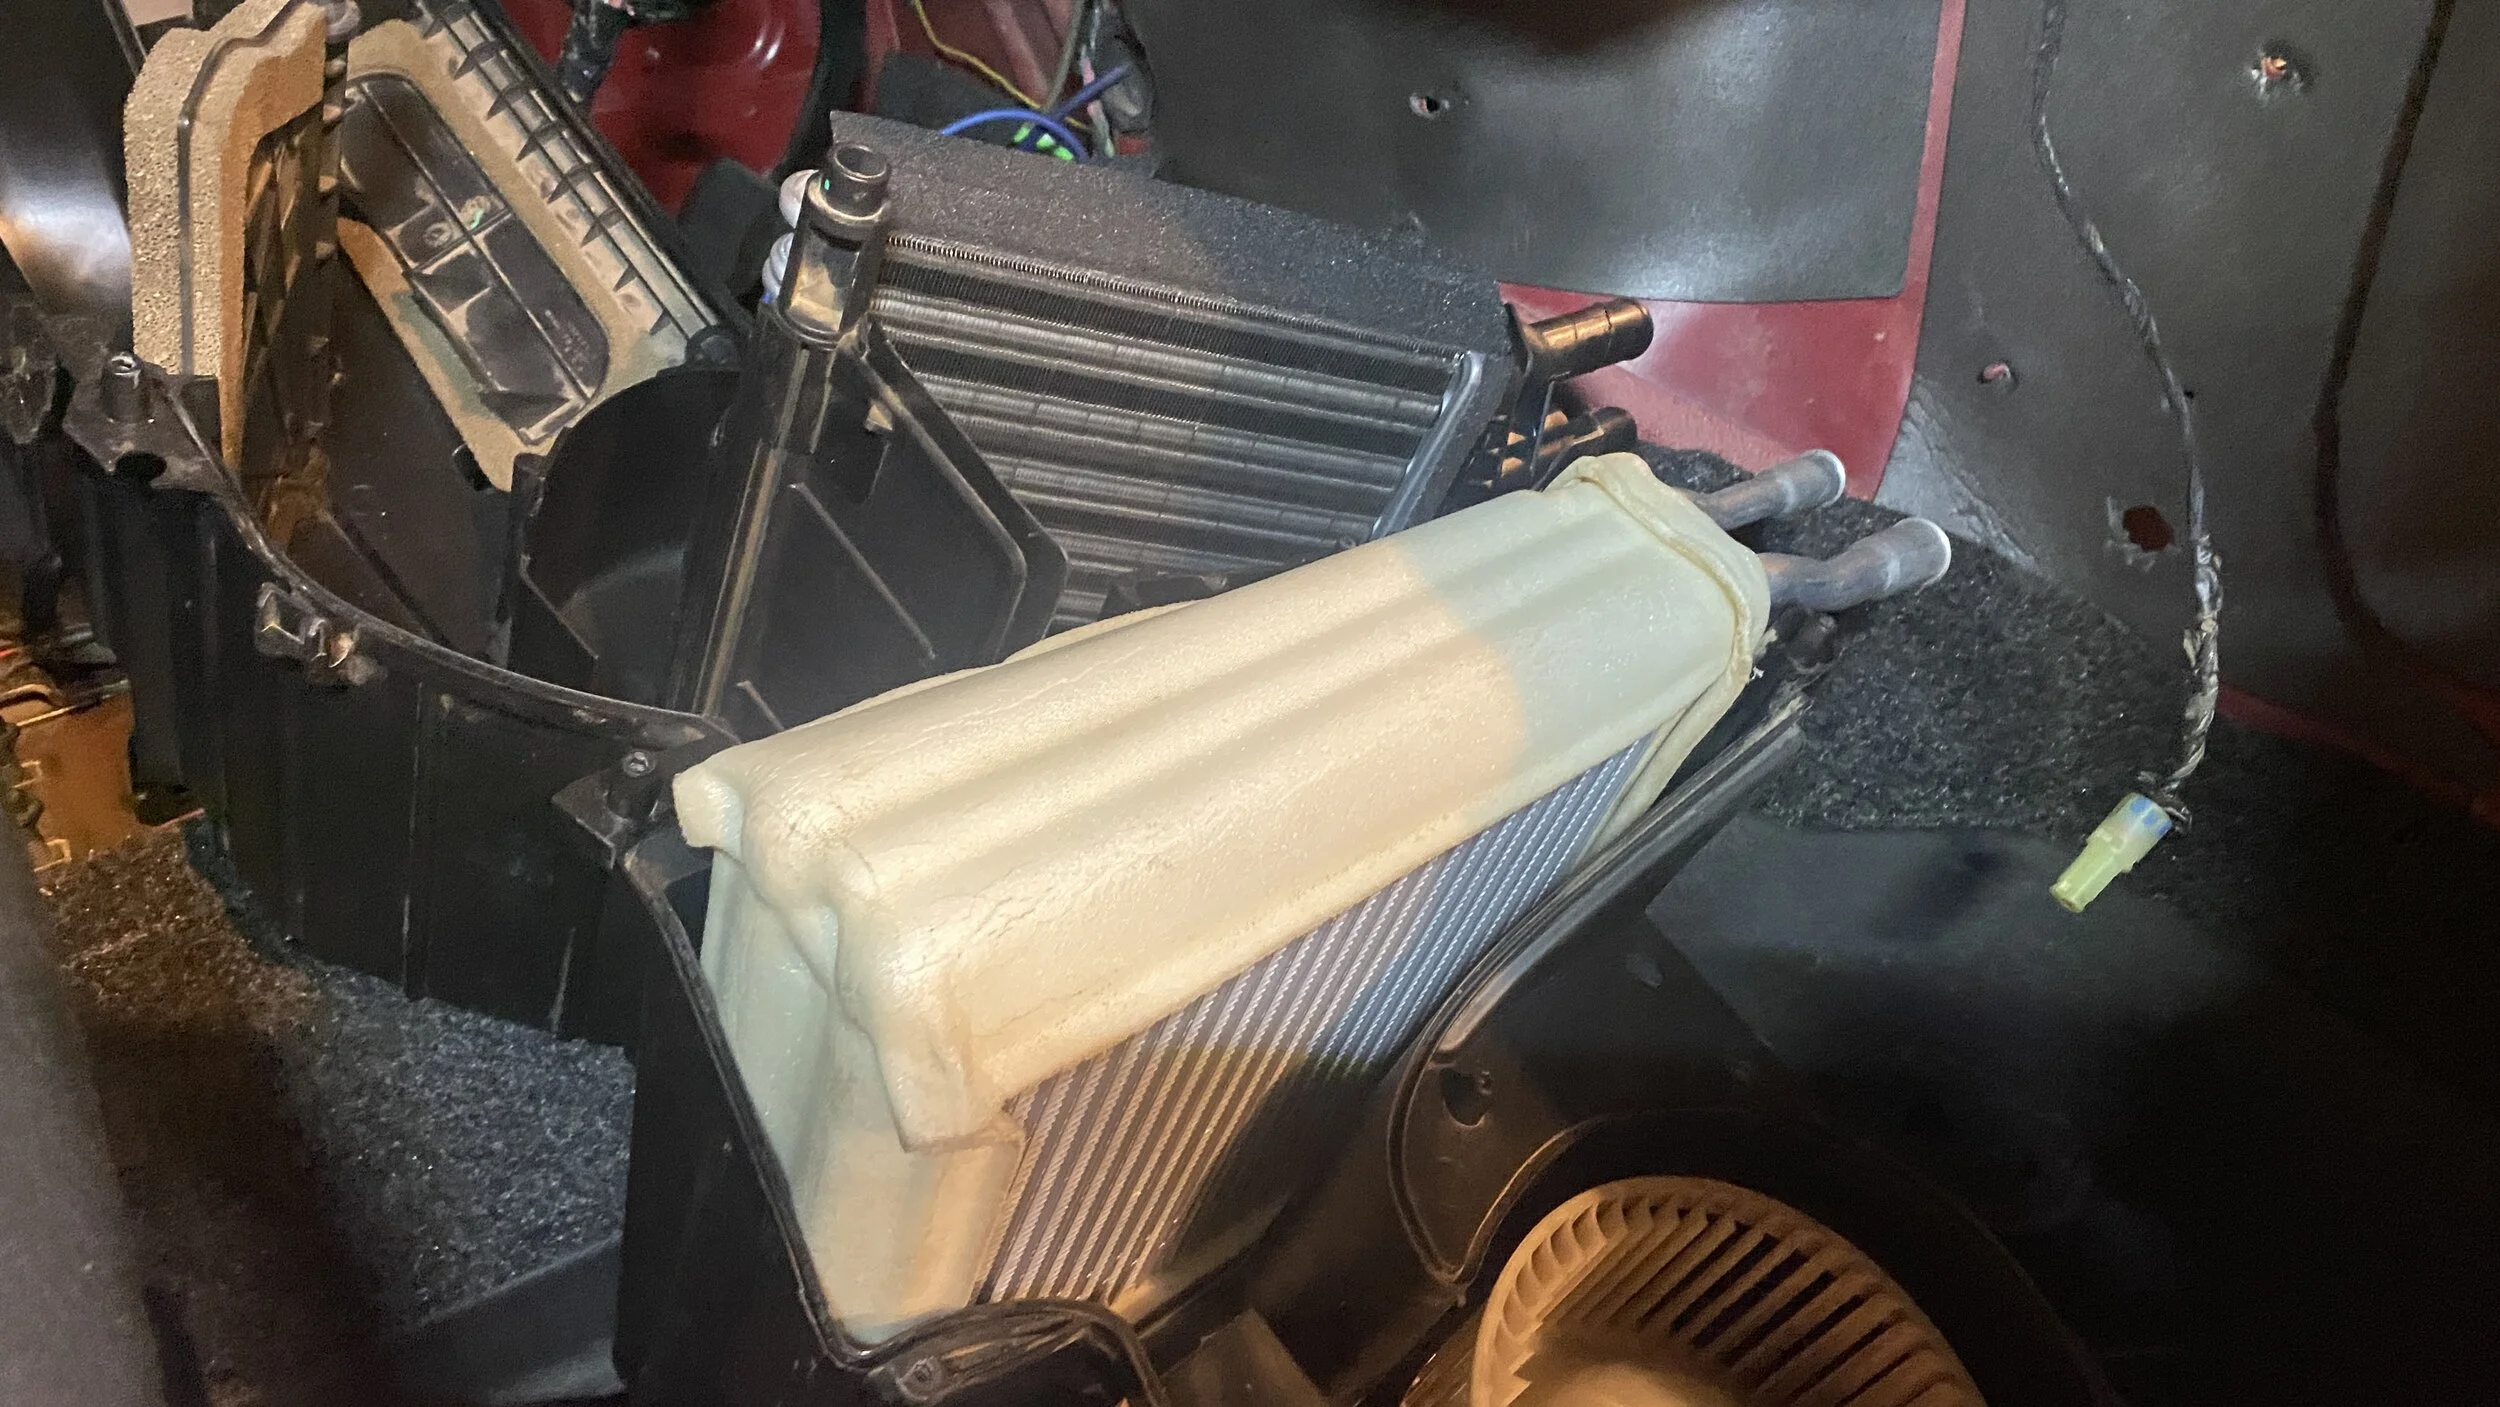
Heater core hoses hooked up. Used some PAG 134 to lubricator the new O-rings before pushing them in and locking them into the lines.
Locker switch, seat heaters grounded, fuse box installed, looking like it will all come together. I hope the AC and heat works. If I have time I’ll try to get the dash in tomorrow.
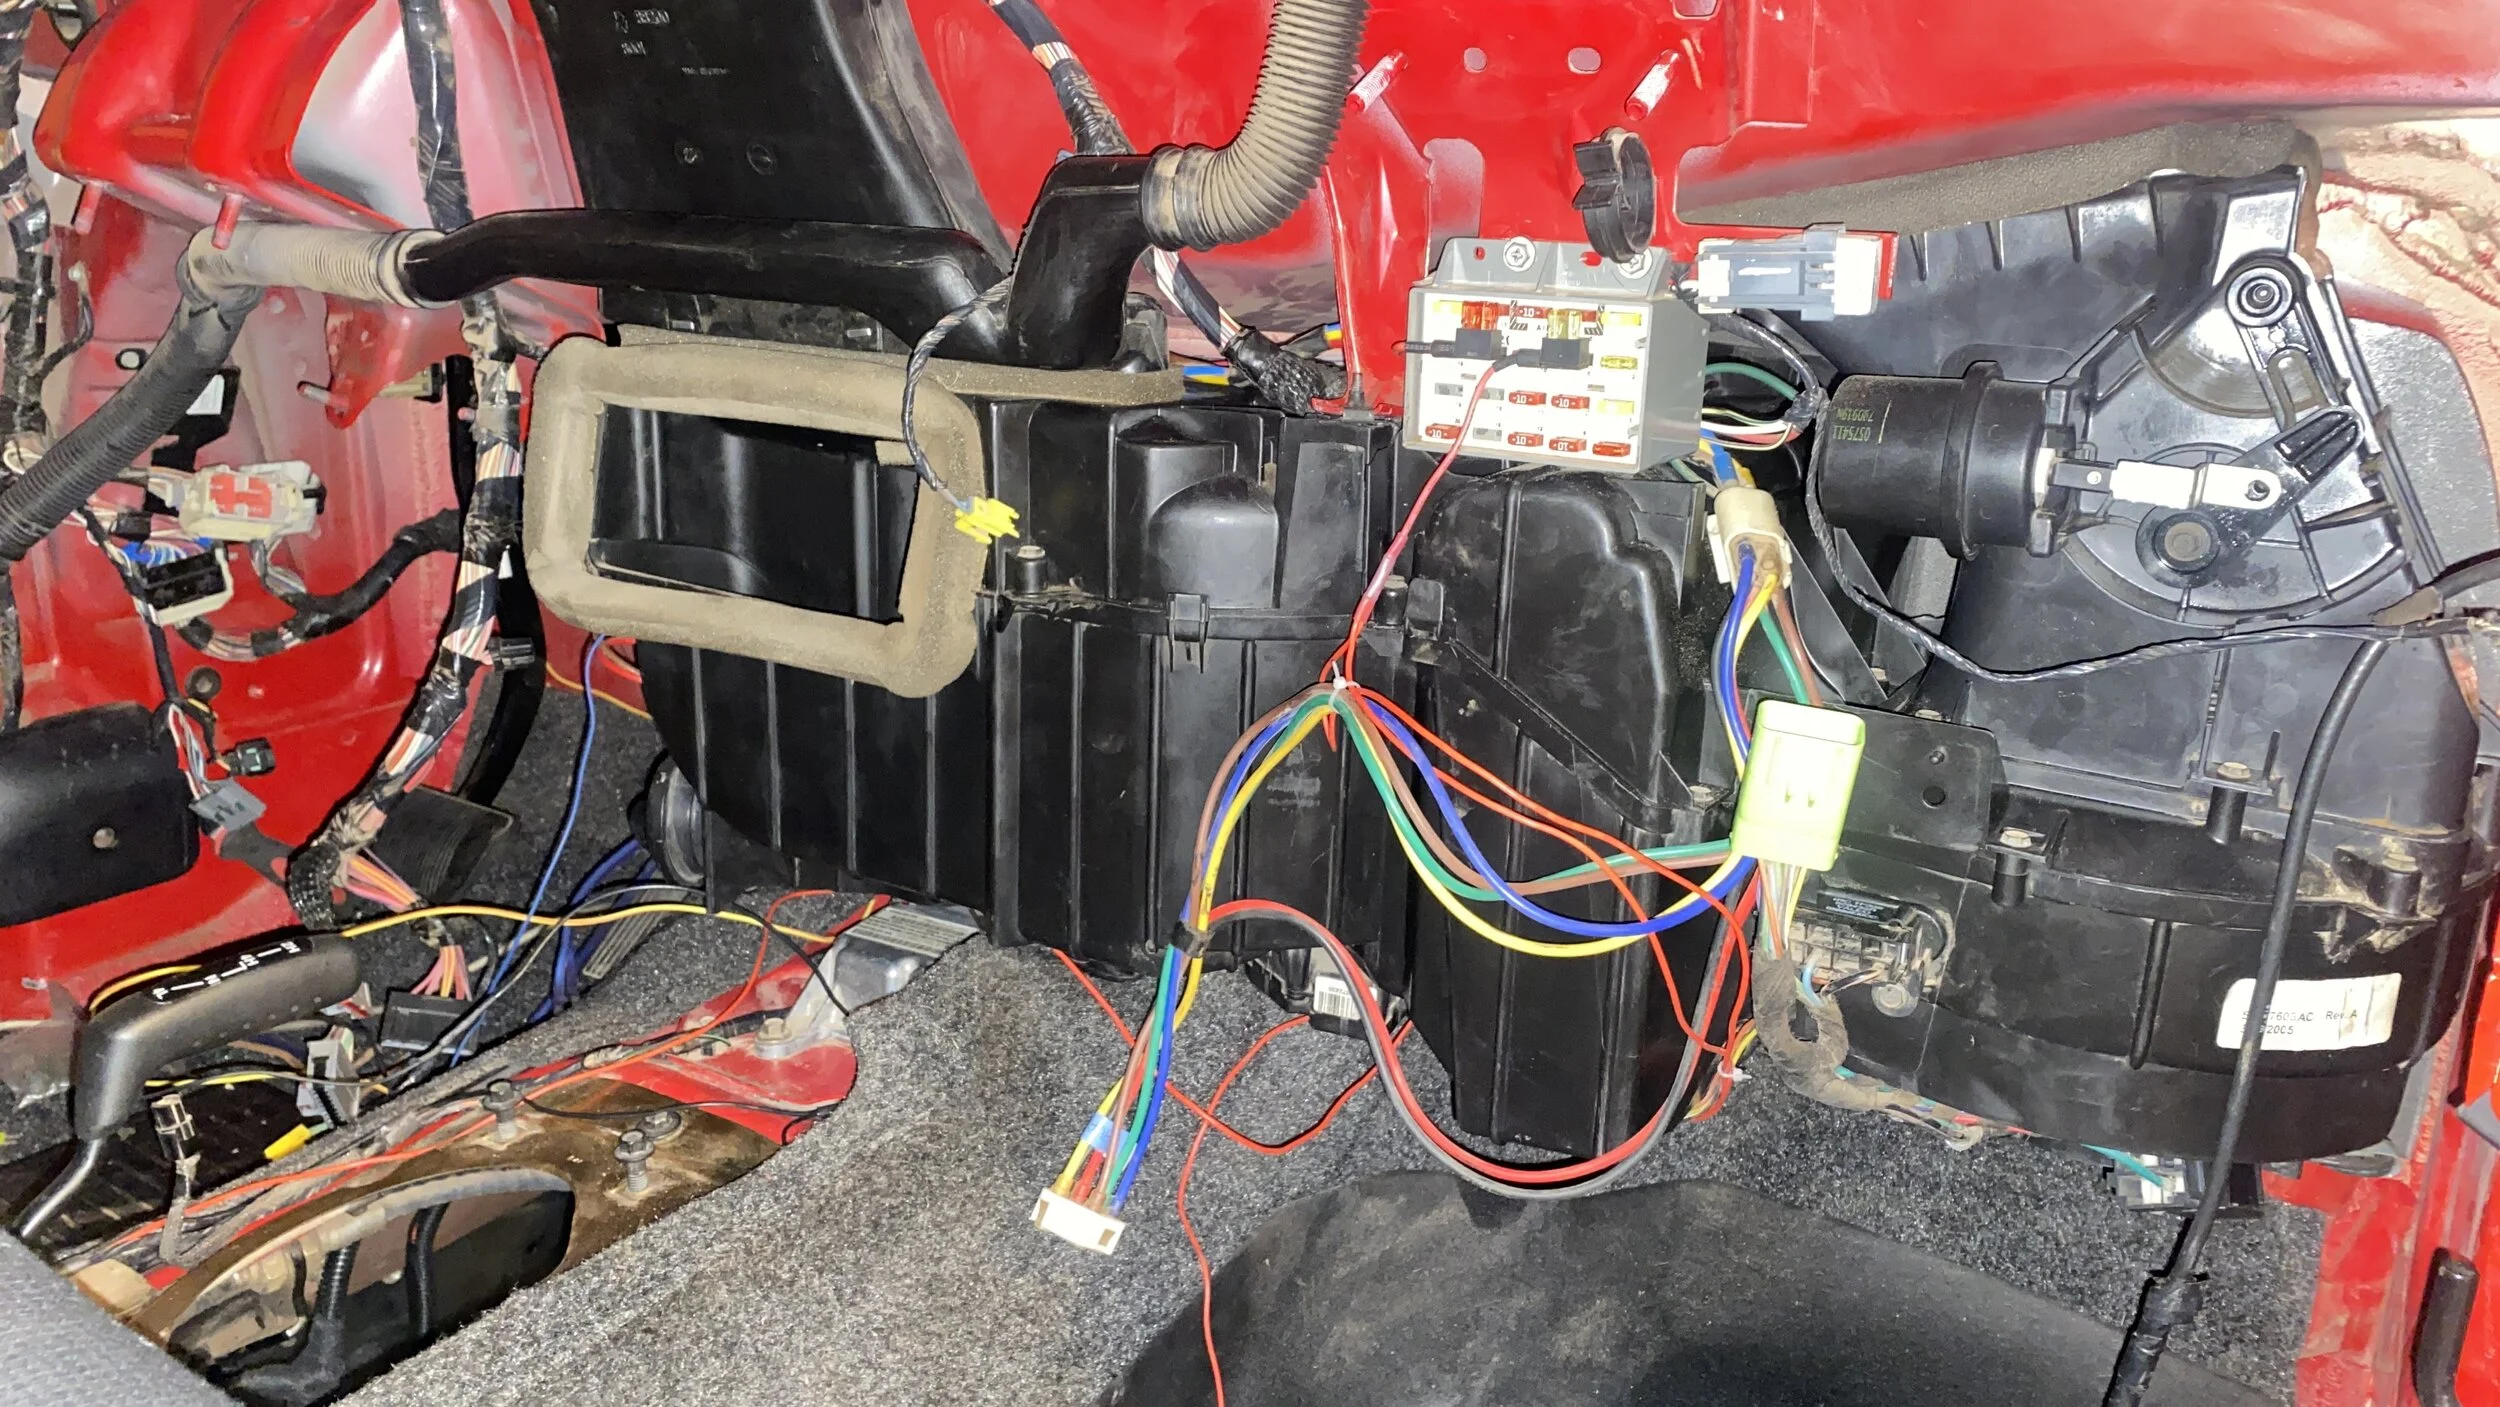
The 4-Seasons AC Evap arrived. Installed it and the Heater Core, closed up the HEVAC. Be careful as you do this. If it won’t close there’s something blocking it. Take your time and find it. Don’t force it.
Heater core hoses hooked up. Used some PAG 134 to lubricator the new O-rings before pushing them in and locking them into the lines.
Locker switch, seat heaters grounded, fuse box installed, looking like it will all come together. I hope the AC and heat works. If I have time I’ll try to get the dash in tomorrow.
P
PNW_LJ
Guest
Week 3
The 4-Seasons AC Evap arrived. Installed it and the Heater Core, closed up the HEVAC. Be careful as you do this. If it won’t close there’s something blocking it. Take your time and find it. Don’t force it.
View attachment 502466
Heater core hoses hooked up. Used some PAG 134 to lubricator the new O-rings before pushing them in and locking them into the lines.
View attachment 502467
Locker switch, seat heaters grounded, fuse box installed, looking like it will all come together. I hope the AC and heat works. If I have time I’ll try to get the dash in tomorrow.
View attachment 502470
Yikes, that does not look fun.

Do you plan on making a "quick access" hole for the heater core, like you'd mentioned a couple weeks ago?
Yikes, that does not look fun.
Do you plan on making a "quick access" hole for the heater core, like you'd mentioned a couple weeks ago?
I couldn’t figure out how to cut into the HEVAC box and make sure it was sealed well enough for my peace of mind, so I just sealed it up and moved on. It’s not really that bad, just time consuming, but I hope I don’t have to go back in. It would be great if everything worked.

We do, we undo, we redo. You got this! Crap, now I'll have to fix my signature!!! 
I got up and went to my job about 5:30am so I could finish early and get to work on the Jeep. I got in the garage about 11am and didn’t get out till 6:45. Then I went out for another 30 min to finish things up later on.
Started by re-installing the cowl tube on the firewall. It needed some new gasket tape. Then I spent some time adding some loom and engine harness tape to some engine wiring. Didn’t like some wire routing so I fixed that. Put the cowl back on and buttoned that up. Put the hood down for the first time in a long time.
Started re-installing the dash. Had help from my son getting it in position so I didn’t break anything. Plugged everything in and cleaned out years of Moab dust along the way. Before doing the clock spring, steering wheel, and those connections, I re-wired the amp and head unit. This all took a long time. I guess I’m slow.
I grounded my seat heaters, transmission temp gauge, and rear locker. Put the fuses back in for the locker and seat heaters. Ran the sending unit wire from the transmission temp gauge out the firewall and to the transmission harness and zip tied it close to it and ran it near where the transmission oil pan will be. I ran the wire for the ignition switched transmission temp gauge wire, but did not fuse it yet. I think I’ll try to use fuse #18.
Installed the shifter, shift interlock cable, and ran the shifter cable out the firewall through the new grommet.
Installed the front speakers with the new leads. I shored up several wire connections along the way. Put the clock spring back on, steering wheel torqued to 40ft-lb, airbag connected and installed. Center dash console bezel installed and last but not least the glove box.
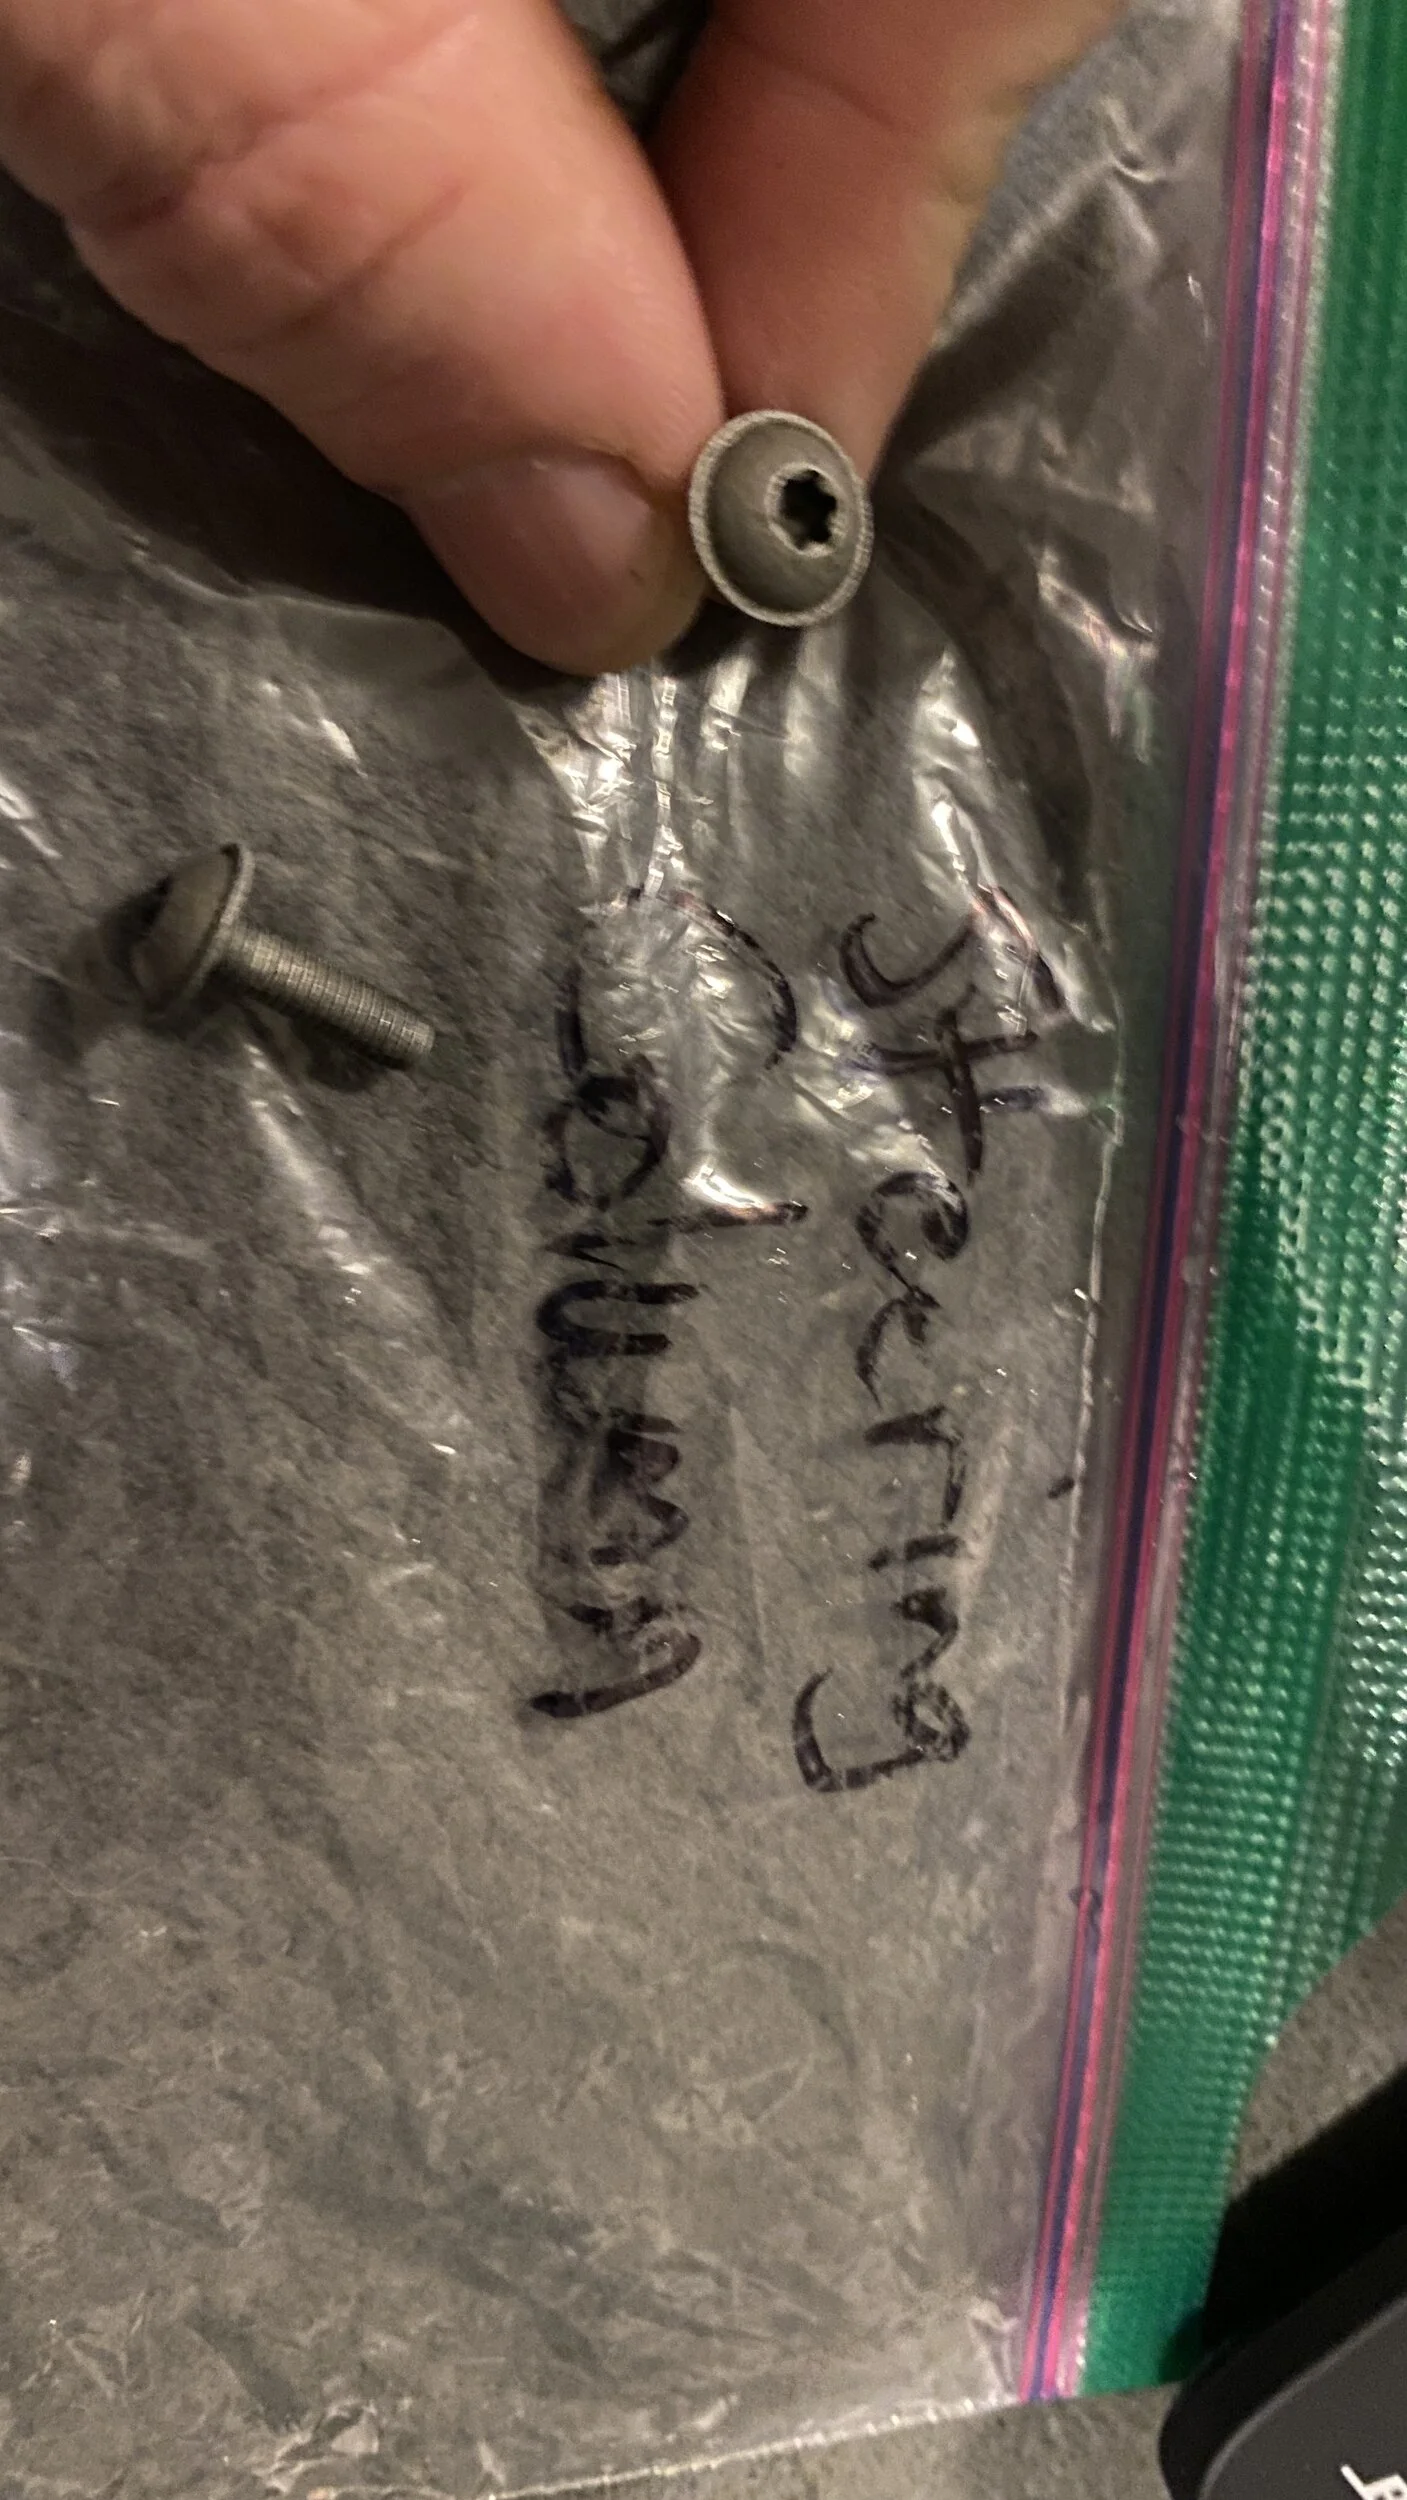
It was a long day. Last pic has two small Torx head screws that I had in a bag titled steering column, but I have no recollection of where they go. If anyone knows I’d appreciate it. Couldn’t find the two Philips screws that hold the top and bottom shroud together. Hopefully they’ll turn up.
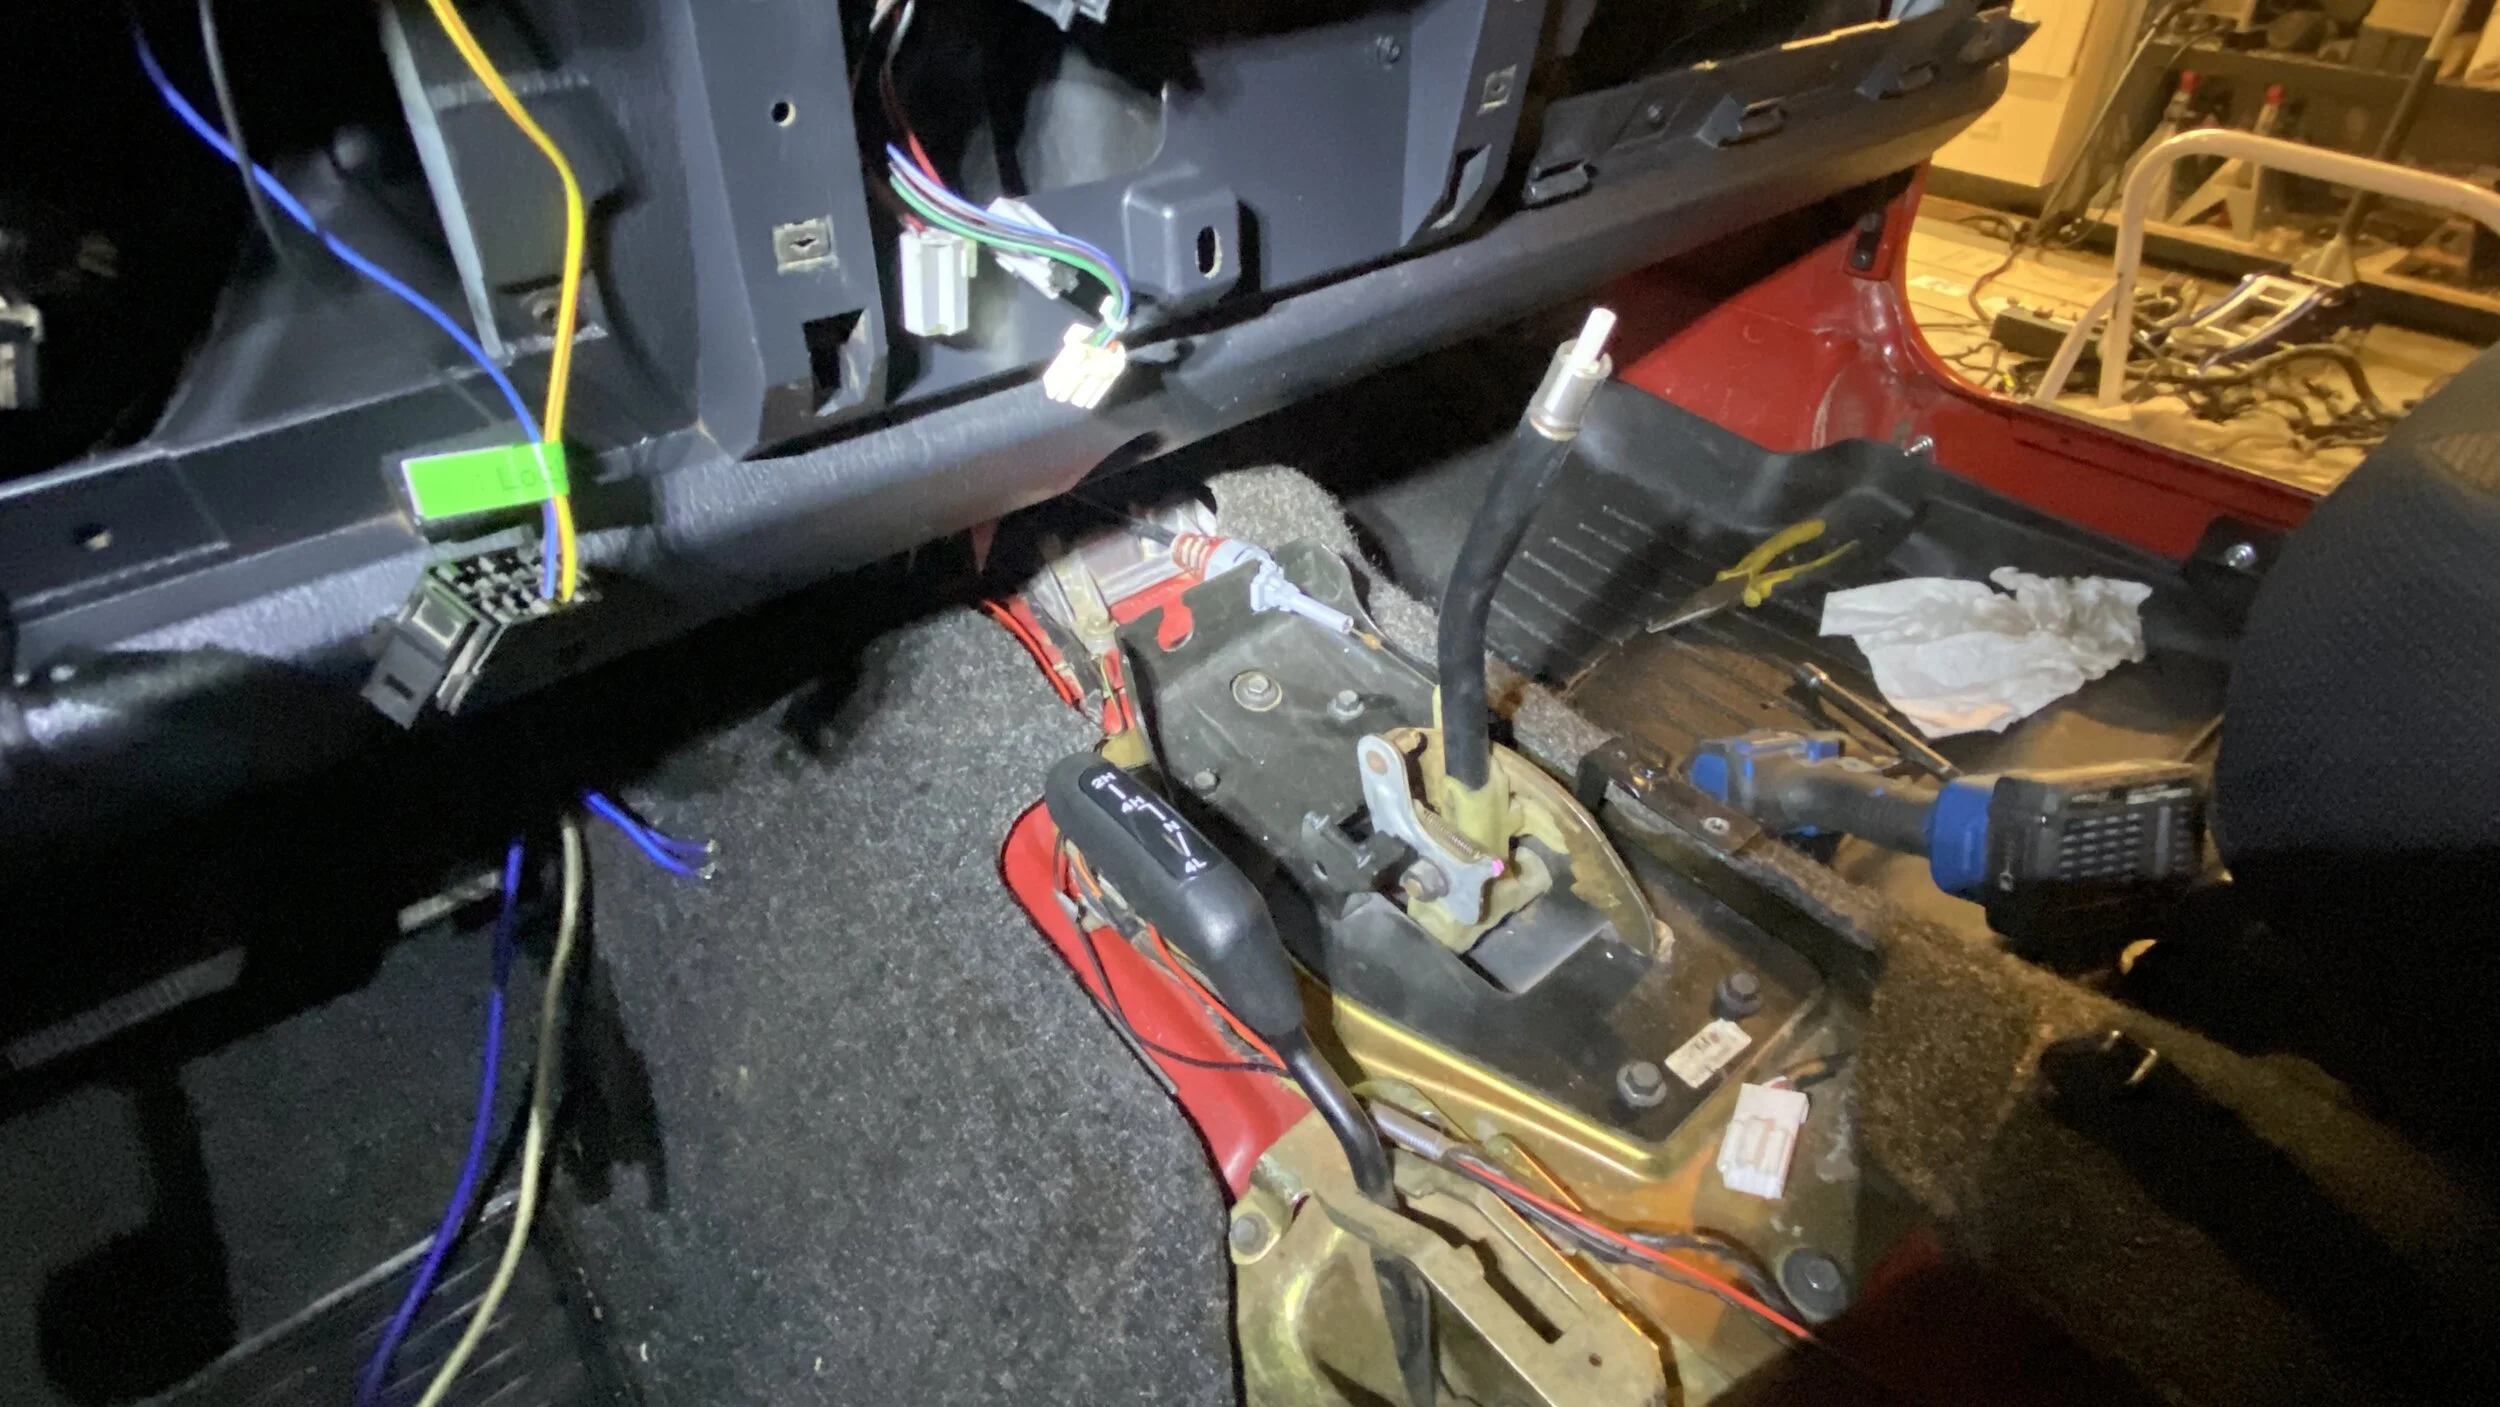
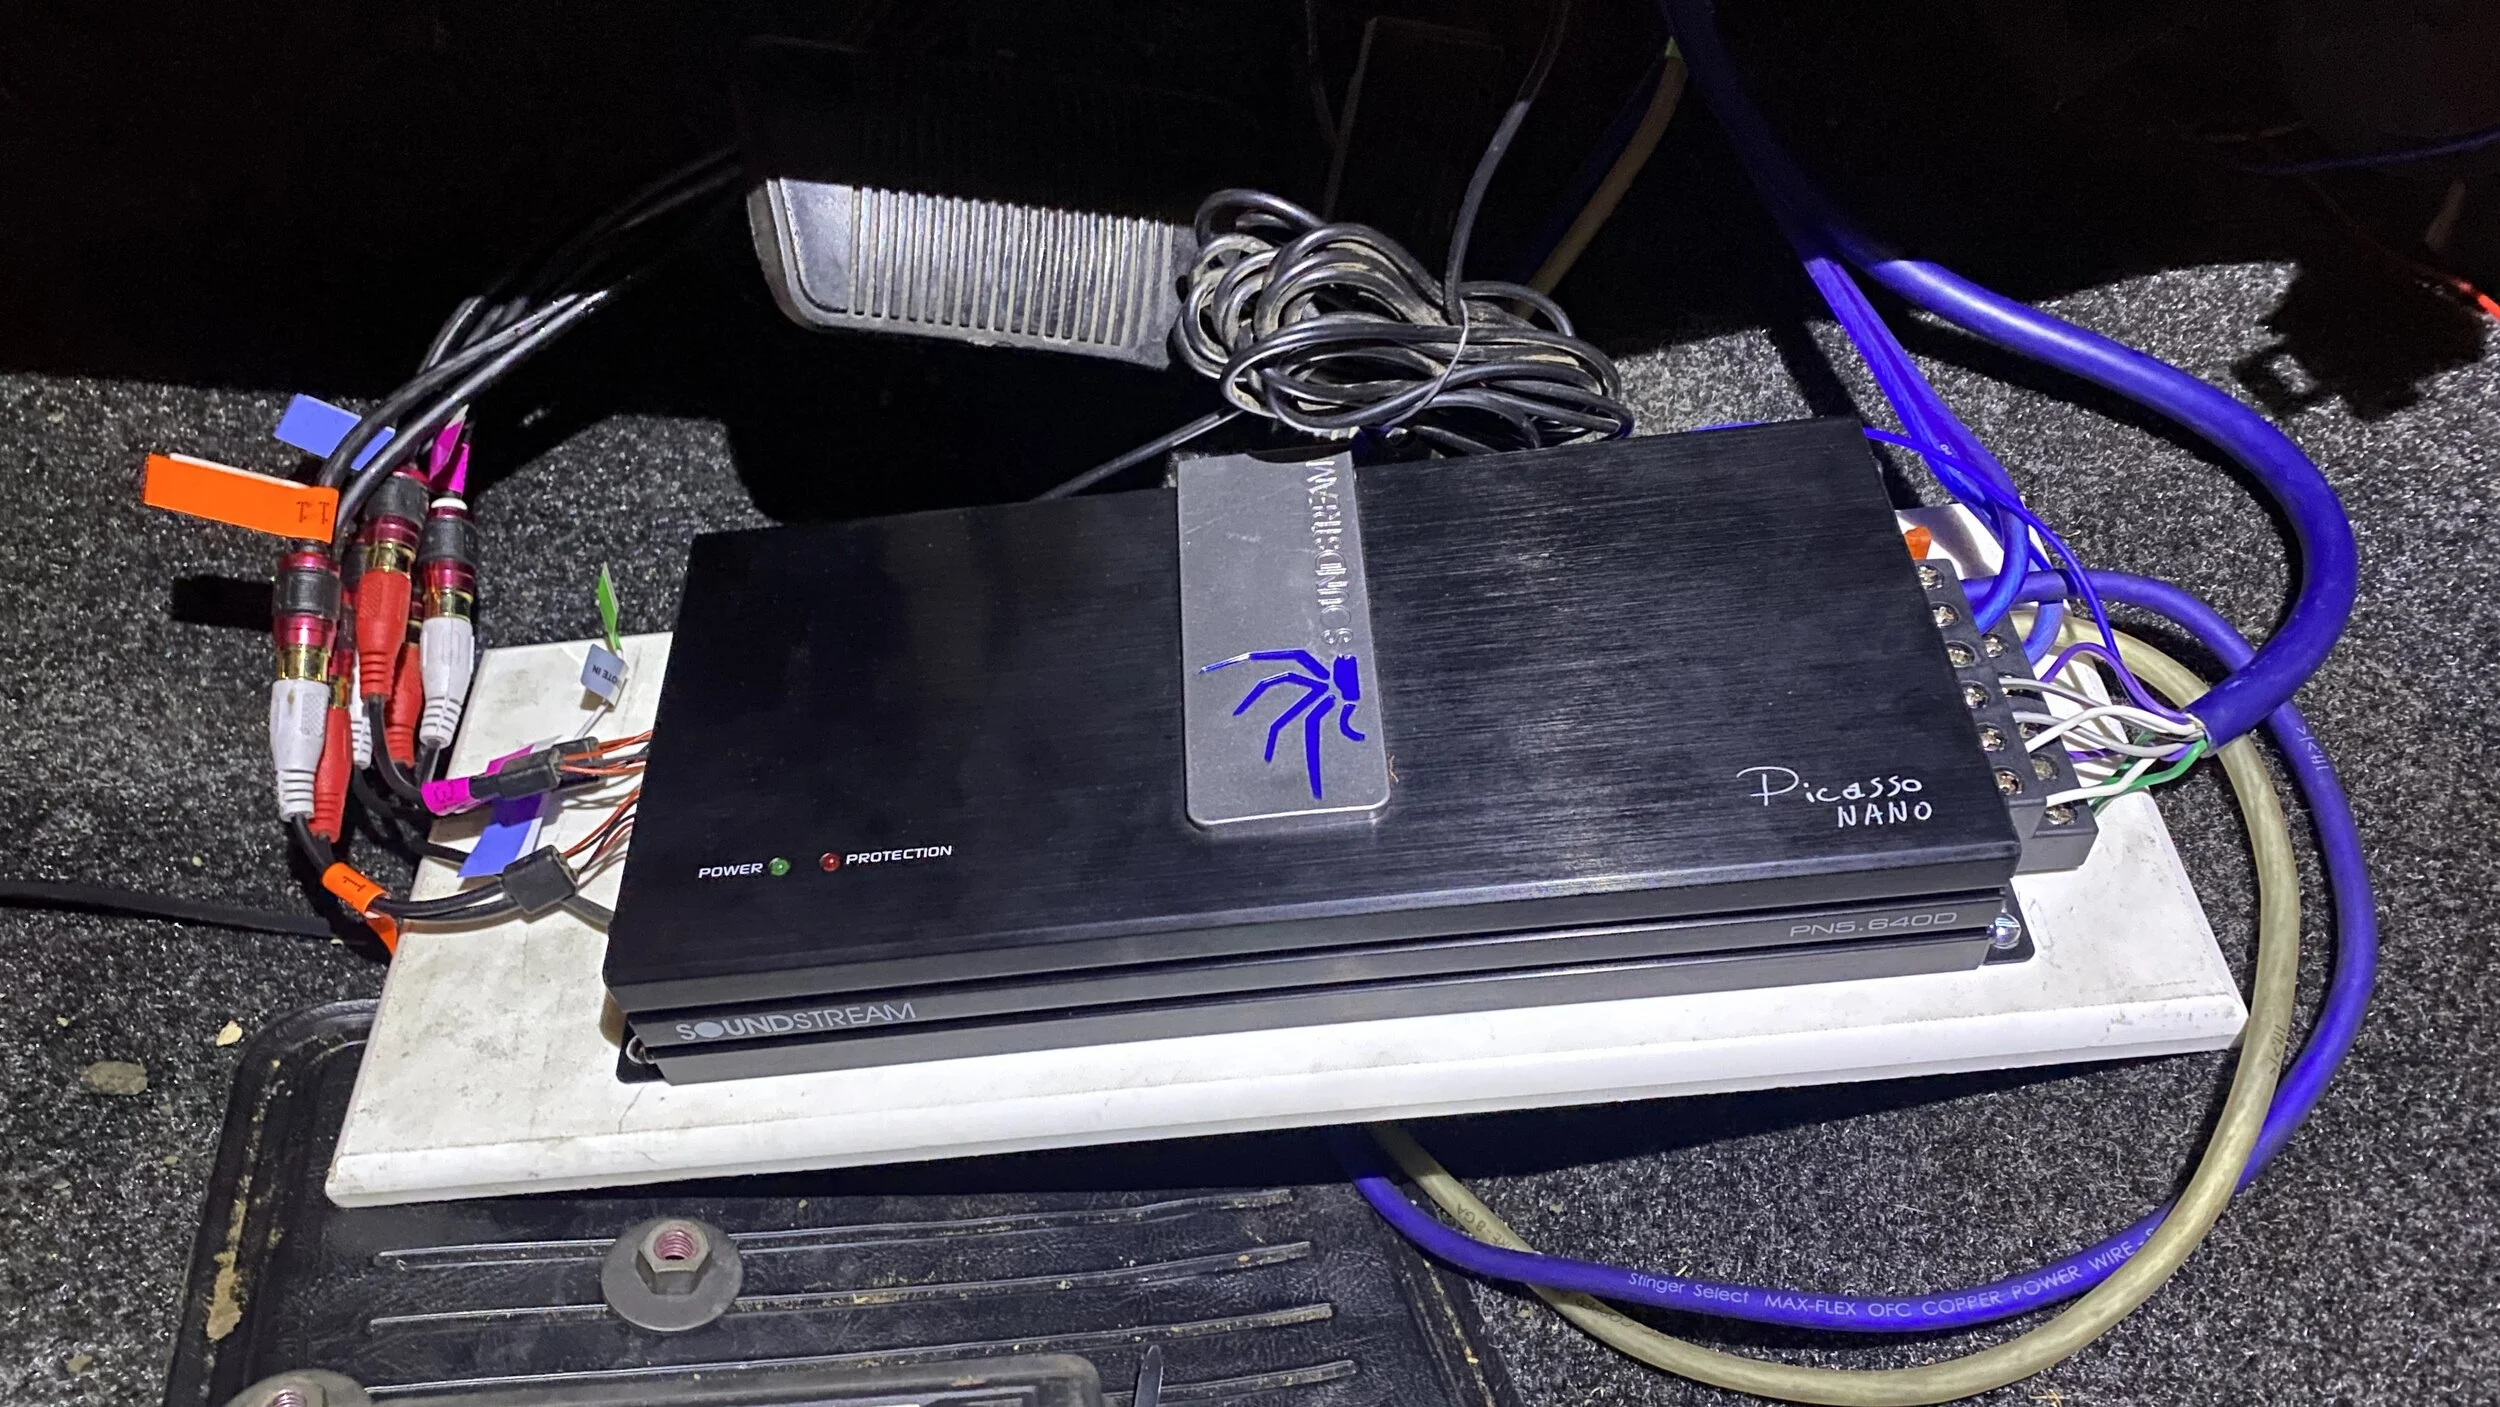
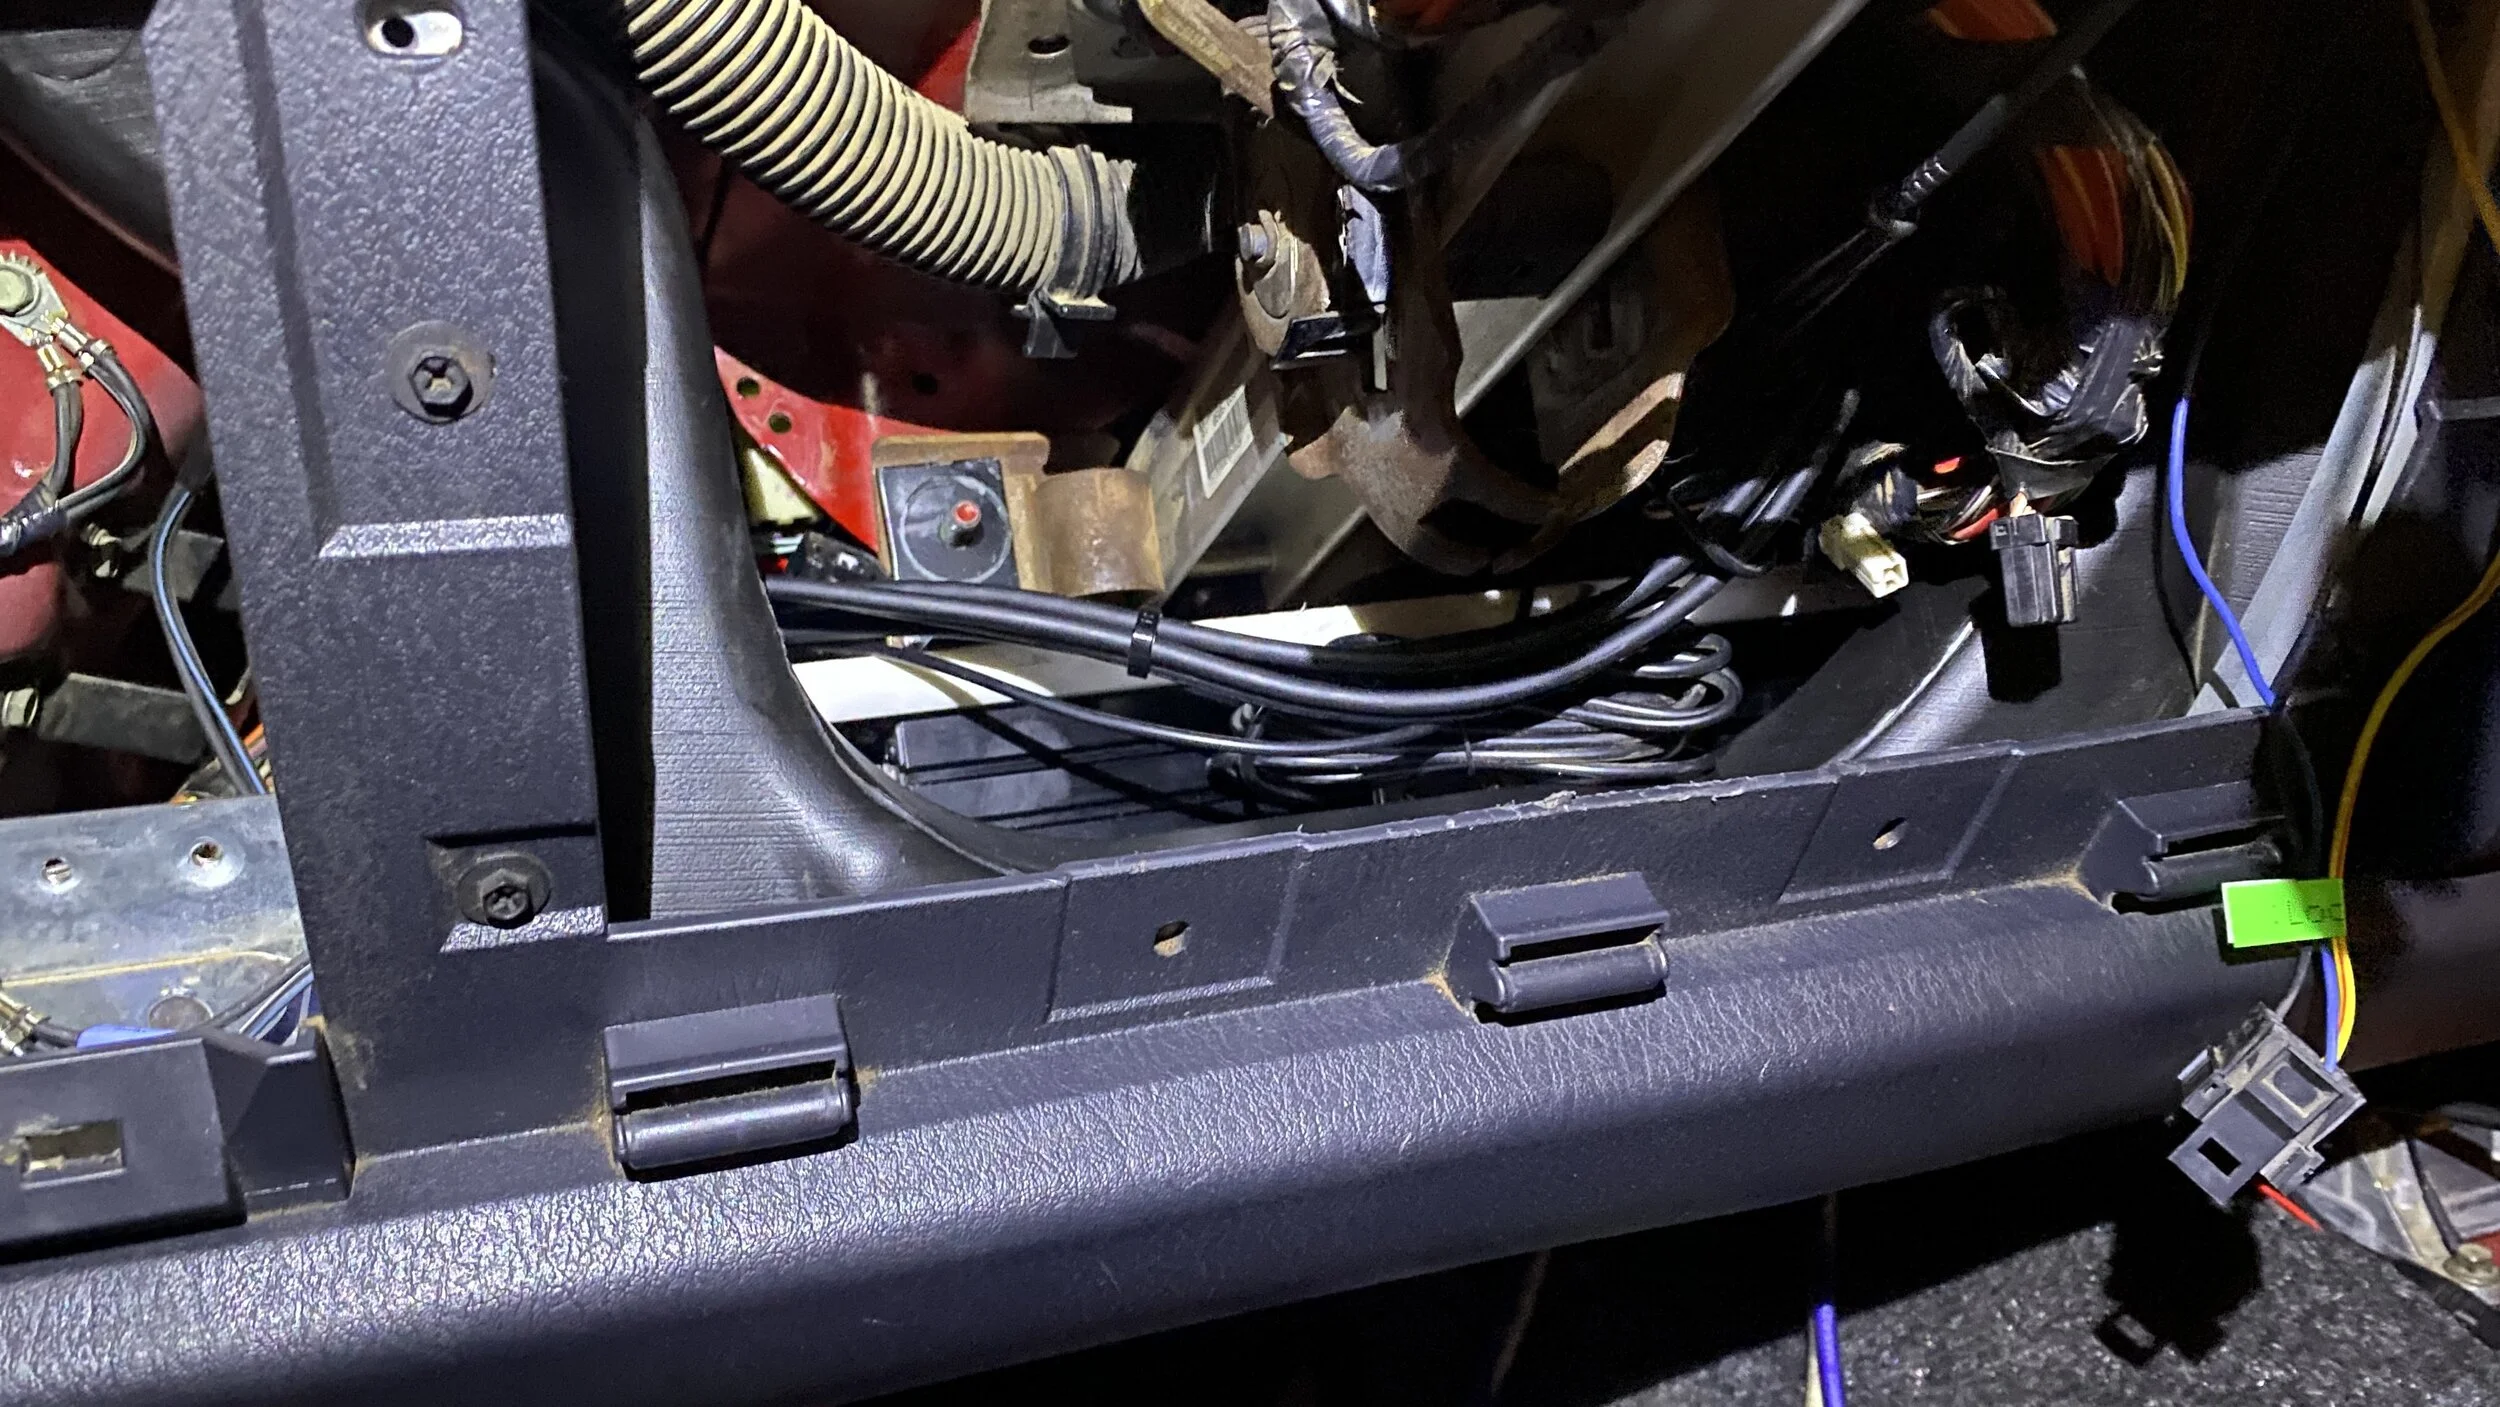
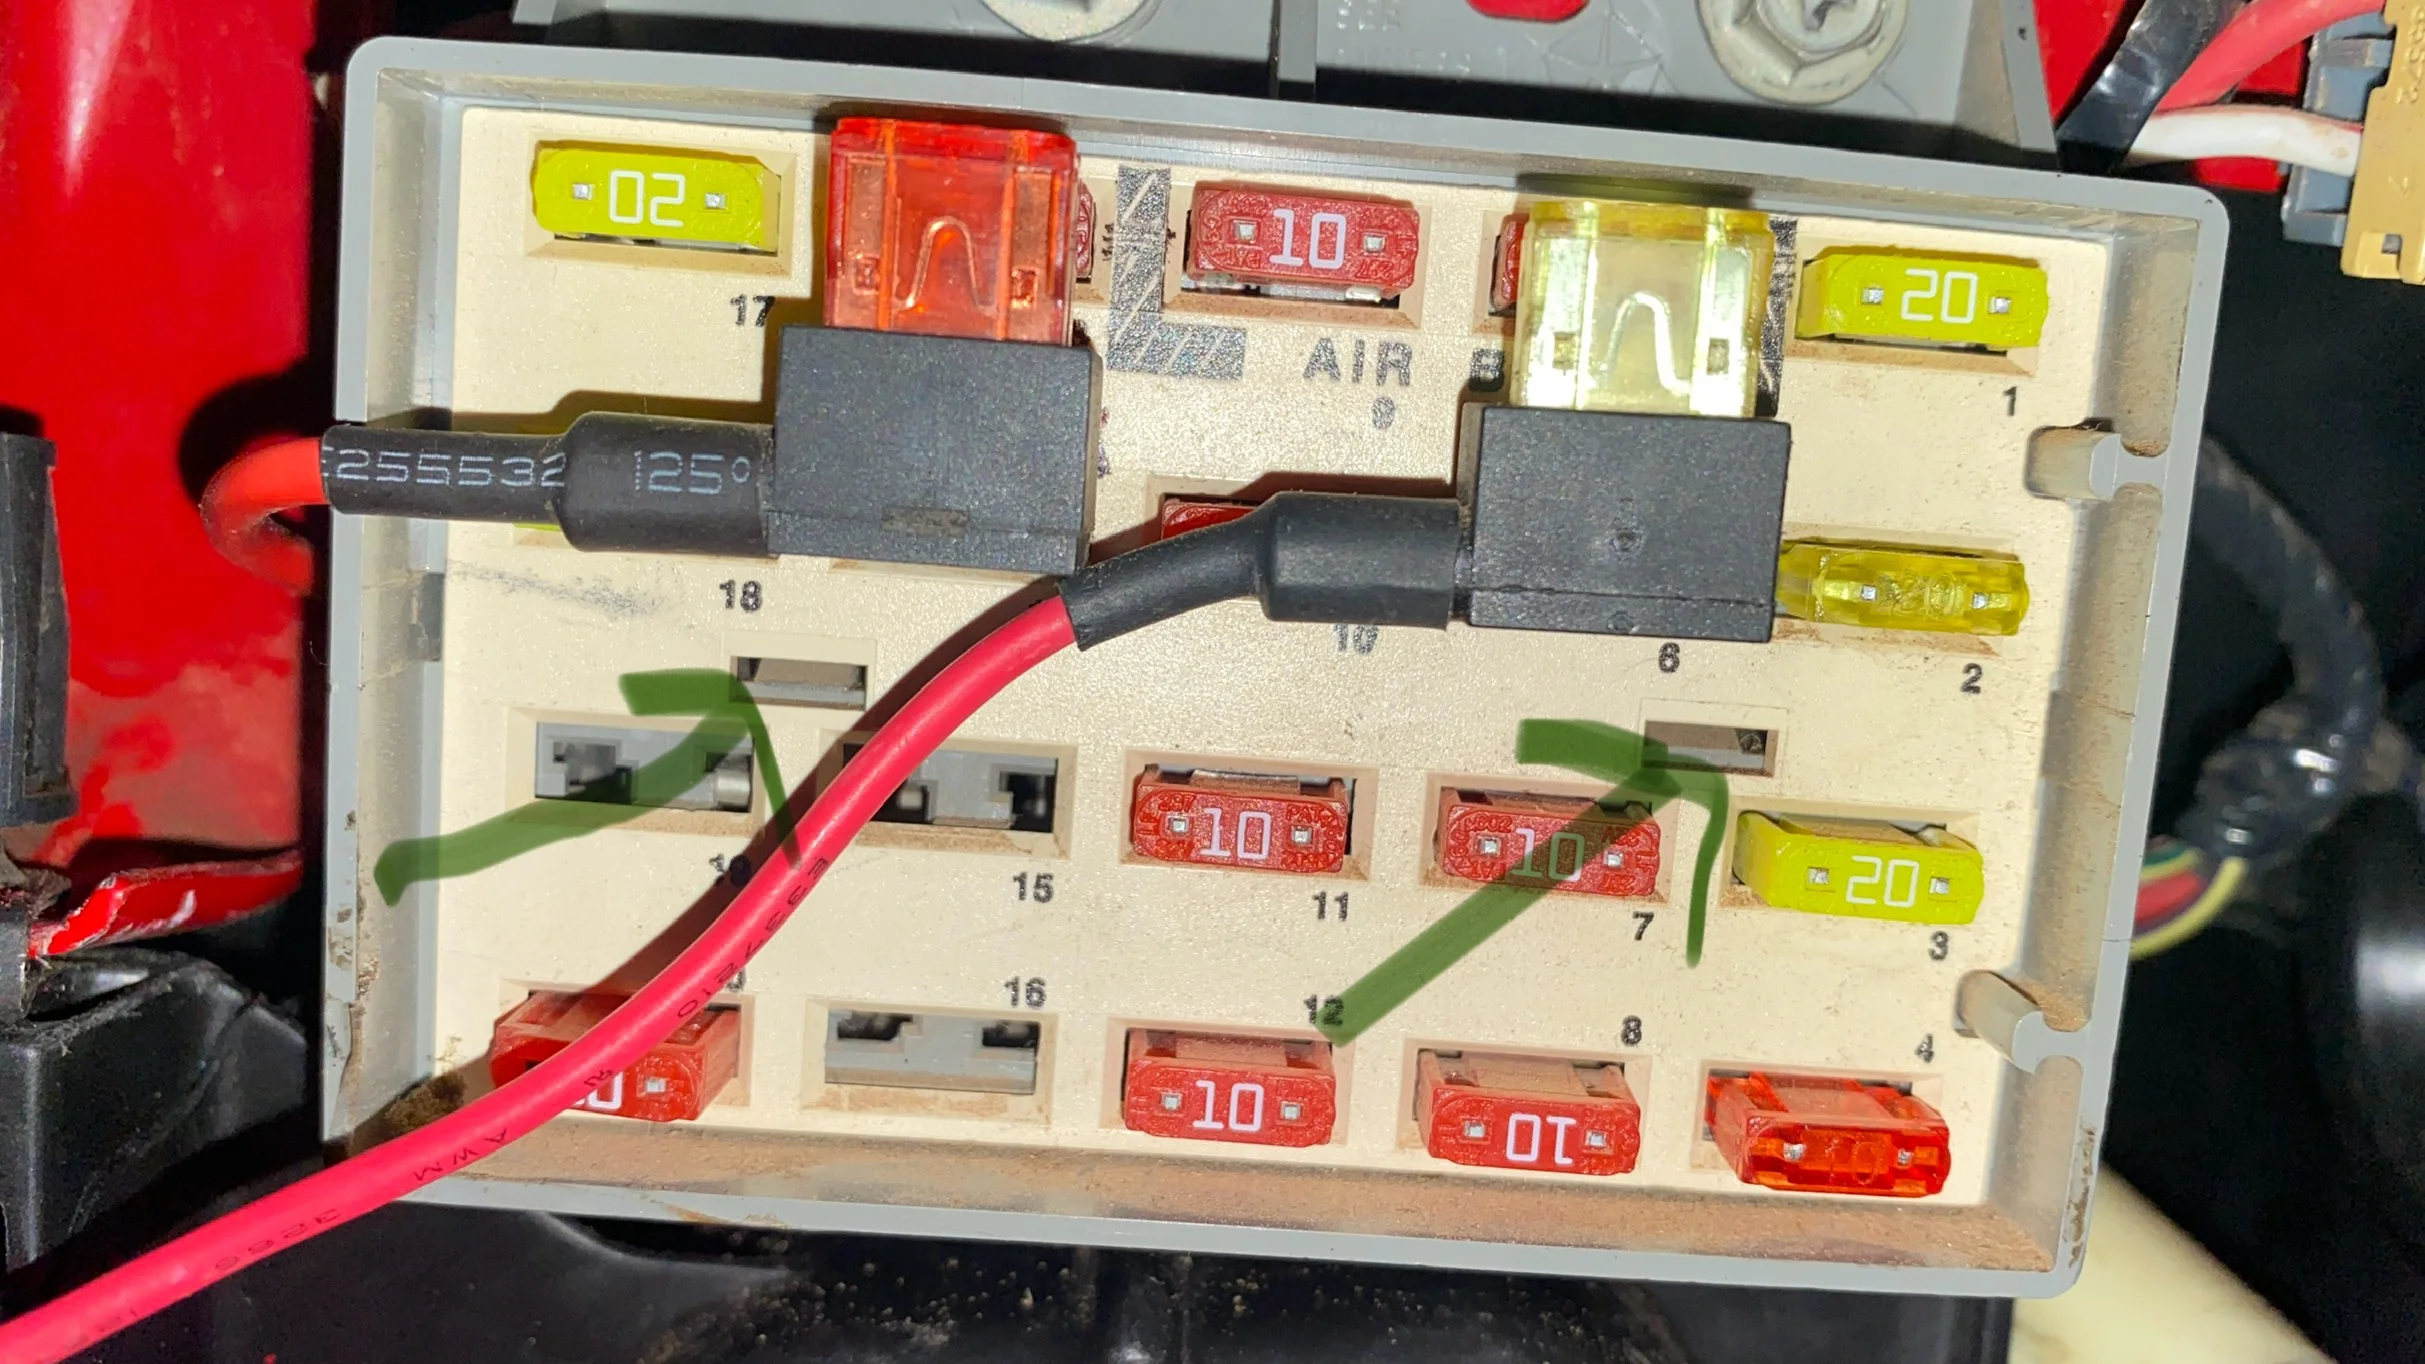
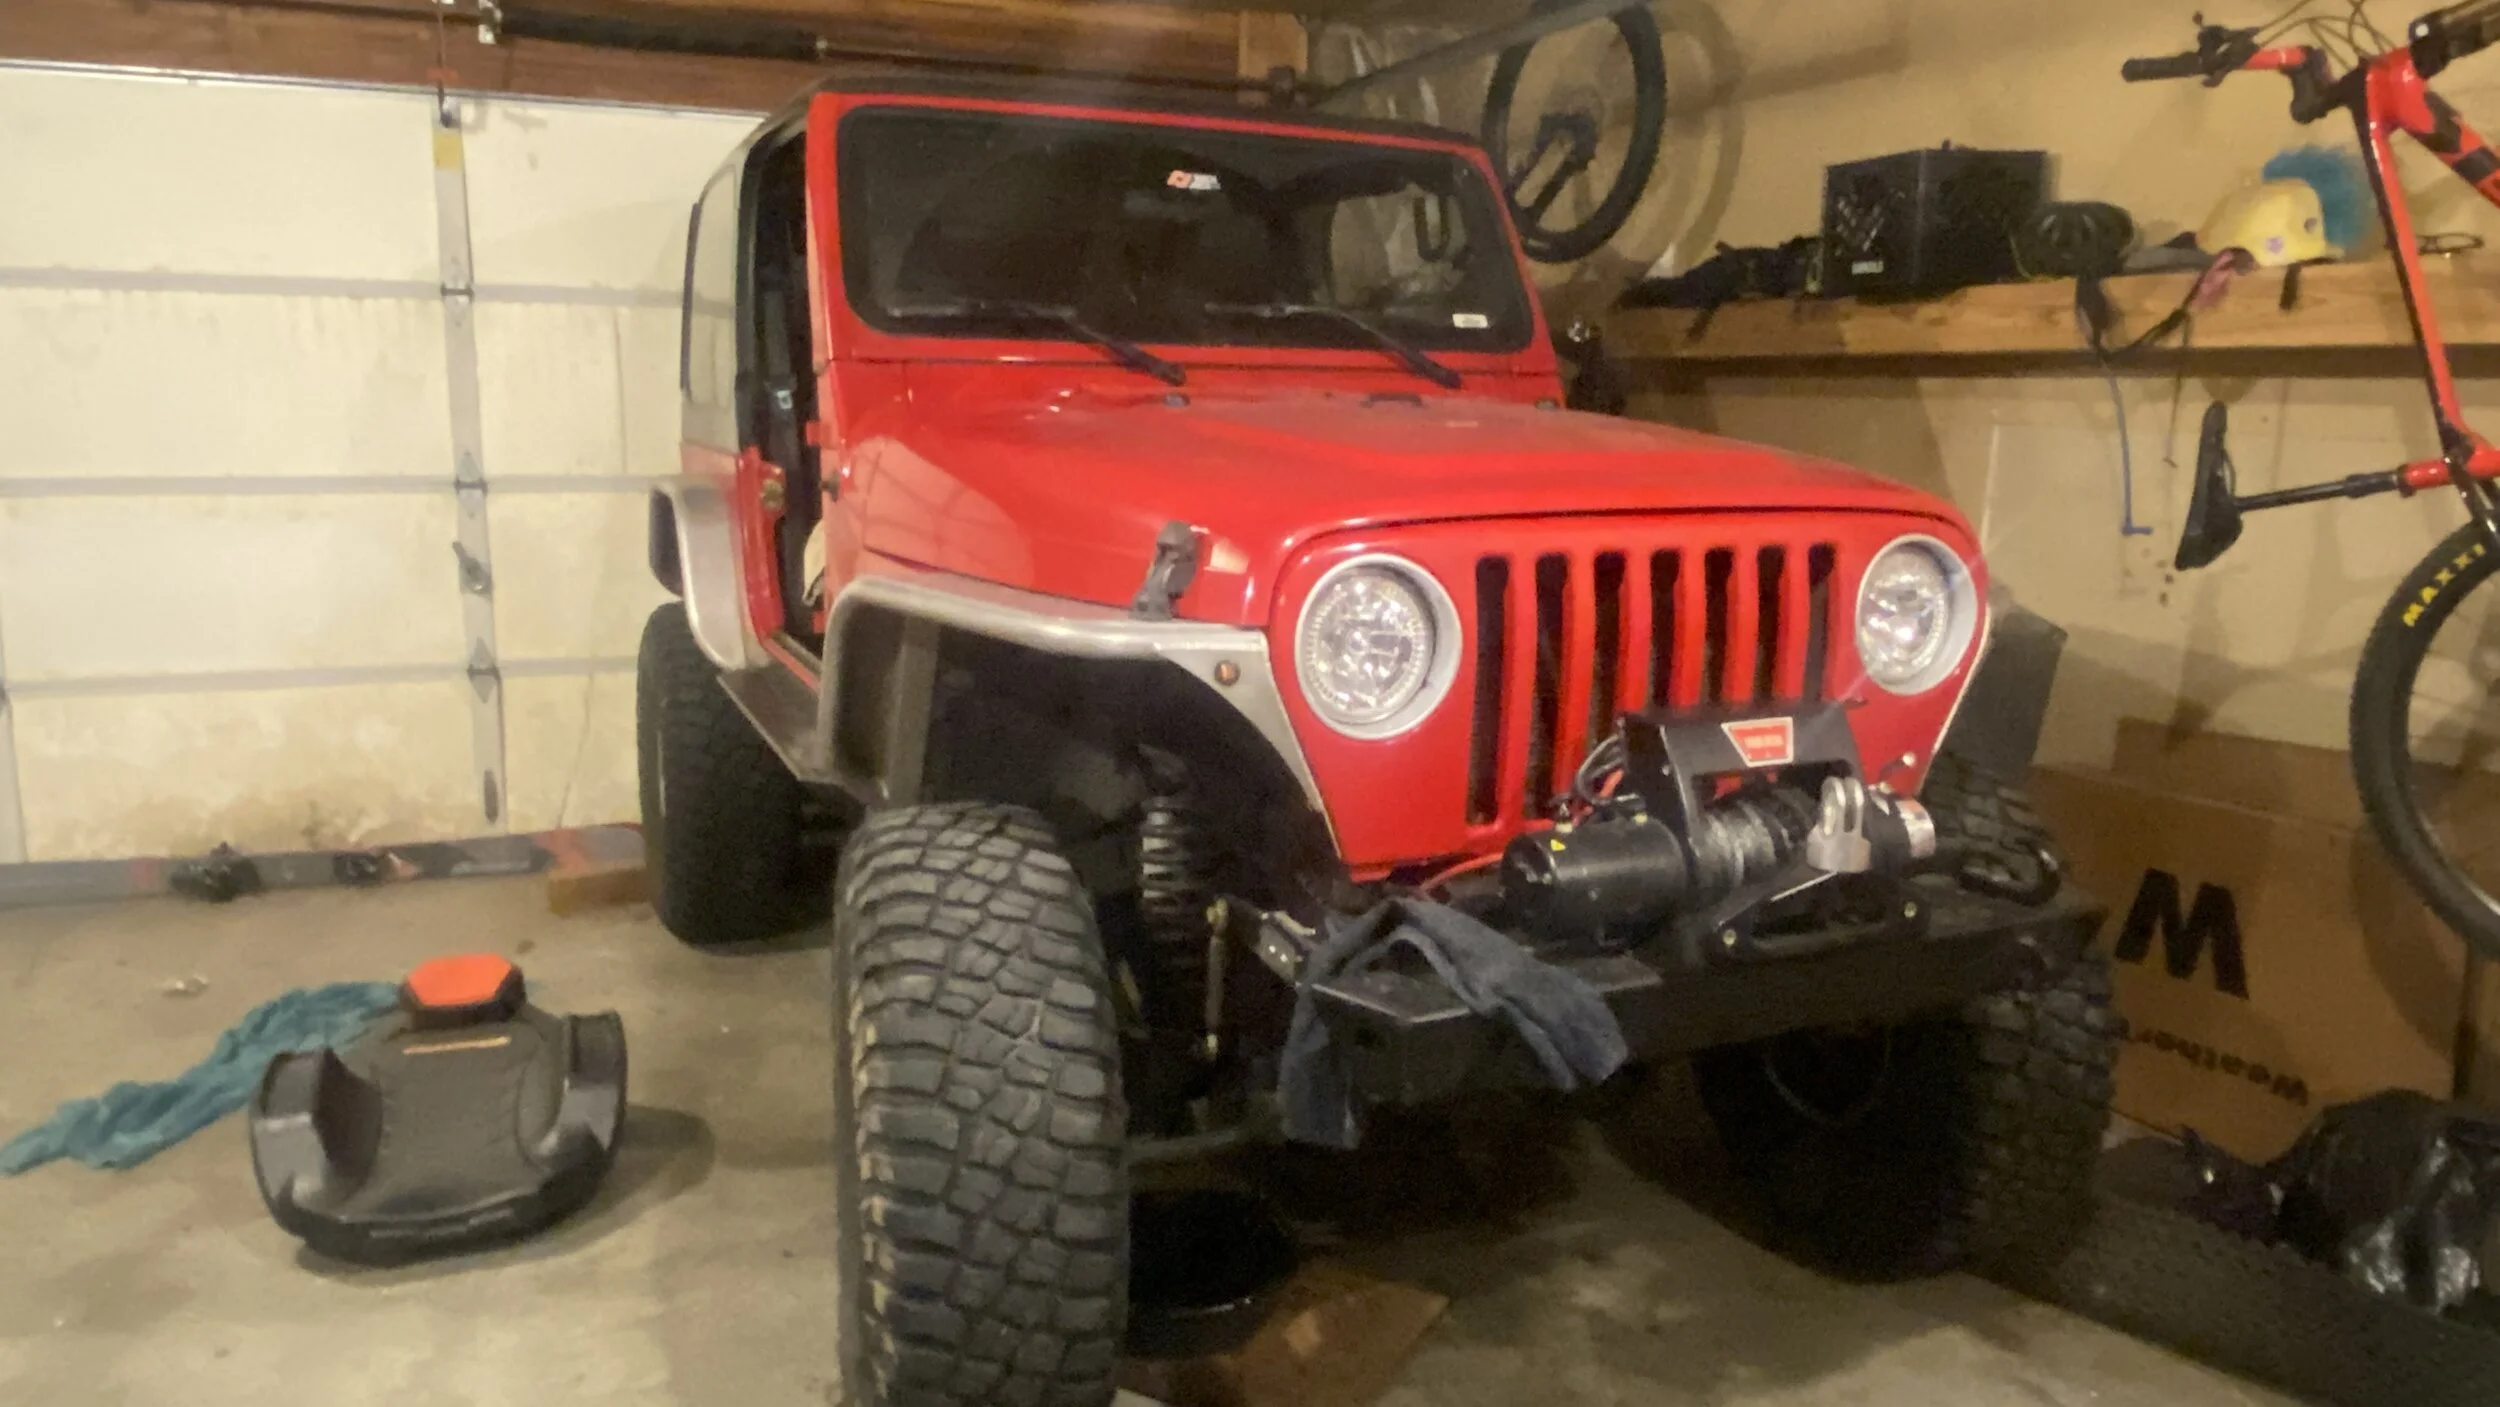
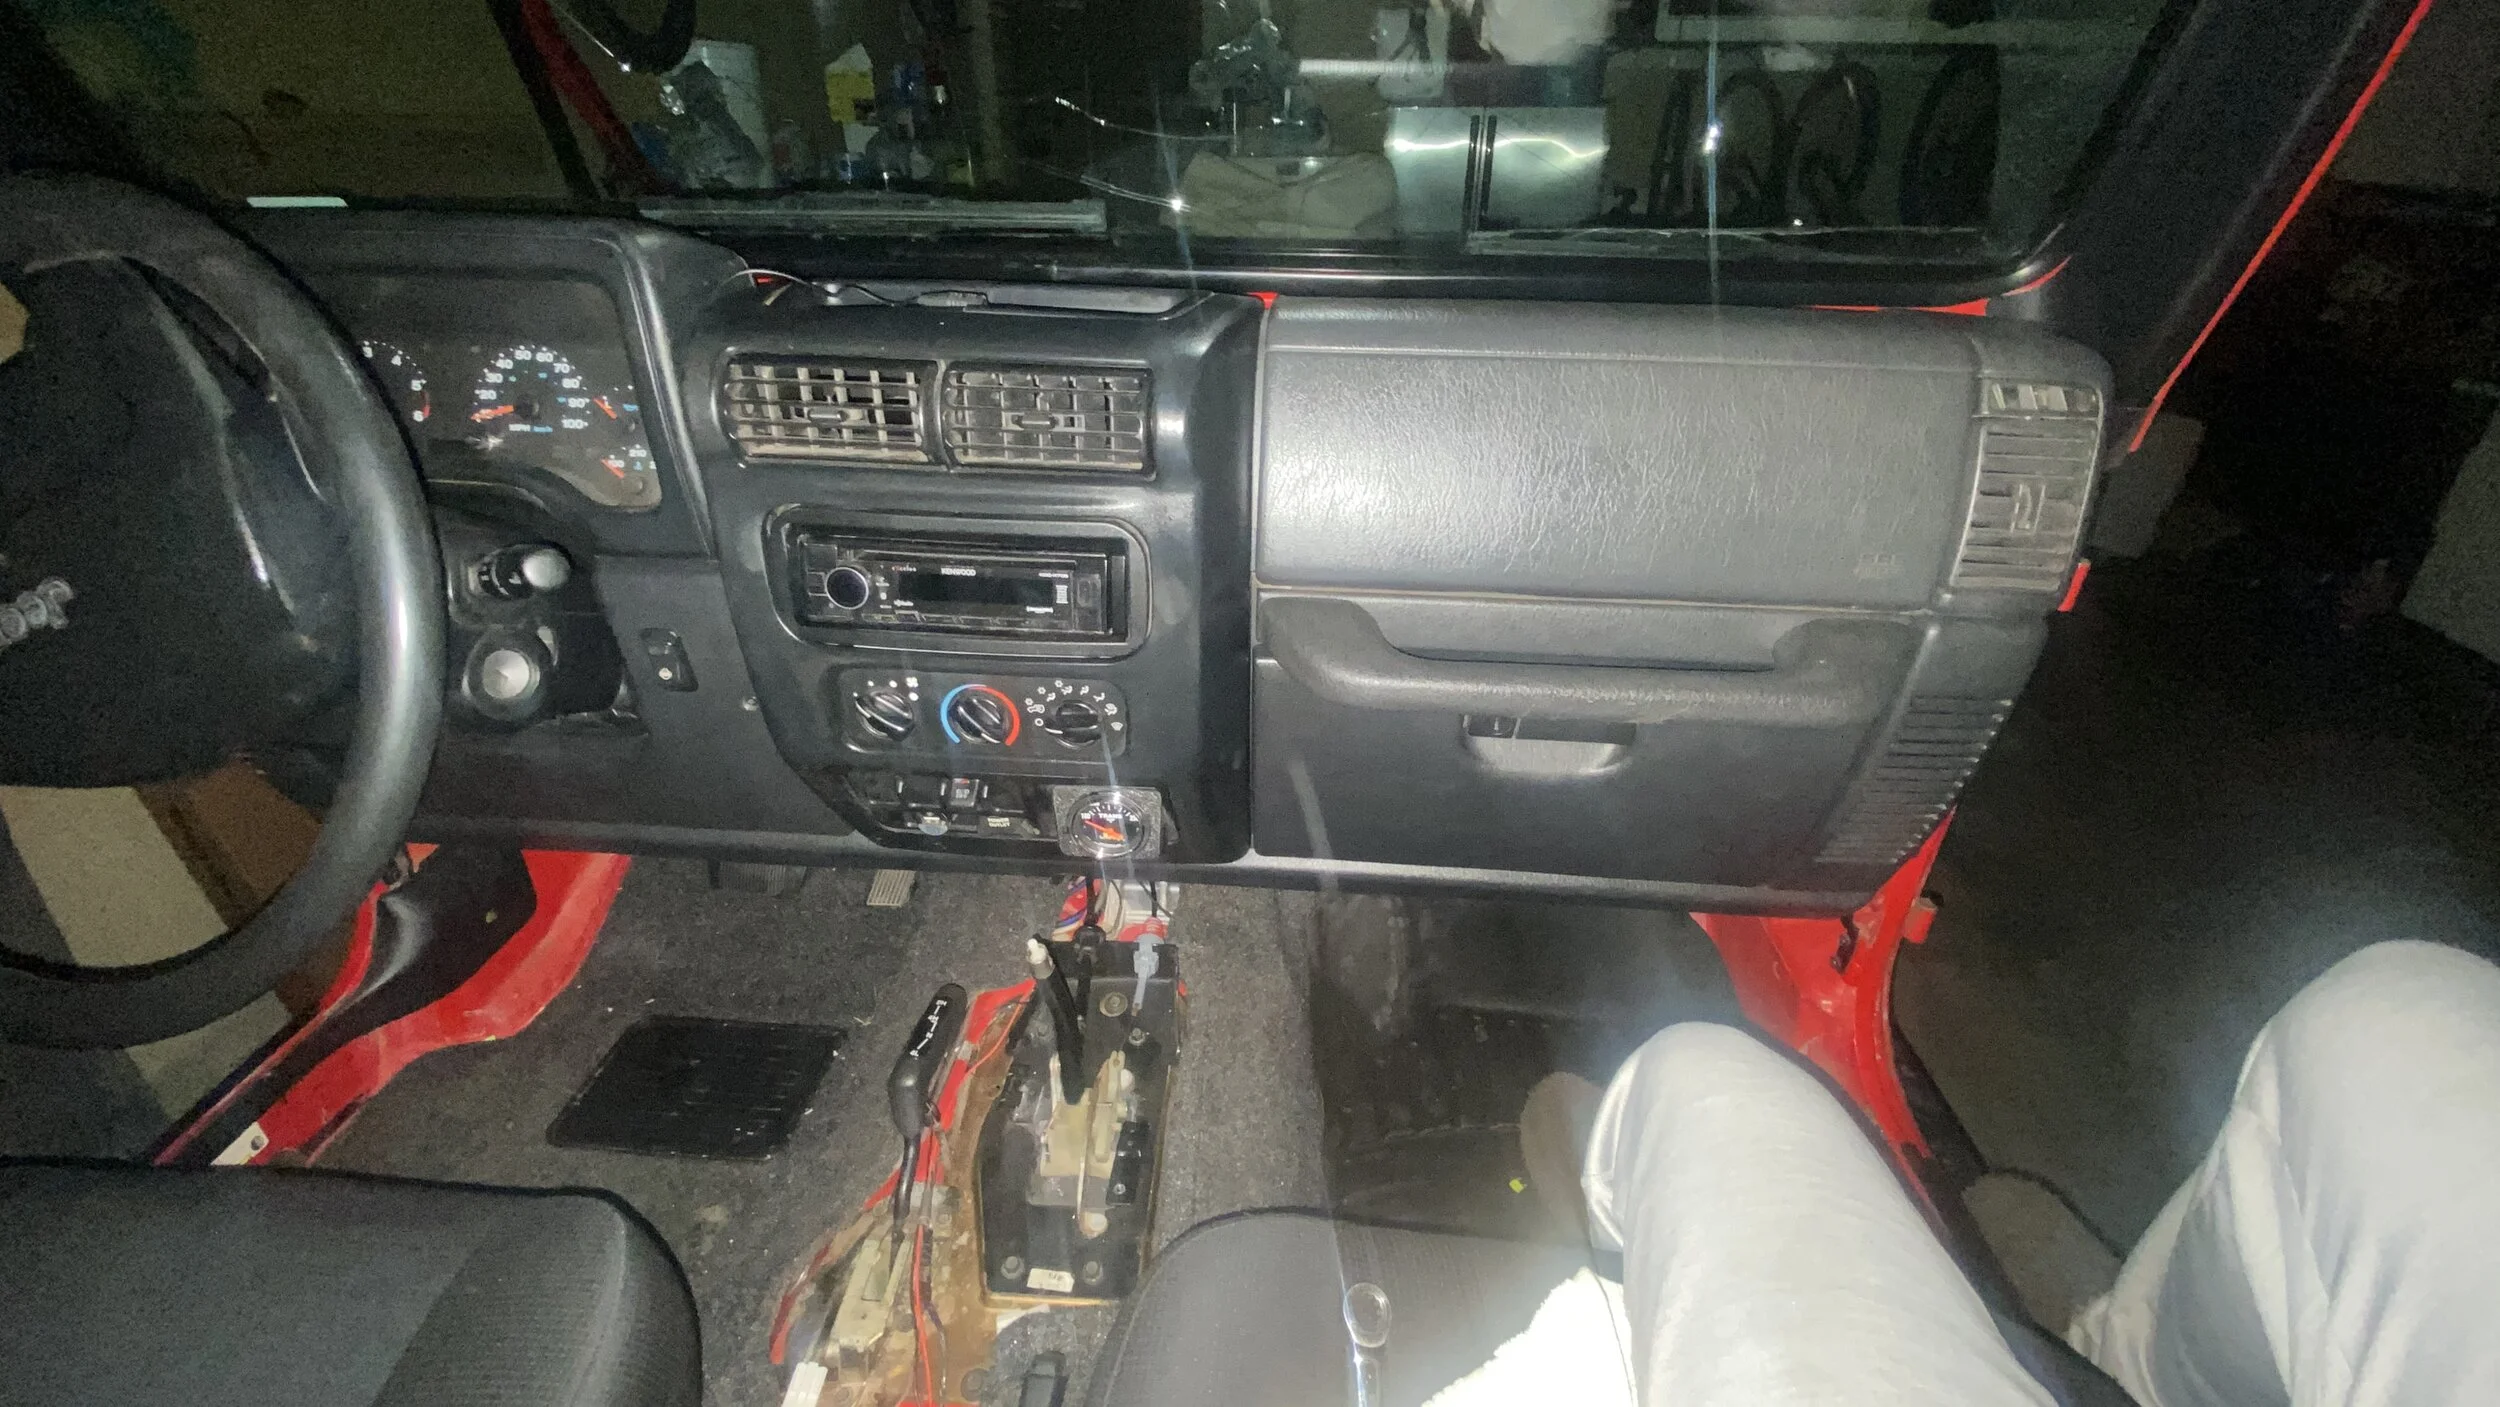
Started by re-installing the cowl tube on the firewall. It needed some new gasket tape. Then I spent some time adding some loom and engine harness tape to some engine wiring. Didn’t like some wire routing so I fixed that. Put the cowl back on and buttoned that up. Put the hood down for the first time in a long time.
Started re-installing the dash. Had help from my son getting it in position so I didn’t break anything. Plugged everything in and cleaned out years of Moab dust along the way. Before doing the clock spring, steering wheel, and those connections, I re-wired the amp and head unit. This all took a long time. I guess I’m slow.
I grounded my seat heaters, transmission temp gauge, and rear locker. Put the fuses back in for the locker and seat heaters. Ran the sending unit wire from the transmission temp gauge out the firewall and to the transmission harness and zip tied it close to it and ran it near where the transmission oil pan will be. I ran the wire for the ignition switched transmission temp gauge wire, but did not fuse it yet. I think I’ll try to use fuse #18.
Installed the shifter, shift interlock cable, and ran the shifter cable out the firewall through the new grommet.
Installed the front speakers with the new leads. I shored up several wire connections along the way. Put the clock spring back on, steering wheel torqued to 40ft-lb, airbag connected and installed. Center dash console bezel installed and last but not least the glove box.
It was a long day. Last pic has two small Torx head screws that I had in a bag titled steering column, but I have no recollection of where they go. If anyone knows I’d appreciate it. Couldn’t find the two Philips screws that hold the top and bottom shroud together. Hopefully they’ll turn up.
Last edited:
P
P man
Guest
I got up and went to my job about 5:30am so I could finish early and get to work on the Jeep. I got in the garage about 11am and didn’t get out till 6:45. Then I went out for another 30 min to finish things up later on.
Started by re-installing the cowl tube on the firewall. It needed some new gasket tape. Then I spent some time adding some loom and engine harness tape to some engine wiring. Didn’t like some wire routing so I fixed that. Put the cowl back on and buttoned that up. Put the hood down for the first time in a long time.
Started re-installing the dash. Had help from my son getting it in position so I didn’t break anything. Plugged everything in and cleaned out years of Moab dust along the way. Before doing the clock spring, steering wheel, and those connections, I re-wired the amp and head unit. This all took a long time. I guess I’m slow.
I grounded my seat heaters, transmission temp gauge, and rear locker. Put the fuses back in for the locker and seat heaters. Ran the sending unit wire from the transmission temp gauge out the firewall and to the transmission harness and zip tied it close to it and ran it near where the transmission oil pan will be. I ran the wire for the ignition switched transmission temp gauge wire, but did not fuse it yet. I think I’ll try to use fuse #18.
Installed the shifter, shift interlock cable, and ran the shifter cable out the firewall through the new grommet.
Installed the front speakers with the new leads. I shored up several wire connections along the way. Put the clock spring back on, steering wheel torqued to 40ft-lb, airbag connected and installed. Center dash console bezel installed and last but not least the glove box.
It was a long day. Last pic has two small Torx head screws that I had in a bag titled steering column, but I have no recollection of where they go. If anyone knows I’d appreciate it. Couldn’t find the two Philips screws that hold the top and bottom shroud together. Hopefully they’ll turn up.
View attachment 502740
View attachment 502741
View attachment 502742
View attachment 502743
View attachment 502744
View attachment 502745
View attachment 502746
How about the screws that hold the multi function switch to the column?
How about the screws that hold the multi function switch to the column?
Is that the stalk? I didn’t remove it. I’m stumped by this one because I don’t remember unscrewing any small Torx bits that weren’t security t-10.
P
P man
Guest
Is that the stalk? I didn’t remove it. I’m stumped by this one because I don’t remember unscrewing any small Torx bits that weren’t security t-10.
Yes the stalk
How about the plastic shroud behind the steering wheel? You should have 2 8 or 9 mm head screws that retain the air bag to the wheel and then 2 smaller acrews for the plastic shroud on the back
Similar threads

- Replies
- 6
- Views
- 3,030


- Replies
- 161
- Views
- 53,770


- Replies
- 281
- Views
- 40,455

- Replies
- 11
- Views
- 2,700

