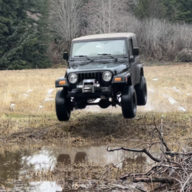
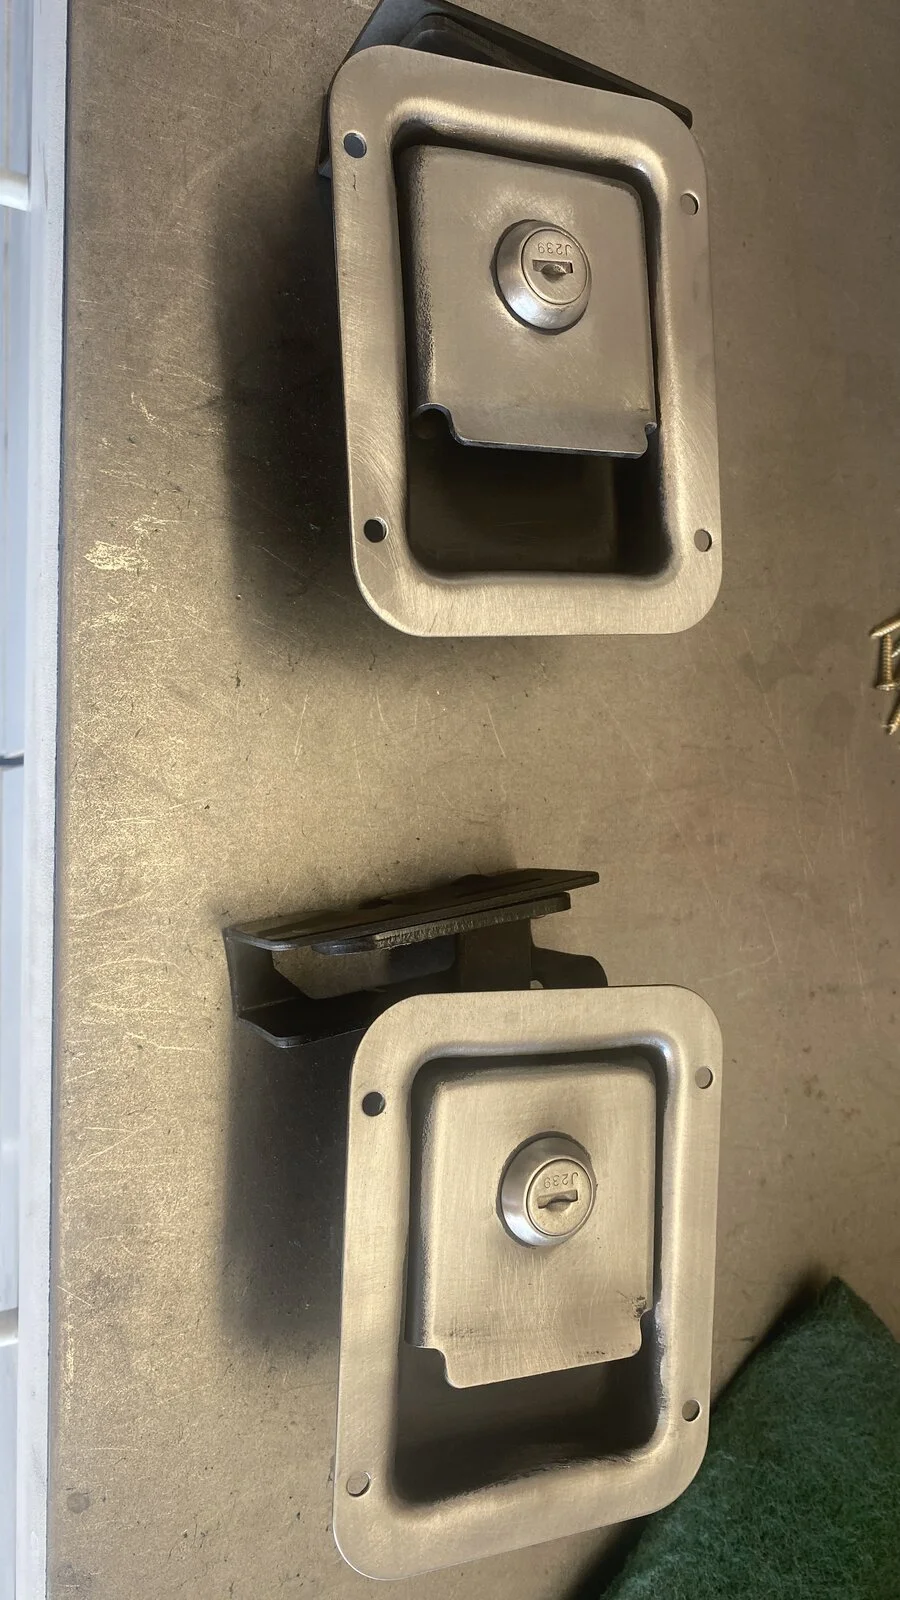
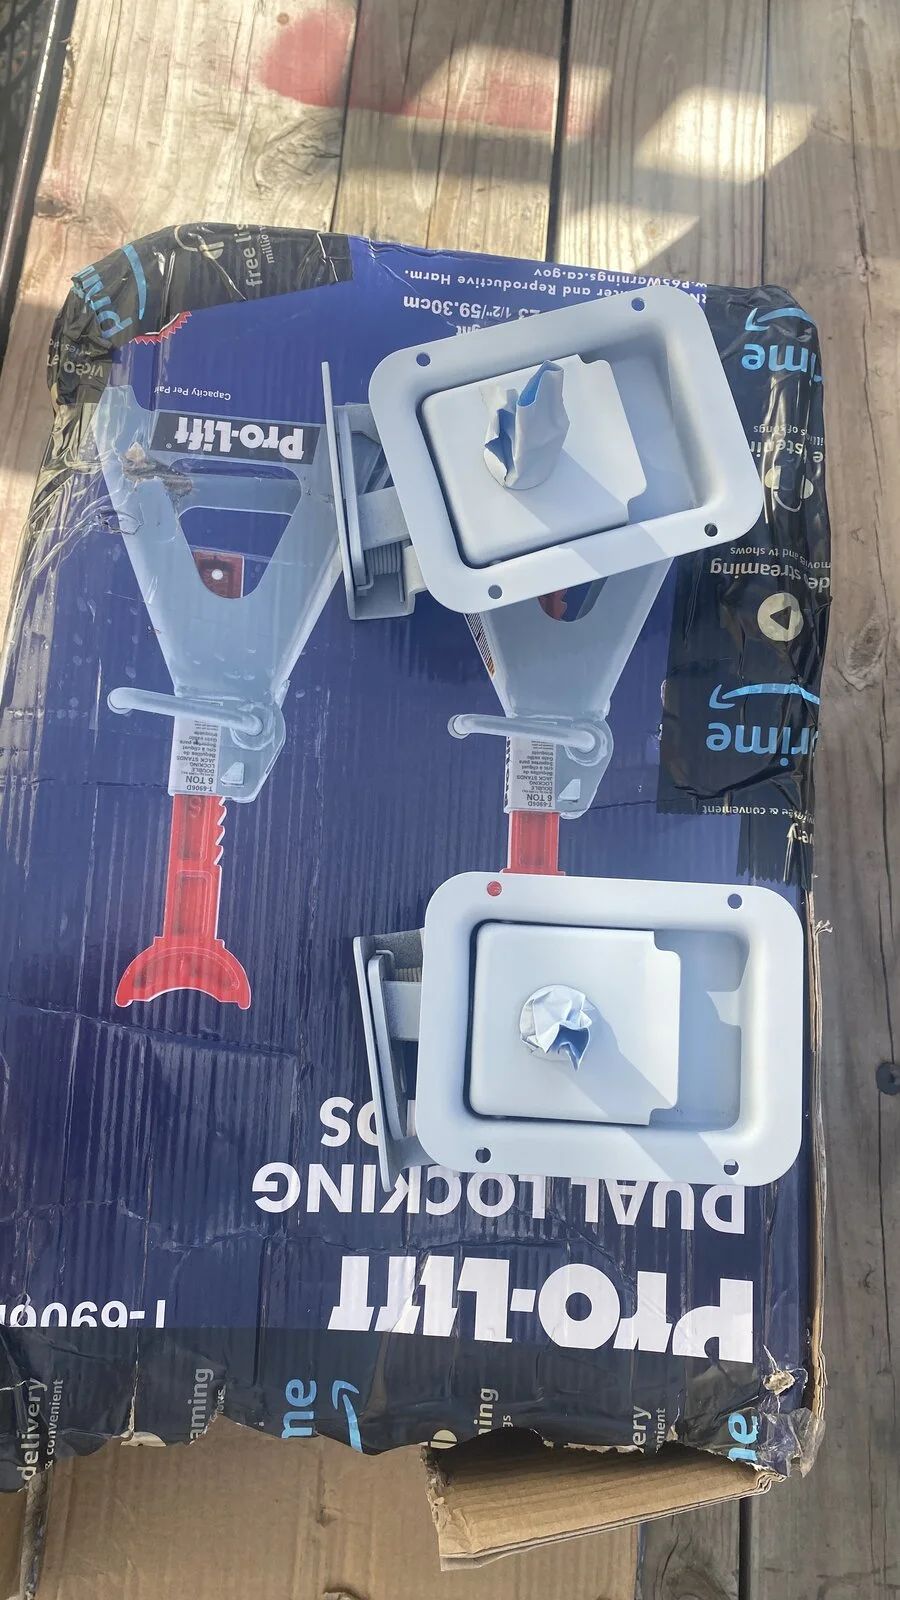
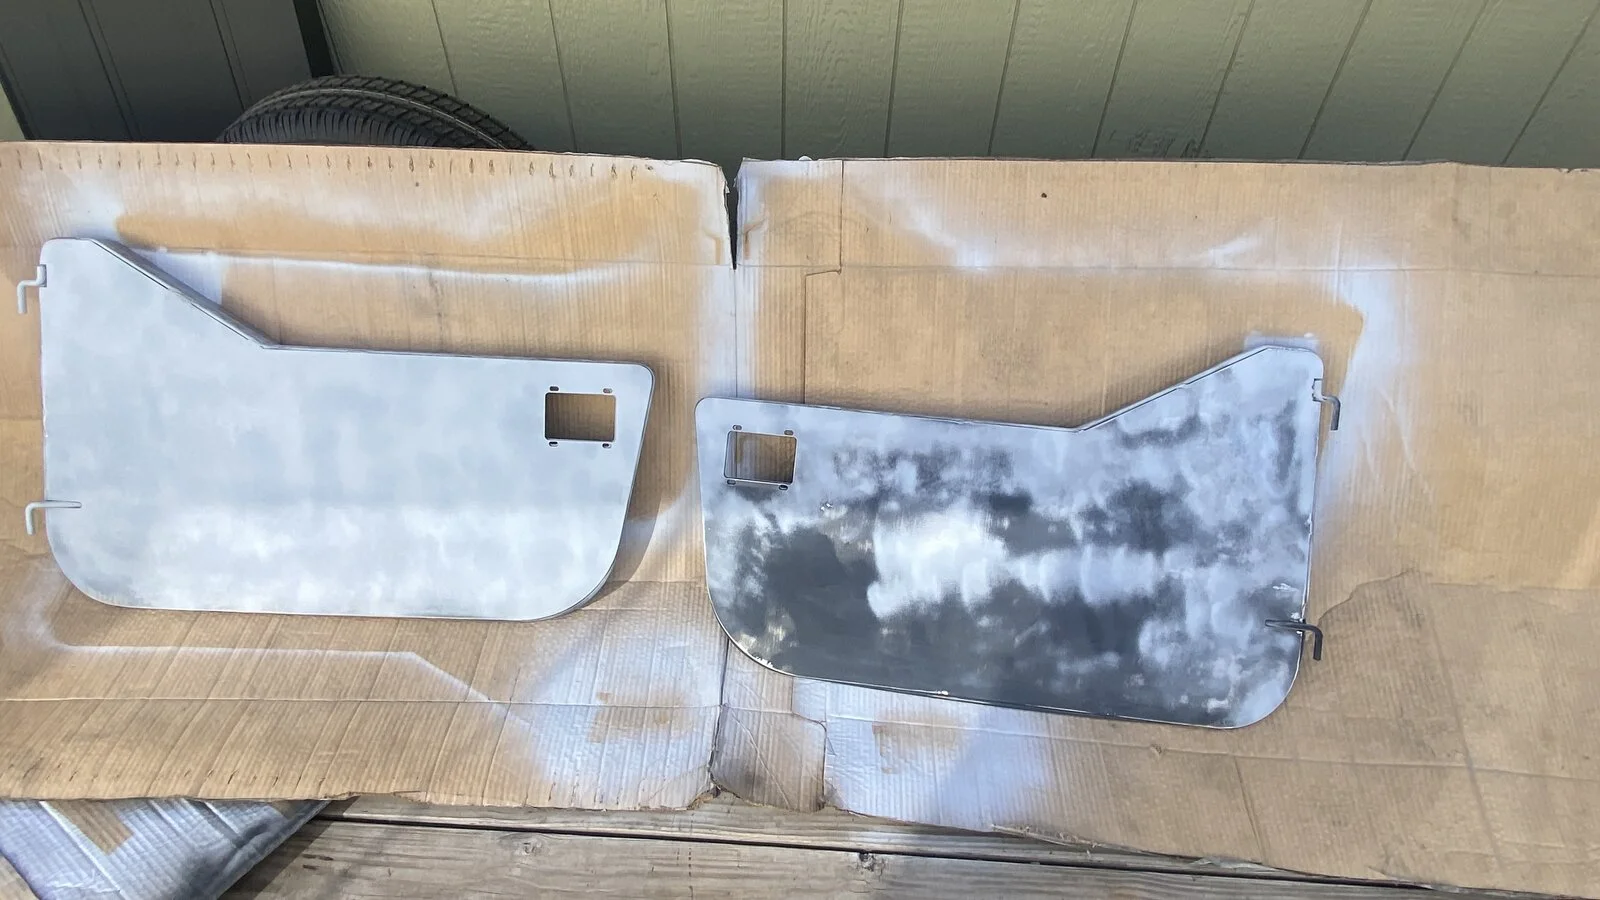
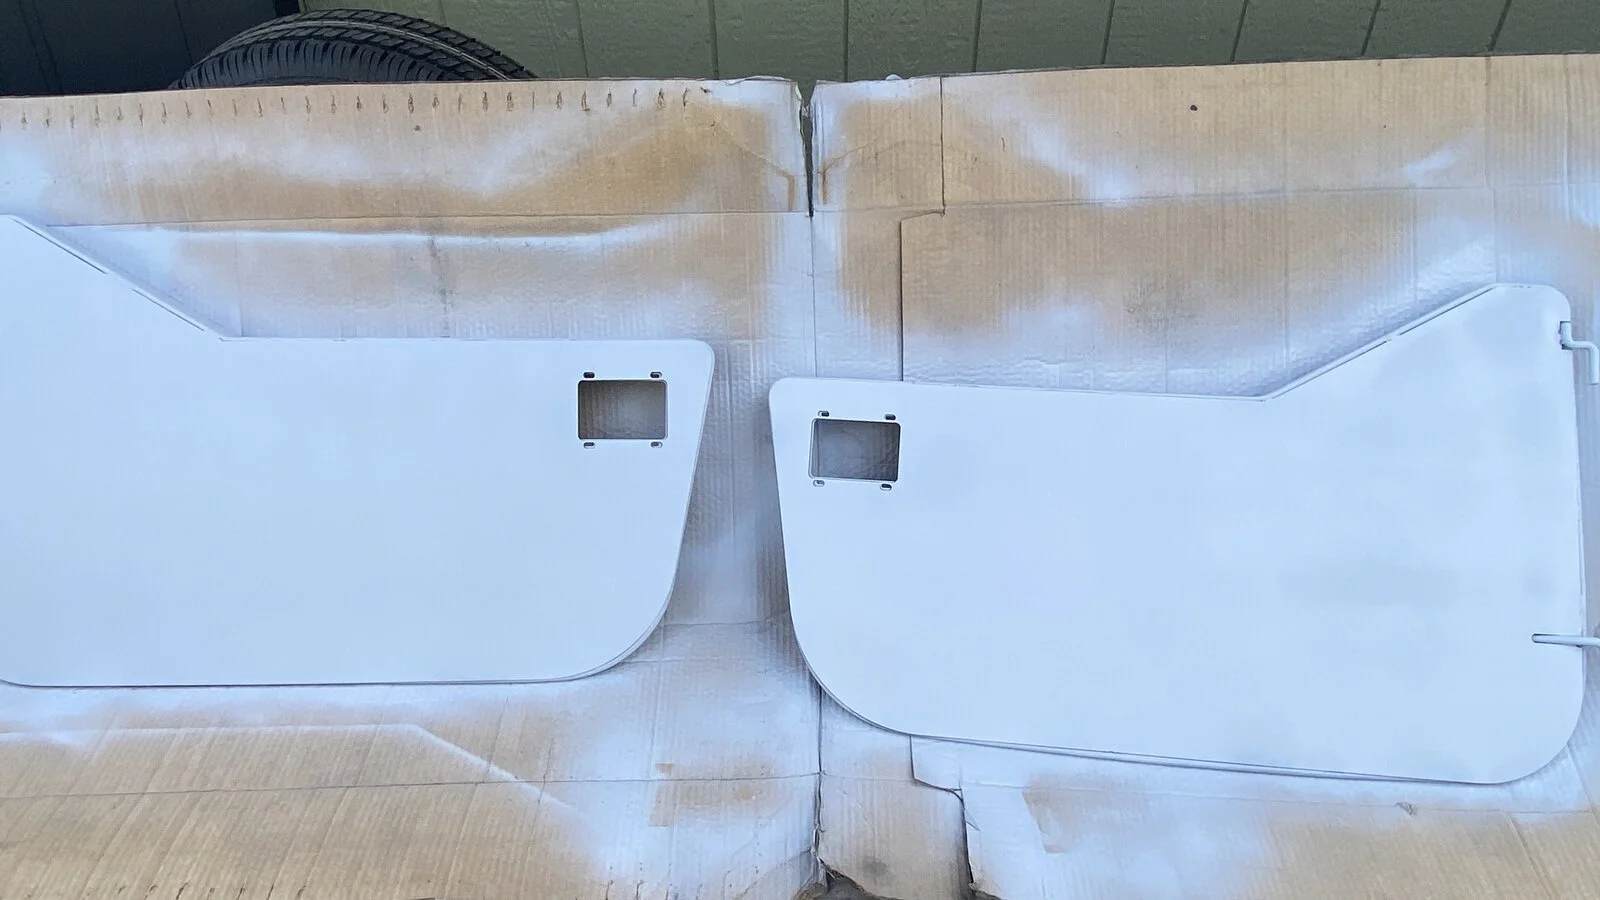
Trail doors and Bestop locks self-etch primed (1K SprayMax Self Etch)


Why am I having a problem doing this?
Is it because my Mopar seal didn’t come with that little plastic piece to help guide it in without slicing it? Is it because I’m satisfied now that @Wildman went for a good drive? Any suggestions for an alternate to help push it in without tearing it?
View attachment 463112
My mopar seal didn’t come with the plastic thing either, so i made my own using some thin plastic i found around the shop.
Then soaked the seal in some oil, and just went slow and tried to follow the curve of the seal. It took some time but went in eventually
 ).
).
It will be more clear once you get there, but basically the sharp edge circled in this photo can cut the small lip on the seal, so you just put the plastic thing on the face of it and feed the seal against it, creating a barrier between the sharp edge and the sealThanks! I really don’t know how to use the plastic thing. Maybe it will be intuitive when I get there (if I ever get there
Are you going to try to meet up at Walker Valley ORV on November 11 or 12? Check the regions Washington thread if you haven’t already.
It will be more clear once you get there, but basically the sharp edge circled in this photo can cut the small lip on the seal, so you just put the plastic thing on the face of it and feed the seal against it, creating a barrier between the sharp edge and the seal
View attachment 463170
And yes i should be able to make the Walker valley run, sounds like a good time
New water pump installed. I decided to start it up before re-installing the fan and shroud. Still had a leak. Watched for a bit and saw coolant running down from the thermostat.Pulled it off, cleaned it up, put it all back together. G2G! Presumably it was a Thermostat leak all along. Can’t see crap though. I’m keeping the old water pump. Might be good for another 50,000 miles. These will be harder to find in years to come.
View attachment 459591
View attachment 459592
Having a crack at mine, pretty sure I have all the old gasket material off using a razor blade and brass bristle brush. But looks nothing like that shiny, what did you use to get it that clean? I'm worried about using anything abrasive on the mojnting surface.
These work well too. I used them with a die grinder and stuffed a rag into openings to keep debris out.
View attachment 463282

I prepped the doors today for painting tomorrow. I’m not happy with how the seam sealer worked/didn’t work. Oh well. I don’t know what to do now other than just paint it and move on. They are trail doors.
View attachment 463485
View attachment 463486
Also going to paint a section on the front GR armor. Hoping all goes well.
View attachment 463487


What about the seam sealer don't you like?
I'll stop by and pick them up from ya since you don't like them....
 I might be willing to get rid of them. I’ll see after paint. Kaleb said he’d buy them. I’ll have about $315 in them. I hope they turn out decent.
I can’t get it smooth, even with water to help. It turned into a mess.
Can you sand down the seam sealer? To make it smooth?
too late to just take a grinder to it and weld the seams? If you're not going to be happy with the final project spend a bit more time now so you're not always staring at them.
It's always disappointing when things don't turn out like you'd imagined. Maybe once you have paint on it they won't look as rough?
And remember they are just trail doors. So you're going to possibly rub on them or take a rock or branch into them.
If I'd known 15 years ago how expensive and limited half doors would become I'd of gotten a few spares.