You are using an out of date browser. It may not display this or other websites correctly.
You should upgrade or use an alternative browser.
You should upgrade or use an alternative browser.
2006 TJ Sport Build
- Thread starter tjroughrider
- Start date
But why? What do you stand to gain from this? That's what I'm confused about.
But why? What do you stand to gain from this? That's what I'm confused about.
Not sure what I will gain, but it's something different to try.
Not sure what I will gain, but it's something different to try.
I don't think you'll gain anything realistically, but yes, it will indeed be different. Post some photos when you're done!
I don't think you'll gain anything realistically, but yes, it will indeed be different. Post some photos when you're done!
Shall do... for sure
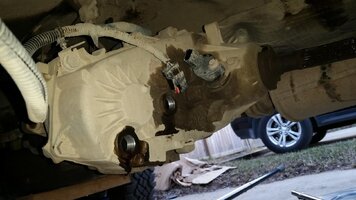
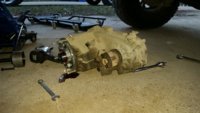
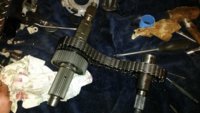
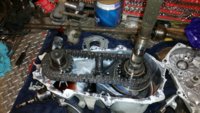
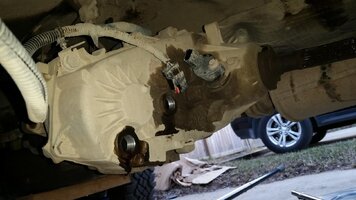
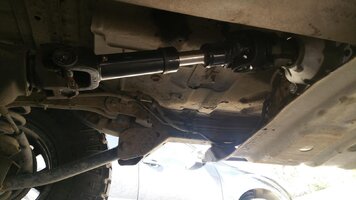
Finished this weekends project. Rough Country SYE Kit, Rough Country Rear Driveshaft & Novak T-Case Cable Shifter installed.
After all said and done, no more rear vibration. Drives almost like a stock TJ.
Still have to pick up some shorter bolts for the belly pan so I can remove the spacers and re-install front skid plate (will be done this week).
Then onto the list of parts above when they arrive.
I will post a few pics of the removal and install of the SYE shortly.
Sent from my SM-N910W8 using Tapatalk
How long did it take you to remove and reinstall the transfer case? I've seen some guys install the SYE while it was still on the vehicle, but I hear it's easier to do it if you actually remove the transfer case.
@Chris after having pulled the tranny and t-case as a chunk, I think the T-case would come out in a couple hours, solo. Drop the skid, remove the driveshafts, disconnect the speedo and position sensors, free the shift linkage, and 6 bolts hold it to the tranny. The two on top might be a little challenging, but dropping the engine/tranny combo a little will help with that. It really wouldn't be too bad, esp for you guys out west that have the nice, clean, rust free vehicles.
@Ranger_b0b, no doubt it's worse for you guys dealing with rust. That's not that bad though, a few hours. Not as hard as removing the entire transmission at least.
When we removed the t-case from start to finish approx 6 hours. Remove both drive shafts, remove both skid plates, cables, etc. It wasn't as hard to install the SYE as we thought it would be. We watched the Bleepin' Jeep video while we did it. Once we had the t-case out it was easier to install the Novak cable t-case shifter linkage.
So since I've installed the SYE kit & Novak shifter linkage I've gone rock crawling. Let me tell you what a difference, makes me wonder why I didn't do this sooner.
So since I've installed the SYE kit & Novak shifter linkage I've gone rock crawling. Let me tell you what a difference, makes me wonder why I didn't do this sooner.
Parts for the above parts list should be here next week or week after. Also next week picking up the front brake conversion (single piston to dual piston caliper & 1-ton steering. Possibly also hydro-assist steering (not sure yet though).
Well on a recent rock crawling trip I finally snapped a stock rear axle, that being said I had to leave my jeep on the trail to go get the parts needed to get me back moving again.
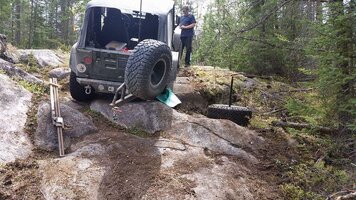

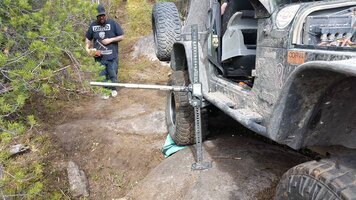
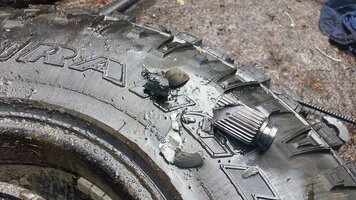
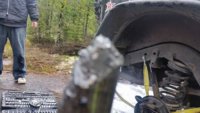
Once I was moving again and back home I placed an order for a Alloy USA 27 spline rear Chromoly axle kit - it came with axles, outer seals, studs & outer axle bearings. I also ordered inner axles seals since I would have it all apart.
Since I had it apart, I figured I'd do the swap from drum brakes to '94 ZJ Rear Disk Brakes. Had to buy brake pads & caliper bolts. This was an easy upgrade - simple direct bolt in.
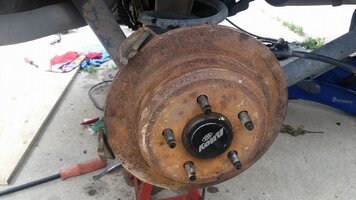
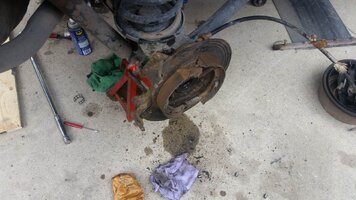
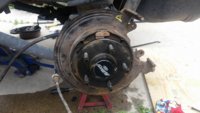
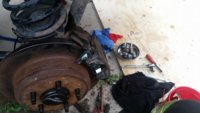
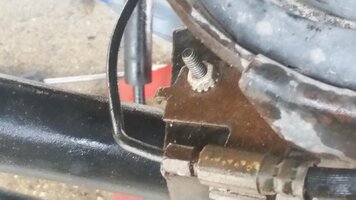
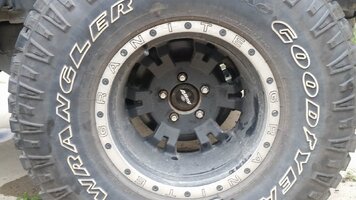
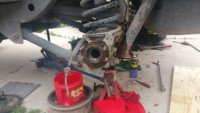
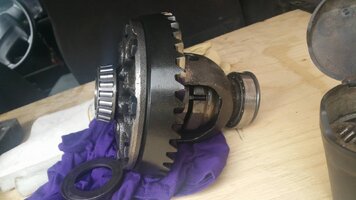
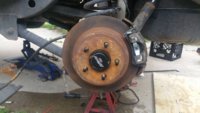
In the near future I will be replacing the rotors on all 4 corners, but these will do for the time being.


Once I was moving again and back home I placed an order for a Alloy USA 27 spline rear Chromoly axle kit - it came with axles, outer seals, studs & outer axle bearings. I also ordered inner axles seals since I would have it all apart.
Since I had it apart, I figured I'd do the swap from drum brakes to '94 ZJ Rear Disk Brakes. Had to buy brake pads & caliper bolts. This was an easy upgrade - simple direct bolt in.


In the near future I will be replacing the rotors on all 4 corners, but these will do for the time being.
Well the build continues with the once little TJ.
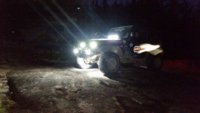
I've installed a 20" Rough Country Dual Row Light Bar on the cowl (this pic was taken this past weekend with the lights I currently have installed - more to come for rock lights, etc.)
I've also upgrade my interior lighting & dash lights to LED's (blue).
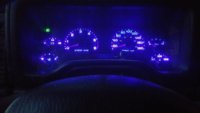
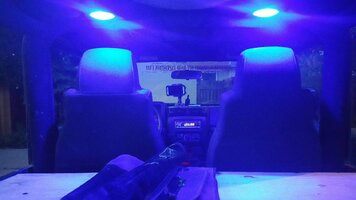
Here in Manitoba, you can register your Jeep (CJ, YJ & TJ) as a truck if you remove the back seat & seat belts and save yourself approx $30 per month off your insurance. This I did recently. Now I have a sheet of plywood over the trunk area and soon to have it split in 2. One side will have a sliding drawer and the other for tools or whatever. (Pics to follow)
With waiting for the parts list that I recently ordered, I have also ordered the following as of yesterday:
From Trail Tubes - Full Roll Cage, Drop Tire Carrier, Tube Doors & Fender Flares.
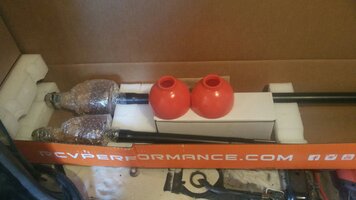
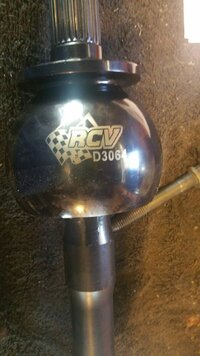
A week ago I decided to splurge and order RCV Axles, these arrived yesterday and the install will begin this Saturday.
Instructions look fairly straight forward for the install & slight mod you need to do the steering knuckles.
Once its completed I will upload the pics of the install, etc.
I've installed a 20" Rough Country Dual Row Light Bar on the cowl (this pic was taken this past weekend with the lights I currently have installed - more to come for rock lights, etc.)

I've also upgrade my interior lighting & dash lights to LED's (blue).


Here in Manitoba, you can register your Jeep (CJ, YJ & TJ) as a truck if you remove the back seat & seat belts and save yourself approx $30 per month off your insurance. This I did recently. Now I have a sheet of plywood over the trunk area and soon to have it split in 2. One side will have a sliding drawer and the other for tools or whatever. (Pics to follow)
With waiting for the parts list that I recently ordered, I have also ordered the following as of yesterday:
From Trail Tubes - Full Roll Cage, Drop Tire Carrier, Tube Doors & Fender Flares.
A week ago I decided to splurge and order RCV Axles, these arrived yesterday and the install will begin this Saturday.
Instructions look fairly straight forward for the install & slight mod you need to do the steering knuckles.
Once its completed I will upload the pics of the install, etc.
I missed your earlier axle break post. Were you powering up the rocks or did the tire get hopping? You probably got pretty good use out of it considering you locked stock 35 axles.
Rob5589 I was coming an incline on the rocks. Diff was on a rock, just as I gave it a bit of gas passenger tire fell into a crevis, drivers rear tire bounce up against 1.5 foot step. All at once rear of the Jeep twisted... heard a loud crack and out slide the passenger rear wheel and axle. We slide the axle back in, hooked the Jeep to a tree at the top of the hill using the winch and slowly (snail pace) winched the Jeep up to a more level spot. Left it on the trail overnight. Fixed it the next day.
Sent from my SM-N910W8 using Tapatalk
Sent from my SM-N910W8 using Tapatalk
Did anyone get good pics of this going down?Rob5589 I was coming an incline on the rocks. Diff was on a rock, just as I gave it a bit of gas passenger tire fell into a crevis, drivers rear tire bounce up against 1.5 foot step. All at once rear of the Jeep twisted... heard a loud crack and out slide the passenger rear wheel and axle. We slide the axle back in, hooked the Jeep to a tree at the top of the hill using the winch and slowly (snail pace) winched the Jeep up to a more level spot. Left it on the trail overnight. Fixed it the next day.
Sent from my SM-N910W8 using Tapatalk
Did anyone get good pics of this going down?
No, nobody got any pics or video as it was happening (almost like it never happened) - LOL
Here are a few pics of the RCV Axle install.
An the disassemble begins... woohoo!
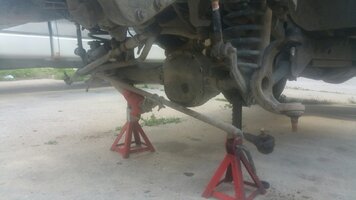
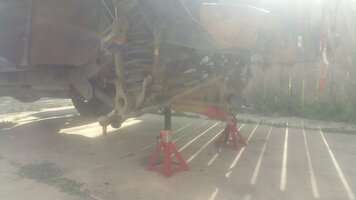
Disassemble took a bit.
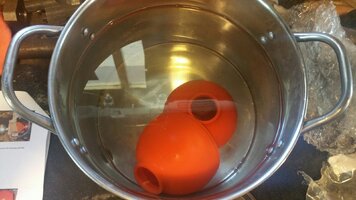
Someone said to soak the boots in scalding hot water to soften them up for install (heads-up this doesn't work).
Best way for the install I found was to use grease. Once boot is on half way you can reach 2 small pry bars in through the back of the steering knuckle towards you to pry the axle the rest of the way on.
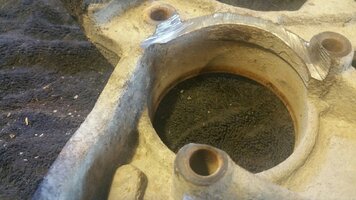
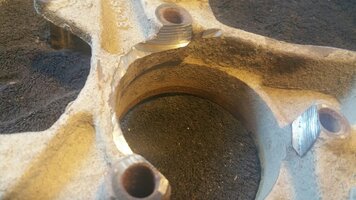
Notching out the steering knuckles I was somewhat leery of (took my time with this part of the install), but it went good.
I don't really have any pics of the actual install process.
At the sametime as the RCV install I also replaced upper & lower ball joints & driver's side tie rod.
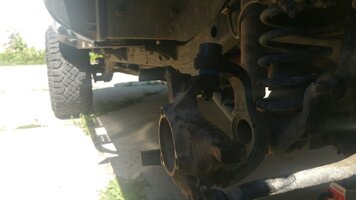
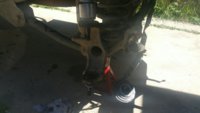
(Finished pics will come shortly).
All said and done after having to run to Summit Customs (Winnipeg, MB) to get the tie rod and to another place to get a 4" grinding disk, this disassemble and install took me from Friday evening to Sunday (just before noon) to complete.

An the disassemble begins... woohoo!


Disassemble took a bit.


Someone said to soak the boots in scalding hot water to soften them up for install (heads-up this doesn't work).

Best way for the install I found was to use grease. Once boot is on half way you can reach 2 small pry bars in through the back of the steering knuckle towards you to pry the axle the rest of the way on.
Notching out the steering knuckles I was somewhat leery of (took my time with this part of the install), but it went good.


I don't really have any pics of the actual install process.
At the sametime as the RCV install I also replaced upper & lower ball joints & driver's side tie rod.


(Finished pics will come shortly).
All said and done after having to run to Summit Customs (Winnipeg, MB) to get the tie rod and to another place to get a 4" grinding disk, this disassemble and install took me from Friday evening to Sunday (just before noon) to complete.


