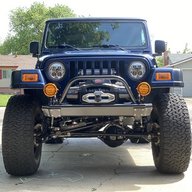
Midnight LJR Build

More Trailer progress:

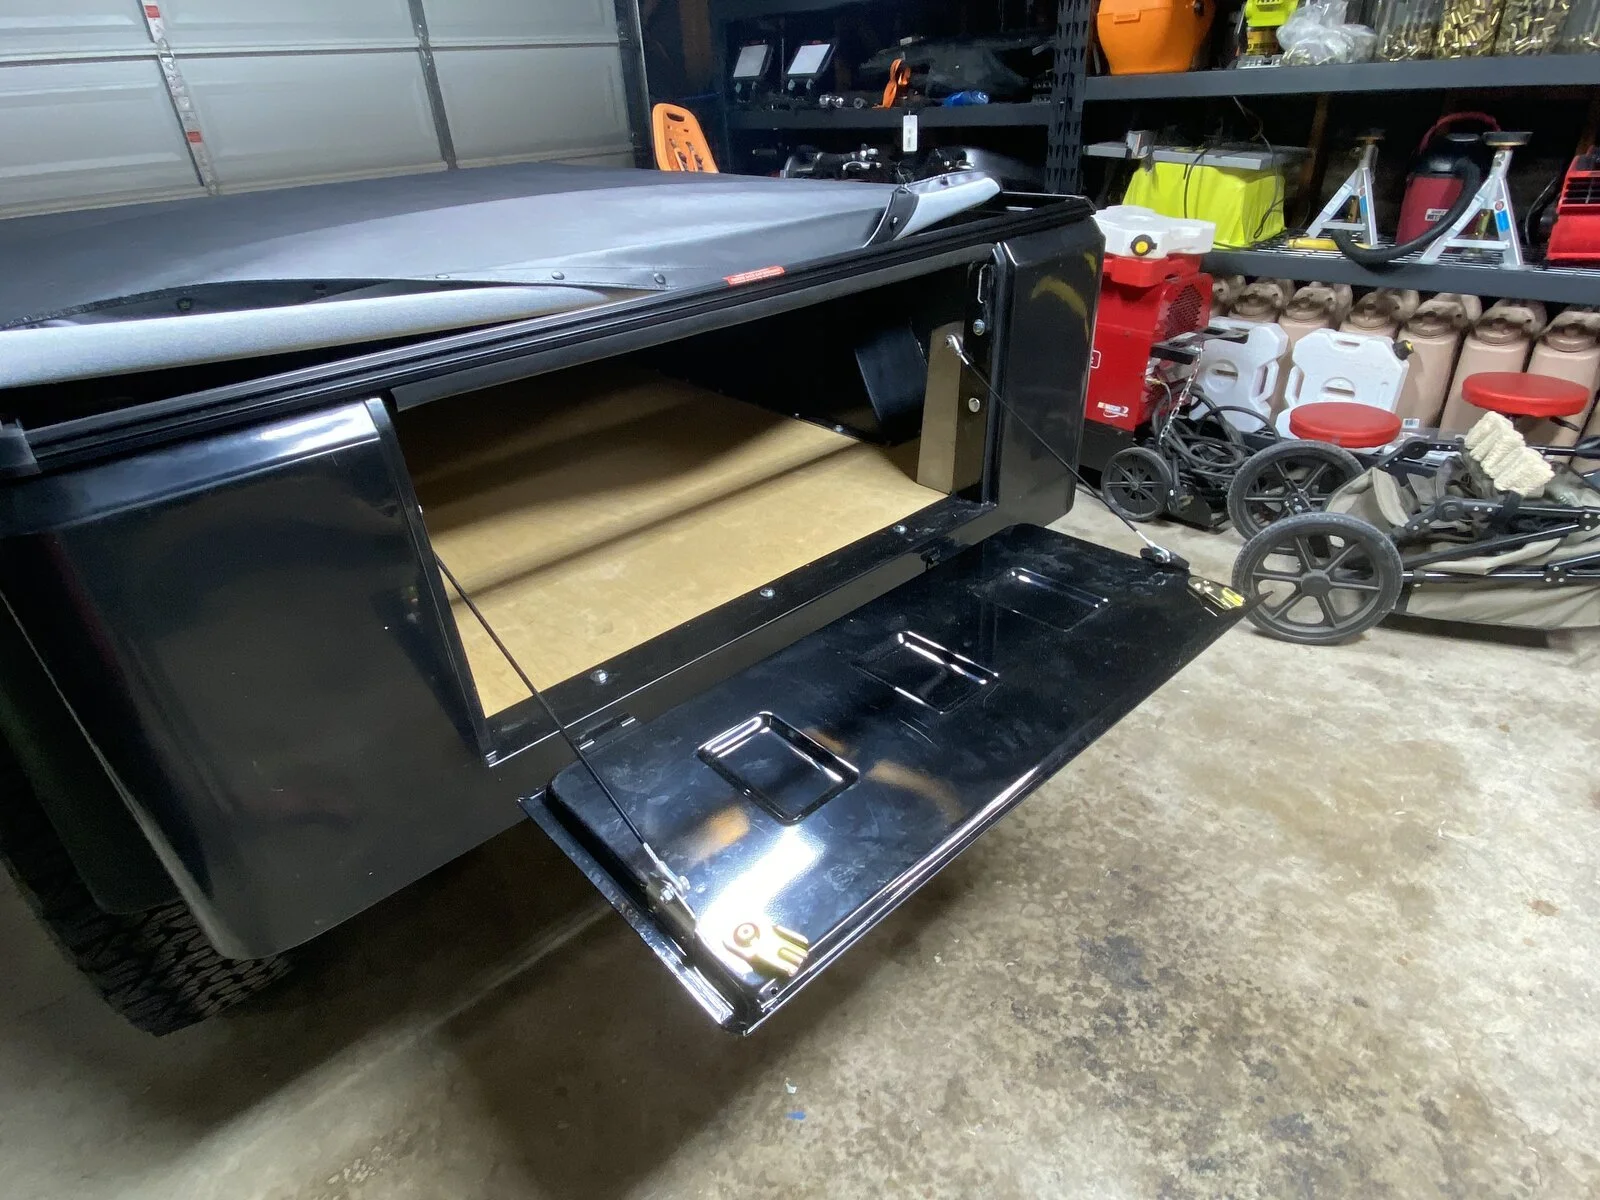
I got the tailgate reinforcements and cables in.
AB4BE038-3B84-45D5-B68E-D0C1A35FEC3D.webp


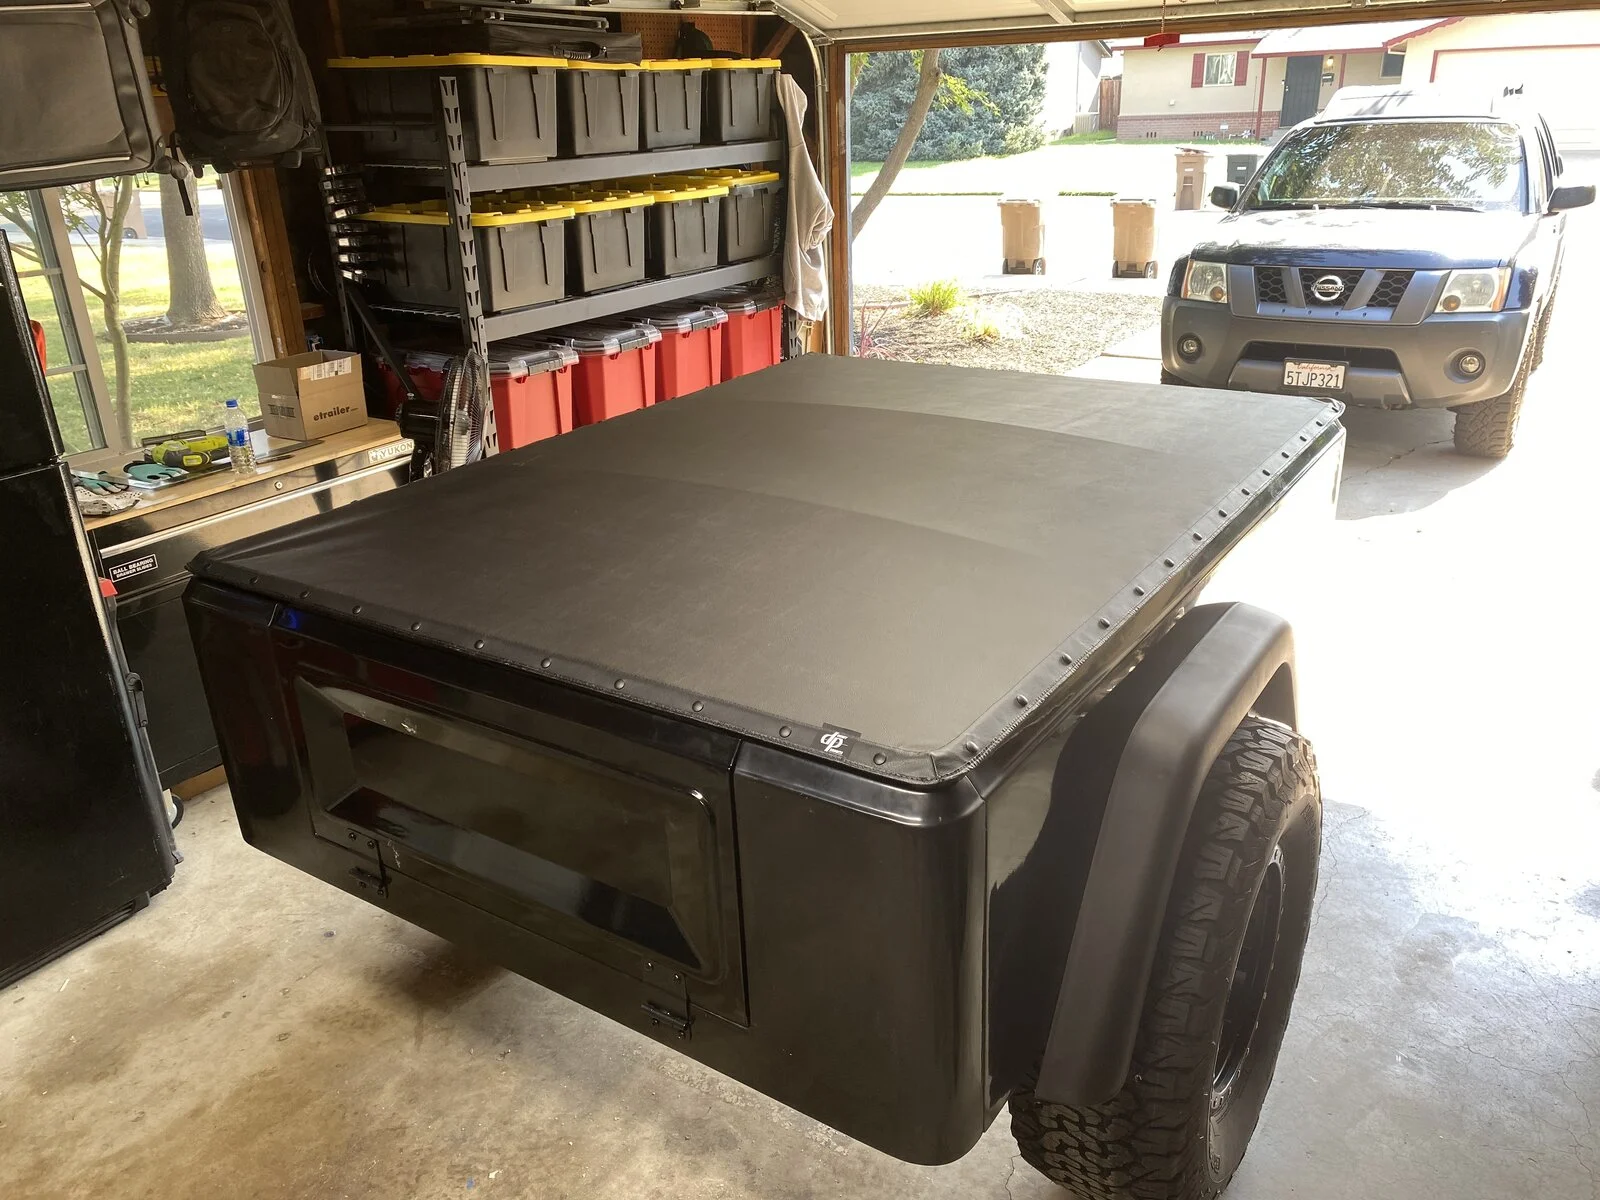
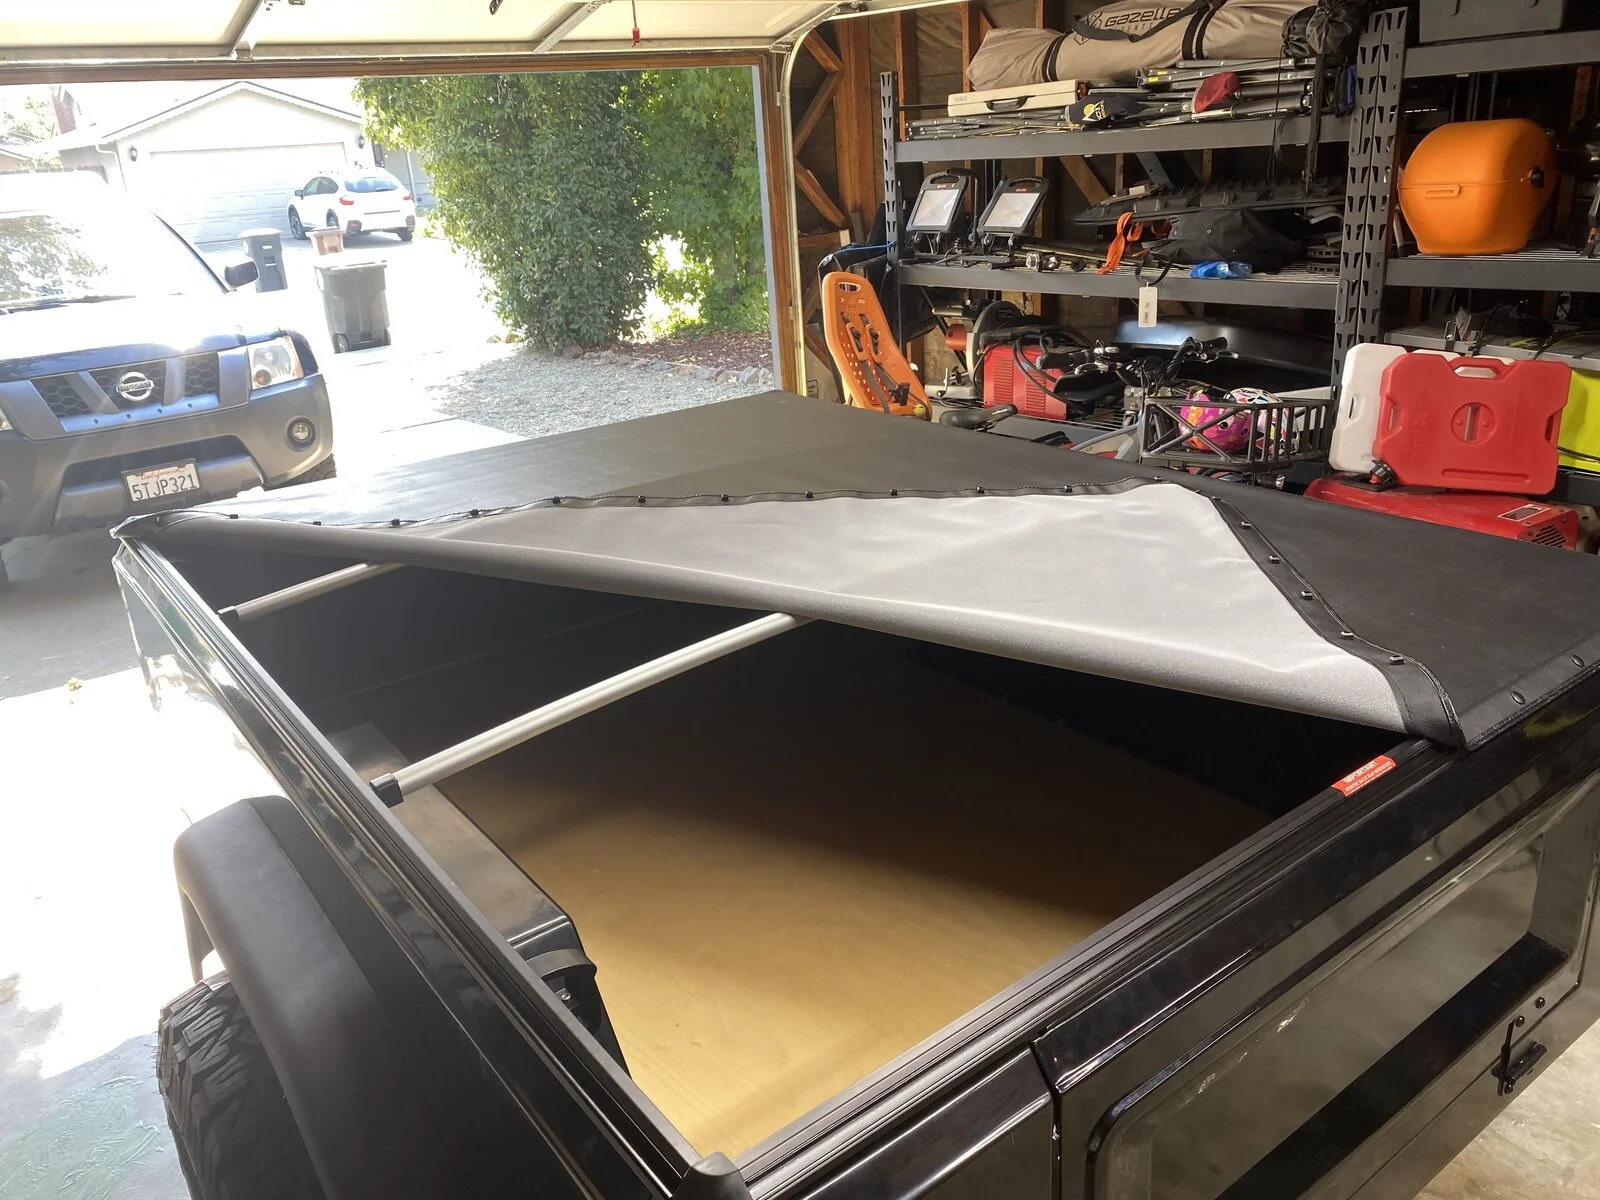
Also test fit the tonneau cover, I have the fiberglass pieces to make a hard cover as well but think I might like the simplicity of this snap on one. It also allows me to get into any corner I want.
5E3EA79B-B590-40CE-BAD6-353F4177B9BA.webp
B3017AB0-35D0-4DC1-A3FA-829C85A04A67.webp


Tacked the shocks in place I didn’t finish weld them yet, wanted to think on the location a bit and make sure I like it.
79FFC7A2-8CC1-4813-9C4D-D9E7BFBD6F3E.webp


I got the safety cables and max coupler ready to go. I still need to drill the hole for the pin for max coupler but am trying to decide the best way to mark and drill the hole.
5CE3F840-6628-457C-9BC6-B08D61B2C554.webp


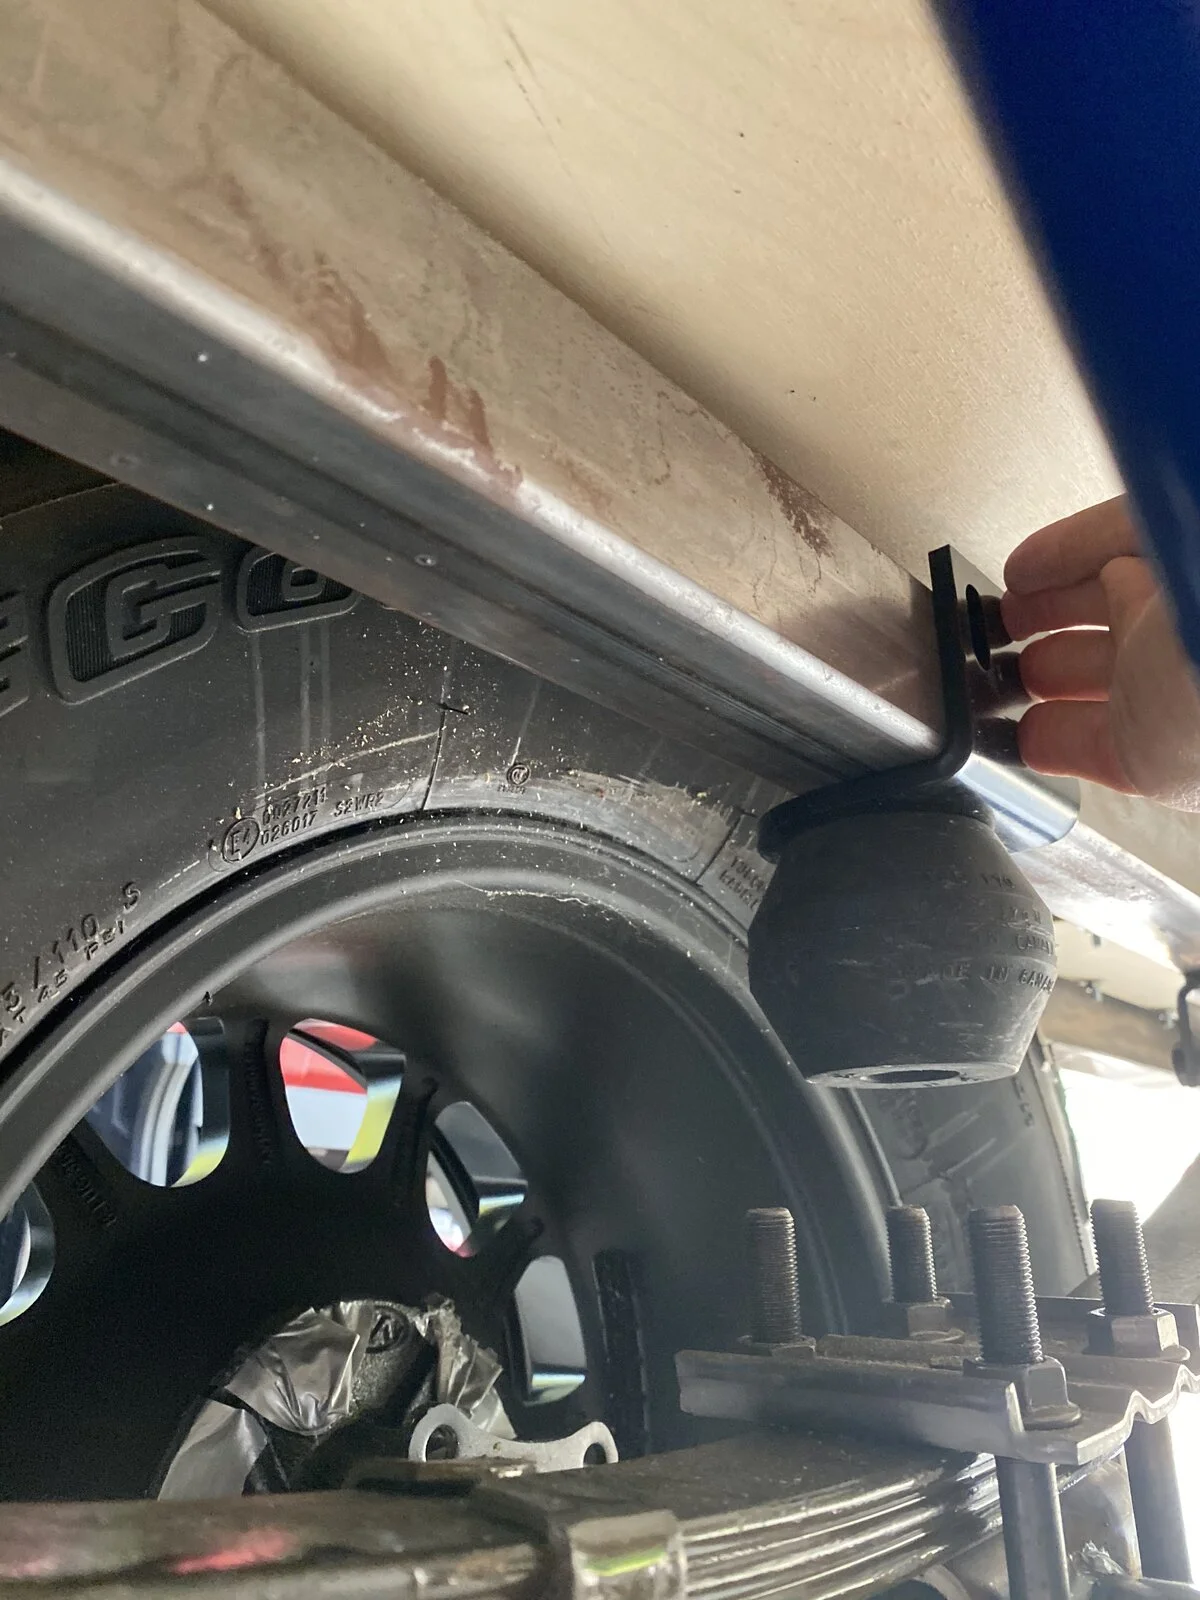
These are some progressive trailer bump stops I got from Timbren. Trying to think how best to make them work.
A12D862E-CC1B-423F-972A-63B9CF9DE5D5.webp
C345B56B-24B1-4EBA-A83F-50E73A9F5167.webp


OCD required that I change the wheel bolts out to stainless to match the jeeps.
C891A93D-66AF-4528-88F6-81F6C8AB77CE.webp


Next step: work on re drilling my spare Rubicon flares to try and fit in place of the sport flares and see which I like better. The trailer uses all new holes vs using the flares on a Jeep.
 
More Trailer progress:

I got the tailgate reinforcements and cables in.
View attachment 184873

Also test fit the tonneau cover, I have the fiberglass pieces to make a hard cover as well but think I might like the simplicity of this snap on one. It also allows me to get into any corner I want.
View attachment 184867View attachment 184868

Tacked the shocks in place I didn’t finish weld them yet, wanted to think on the location a bit and make sure I like it.
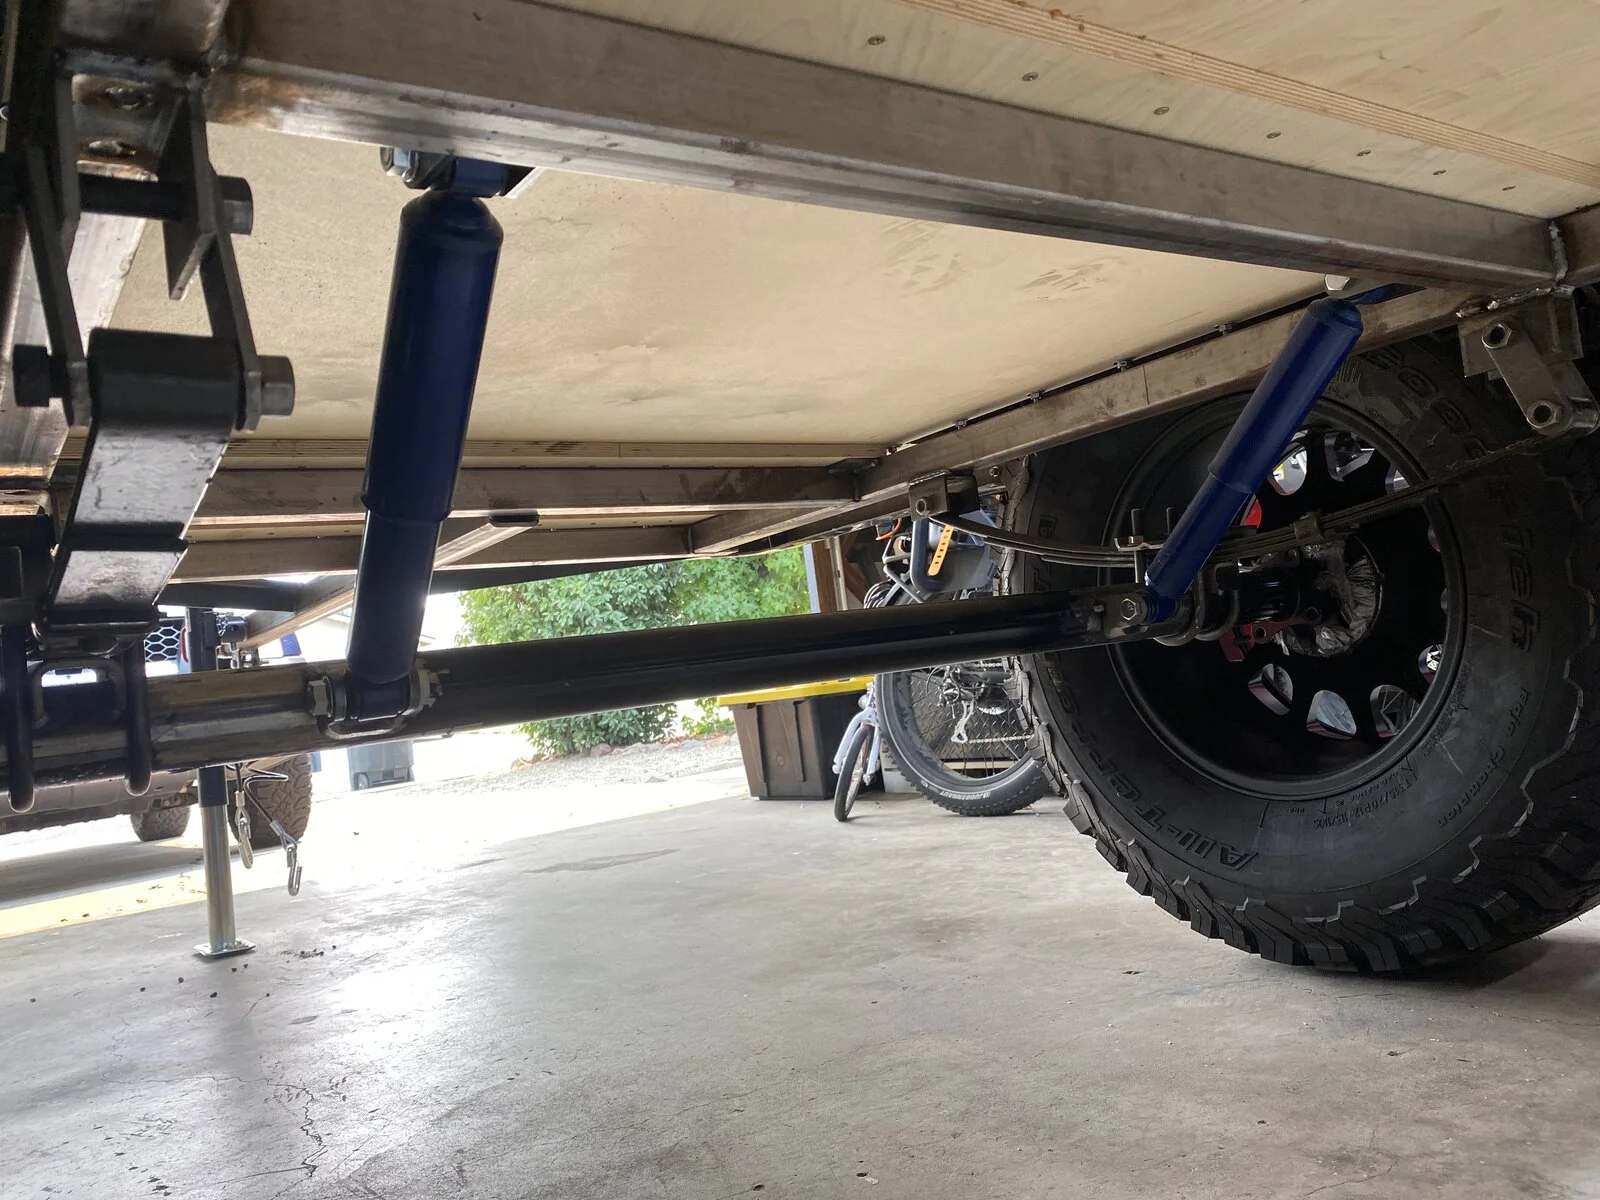
View attachment 184869

I got the safety cables and max coupler ready to go. I still need to drill the hole for the pin for max coupler but am trying to decide the best way to mark and drill the hole.
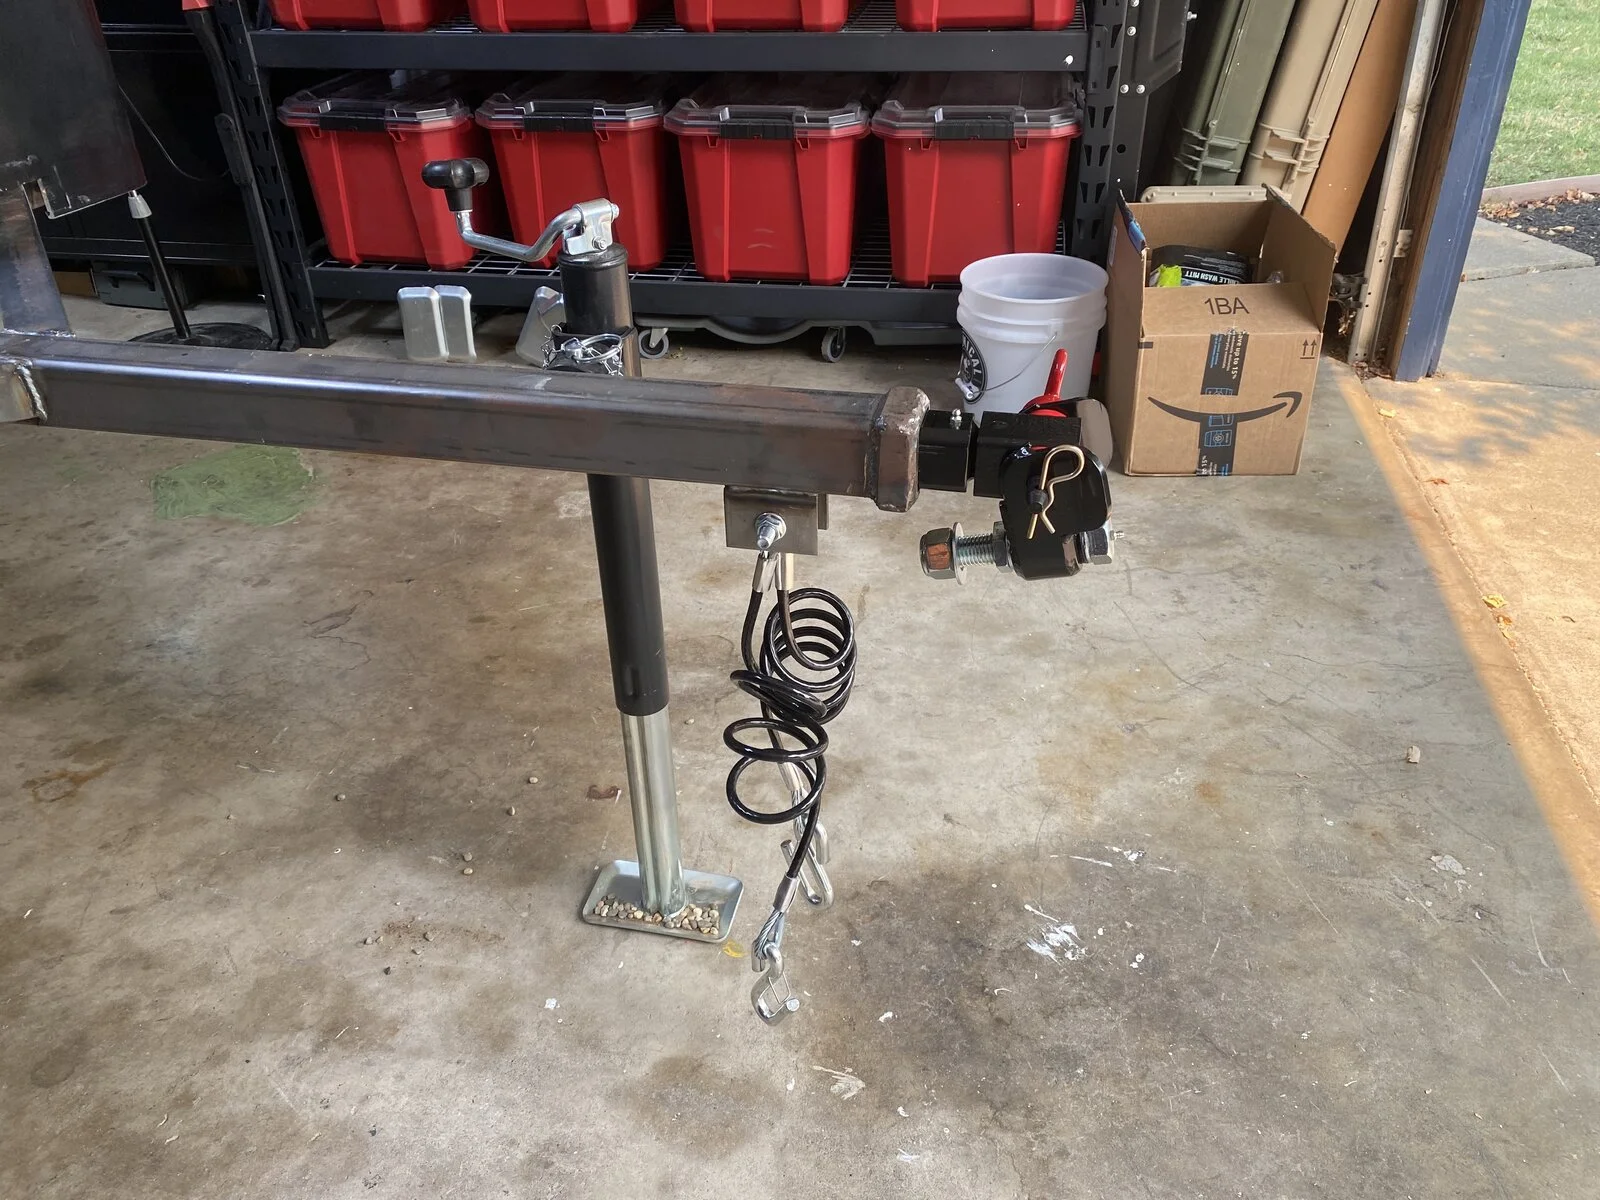
View attachment 184870

These are some progressive trailer bump stops I got from Timbren. Trying to think how best to make them work.
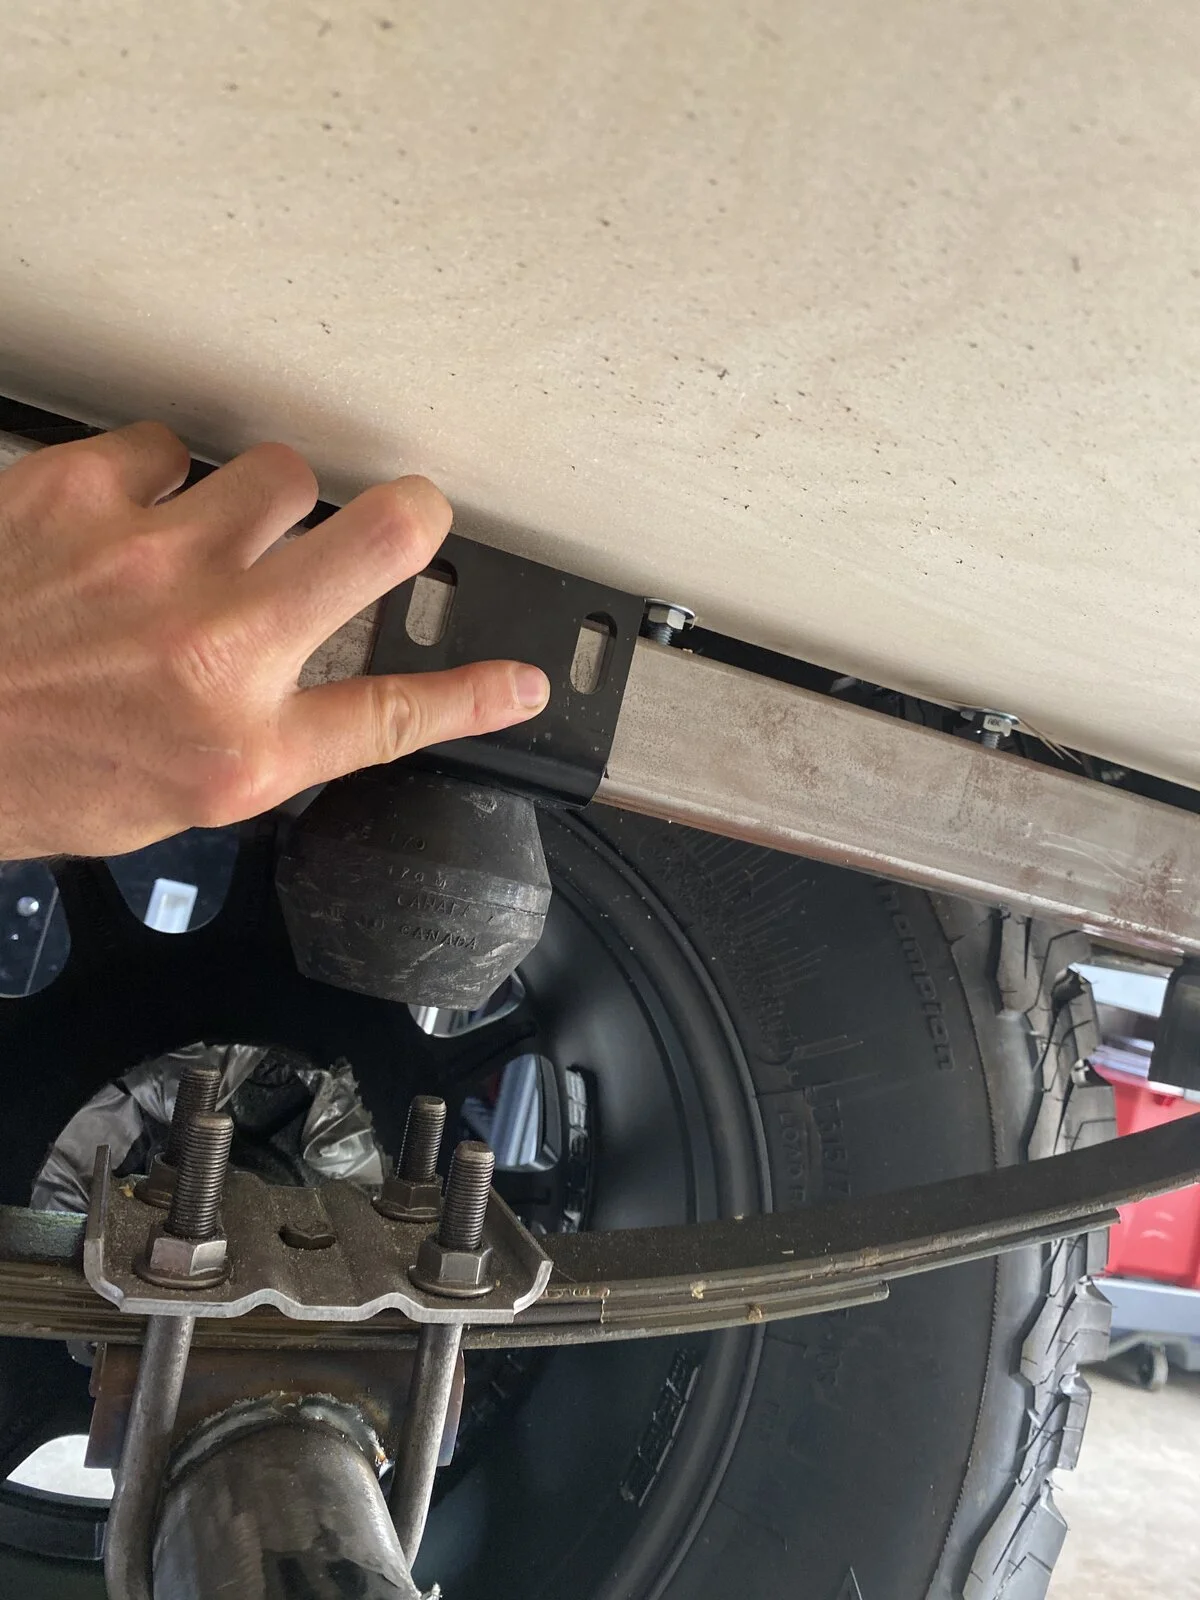
View attachment 184871View attachment 184872

OCD required that I change the wheel bolts out to stainless to match the jeeps.
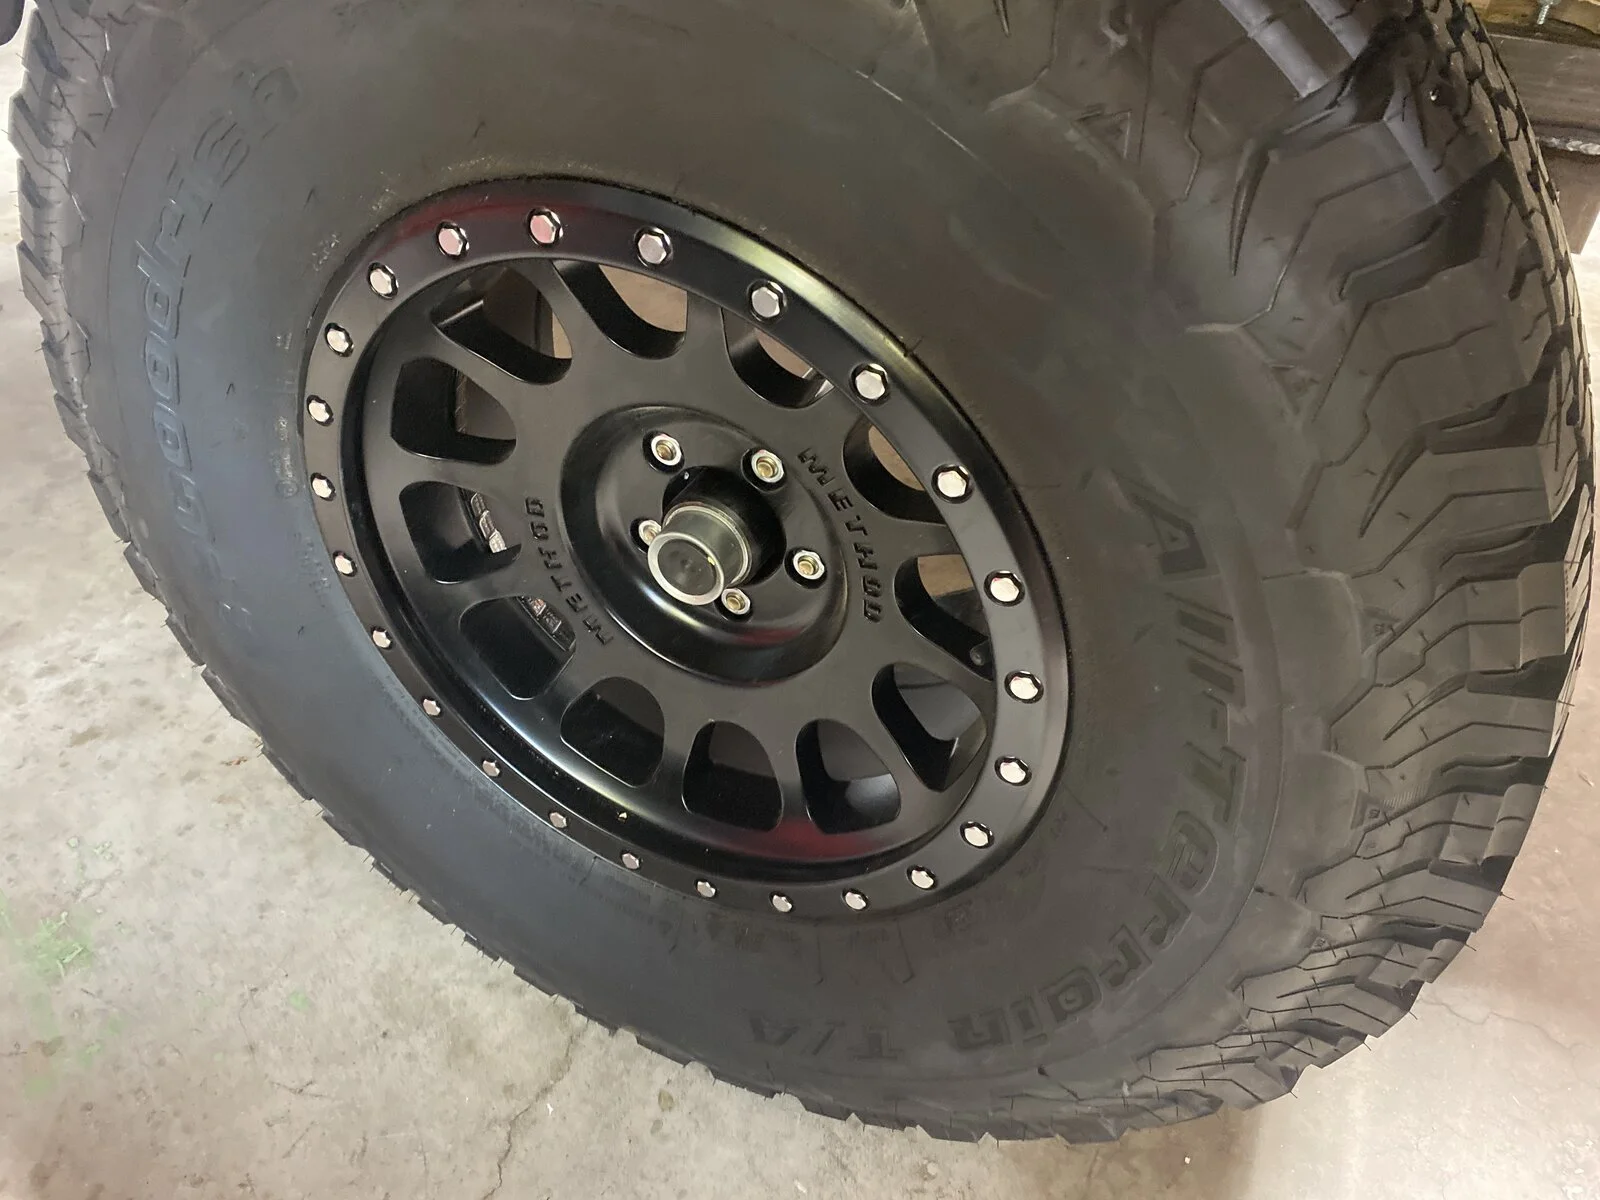
View attachment 184876

Next step: work on re drilling my spare Rubicon flares to try and fit in place of the sport flares and see which I like better. The trailer uses all new holes vs using the flares on a Jeep.
How is the bumpstop attached to the bracket
 
How is the bumpstop attached to the bracket

Single bolt through the top with a nut inside. It’s a hollow bump stop.

Not sure the bracket that came with it will work I may have to fab up something else. I have not spent too much time messing with it yet. I am wondering if I will need to make it land on the axle. Because I am not sure it will clear in between the U bolt plates. I suppose I could also add a platform or something on top of the plate. I’ll have to look at it more tomorrow.
 
  • Like
Reactions: DrDmoney and Alex01
For drilling the pin hole, file or grind a flat spot so you can make a indent and pilot hole.

I was thinking that, my concern is getting it in the right spot. It is going to have to be like exactly centered. I guess measure 3 times drill once. 😁
 
Single bolt through the top with a nut inside. It’s a hollow bump stop.

Not sure the bracket that came with it will work I may have to fab up something else. I have not spent too much time messing with it yet. I am wondering if I will need to make it land on the axle. Because I am not sure it will clear in between the U bolt plates. I suppose I could also add a platform or something on top of the plate. I’ll have to look at it more tomorrow.
looks like it fits between the bolts, can you drill and tap the frame and run the bolt up through?
 
  • Like
Reactions: Alex01
Bumper lower bolt and side hitch bolt are both the same head size even though one is Metric and one is SAE. Side bolt has a weld nut I put inside when I cut the back section off. The cross member where the bolt for the bumper go through has a 90 degree section wrapped inside the corner and drilled for the two bumper bolts. There is another 90 degree section inside that does the same to tie the inner frame section back to the inner cross member. The frame side is plug welded with 5 1/2" plug welds.

Best I could come up with that solved all the problems. I don't normally grind the welds flat but the hitch had to be beat open just a bit to clear the frame before I cut anything. It wasn't going over any welds that stuck up at all.
DSC_5468.webp
DSC_5469.webp
 
Bumper lower bolt and side hitch bolt are both the same head size even though one is Metric and one is SAE. Side bolt has a weld nut I put inside when I cut the back section off. The cross member where the bolt for the bumper go through has a 90 degree section wrapped inside the corner and drilled for the two bumper bolts. There is another 90 degree section inside that does the same to tie the inner frame section back to the inner cross member. The frame side is plug welded with 5 1/2" plug welds.

Best I could come up with that solved all the problems. I don't normally grind the welds flat but the hitch had to be beat open just a bit to clear the frame before I cut anything. It wasn't going over any welds that stuck up at all. View attachment 184930View attachment 184931
That looks like it’s going to work great. There really is a lot of stuff going on in that little area. Thank you!

Edit: The more I look at that Blaine the more impressive it is. It’s amazing how much work a simple sentence like. “Could you raise this part up and make it so the hitch can come on and off easy?” turns into.
 
Last edited:
That looks like it’s going to work great. There really is a lot of stuff going on in that little area. Thank you!

Edit: The more I look at that Blaine the more impressive it is. It’s amazing how much work a simple sentence like. “Could you raise this part up and make it so the hitch can come on and off easy?” turns into.
It is hard to get a clear pic of it but the piece on the inside does the same thing as the angle piece I put in to reinforce the bumper mount holes. Except, it is full height from the top of the frame down to the bottom with an angled cut on one side that matches the profile of the little piece I cut in on the bottom of the frame. There is no room to get in there and weld the rear vertical edge which is why I drilled and put in the plug welds.

To do any more, I would have to drop the tank and raise the tub way up and I've not been able to convince myself that is needed yet.

Another thing I did is bolt the little stud plate to the bumper. The keepers got mashed during the install (they are supposed to) and fell off allowing the studs to fall back inside the bumper. I fished them back in place, bolted them down and drilled two 1/4" holes through the bumper and flange. Countersink and a couple of flat head screws later, they won't fall out again should you need to remove and reinstall the bumper for any reason.

The best part of the raising is having 2.5" wide frame material here to cut the top sections out of to extend the raised part straight forward.
 
  • Like
Reactions: Alex01
Trailer. He was saying the square tube is too thin to thread.

Picture is from post 1,081

View attachment 185032
That's what I thought but then I got confused over the need to disassemble the whole fucking trailer and carry it over to the drill press with 5000 dollars worth of melty hole shit chucked up in it and the complete and utter lack of a thread rolling tap set up. Put a fucking nutsert in it and be done.