James & The Sahara Build Thread

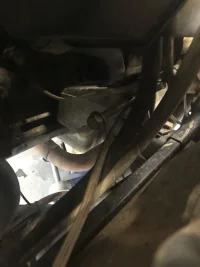
Hey guys another update! So the small mini projects I have been working on have finished to get everything ready for Wednesday's massive project! I removed my rear bumper and hitch to get them out of the way, this took significantly more PB blaster than expected, they were quite rusted. They are also trashed, probably going to add a frame-mounted rear recovery hook until I pick up a proper recovery bumper. I will say this prompted me to make a run to the hardware store and get several cans of PB blaster to soak the mess out of all my suspension components so I don't have to fight those.
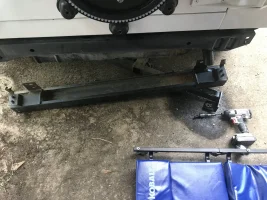
IMG_4606.webp
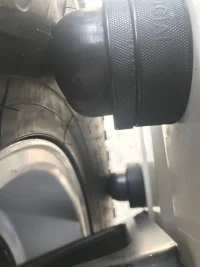
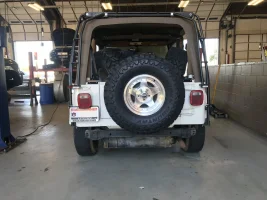
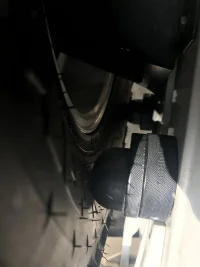
I had to go ahead and figure out exactly how much extension my rear tire snubbers would need and it looks like .5" on the bottom, 1" on the second row, and 1.5" on the top row. I thought this was quite weird but the tire is making contact exactly how it needs to and isn't making any noise (WOW! That 33" tire makes my stock TJ look so tiny).
IMG_4623.webp IMG_4624.webp IMG_4625.webp
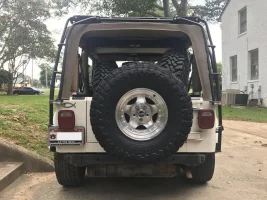
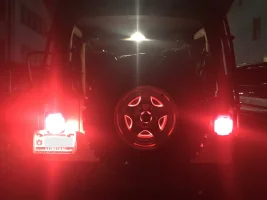
I also removed the factory rear tail light and installed a custom third brake light with a writeup I found on another forum. I am more than willing to share the writeup with another that is interested but all in all it costed me roughly $20.00 in supplies/equipment. Absolutely love how it turned out, it plays quite nicely with the American Racing center caps as well!
IMG_4642.webp
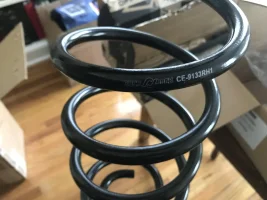
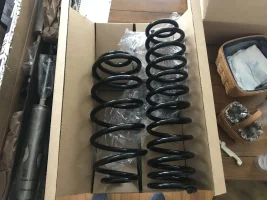
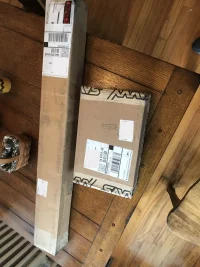
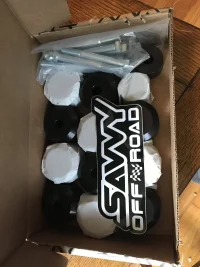
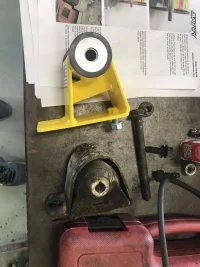
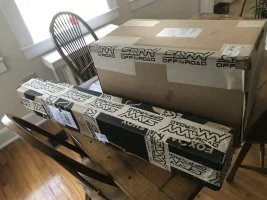
Finally, the shipment update. I received the motherlode today! The TB and BL should be here tomorrow and the rear TB bracket won't make it for my initial install so won't have the rear axle perfectly centered until MC gets that shipped out.
IMG_4626.webp IMG_4632.webp IMG_4633.webp IMG_4634.webp IMG_4635.webp
 
Looks like you'll be having fun shortly.
Fun? Ha, Ha, it will be fun when it's all together and working properly! Ok, I guess doing it is kinda fun. Can be frustrating too!

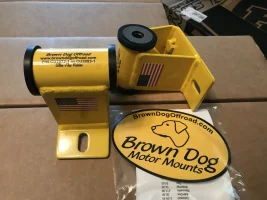
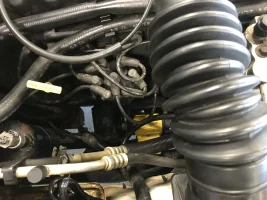
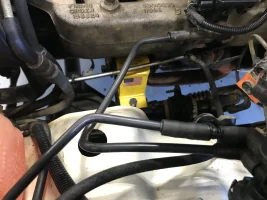
When you do the Brown Dog MML, it's difficult to snake the drivers side up from the bottom. I had to go in from the top. Of course, there's that bolt on the drivers side MML that won't come out, just remove the three bolts that hold the bracket to the engine.

Oh, and Congrats! Going to look awesome...
 
  • Like
Reactions: JamesAndTheSahara
Fun? Ha, Ha, it will be fun when it's all together and working properly! Ok, I guess doing it is kinda fun. Can be frustrating too!

When you do the Brown Dog MML, it's difficult to snake the drivers side up from the bottom. I had to go in from the top. Of course, there's that bolt on the drivers side MML that won't come out, just remove the three bolts that hold the bracket to the engine.

Oh, and Congrats! Going to look awesome...
Yep! Pretty familiar with the process at this point curtesy of this writeup: https://www.4x4xplor.com/MML.html. Going to have access to some quality impacts so hoping that mixed with 2 days advance of soaking bolts in PB blaster does the trick. Out of everything I'm doing I don't foresee any serious complications that may arise unless one of the shock bolts break. *knock on wood*
 
Yep! Pretty familiar with the process at this point curtesy of this writeup: https://www.4x4xplor.com/MML.html. Going to have access to some quality impacts so hoping that mixed with 2 days advance of soaking bolts in PB blaster does the trick. Out of everything I'm doing I don't foresee any serious complications that may arise unless one of the shock bolts break. *knock on wood*
Smart to PB blast for a few days. Hope they all come out well
 
  • Like
Reactions: JamesAndTheSahara
Yep! Pretty familiar with the process at this point curtesy of this writeup: https://www.4x4xplor.com/MML.html. Going to have access to some quality impacts so hoping that mixed with 2 days advance of soaking bolts in PB blaster does the trick. Out of everything I'm doing I don't foresee any serious complications that may arise unless one of the shock bolts break. *knock on wood*
Good write-up. You probably already know, but on step 10, put the drivers Side thru bolt in the opposite direction. This will make an uninstall easier if necessary. On step 15, don't torque down thru-bolts to 48ft lbs. you'll need some washers on either side for the Brown Dog and you only tighten down so the washers can still spin
 
  • Like
Reactions: JamesAndTheSahara
Good write-up. You probably already know, but on step 10, put the drivers Side thru bolt in the opposite direction. This will make an uninstall easier if necessary. On step 15, don't torque down thru-bolts to 48ft lbs. you'll need some washers on either side for the Brown Dog and you only tighten down so the washers can still spin
Very helpful thank you!
 
I also removed the factory rear tail light and installed a custom third brake light with a writeup I found on another forum. I am more than willing to share the writeup with another that is interested but all in all it costed me roughly $20.00 in supplies/equipment. Absolutely love how it turned out, it plays quite nicely with the American Racing center caps as well!

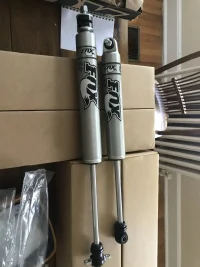
Hey everything is looking awesome! The fox shocks look killer.Can you do a write up on that third brake light? I love the way it looks, and would like to add it to my TJ thanks James!
 
  • Like
Reactions: JMT
Hey everything is looking awesome! The fox shocks look killer.Can you do a write up on that third brake light? I love the way it looks, and would like to add it to my TJ thanks James!
Yes, write-up or direct to the good one!
 
Last update before install! I received the 1.25" Savvy BL & the Currie TB today. Sadly the Currie TB was pretty beaten up in the packaging and all of the bends has scratches from shipment from Morris 4x4. I gave them a call but their customer service was closed and spoke with someone from sales that was still around. He said the TB ships straight from the manufacturer (Currie) and recommended I call back tomorrow when CS opens again. I guess its NBD since its going under the vehicle tomorrow no matter what tomorrow. Just a bit frustrating the first love marks aren't even from me introducing her to some rocks ;).
IMG_4652.webp IMG_4653.webp IMG_4654.webp IMG_4655.webp IMG_4656.webp IMG_4658.webp
 
  • Like
Reactions: Chris
Gonna have a long day! Better get to work!
 
I would be annoyed but those scuffs certainly won't do any harm nor are they enough to want an exchange, IMO.
Of course! My rented bay doesn't open till 11! Printed out all the necessary materials and about to make one more Fastenal trip.
You'd think they'd have the shipping packaging figured out by now how to protect their stuff...one off-road trip, however, and the scuffs will be forgotten.
 
Another update! I had a solid 6 hours in the shop today. I got the Brown Dog 1" MML & the Savvy 1.25" Body lift installed today. I thought I knew what to expect. Nearly everything I thought was going to be hard was really easy and the parts I thought would be hard were insanely easy. I don't know if my early generation TJ with AC is different than everyone's Jeep, but I had no issues with doing the 1" MML. It took about 2 hours start to finish going pretty slow. I didn't have to remove the engine bracket and the driver side just slide right out with no issues with the AC compressor. Lucky me! On the body lift today I could not for the life of me get enough space for the rear quarter body lift pucks. It wasn't until 2 hours later I realized my Gobi Roof Rack's frame tie in was connecting the body and the frame and fighting against me, ugh. Noob mistake, but one I won't forget. The Savvy extensions for the radiator support make sense, but were miserably terrible to install them in that tiny hole with a slit access hole in the body. It took nearly an hour just to fish the bolts through to do the mount, granted I like the finished product.Tomorrow will be the shocks/springs/tires/bump stops (The stuff I have been so excited for). Here is a couple photos of the install and how she sits now. Wish I had more for you guys but I guess it'll have to wait until tomorrow!

IMG_4673.webp IMG_4675.webp IMG_4679.webp IMG_4680.webp IMG_4681.webp IMG_4682.webp

I did also want to add that my dad helped with the install even with no automotive background whatsoever. It meant more to me than he realizes and glad I got spend some quality time fighting the Jeep today with him today.