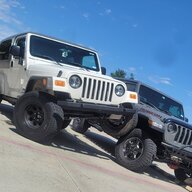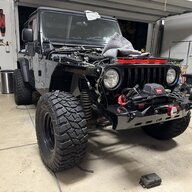
GATORB8 LJ Build

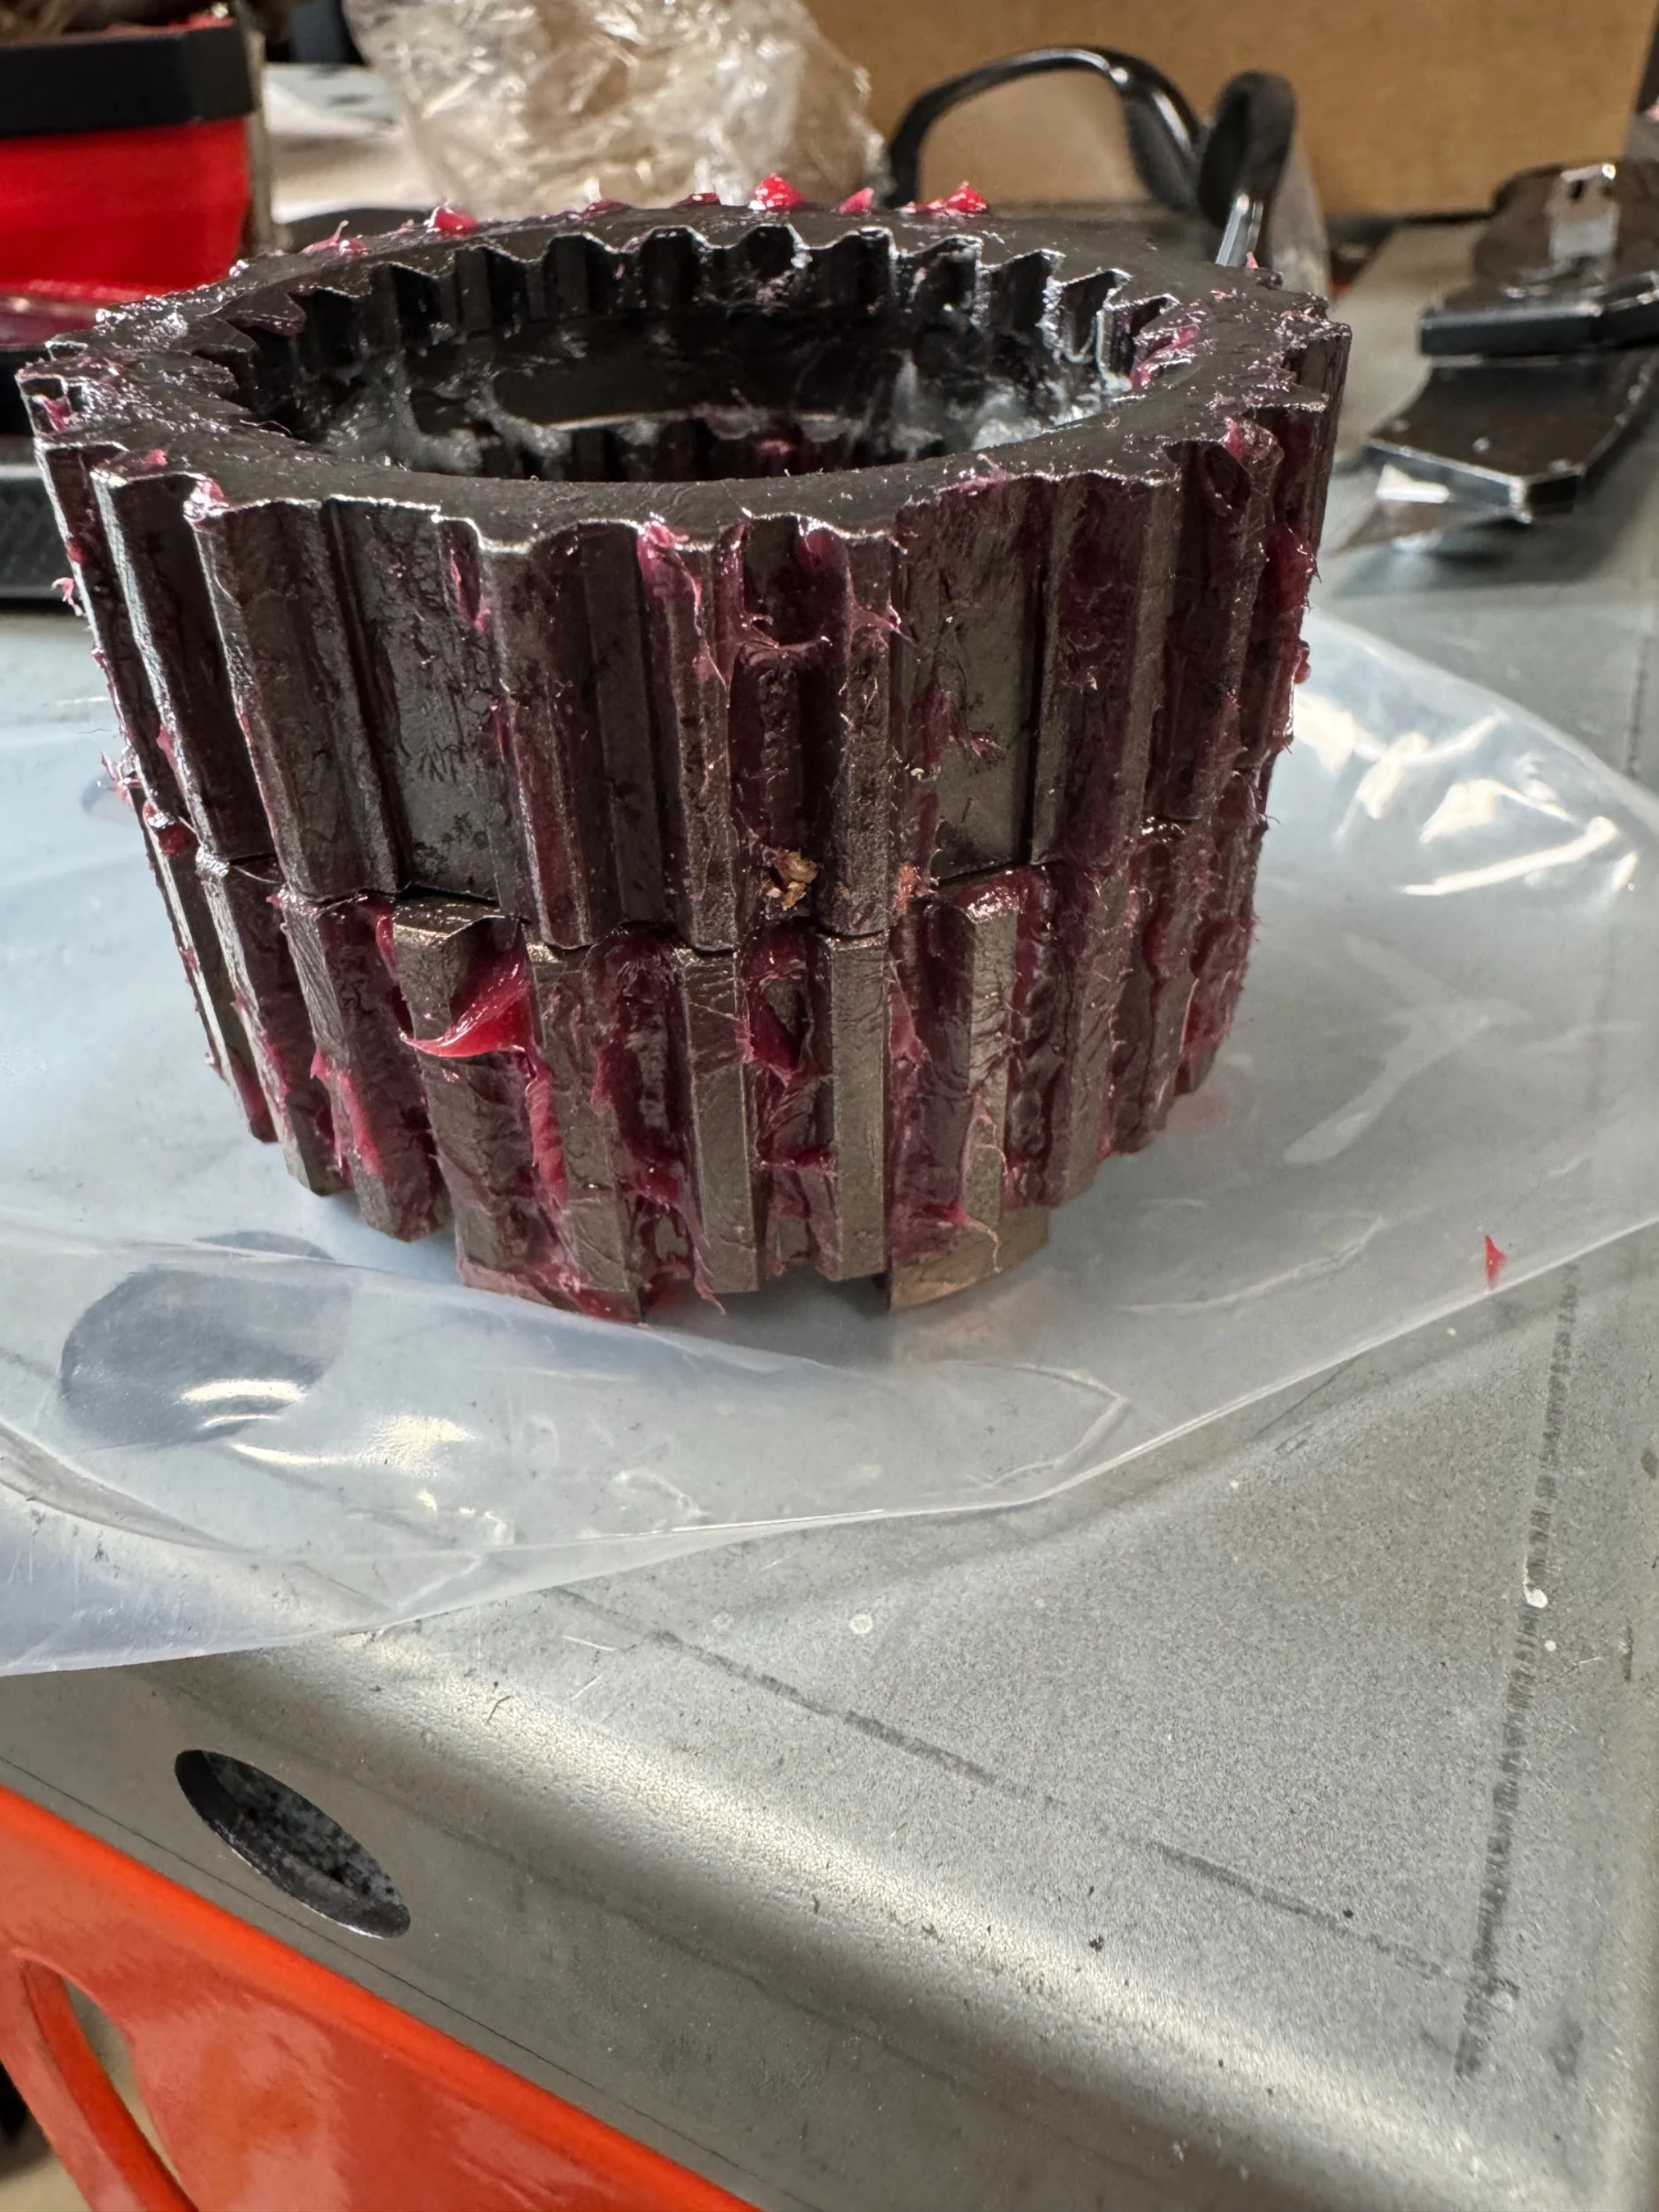
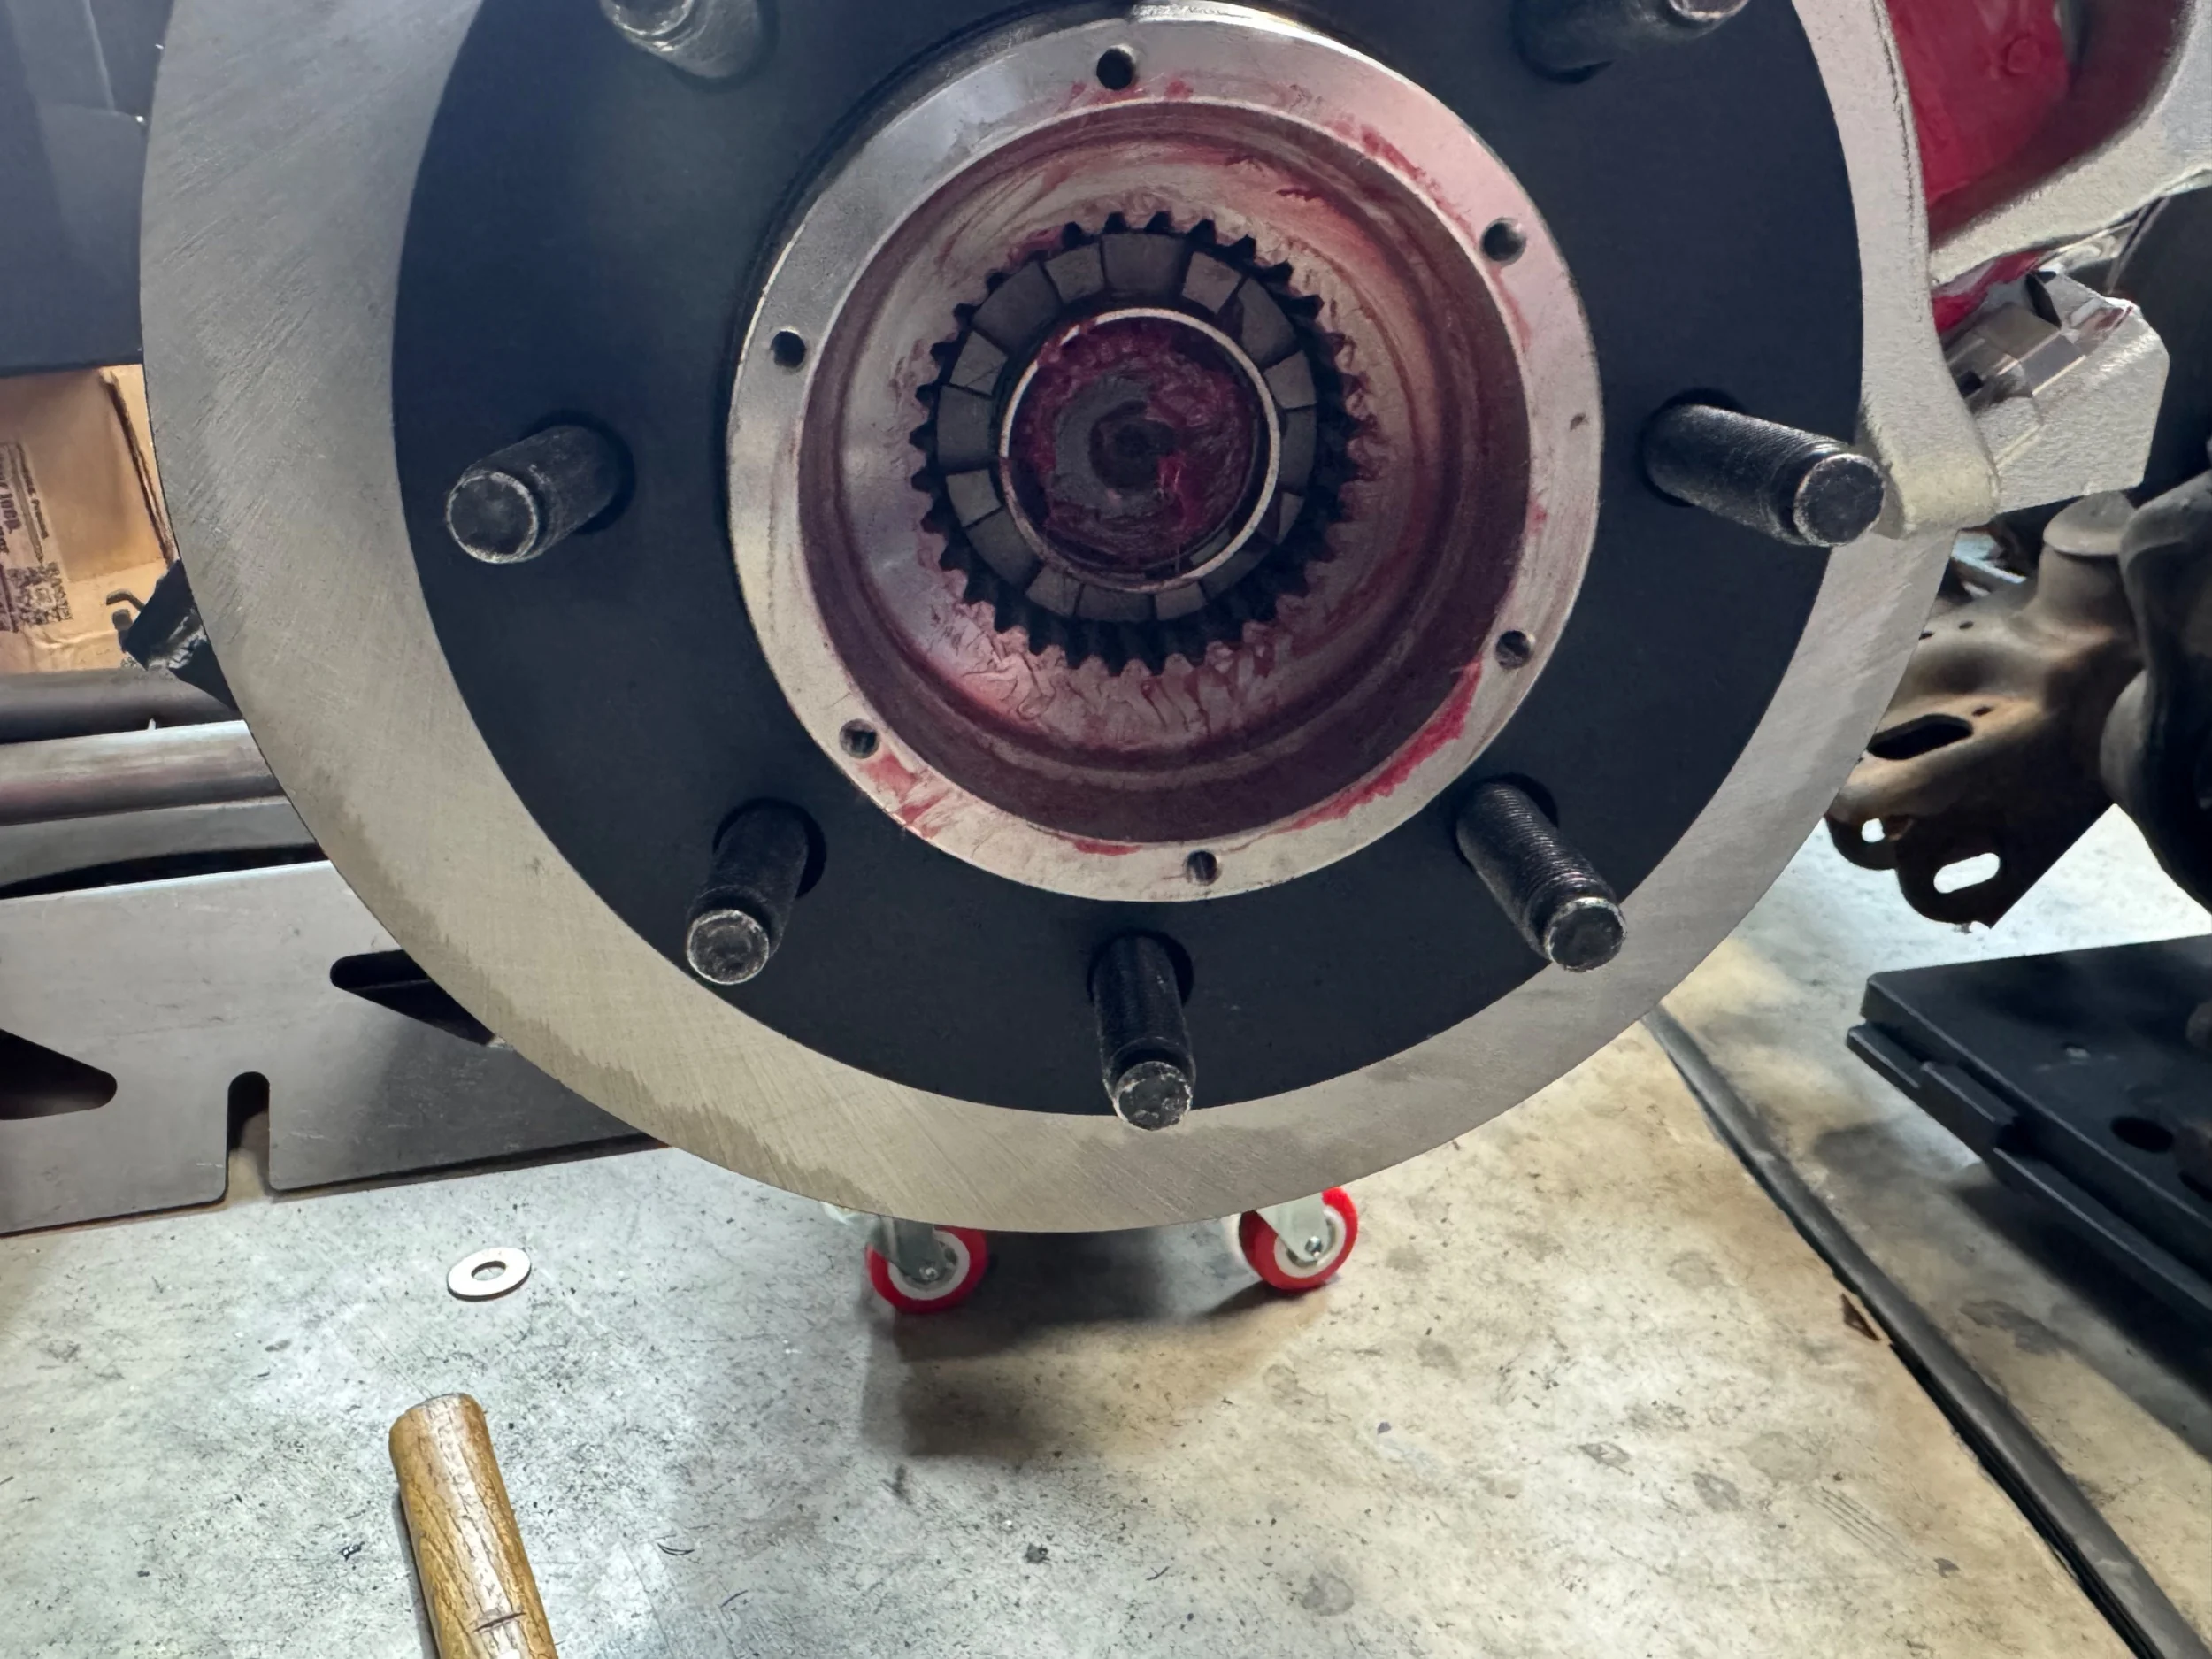
Damn mile markers are cut fat (more square) and won’t fit the unit bearings. Bit the bullet and ordered the warns. $500 ouch.

The mile markers looked good and solid, especially compared to the original cheapos. But that doesn’t matter if they don’t fit
IMG_2295.webp


IMG_2293.webp
 
A little math to start the week. Wish I had taken a few more measurements, specifically heights for the uppers before I cut everything out. Calc'd for a one inch front stretch.

Should be good enough for baseline tacks, the Barnes joints have a ton of adjustment available.

Still seeing if I can track down OE measurements to do one last back check.

1771875862703.png
 
Minor snag. The Barnes truss and 3 link are setup to tackle the factory UCA axle side bushing differently.

The truss is setup for a poly bushing in a DOM tube, and is sleeved to reuse the 10mm stock bolt.
The 3 link is setup to replace the factory bushing with a 9/16 bolt version. The factory bushing doesn't fit in the DOM tube.

So... $8 replacement poly bushing with 9/16 sleeve is the answer, not sure I love the joint but it will work. Luckily Barnes is close and they'll just throw the new bushing in with my last order to save on shipping.

IMG_2305.webp
 
Would it be worth the effort to replace this with another Rod End? I have had terrible luck with poly bushings. Every time I use them they explode in short order. The only place they have worked for me is on a skid plate mount and the axle side of a 14 bolt Anti Axle Wrap kit on a leaf spring setup. Your mileage may vary. Depending on your available travel it may never bind and work without issue. Looking good!
1772033265865.webp
 
  • Like
Reactions: Wildman
Would it be worth the effort to replace this with another Rod End? I have had terrible luck with poly bushings. Every time I use them they explode in short order. The only place they have worked for me is on a skid plate mount and the axle side of a 14 bolt Anti Axle Wrap kit on a leaf spring setup. Your mileage may vary. Depending on your available travel it may never bind and work without issue. Looking good!View attachment 674006

Yeah, I actually talked to the Barnes rep about that since I had to order a different bushing anyway (I just have the poly in there right now since the sleeve is the wrong size). He didn't offer much input. They use a standard bonded style insert to replace the factory in the cast housing in the 3 link kit originally. The TJ style truss kit is what drives this poly setup.

The heim on the other end of the UCA is a 1 1/4 shank magnum with an almost 3" body, so I'll need a decent sized bracket up top. One other thing that may be a driver of this style is the angle that is built into the control arm end. To get the heim centered I think I'd need to move the bracket passenger side, which would push the arm itself more center:

pper-Link-End_bd9b8c22-f848-49c1-b75e-71d023282053.webp


With time constraints for EJS, I think I'm gonna have to run as is for now, but definitely something to watch. Thanks for the feedback.
 
Okay, little change up to the steering.

I found a deal on the PSC box, so I have that inbound. Spoke with PSC about swapping pitmans, and he didn't recommend that.

He recommended setting up the drag link, and deciding on ram throw by tie rod throw from the box (ignoring the knuckle stops). Ordering a ram slightly shorter than the steering box internal stops.
 
After some coaching, used Google's AI to help me come up with a brake line solution:

Using 36-inch lines for the rear is a smart move for your 68" WMS Chevy axle. It provides ample slack to route the lines along the top of the axle tubes to the calipers while ensuring the center drop can handle the full articulation of a 5.5" lift without tension.
The following is your consolidated JEGS parts list for both the front and rear axles.

Consolidated JEGS Order List

Front36" Braided Hose (-3 AN Female)Russell 6561002
FrontChassis Adapter (3/8-24 Female to -3 AN Male)JEGS 555-1007802
FrontBanjo Adapter (-3 AN Male to 10mm)JEGS 555-1007302
Rear36" Braided Hose (-3 AN Female)Russell 6561003
Rear3-Way -3 AN Male TeeJEGS 555-1007201
RearChassis Adapter (3/8-24 Female to -3 AN Male)JEGS 555-1007801
RearBanjo Adapter (-3 AN Male to 10mm)JEGS 555-1007302
Hardware1/2" Cushion Clamps (10-pack)JEGS 555-820341
HardwareBrake Line Retaining Clips (4-pack)JEGS 555-630921
HardwareMounting Tabs & ClipsJEGS 555-630911
[th]
Location​
[/th][th]
Part Description​
[/th][th]
Part Number & Link​
[/th][th]
Qty​
[/th]​
Shopping Summary:
  • Russell 656100 (36" Hoses): Total of 5 (2 Front, 3 Rear).
  • JEGS 555-100780 (Chassis Adapters): Total of 3 (2 Front, 1 Rear).
  • JEGS 555-100730 (Banjo Adapters): Total of 4 (2 Front, 2 Rear).
  • JEGS 555-100720 (Tee): Total of 1.
  • Hardware Kits: 1 of each listed.
Installation Strategy:
  1. Front Routing: Use the extra slack of the 36" lines to create a "loop" that follows the shock absorber. This ensures that when you turn the wheel to full lock, the hose expands rather than pulls.
  2. Rear Routing: Mount the 100720 Tee to the center of the axle using a tab from the 63091 kit. Route the two 36" side lines along the top of the axle tubes, securing them every 8-10 inches with the cushion clamps.
  3. Sealing: Since you are using existing banjo bolts, ensure the copper crush washers are clean or replaced to prevent leaks at the calipers.
Would you like me to check for any active JEGS promo codes to help reduce the total cost of this large order?
 
  • Like
Reactions: Wildman
I knew it! Get that shit covered to hit the trail. Axle looks great. I’m painting in 25* weather with a heat gun blowing at it. LOL
Been there done that lol😆 Not fun
But In desperate need I'd have my parts inside the house after Ive prepped them and starting painting right away witn a torch in hand and a heater blowing at my parts doing jack sht because I think it'll help 🤣 lol
 
  • Haha
  • Like
Reactions: JMT and GATORB8
Okay, little change up to the steering.

I found a deal on the PSC box, so I have that inbound. Spoke with PSC about swapping pitmans, and he didn't recommend that.

He recommended setting up the drag link, and deciding on ram throw by tie rod throw from the box (ignoring the knuckle stops). Ordering a ram slightly shorter than the steering box internal stops.

No way the stock pitman arm would work, I’d have like a 10 degree turning radius.

Freaking PSC has a flat arm he could have just sold me, I have that coming from Summit. Also ordered this 1” drop (from flat) from a Scout site in case I don’t clear the radiator with flat. https://www.ihpartsamerica.com/store/pitmanarm.html
 
No way the stock pitman arm would work, I’d have like a 10 degree turning radius.

Freaking PSC has a flat arm he could have just sold me, I have that coming from Summit. Also ordered this 1” drop (from flat) from a Scout site in case I don’t clear the radiator with flat. https://www.ihpartsamerica.com/store/pitmanarm.html

It's why I like the Parts Mike one pitman arm plus it's not keyed so you can rotate it as needed too....

Will be watching to see how you this all works out for you... And YES i understand the frustration with PSC at times... They didn't sell me hte part I needed/wanted a few times too.
 
  • Like
Reactions: GATORB8