Project: Probably Shouldn't Be Alive AKA Sue

Bennythebull

Member
Original poster
Supporting Member
Joined
Apr 6, 2020
Messages
96
Location
Detroit, Michigan
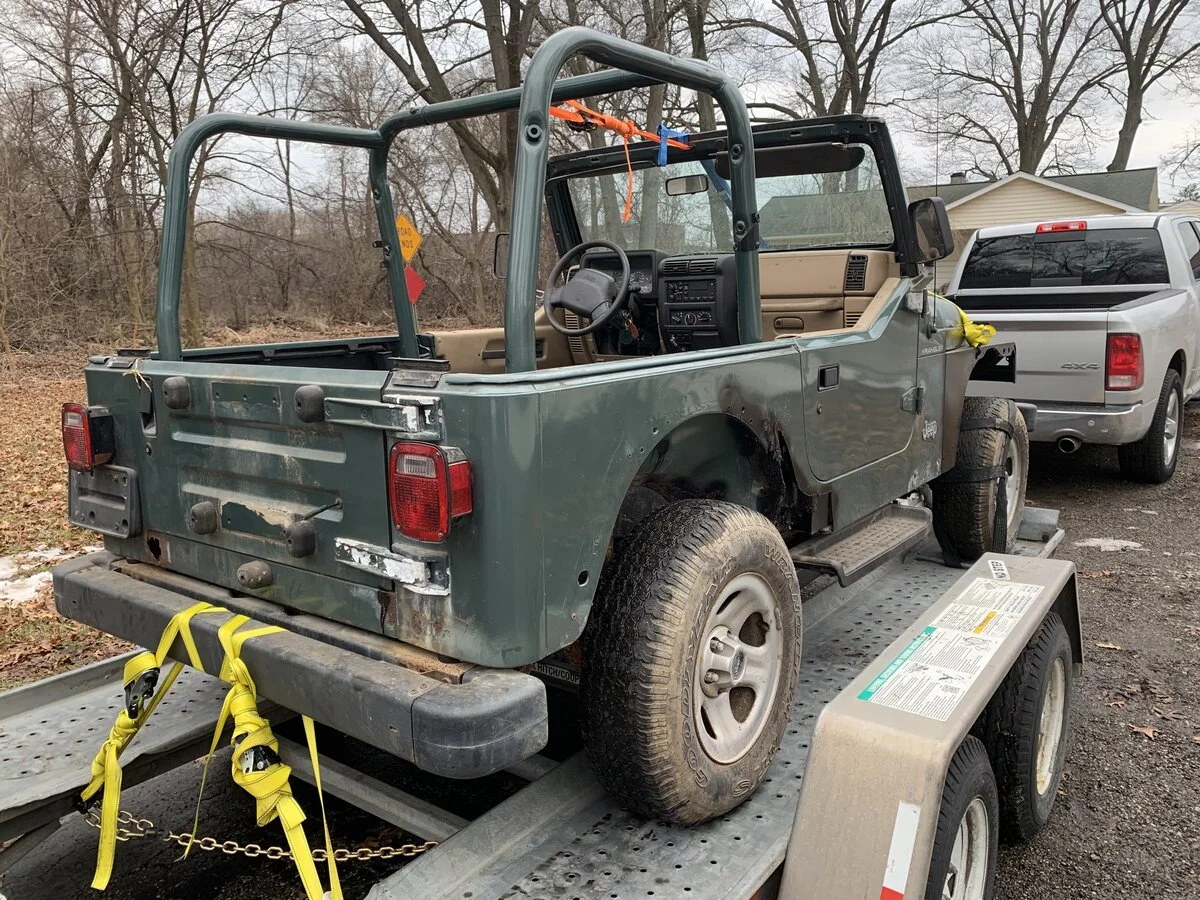
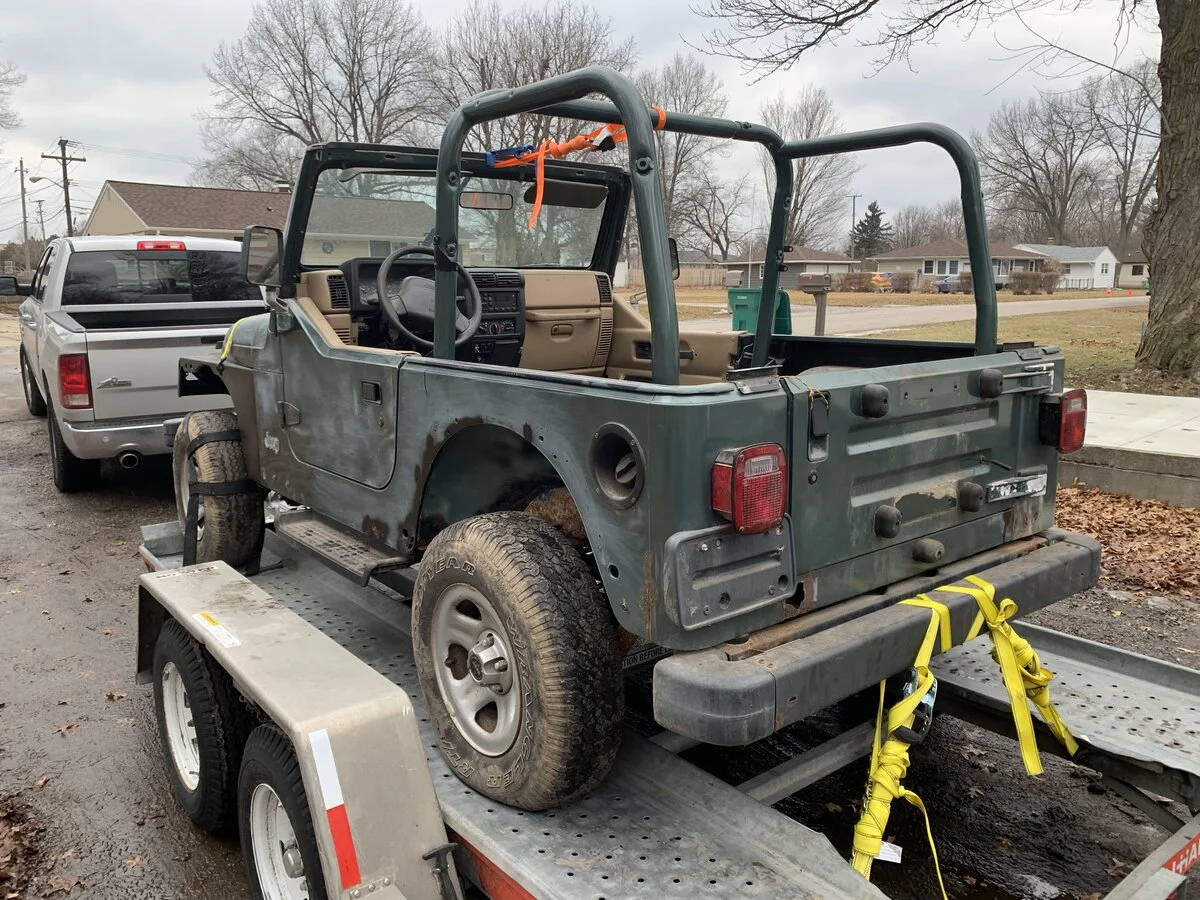
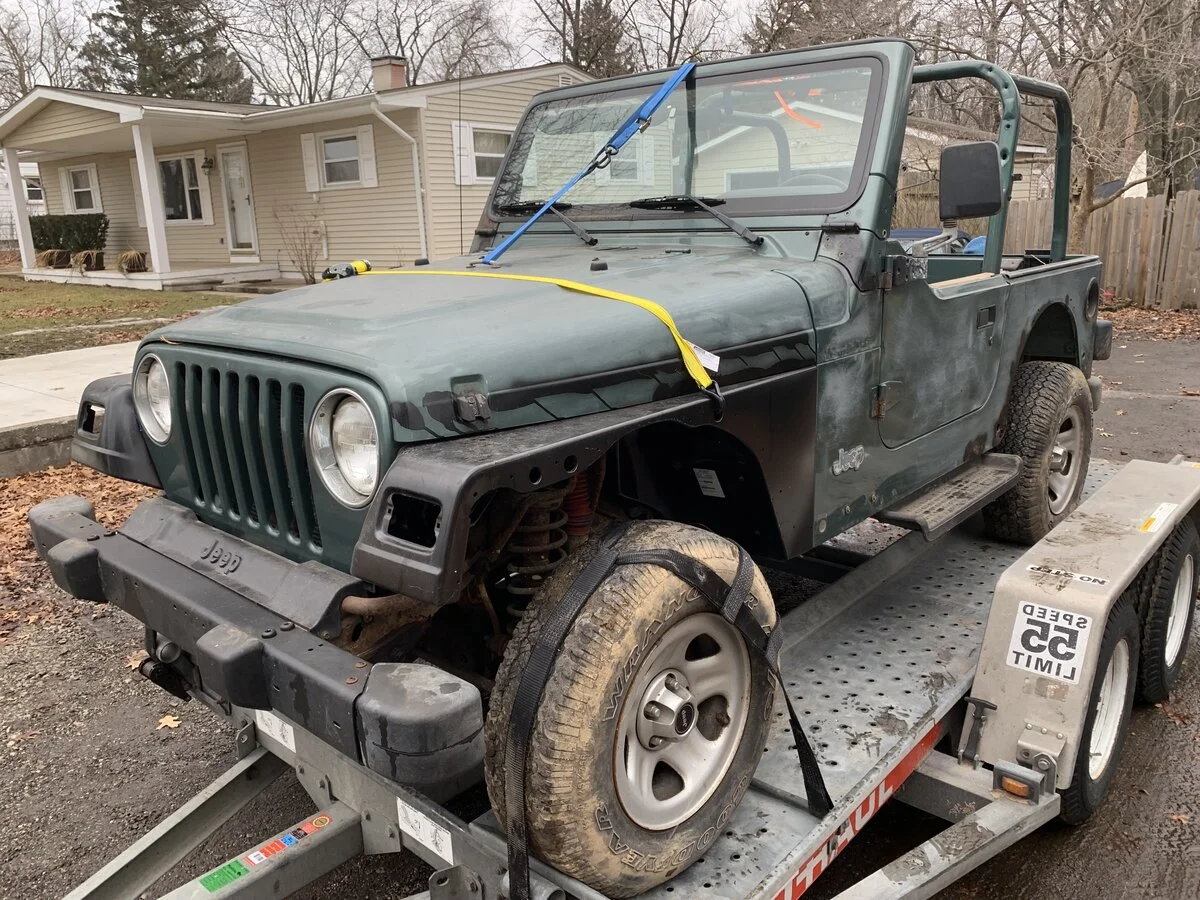
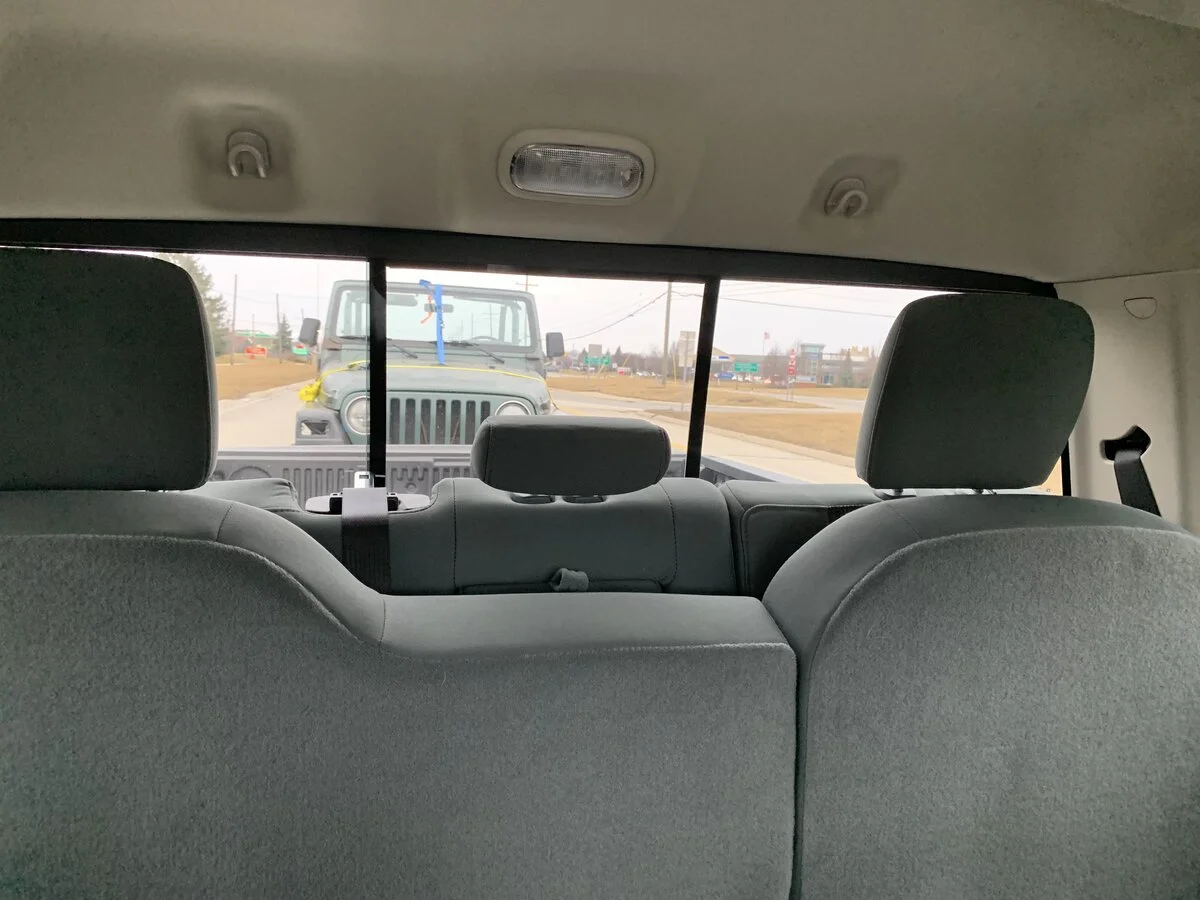
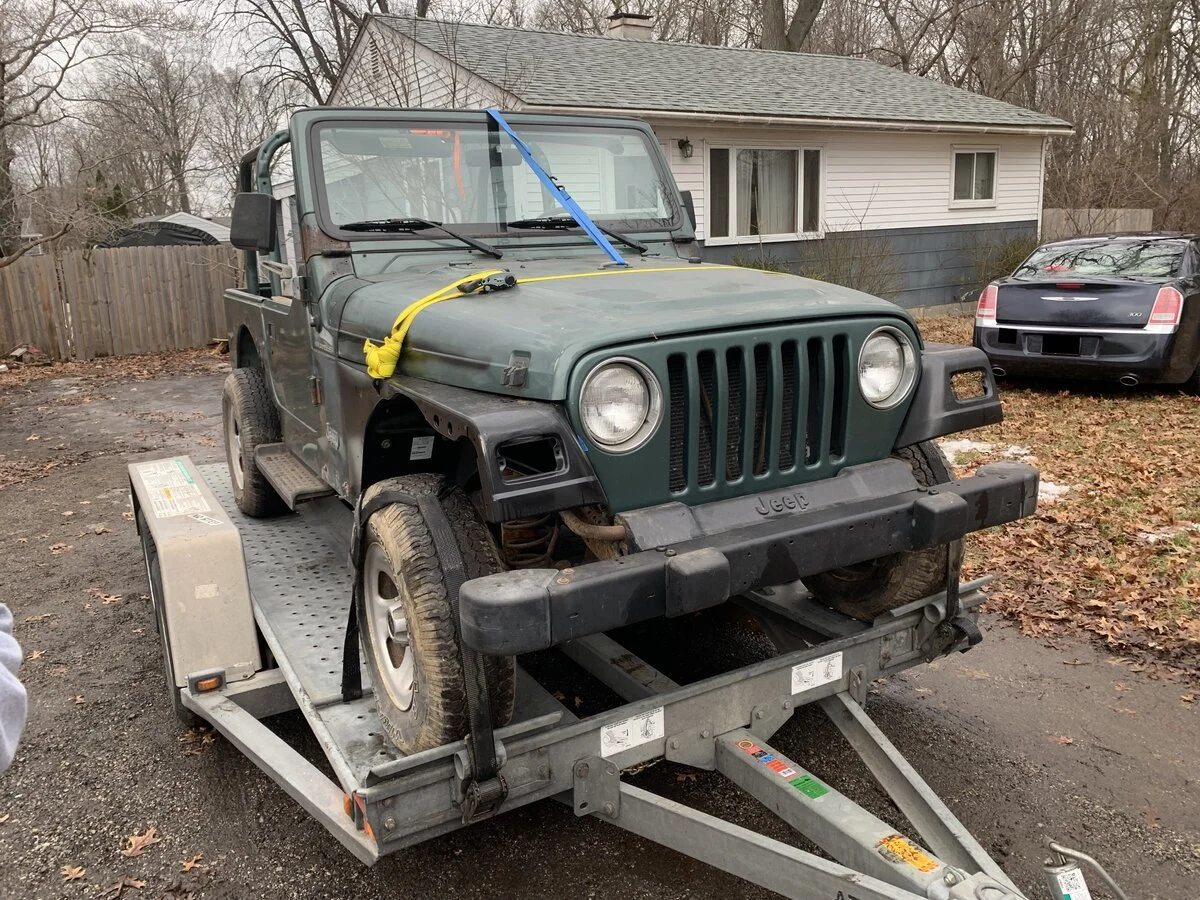
Starting in about 2018 I was desperately looking for a project. My friends and I had been on a University Baja SAE team, and after finishing college one of my buddies decided to make his own, more powerful Baja car. While that project was going on I figured it would be nice to have a reliable off-roader that could act as a recovery vehicle. So in March 2019, I found out that someone I knew had a Wrangler with just a few problems in a tent behind their house. I knew it had frame damage, and I knew it needed body work. In fact, I knew this thing was going to be a big project. What I didn't realize at the time was the scale, the absolute level of destruction that 20 years of Michigan roads had laid out on this Jeep.

I've been lurking on the forums for a while now, using every resource possible to try and put this Jeep back together correctly. Honestly I'm not sure if I would have had the confidence to do all the things I have if it weren't for all of the kind people and useful information on this site. I've posted a couple of times showing the progress of the bodywork, but I'd like to share the whole story. I hope you guys enjoy.
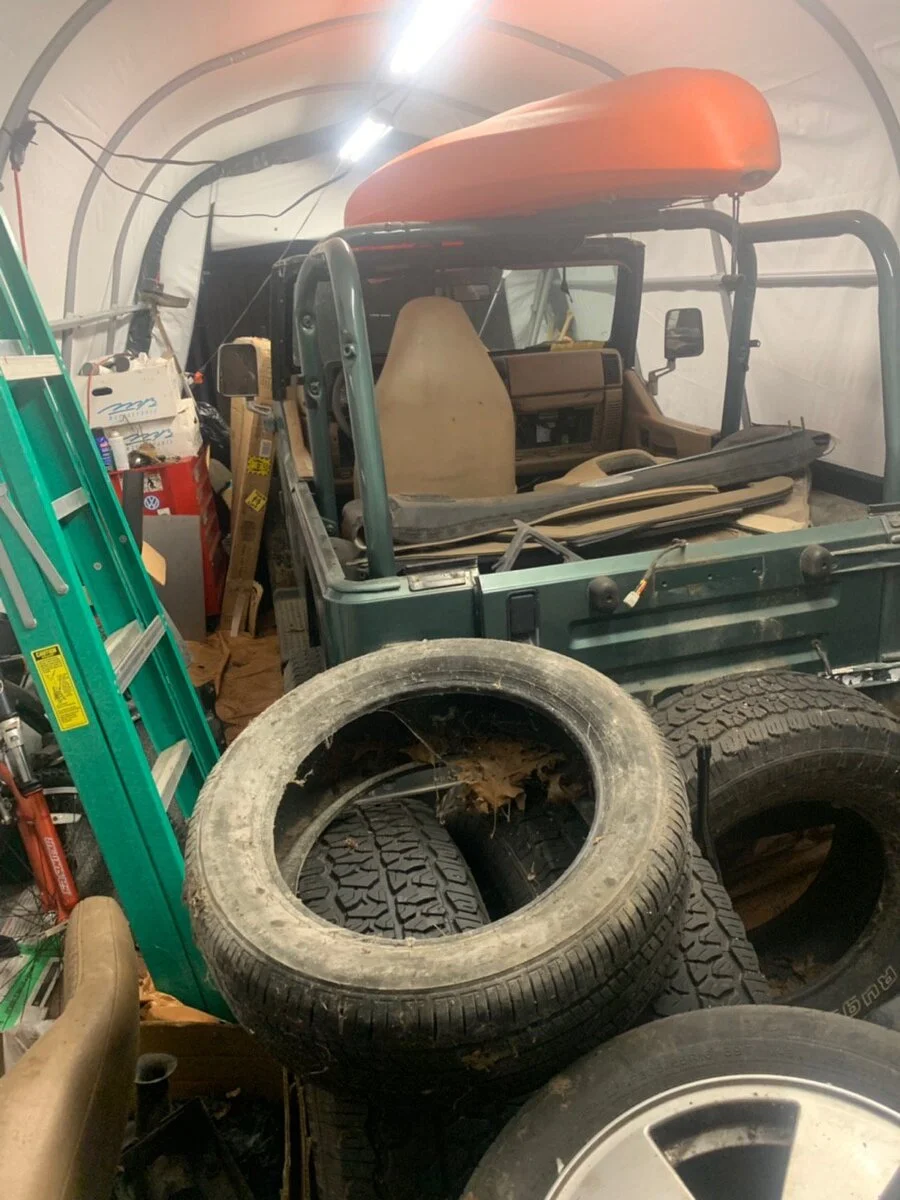
IMG_8168.webp


IMG_8200 Edit.webp


IMG_8201.webp


IMG_8202.webp


IMG_8203.webp


IMG_8204.webp
 
The first thing to do was tear the whole thing down. It took from late March to early May in 2019 to get the body fully ready to separate from the frame. From the second I saw that thing up on the trailer I knew the two pieces would have to come apart, there was just too much to be done. My friends, our dog Basil, and my partner Brian were crucial in helping me keep up enough energy to get to the part I was really excited about. I had to cut apart rusty body mounts, cut bolts in half, and hammer more things than I knew could be hammered, but it finally happened.

On May 3rd, my parents of all people - wearing their realtor work clothes, helped me get the body off of the frame. That was such a huge deal at the time. I was finally getting somewhere with this thing! But oh man was that frame ugly. And the holes that I was now able to see in the body were not promising. This might take a while.

IMG_8305.webp


IMG_8306.webp


IMG_8309.webp


IMG_8311.webp


IMG_8317.webp


IMG_8600.webp


IMG_8602.webp


IMG_8711.webp


IMG_8714.webp


IMG_8717.webp


IMG_8721.webp


IMG_8778.webp


IMG_8781.webp


IMG_8859.webp


IMG_8896.webp


IMG_8901.webp


IMG_8904.webp


IMG_8908.webp


IMG_8909.webp


IMG_8912.webp


IMG_8913.webp


IMG_8917.webp
 
May 9th, 2019. What a beautiful day! The dog is doing that weird thing where he rolls around on his back for a while, it's a cool 68 degrees, what a perfect day to look at the Chassis. After rolling it out of the garage, I started by chipping off the heavy rust using a pneumatic scaler. To make sure I got everything, I figured I should probably drop the T-case skid plate... Only to find out there was basically no metal left holding it to the frame. Just rust.

After that I figured it would be a good idea to wire wheel off the remaining crust so I could find any pinholes. Oh boy were there holes, just not pin-sized. Surprisingly (and luckily), the top half of the frame rails were in decent shape and had lost next to no material due to rust. This would be important, as the classic rear-wheel arch and aforementioned skid plate mounting section no longer had what you would call "structure".

At this point I was a little stuck. I knew I would have to get patches, and I knew welding would be involved. Neither of these things worried me too much as I had experience welding. But I'd never worked on a full-sized vehicle before, much less a frame. I ALSO didn't have a welder, or a 240V outlet which would be nice for thicker metal.

IMG_8924.webp


IMG_8926.webp


IMG_8927.webp


IMG_8929.webp


IMG_8930.webp


IMG_8946.webp


IMG_8965.webp


IMG_8967.webp


IMG_8969.webp


IMG_8970.webp


IMG_8971.webp


TWSA7003.webp
 
Based on your post I get the impression that you're young, which I like to see as most younger people (heck, even my own age) aren't getting into this stuff anymore. Bravo.

Looks like you're having fun with it. I think I would ditch that frame and get a clean one to build from, but I have more money than time these days.
 
Based on your post I get the impression that you're young, which I like to see as most younger people (heck, even my own age) aren't getting into this stuff anymore. Bravo.

Looks like you're having fun with it. I think I would ditch that frame and get a clean one to build from, but I have more money than time these days.
If only I had gotten this note about a year ago haha. I actually have pictures back from March 2019 up to today and I'm trying to break them down into posts that don't appear too spammy. As of today the frame has been repaired, the clutch has been serviced, the suspension has been replaced, all u-joints were replaced, and I am working hard at the body right now.
 
I'm the President of my schools Baja team for the upcoming year. I'm planning on doing a lemons car with some alumni after I graduate. My TJ had rust, but luckily not as bad as yours.

Definitely get the full length caps if you go that route. Considering that you have already torn the Jeep down so far, getting another frame might just be easier. You can get it done for $1200 and weekend for travel.
 
  • Like
Reactions: Bennythebull
I'm the President of my schools Baja team for the upcoming year. I'm planning on doing a lemons car with some alumni after I graduate. My TJ had rust, but luckily not as bad as yours.

Definitely get the full length caps if you go that route. Considering that you have already torn the Jeep down so far, getting another frame might just be easier. You can get it done for $1200 and weekend for travel.
Hey nice! I was Team Captain for my school. Small group of 6 people, but it was a huge learning experience for sure.

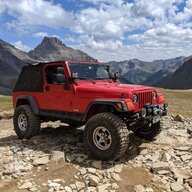
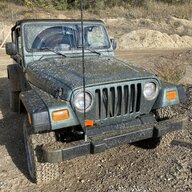
I think I've read through your build, seeing posts like yours really helped me keep going when I got frustrated after working on removing a bolt for two hours. My Jeep may look bad now (above), but I hope you'll agree the results of my work have turned out pretty well in the next few posts.
 
So here comes the scary part - Welding the frame back together. I installed a 240V 50A outlet on the house so I could weld out in the garage. Then I brought one of my buddies back to help me get started with the patches. I ended up getting the wheel arches on both side completely patched, and also a full-length patch for the center of the frame which holds up the transfer case.

While I understand this might seem a little sketchy, I am fairly confident with the results of the job we did on this thing. Spent a lot of time lining everything up, checking the suspension geometry, and ensuring that the skid plate would fit. The welding took a long time. Spent quite a few hours in the middle of 90 degree July days making sure that each piece was fully bonded to the frame.

IMG_9124.webp


IMG_9125.webp


IMG_9127.webp


IMG_9130.webp


IMG_9140.webp


IMG_9143.webp


IMG_9603.webp


IMG_9605.webp


IMG_9606.webp


IMG_9857.webp


IMG_9861.webp


IMG_9881.webp


IMG_9882.webp


IMG_9886.webp


IMG_9894.webp


IMG_0065.webp


IMG_0066.webp


IMG_0067.webp


IMG_0068.webp


IMG_0070.webp


IMG_0072.webp


IMG_0088.webp


IMG_0089.webp
 
If there's anything I've learned during this project, it's that the hype over POR-15 is well justified. When working with metal that has had rust on it, you can easily apply this stuff and man does it STICK! I completely painted the Frame with it and it turned out pretty nice! A big difference from the burnt pizza cheese color that it had when I bought it.

IMG_0234.webp


IMG_0238.webp


IMG_0240.webp


IMG_0120.webp


IMG_0286.webp


IMG_0287.webp


IMG_0284.webp


IMG_0403.webp


IMG_0411.webp


IMG_0412.webp


IMG_0112.webp


IMG_0114.webp


IMG_0115.webp


IMG_0116.webp


IMG_0202.webp


IMG_0204.webp
 
Wow,

so those are the safe t- caps I keep hearing about or were those replacement frame sections?

Safety Caps have a misleading name. They are just replacement frame sections. No matter what repair pieces you buy, you cut out the old rust. There aren't any pieces on the market that just weld over rust.
 
Man, you guys got a lot heart! I'm not sure where you are in this now but be sure to remove the upper rear shock bolts before you put the body back on. You have access to heat the nuts with a torch to get the bolts out.
Also, since you have the 4 angry squirrels, seriously think about the LS swap at this point. You are right there!
Looks like good work though!
 
  • Like
Reactions: Bennythebull
Man, you guys got a lot heart! I'm not sure where you are in this now but be sure to remove the upper rear shock bolts before you put the body back on. You have access to heat the nuts with a torch to get the bolts out.
Also, since you have the 4 angry squirrels, seriously think about the LS swap at this point. You are right there!
Looks like good work though!
Oh I got those shock bolts out, you'll see in a second. I am considering an engine swap, but to be honest I would like to just drive this thing before anything else, even if it means more work down the line!