Purple TJ in AZ (just some of the stuff I've done thread)

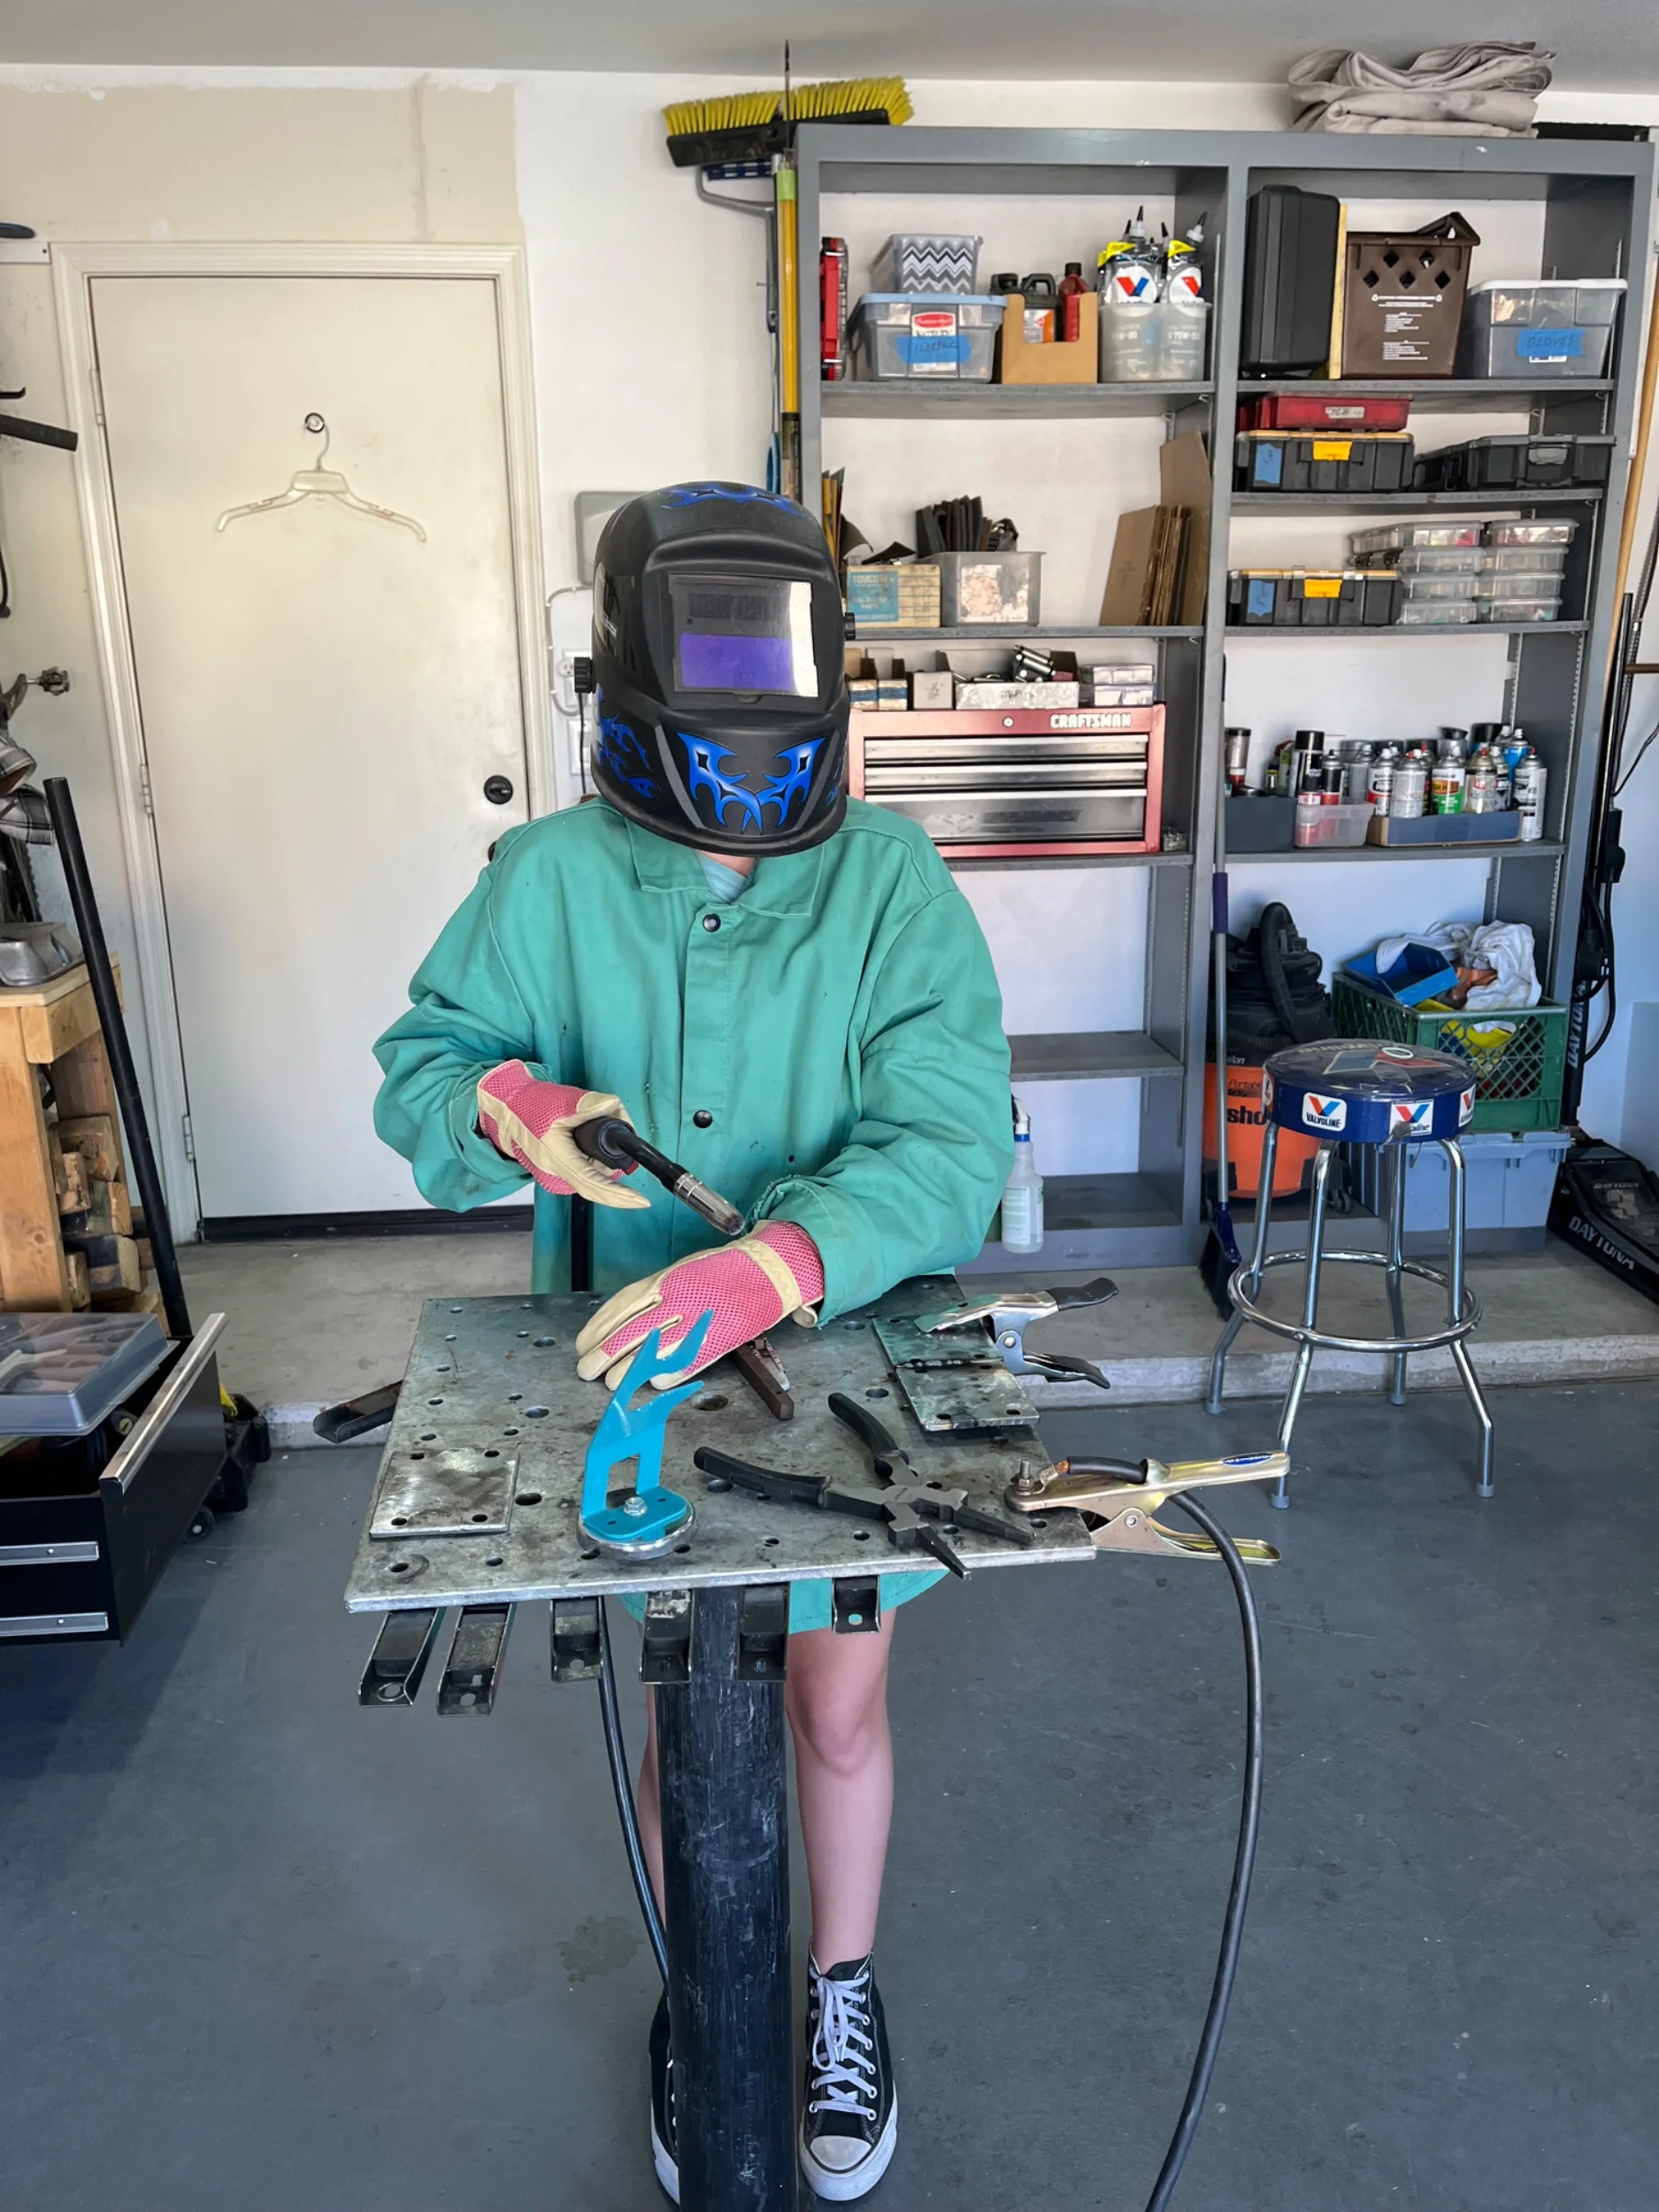
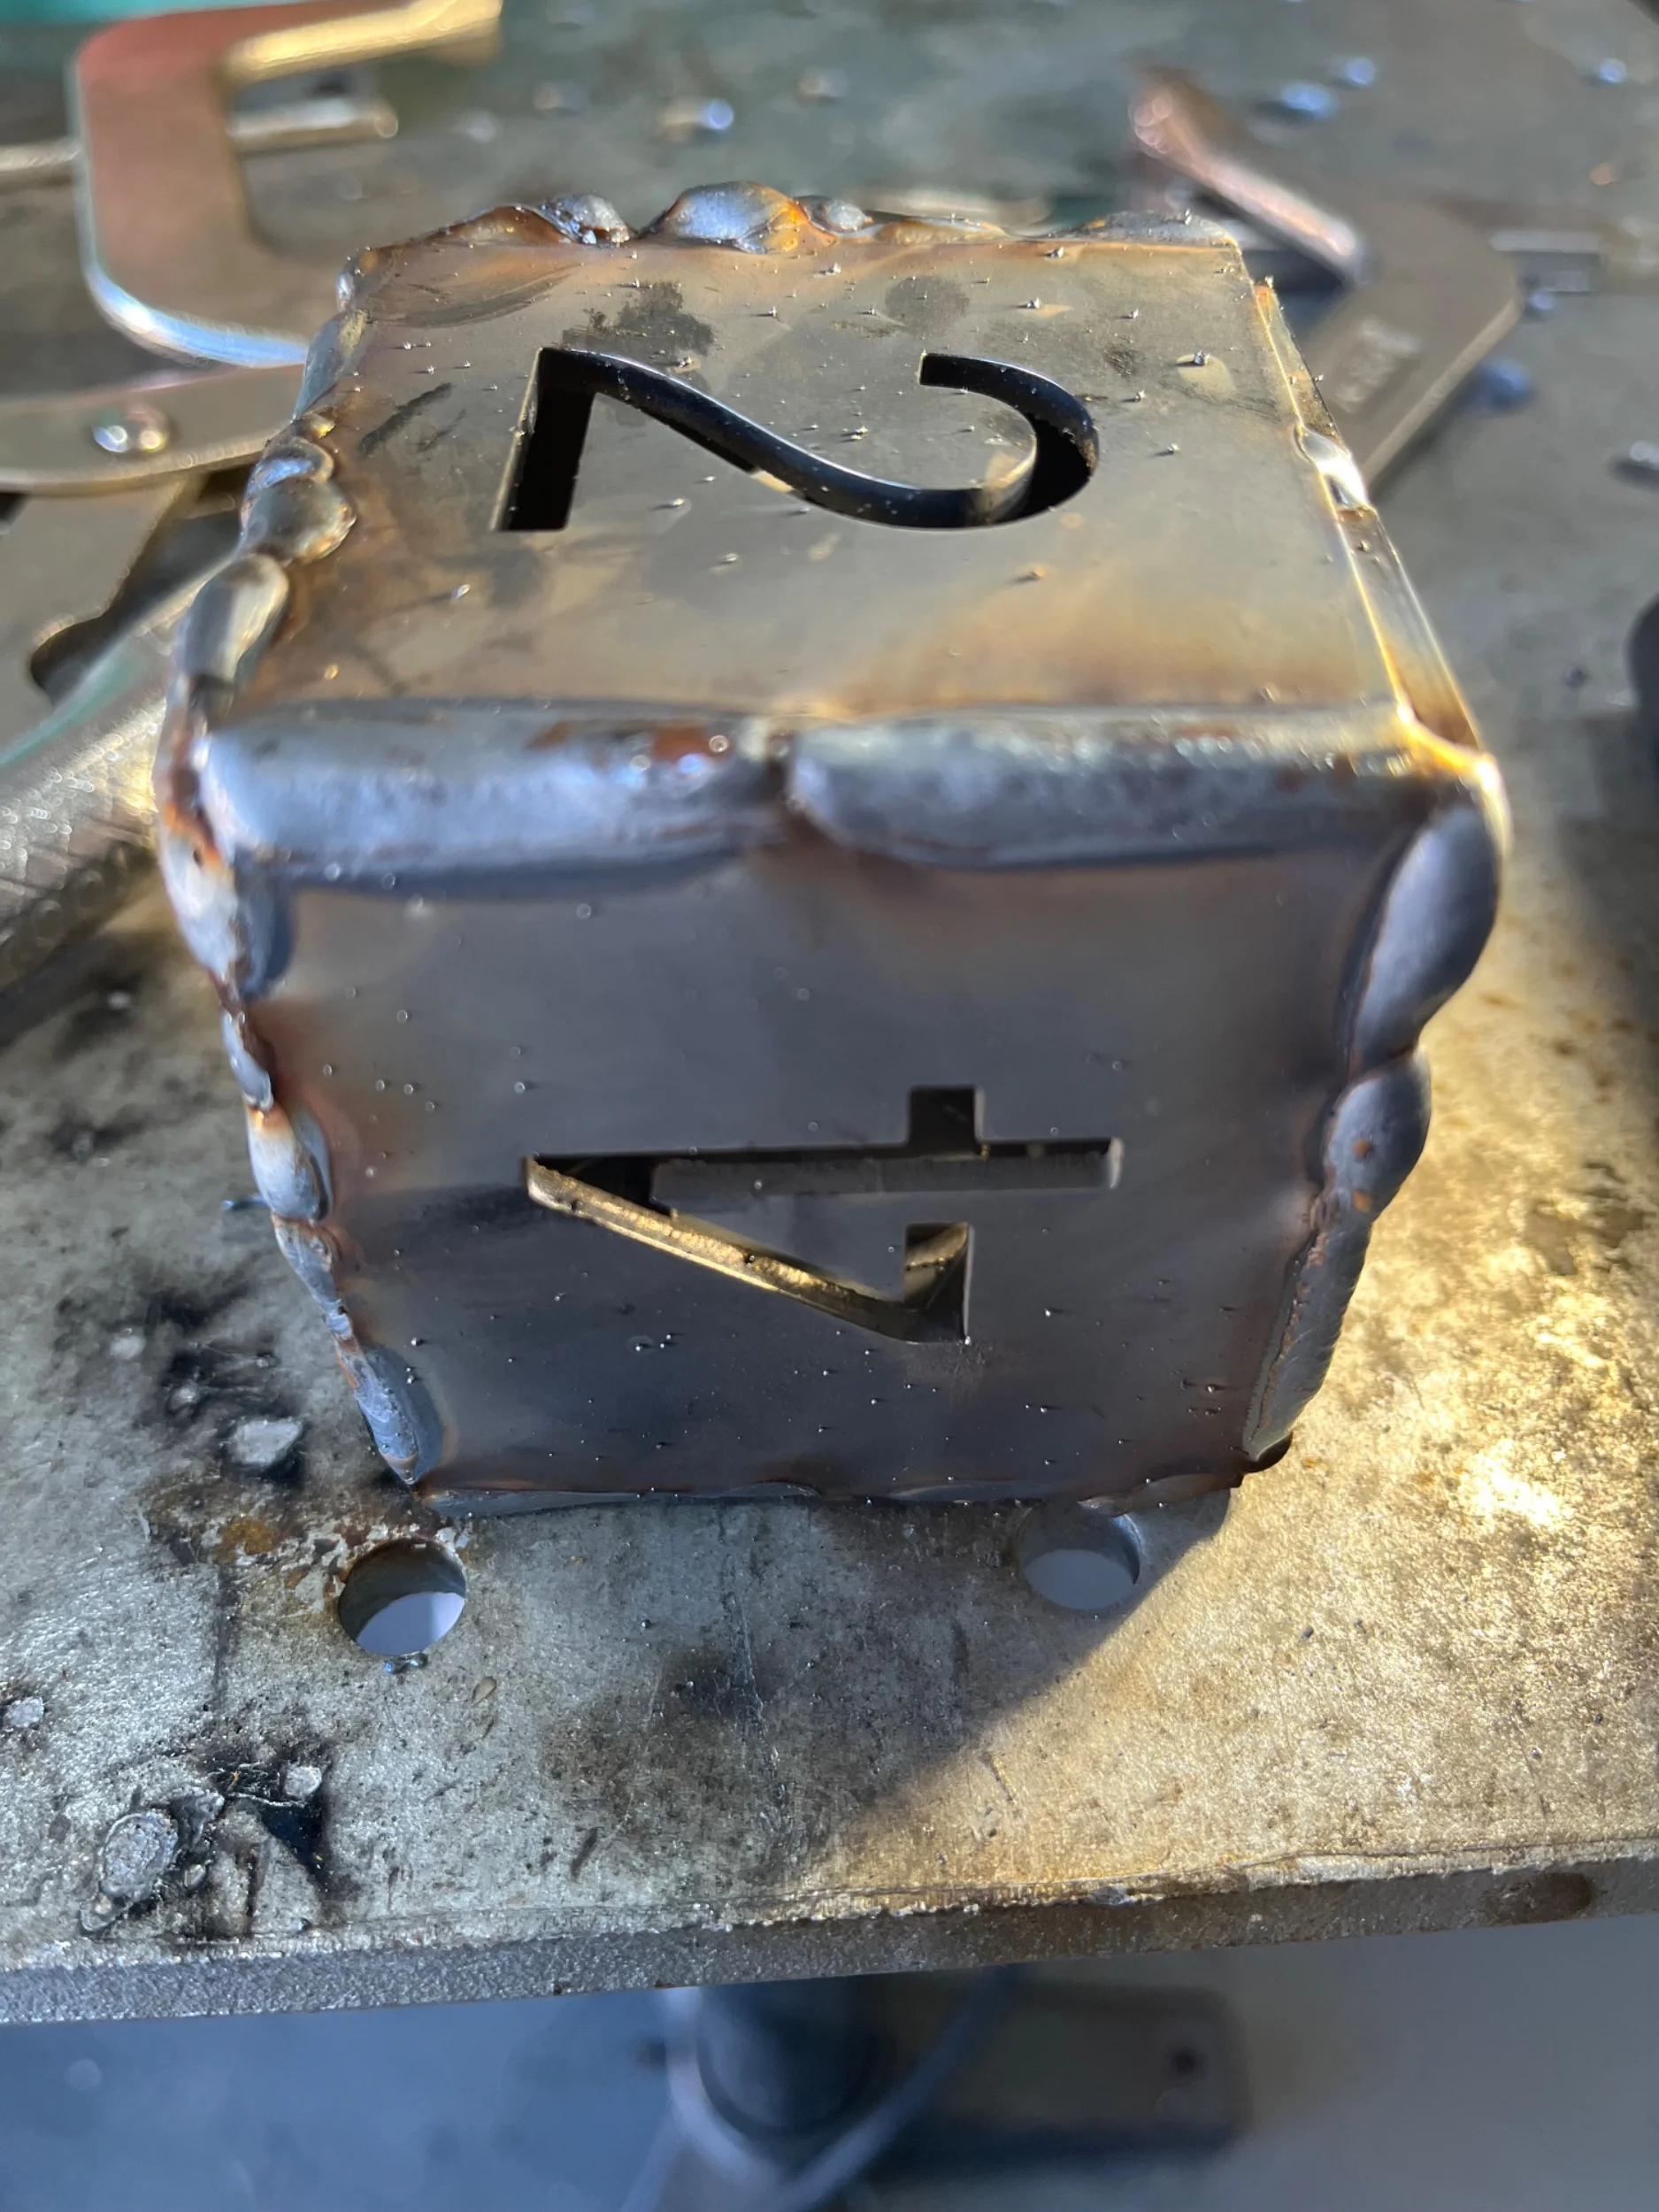
So if you want to know how well you know something try to teach it to a child. So my 12 year old granddaughter wants to weld. We spent some time in the garage and I think she is catching on….
IMG_2235.webp


IMG_2236.webp
 
So if you want to know how well you know something try to teach it to a child. So my 12 year old granddaughter wants to weld. We spent some time in the garage and I think she is catching on….

View attachment 676819

View attachment 676820
She won't be the first and she won't be the last to have a weld berry burn through those sneakers and burn a hole almost the same size through the skin on her foot. The hard part will be trying to get the shoe untied and off before it stops burning. Leather or barefoot. At least if she is barefoot, the other foot can brush it off before it gets too bad. Unless she is extra tough, that will be the end of her learning if that happens.
 
She won't be the first and she won't be the last to have a weld berry burn through those sneakers and burn a hole almost the same size through the skin on her foot. The hard part will be trying to get the shoe untied and off before it stops burning. Leather or barefoot. At least if she is barefoot, the other foot can brush it off before it gets too bad. Unless she is extra tough, that will be the end of her learning if that happens.

Good advice as always. It was an impromptu welding session. I do need to get her some better PPE.
 
I got started preparing everything for install and while this is not a review of any one product, I have observations.
The Artec fenders appear to be well made and fairly heavy duty. They however come with a very rough texture. With visible tooling marks.

IMG_2424.webp


IMG_2425.webp


IMG_2427.webp


IMG_2428.webp


I did sand them out with a power sander

120 grit to get the heavy marks and grind marks


IMG_2431.webp
IMG_2430.webp


220 grit


IMG_2432.webp
IMG_2433.webp


Surface sander and then a scotch brite pad

IMG_2435.webp


Final wipe down and some wax to keep them from oxidizing.


image.webp


I have about a n hour into each one. There is still some minor blemishes if you look close but I did get a pretty decent brushed look. My stuff gets some abuse so in a year you won’t notice any blemishes. You don’t see Artec parts in raw aluminum often and I know why. I think they assume people will paint them and I may paint them eventually but even if I do paint they would need to be prepared anyway. I am going to mount it all in raw aluminum and then decide what gets painted and what doesn’t.
 
Last edited:
I got started preparing everything for install and while this is not a review of any one product, I have observations.
The Artec fenders appear to be well made and fairly heavy duty. They however come with a very rough texture. With visible tooling marks.

View attachment 696600

View attachment 696601

View attachment 696602

View attachment 696603

I did sand them out with a power sander

120 grit to get the heavy marks and grind marks


View attachment 696605View attachment 696606

220 grit


View attachment 696607View attachment 696608

Surface sander and then a scotch brite pad

View attachment 696610
security watching GIF
 
On day one I tore down the drivers side…

IMG_2451.webp


Test fitting the inner fenders a couple things that are different from stock.
The liner ti grille bolts are on the engine compartment side not the wheel side. That gives you a an extra inch inside the hood bit you loose an inch in the wheel well. I will need to rethink where my shock reservoir lives.

IMG_2448.webp


I also needed to move the abs tray back one inch

IMG_2447.webp


Test fitting the fender looks good…

IMG_2439.webp

However getting al this stuff moved around and making it all play well together will take some time.

IMG_2449.webp


Thought about just keeping the factory liner , but someone once told me to never back away from a modification because it the level of work involved.

Four hours later I have all my components in place. Still need to the wiring and vacuum lines done but that’s pretty easy. First I need to take it all apart and trim, sand and paint all the new brackets and then put it all back together.

IMG_2452.webp
 
I finished the front fenders this week.

IMG_2462.webp

IMG_2463.webp

IMG_2461.webp
IMG_2460.webp


Artec front fenders with matching inners. I really haven’t seen any of these before I bought them, but I do like the way they look.
For anyone looking at them , hear my takeaways.
Fenders are 3/16” aluminum with nice looking welding. They arrive very rough texture and sanding is required if you paint or leave them raw. They lined up well with expected adjustments. My tub was pretty warped and it took some time to flatten out the front panels to match the new fenders.
They were supposed to have press nuts to attach the inners but mine were missing. Not a big deal and I just added nutzerts.

image.webp


The liners are pretty light gauge but did fit as designed. The bolts to the grille are inside the engine compartment not the wheel well. I imagine to give it a smoother appearance. I don’t like how much room is lost for suspension travel and clearance. Relocating the shock reservoir was a little challenging to avoid tire contact.

image.webp


Getting everything to fit together under the hood wasn’t too bad. Making not look like shit was harder. The battery tray and abs tray both needed to be pushed back an inch. On the left side getting the PSC reservoir repositioned without having to make new lines. Luckily I still had parts leftover from the original kit. Wiper tank and locker relays need new homes.


IMG_2458.webp


On the right side, everything was simple except the air cleaner. It was a tight fit between fender,a/c lines, compressor and the grille support. It took me multiple tries to find the placement.

IMG_2459.webp


I don’t care for the clearance lamps that came with the kit. I wanted to stay with the ones I had but the ones I had were for a 3/4” opening and these are drilled 5/8”. I put these in for now but I may drill out the opening later and go with the old lights I had before.

IMG_2464.webp


Now on to the sliders and corners….


IMG_2465.webp


IMG_2458.webp


IMG_2459.webp
 
Last edited:
I finished the front fenders this week.

View attachment 697916
View attachment 697917
View attachment 697918View attachment 697919

Artec front fenders with matching inners. I really haven’t seen any of these before I bought them, but I do like the way they look.
For anyone looking at them , hear my takeaways.
Fenders are 3/16” aluminum with nice looking welding. They arrive very rough texture and sanding is required if you paint or leave them raw. They lined up well with expected adjustments. My tub was pretty warped and it took some time to flatten out the front panels to match the new fenders.
They were supposed to have press nuts to attach the inners but mine were missing. Not a big deal and I just added nutzerts.

View attachment 697903

The liners are pretty light gauge but did fit as designed. The bolts to the grille are inside the engine compartment not the wheel well. I imagine to give it a smoother appearance. I don’t like how much room is lost for suspension travel and clearance. Relocating the shock reservoir was a little challenging to avoid tire contact.

View attachment 697905

Getting everything to fit together under the hood wasn’t too bad. Making not look like shit was harder. The battery tray and abs tray both needed to be pushed back an inch. On the left side getting the PSC reservoir repositioned without having to make new lines. Luckily I still had parts leftover from the original kit. Wiper tank and locker relays need new homes.


View attachment 697908

On the right side, everything was simple except the air cleaner. It was a tight fit between fender,a/c lines, compressor and the grille support. It took me multiple tries to find the placement.

View attachment 697911

I don’t care for the clearance lamps that came with the kit. I wanted to stay with the ones I had but the ones I had were for a 3/4” opening and these are drilled 5/8”. I put these in for now but I may drill out the opening later and go with the old lights I had before.

View attachment 697913

Now on to the sliders and corners….


View attachment 697914

View attachment 697907

View attachment 697910

You rig looks great man, nice work!
 
  • Like
Reactions: Woodrow
A couple hours on Saturday and four hours today. Left side is all trimmed , shaped and clamped in place.

IMG_2470.webp

IMG_2469.webp


What a battle. I can’t tell you how many times I had the corner on and off.

My tub is pretty warped showing signs of trail trauma.

image.webp


image.webp


IMG_2468.webp


1/4 inch gaps in some place.

I also had to remove about 2mm of material from the corner to make it line up.

IMG_2466.webp
image.webp


And of course trim for the front flares.

image.webp


I think I am going to just stare at it for a while before starting the drilling process.
 
A couple hours on Saturday and four hours today. Left side is all trimmed , shaped and clamped in place.

View attachment 698141
View attachment 698142

What a battle. I can’t tell you how many times I had the corner on and off.

My tub is pretty warped showing signs of trail trauma.

View attachment 698151

View attachment 698143

View attachment 698144

1/4 inch gaps in some place.

You are not the first guy to start adding armor a little later than you should have. 😉
 
Artec (IMO) has a nice set up for the TJ. I did the front fenders and inners. Had a little issue here and there with factory brackets and what not, but nothing a little creativity couldn't overcome. I ended up powder coating all mine. Having 3 shades of patriot blue...look pretty good from 20 feet away. The tub guards are still in a holding pattern. Those are definitely a commitment.
4246.webp
 
Artec (IMO) has a nice set up for the TJ. I did the front fenders and inners. Had a little issue here and there with factory brackets and what not, but nothing a little creativity couldn't overcome. I ended up powder coating all mine. Having 3 shades of patriot blue...look pretty good from 20 feet away. The tub guards are still in a holding pattern. Those are definitely a commitment.View attachment 698200

I like the look of your fenders and idea of color matched armor but I also know I will be banging it on the rocks a lot. I am pretty happy with the product. Not the customer service. I like the ability to just use some sand paper and scotch brite pad for touch up. I have never seen a powder coat close to the color of my TJ. Amethyst Pearl. I can paint better than most but the materials alone are pricey as hell. I may paint at some point. That is what the Mrs. wants. For now it will all go on raw so I can make it to Colorado at the end of the month. The reality it is never going to be a prom queen.
 
That is what the Mrs. wants. For now it will all go on raw so I can make it to Colorado at the end of the month. The reality it is never going to be a prom queen.
Smart man! The prettier it got the worse I felt about scratching it. I like the patina ,but I also like the new shiney parts. The great thing Im discovering about these, they are like Legos and everyone has and can have what they like.
 
It was been awhile since I have updated. I have been progressing steadily. I have some time right now because I’m traveling and spending more than a little time in airports, and a little bored so I’m catching up.

Working on the sliders and rear corners, there is a lot of clamp, measure, adjust and repeat. I probably had these on and off 8 to 10 times getting everything to line up and play nice before drilling. Note you cannot have too many clamps
IMG_2473.webp
IMG_2472.webp


Getting your lines just right is difficult but so satisfying.
IMG_2479.webp
IMG_2477.webp


When you read the write up’s everyone states that you need to get and use a rotabroach cutter instead of a drill bit to cut your holes. If you don’t think the rotabroach is better, try to do this with a drill bit.

IMG_2481.webp


All on and hardware in place. I am pretty happy with the results so far
IMG_2485.webp
IMG_2484.webp


The next step is figuring out what the protection rails will look like and where they will live. So much easier and cheaper to use wood to mock them up.
IMG_2494.webp
IMG_2625.webp


Starting the aluminum machining process. Cutting the aluminum down on a table saw and rounding the edges with a router. I was told this would send aluminum everywhere, but I had no idea! That shit went everywhere.still finding shavings in the shop and the house.
IMG_2622.webp
IMG_2623.webp
?hash=8250ab050f02fe745ec78576f809122b.webp


IMG_2624.webp
 
Last edited:

