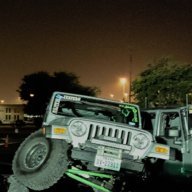
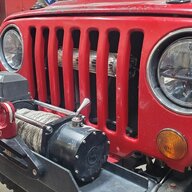
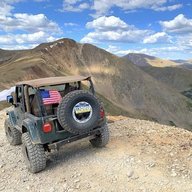
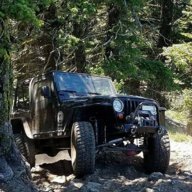
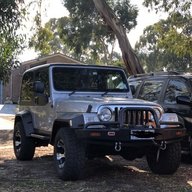
This is what I came up with. Basically my best attempt to copy what Blaine does.
I used Poly towers and 12" Fox 2.0 shocks. Make sure the bump stops are exactly where they need to be. This is your chance to make them as short as you can, because the point here is to match the shock travel to the available spring travel by moving the compressed shock further up.
Your spring travel is from full bump to the point where the springs just barely come unseated. Currie 4" is a great platform for this, with over 13" between the bind and free lengths.
With the axle at full bump, figure out where the upper and lower shock mounts need to go using the compressed length of the shock.
The upper tower needs to be frenched far into the frame, so that the inner side wall of the tire does not rub when at full flex.
My towers contact with the inner wall of the frame at the bottom and are about 1/4" away at the top.
The upper tower is positioned so that the shock is pointed 90° to the lower control arm at the mid point of the suspension travel. This is not necessarily ride height. The goal here is just to give the shock body enough room to swing inside the mount during it's travel.
Full bump is limited by the bump stops. However, I positioned the shocks so that as the axle flexes, the axle rolls off of the bump stop and into the compressed shock. This is a Blaine trick he told me during my research in order to maximize suspension up travel. Rolling onto the compressed shock will occur at a slow speed, so the risk of damage is highly unlikely.
There really is no clear set of instructions. You just need to understand where the pieces need to fit together. Cycle the axles a lot and at every step. Tack the mounts. Install the shocks and tires. Cycle the axles to see what interferes. Fix the problem and do it again until it is right. This isn't easy. But if you can understand and keep track of all the various movements, it will all come together.
The one thing I don't know is how to deal with the rear track bar, because I don't have one. I know Blaine will make a new frame side mount that is incorporated into the new upper shock mount.
Some specifics to my setup... I used 1.5" wheel spacers to give my Moabs an effective 3.5" backspacing.
Black Magic Brakes sells a rear brake caliper flip kit. This helps make room for the shock body.
Compared to what I had before, I gained about 3" of down travel. This is because my previous shocks were too short and the bump stop requirement was to keep the lower control arm out of the frame. Those with better sized shocks than I had will likely gain both up travel and down travel.
After the install, I had 6" up, 6" down. In order to adjust the rake, I added a 1" aluminum spacer which changed the travel to 7" up, 5" down.
Outboarding is a very good time to move the upper spring seats. The reason to do this is not to straighten the spring. The true purpose is to relocate the bump stops so that they line up again after both the extension and the pinion rotation.
On mine, I trimmed the mount so that it fit as high into the frame arch as possible.
I flattened the lower seats as well. Both to lose some lift from the rotated pinion and to get the bumps to line up better. This isn't very common. Blaine has said he doesn't do this.
This allowed for a longer spring without adding as much lift. I did this knowing that I might need to add a spacer, but this allowed for some adjustability and still let me use the really long Currie LJ coils.
Another nice advantage to this process is that by moving the lower mounts behind the control arm, the window under the axle is significantlyy opened up.
Additionally, there is an increase in stability with the wider spaced shocks because the shocks now have greater leverage against the frame.